When you click on links to various merchants on this site and make a purchase, this can result in this site earning a commission. Affiliate programs and affiliations include, but are not limited to, the eBay Partner Network.
2012 C63;1971 280SE 3.5(Sold);2023 EQS 450 SUV 4 Matic (Wife's)
Originally Posted by BLKROKT
Looks great
Thanks BLKROKT
Originally Posted by Roswell
Woohoo, looks fantastic! They will match ur CF steering wheel perfectly .. The shift knob with red stitching on the boot is from Matt or Andrew? Love mine too.
Thanks Meng, Like you, I love my CF trim too. The shift surround is hard to find and I had to send mine to Matt so he could wrap it for me. Glad he could do it that way. Matt supplied the Napa leather for the shift boot and did the red stitching to match my wheel and leather trim. Very happy with the interior now.
Originally Posted by Ernst V Bauer
Looking good Mort
The carbon and red interior go well with each other. Very Lux.
Thanks Ernst, love the red and carbon match.
Originally Posted by AA717driver
Mort--The car looks great but the house looks awesome! I'm in downsizing mode or a log house would be at the top of my shopping list!
TC
ETA: What are these "wife" things you speak of?
Thanks AA717driver. I love my cedar log/spruce timber frame house. A couple of things to keep in mind before taking the plunge. My house has no flat ceilings it is all cathedral. Beautiful but a bit hard to heat. The logs hold heat in the summer so a bit hard to cool. The exterior needs to be finished every five years or so. Some surfaces longer some less. It has been a challenge to keep up with the finishing. If you are up to the challenge a log home can be very relaxing and rewarding. I love mine most of the time...lol
2012 C63;1971 280SE 3.5(Sold);2023 EQS 450 SUV 4 Matic (Wife's)
Originally Posted by Savage-wp
That Carbon interior looks the business. Very nice.
Thanks Savage-wp.
Originally Posted by Kriston
This car will be legendary after its done. Im excited to see Mort and Redragn's builds. 2 exemplar builds!
Thank you Kriston. Your build has always been exemplar to me. Putting me in the same boat with Redragn is hi praise indeed but a lot to live up to. Too much really....lol
Originally Posted by ZephyrAMG
Looks FANTASTIC Mort! All your mods are tastefully and you only go with the best. Your car is looking very well done.
Great detail and an awesome interior to get into!
BTW love your spoiler and the close ups....Looks like a very well made piece!
And from the pics, the mounting looks perfect!
Thank you ZephyrAMG. Much appreciated!
Originally Posted by INS1GNIA
The interior and shift knob look extremely well done. Car looks great and can't beat that view with the cabin .
2012 C63;1971 280SE 3.5(Sold);2023 EQS 450 SUV 4 Matic (Wife's)
Mod 13 - KMAC Suspension Updates
I had KMAC front camber/caster bushings and rear camber bushings on my 2010 C63. They allowed me to fine tune my alignment and correct for a pull in the front end. The C63 suspension only has toe adjustments from the factory and once you start to modify your suspension or tune it for track work you need to add aftermarket components so that you can properly control and adjust your suspension. KMAC makes great products to achieve that end.
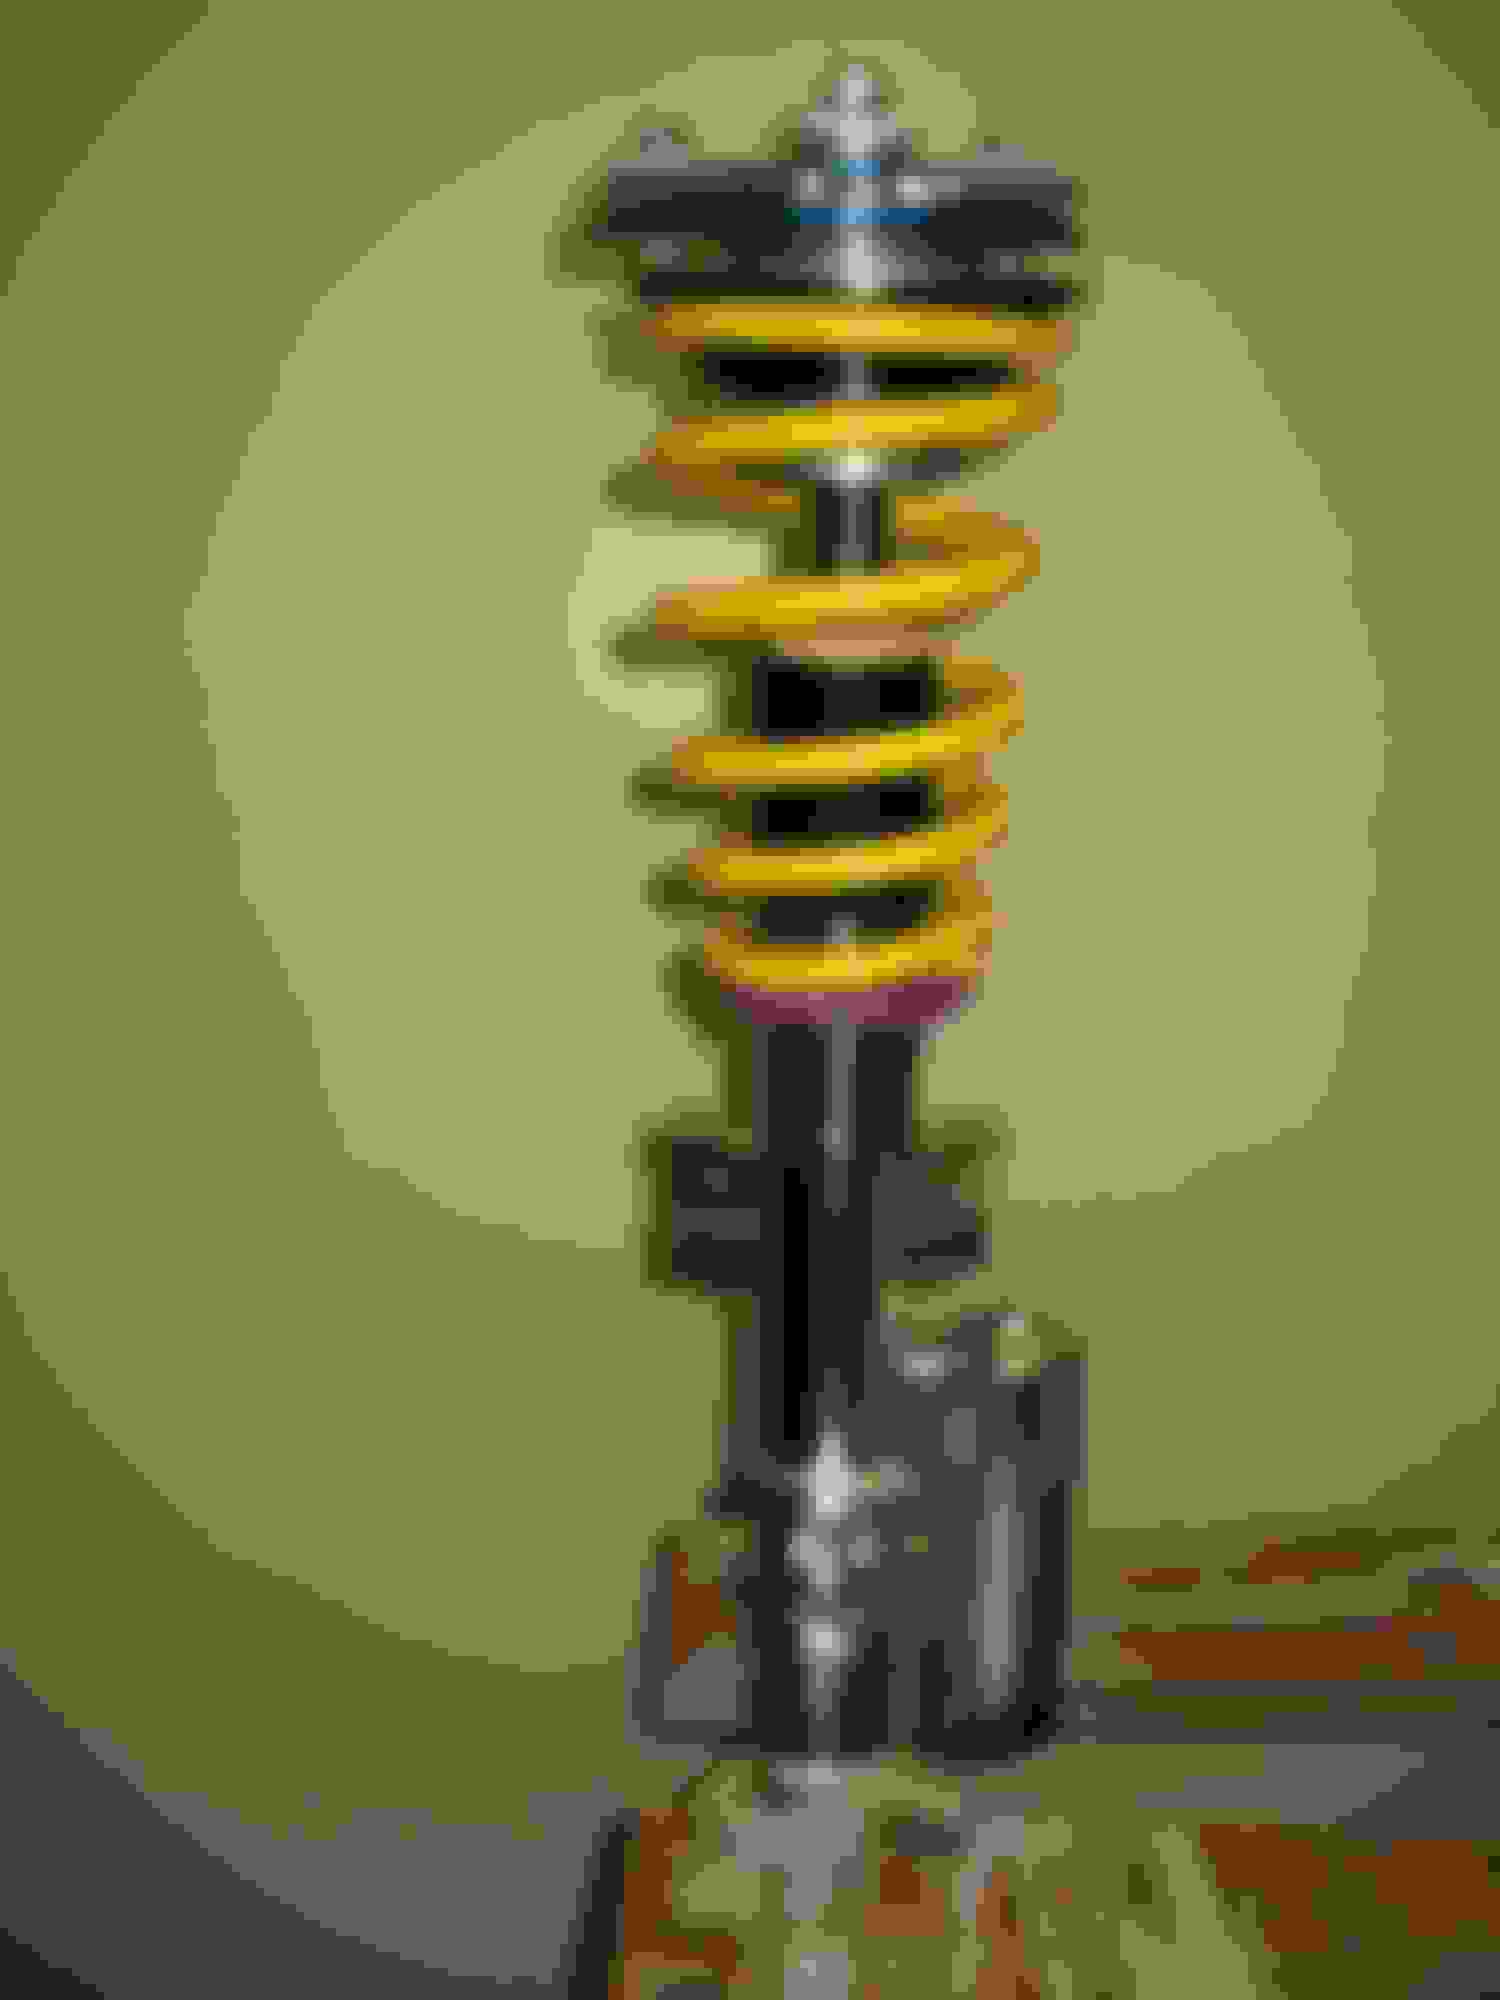
I decided to go a similar route on my 2012 C63 even though it did not present any symptoms after installation of the KW V3 Vs the H&R springs on the 2010. With the KW V3 you can control the ride height at each corner and it seems to come out much better it the road manners department. No alignment adjustment was required after the KW V3 install. Still I wanted to have control over my camber/caster adjustment and so I installed KMAC products on the 2012 as well to achieve those ends.
On the front I install adjustable top plates. These plates replace the MB strut plates and allow for camber and caster adjustment on the front end without the need to put the car on an alignment machine. Excellent for me allowing me to do my own alignments at home.
On the rear I installed the same style camber bushings I had on my 2010. These come with a tool to remove the OEM bushings and the KMAC bushings just slide into place. These will require jacking the car to adjust so a little more fussy but still adjustable at home.
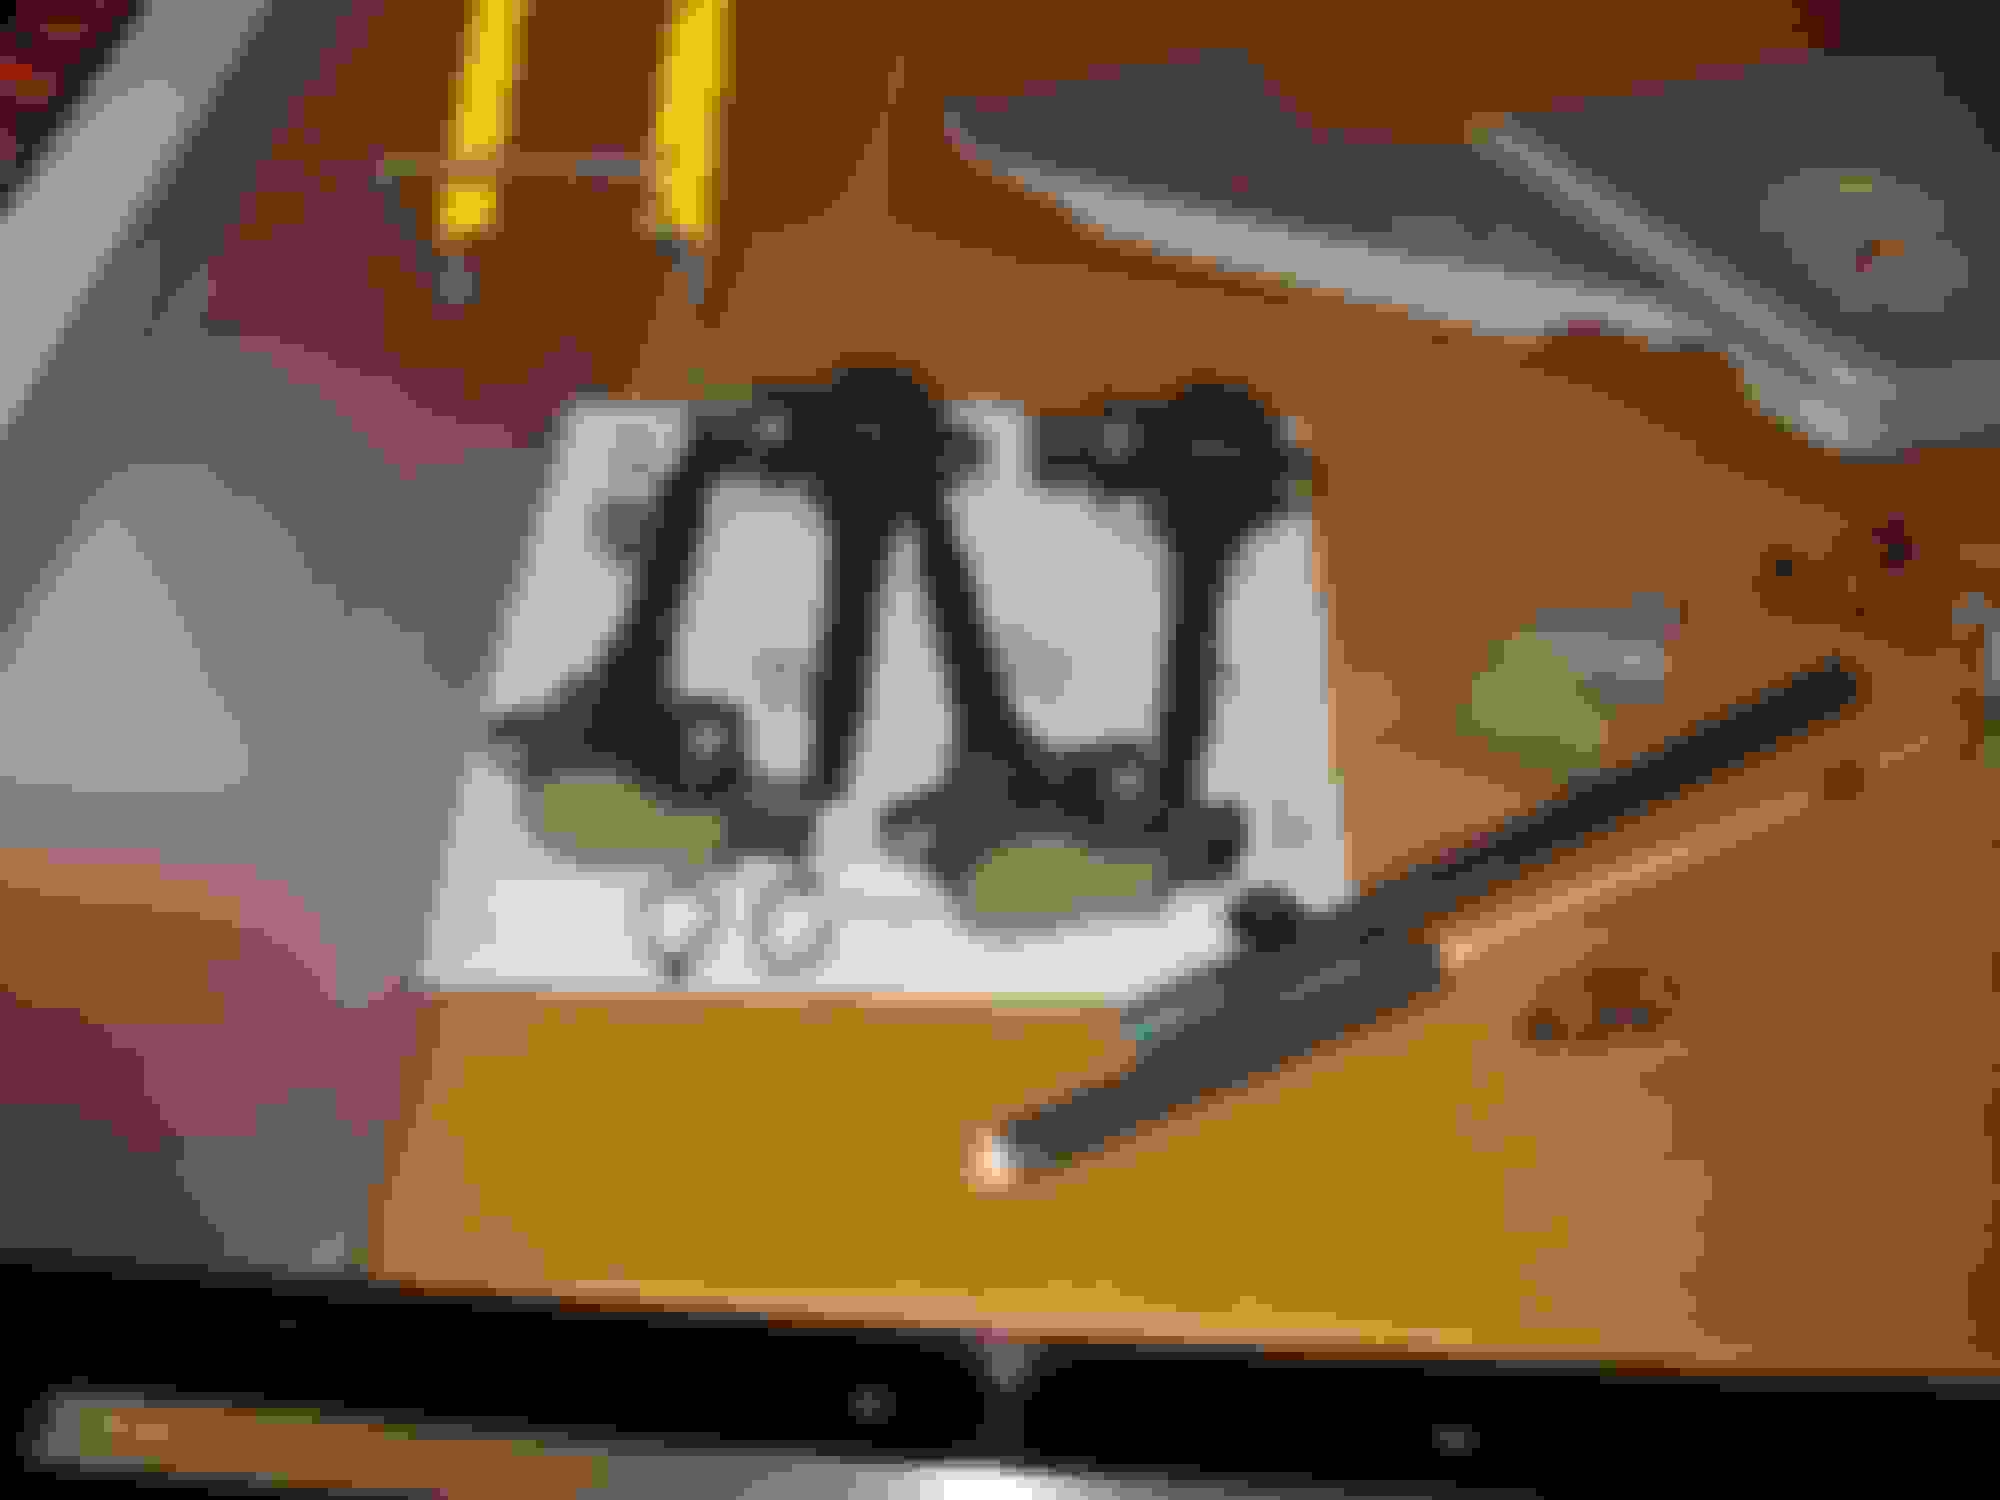
So on to the pics for the rear.
KMAC Kit with extractor, Camber bushings and Toe bushings.
Rear bottom spring inserts. I got new ones to replaces the corroded ones on the car.
This is what Canadian winter driving and salt does to a car. Not pretty!
Pic of the camber bushing installed.
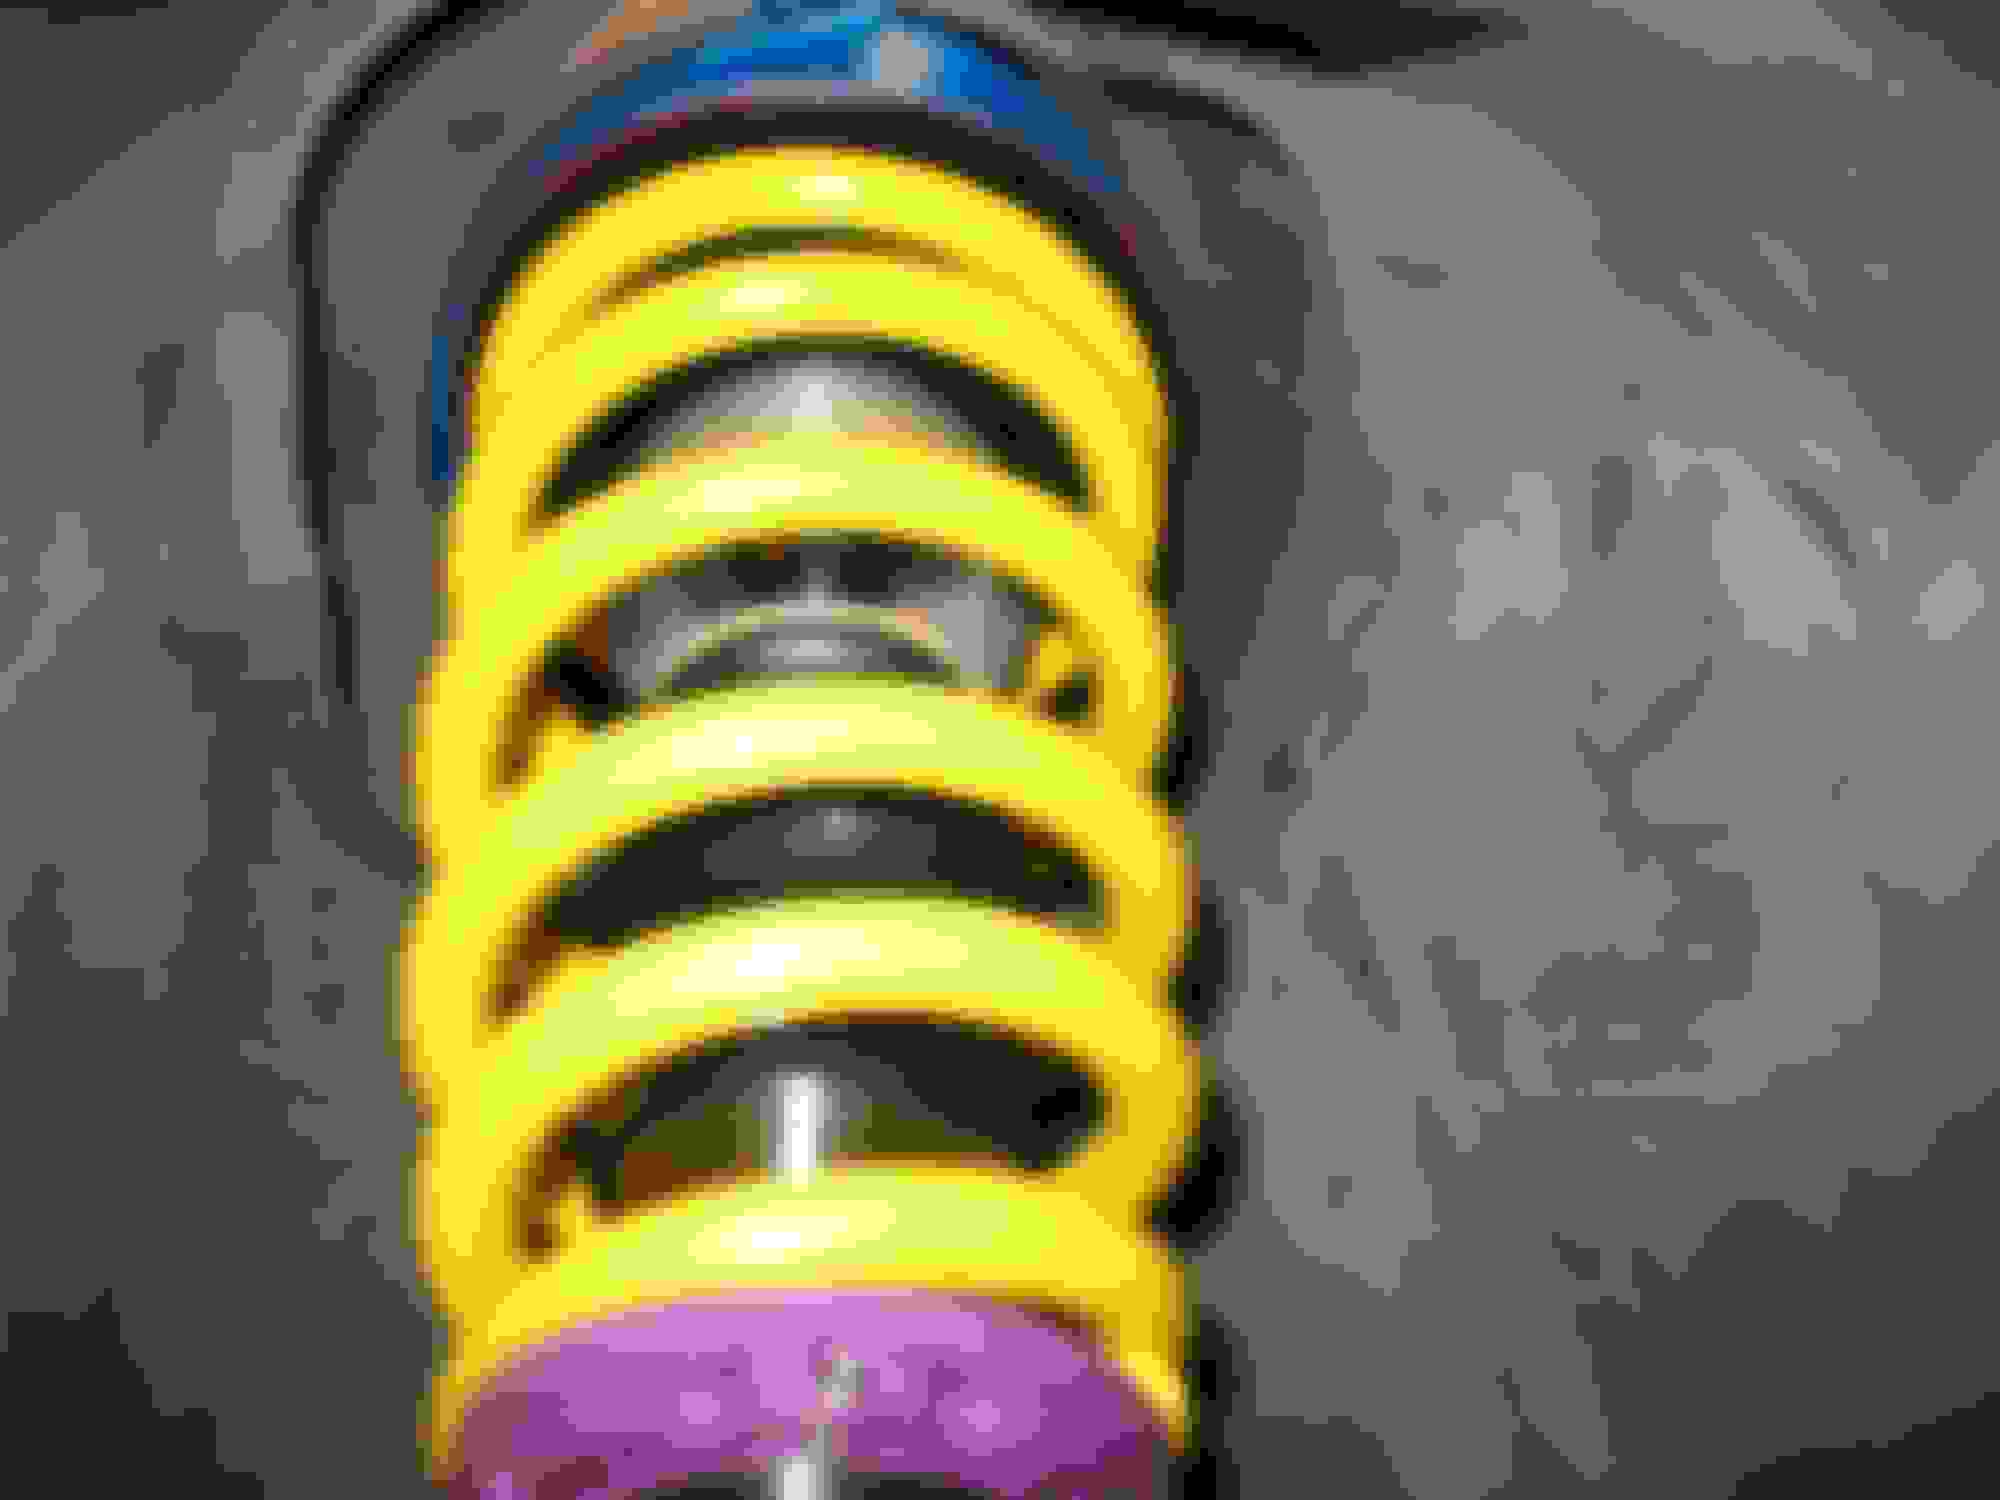
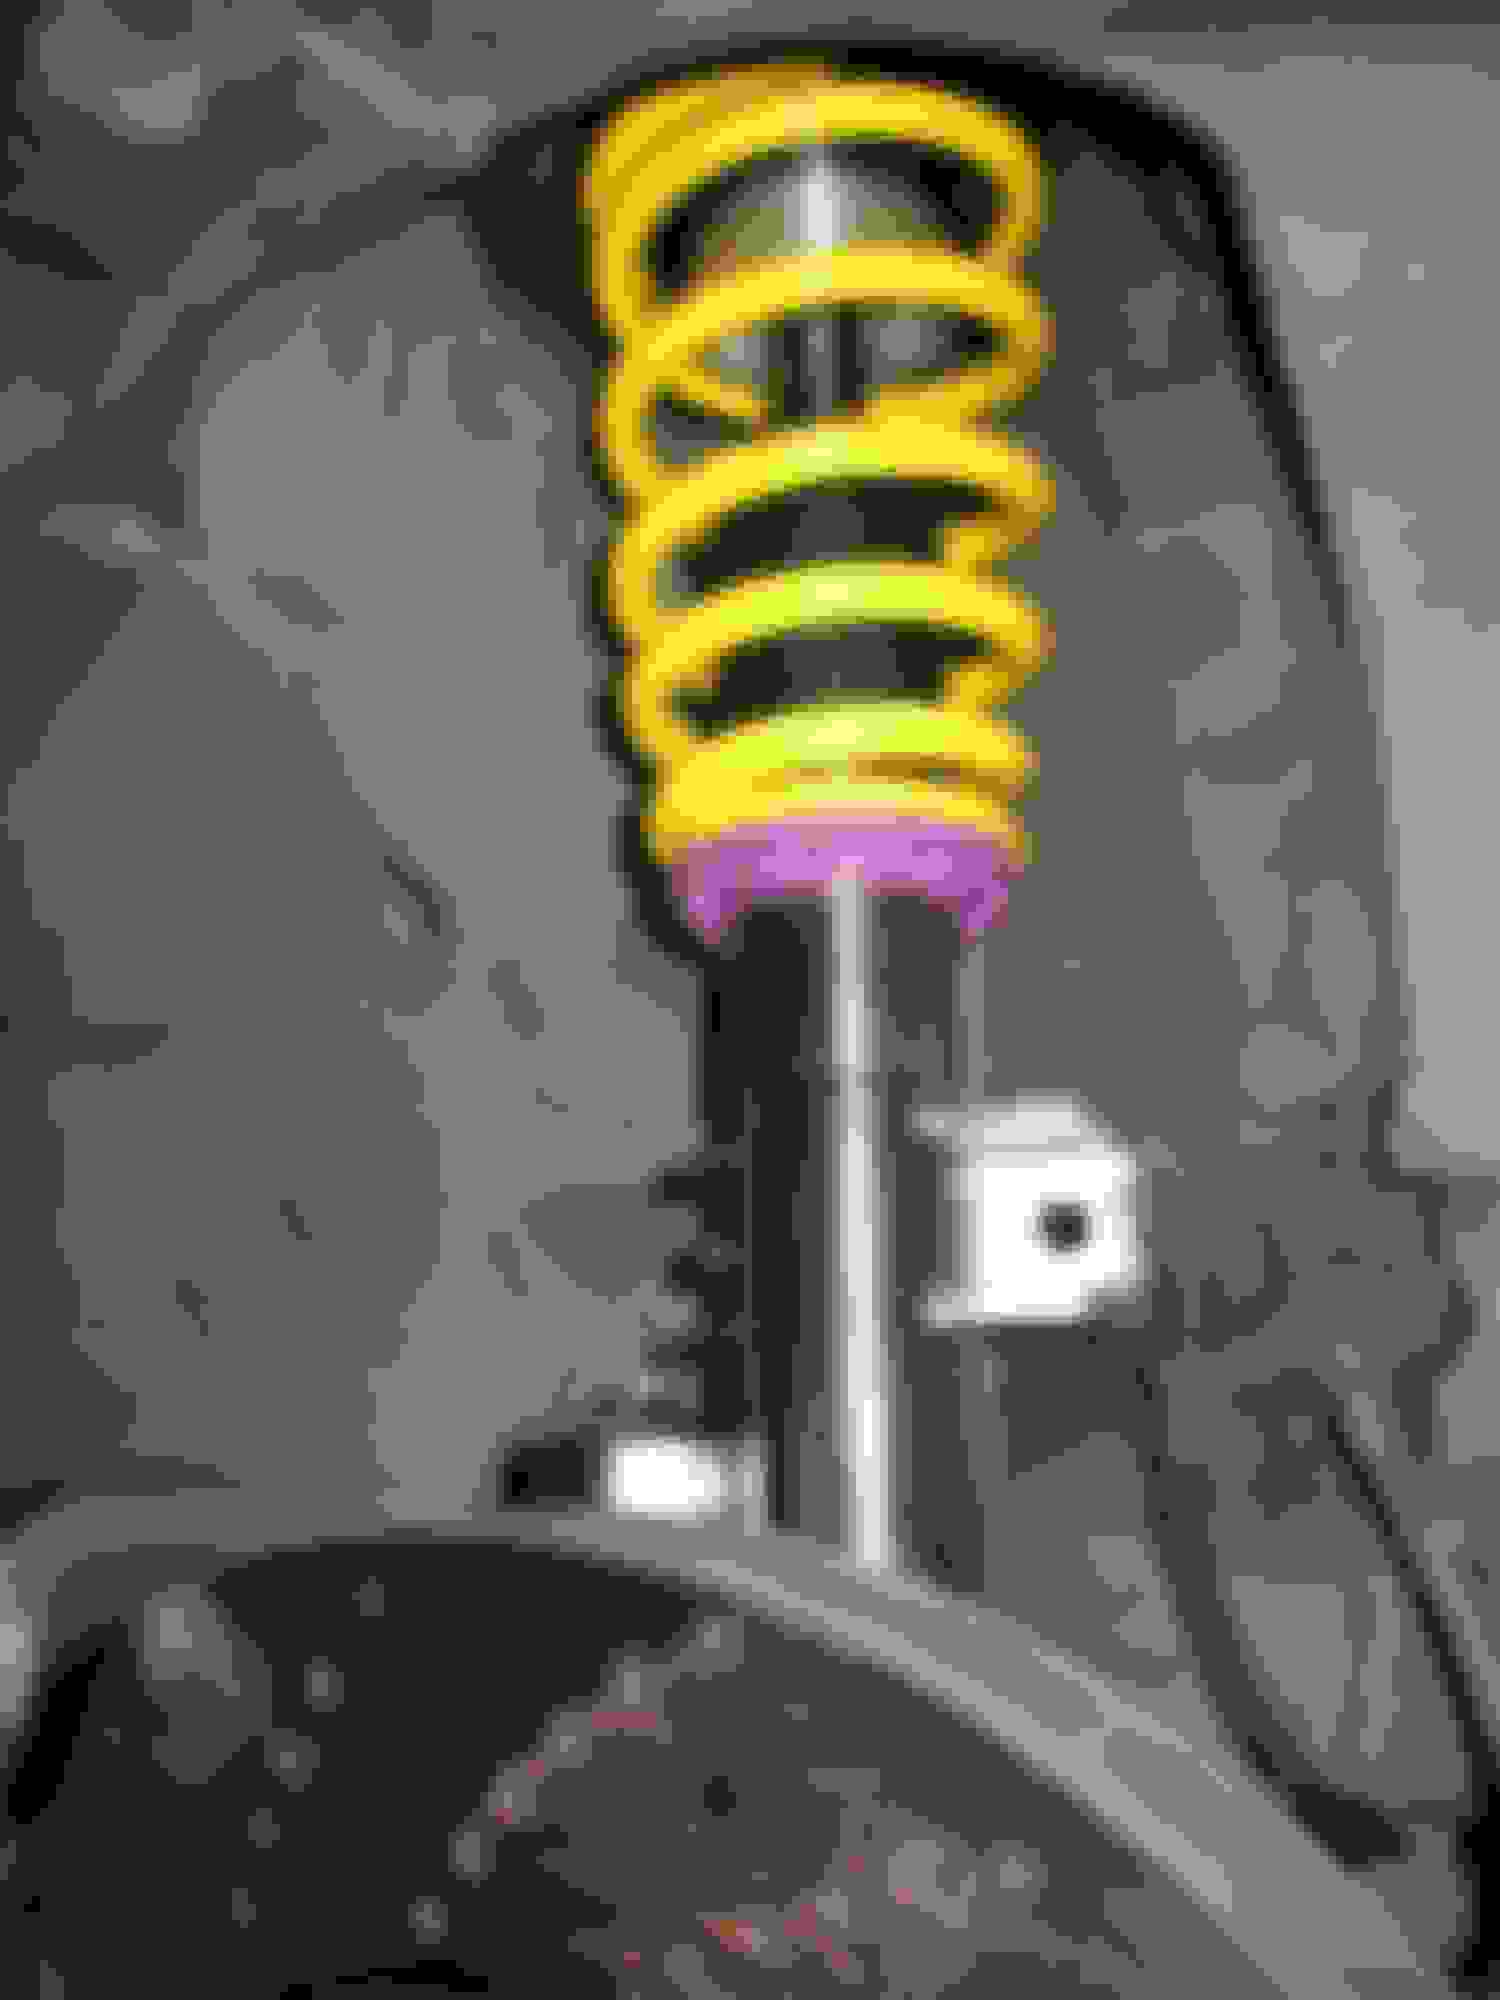
KW V3 rear spring height adjuster. Fits on top of the spring.
2012 P31 C63 Coupe Trackrat, 2019 GLE63S Coupe Beast
Oooooh nice. I just installed the front adjustable camber plates also. How are you going to adjust the camber at home without an alignment? I would think that the adjustment would need to be verified along the way as you move the strut along the slot? I'm at 2.3deg in front which feels great on the street, but might want more for track duty.
2012 C63;1971 280SE 3.5(Sold);2023 EQS 450 SUV 4 Matic (Wife's)
Originally Posted by BLKROKT
Oooooh nice. I just installed the front adjustable camber plates also. How are you going to adjust the camber at home without an alignment? I would think that the adjustment would need to be verified along the way as you move the strut along the slot? I'm at 2.3deg in front which feels great on the street, but might want more for track duty.
I will do the alignment and verify the setting at home myself. I have a Mitchell Engineering camber gauge I bough back in the late 70's when I was racing a formula ford. I can measure camber and caster using the camber gauge and will build a string box to measure toe. It is slow and awkward but it works and lets me be totally involved in and control the alignment process .
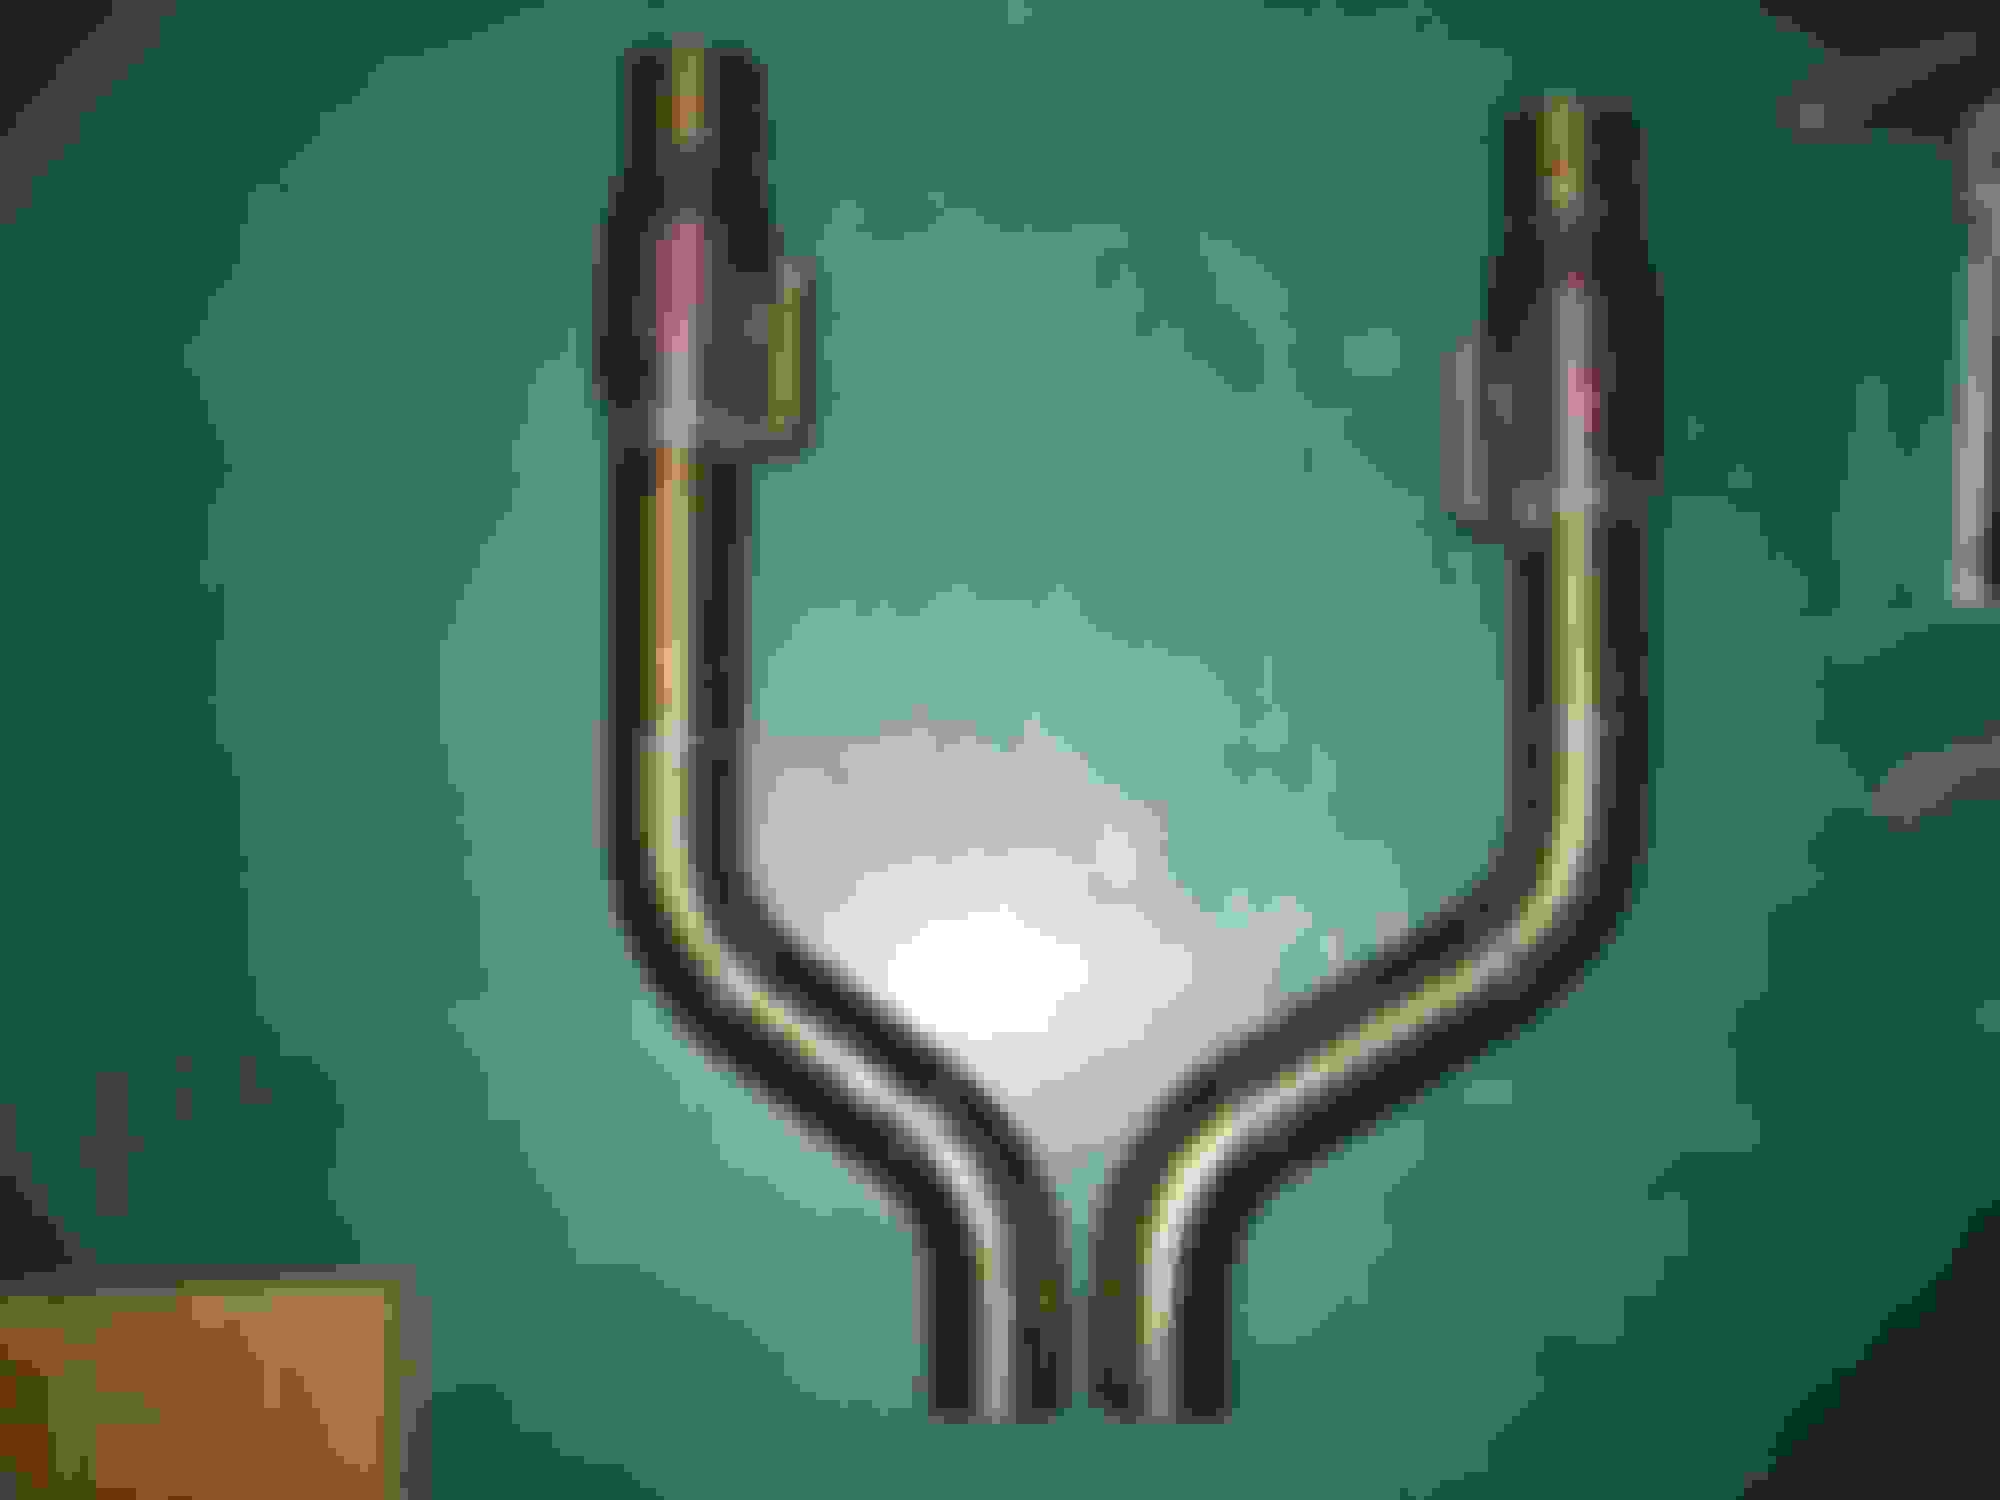
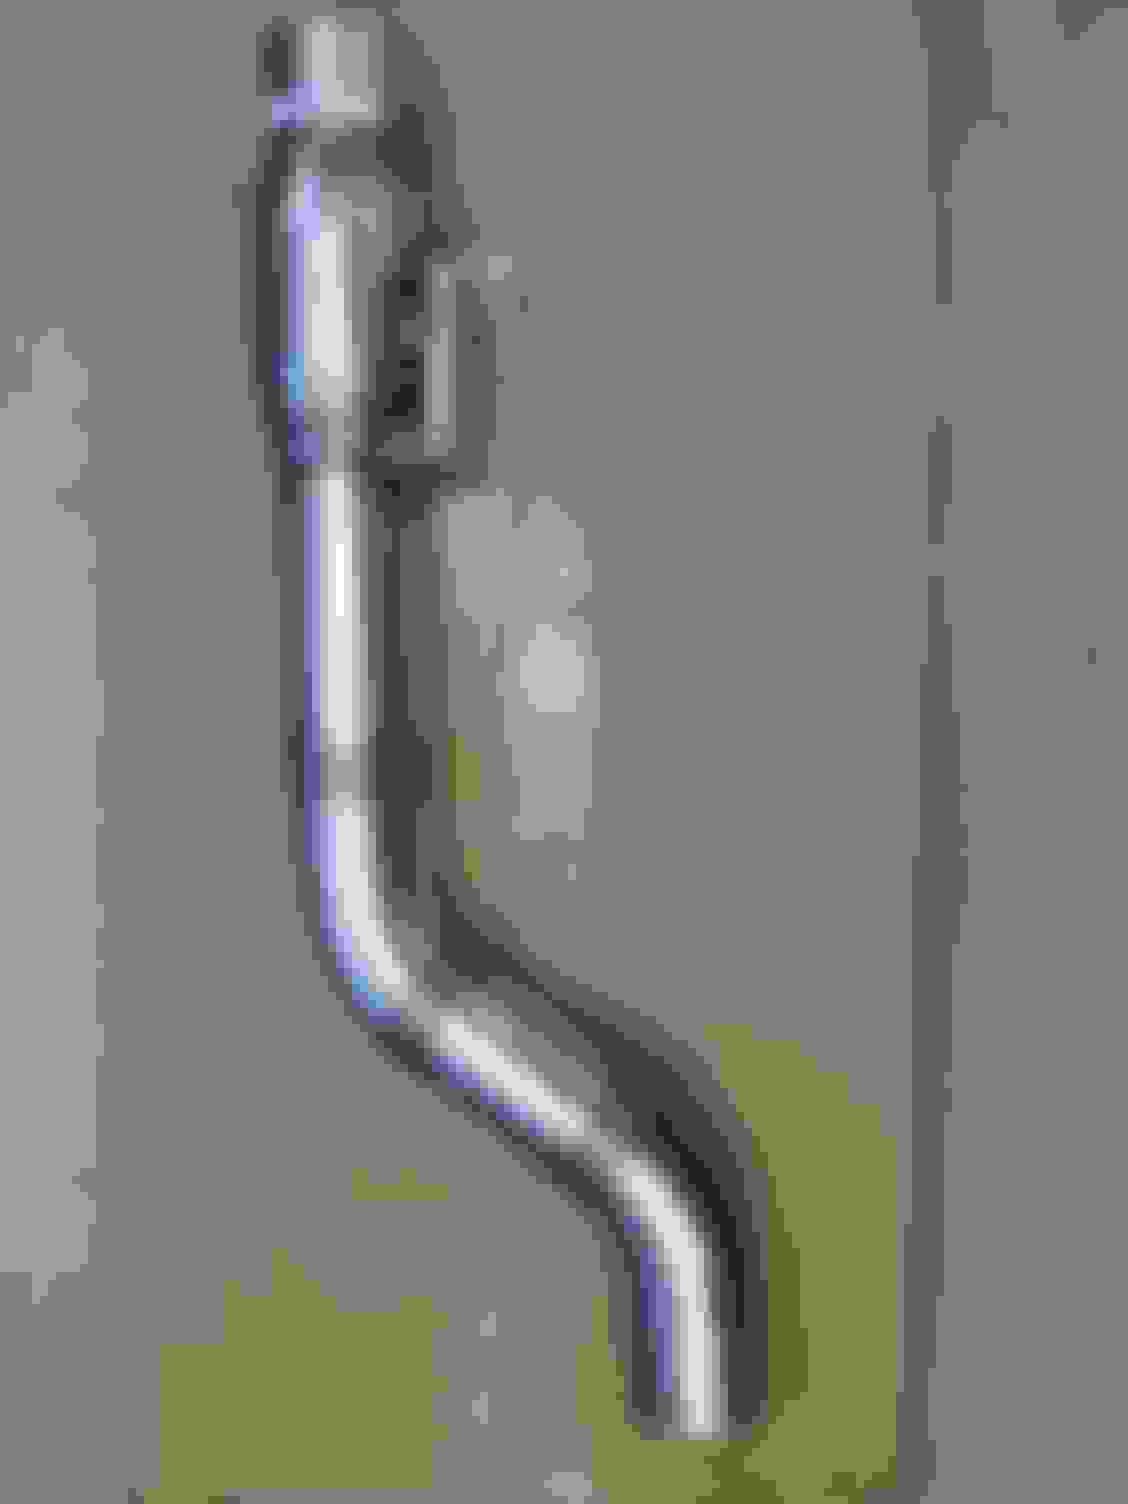
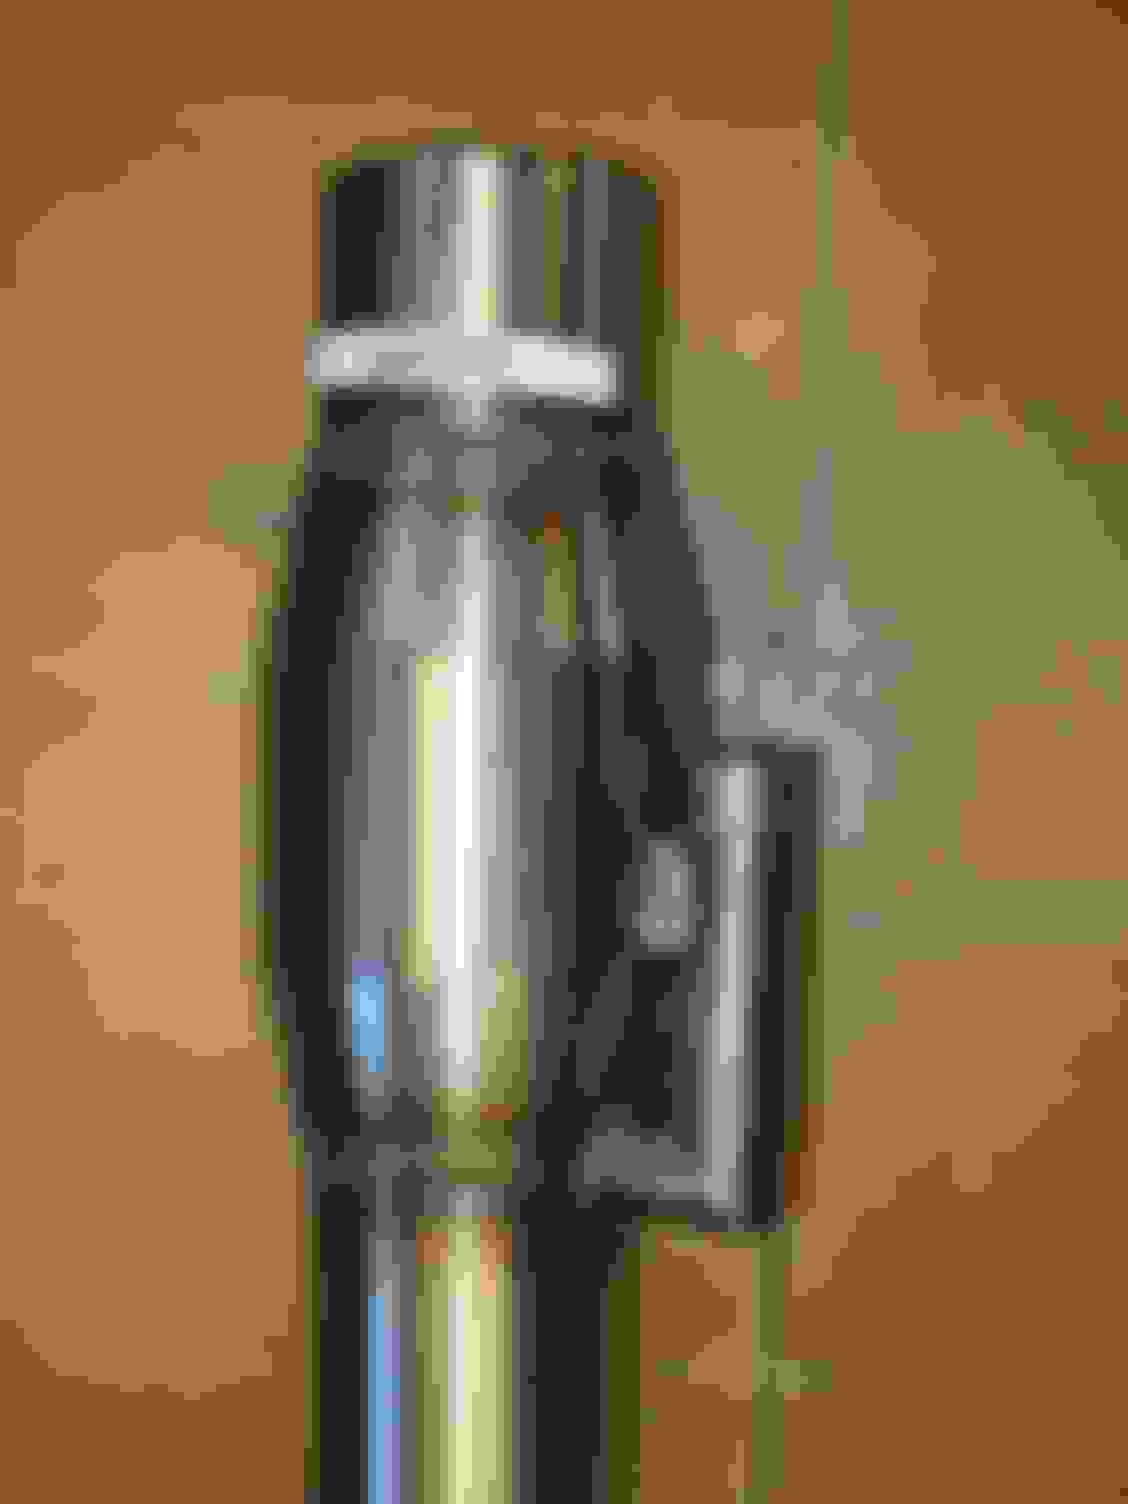
Pics of the gauge.
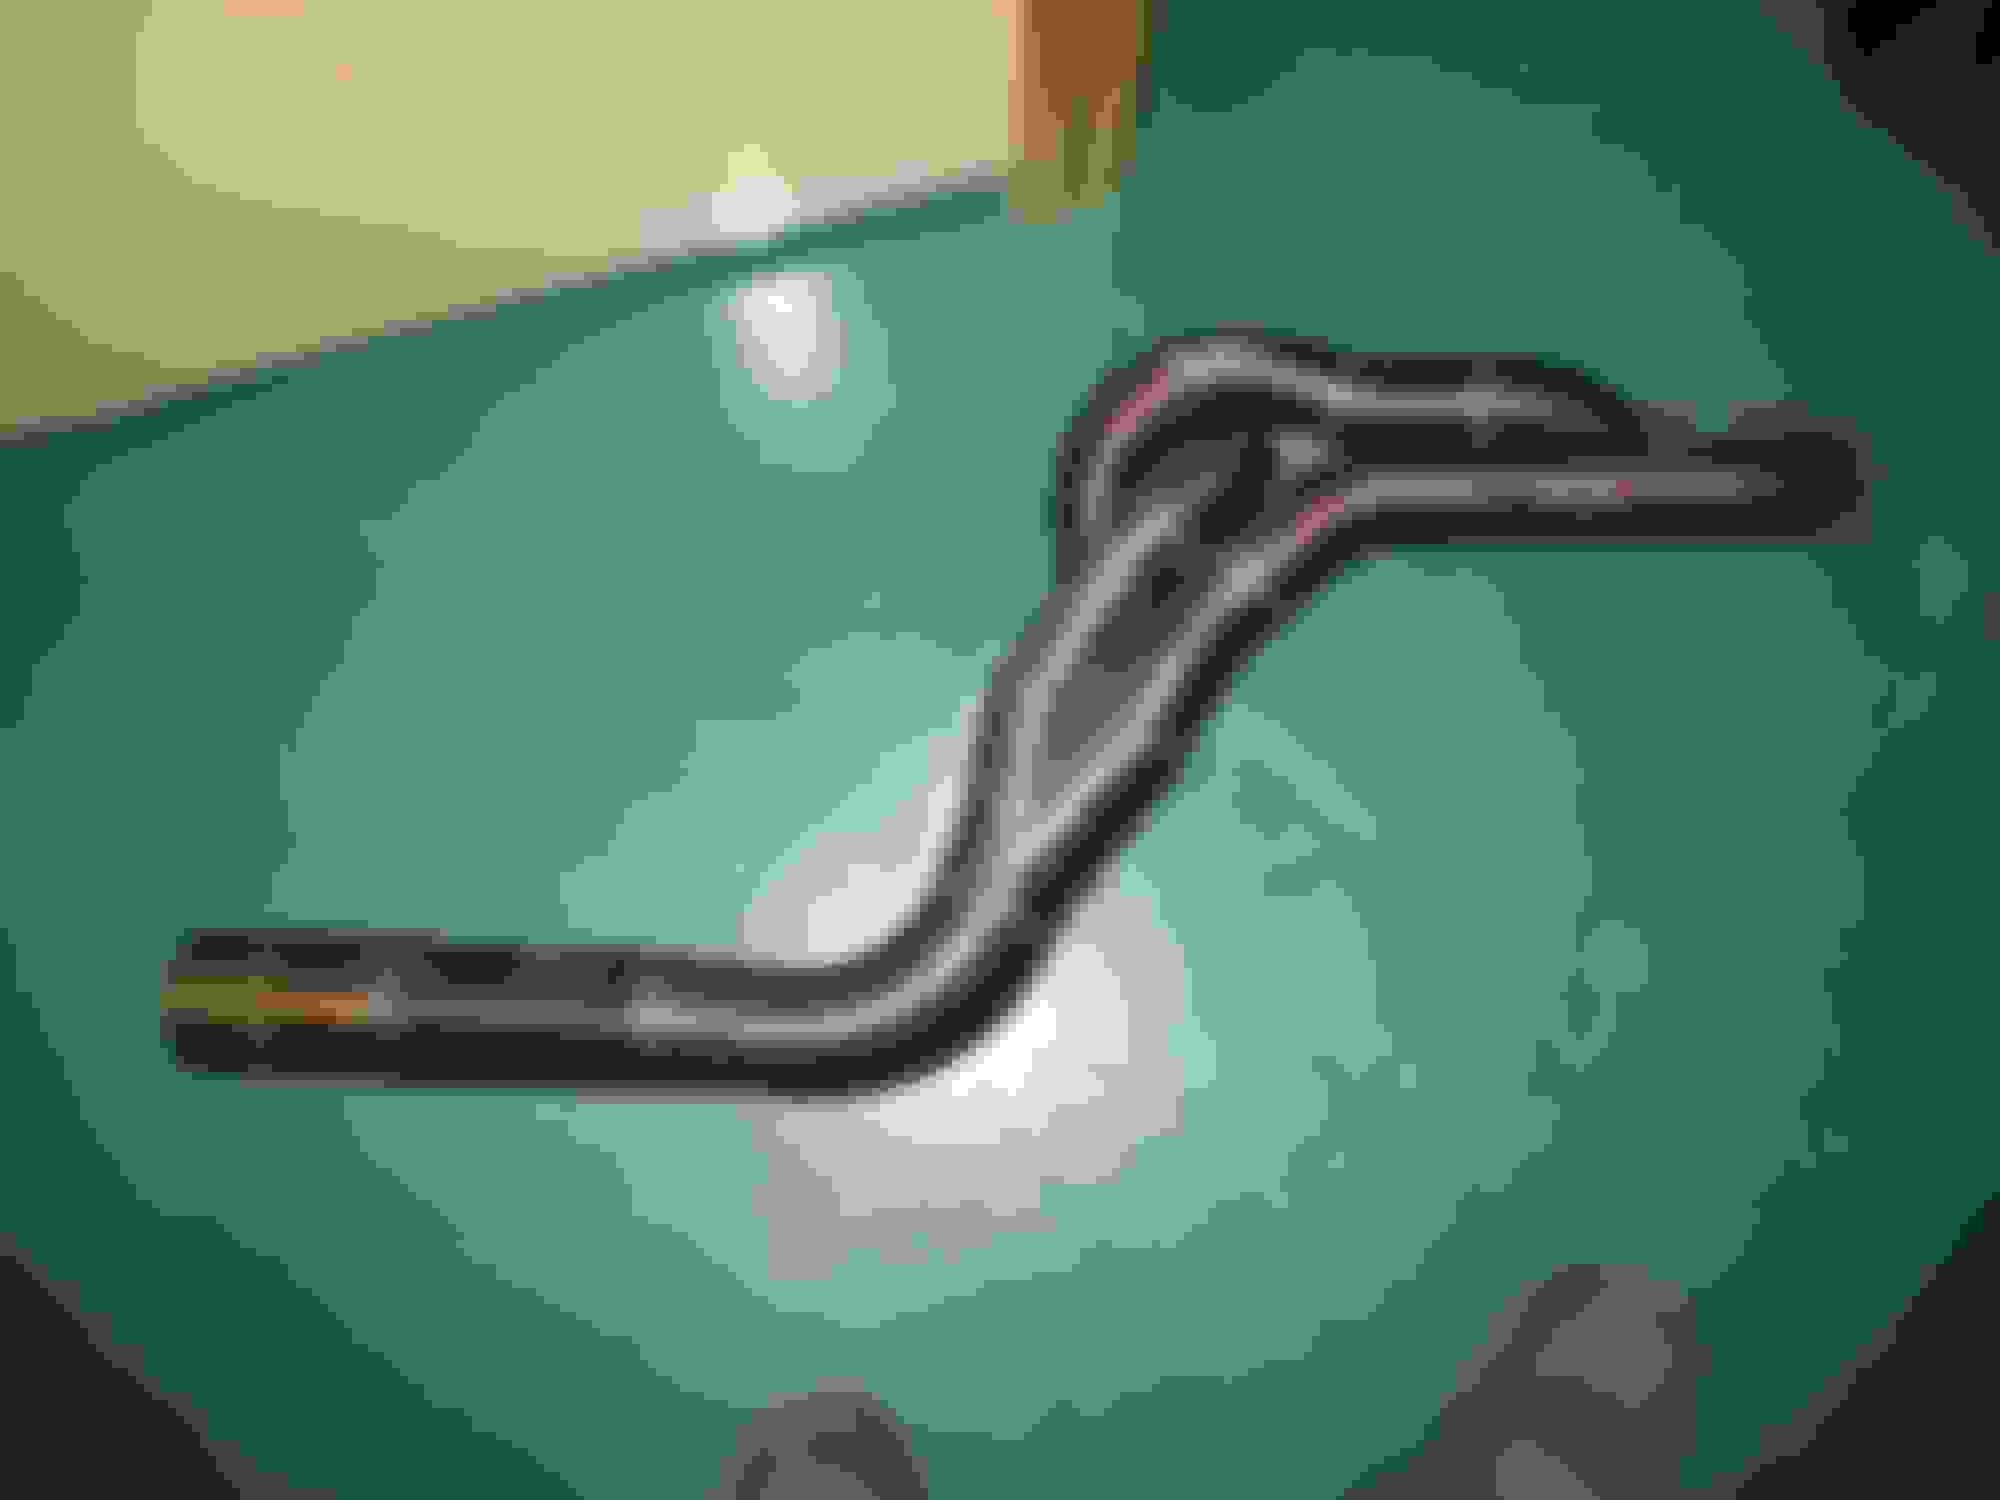
Wayne Mitchell Engineering camber gauge. This is modified for a formula ford size wheel. I use a piece of angle iron to size it for whatever size wheel I am working on.
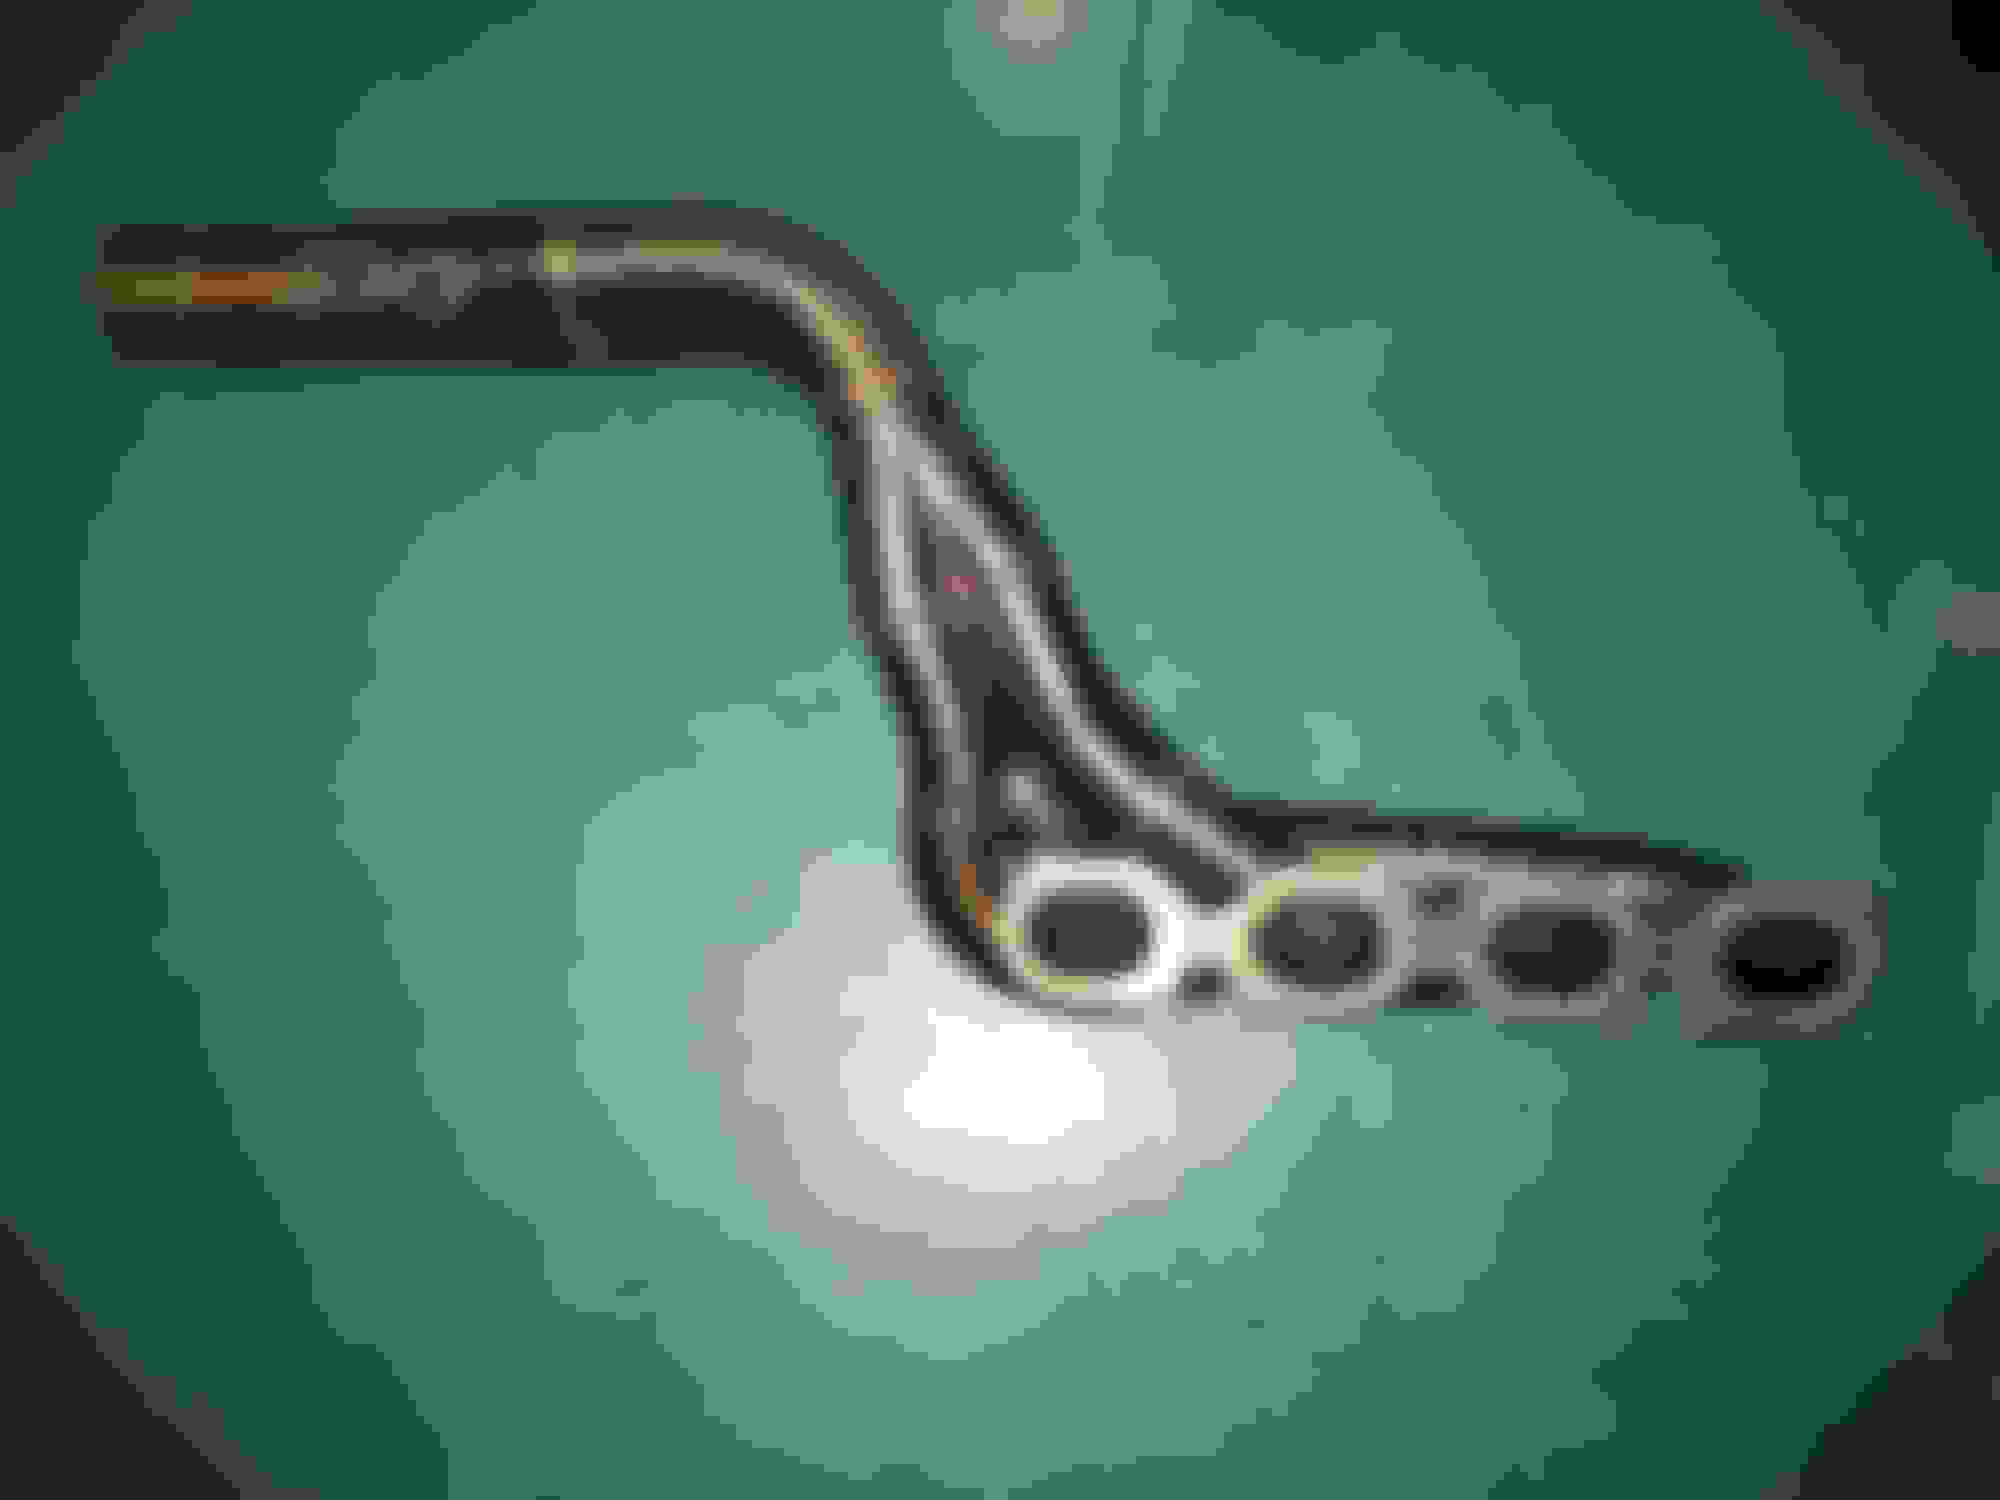
Place it against the wheel lip in this orientation to check camber angles.
2012 C63;1971 280SE 3.5(Sold);2023 EQS 450 SUV 4 Matic (Wife's)
Originally Posted by BLKROKT
Nice! I'll have to pick up one of those, thanks.
Welcome! The Wayne Mitchell Engineering gauge is out of production and a bubble level style. Here are a couple of links for digital camber gauges and string alignment gear that I looked at. Not necessarily recommending these but more of an example. I did like the look of the Smart Strings setup.
When doing caster and if you don't have turning plates you can put several layers of plastic under the front tires and they will turn quite easily with little drag. I saw one video where the guy put the front of his corvette up on jack stands so he could get under it to adjust the toe without too much trouble. He used smart strings and grocery bags under his tires. A little bit back yard stuff but looked like it got the job done.
Nice! How's the ride with the V3's and camber plates? I've have V1's, and V2's and was so utterly dissapointed with them so am curious to see what your thoughts are with the V3's since they have a remote reservoir.
2012 C63;1971 280SE 3.5(Sold);2023 EQS 450 SUV 4 Matic (Wife's)
Originally Posted by AMG3.2
Nice! How's the ride with the V3's and camber plates? I've have V1's, and V2's and was so utterly dissapointed with them so am curious to see what your thoughts are with the V3's since they have a remote reservoir.
I like the V3 as compared to OEM or H&R springs. The only thing I notice is they are a bit bouncy and hoping that is just a rebound setting adjustment. I just installed the camber plates so no comment on them yet. They are super easy to adjust.
I like the V3 as compared to OEM or H&R springs. The only thing I notice is they are a bit bouncy and hoping that is just a rebound setting adjustment. I just installed the camber plates so no comment on them yet. They are super easy to adjust.
Your new pics look great.
Bouncy should be able to be adjusted via rebound unless your already maxed out on that setting.
I never actually found the KW's to be bouncy, but just unnecessarily harsh on smaller impacts like cracks in the road, lane markers, etc.
Any thoughts or comments on that? Has it been pretty much the same as with your H&R's?
2012 C63;1971 280SE 3.5(Sold);2023 EQS 450 SUV 4 Matic (Wife's)
Originally Posted by AMG3.2
Bouncy should be able to be adjusted via rebound unless your already maxed out on that setting.
I never actually found the KW's to be bouncy, but just unnecessarily harsh on smaller impacts like cracks in the road, lane markers, etc.
Any thoughts or comments on that? Has it been pretty much the same as with your H&R's?
But thanks!
The car has been sitting since November 1, but if I remember correctly, I don't think the KW V3 are any harsher than stock or H&R and maybe less. I have them at a middle setting I got from RSquad at Bump 5 clicks from full hard and Rebound 6 clicks from full hard. Going to try rebound at 5 clicks and see how it feels.
2 years ago I actually set my V3 to 4 clicks from hard bump and 5 clicks from hard rebound. I liked it better than RSsquad settings because as you mentioned it was a bit too bouncy and bumpy surfaces.
2012 C63;1971 280SE 3.5(Sold);2023 EQS 450 SUV 4 Matic (Wife's)
Originally Posted by abcut973
2 years ago I actually set my V3 to 4 clicks from hard bump and 5 clicks from hard rebound. I liked it better than RSsquad settings because as you mentioned it was a bit too bouncy and bumpy surfaces.
2012 C63;1971 280SE 3.5(Sold);2023 EQS 450 SUV 4 Matic (Wife's)
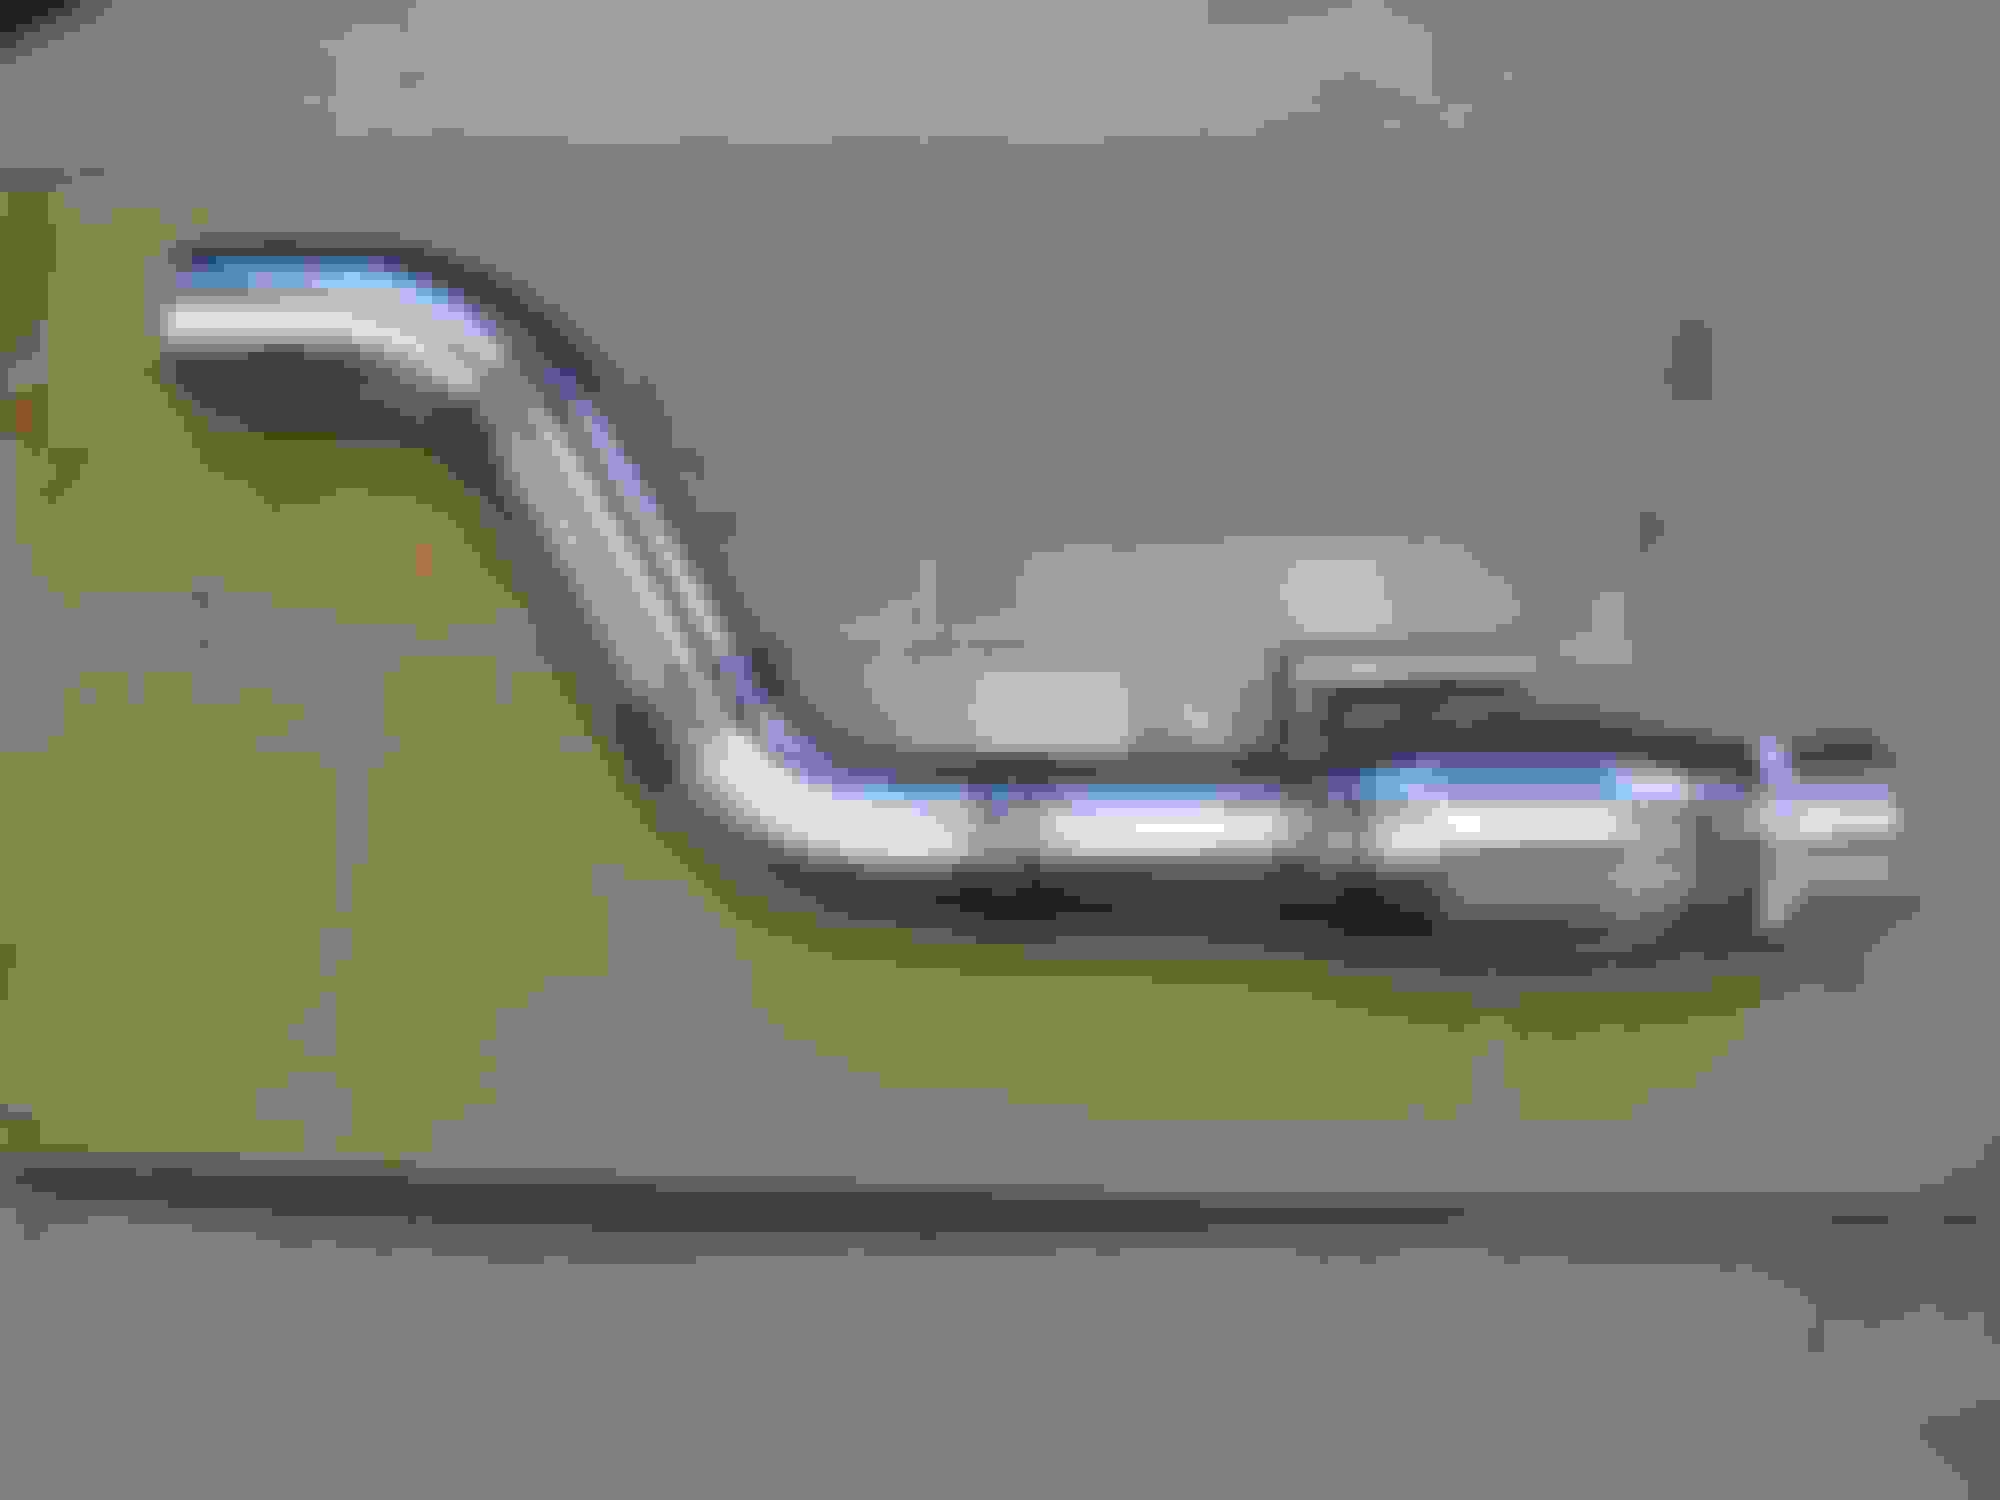
Mod 14 - MBH LTHs and EC V5 Tune
I finally got my MBH LTHs with catted mids and X-Pipe installed along with Eurocharged V5 tune. I had both these installed on my 2010 so this is just a carry over from that car although I did have to get my tune updated to the new VIN. This combination is insane and the car just talks to you all the time, accelerating or decelerating doesn't matter. I love this combination with the exception I think it can draw a little bit of attention when you might not want it...lol
The MBH headers are really well made and it is a privilege to own such great workmanship. The EC tune is also a pleasure to own and there are a lot of members who will attest to that. This is a great working pair of mods and they change everything.
Very nice.
I dit the install on my mbh headers w a friend.
It was no easy feat only accessing nuts from the underside of the car...
Im going to be installing my mids w x in the next couple of weeks. Did you use any silicon or exhaust gasket maker to help w sealing on the slip fits? I'm pretty sure my collector is leaking at the slip fit. I would like to address it once i install the mids w x.
Mercedes SLR McLaren 722 S Is Extremely Rare Example Modified by McLaren
Slideshow: A one-of-one U.S.-spec Mercedes-Benz SLR McLaren Roadster became even rarer after a factory-backed transformation at McLaren's headquarters.