When you click on links to various merchants on this site and make a purchase, this can result in this site earning a commission. Affiliate programs and affiliations include, but are not limited to, the eBay Partner Network.
Job took less than an hour. Very straightforward. Put the car in park on level ground and secure the emergency brake before jacking up the front end.
Tools you'll need. Also an 8mm for the plastic underbody covers.
Part number.
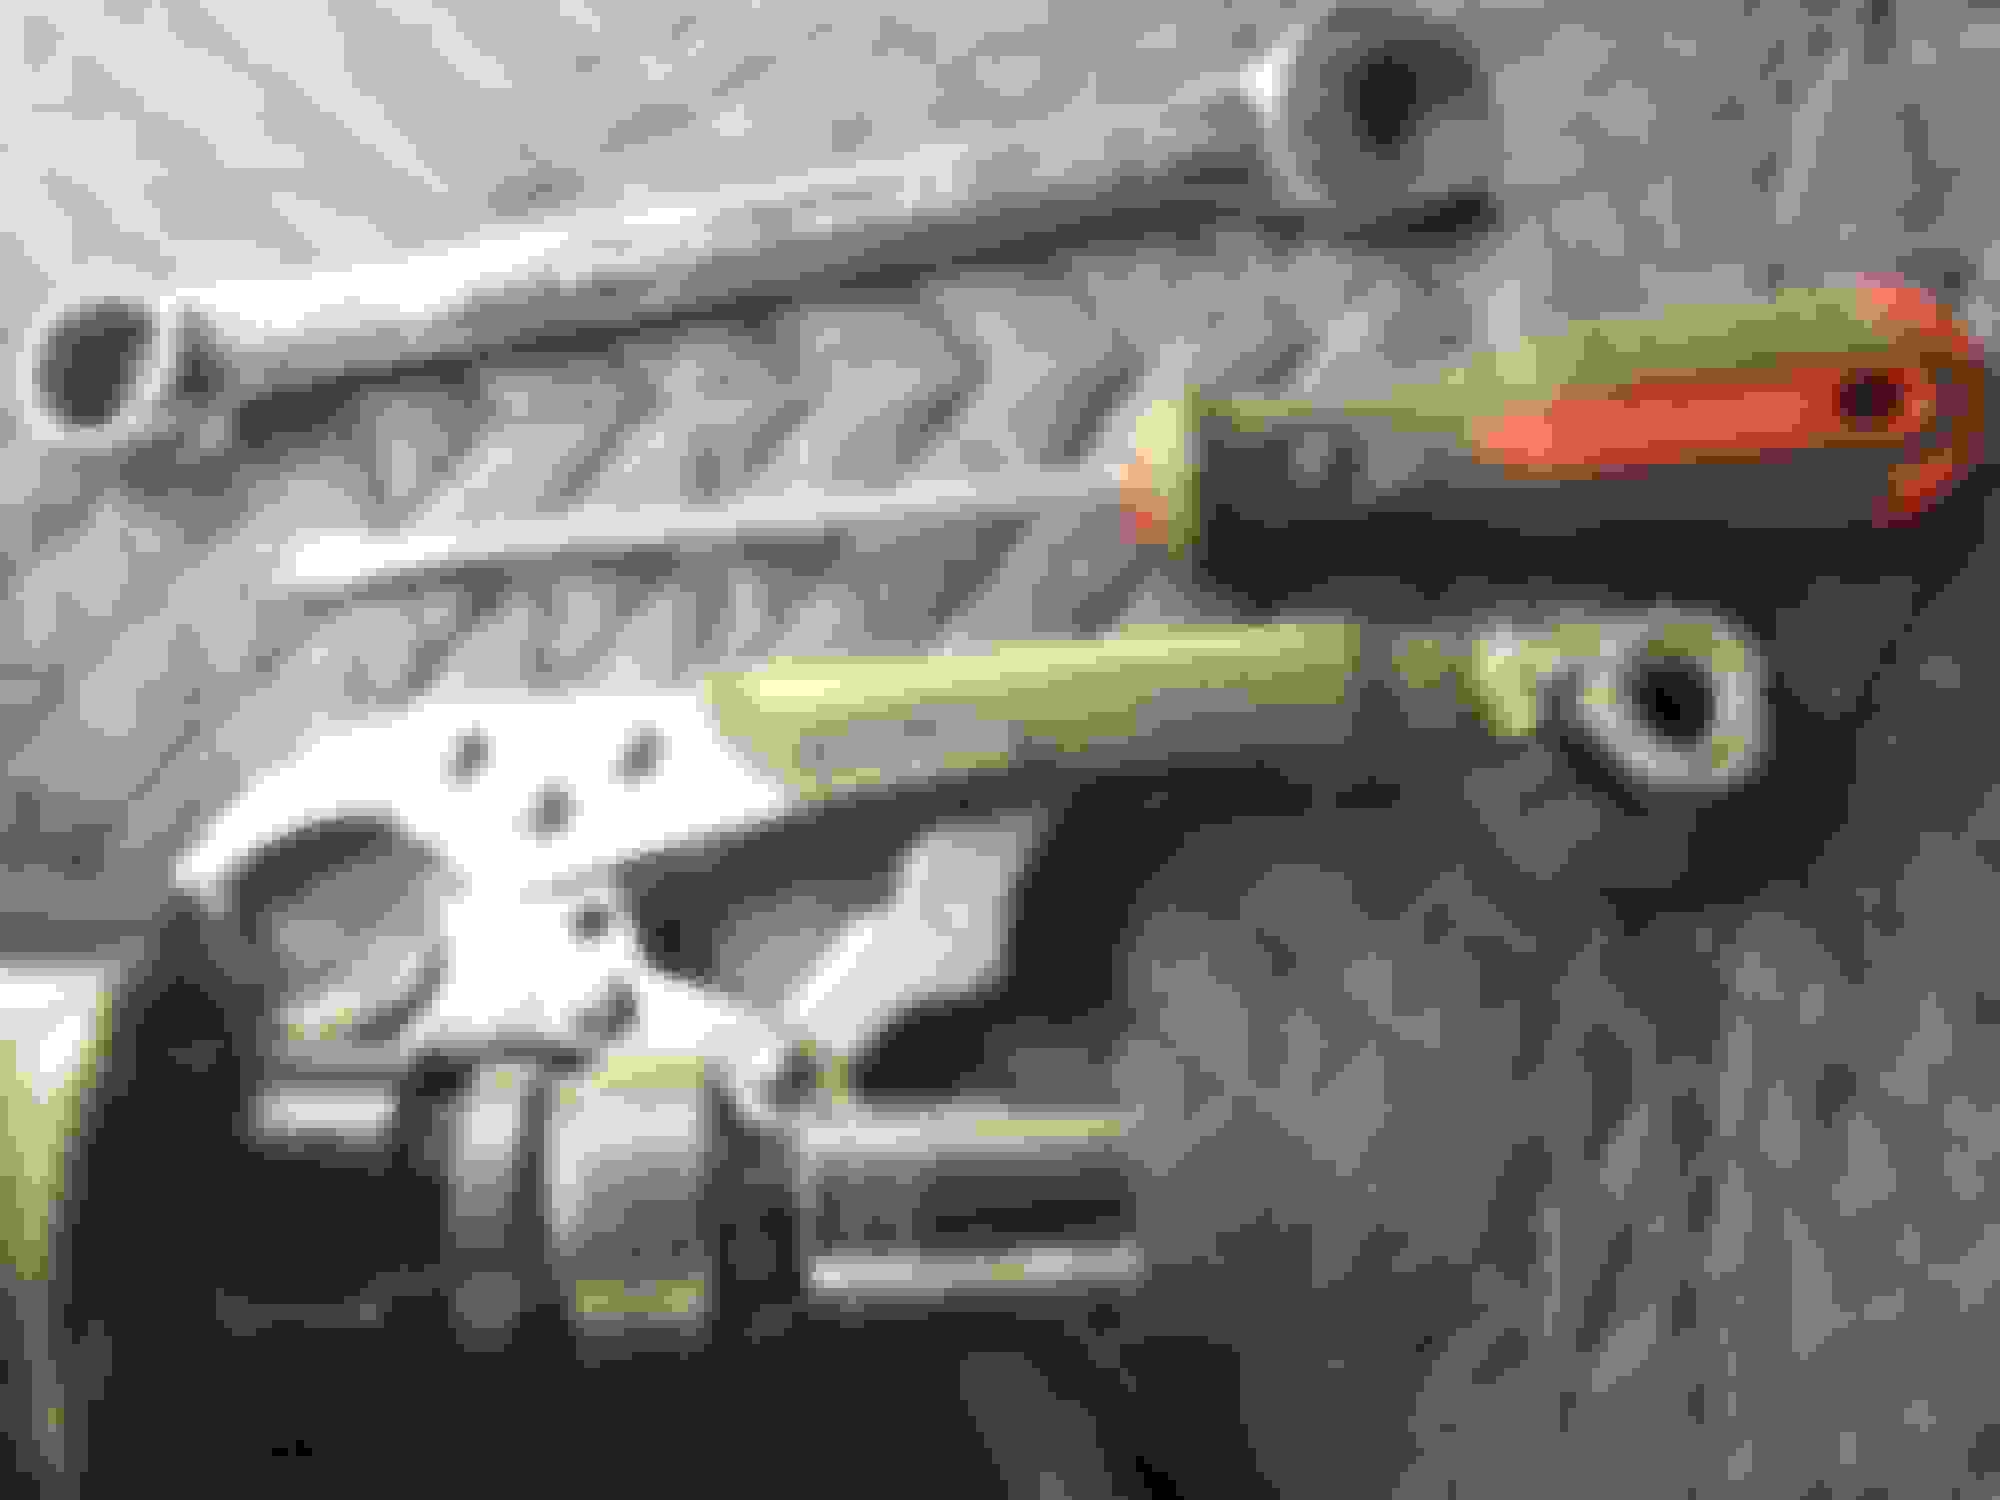
Here's the 4 bolts that come out. Note you'll need an 18mm wrench to hold the nut ontop of the steering linkage assembly to use the gun to secure them. Don't forget to use loctite.
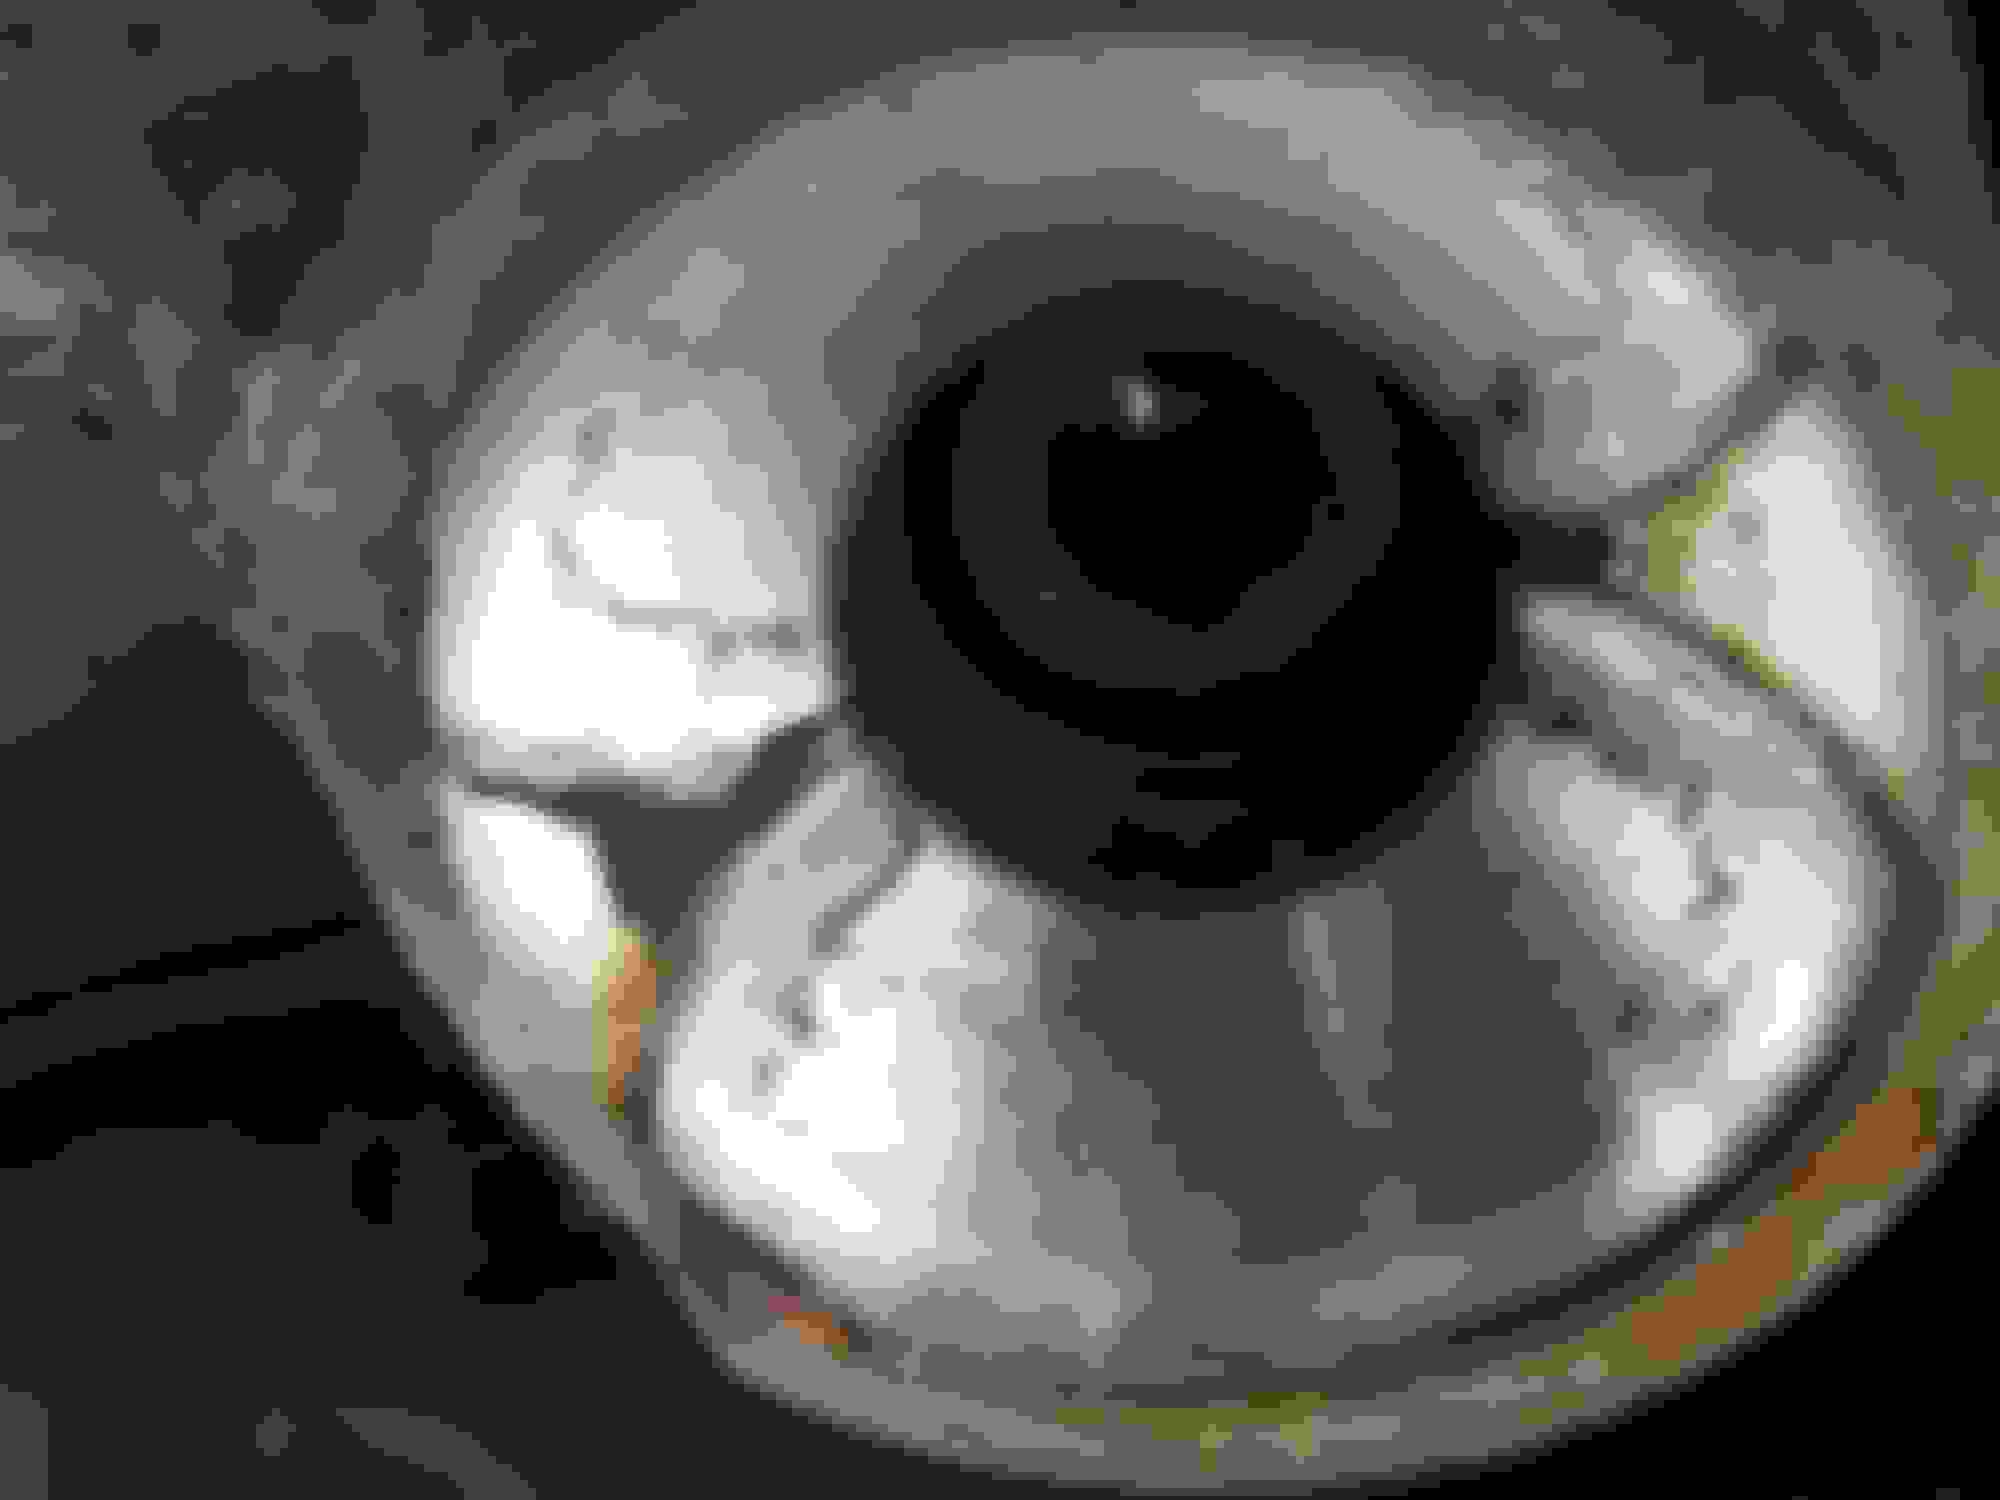
Here's the bushing once the bolt has been removed.
Here's one of the upper bushings. You'll have about 3 inches of clearance to pull them out.
After the bushings are removed wipe down the metal where they seat before putting the new bushings in.
I used vise grips to pull them out it worked like a charm. There is a rubber piece jutting out of the bushing line it up with the groove in the steering rack and press it into place snugly before putting the bolt back in and tightening it down.
All done also sprayed the sway bar bushings with hhk 2000 grease worked great no more annoying suspension noises!
The old bushings were dried out. Had a slight noise when turning the vehicle. Checked power steering fluid which was fine so I replaced the bushings. Everything is normal now no noises.
I just replaced my Steering Rack Bushings a couple days ago. I already had my car level on jack stands due to having jut done a rear main seal and everything in between including rebuilding the whole rear subframe, arms, new shocks, air springs, hubs, flanges etc. It was level because it needs to be to refill the tranny with oil and knowing that I was going to do the bushings up front, I made sure to support the tires underneath with ramps such that the angle in the tie rod were not as pronounced as they would be without any support.
For those of you wondering if the Steering rack will fall if the Plate below it is removed, worry not. I supported each tie rod by using rubber coated wire around the rack and tied to the swing arm above, but that was completely unnecessary. What I didn’t realize was that above the rack/bushing holes is the actual subframe into which the rack fits perfectly. Specifically, those bushing holes go through the subframe above such that you must pull/push the rack forward in order to clear the 2 inches required to remove the upper bushings. I started with the passenger side which was very easy, it pulled right out. My concern was whether or not I had the completely disconnect the PS lines and the disconnect the Steering wheel linkage! I’m happy to tell you that you Do Not!! I got underneath and simply pushed the rack forward and when doing so you can see the Steering Wheel Linkage rod on drivers side (obviously) connected to the rack. I was thinking that maybe I wouldn’t be able to get that drivers side upper bush out due to not being able to clear the subframe above it because this rod would not allow forward movement. But as I pushed the rack forwards, I saw that the linkage actually has a substantial amount of play. Not being sure how much there was because I imagine one part of the splined rod fitting within the other, similar to the drive shaft, but rest assured, you can push it only so far before the rack buts up against the sway bar. As such, the rod stays attached up to the steering wheel allowing removal of the upper bushing. Another way of removing the bushings are to use a punch or even a Phillips head screwdriver fitted up into the bush and moving the pinch around in circles easily frees up the rubber bush from its smooth seat. Once the lowers are out, tap out the upper bush from below by hitting its lower edges and it will pop right out. WIS calls for one to use a special grease, but spit works just as well! Note, each of the bushing have “ears” that are about 2mm that fit into cutout recesses in the rack itself. Make an effort to feel them with your fingers so you are aware of just how to position each bushing. WIS also called for you to use a bolt and wing nut to squeeze the together before you mount the rack, but strong fingers does the trick plus the 70nm + 90* per bolt surely seats them as well!
Mercedes SLR McLaren 722 S Is Extremely Rare Example Modified by McLaren
Slideshow: A one-of-one U.S.-spec Mercedes-Benz SLR McLaren Roadster became even rarer after a factory-backed transformation at McLaren's headquarters.