When you click on links to various merchants on this site and make a purchase, this can result in this site earning a commission. Affiliate programs and affiliations include, but are not limited to, the eBay Partner Network.
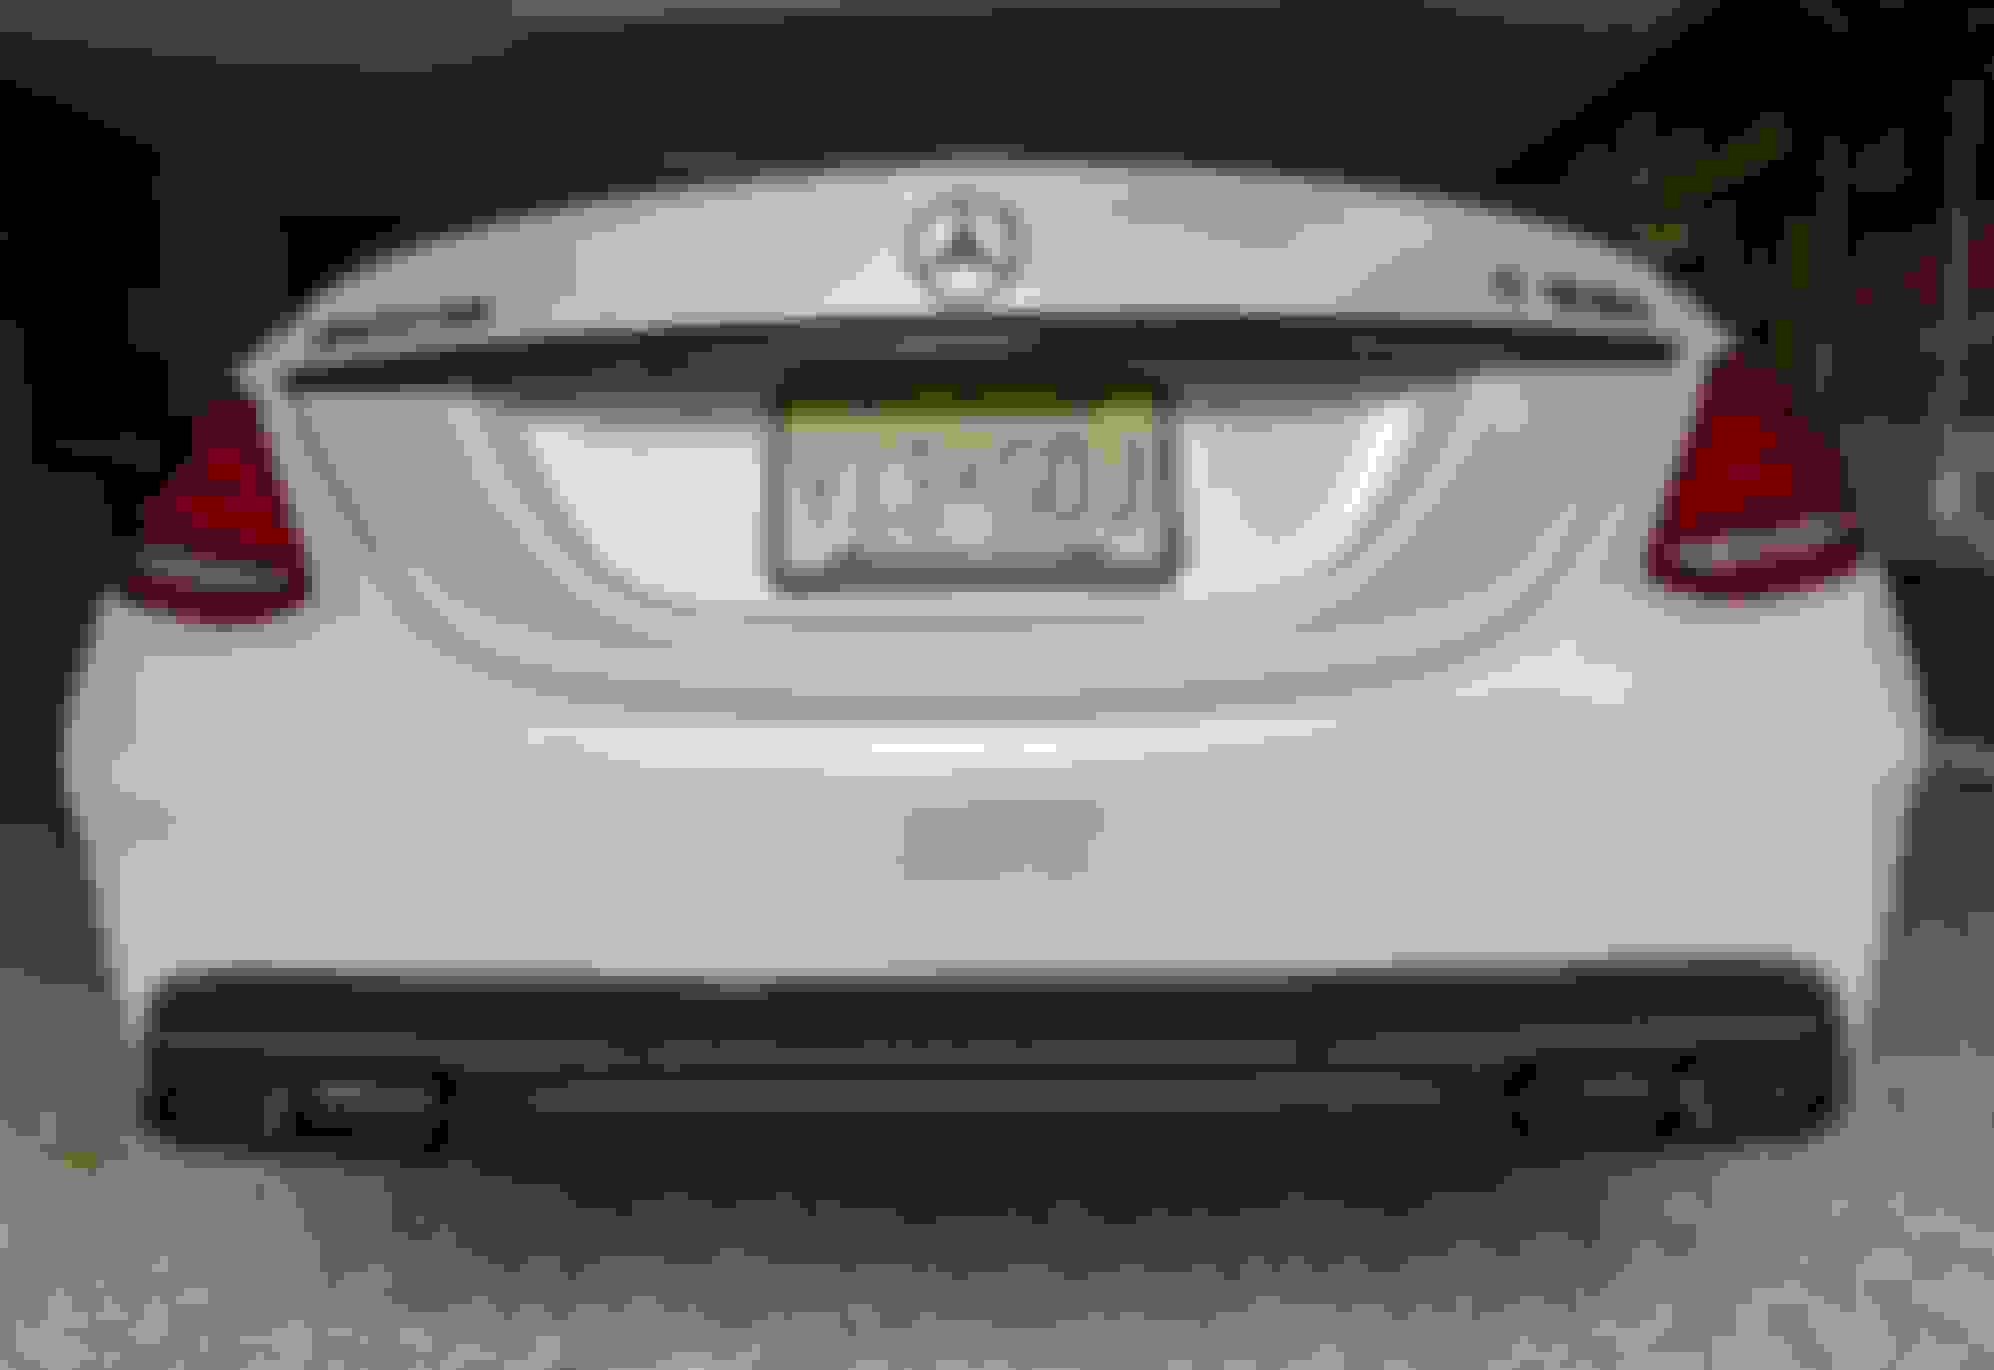
I wanted to get something nice for my car for the holidays and to hold me over till spring time. So I ordered a set of the AWE exhaust tips in black finish to complete my chrome delete on the car. I got the call that they arrived at Autocouture on thursday so I picked up the next day.
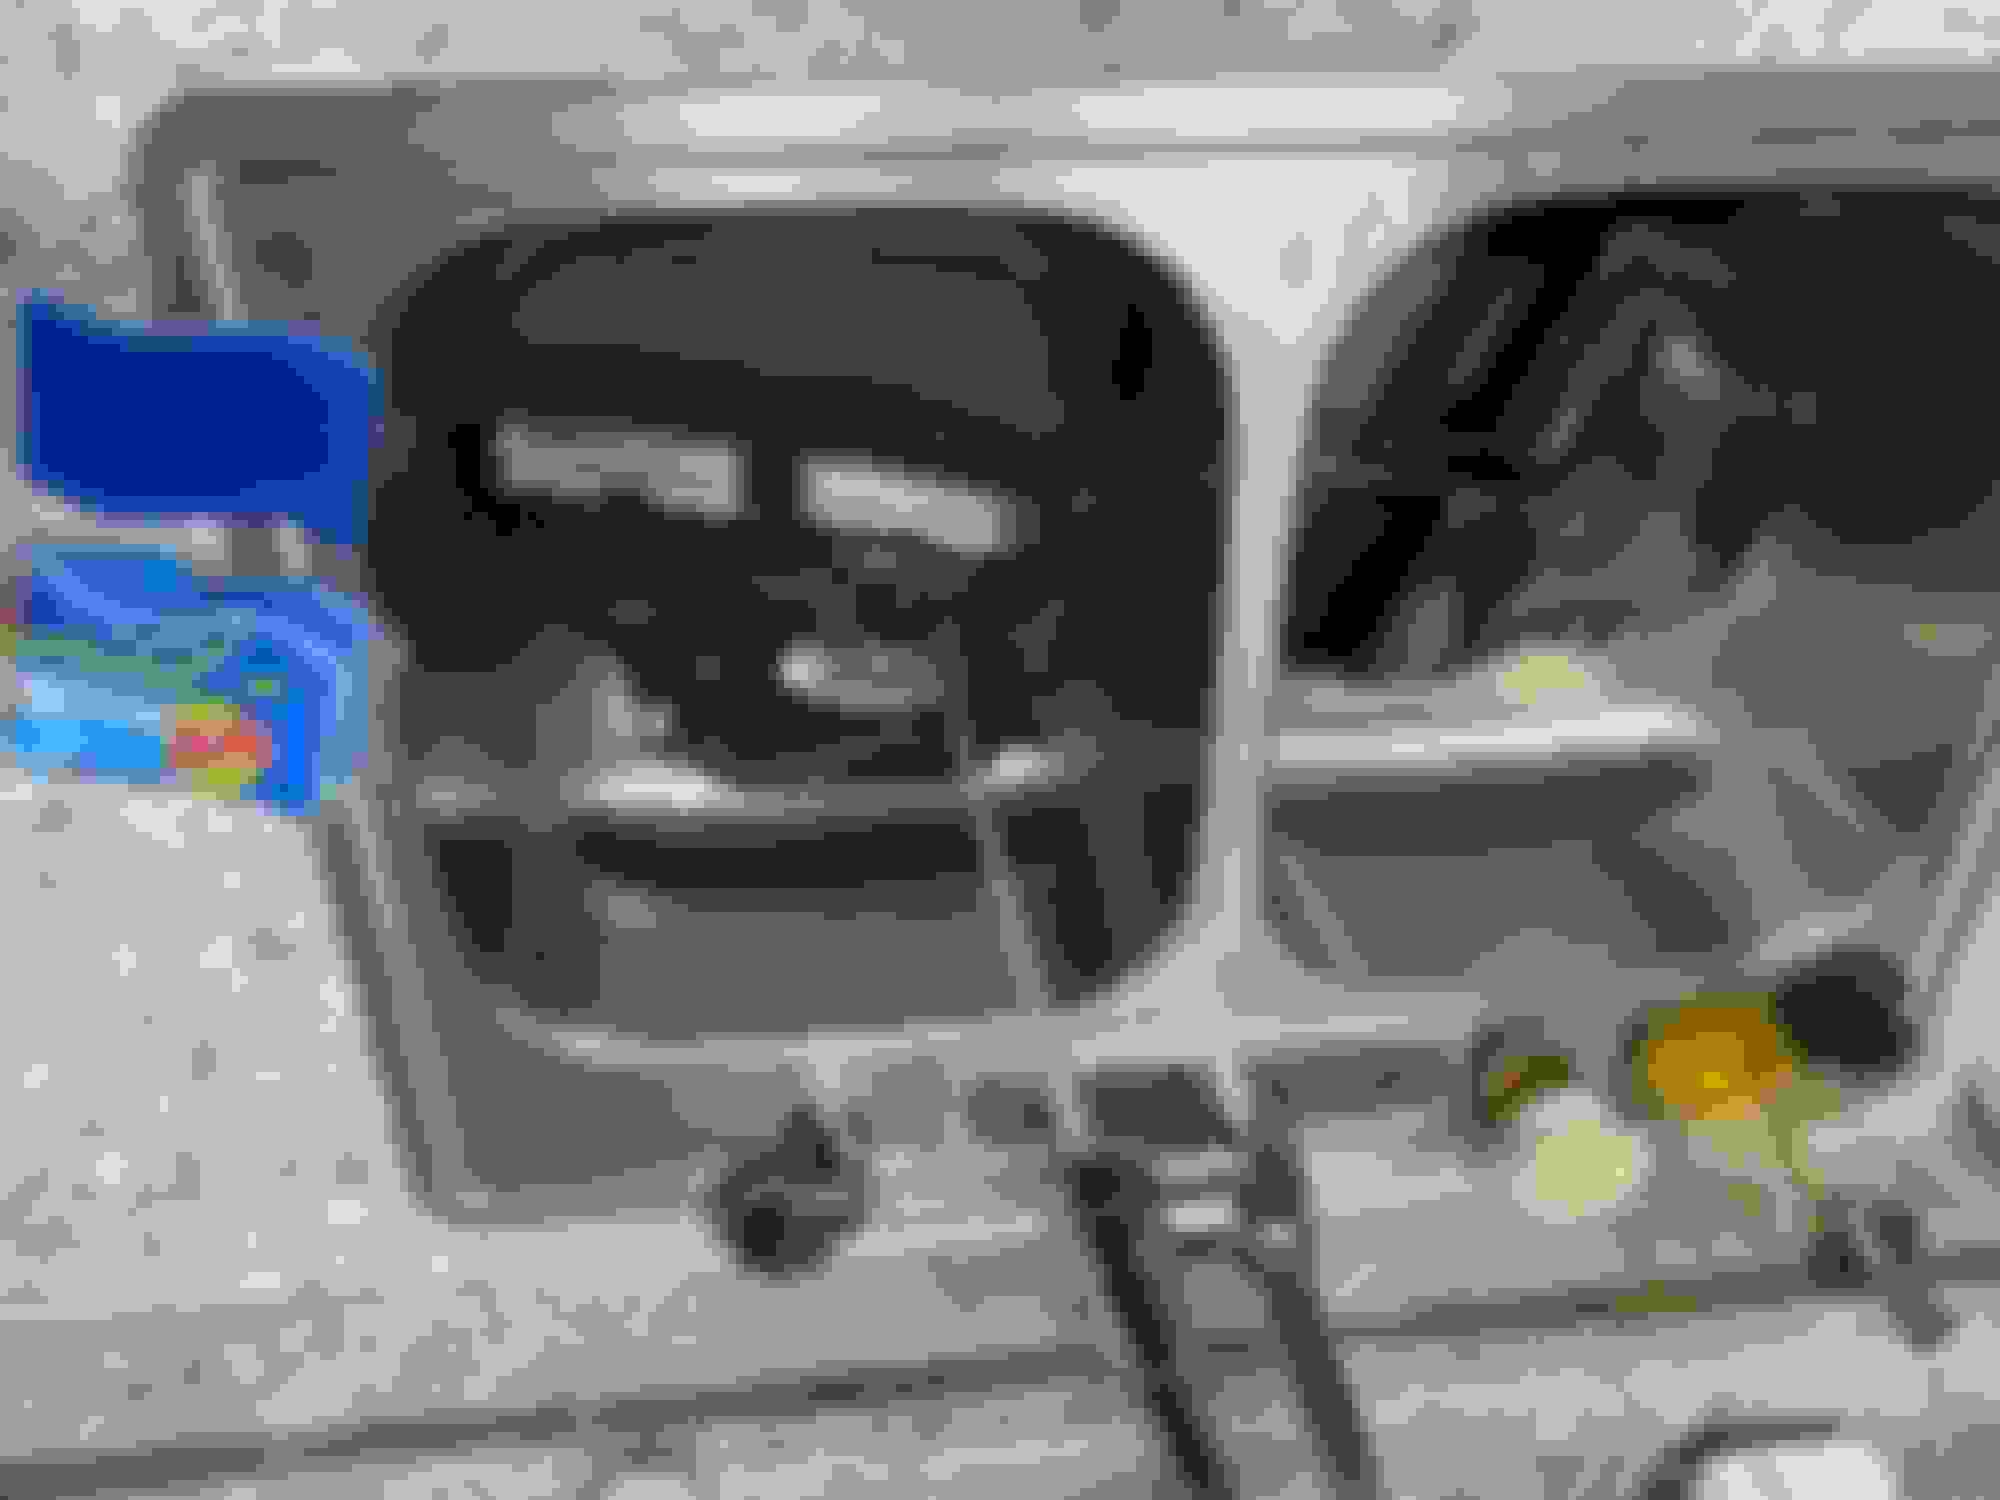
Install is extremely easy.
I did this in my garage with no lift or anything. All you need is a ratchet with a Torx bit to remove the 4 screws. Once those are removed you can come out under the car and start the removal. Since I had my silver molding strip that goes right below the exhaust painted I popped that out just so it didn't scratch. That can be done easily as well by just starting on the side of the car and pulling it out. Once all compete it pops right back in.
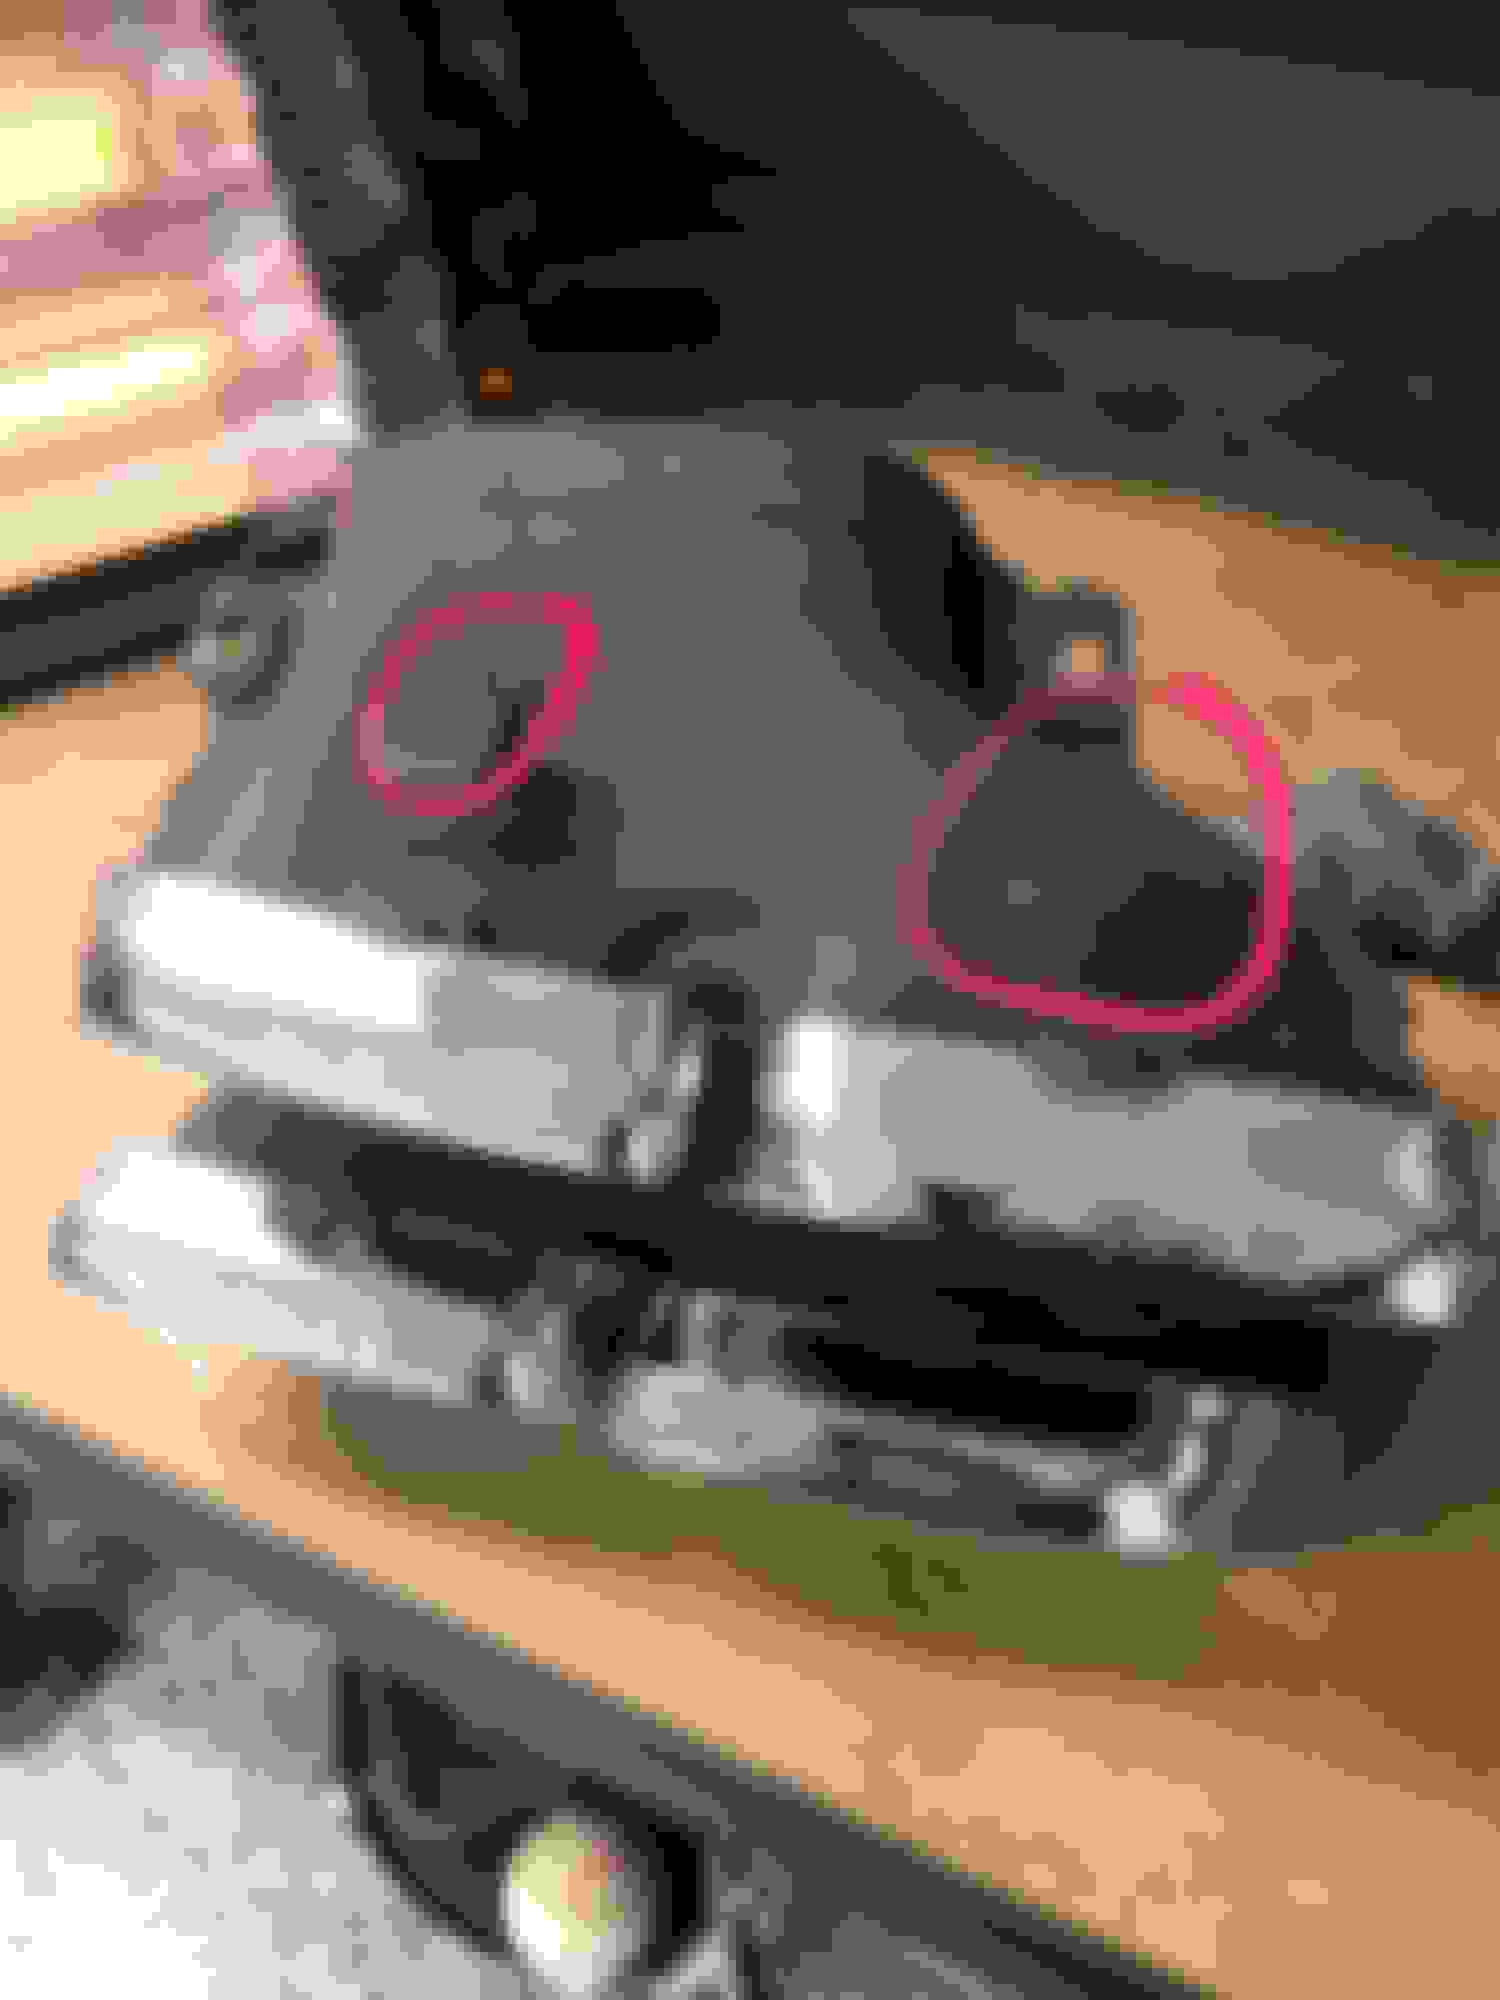
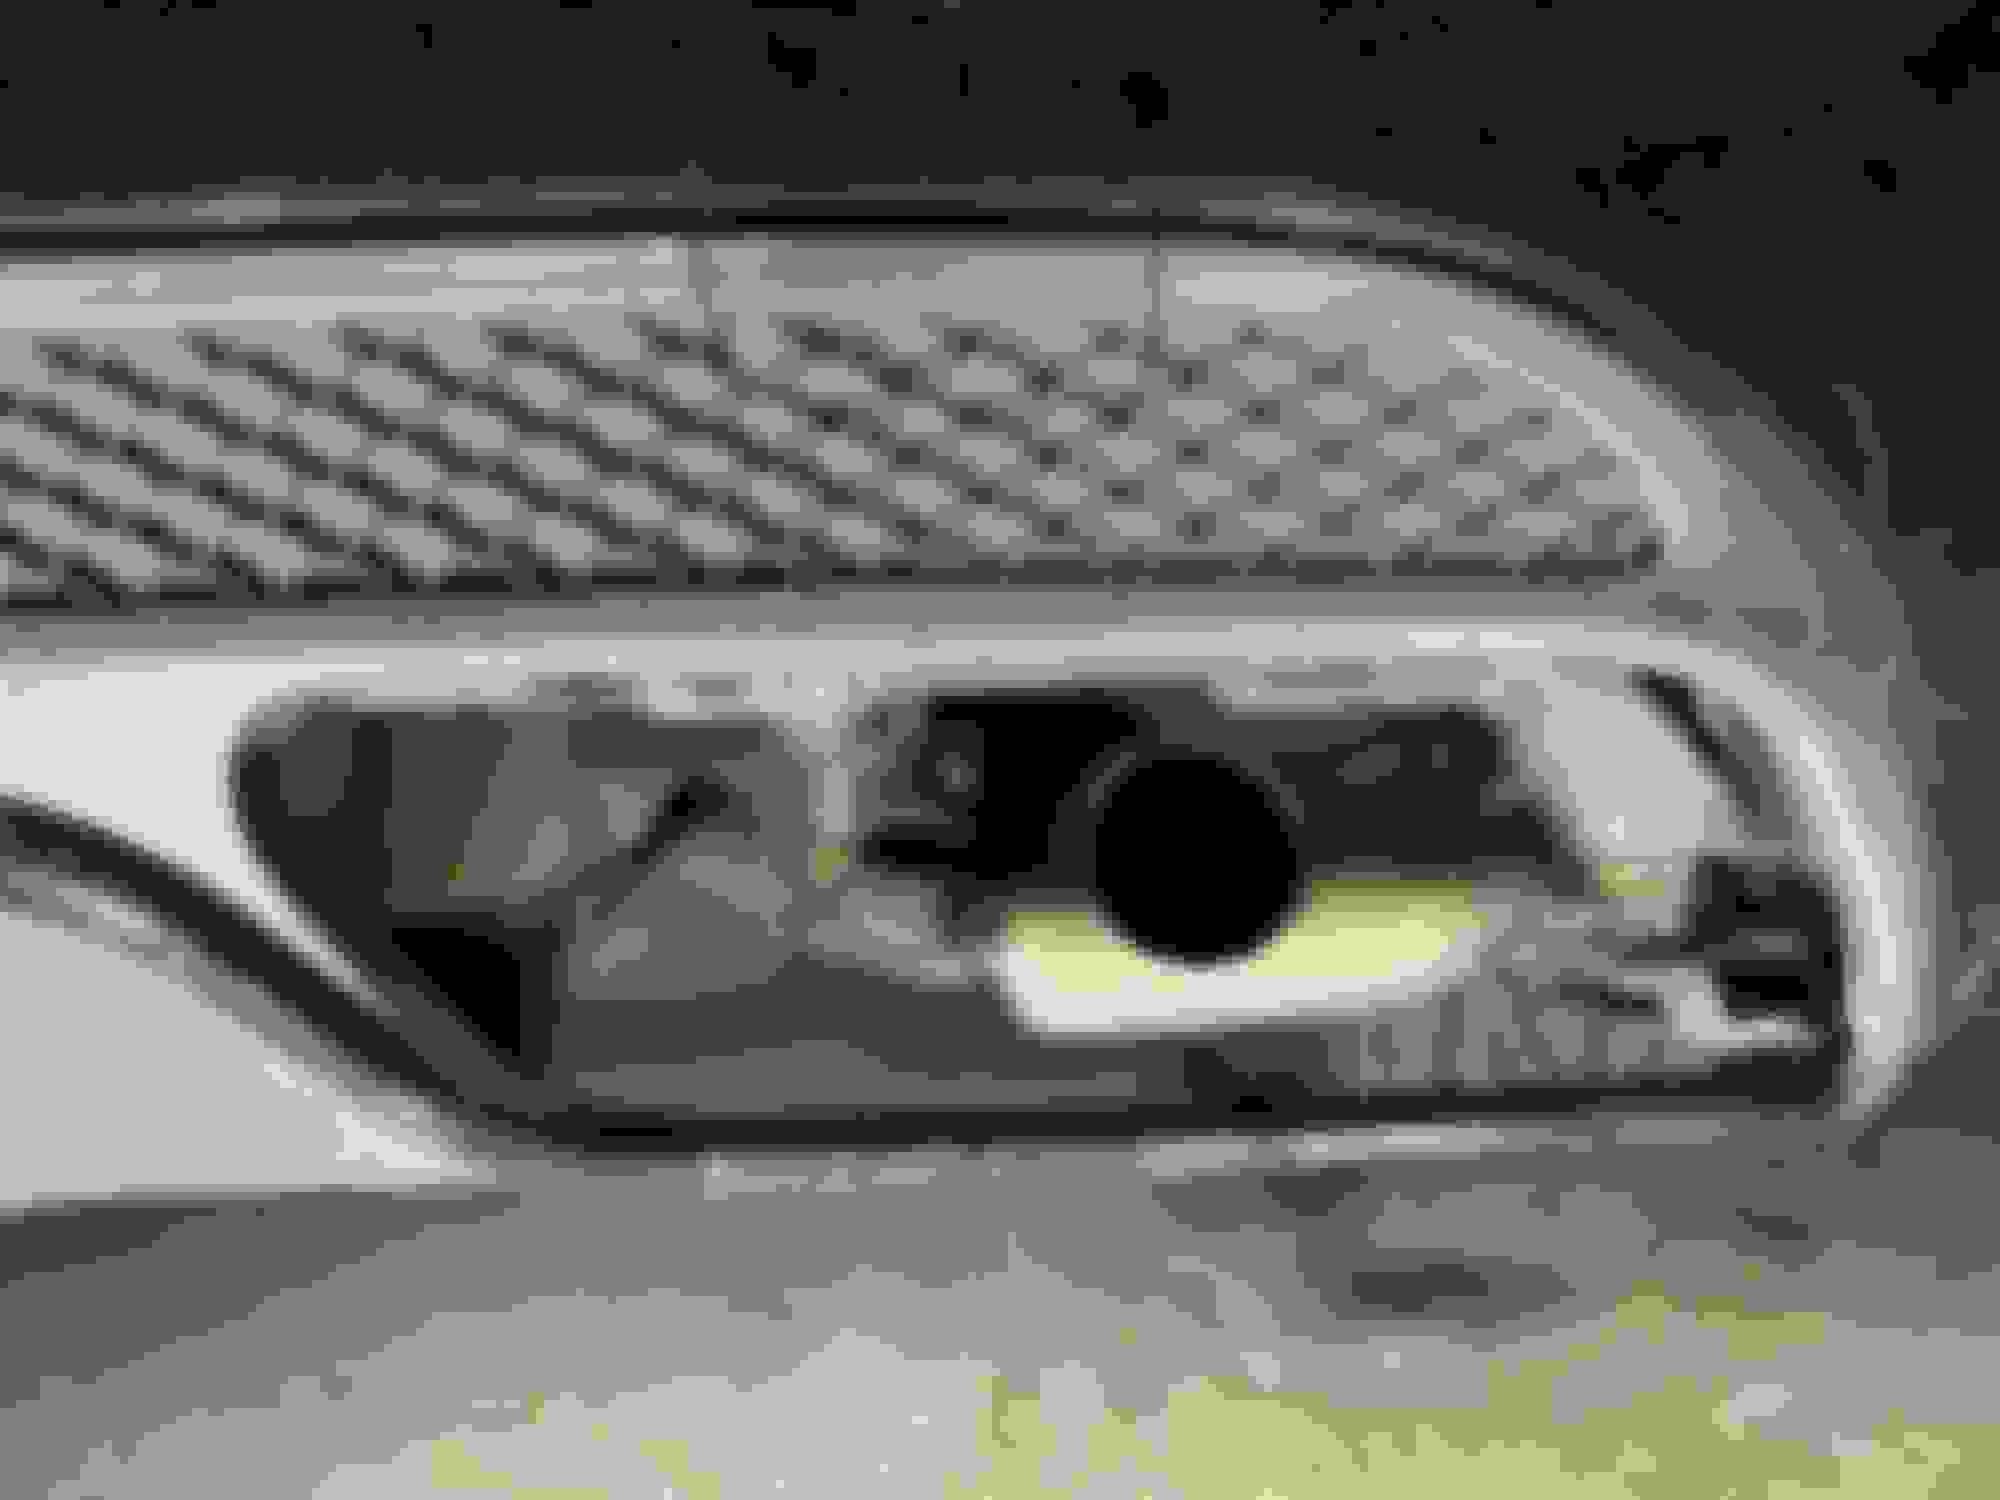
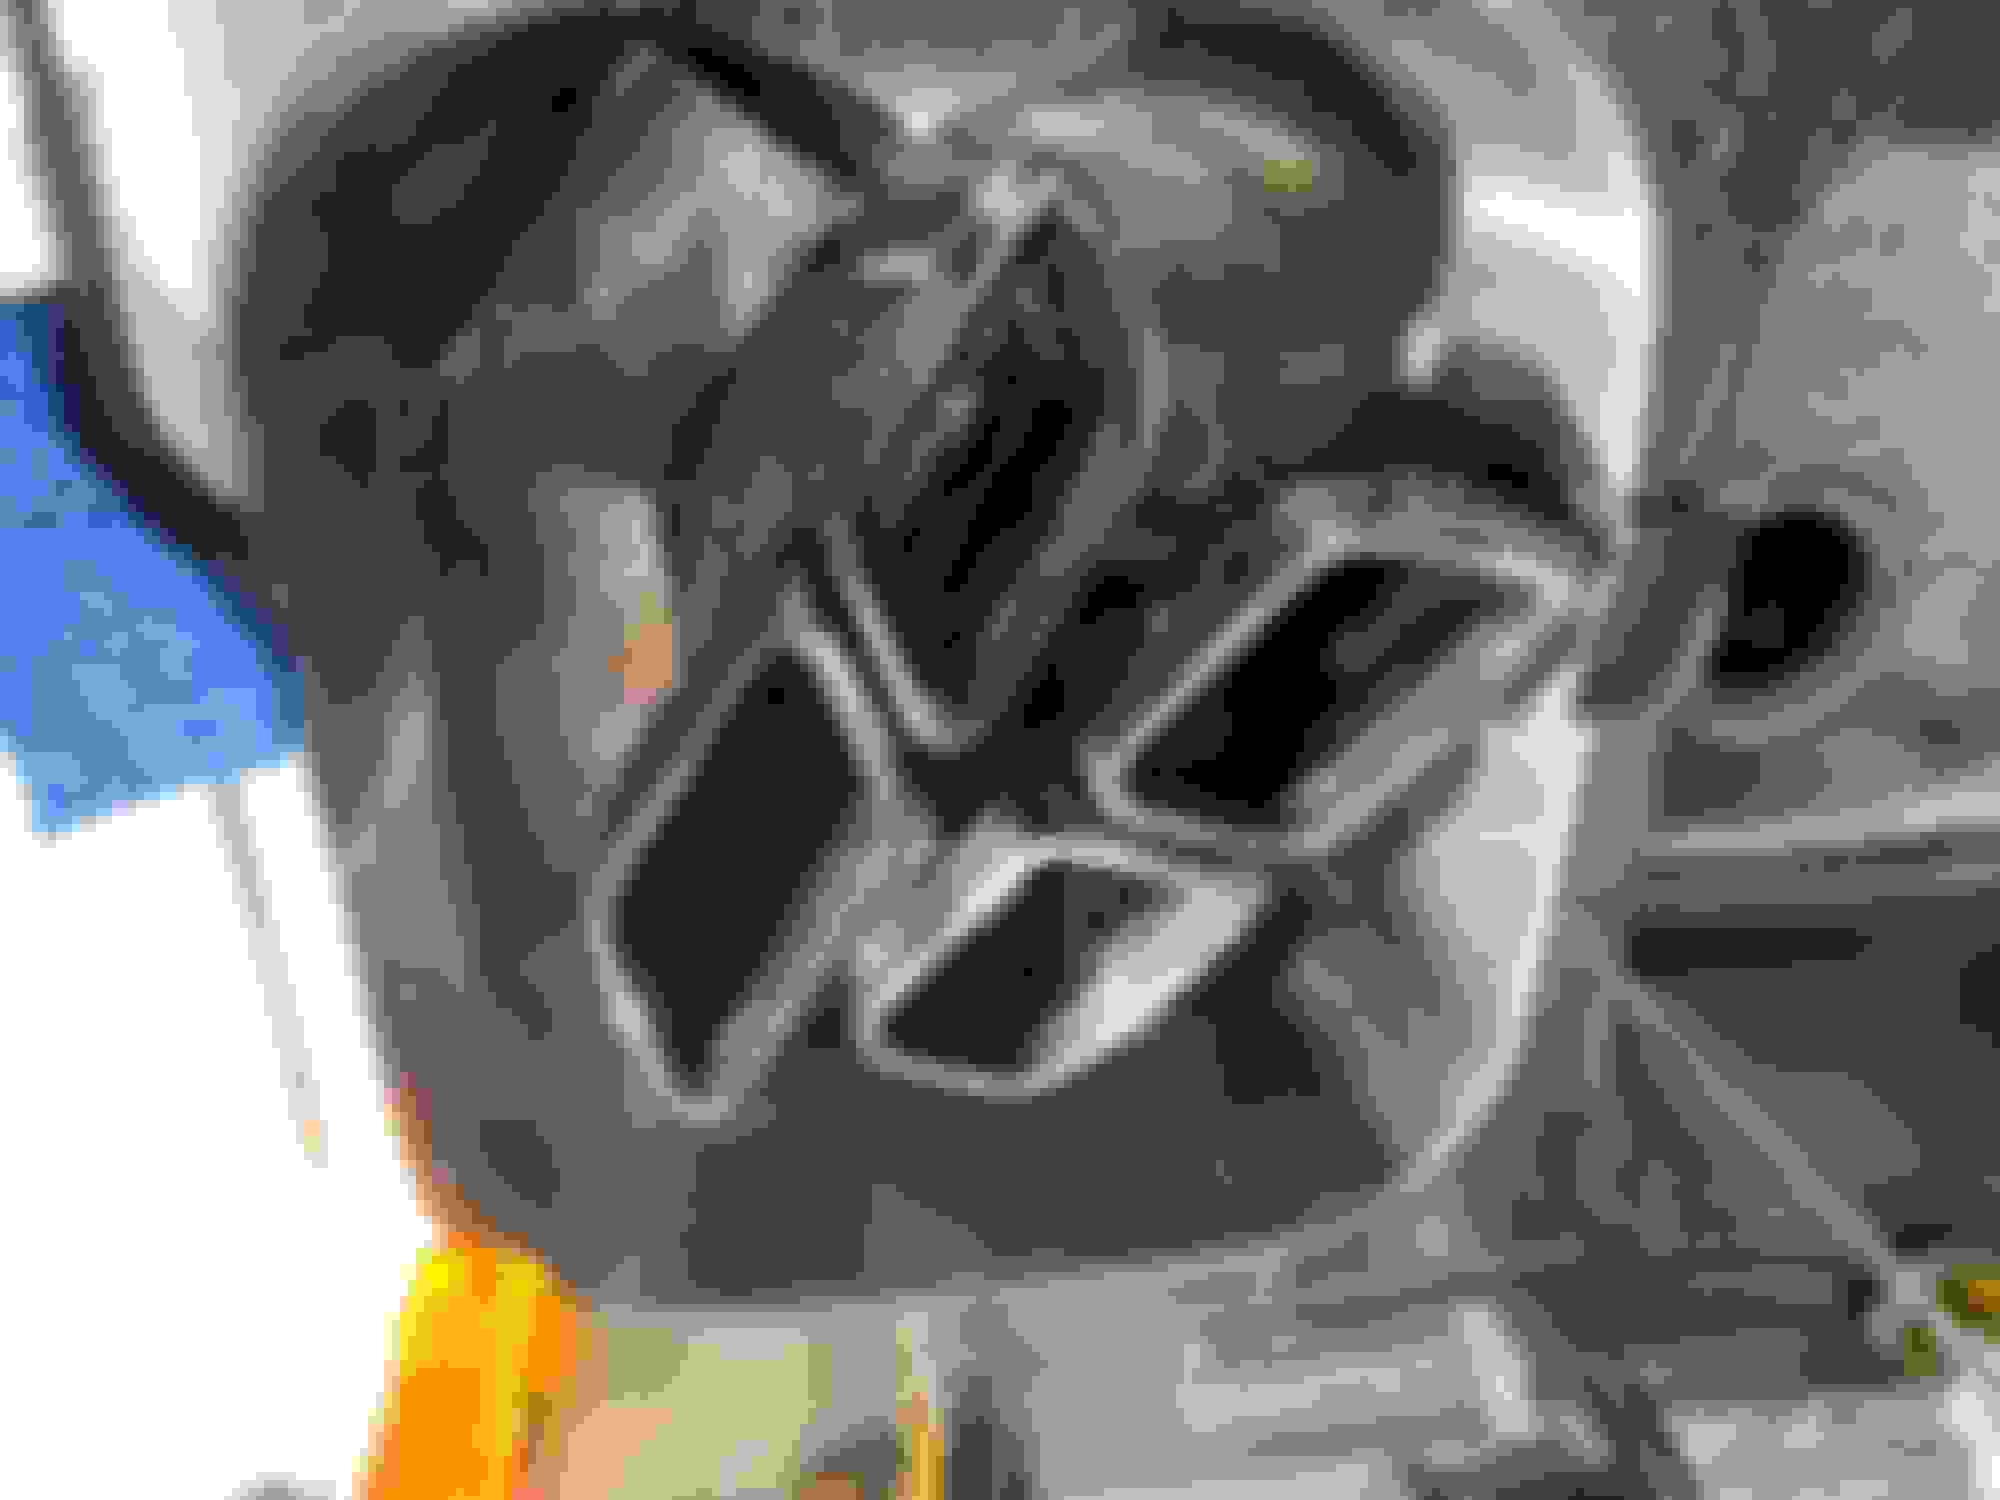
now what you should do is pull down on the stock piece enough so you can see how the tabs on the top of the stock set sit in place. That is the toughest part of getting the new ones In place(picture below of the tabs circled in red).
To remove you push in so these tabs are released, pull down, and then pull the whole piece out. You should be able to push down on the diffuser enough that the tabs won't get caught again and the whol piece should come right out.
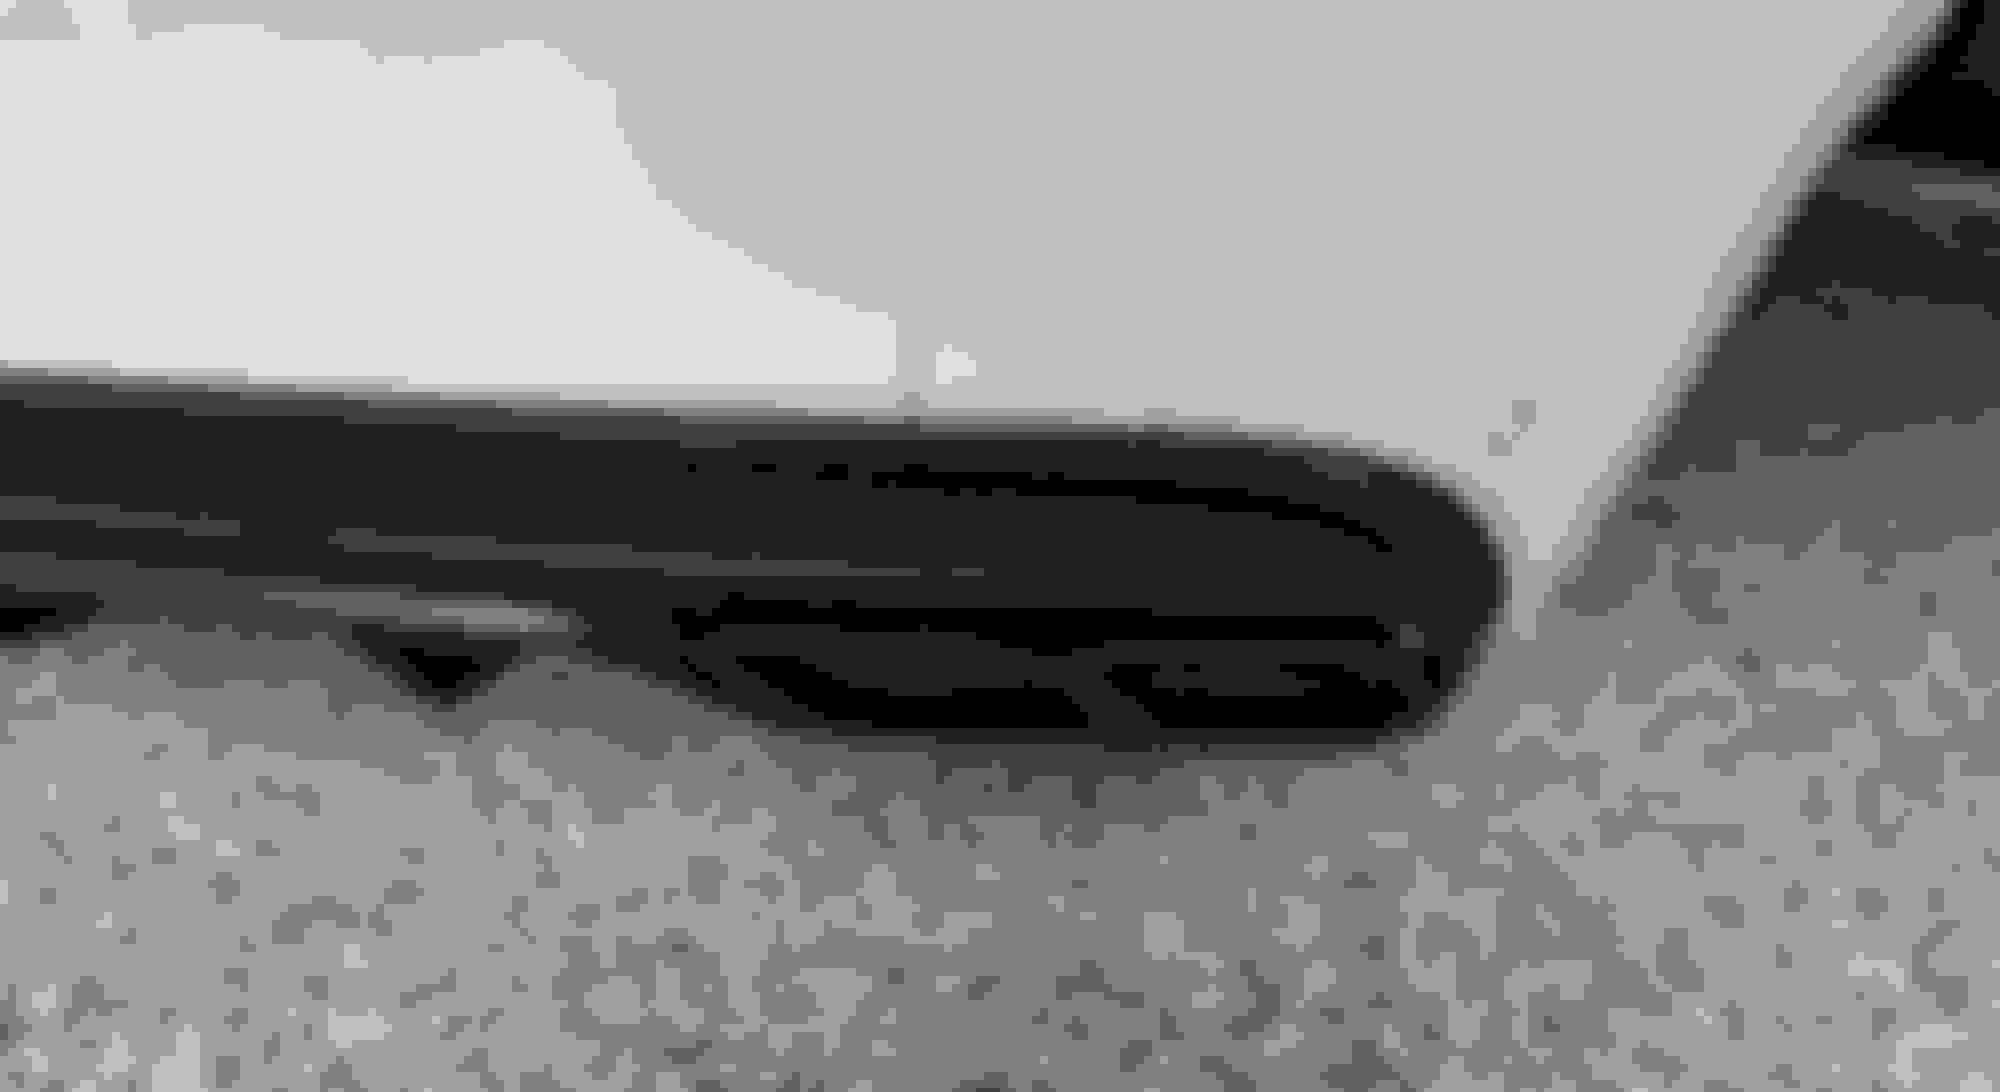
Install is the reverse. Push the whole piece in, push it up, and pull toward you making sure the tabs line up and slide into place. You have to make sure that tab comes all the way forward so the tips protrude from the back. You will see the logo is sticking out and that the screw holes Line up if done correctly.
install took me about 15 minutes and I am very happy with the look. Also realized getting the stock pieces out is so easy it's a great way to get them clean when you are doing a detail.
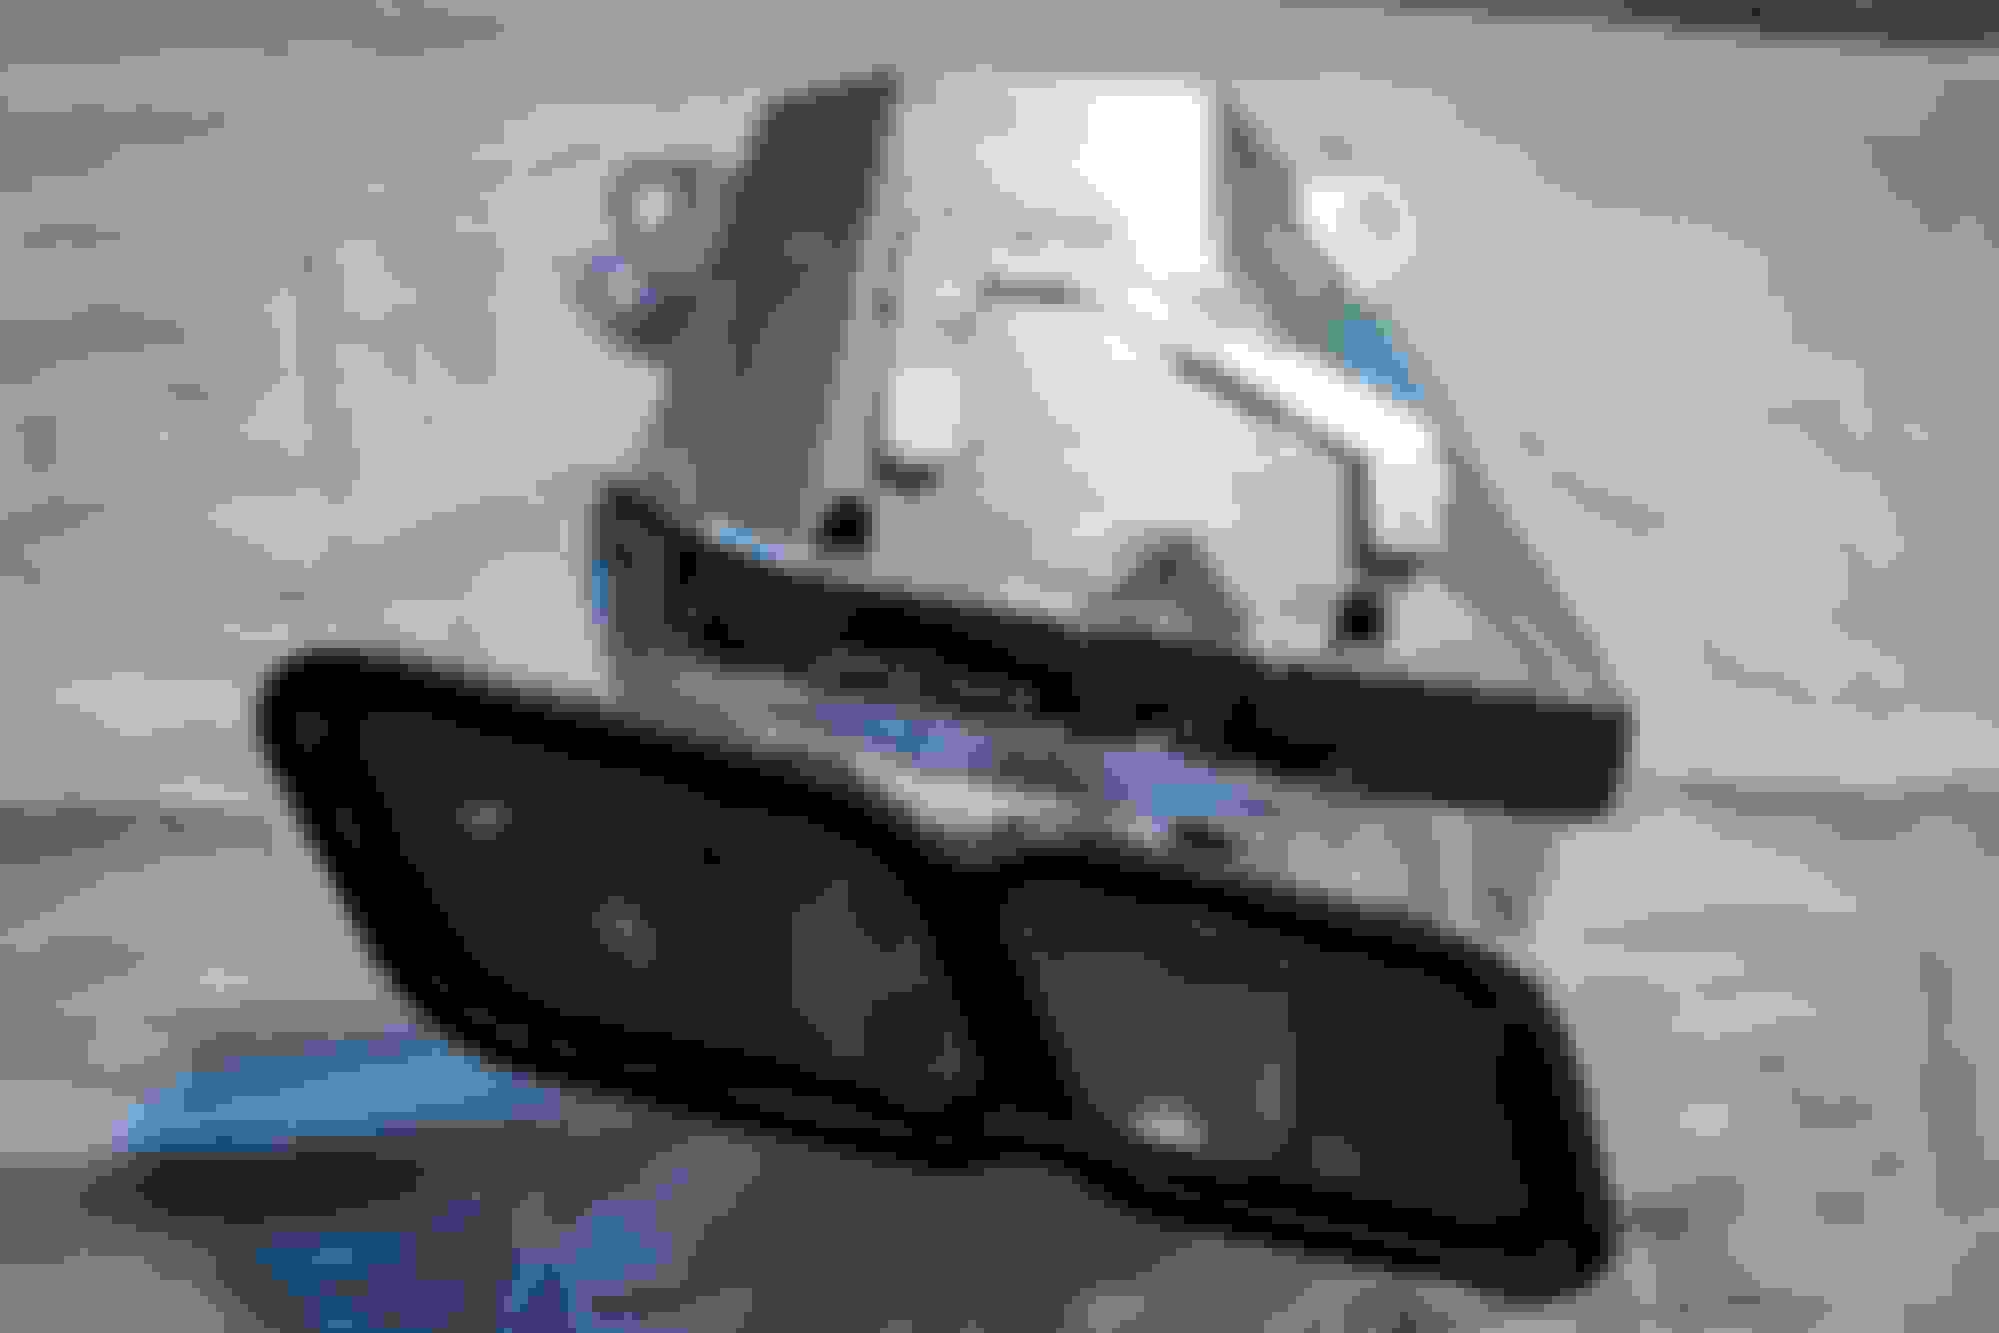
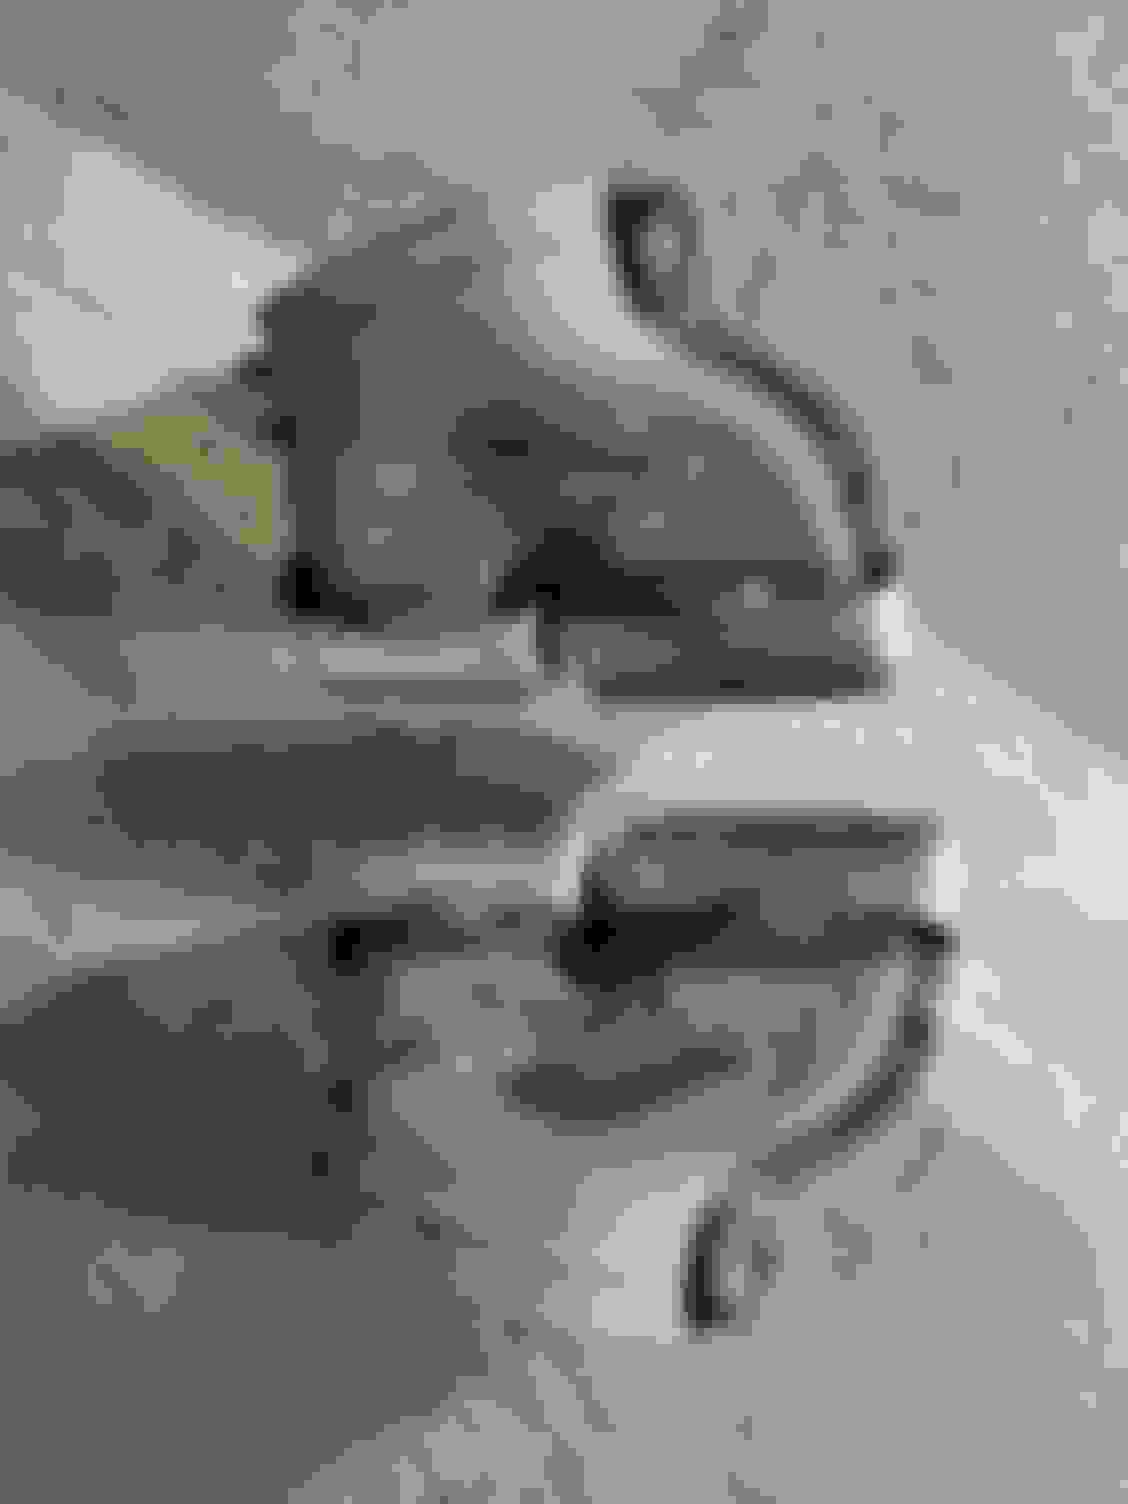
Here are a few pics I took so far
I removed the exhaust tips in under 10 minutes. I realize I should have been giving these a good scrub every week.
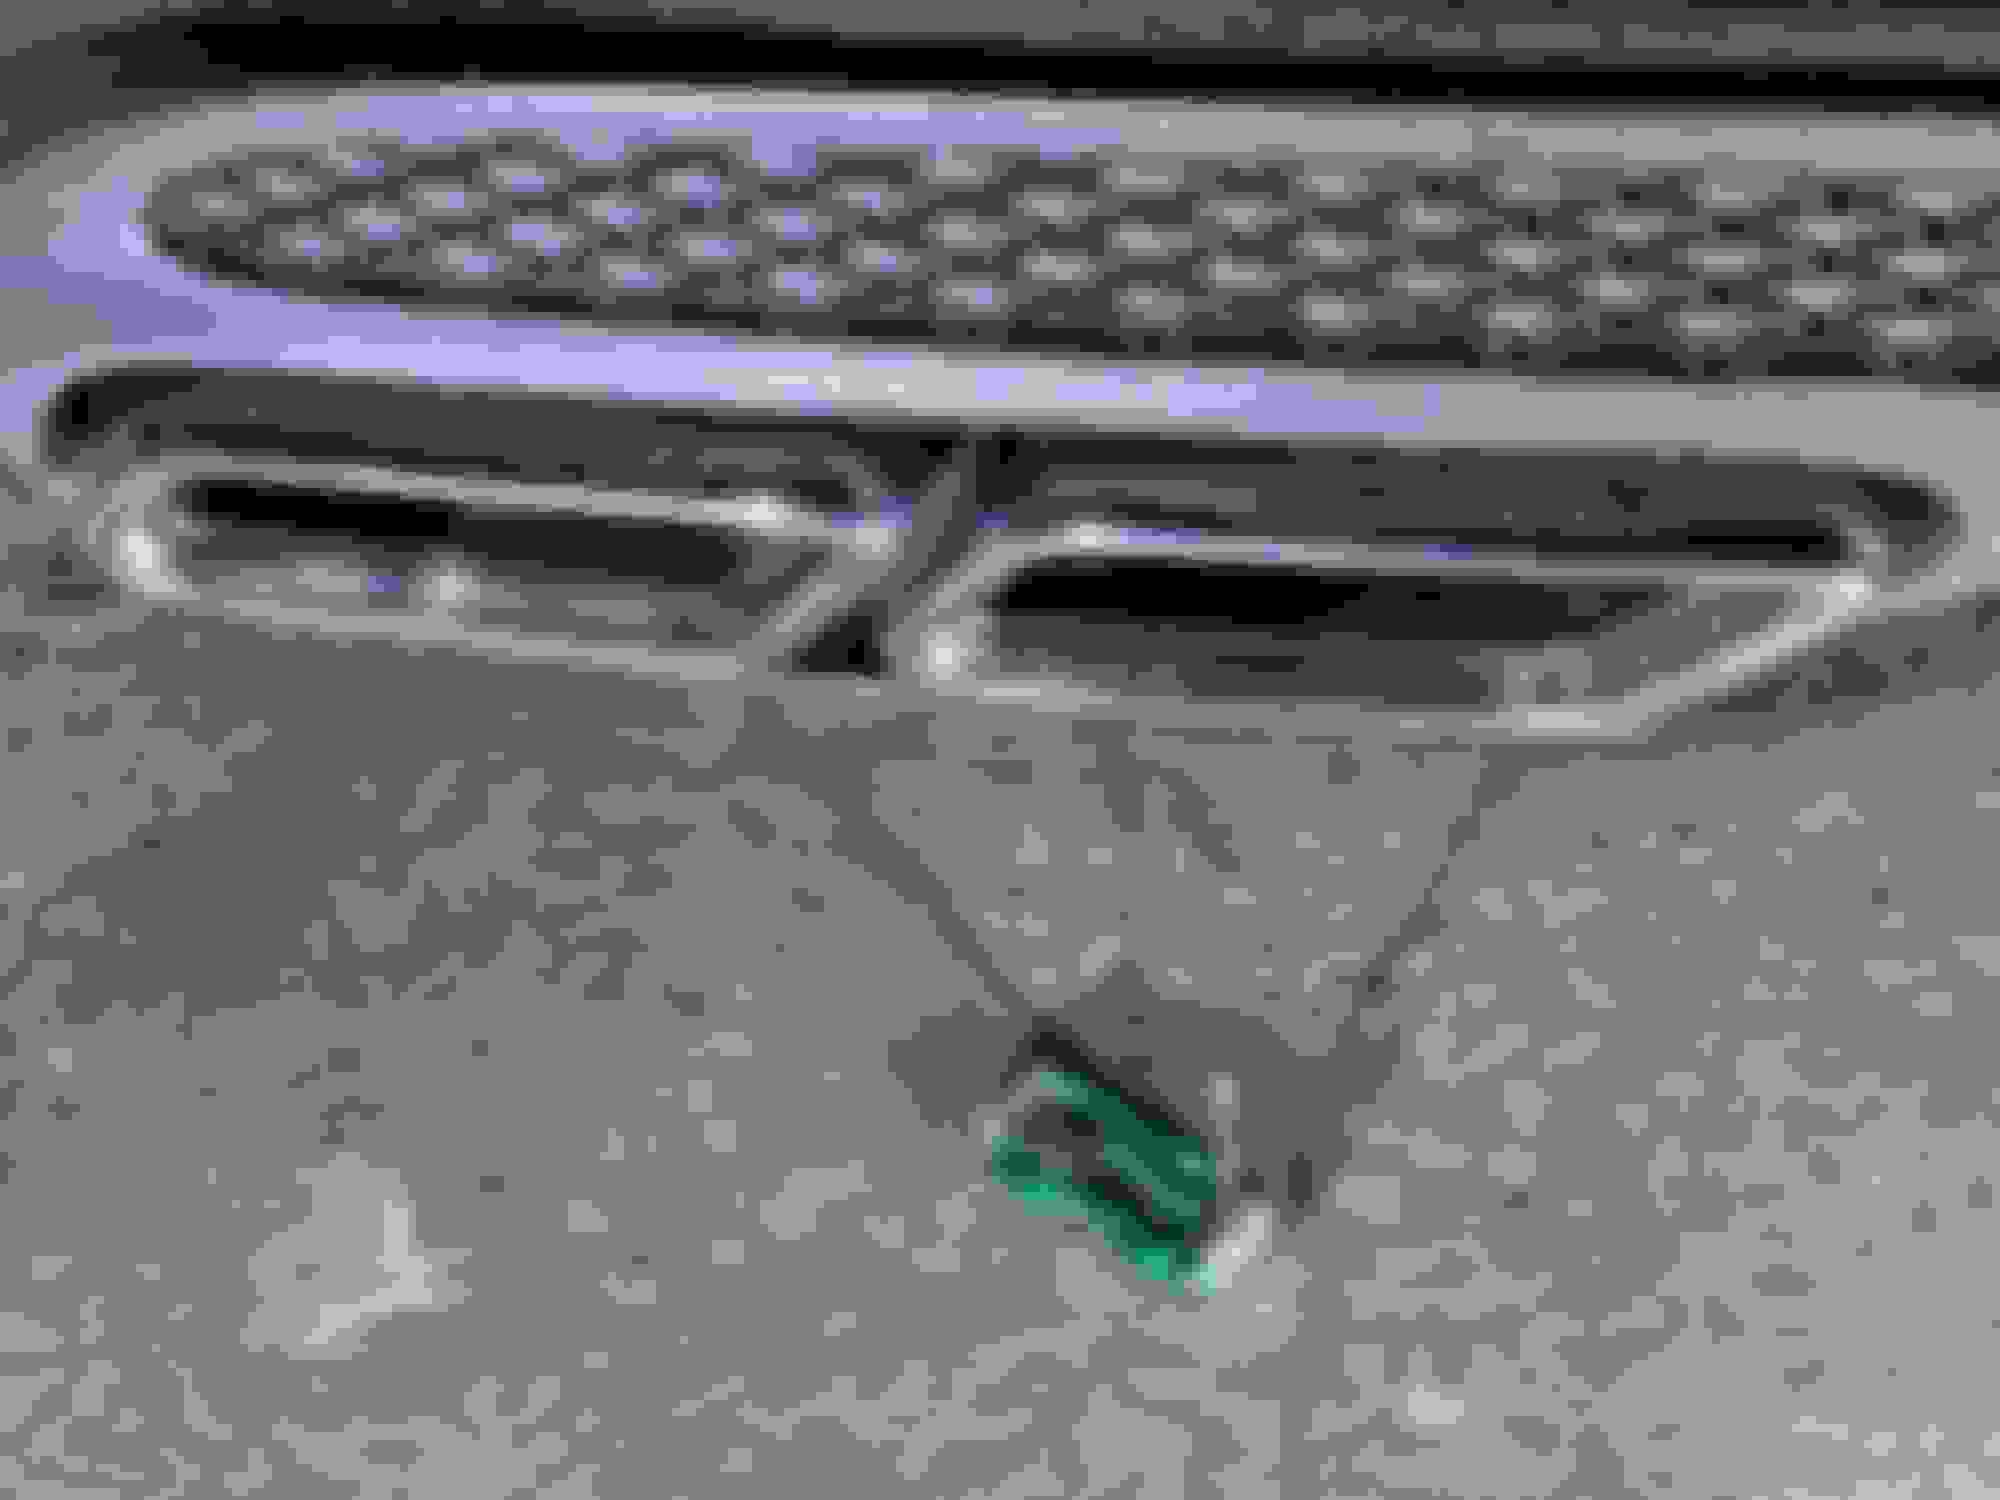
In this image we can see the exhaust tips are only held in with 2 screws.
These were very easy to remove.
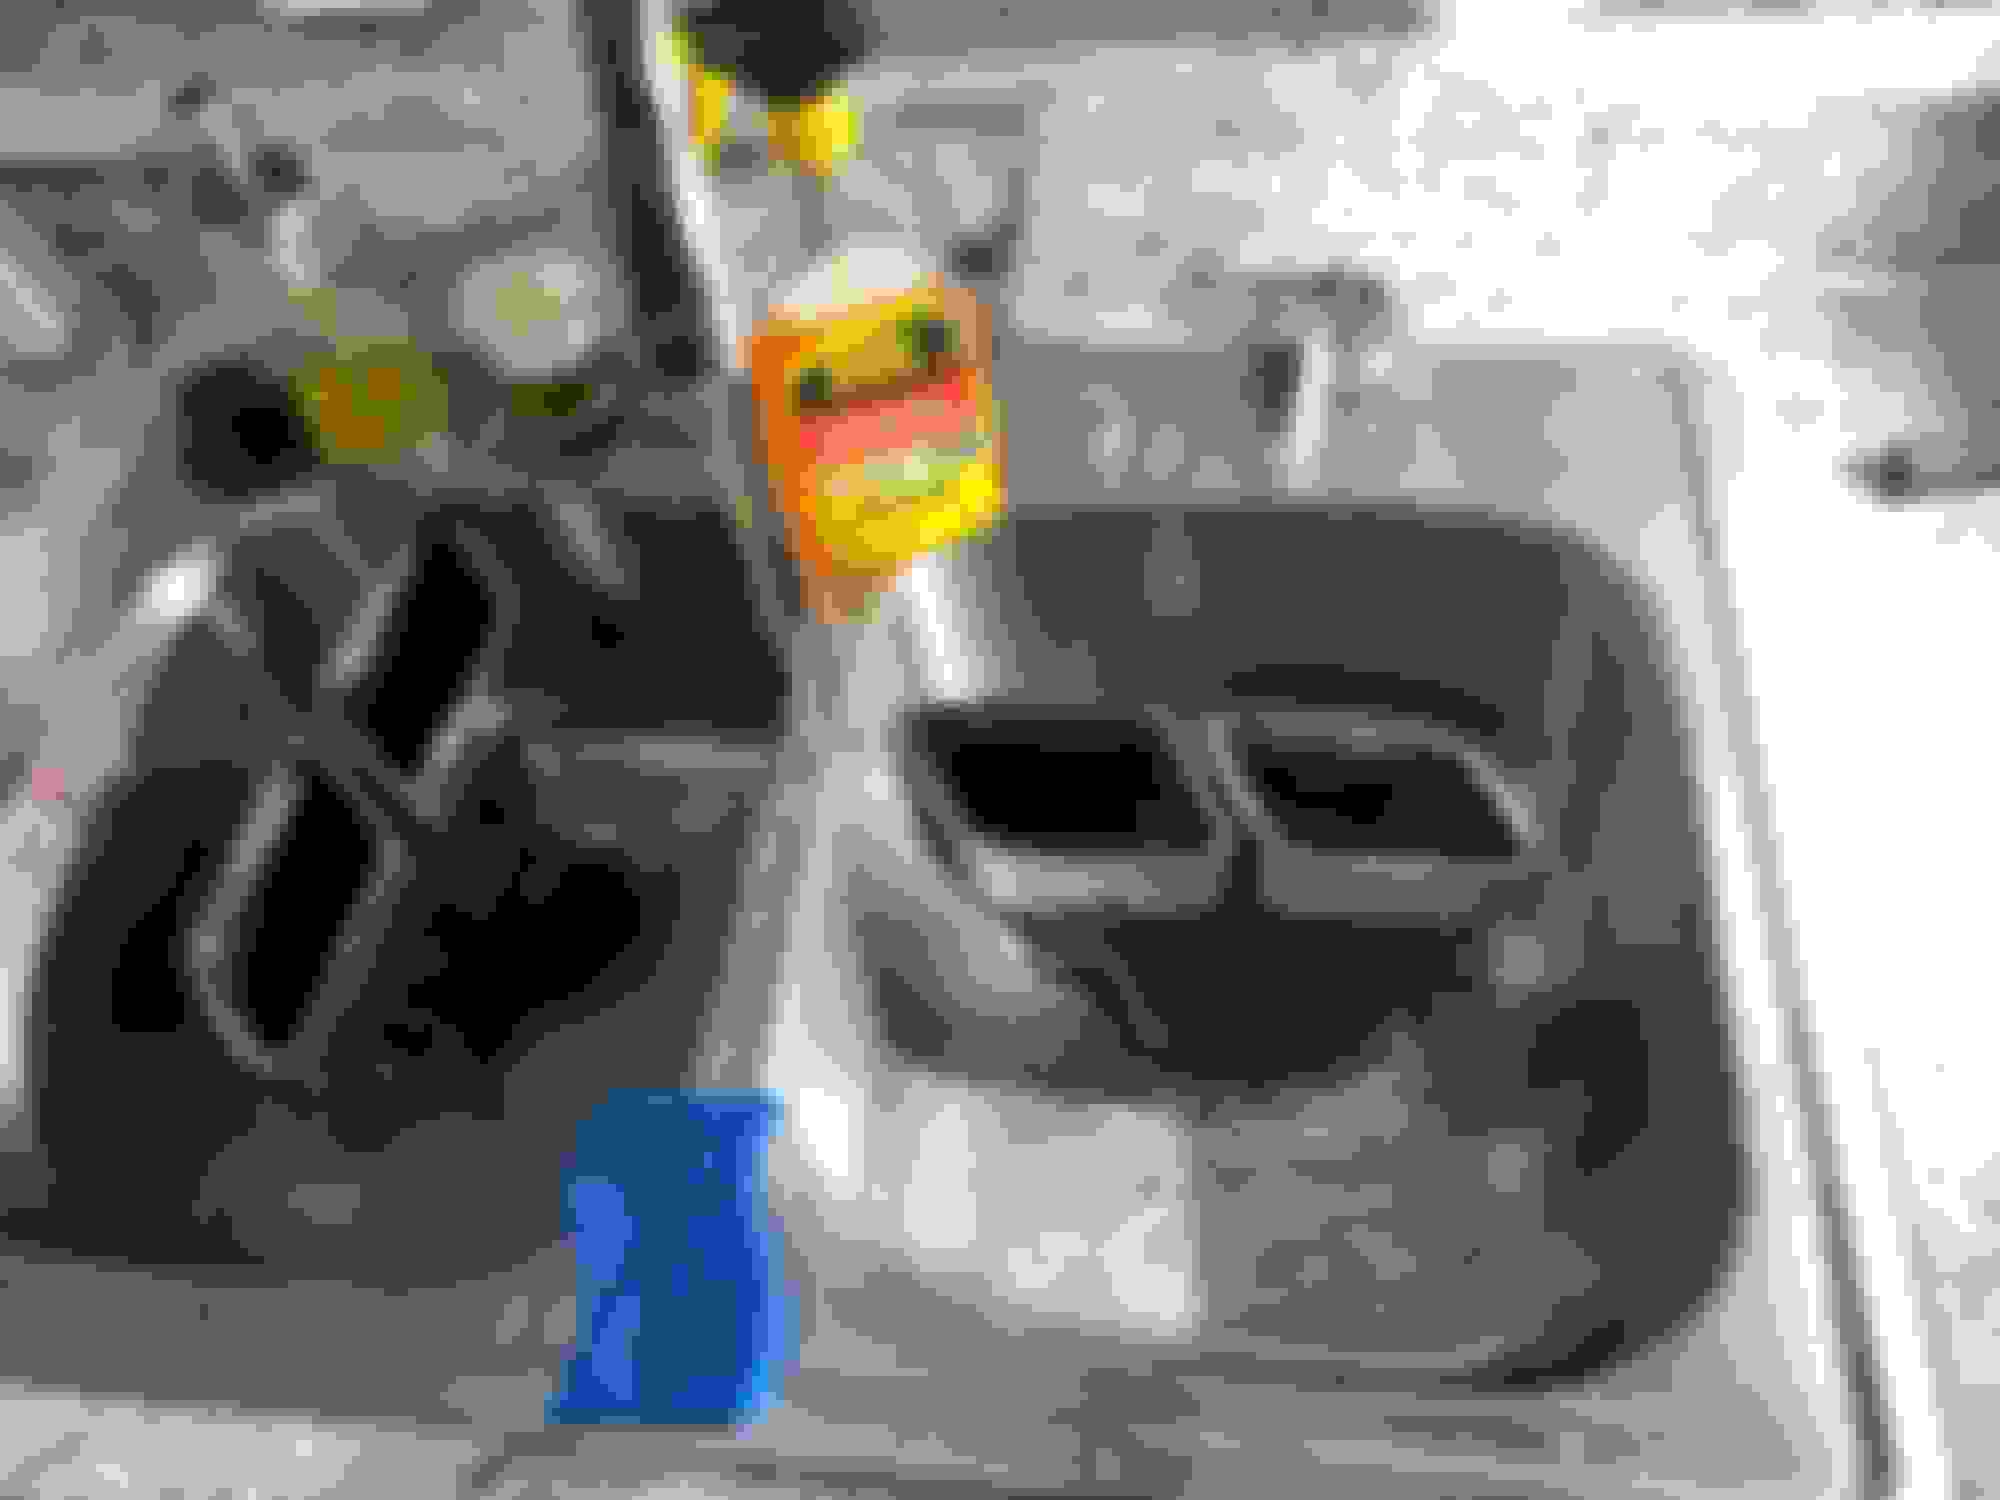
Cleaning them was the hard part.
1st I went with non-scratch scrub pads
Then 2000 grit sandpaper.
Then, 1500 and 1000.
It is recommended when using abrasives to use the least amount of abrasion as possible to accomplish the job.
Then I hit them with a polishing wheel.
Okay, there they are.
I plan on using a scrub pad on the exhaust tips weekly rather than doing all of this work again.
Also, I am thinking that I will have the chrome pieces dipped in black chrome. It looks like I can grind off the welds and they'll come apart. The reason to go through the extra hassle is to keep the original tips with AMG logos. For durability, black chrome rather than using a high temperature paint. I can't envision scrubbing on paint and not having to repaint them every few months. Electroplating should last of years.
Nice car but how come you got the older style AMG logo instead of the newer font like your car came with? You prefer the old one instead? Or you didn't know?
Hella confused what's happening in this thread too. You got AWE exhaust tips now you put the old ones back on? 🤔🤔🤔
Hella confused what's happening in this thread too. You got AWE exhaust tips now you put the old ones back on? 🤔🤔🤔
The OP did not post the pictures of the original (polished) exhaust tips being installed - that was someone else who inextricably felt compelled to hijack this thread.
The OP did not post the pictures of the original (polished) exhaust tips being installed - that was someone else who inextricably felt compelled to hijack this thread.
I didn't believe it was necessary to start another thread for exhaust tips- Should I have?
Mercedes SLR McLaren 722 S Is Extremely Rare Example Modified by McLaren
Slideshow: A one-of-one U.S.-spec Mercedes-Benz SLR McLaren Roadster became even rarer after a factory-backed transformation at McLaren's headquarters.


 congrats, I really like them