When you click on links to various merchants on this site and make a purchase, this can result in this site earning a commission. Affiliate programs and affiliations include, but are not limited to, the eBay Partner Network.
I will be meeting with a guy who is parting out a 2005 C230 some time this week. I need to replace the front wheel liners and I will also be looking to see if he has any trim that can upgrade some of my cosmetically challenged parts.
The seller told me that he had already sold the front seats to a guy who was replacing the seats in his 2009 C63 AMG. He has the 2009 seats available and asked if I was interested. Does anyone have any idea if this swap is possible? The seller states that the bolt patterns are the same, but I doubt the electronics are �plug and play.�
I upgraded the seats in my 2000 Porsche Boxster with some from a later car. But, the Mercedes electrical system seems more comlex and unless someone has a good step-by-step guide for adapting the seat controls, this seems like it may be a bit too challenging for me. The seats have some minor cosmetic flaws, but I think they would be a nice upgrade. I think the bolstering was a little too agressive for the previous owner�s comfort, but I generally prefer that type of seat. I have attached a few pictures.
I went to see the seats in person. The seats would need a good clean and some minor leather repair. I have attached photos of the seat bottoms showing the electrical connections.
Can anyone suggest a source for an electrical diagram that would help me start to sort out the power and controls?
I collected the seats last night, and I'm starting the R&D process
I have the seats and in my opinion they are going to add some character to the interior of my C230.
They are also going to provide me an incentive to watch my weight. The previous owner of the seats swapped them for a pair of stock C230 seats. According to the person I bought them from, the previous owner found them uncomfortable. I think that if I put on 15 pounds I might reach the same conclusion. The C63 seats are "aggressively" bolstered.
There are five issues that I need to address before I can be sure of a successful installation. Please feel free to offer suggestions and critiques as I puzzle this out.
1. Physical installation - Since the previous owner swapped a set of C230 seats into his car, I don't think this will be a problem. The seat rails and seat mounting hardware appear identical. I'm going to measure carefully to confirm this before I invest time and money on any of the other areas.
2. Cosmetic repair - There is wear on the driver's seat bolster, and small holes in the driver's headrest and passenger seat bottom. I'm considering three options for repairing these flaws: (a) Home repair kit; (b) A mobile service such as Fiber Renew; or (c) Taking the seats to an upholstery shop for professional repair. Option c will obviously be the most expensive, and option a will be the least expensive. I've attached pictures of the damaged areas in the event that anyone can share experience using home repair on this type of damage.
Bolster wear
Headrest cut
Passenger seat bottom cut
3. Air Bag System - According to this article: https://mbworld.org/forums/c-class-w...-any-w204.html the passenger seat air bag detection system in the C63 seats works differently from a stock W204 seat. I believe the W203 seats are similar to the the stock W204 seats. There are a few options for addressing this article provides some guidance on solutions: http://www.mercedesmedic.com/child-s...and-solutions/ The best option appears to be installing a seat mat with occupancy sensor from a W203 so that the air bag system will operate exactly as designed. I will also need to deactivate the side impact air bags in the C63 seats.
4. Wiring the power seat mechanism - I have the two-way power seats in my car. The power operates only the back-rest tilt and seat height. The C63 seats are full power with memory. It appears that I have two options. (a) Basic operation - This would by-pass the memory function and use stock W204 switches and connectors to operate the seat motors. I found this video on YouTube that provides some insight:
I posted on the W204 forum and asked if anyone was parting out a W204 and willing to part with the seat wiring and switches. (b) Full memory operation - This would enable 100% operation of the seats including the memory function. I was able to do this on my Porsche Boxster, but it was fairly complicated. I think I will need the door panels from a W203 with memory seats and the switches, wiring and connectors to make this work. That will add significantly to the expense, uncertainty and complexity of the project especially if the system works on the CANBUS. So, unless someone has done this before and can provide step-by-step instructions, I don't think I will spend much time on this option.
5. Seat heaters - Both my current seats and the C63 seats are heated. This looks like it will be "plug and play." I'll need to confirm that when I am measuring the seat rails.
More photos:
Seats showing aggressive bolsters
Electrical connections
Wiring
Last edited by KevinH2000; 08-13-2018 at 12:24 AM.
I can also see two of the seat motors in each seat. (I think I can see the motors for the forward/aft seat movement and the seat tilt. There should be a third motor in the seat back that controls the seat back angle.)
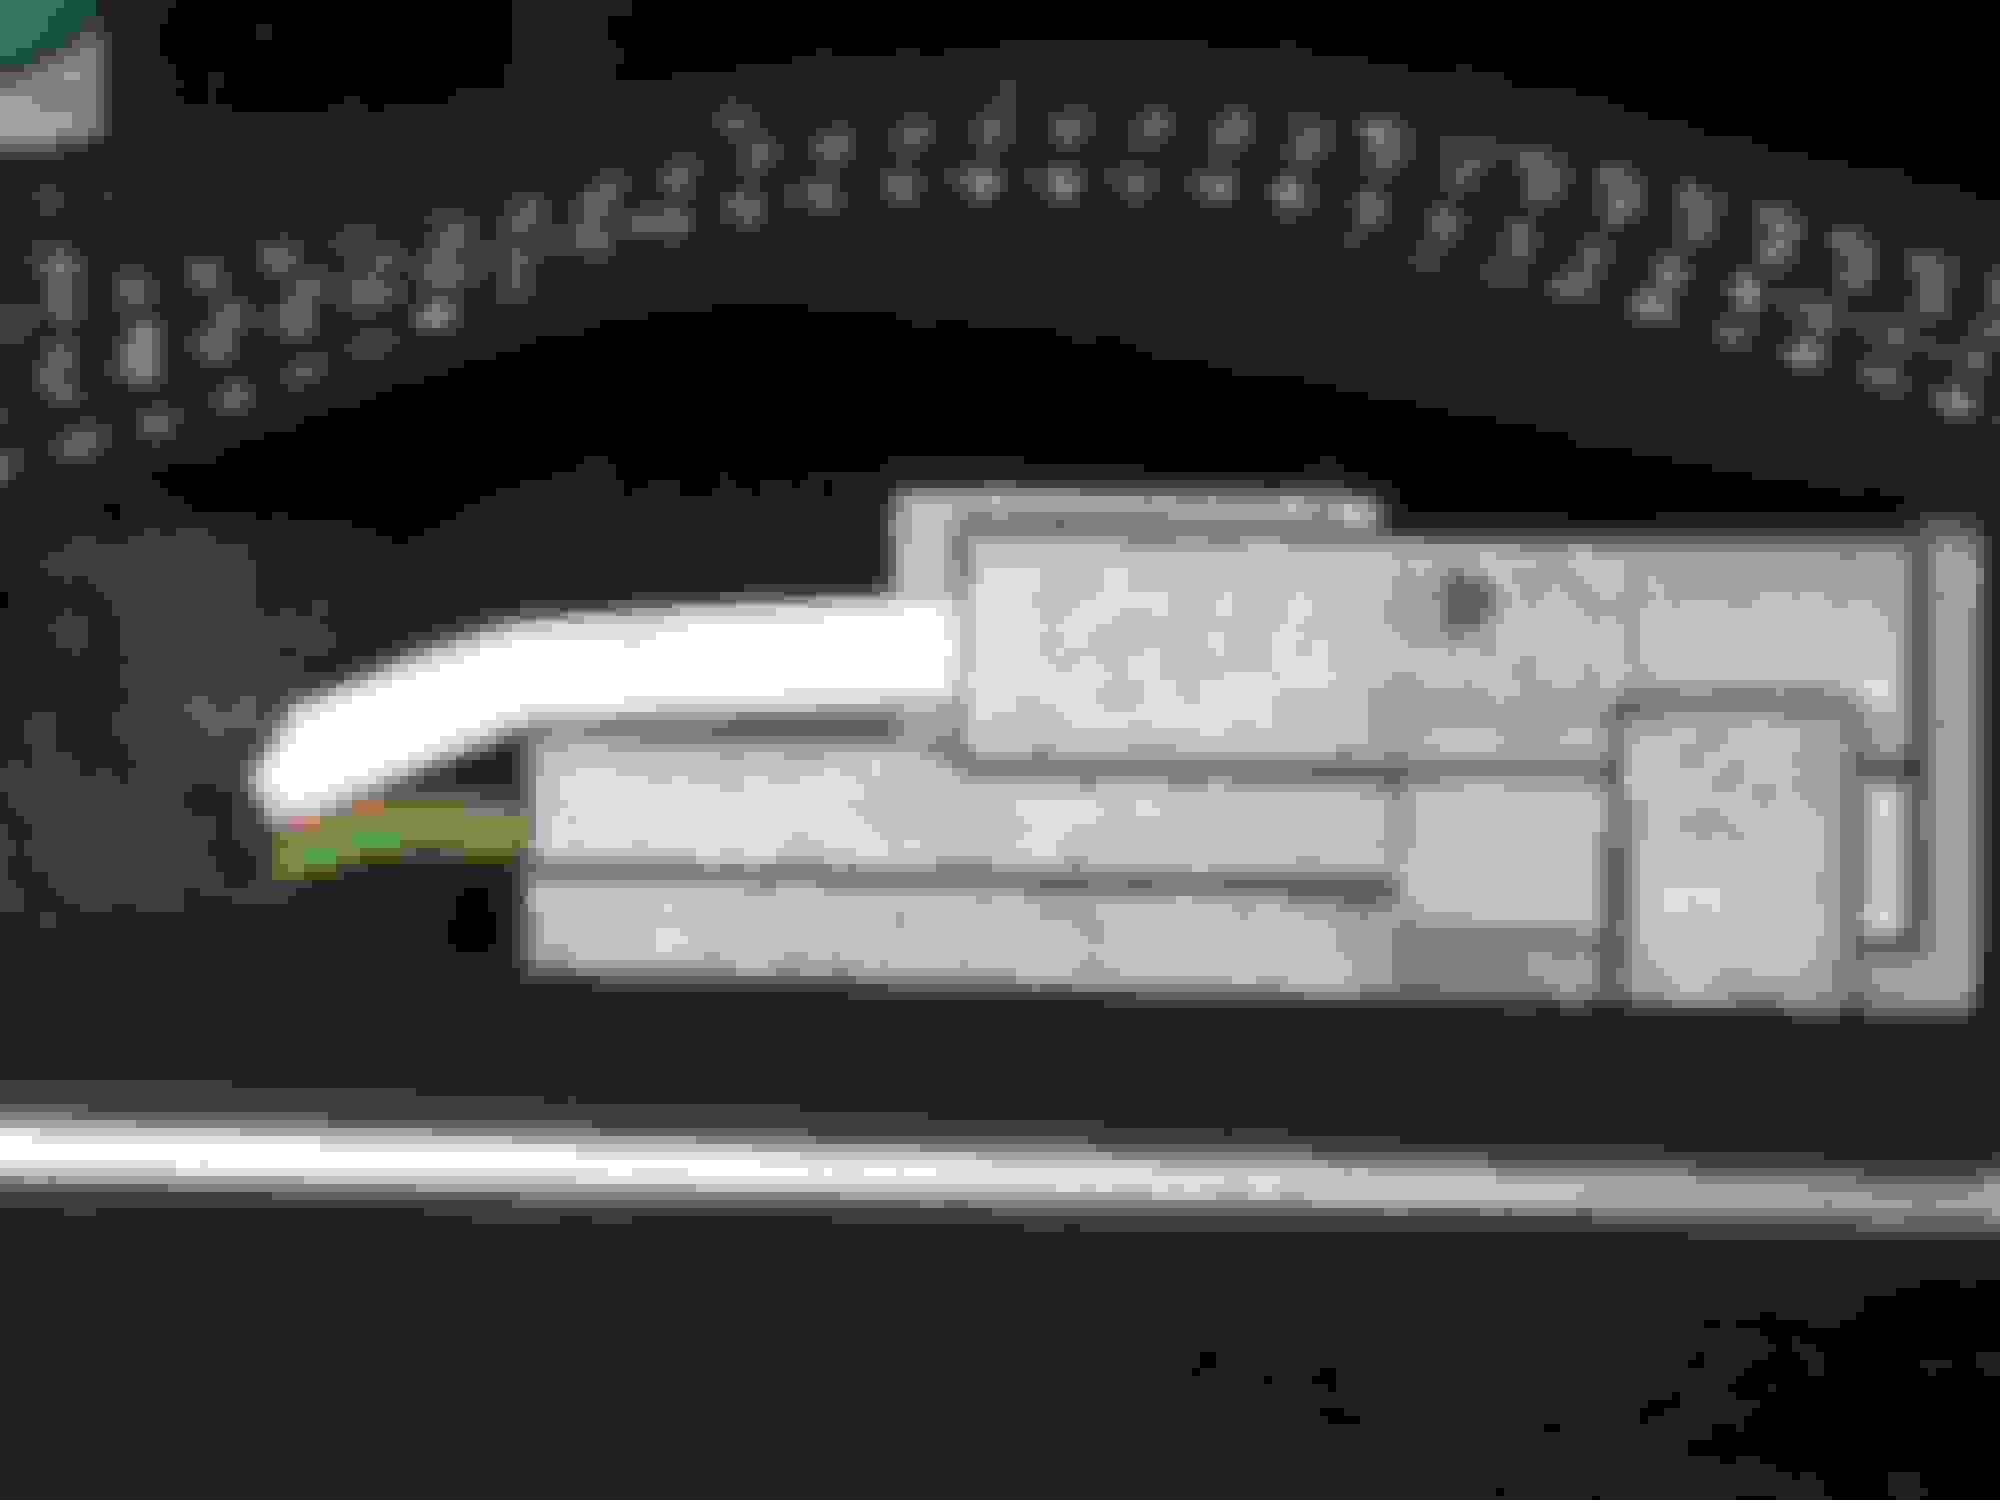
On the passenger side, the forward/aft seat motor has four wires - A thicker White wire and three thinner ones that are Brown/Green, Yellow/Black and Violet.
The forward/aft adjustment motor on the driver's side only has three wires - A thicker White wire and two thinner wires that are Brown/Green and Violet
I think that the additional wire on the passenger side is related to the passenger airbag system. The passenger side has a module marked "Occupant Classification Module" that is not present on the driver's side. I'm wondering whether the additional wire does something to position the seat when the air bag system senses that a crash is imminent.
As my next step I'm considering the purchase of some used W204 seat controllers. They are about $40 from recyclers. This will allow me to set up some tests using a 12-volt power source to see if I can assign a function to each wire. (I will use lower voltage for the thinner wires on the assumption that they trigger relays in the various motors.) Right now, I'm thinking that the wires attached to the large white connectors control the three seat motors and the wires connected to the smaller black connector are for the seat bolsters.
I am almost certain that the blue/brown wires are for the seat heaters:
Oh I wish that I could help. I am completely clueless here but would like to do the same once you figure it all out
Feel free to add what you can to the process.
I completed a similar project on my 2000 Boxster. By "brainstorming" on the 986 Forum I eventually obtained enough information to achieve success. I went from unheated two-way (powered backrest only) to 12-way powered seats with memory and heat. I've attached a pdf documenting the project if you are interested.
The C63 seats are (at first glance) significantly more complicated than the Boxster seats, and most of what I learned from the Boxster project doesn't apply. I'm hoping that a few folks will chime in and provide crucial information or point me to some good used parts sources.
This may take a couple of months, but I'm patient and persistent.
Last edited by KevinH2000; 08-13-2018 at 12:25 AM.
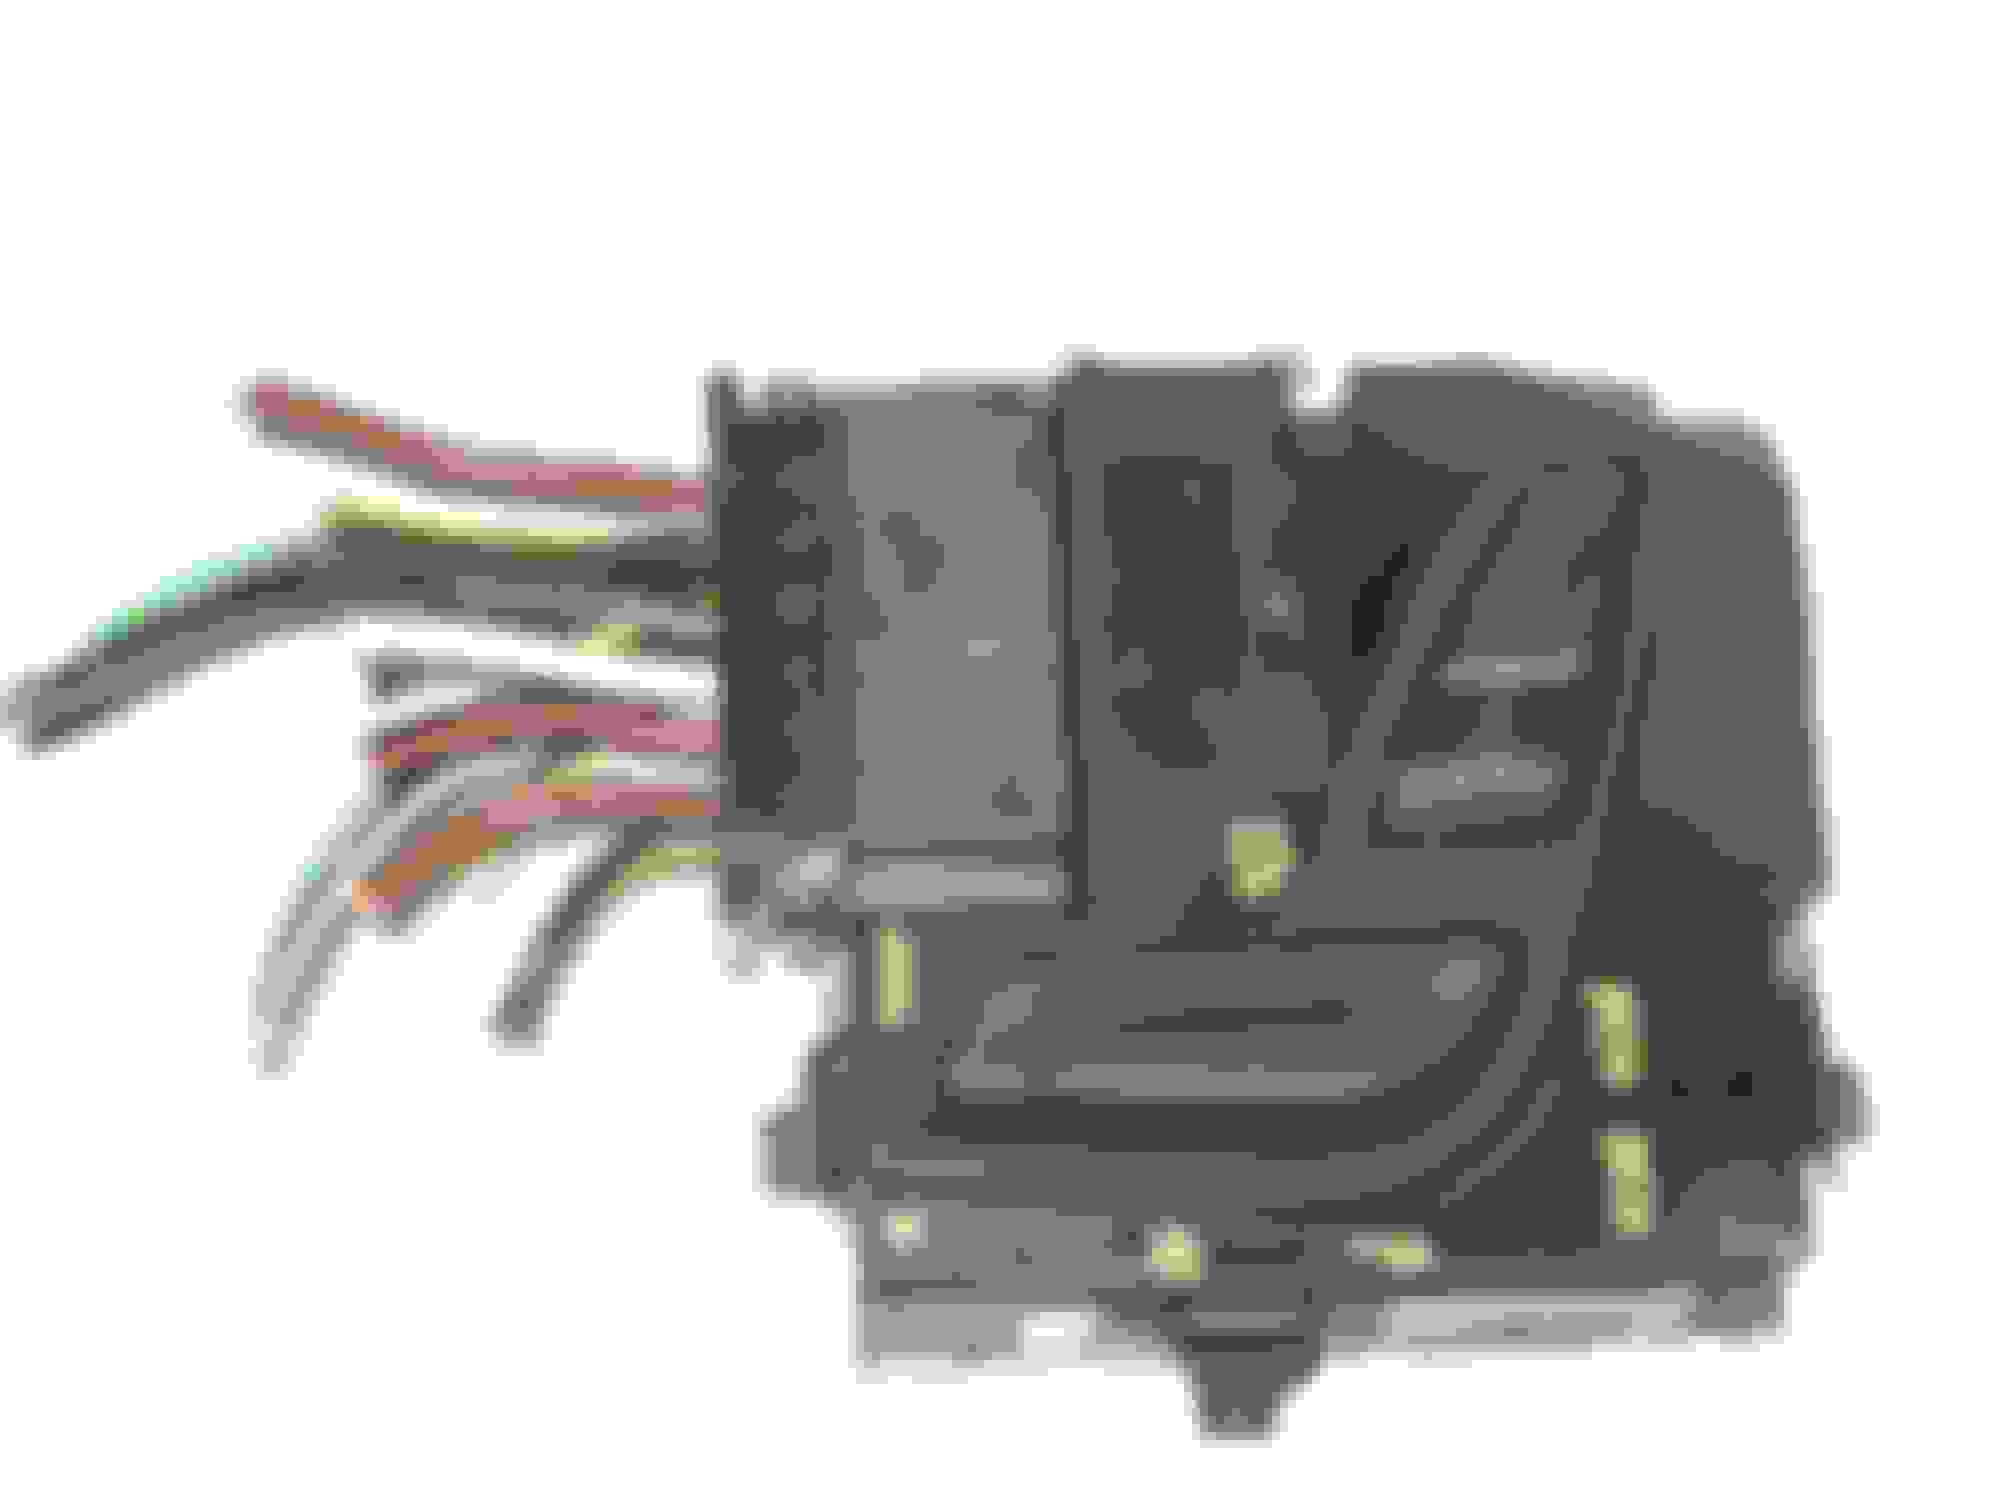
I managed to find a couple of seat control switches with a connector and a small part of the wiring harness attached. This will give me something to which to solder when I construct the harness I need. I have attached pictures of the passenger switch the seller provided. I hope to receive the parts by Saturday so I can experiment this weekend.
I received the driver's side switch today. I was able to obtain one that had the connector and some of the wiring that interfaced with the seat motors. There are 12 pins and all of them are occupied.
1. Black/yellow
2. White/blue
3. White/black
4. Black/blue
5. Black/yellow
6. White/green
7. Brown
8. Red/Black
9. White
10. Black/Grey
11. Black/yellow
12. Brown
The seat moves in the following directions
1. Forward
2. Back
3. Bottom cushion front up
4. Bottom cushion front down
5. Bottom cushion rear up
6. Bottom cushion rear down
7. Back rest backward
8. Backrest forward
I'm assuming that the striped wires are the control wires while the solid brown and solid white are power. I think there may be two brown wires because one is the ground to the car and the other is the ground to the seat motors.
I began the process of determining the function of each wire with a multi-meter.
As I mentioned in the previous post, there are two brown wires that I assume are grounds. One is on terminal 7 and the other is on terminal 12.
The ground on terminal 7 forms a circuit with the following wires:
2. White/blue
4. Black/blue
5. Black/yellow
8. Red/black
I'm not sure what this means yet, but I'll keep at it.
The ground on terminal 12 forms a circuit with the following wires:
3. White/black
6. White/green
9. White
10. Black/gray
I also started to test the switch function.
Terminals 2 (white/blue) and 3 (white/black) form a circuit when the seat bottom tilt for the rear of the seat is turned on. It doesn't matter if the button is pushed up or down.
Terminals 4 (black/blue) and 5 (black/yellow) form a circuit when the seat bottom tilt for the front of the seat is turned on. It doesn't matter if the button is pushed up or down.
Terminals 8 (Red/black) and 2 (white/blue) form a circuit when the seat back rest button is pushed.
If I am able to determine how to wire the seats, I will need to accommodate the switches in the seat trim. These are pictures of the trim that is on the base of the passenger seat: Note that there is no provision for installing the control switch.
Passenger side - interior view
Passenger side - exterior view
These are photos of seat trim from a W204 that had seat-mounted switches. Note that there is a hole that the switch fits in and a ridge of plastic around the hole that will lock the switch in place:
Interior view of side trim with provision for control switch
I had originally planned to purchase trim for a factory-like installation. However, it looks like there are differences between the two types of panels. Note the honey-comb pattern at the top of the panel from the C63 seats. There is a seat component that fits in that honey-combed area.
I will need to develop a template and then carefully cut a hole in the C63 trim. I'm not sure how I will fasten the switch in place. I may have to use duct tape or packing tape.
I had 30 minutes to work on the seat. I used my multimeter to check out the wiring on the plugs under the seats. I found that:
On the white 14-pin connector:
1. The White wire in pin 8 and the Black/Yellow wire in pin 9 have continuity. They appear to power the forward and backward motion of the seat.
2. The White/Black wire in pin 10 and the Blue/Black wire in pin 12 have continuity and appear to power the rear tilt of the seat bottom.
3. The White/Blue wire in pin 13 and the Black/Red wire in pin 14 have continuity and appear to power the front tilt of the seat bottom
On the black 6-pin connector:
The White wire in pin 2 and the Brown Wire in pin 6 have continuity. I cannot tell where they go, but I’m wondering whether they power the seat back tilt.
Tomorrow night I’m planning to use the power source I salvaged from a personal computer to apply 12-volt power to each of the circuits I identified and see if I can get the motors to move.
Last edited by KevinH2000; 08-21-2018 at 09:57 PM.
I took my brief week night time allotment and confirmed the motor operation. Reversing polarity operated the motors in opposite directions.
I still need to determine how the seat bolster, and upper and lower lumbar supports are wired. There are 6 pins on the smaller black plug:
1. Blue
2. White
3. Black
4. Brown
5. Red
6. Violet
As mentioned above, the White and Brown wires control the seat back tilt. When I tested the other 4 with my multi meter, none of them form a circuit. I need to poke around in the seat some more to see whether there is another connector.
I removed the cover that holds the bolster and lumbar controls. There is a 10-pin plug that emerges from the seat back,
It has these wires in it:
Yellow/White
Red
White
Grey/Green
Brown/White
Green/Black
Blue/Black
Blue/Brown
That connects to a wiring harness that connects to the switches:
This has some wires of the same color and some different:
Tan/White
Red
Grey
Brown/White
White
White/Black
Brown/Blue
Green/Black
By the time that connector reaches the switches, two additional red wires (for a total of three.)
What I need to figure out is where does the wiring harness from that emerges from the seat back terminate in the seat bottom. I assume I need to determine how to provide power and ground to it.
It has been a few months since I had time to work on my C63 Seat project. As you can see in this video, I have the basic functions in the seats working.
The seat heater wiring looks identical to that in my C230, so I'm fairly confident that will be plug and play.
I purchased wiring harnesses and seat switches from a W204 without memory seats from wrecking yards. This is a picture of the switch:
I still haven't been able to determine how the seat bolsters and lumbar supports work. This is a photo of the wiring that runs into the seat back:
(I partially removed the seat cover in an attempt to trace it, but I would need to perform more surgery before I can completely trace the wiring. I do not want proceed further because I may be unable to retrace my steps without the assistance of a professional upholsterer.)
The set of wires include:
1. Power for the set heater
2. Ground for the seat heater
3 & 4 - Control from the switch for the seat motor
5 & 6 - Control from the memory module for the seat motor
Several wires that most somehow be related to the lumbar and bolster.
Rudney - one of the moderators on Benzworld - indicated in an earlier post the lumbar and bolsters were pneumatically power by a pump in the trunk. So, I may not be able to add that function without significant additional labor. I may just go ahead and install them as is and enjoy the upgrade in appearance and additional powered adjustments.
After a lag of six months, two updates in one day must seem out of character. I have the lumbar and bolsters sorted out, so it appears that I am on my way to having fully functioning C63 seats.
After my earlier post, I kept tinkering. I applied power and ground to the power connector that was on the seat when I bought it. I also put jumpers from the white wire on pin 2 of the 6-pin black connector described in post 8 and another on the brown wire on pin 4 of the same connector. I connected these to the seat back control on my switch. The bolster and lumbar support controls work. There must be a pump buried in the seat back that provides the air.
I still need to determine whether I want to splice into the original harness or replace it with the one I obtained from the wrecking yard. However I think I am on the home stretch.
You may need to turn up the volume to hear the motor operation. Near the end of the video you may be able to hear the faint sound of the air escaping from the bladders that inflate the lumbar and bolster.
I was able to find a few hours after work this week to spend on the project. I now have one fully functioning seat. My next hurdle will be installing it in the car and determining whether it will function properly.
When I have time, I'll prepare a pdf with full instructions. For now, I'm including a few notes in case anyone wants to attempt a similar project. Much to my chagrin, the project turned out to be fairly easy once I determined a viable approach. I plan to work on the second seat this weekend and I'll keep track of my time. I estimate that it will require less than 4 hours - and I am a slow worker.
There may be other approaches to integrating the C63 seats into a W203. My approach was guided by two criteria. First, I did not want to hack apart the wiring harness in the seat. (In the end, I only had to cut four wires, and two of those are on a connector that will plug right back into the harness if needed.) Second, since I did not have memory seats in my car I decided not to attempt to install the memory function.
The breakthrough (which came after running into several dead ends) was my decision to purchase seat harness from non-memory seat W204s. I was able to find them on an auction site, I paid $35 for one and $25 for the second. (Search for items like W204 Seat Harness or C300 Seat Harness and you will find several for sale.) The first photo shows the harness as it came from the seller. I removed the portion the components for the air bags and the result was the smaller harness shown in the second picture. The following pictures show the seat motor connectors and the additional connectors that are needed for the seat operation. The large connector with about 12 wires on it connects to the seat controller. Harness from a C300 Harness with seat motor connectors Seat back tilt wires with connector Connectors for seat bottom tilt and Seat control connector
Connecting the modified harness to the seat is fairly straight forward with an exception that I will discuss in the next paragraph. For the three seat motors visible in the seat bottom (seat fore and aft, front seat tilt and rear seat tilt) I swapped the connector on the new harness with the connector already on the seat. The existing harness had four wires per motor (two from the controller and two from the memory). The wire colors for existing seat harness controller and the new harness match. These are:
Rear raise/lower: White/Black and Blue/Black
Front raise/lower: White/Blue and Black/Red
Fore and aft travel: White and Black/Yellow
I originally attempted to access the seat back tilt motor so that I could plug the connector directly into it. I tried another approach after I determined that it would likely require a professional upholsterer to repair the seat after I was done. There is a black connector attached to the seat memory module. I removed the connector from the seat memory module and cut off the brown wire on pin 4 and the white wire on pin 2. (I left enough wire on the connector so that I could solder the wire back together if necessary.) The small white connector on the new harness has two wires. One is white/green and the other is black/grey. I soldered the white/green wire to the brown wire I removed from pin 4 and the black/grey wire to the white wire I removed from pin 2. I have included a picture showing the final product.
Seat back tilt wiring
The final wiring step is to connect the power for the seat bolster and lumbar supports to the power connector for the new seat harness. I cut the connector off the original wiring harness which is attached to a black and red wire. I used wire taps to connect the red wire to the black/yellow wire on the new harness and the black wire to the brown wire on the new harness.
Wire taps for power to lumbar and bolster
I have a few cosmetic issues to take care of. The most significant is the side cover for the seat rail. I was originally planning to reuse the covers that came on the seat and cut a hole for the seat control. I decided that it might be difficult to mount the seat controls securely and that the result would be cosmetically challenged. Fortunately, I was able to find trim on an auction site that was designed to accept the seat controllers. Once cost $25 and the other $19.49. You can see the comparison between the two parts in the final picture. I'm still waiting for one of the covers to arrive.
Seat trim cover - inside view Seat trim cover - outside view
The seat side covers that were designed for manual controls gave the final product a tidy, OEM look and feel: It looks like it came from the factory this way
I'm waiting for the leather dye to arrive so that I can address the cosmetic issues with the leather. While I'm waiting, I'll start work on the final challenge of sorting out the air bag circuit. I will appreciate any suggestions on this issue.
Last edited by KevinH2000; 03-20-2019 at 10:09 PM.
This is a great thread!
Good for you; can�t wait to see them in the car!
Thanks - I am eagerly anticipating installation day.
I should have been more diligent in my efforts to understand and adapt the wiring harness in the seat. The first seat required 7 months. I completed the second in two hours and 30 minutes.
I am awaiting the arrival of the leather dye I need to repair the scuffed areas on the seats. It is possible that the dye will arrive today (Saturday), although the USPS tracking tool predicts a Monday arrival.
The biggest potential remaining barrier is the air bag wiring. I won�t know whether I have the right configuration until I install the seats. Right now they appear to be plug and play, but looks can be deceiving. I may need to ask a neighbor to help me wrestle the seats into the car. The seats are heavy and working in a confined area could be awkward.
My dye from Seat Doctors arrived on Monday night. The company is great to work with. They sent me bottles of both Black and Anthracite dye at no additional cost because they were not sure when Mercedes made the color change.
On Monday, I tried small amounts of both colors on inconspicuous spots. Both were good matches, but I ultimately decided that black was the best match. On Tuesday I used a Preval sprayer to apply the dye. I initially worked on just the worn areas, but the dyed area looked so good I re-dyed both seats. The Preval spray attachment wasn't perfect and in areas that I considered the dye too thick I blotted it with a foam make-up sponge that I confiscated from my wife.
I still have some wiring issues to work on, but I may be able to install the seats this weekend or no later than next weekend.
I installed the seats in the car on Sunday. Everything works fine except for an air bag/SRS error. This is not totally unexpected. I had hoped that I could adapt the passenger seat to my car, but I think I will need to go to "Plan B" and add the occupancy sensor from a car like mine to have OEM-like operation. This may require the services of an automotive upholstery shop.
I'll provide more detailed information on my install after I have addressed the air bag issue.
For now, here are some first impressions:
1. The seats are very comfortable and make me feel more connected to the car.
2. The dual lumbar supports are great.
3. The seats bolt right in, but they are slightly wider than the stock seats. I had measured carefully before I bought them, but for a few moments during the installation, I thought that they might not fit.
4. Due to the greater width, accessing the controls on the side of the seat is a little difficult. There is limited clearance between the door sill and the side of the seat. I can fit my hand in although it is a tight squeeze.
5. I better not gain any weight. The bolsters are comfortable for me, but I could see how they would be tight for some people.
I am pleased with the result, but I will be even more pleased after I fix the air bag issue.
Last edited by KevinH2000; 04-02-2019 at 09:38 PM.
 07-29-2018, 10:51 AM