When you click on links to various merchants on this site and make a purchase, this can result in this site earning a commission. Affiliate programs and affiliations include, but are not limited to, the eBay Partner Network.
This will probably be the least used DIY thread here but I'm certain someone in the future will greatly appreciate this as it is 100% non-obvious.
Many thanks to Ken who talked me through the tricky bits; would have been lost without your help.
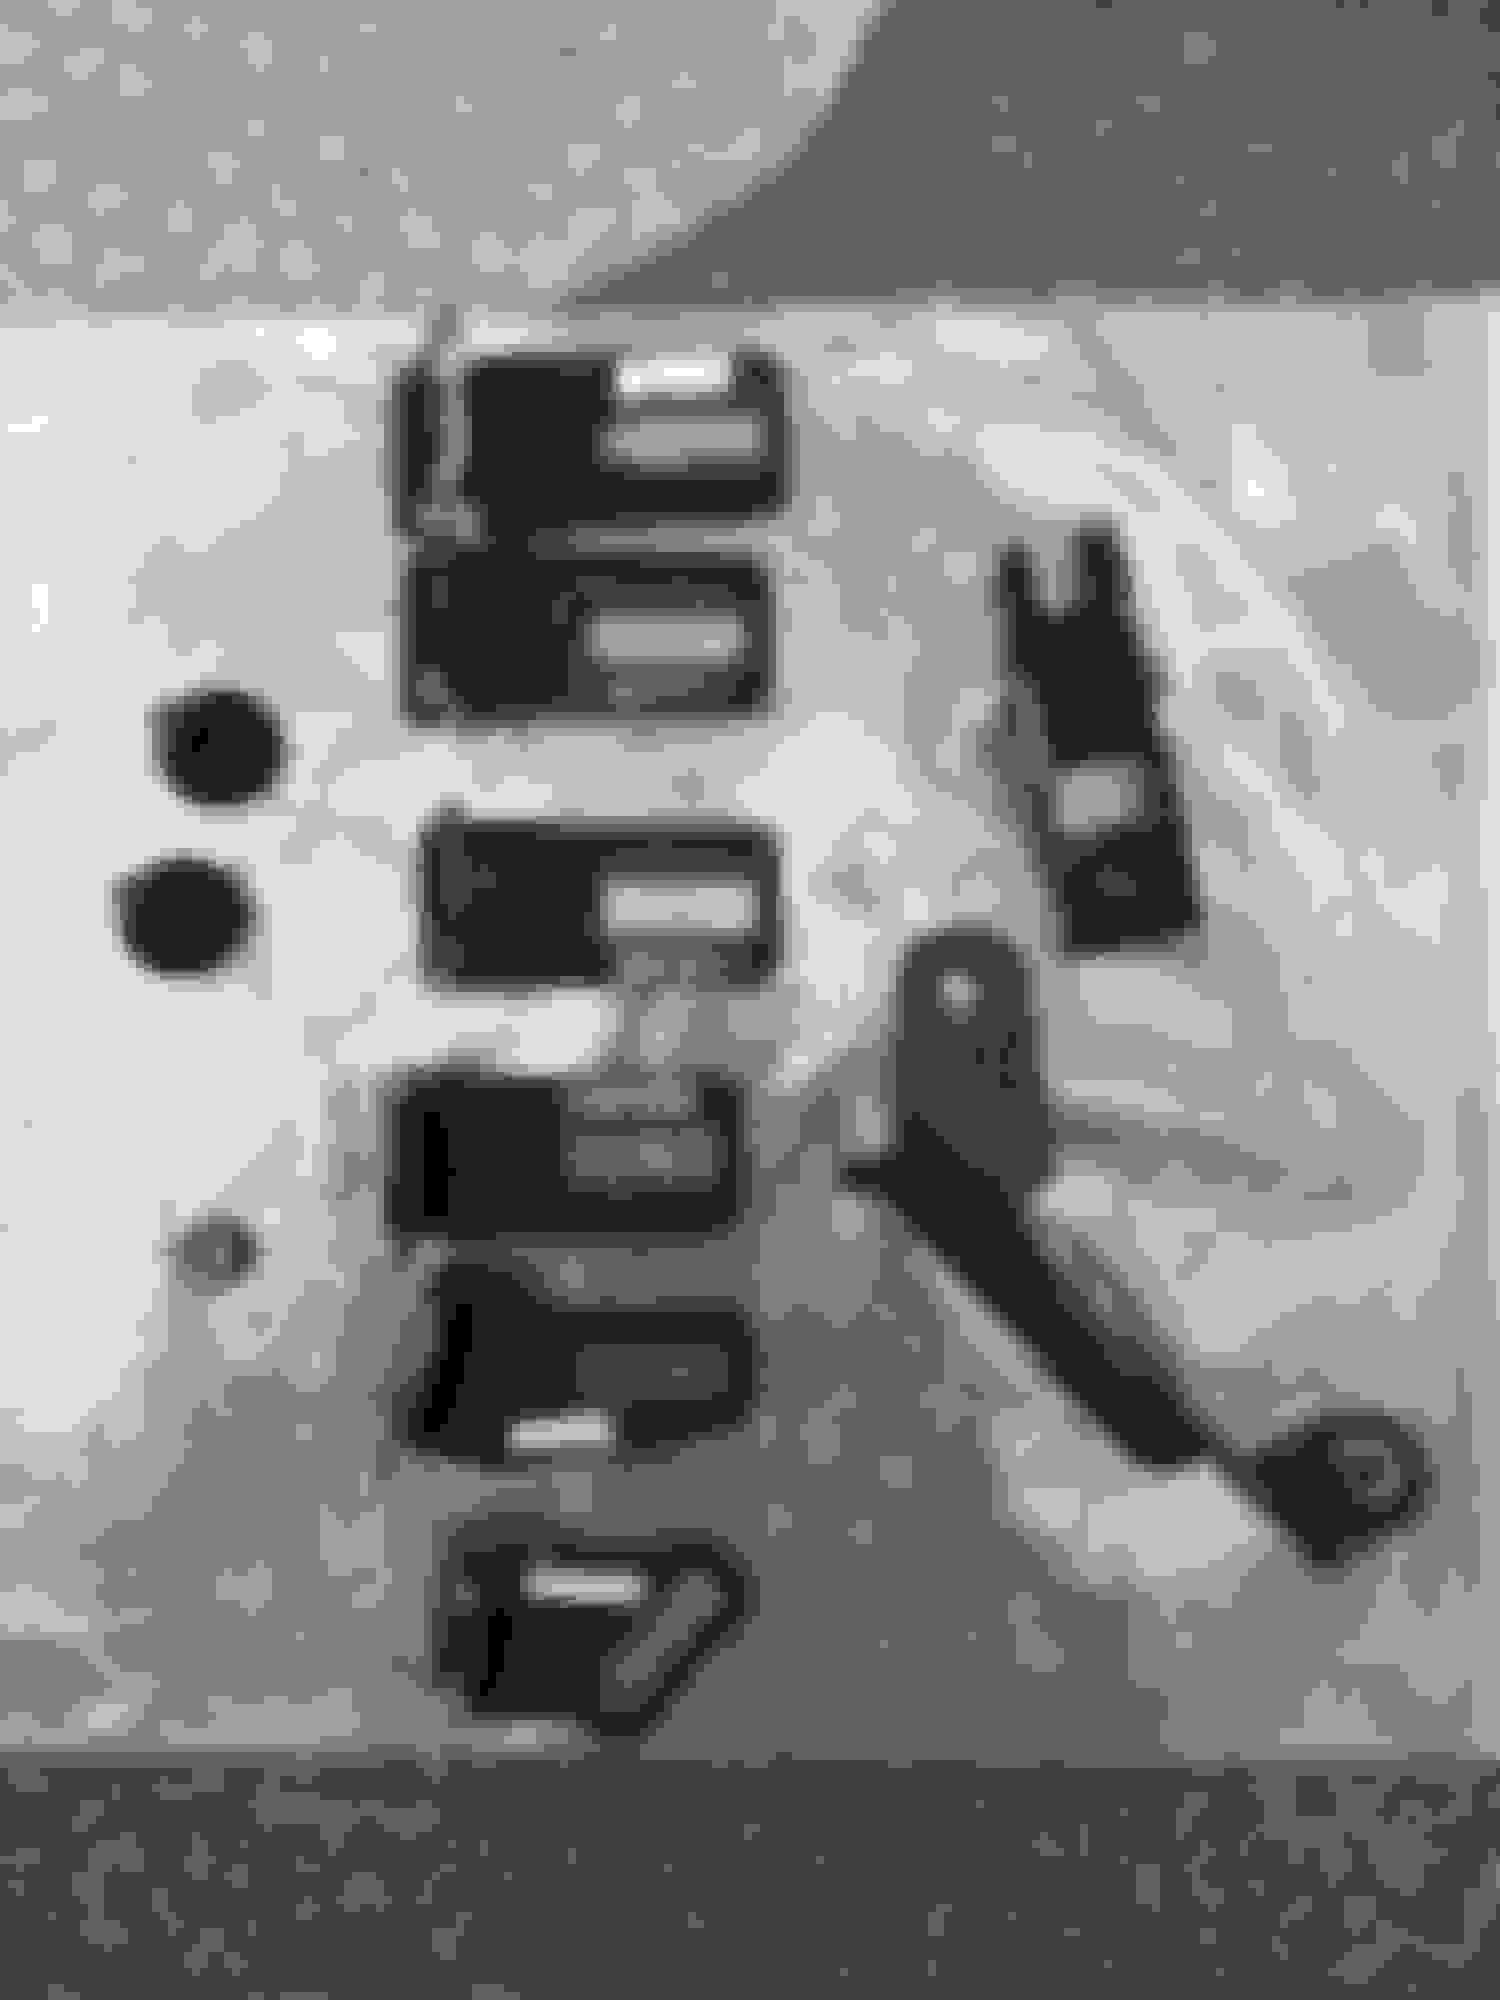
Parts:
5 CF pieces - check the backside to ensure all of the clips are in place. Besides the front piece (0 clips), the other 4 should have a minimum of 2 clips each.
Assortment of brackets, screws, etc. You should have ~8 metal brackets, 4 screws/washers, 2 metal arms, and a nut (not the one doing the install).
See pic (when I took the pic, 2 screws/washers were already used and I believe I'm missing 2 brackets).
Step 1:
If your car never had the CF covers, you'll need to remove the plastic covers on both sides of the engine bay. They have easy plastic clips. Start at the top and go 1 at a time - use a flathead screwdriver if you need leverage. Squeeze each clip inward and pry the cover off outward.
Note: keen observers will notice that I had already installed the front piece - this was a mistake! It makes it harder to get the plastic parts removed and also the front piece cannot be secured all the way down as required.
Here's what one side looks after the plastic cover is removed.
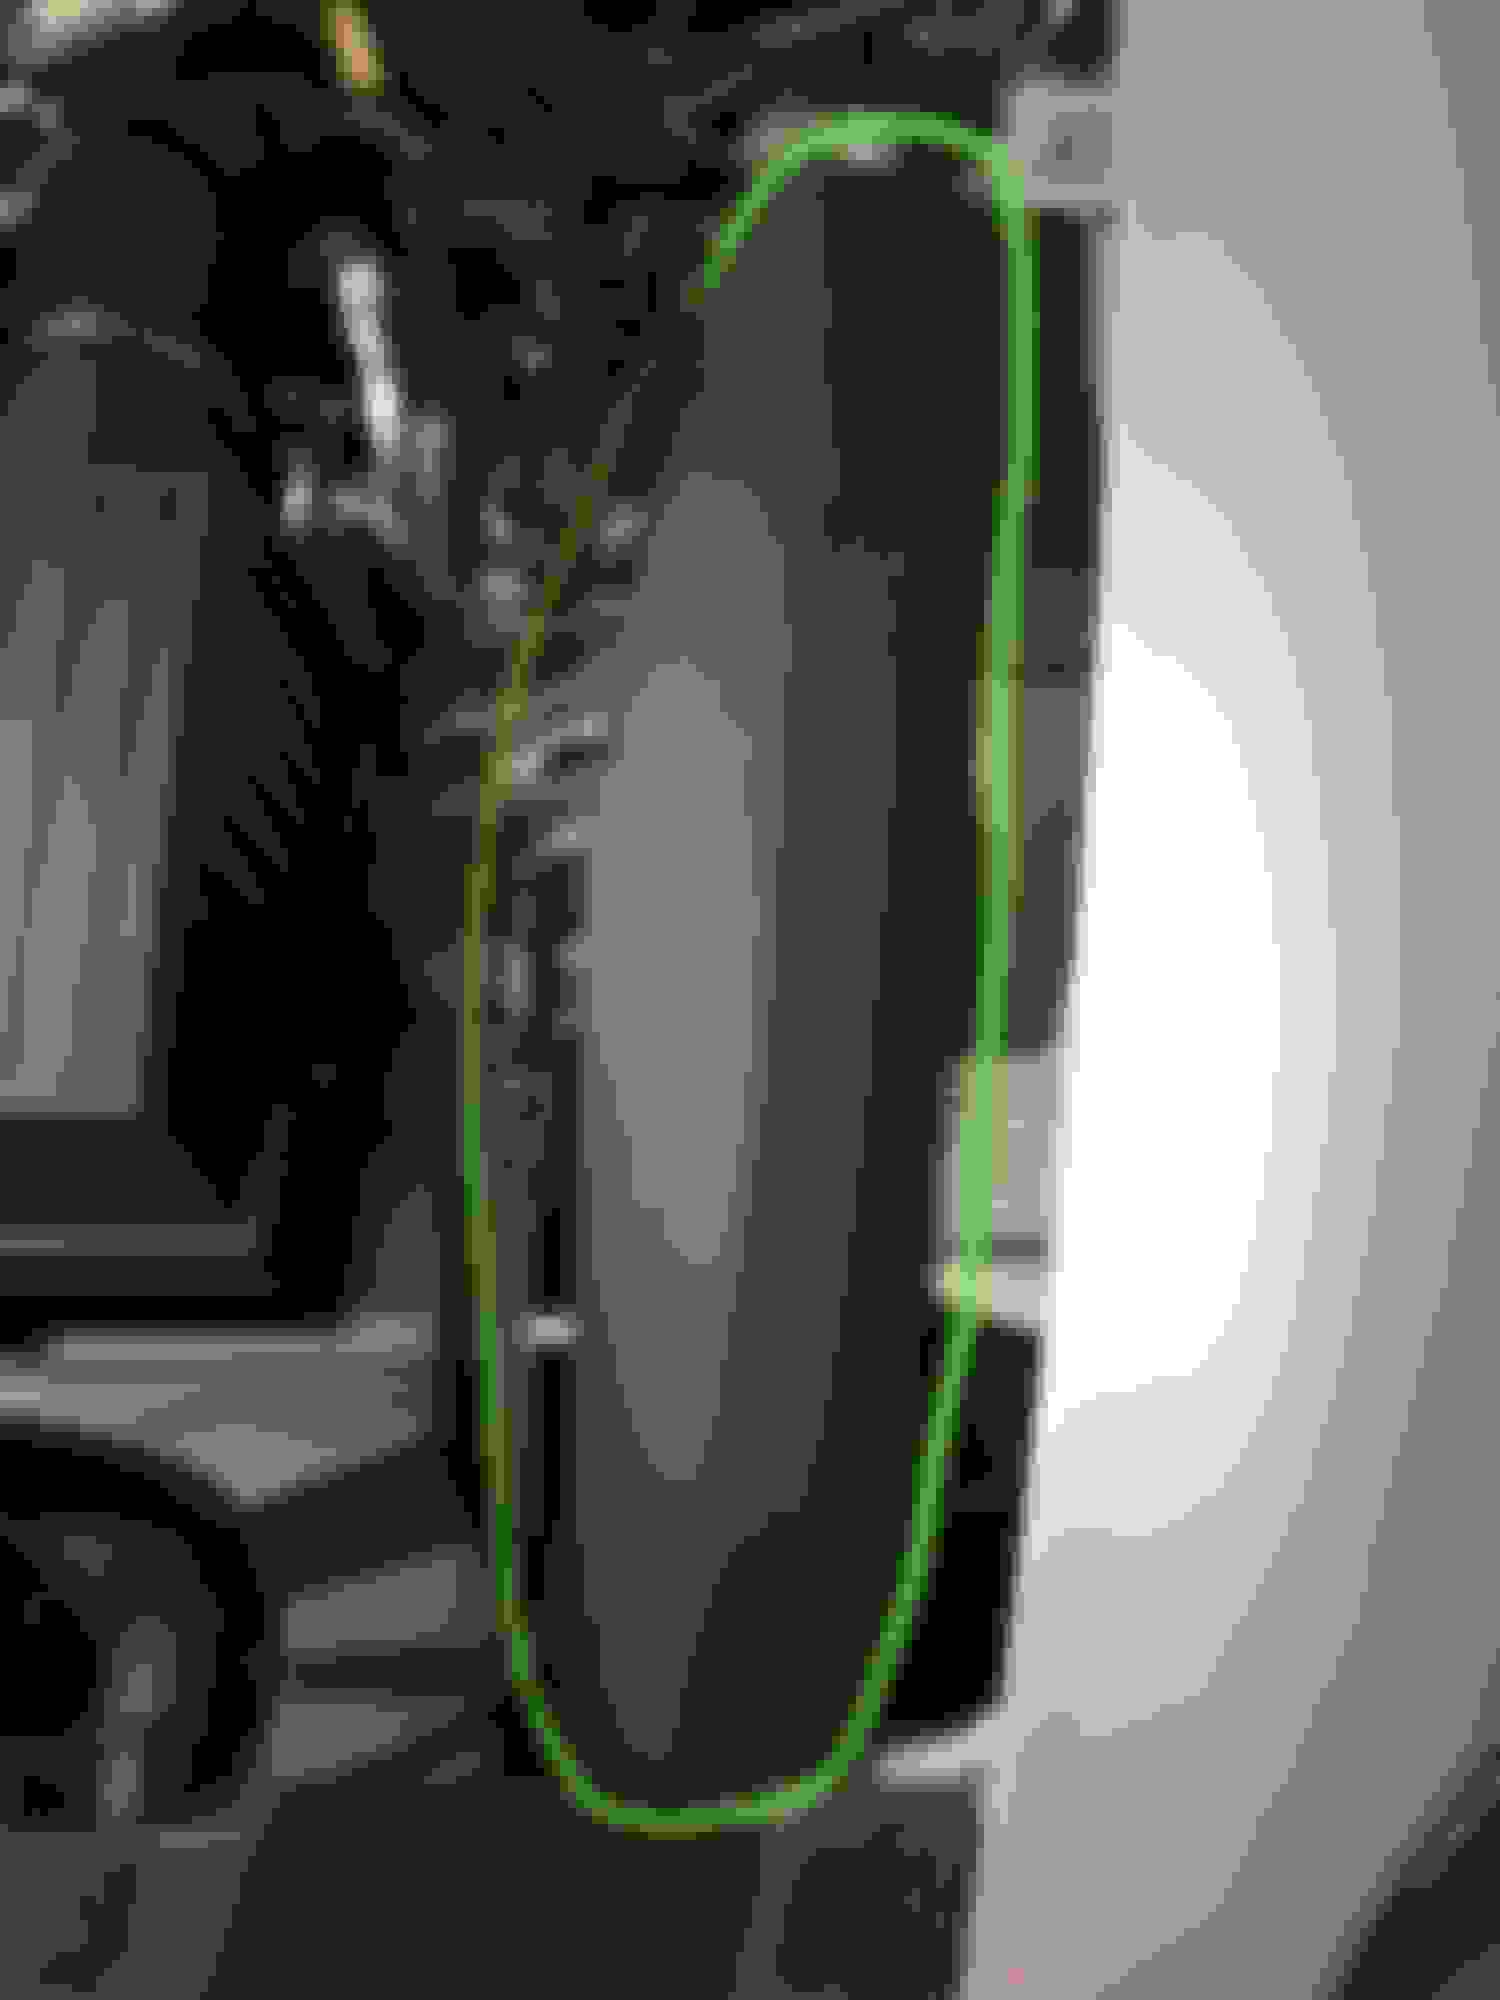
Step 2:
Install the front piece. You'll use 2 screws/washers. It doesn't need a lot of explanation but here's a pic. I'd only tighten the screws until you get full resistance. No reason to torque them beyond 1-2 Nm. At this point, you should also test the alignment with your hood - make sure the spring doesn't come down on the CF. Mine (the spring) was slightly off center and would have slammed into the CF but I was able to bend the spring back into proper alignment.
Step 3:
Pull off the rubber weatherstripping. It just comes right off with little effort. Here's one side.
Step 4:
Slot the long lateral piece into the front piece (there are 2 prongs which help get everything snug and aligned).
Step 5:
Test fit the 2 abnormal (e.g., they have elbow bends in them) brackets onto the edge where the rubber stripping was. Line them up with the clips on the CF piece and snap into place.
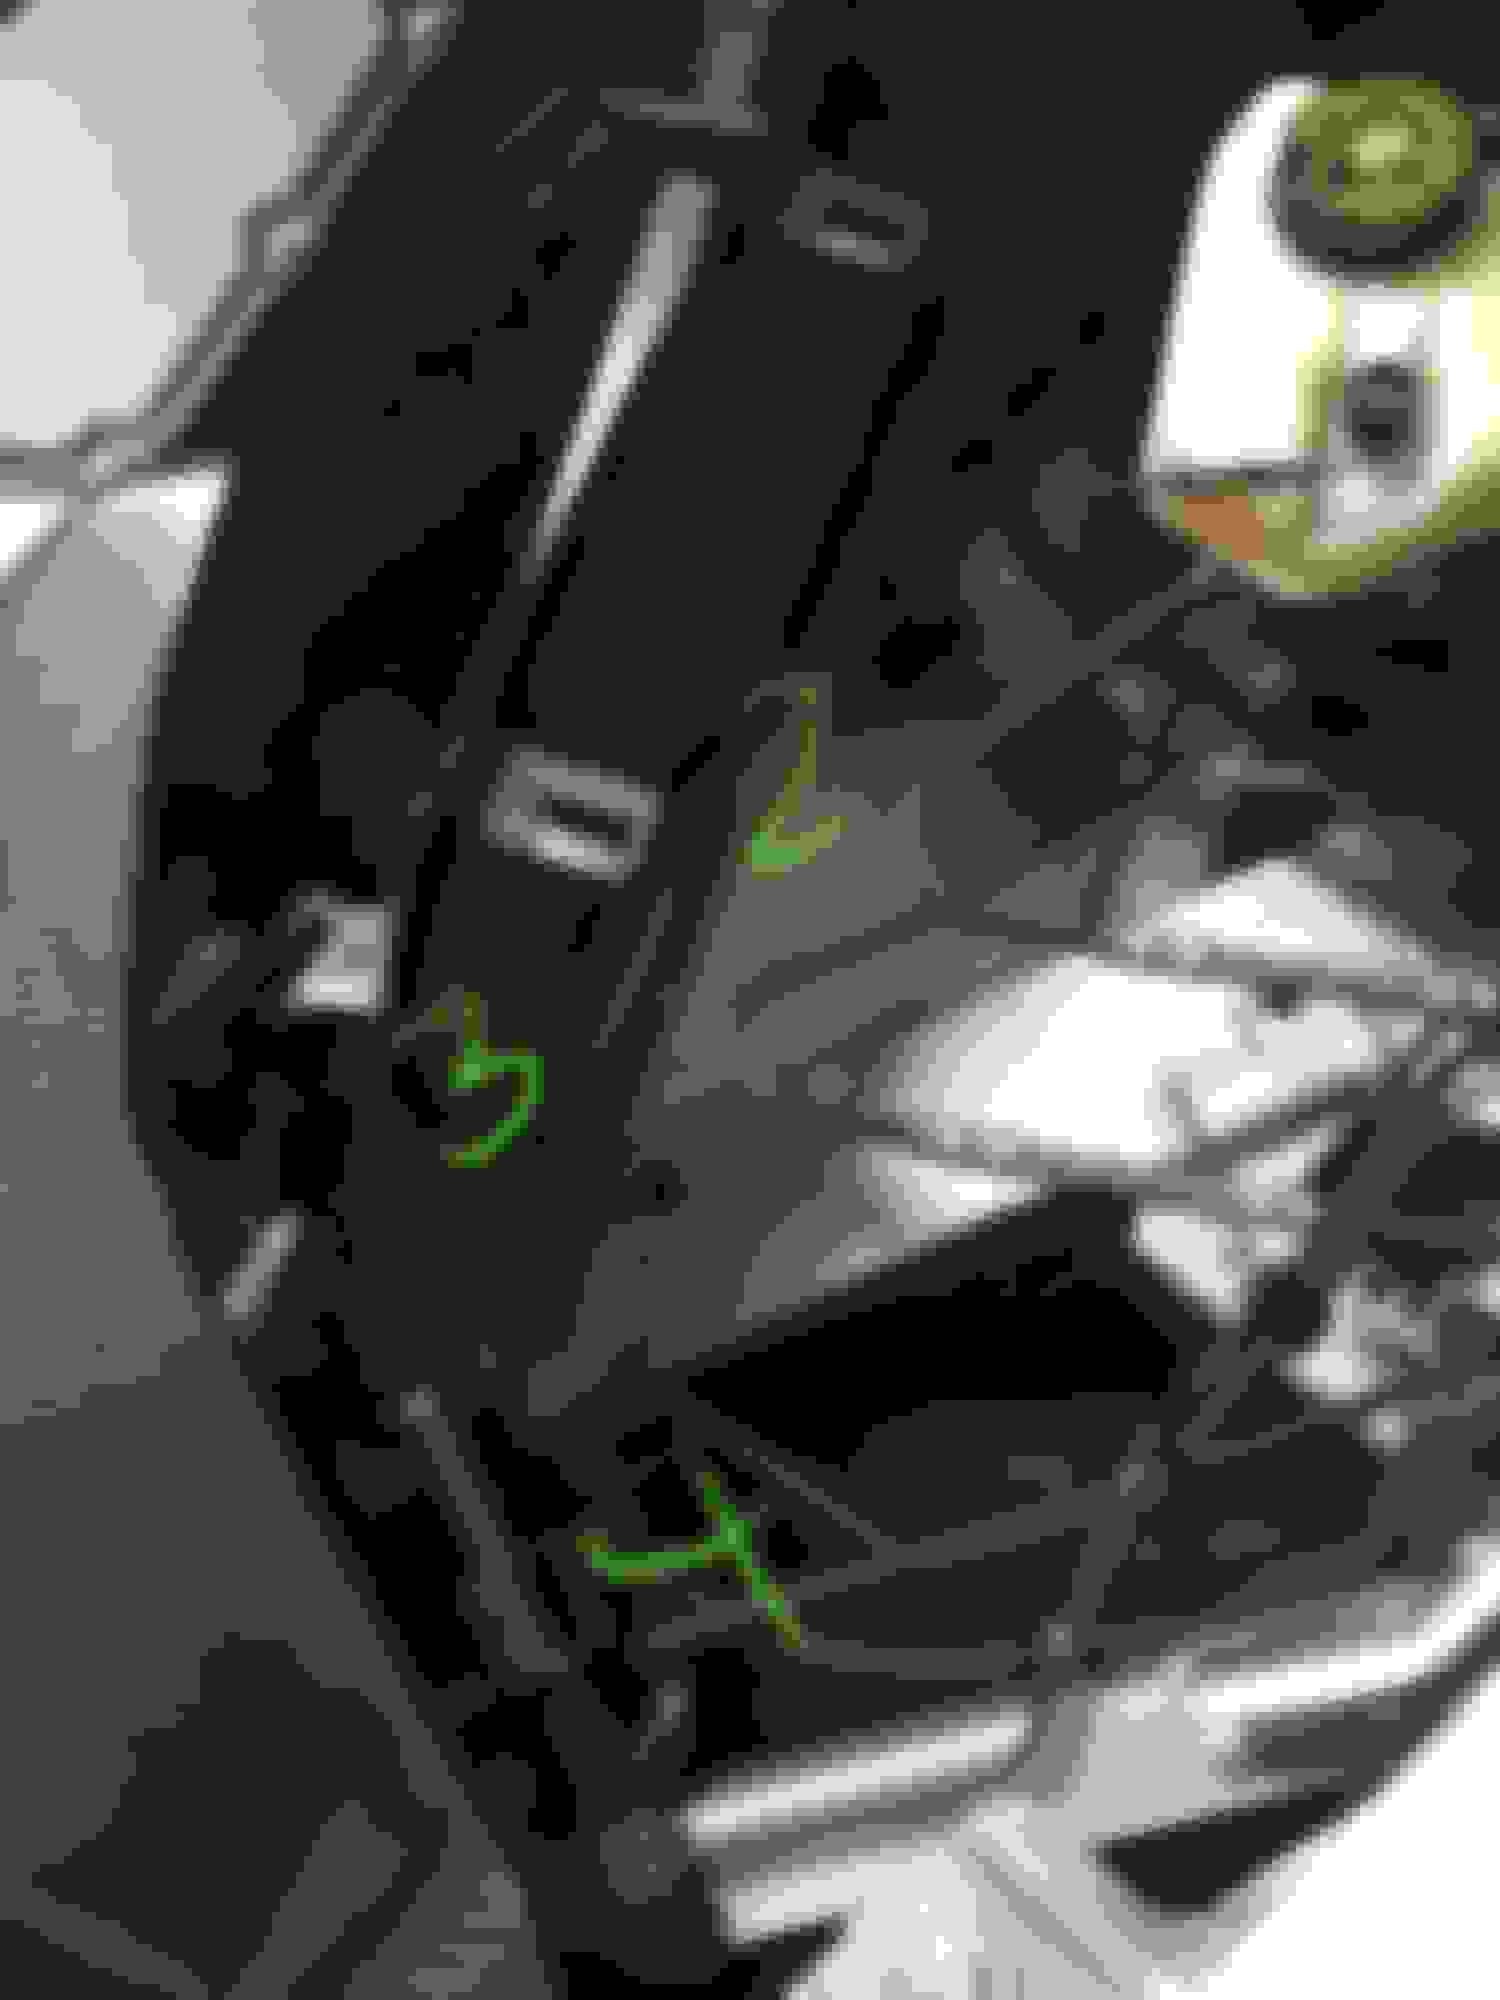
Step 6:
Repeat Step 5 on other side of car. Note: As best I can tell, although there are 2 clips at the top of this piece (US passenger side), there is only 1 bracket used. The parts manifest only calls for 1 bracket.
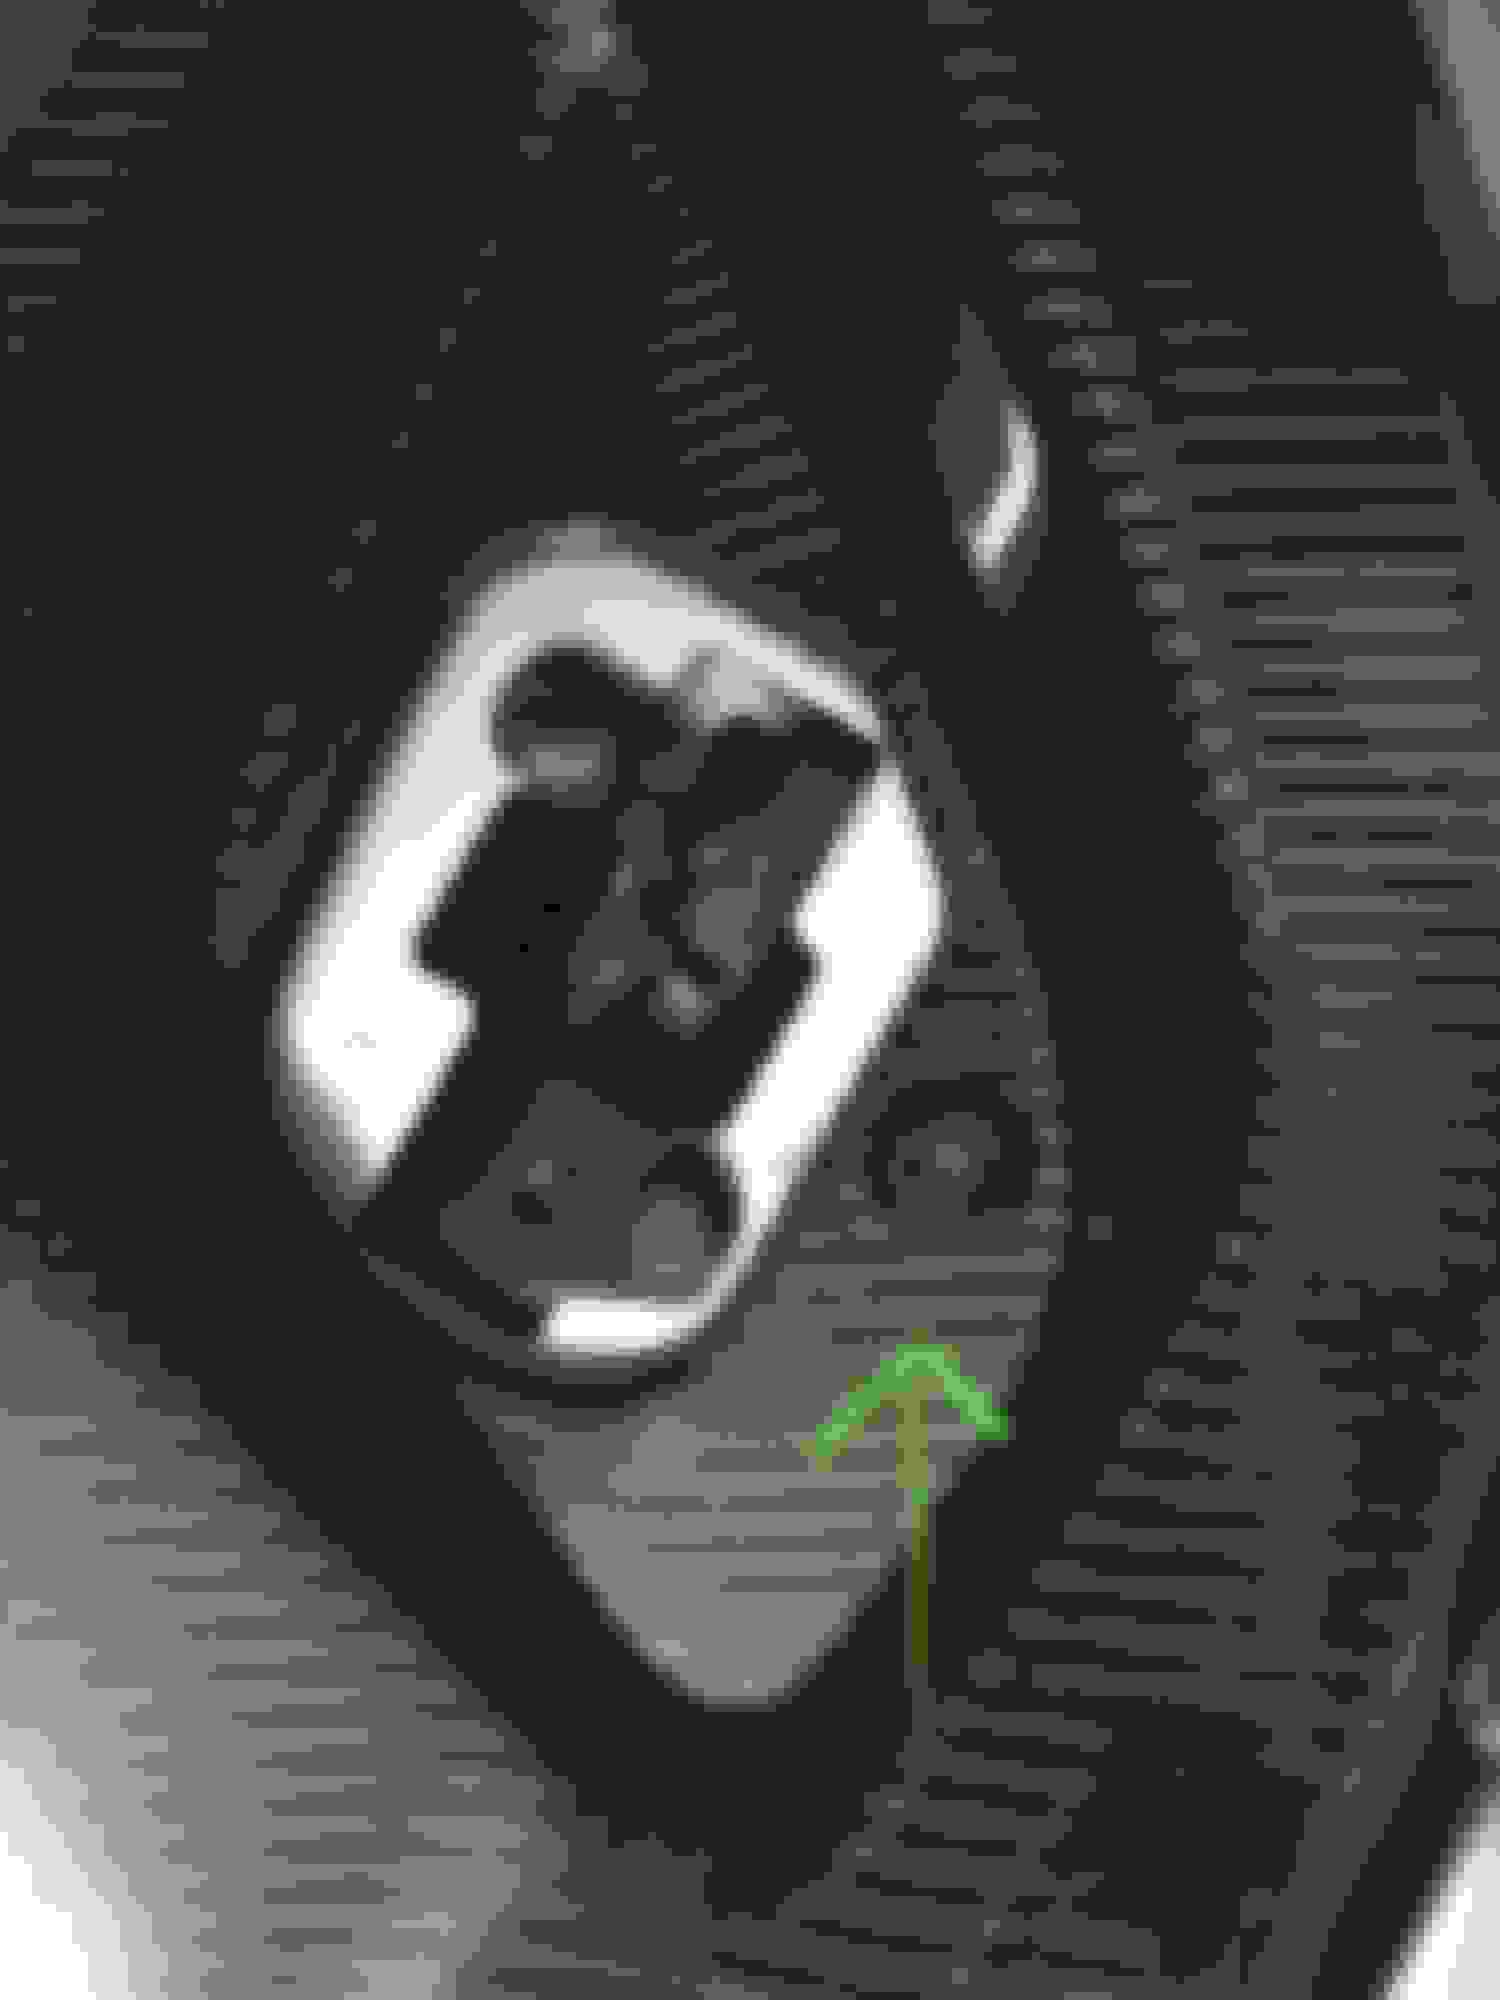
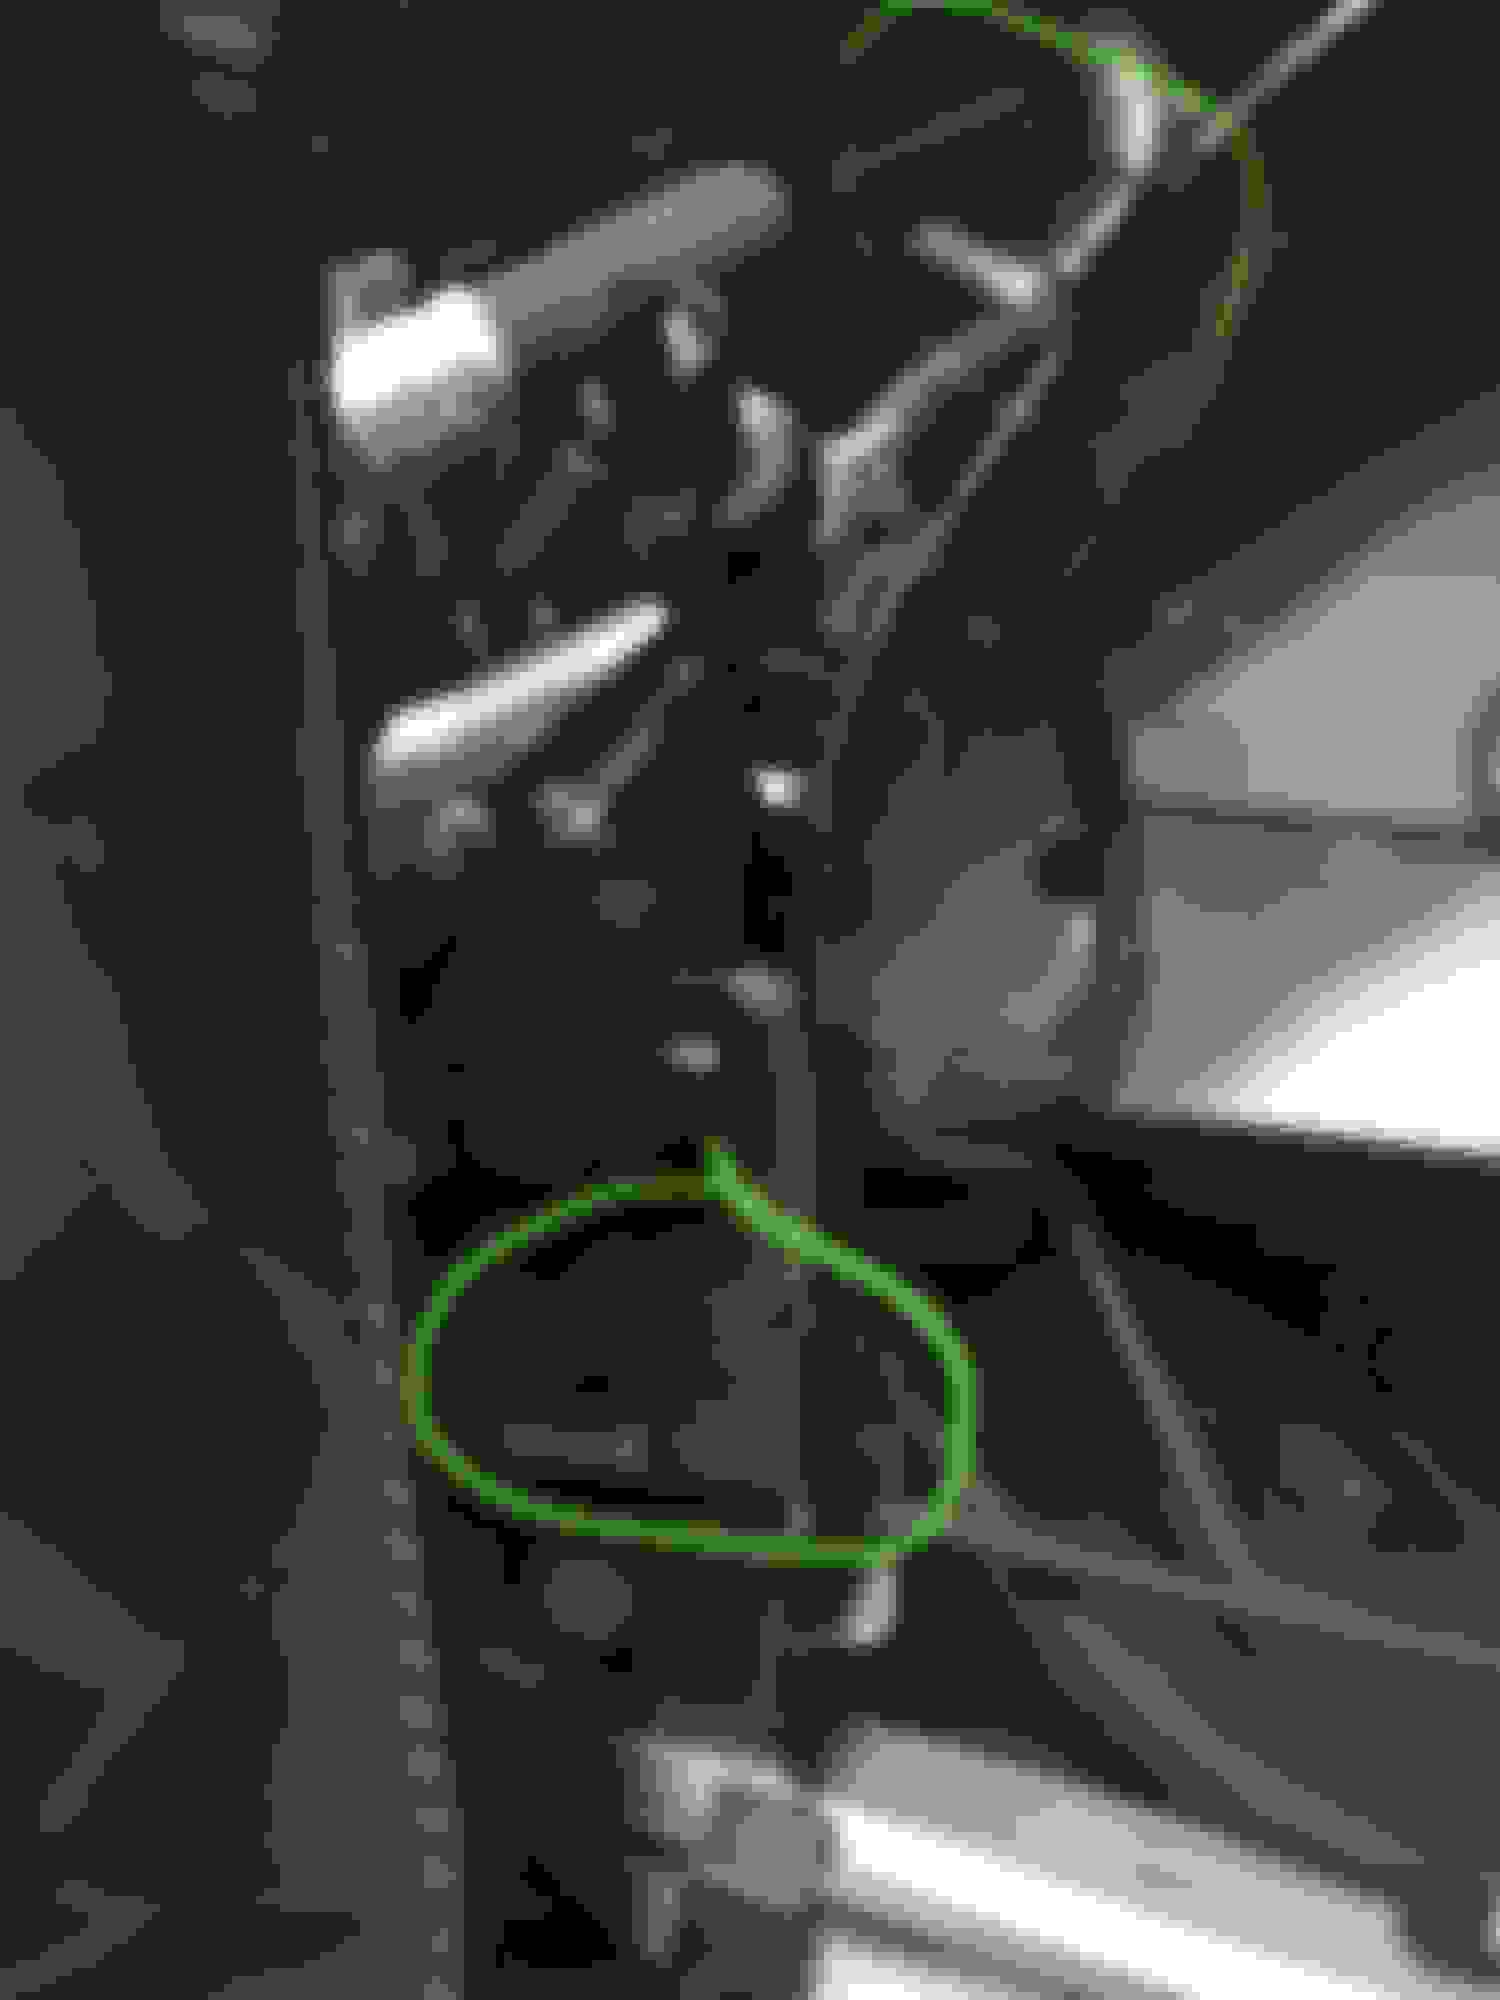
Step 7:
Install the brake reservoir cover. Mine seems to be missing a clip (see pic) but there are enough contact points remaining that it still secures down just fine.
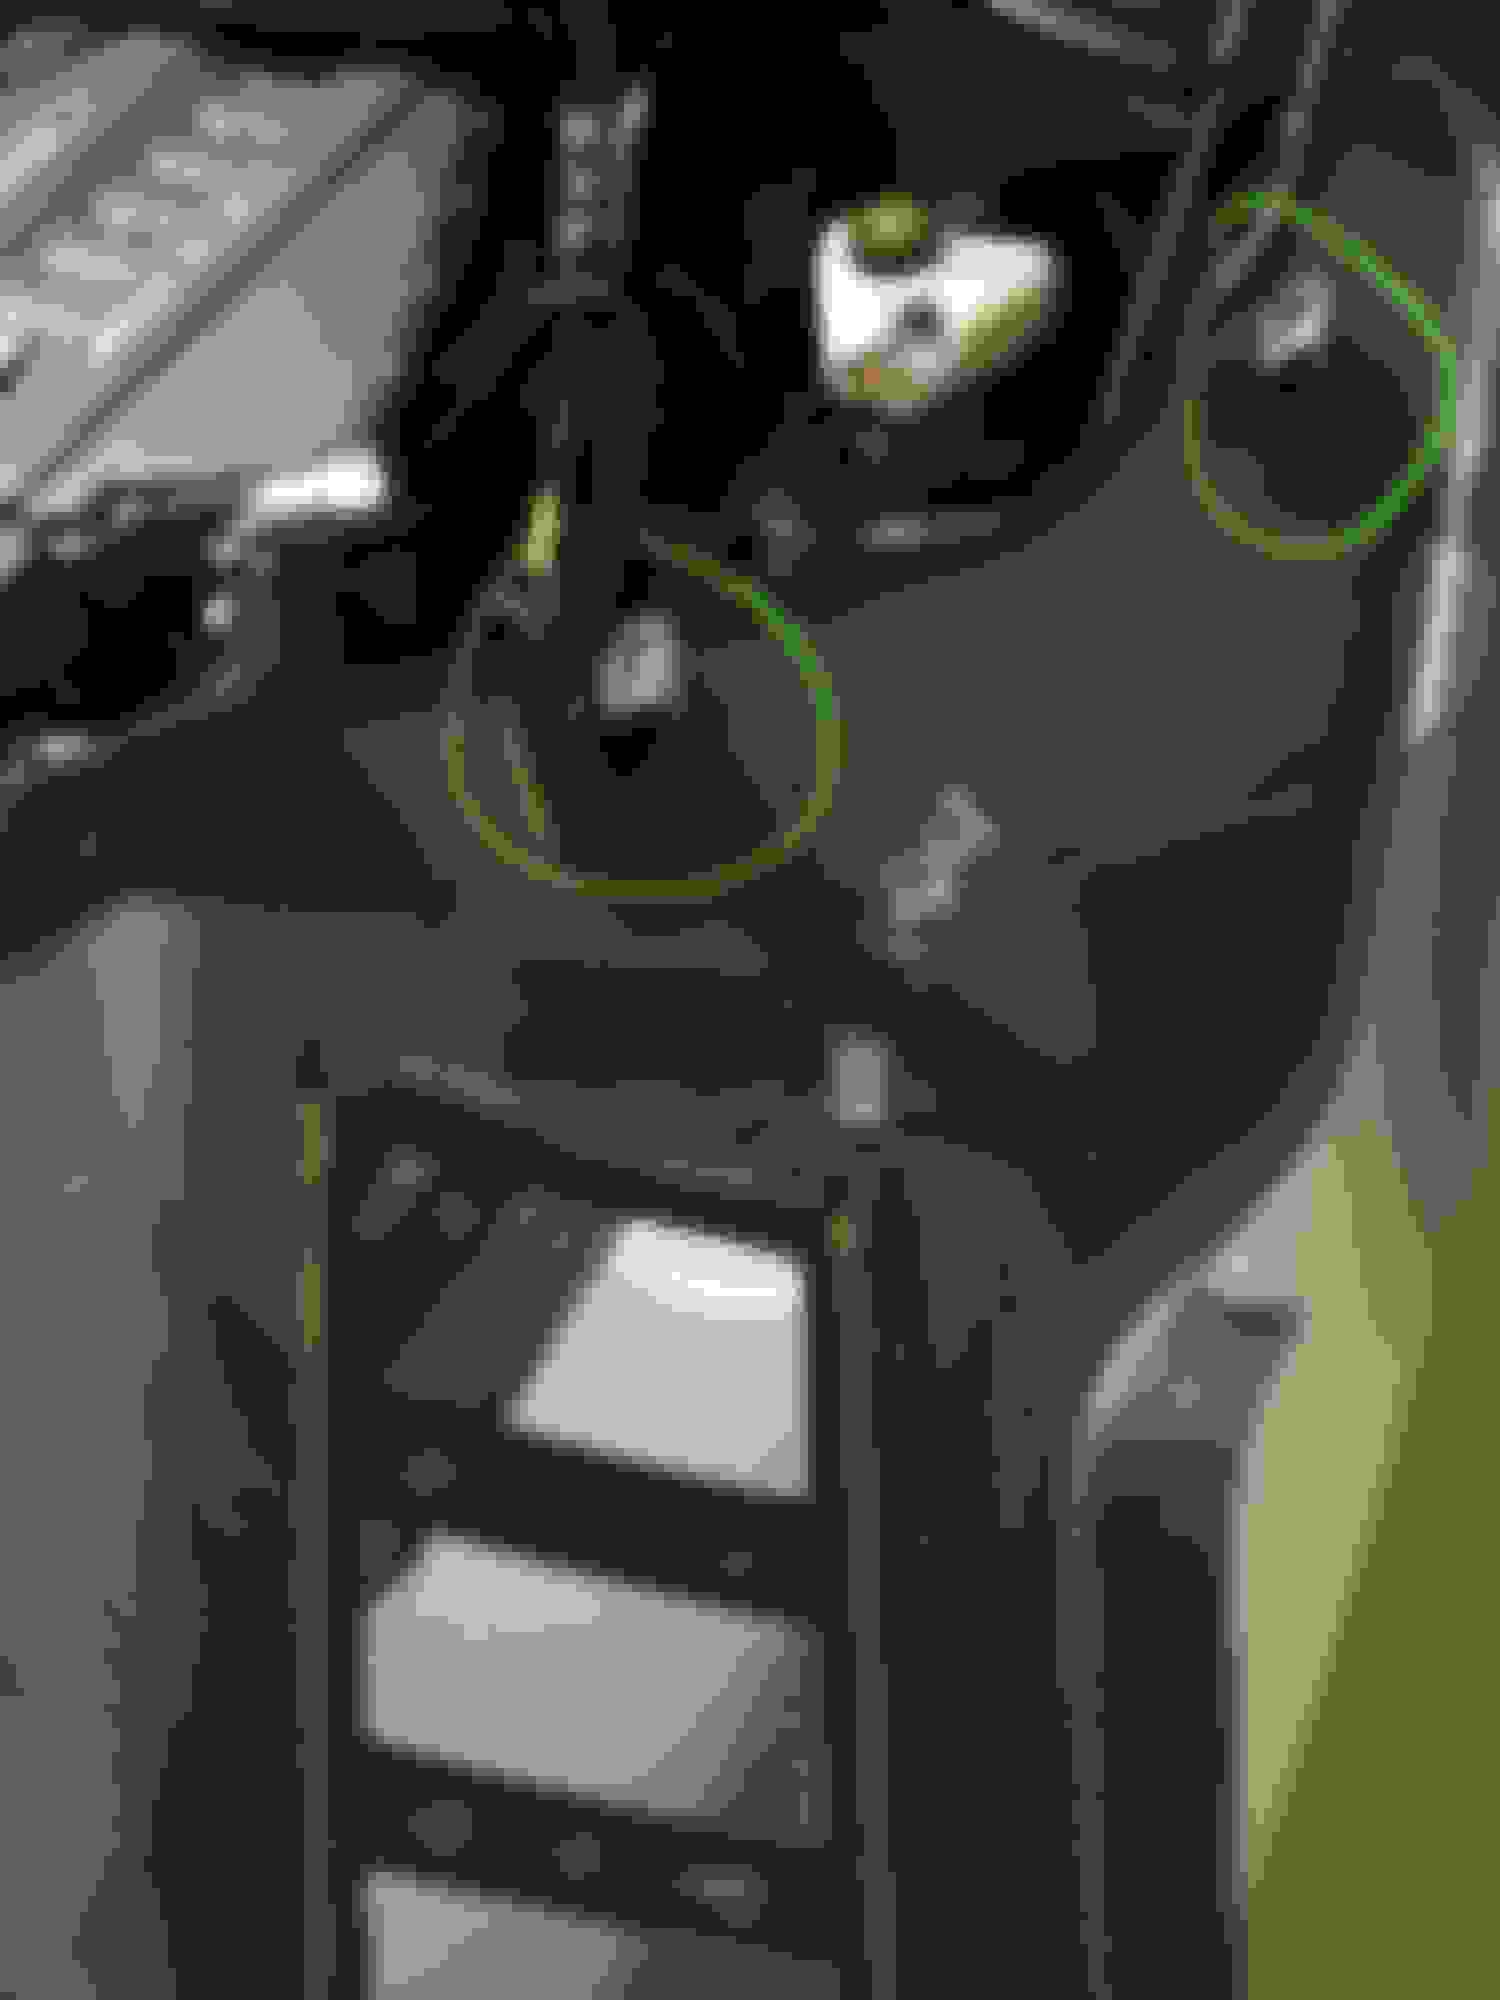
Test fit 2 more brackets (numbers 1 and 2 in this pic). Note: Bracket #4 is the wrong one in this pic; it should be the 1 with a slight elbow bend. I fixed it in my final installation.
Step 8:
Use screw/washer and metal arm to anchor the brake reservoir cover.
Step 9:
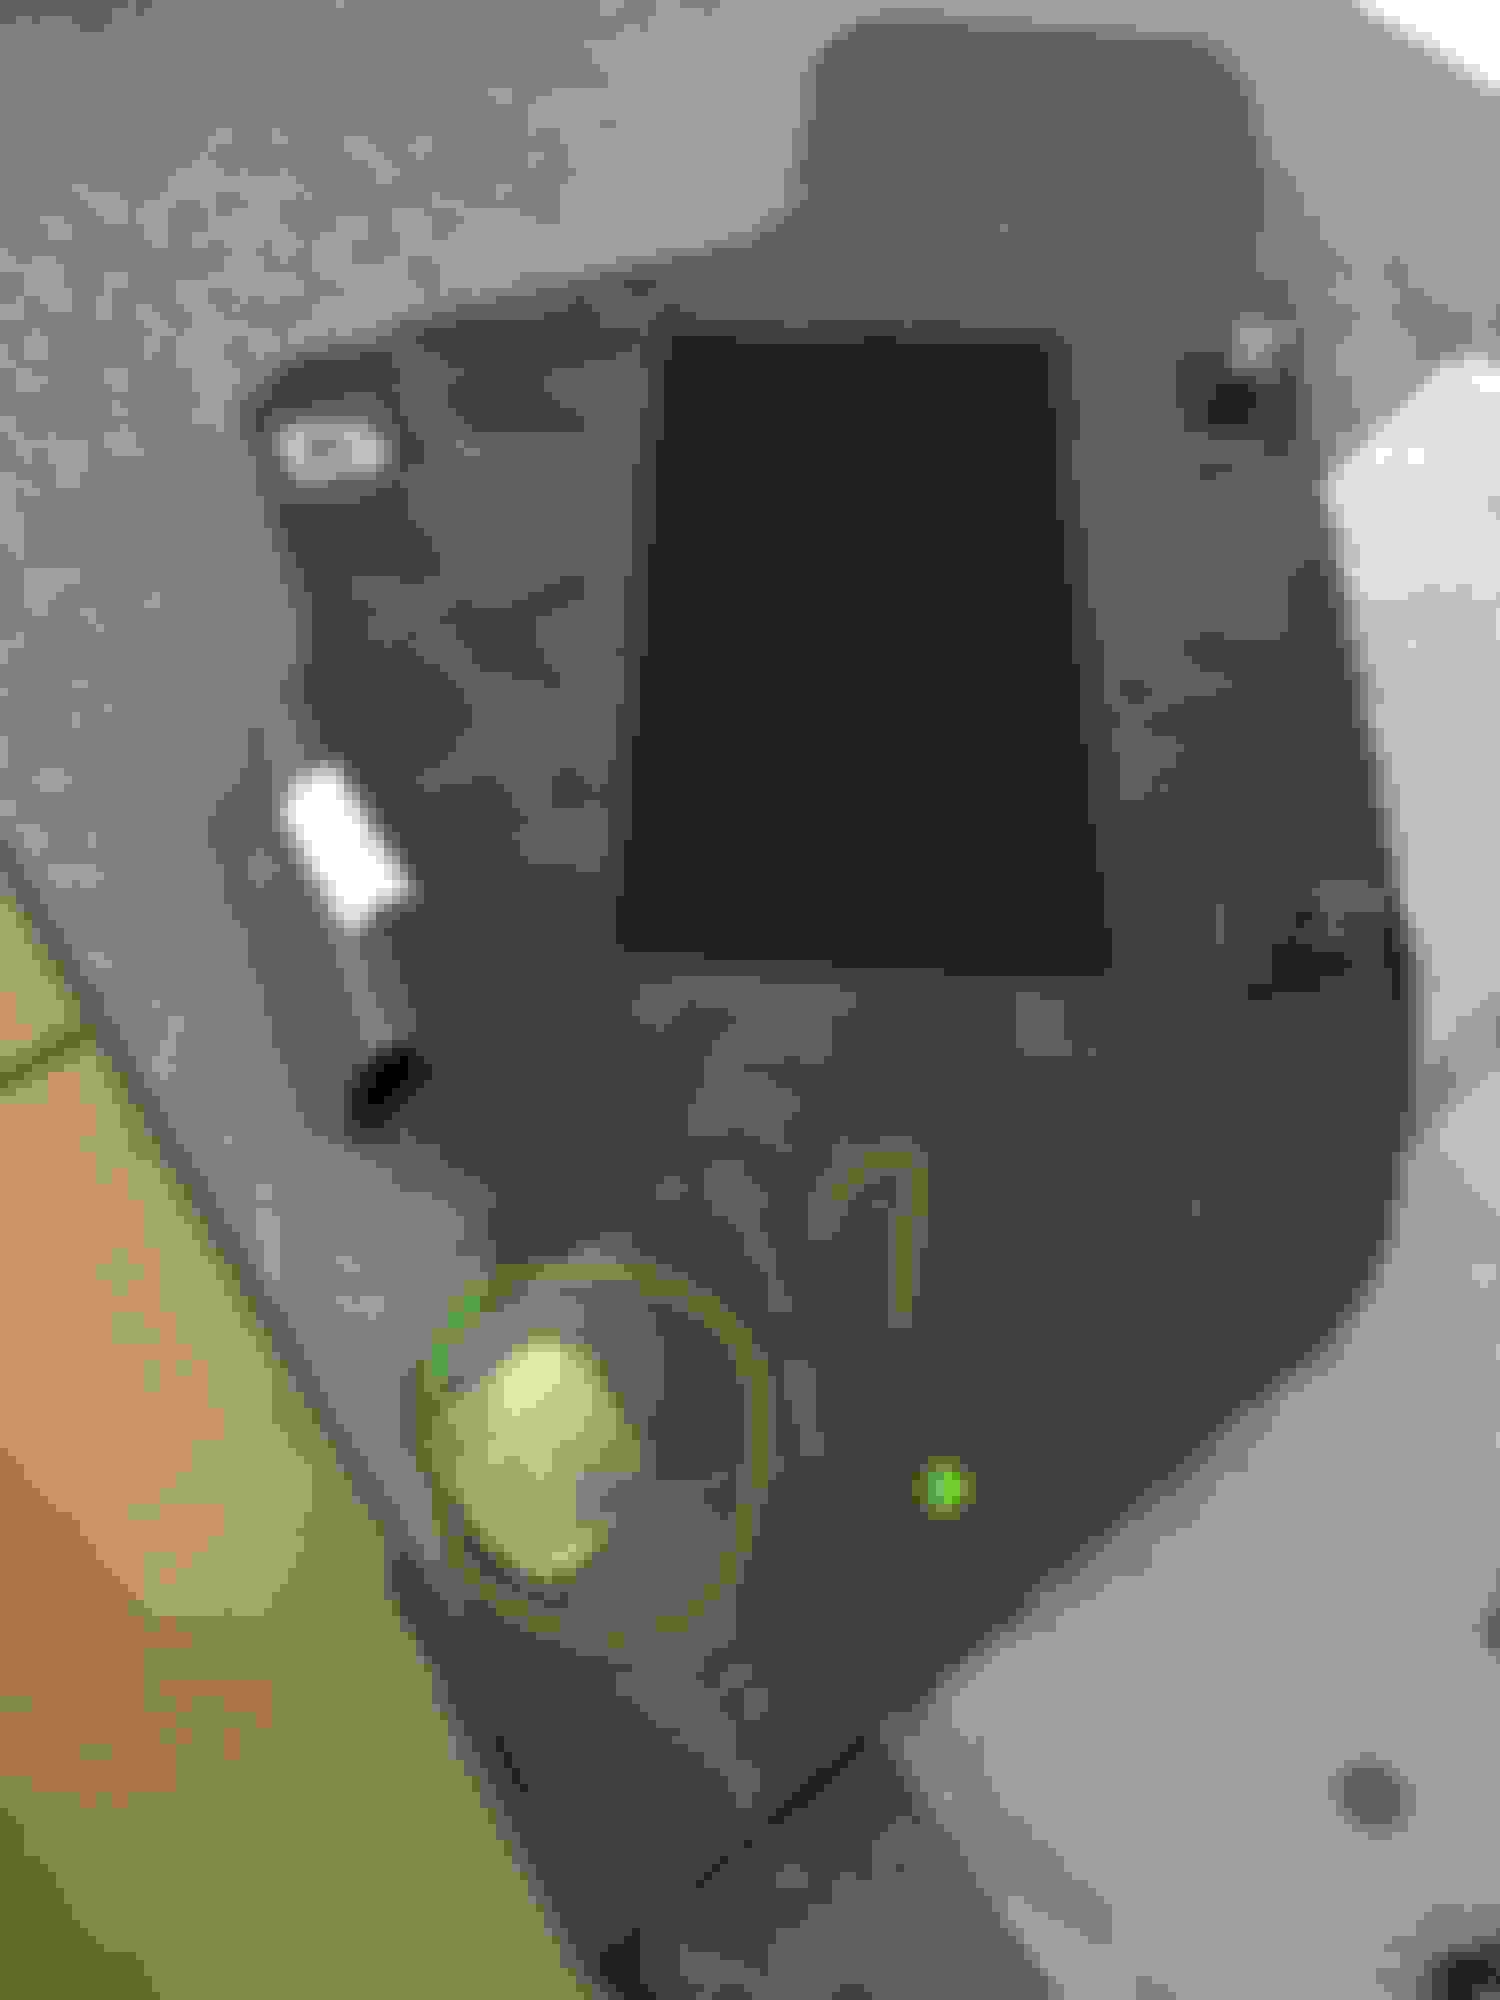
Install battery cover. Use 2 normal brackets and the remaining metal arm-bracket. Reference the parts diagram below to get the orientation of the part (item 560) correct. You'll need a Torx 30 for this step to take out the anchor screw of the washer fluid fill, slide the metal bracket underneath and re-tighten. I recommend loosely securing the other end of the bracket to the CF piece before attaching.
Step 10:
Replace the rubber weatherstripping, polish the fingerprints off of the CF, and carefully lower the hood (or not...and just stare).
Last edited by Sandy Eggo; 09-29-2016 at 10:32 PM.
Well, there are a handful of sets available in MB inventory worldwide for about $14k all in (after taxes, shipping, mounting hardware). Otherwise, you have to be quite lucky and/or resourceful to track down a set.
Well, there are a handful of sets available in MB inventory worldwide for about $14k all in (after taxes, shipping, mounting hardware). Otherwise, you have to be quite lucky and/or resourceful to track down a set.
Thanks, I'll go through MB. I am also going to change my wheels to the AMG silver outlined wheels. I had a link to company in Austria or Germany, but my PC crashed and I lost my bookmarks

 09-28-2016, 10:42 AM