When you click on links to various merchants on this site and make a purchase, this can result in this site earning a commission. Affiliate programs and affiliations include, but are not limited to, the eBay Partner Network.
I wanted to start a thread about my car and document the journey on owning this car. I would love to hear some feedback!
I have always loved the look of the W210 Mercedes. Especially the models with sport bumpers and monoblock rims. I had been looking on craigslist for a project car and my instinct was to find a decent E36 4 door M3 or M5. Every single add I came across wanted too much or the car was complete garbage. So 1 day I start looking at E55's after I came across some articles on how they are bargain entry level AMG cars these days.
Here is the car from local ad on craigslist I reached out to the gentlemen, we agreed to meet and let me look over the car. I did some research on the things to looks for... primarily rust issues and other maintenance upkeep items. Everything checked out and I took the car on quick test drive.
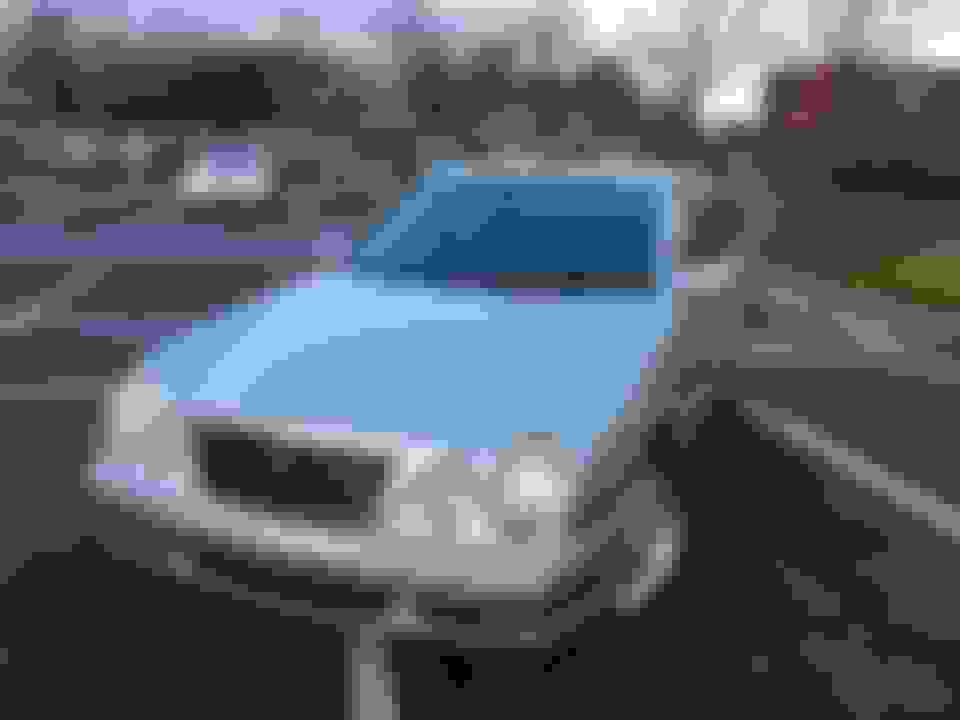
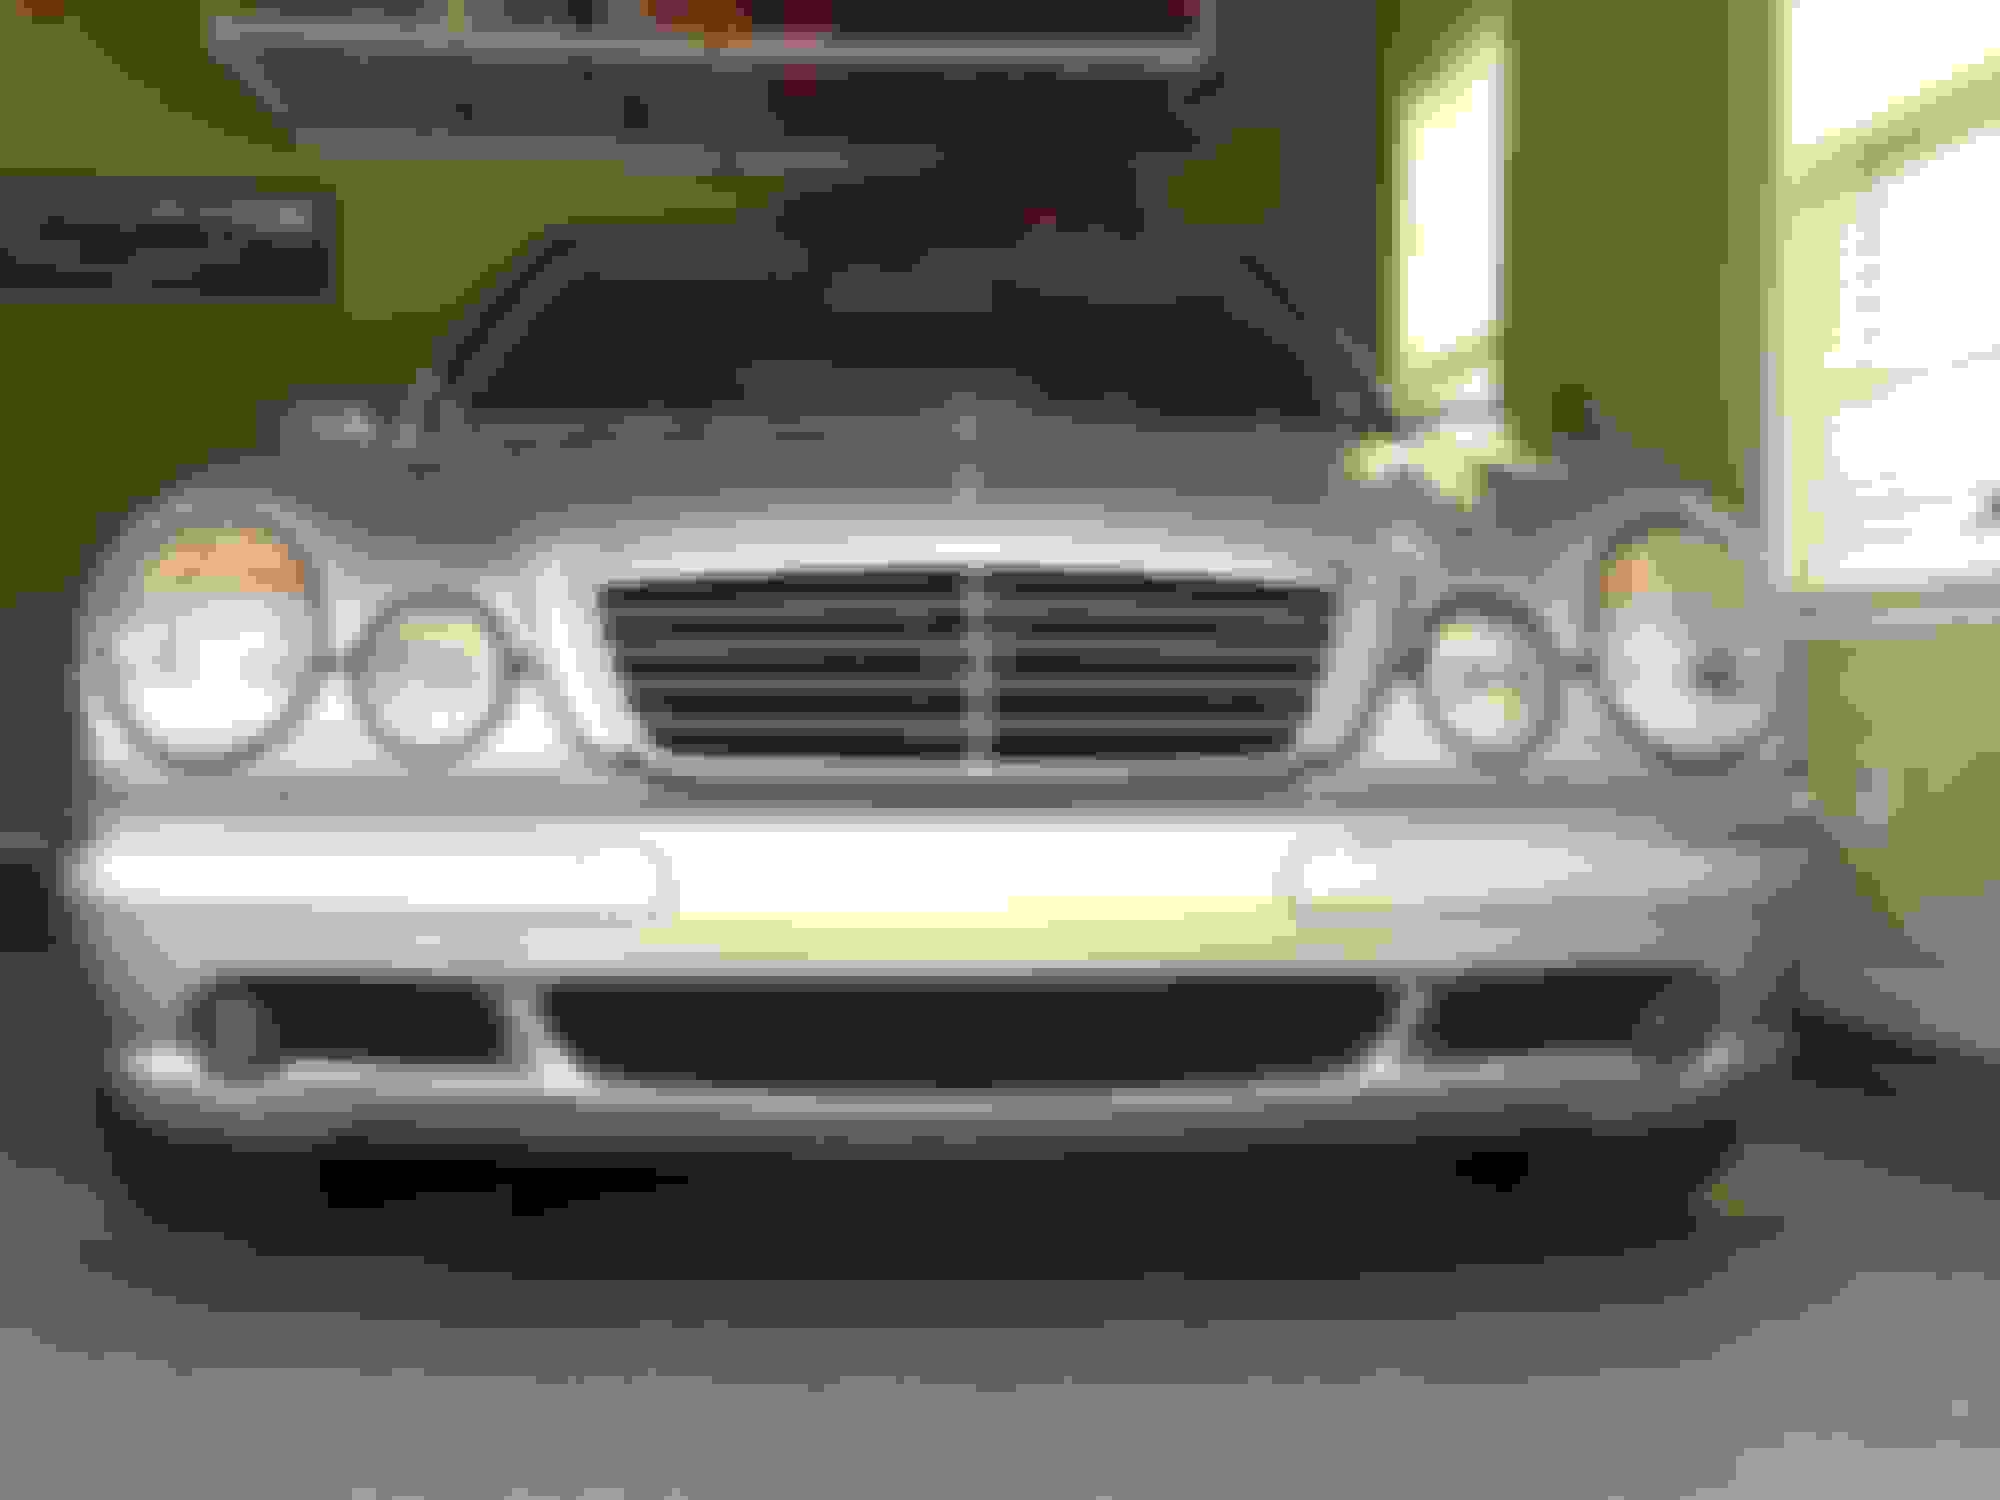
The next thing I know... I have paid for the car and its in my possession!. Here are the first 2 pics I took on the day I bought it March 2018.
So the first week of ownership consisted of registering the vehicle and getting a tag. And also starting the process of researching all sorts of upgrades that I wanted to do to the car.
However, I missed a few things when looking over the car that I realized that I should have paid more attention to.
The instrument cluster lights were the first thing I focused on addressing. I watched countless youtube videos on how to remove the cluster. This was the first nerve racking issue that I dealt with. I finally got the cluster our and replaced some of the burnt bulbs and verified the ribbons to the left and right display were making contact.
Next I began the process of cleaning parts of the inside of the car and noticed the interior wood trim was slightly faded. A you can see below. The center console where the gear shifter is located is peeling a little and the upper part of the console seems to be in ok condition. The compartment that I have my finger on will not stay shut. I eventually disassembled this part of the dash and corrected the issue. However the inside of the compartment was deteriorating. i think it was some type of rubber material for a sunglasses holder area. So I completely stripped it and installed the bare plastic compartment back.
Here are the door inserted with the faded wood trim that I believe is the "birdeye wood." This is fairly impossible to find a complete set for the center console and doors.
I have given up on finding a matching set of wood trim for the time being. If anyone has a suggestion on what I do here it would be helpful.
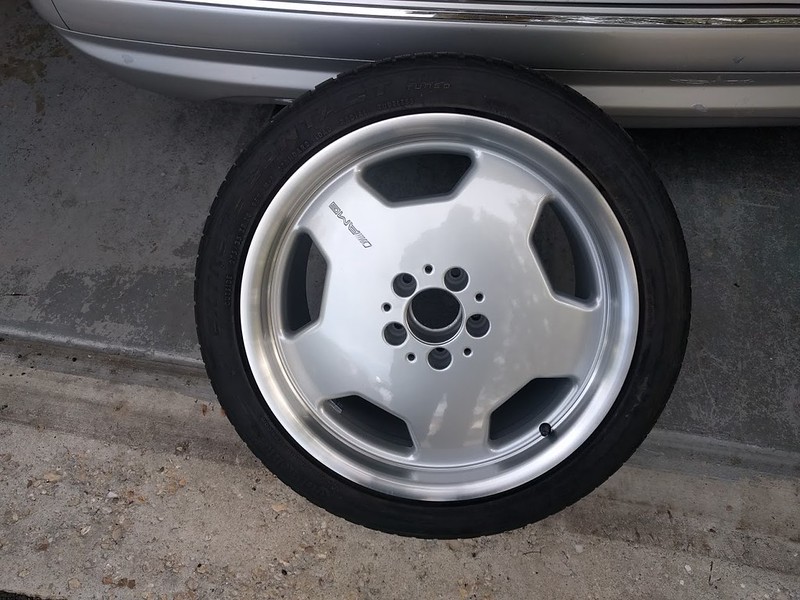
So moving onto other items on the car. I started noticing how bad the AMG monoblocked looked.
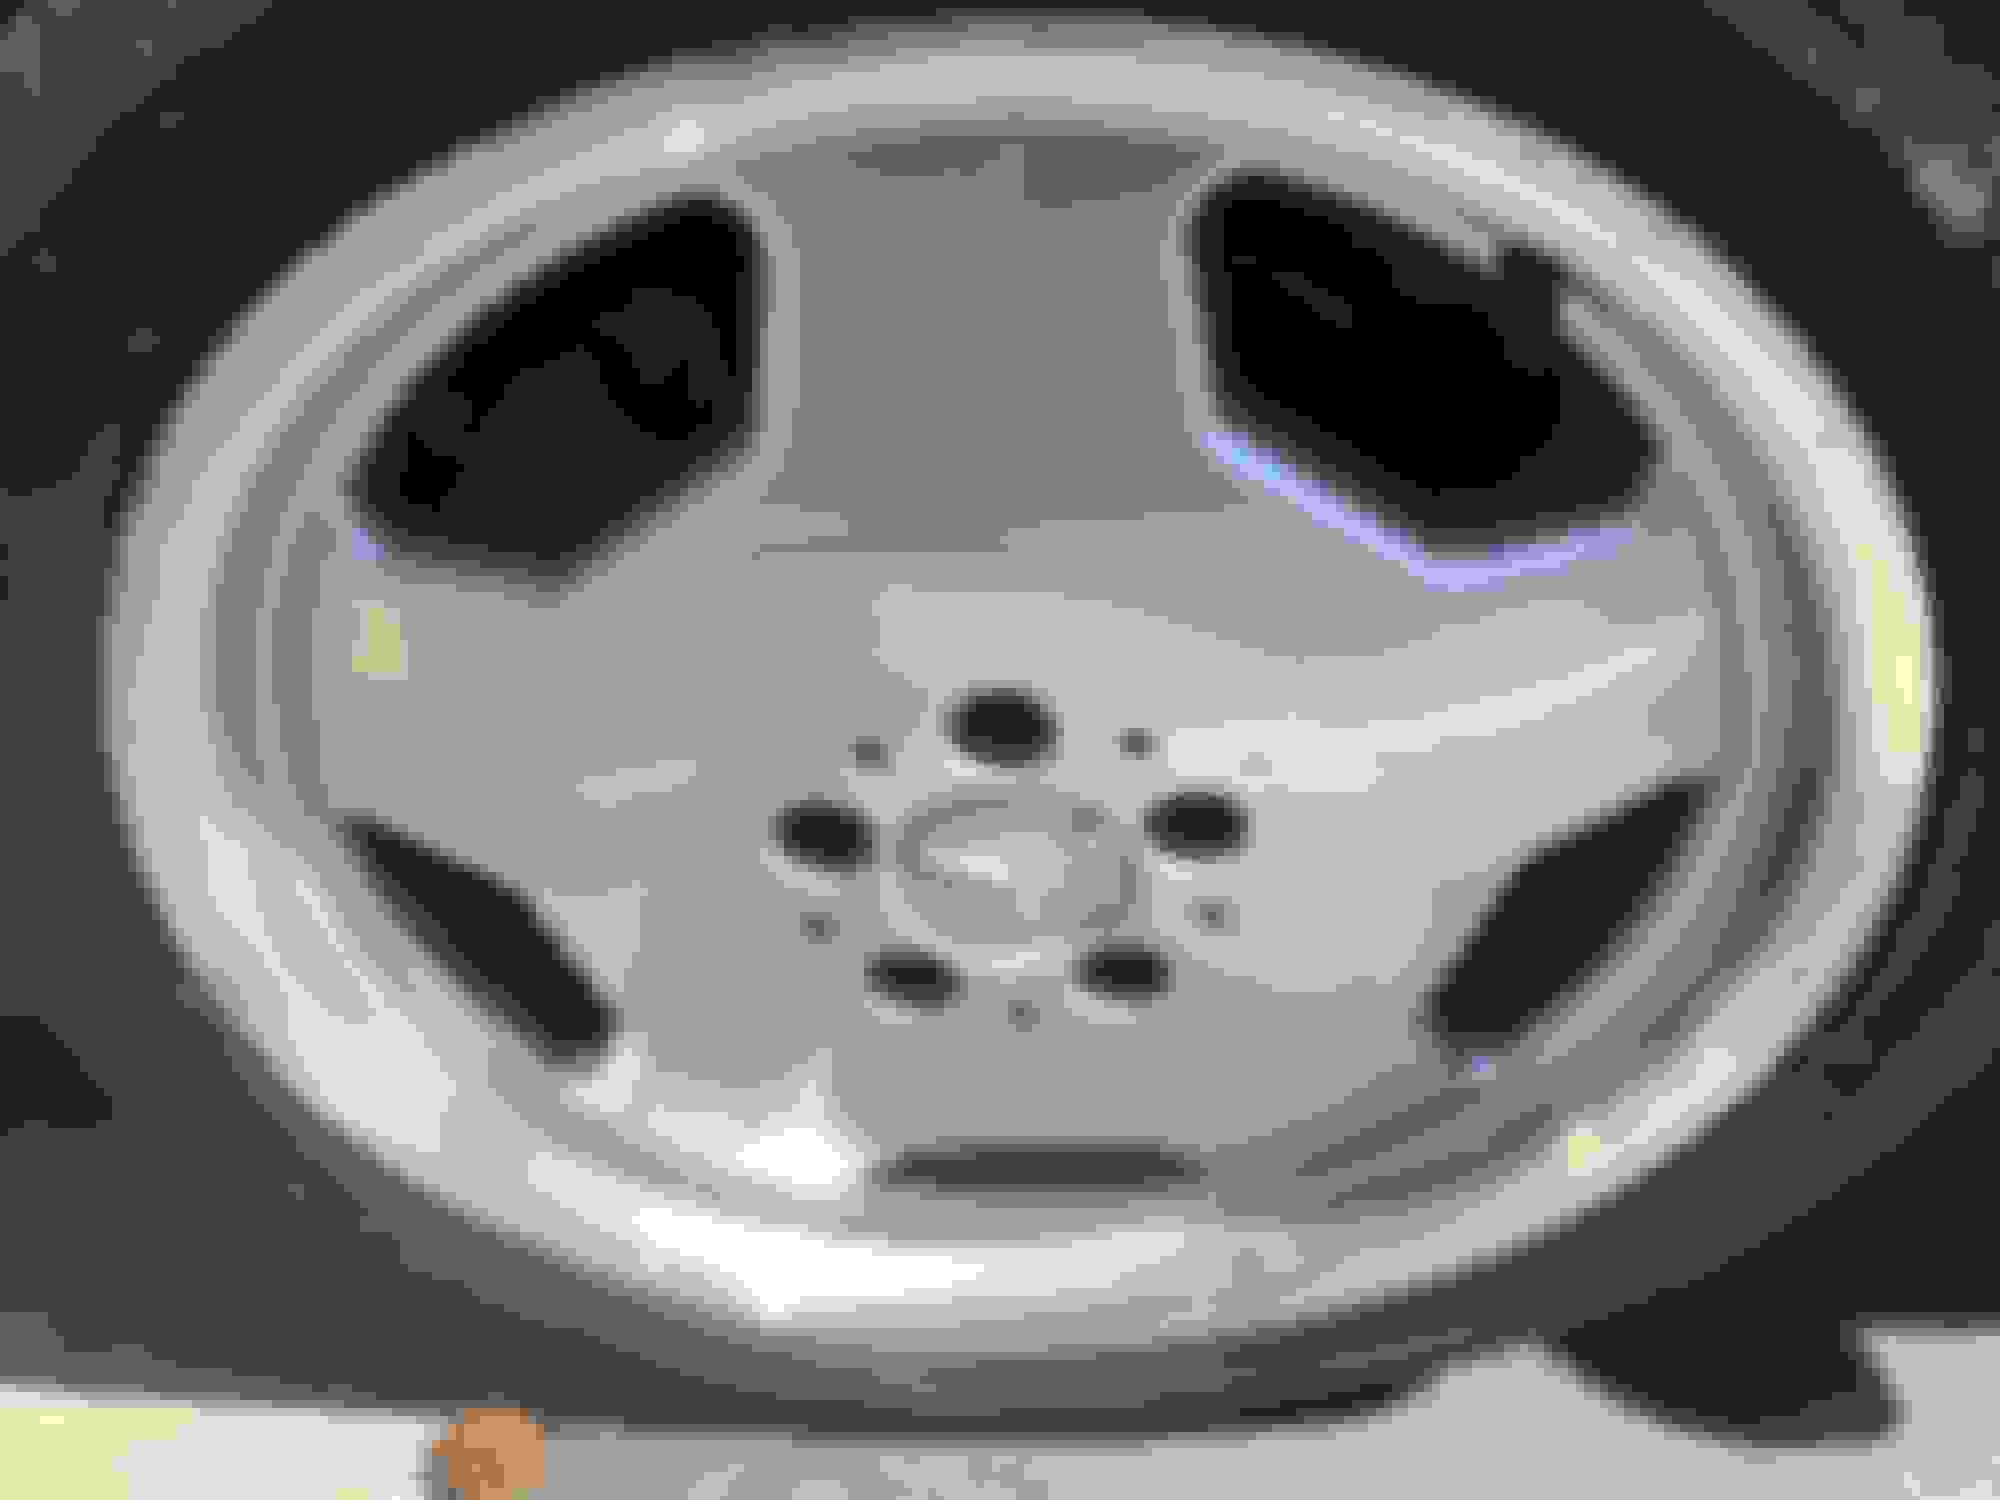
Set of the rear. These were not so bad.
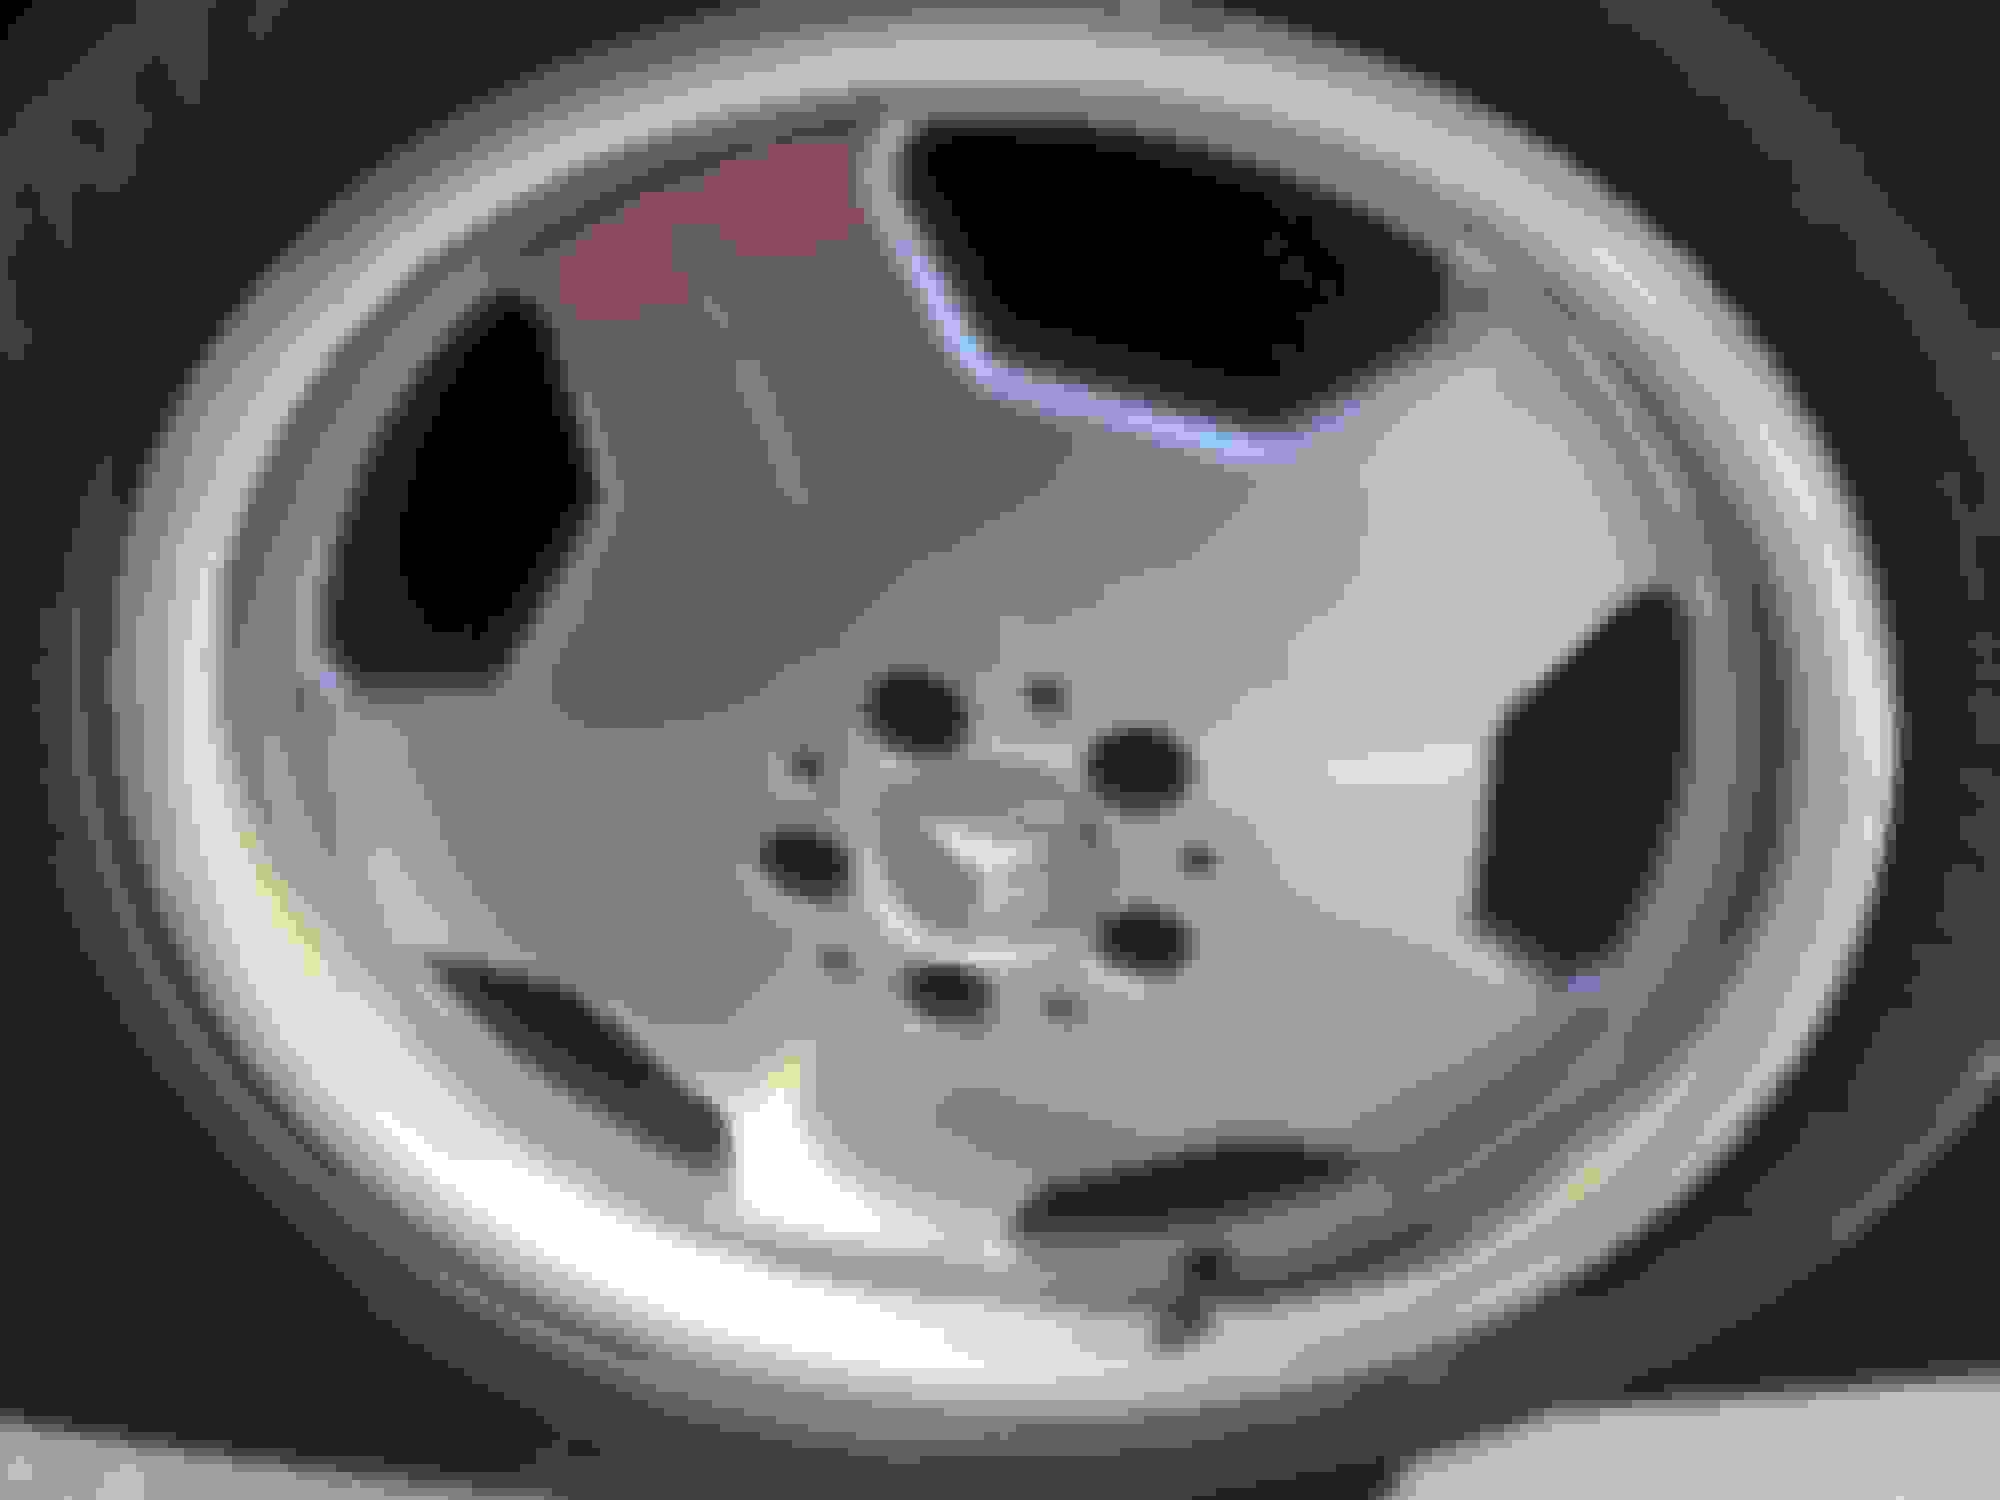
Here are the front set. This pic was a fairly clean look for them. Lots of the brake dust and dirt was near impossible to remove.
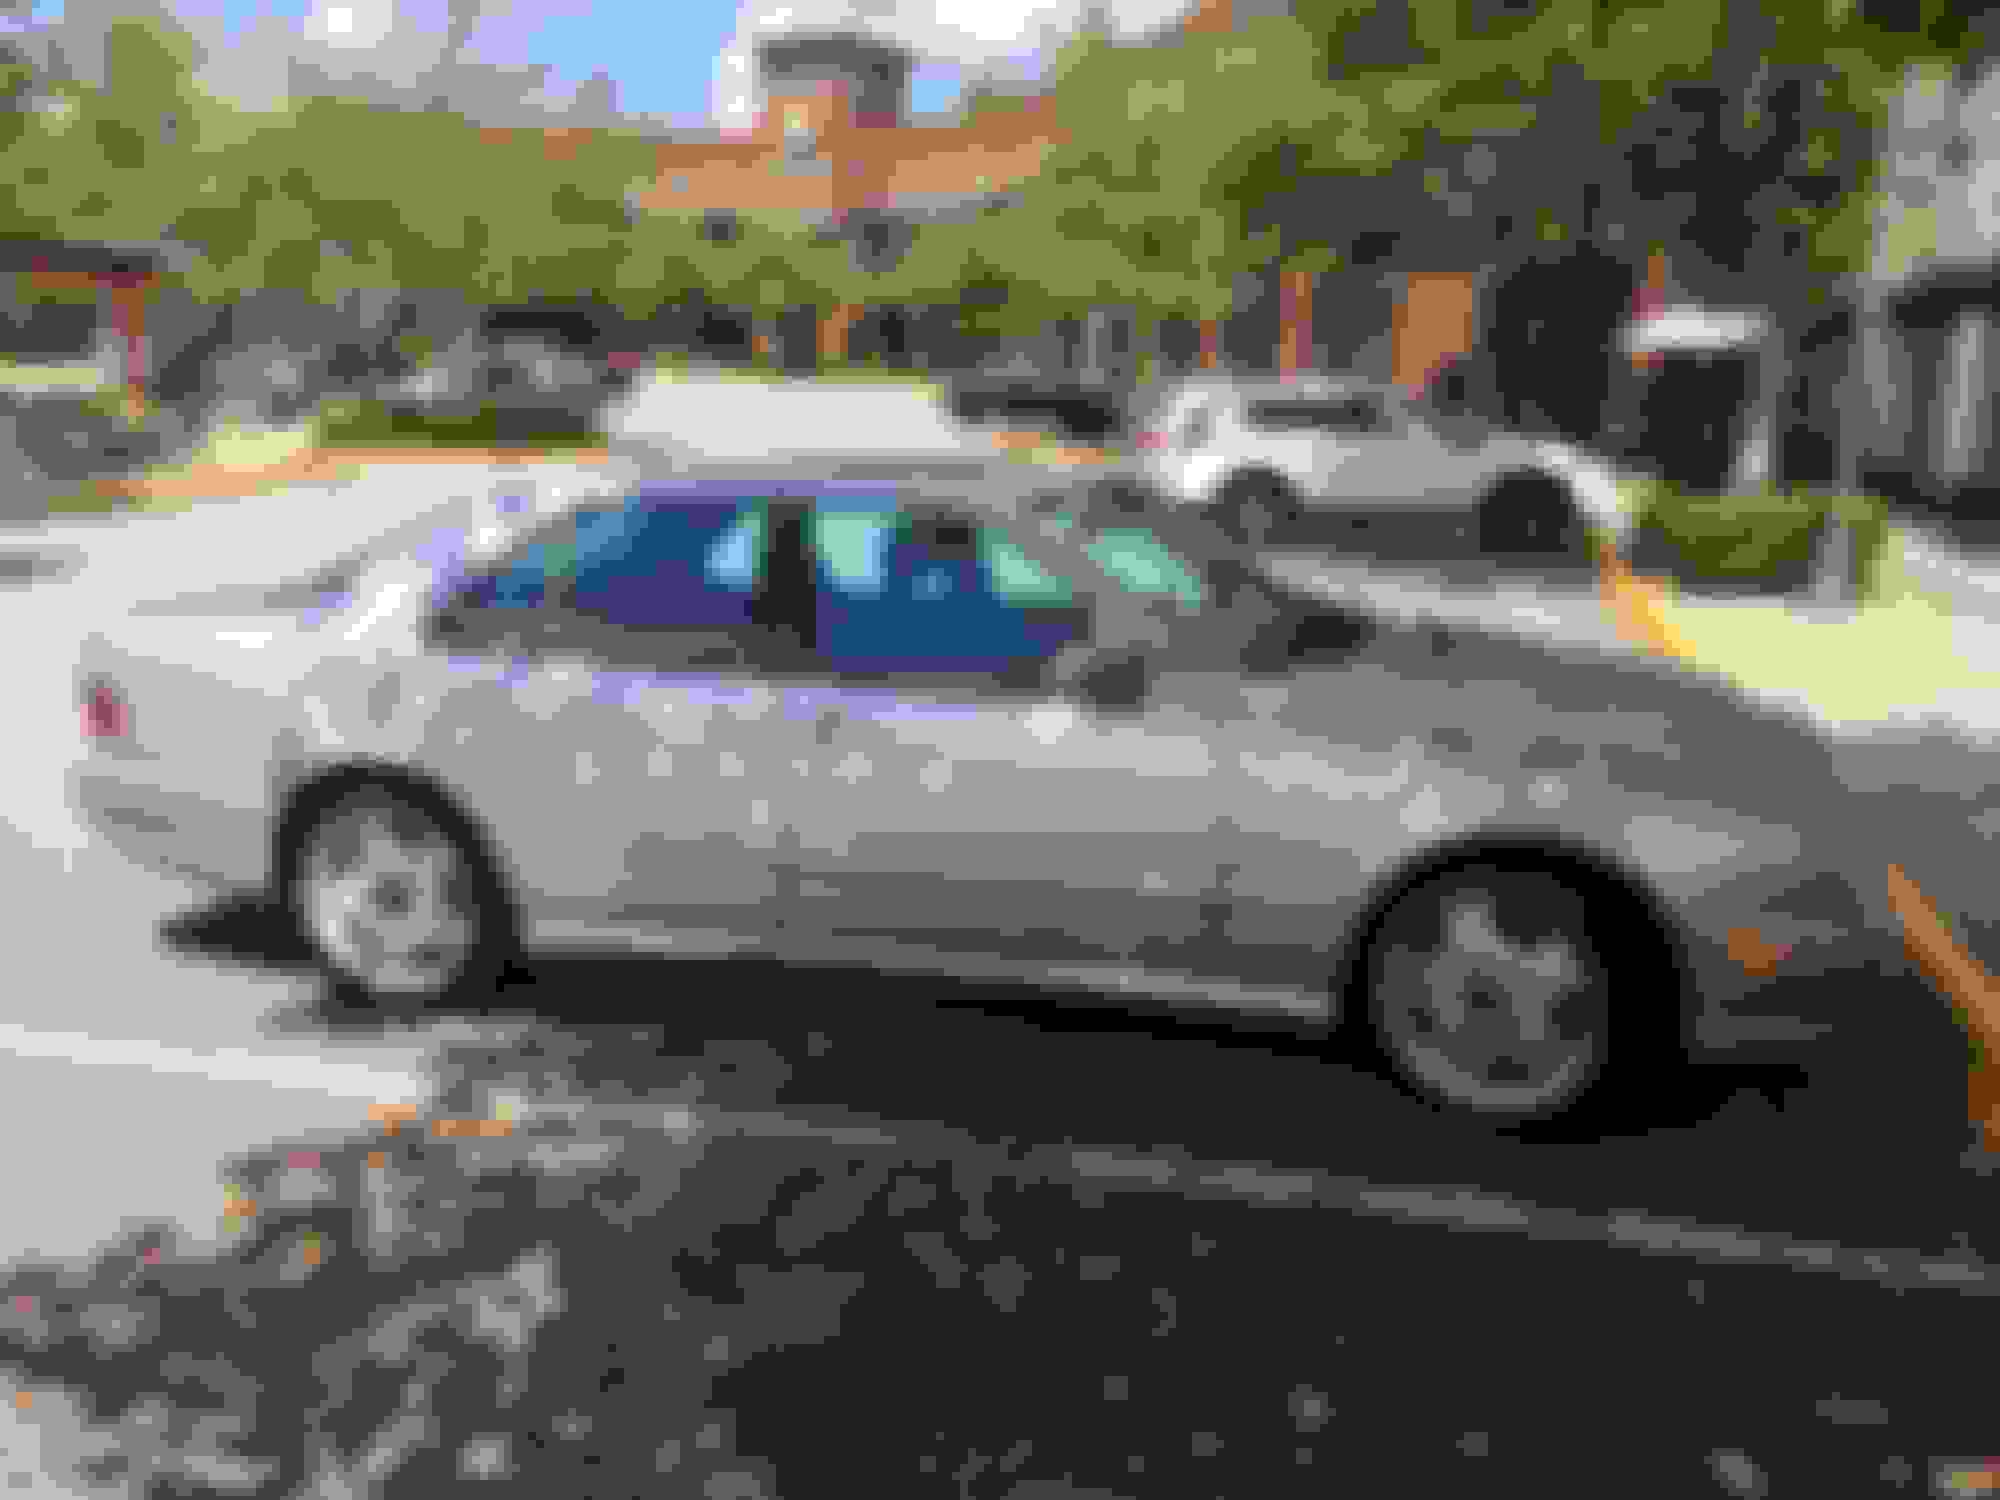
So I began looking at DIY restoring rims videos on youtube. Then after a few weeks I just wasn't confident in myself to tackle the job. And reached out to a powder coating specialist. I had all 4 rims done under $280. The color didn't quite come out the way I wanted. I instructed the company to match a close as possible to the stock silver color. I found out that the color that should have been used was WURTH silver and the shop used an inhouse blended anodize silver (non-metallic). The company couldn't do any machine work on the lip of the rim and I was fine with it as long as the came out very similar. However, you can see the rims are slightly darker below. In full sunlight isn't that bad by in the shade it more noticeable. I am debating whether to go aftermarket rims once these tires are toast. Now I just need to figure out what I want to do about center caps.
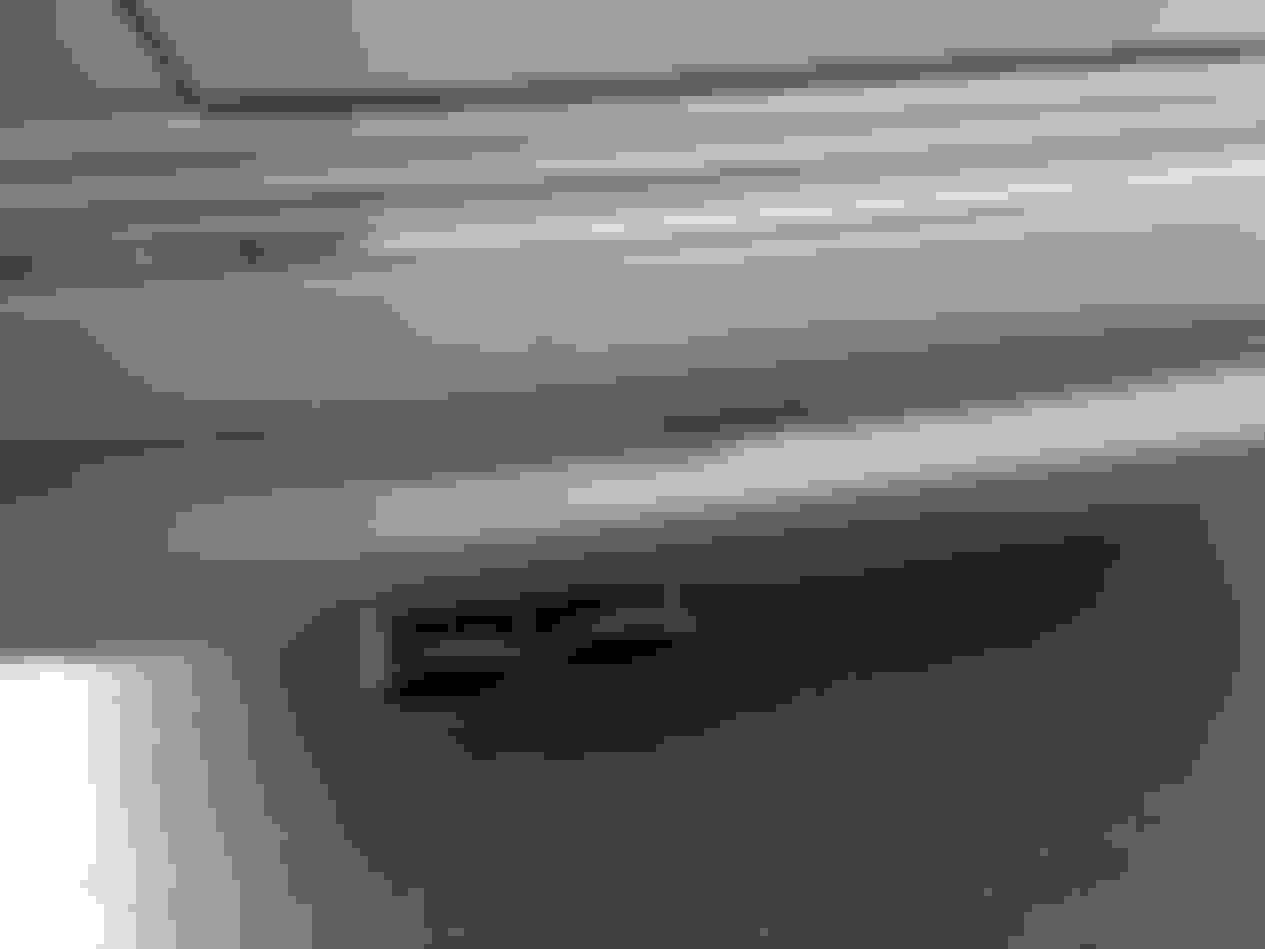
Another issue with the car has been the paint. After the first few months of ownership I noticed more and more imperfections with paint on the car. Most notably on the front and rear bumpers.
The image below shows some of he gashes, old license plate holes and rock chips. The previous owner had a very steep driveway and had to be where some the gashes came from. I tried to touch-up the rock chips but I couldn't fine a solution for the gashes on the right side of the car. I checked out an authorized MB auto body shop and they immediately said a new bumper cover would need to be bought. They quoted me for S2,000 for front and rear bumper covers. That didn't include and labor or paint. The ended up being more that what I paid for the car. I found a few other places and they said they wouldnt need to replace the bumper cover however the total for those quotes were still high.
This past Friday I said screw it... I want to clean up the engine bay and attempt to remove the front bumper cover.
Up close shot of the rock chips
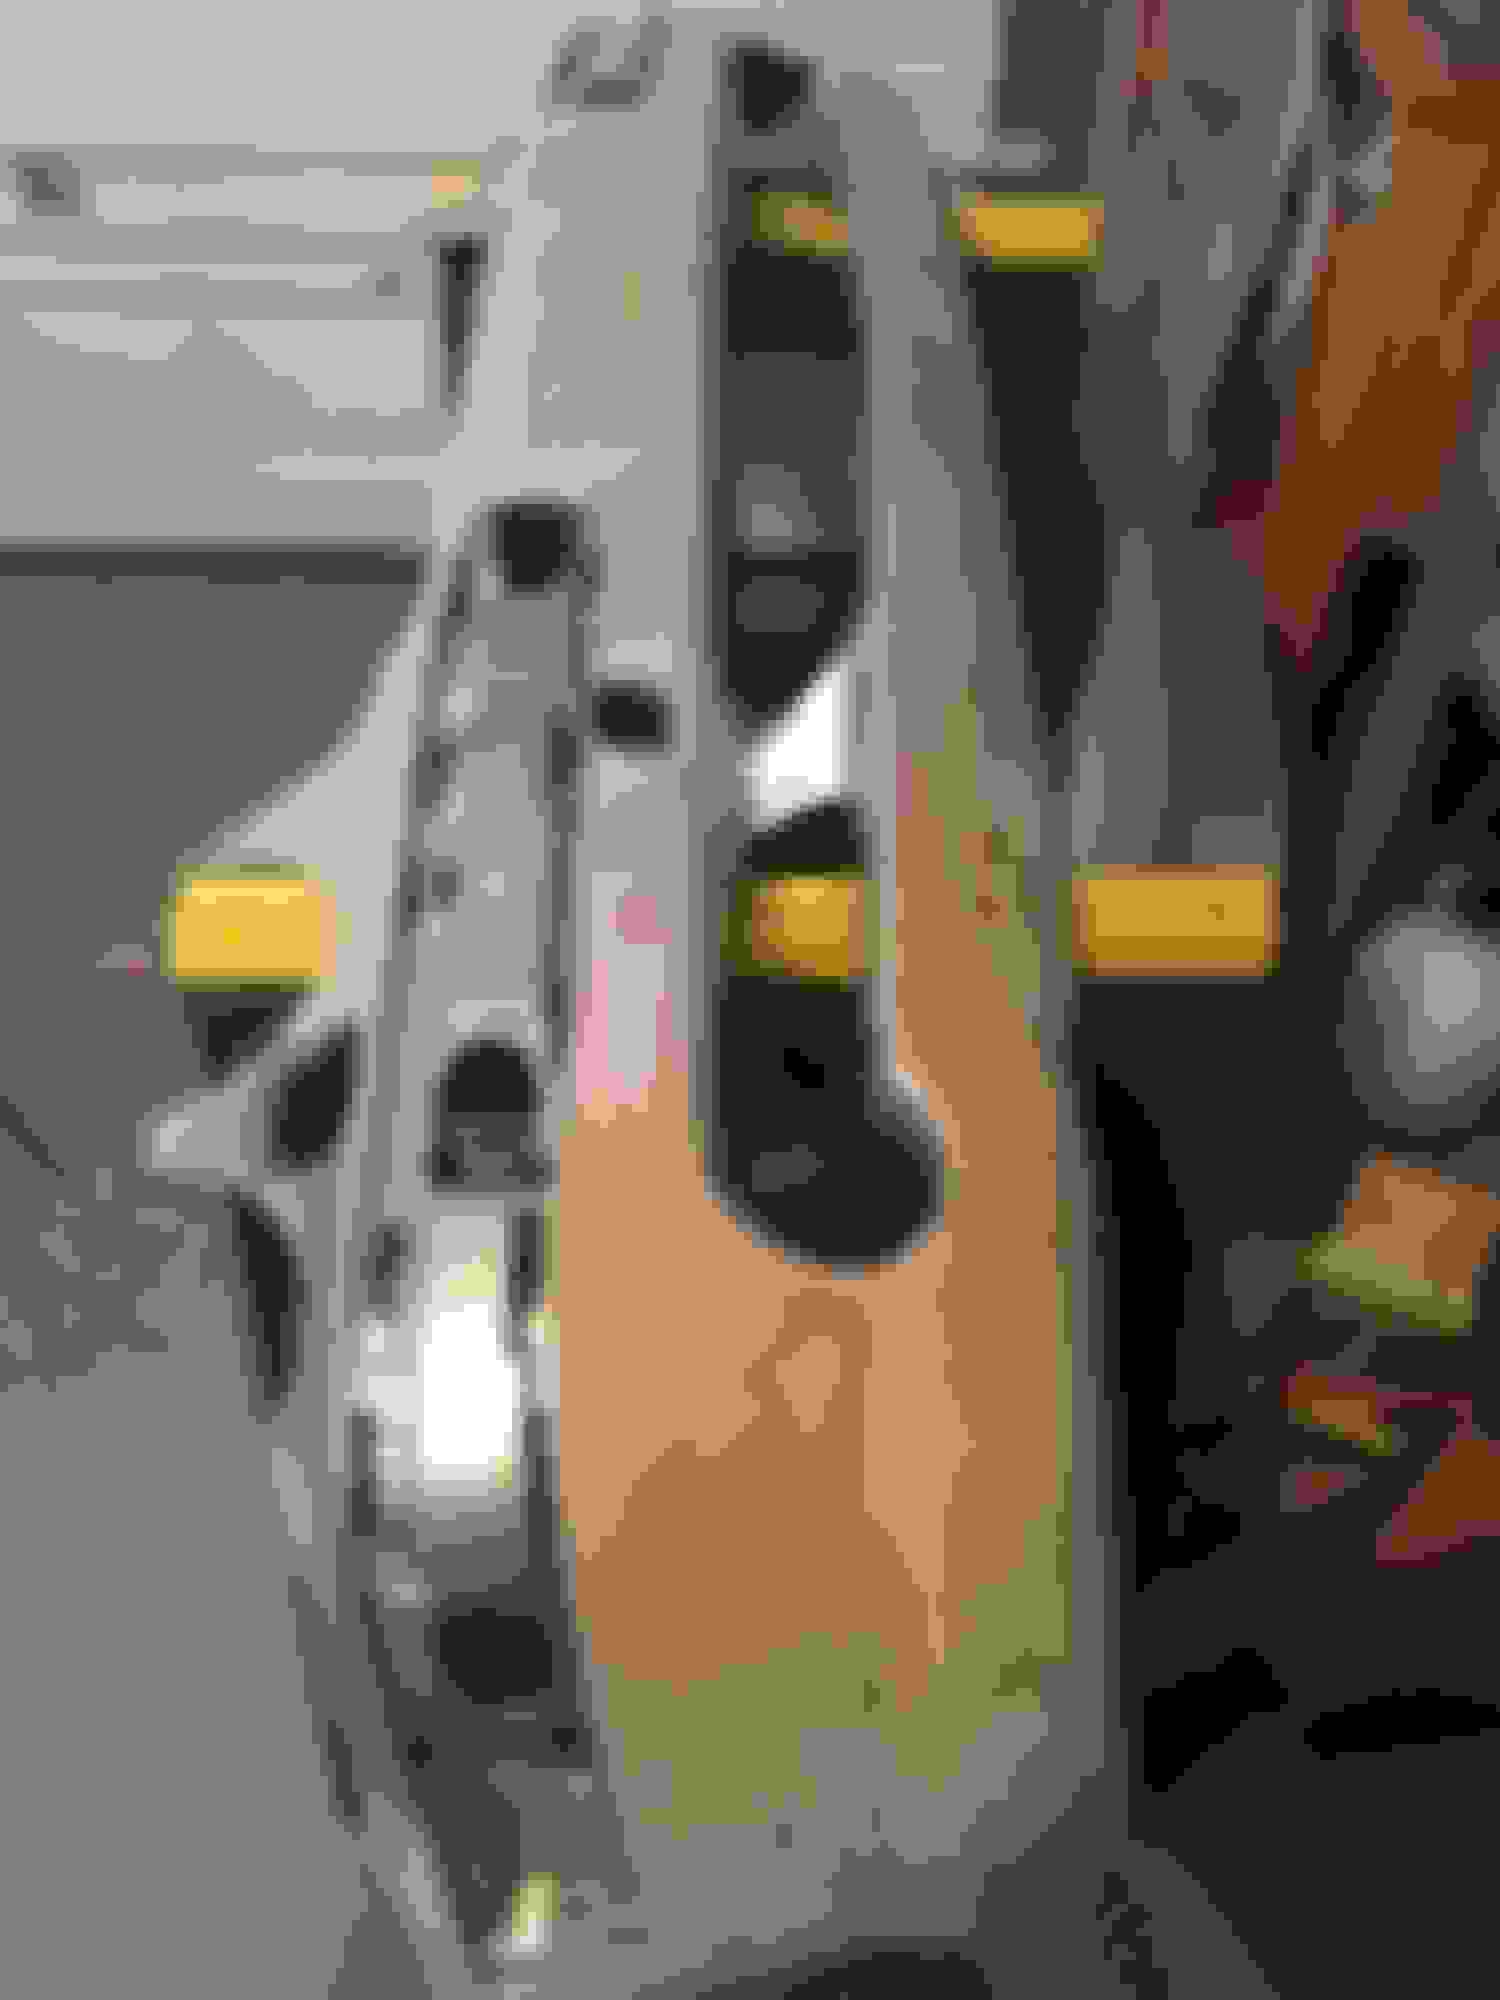
And here I am a Sunday night posting that I just sanded clear/base/[primer from the bumper. Looking to get some body filler applied in the next 2 weeks. I have access to an air compressor and paint gun at a relatives house nearby.Going to see how well I can fill and prime the bumper. If everything works out and I am satisfied with my own work I will get some paint ordered. Otherwise I will be dropping it off at another body shop that will prime/paint the front bumper.
About 1 month ago I started to refinished my headlamps due to some fading and yellowing issues.
I wet sanded between 800, 1500 and 2500. Then used my dual action polisher and some meguiars 205 and 105. This was my 1st round of sanding and polishing in the pic below. I ended up wet sanding again and polishing some more. I got it looking better. But I still have some swirl marks on the plastic. I pulled the lights entirely from the car now and I'm going to try 1 more round of wet sanding.
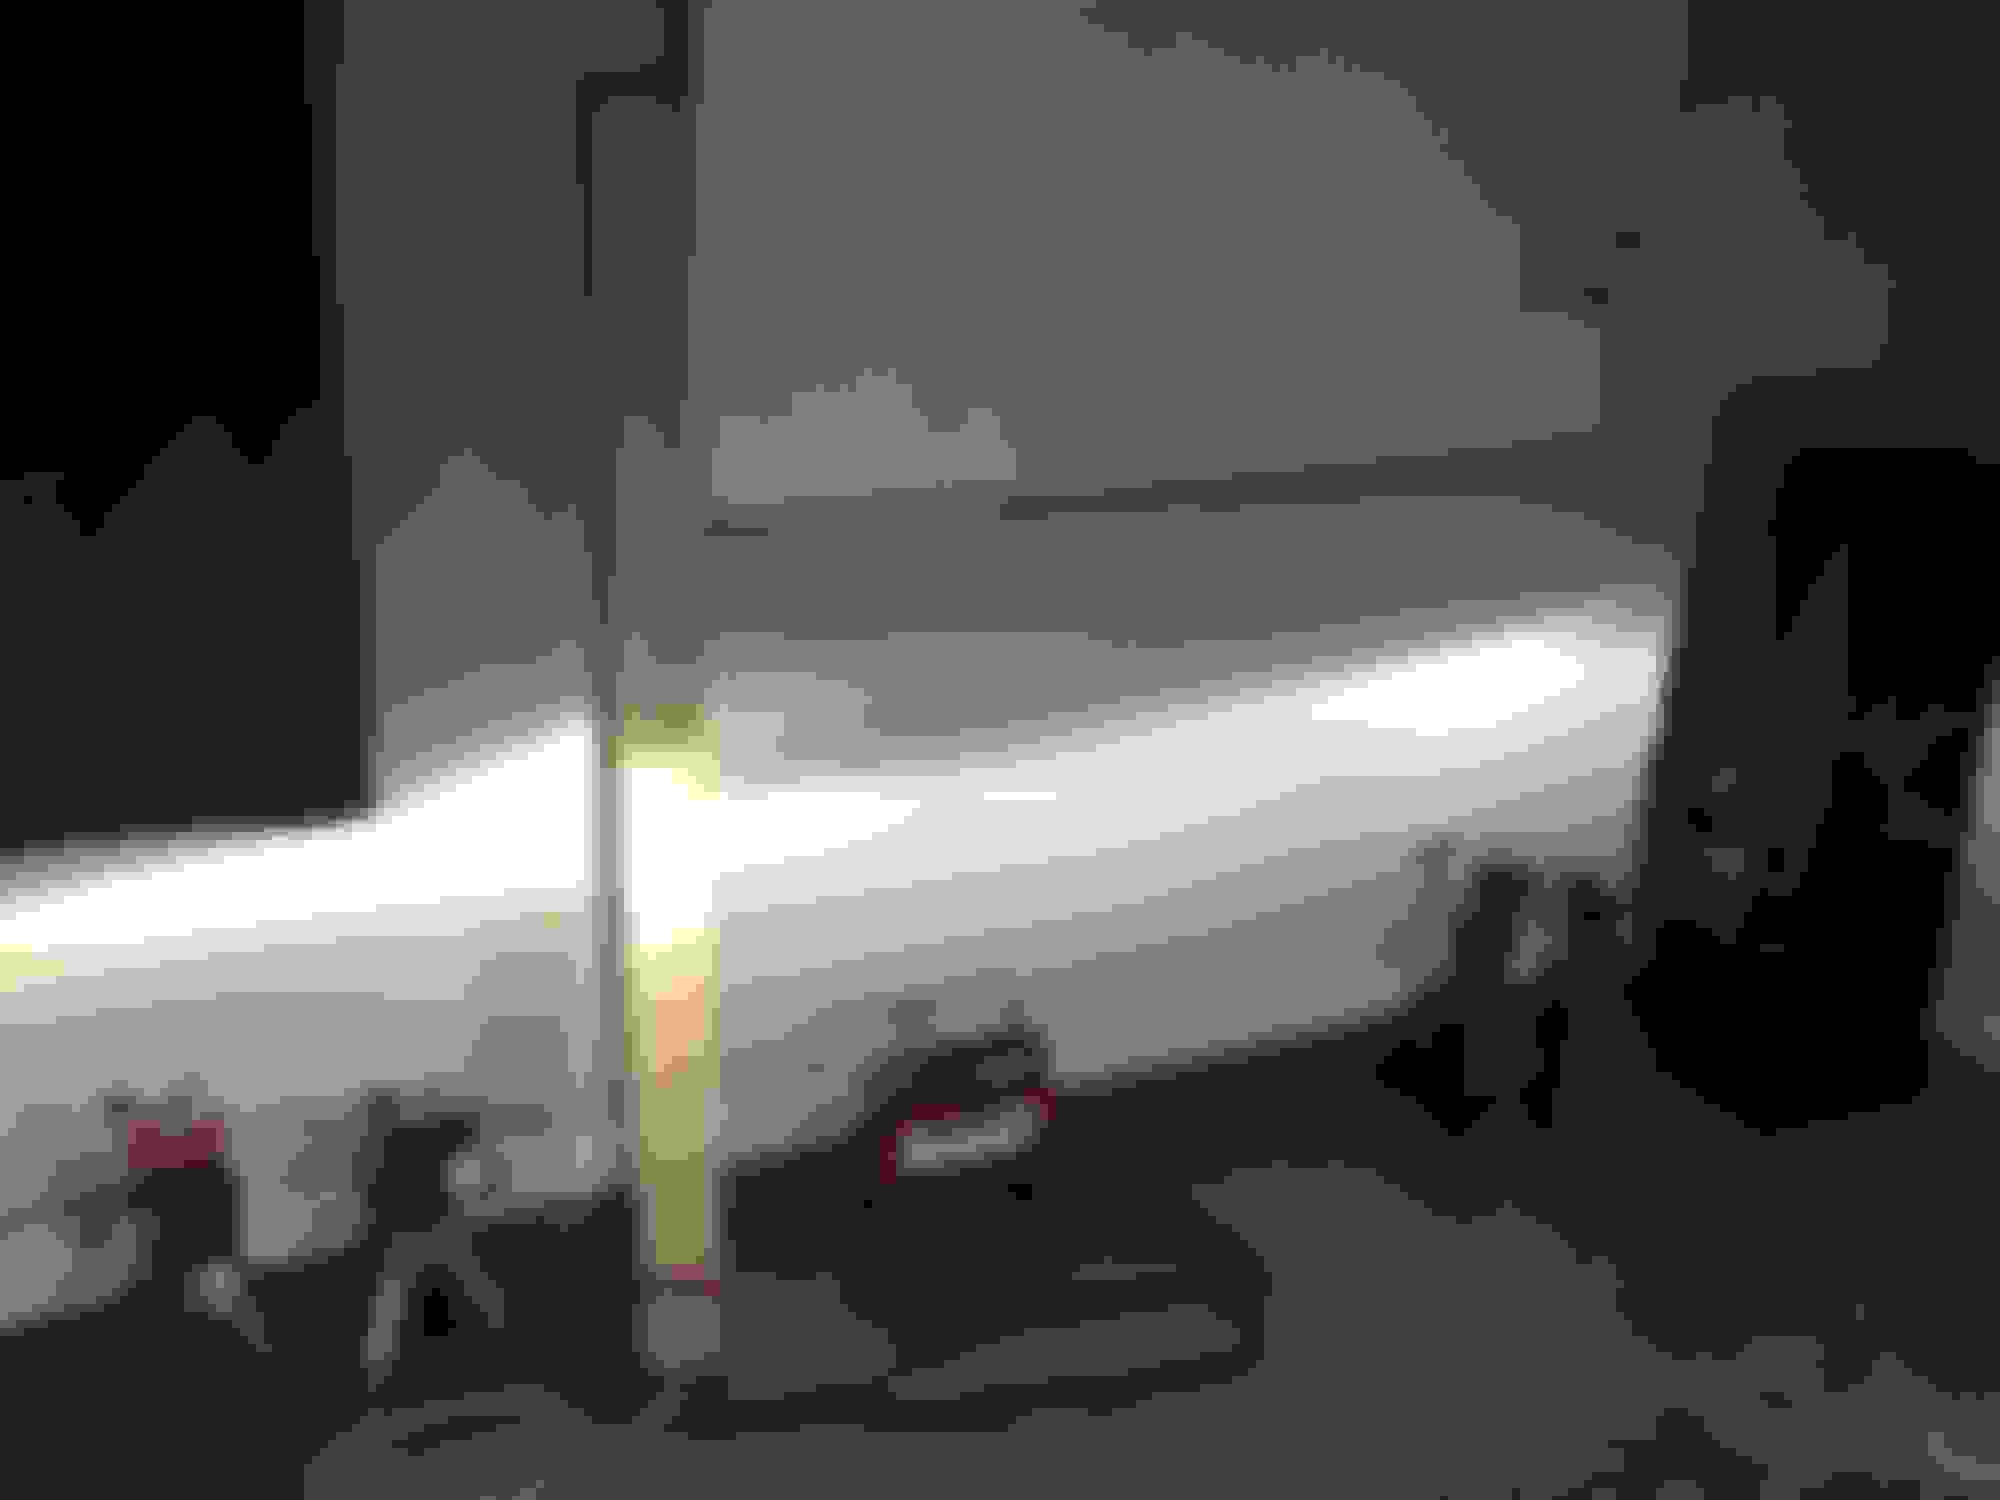
Also, something else had been bugging me lately. My Xenon light output look slightly different from one another. Hoping to see if someone could tell me which light looks correct for stock DS2 bulbs. Purchased new bulbs and I get the same result. My drivers light temperature is a little more purple looking that the passenger side.
I had one that had been replaced with a non-standard lamp when I purchased my car, and was already starting to die. 2x Phillips OEM lamps and 10 minutes later everything was good again.
I had one that had been replaced with a non-standard lamp when I purchased my car, and was already starting to die. 2x Phillips OEM lamps and 10 minutes later everything was good again.
I bought new DS2 bulbs and the output is the same.
So the first week of ownership consisted of registering the vehicle and getting a tag. And also starting the process of researching all sorts of upgrades that I wanted to do to the car.
However, I missed a few things when looking over the car that I realized that I should have paid more attention to.
The instrument cluster lights were the first thing I focused on addressing. I watched countless youtube videos on how to remove the cluster. This was the first nerve racking issue that I dealt with. I finally got the cluster our and replaced some of the burnt bulbs and verified the ribbons to the left and right display were making contact.
Next I began the process of cleaning parts of the inside of the car and noticed the interior wood trim was slightly faded. A you can see below. The center console where the gear shifter is located is peeling a little and the upper part of the console seems to be in ok condition. The compartment that I have my finger on will not stay shut. I eventually disassembled this part of the dash and corrected the issue. However the inside of the compartment was deteriorating. i think it was some type of rubber material for a sunglasses holder area. So I completely stripped it and installed the bare plastic compartment back.
Here are the door inserted with the faded wood trim that I believe is the "birdeye wood." This is fairly impossible to find a complete set for the center console and doors.
I have given up on finding a matching set of wood trim for the time being. If anyone has a suggestion on what I do here it would be helpful.
It's deteriorated due to UV outside exposure over the years. I would remove one and take it to Mohawk Finishing and ask them for their advice on how-to strip off the clear finish and what stain color to apply to the raw surface to get its original or close-to vibrant color finish back again and then clear coat it with a clear coat (uv protection) type aerosol spray to finish it. I've used them for repairing cracked dashboards with their fillers, etc and they have been top-notch in helping DIYers and supplying.
As for the rubber finish in the "inside compartment" gets sticky. I havent had any issues on this, however I had a colleague that had a similar issue and used 1/8" thick neoprene sheets and glued them together to make a open ended box that friction-fit into the compartment on his to maintain the finish he wanted.
Another DIY, if you're inclined...and if your radio is a Becker unit; added an aux cable into the OEM stereo (wanted to maintain the OEM look inside) to play the tunes on the mobile device.
First check which model oem radio you have installed - becker or alpine. If it's a Becker unit, there is a posting(s) on this forum showing exactly how to open up the unit shell and where to solder in your standard typical headphone jacks (3.5mm I think for mobile devices)
Do a search with "DIY aux cable becker".
You only need to solder 2 lines on the board; pretty straight forward.
I dont recall which; aux or tape, however the postings will explain all of this.
Thanks for the input khomer2 do you by any chance know if the AUX cable can be installed on cars with Factory Navigation?
Thanks
I have a factory installed w210 Comand system. I removed the CD player from the trunk and used the plug for satalite radio and I used another plug for my iPhone. I also bought a bluetooth "Puck" so I can use my phone.
I keep the car in Flordia with all of my notes so I can not remember how I did it but I did the research here.
I also own another e55 w/o Comand and I have a iPhone connect for that as well.
My advice is to buy a aftermarket Nav system with bluetooth and backup camera and satellite radio. The w210 Comand Nav system is horrible. You will HATE it.
I am 64 so by the time this is a collector car I will be dead so I drive the car to enjoy it. Having a real Nav system makes driving easier IMO.
Hope this helps.
Thank you so much to be honest with you i HATEEEEEEEEEE the way aftermarket stereos look in this or any other car so i have to find a way to make it work with the factory unit, as i don't really care about the NAVIGATION since i only use WAZE.for getting around
FWIW I just had a set of E55 Monoblocks restored that were in rough shape. Much worse than yours. Had them repair/straighten the wheels and powder coated the correct silver with polished and cleared lips.
I spent $860 getting these wheels looking damn near new again and went to one of the best in this area for wheel repair. You get what you pay for.
Quick update this week. I sanded the front bumper cover with 320 grit with electric sander. The hard to reach areas are going to take some time to efficiently remove.
The bumper molding (i guess correct term) has been completely sanded and cleaned with a scuff pad and Simple Green. Both of these have no deep scratches thankfully.
Applied some adhesion promoter and then primed these parts
FWIW I just had a set of E55 Monoblocks restored that were in rough shape. Much worse than yours. Had them repair/straighten the wheels and powder coated the correct silver with polished and cleared lips.
I spent $860 getting these wheels looking damn near new again and went to one of the best in this area for wheel repair. You get what you pay for.
Do you have any info on the color code for the powder coating? I've seen others do this and come out with a darker color. I want to do the same that you did, but I want it to match the factory rim color exactly. WOuld you mind mentioning where you had it done as well? If they did that great of a job I'd be willing to ship mine to them.
Nice work so far man, these things take some serious TLC to get into good shape but it's worth it. Plus it feels good to get to know the car inside and out. I bought mine for the same price and spent a LOT of time and money in recent months doing routine repairs and preventative maintenance just to get it into acceptable condition. The owner before me neglected it but nothing that couldn't be repaired.
Excellent work... So how much do you think you spent in parts alone and the labor hours? Did you do the labor yourself or sourced it out?
I most expensive thing so far has been the wheels getting powder-coated.
Most of the items I have addressed have been little purchased items like cluster bulbs, interior bulbs, hood emblem, touch-up paint, sand paper, polishing compound, etc.
I don't think I spent over $500 total as of yet. No major services or parts have been replaced yet.
1991 964 Turbo, 2002 Black E55, 2002 Black E55 " The Beast"- 2014 E63s
Originally Posted by ATL_E55
I most expensive thing so far has been the wheels getting powder-coated.
Most of the items I have addressed have been little purchased items like cluster bulbs, interior bulbs, hood emblem, touch-up paint, sand paper, polishing compound, etc.
I don't think I spent over $500 total as of yet. No major services or parts have been replaced yet.
What more work/maintenance do you expect at this time and how much do you think it would cost you further to where the car is acceptable to you?
What more work/maintenance do you expect at this time and how much do you think it would cost you further to where the car is acceptable to you?
Mechanically speaking...
Valve Cover Gaskets needs replacing. Haven't looked on how much they cost.
Flex disc plate appears to be going bad. Parts for this are $200. I am unsure if I want to be under the car with jackstands in my garage. Taking off the exhaust may be difficult. I think I will just get a shop to do it.
Still some other cosmetic stuff that annoys me
Door grab handle leather has come off
Steering wheel stitching has come undone... would just get a ebay steering wheel replacement
Drivers leather seat bolsters need to be replaced
Stereo volume knob issue
Stereo speakers might be going bad or loose connection somewhere

 08-26-2018, 09:54 PM