When you click on links to various merchants on this site and make a purchase, this can result in this site earning a commission. Affiliate programs and affiliations include, but are not limited to, the eBay Partner Network.
Needed some airflow to go with this 90mm TB. OEM Y-pipe is really thin. I got this idea from Scoto and made one out of two 90 degrizzle silicone elbows. They are 3.5" to 4". I cut and then epoxied them together. 4 layers of sealant to ensure no leaks at the seams. A monster compared to the stocker:
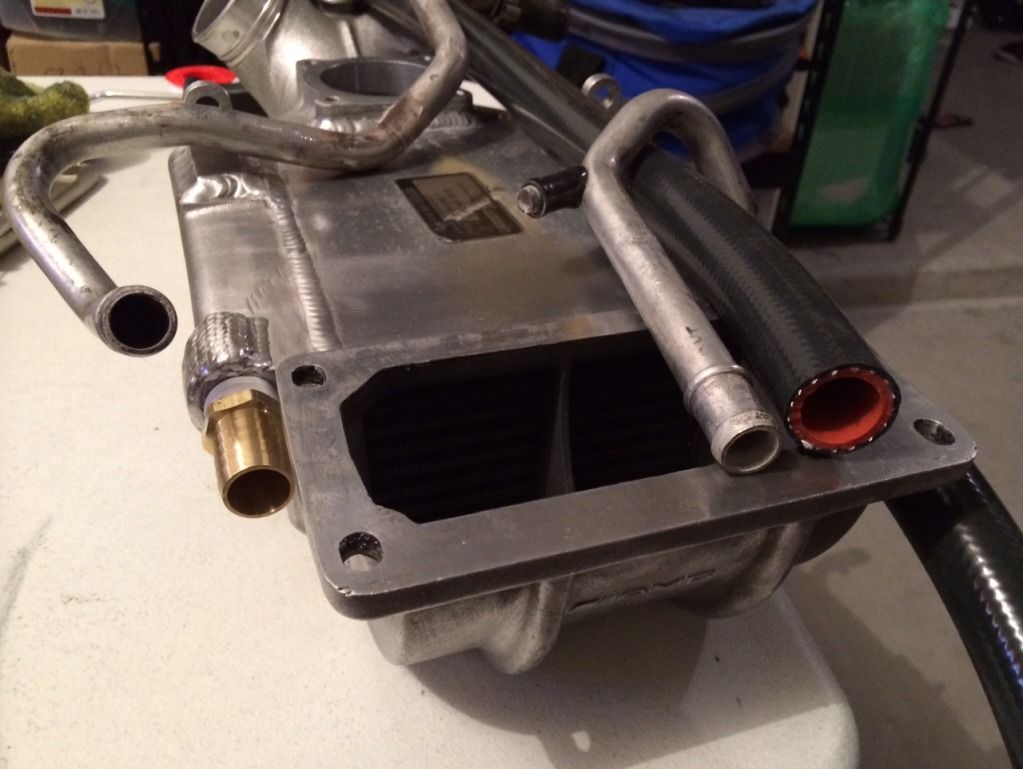
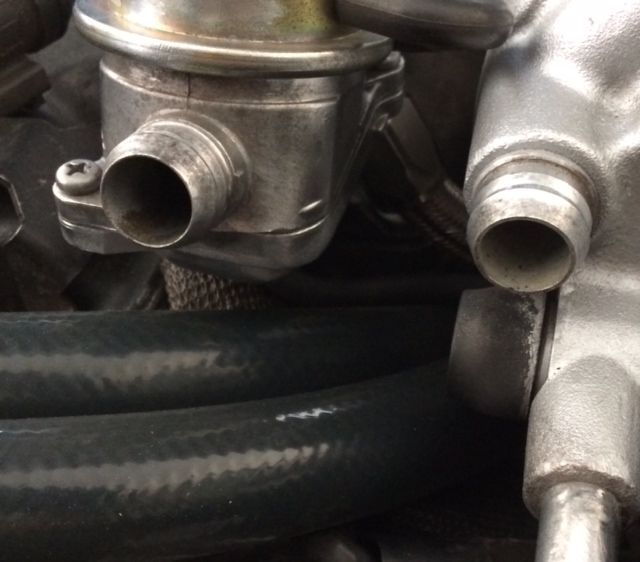
I dropped off the intercooler at a shop for modification. Had it cut open to remove the baffles; now a single pass core instead of the 80-pass or whatever it was. Also had it tapped for larger fittings. I have silicone tubing with a 3/4" ID that will be run throughout the entire system since the heat exchanger and my Meziere pump both have the same larger fittings. Ditching the labyrinthine stock setup will also help with the flow. Here's the new fittings and hose versus those weaksauce stock tubes:
Tell us more, please. Any pictures of the modding inside the cooler?
I thought I saw a thread where someone did this with no affect, but the flow may have been an issue as well.
Logically speaking enough flow and volume with a good reservior and even three normal passes in the cooler should remove most of the heatsoak other than at a track setting.
Will you also increase your radiator size for the circuit?
Modified the charge cooler to help cool things or provide less resistance for air?
Keeping it cooler, is the intent.
Originally Posted by BC928
Tell us more, please. Any pictures of the modding inside the cooler?
I thought I saw a thread where someone did this with no affect, but the flow may have been an issue as well.
Logically speaking enough flow and volume with a good reservior and even three normal passes in the cooler should remove most of the heatsoak other than at a track setting.
Will you also increase your radiator size for the circuit?
Cost outline?
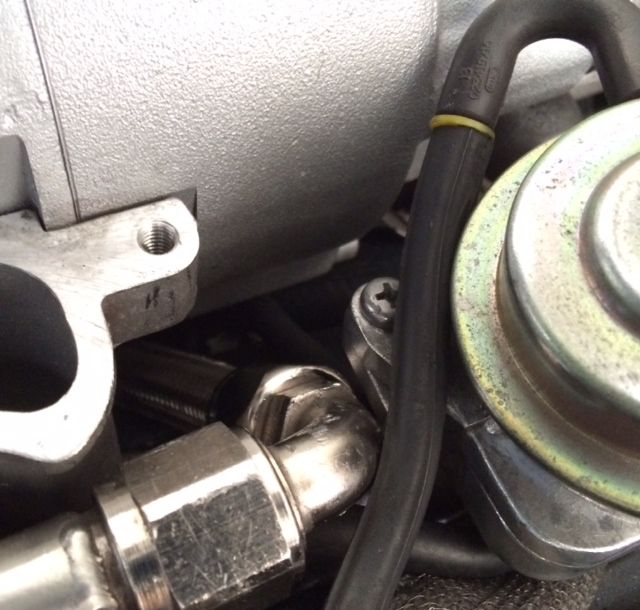
I already have a bigger heat exchanger and i/c pump. Couple hundred dollars to have a shop cut the sides off, grind out the baffles & exit channel/tube/thing, weld it back together, and then tap it for larger fittings. As you can see, they added some extra material around the threads. I had to grind some extra material off of the sides as it has to fit down in the vee far enough for the s/c to bolt down.
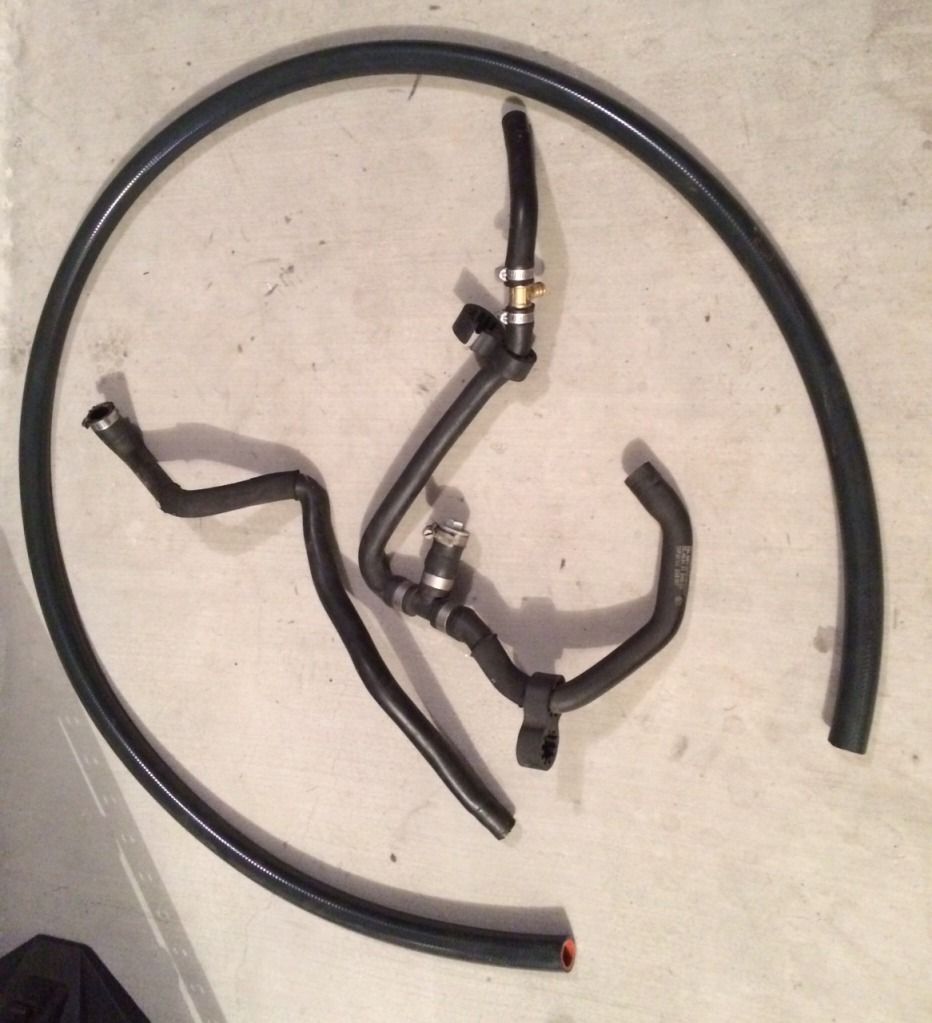
I borrowed an idea from Smokey Yunick's playbook. He was an old racecar mechanic who was legendary for finding creative loopholes in the rule books. He once ran a car with a fuel line so long that it held an additional five gallons of fuel. While not that extreme, I ran the hoses a bit long. The bigger hose and extra length will give me a little more capacity.
I already have a bigger heat exchanger and i/c pump. Couple hundred dollars to have a shop cut the sides off, grind out the baffles & exit channel/tube/thing, weld it back together, and then tap it for larger fittings. As you can see, they added some extra material around the threads. I had to grind some extra material off of the sides as it has to fit down in the vee far enough for the s/c to bolt down.
I borrowed an idea from Smokey Yunick's playbook. He was an old racecar mechanic who was legendary for finding creative loopholes in the rule books. He once ran a car with a fuel line so long that it held an additional five gallons of fuel. While not that extreme, I ran the hoses a bit long. The bigger hose and extra length will give me a little more capacity.
Smokey Yunick - - The true God of combustion ummmmmmmmm
Denroll - If you want an OEM quality Y pipe made, let me know...Also, I doubt changing the pass through the intercooler will really yield benefits, but I could be wrong. I had a guy that works for me design and build a bigger intercooler (cast unit with new bricks), but it would have been too expensive to bring to market (~$1k). Harry was convinced the stock intercooler is killing / hurting performance and that people could make quite a bit more with his design...
Update. Was making good progress, then had a "well... *****" moment.
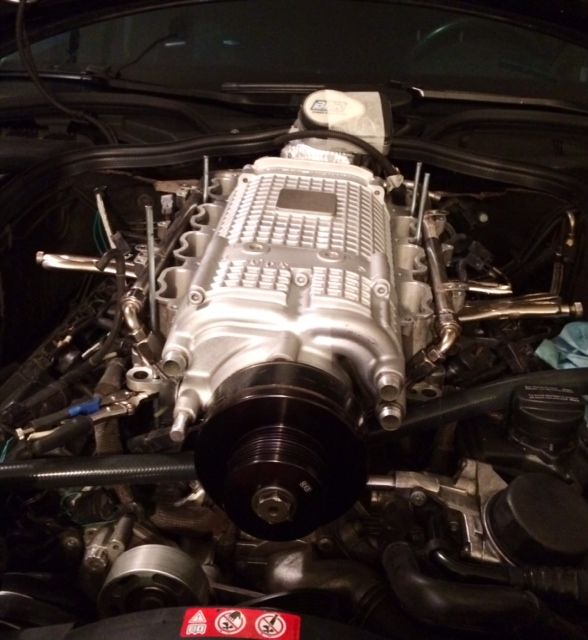
SC/inlet/IC all bolted back together, fresh coat of silver ceramic paint, cleaned off the gasket mating surnfaces:
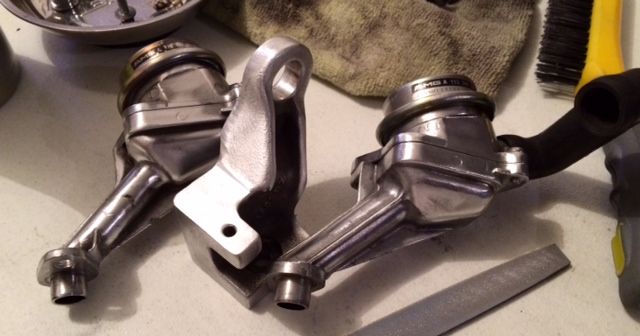
I have a bench grinder with a wire wheel. Can't resist cleaning some parts:
If you missed it in the other threads, this is a great way to make sure everything is connected and the gaskets are properly lined up. just some threadless rod and vice grips.
It was tighter than a nun's B-hole, but I managed to get both fatty coolant lines and the fuel rail loop to fit under the supercharger. It did involve a midnight rage-quit, but I got it the following morning. Hard to see, but it's all in there:
Experimental Y-pipe fits with plenty of room. No need to use metal shears... yet.
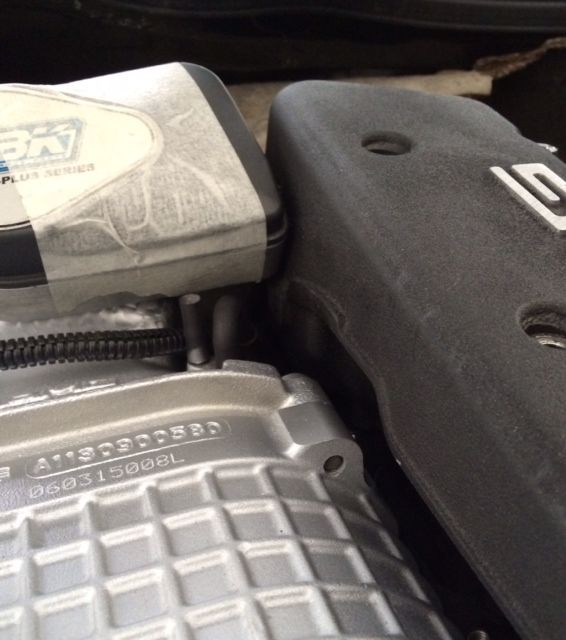
Aaaaand the progress halts.
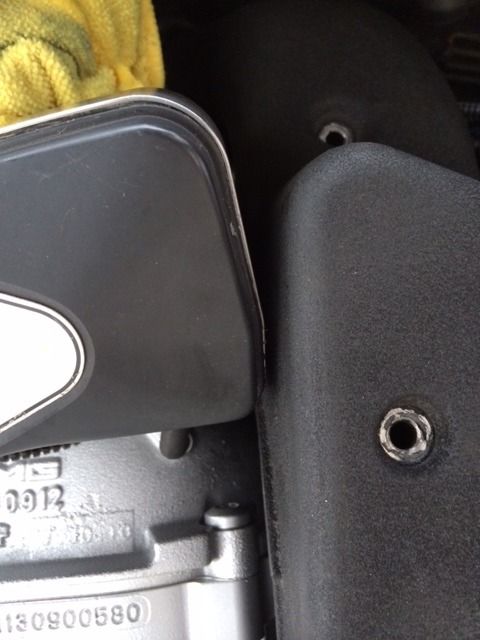
I'm about 1/2" shy of the clearance needed for the surge tank. Now, I can either take everything back apart, have more material added to the inlet, and tap new holes so I can mount the TB at an angle, or I can just find a way to get more clearance at the surge tank. First instinct was to just wail away at it with a hammer, but that cast stuff would just shatter.
Hindsight 29/20 - should the Thread patterns on the inlet be... What, twisted CW a bit looking at the TB opening? Will this then start hitting the hood?
I am listening very carefully. This and headers would increase the "air pump" nature of the engine package significantly and I think should come before anything else other than proper fuel routing.
Yes, it would be ideal to have it rotated 45 degrees, but it will take more material to be built up and then clearance down below around the bypass valve might be an issue. I had to cut away some of the rubber on it as it is now.
Mercedes SLR McLaren 722 S Is Extremely Rare Example Modified by McLaren
Slideshow: A one-of-one U.S.-spec Mercedes-Benz SLR McLaren Roadster became even rarer after a factory-backed transformation at McLaren's headquarters.