When you click on links to various merchants on this site and make a purchase, this can result in this site earning a commission. Affiliate programs and affiliations include, but are not limited to, the eBay Partner Network.
There are many ways to skin a cat (and your knuckles). This is just what worked for me with removing as few components as possible. There aren't many pictures but I will try to be as descriptive as possible.
1) Get a pair of Corteco engine mounts. They are the OEM supplier. I got mine on Amazon for ~$90. Part number is 220 240 27 17 98 (MB) or 601418 (Corteco) if you feel like searching elsewhere. An alternative Corteco part number is 80001089 which is allegedly for higher horsepower engines. I suspect they are probably the same part though. The 80001089 apparently comes with the white rubber dust shield but I just reused mine since they were still in good shape.
2) Also get a ratcheting 16mm wrench if possible. It helps to loosen the top bolt on the mounts but is not absolutely necessary. You will also need various wrenches and sockets of the 13mm, 16mm and 18mm variety.
3) Raise the front end of the car either by driving it up on ramps or placing it on jack stands. Set the e-brake, open the hood, and either disconnect the negative battery terminal cable or alternatively place a rag over the rear of the alternator. You WILL arc it if your wrench touches the charging cable on the back of the alternator while loosening the bolt.
4) Remove the air intake system, supercharger clutch pulley cover, and air intake snorkels. There are threads on this so I'm not going to go in depth.
5) Remove the middle and rear splash shields (8mm bolts)
6) Remove the rack and pinion steering mount/reinforcement plate. Note: The four 18mm bolts are secured with 18mm nuts on the top and are not readily seen. You will have to maneuver a fixed wrench to hold the nut in place in order to remove the bolts.
7) Pull the steering rack down and toward the front of the car. This will give you the additional clearance necessary for removing/installing the new mounts.
8) Unbolt the 13mm lower passenger engine mount bolt and remove it. It's easy to find and access.
9) Grab a small block of plywood or cut a section out to place between your jack and the rear portion of the oil pan. Jack the engine up carefully only about a half inch or so at this point. Ensure the wood is not against the rear oil drain plug. This will take some of the tension off of the top bolt where it is secured and passes through the boss attached to the engine, which in turn, allows for easier removal. Note the steering mount/reinforcement plate removed and steering rack pulled down and forward:
10) Use your 16mm ratcheting wrench or fixed 16mm to loosen and remove the top bolt. I found it easiest to approach it from the top and front of the car. There's not a lot of room but you can get just enough leverage to begin loosening it. Once the bolt is out, the heat shield will also easily be pulled out for re-installation later.
11) Once you get the top bolt out, continue jacking the engine up another few inches to gain clearance in removal of the old mount. Don't worry, you can go about 2-3" and still not cause any issues.
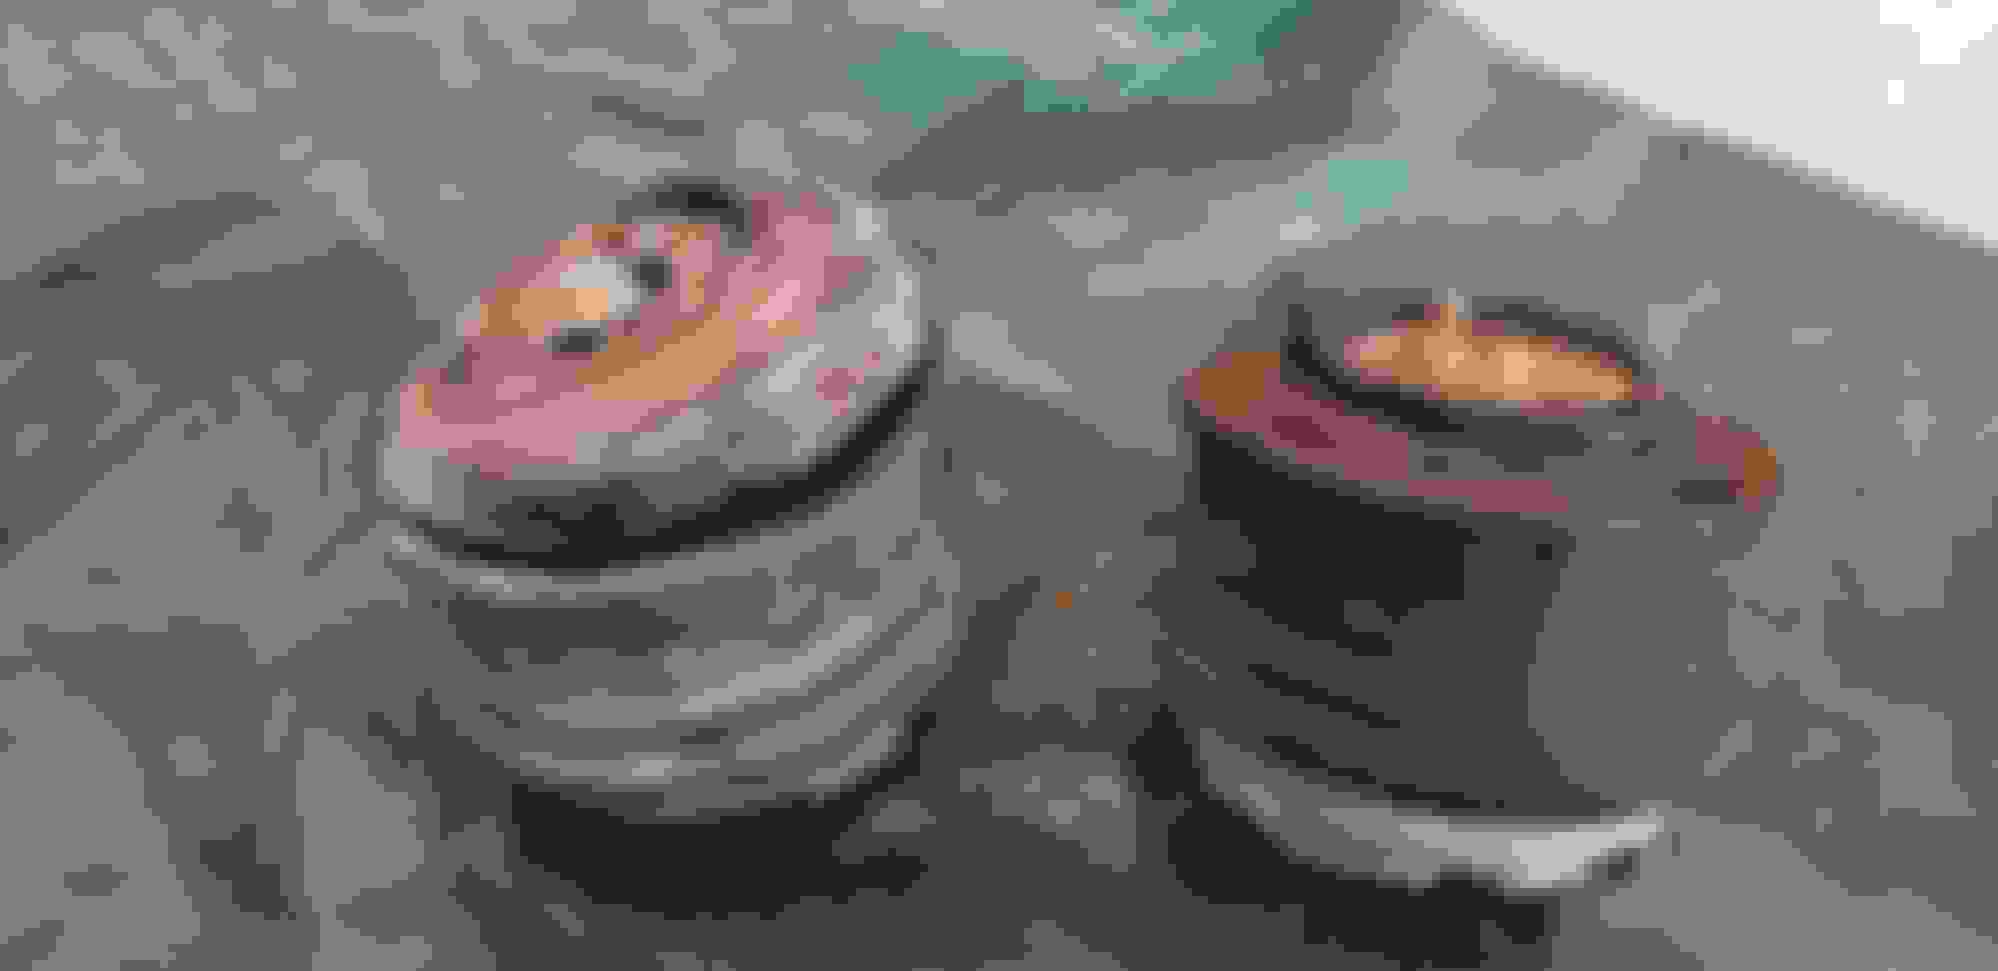
12) Remove old passenger mount through lower front of the car between sway bar and steering rack. It's tight but it will work. Note, the failed passenger mount and the comparison to the new mount:
13) Replacement is reverse of removal. You will also either use a new rubber cover or reuse your original one. Also when maneuvering the mount into place, ensure the tang on the mount lines up with the mounting boss:
14) Reinstall the lower 13mm engine mount bolt and tighten it.
15) SLOWLY and CAREFULLY lower the engine back into position, ensuring the mounting boss lines up with the engine mount tang. Reinstall heat shield and top bolt.
16) Now comes the really fun part...the driver side. It's super easy. Repeat steps #8 through #15. Notes on the driver side: I found the only way to loosen the top bolt was to approach it from the same angle as indicated on the passenger side in step #10 and the associated picture. I had to use the looped end of my fixed 16mm wrench to loosen and remove the top bolt. My ratcheting wrench just couldn't get a hold of the bolt due to the interference of the heat shield. You'll see what I mean if you decide to tackle this endeavor on your own. Also, I was able to remove the old mount in the same fashion as the passenger mount (i.e., through the gap between the sway bar and steering rack). However, the newer mount is taller since it's not collapsed. A trick I found was to slide it up from the passenger side and snake it all the way over to the driver side between the steering rack and front portion of the oil pan. I wish I had a picture of this but I was 4+ hours deep into the job and running out of daylight. Note: my completely trashed driver side mount:
17) Reinstall air intake system, supercharger clutch pulley cover, air intake snorkels, reinstall batter cable or remove rag from rear of alternator.
I replaced my motor mounts today and used these instructions. They worked great, thank you! The driver's side is a MASSIVE pain to get off and on. I also had to use the "snake through the passenger side" method... Took me an hour just to do that.
I did everything in my garage on jack stands with basic tools... If I can do it, really anyone can! Just make sure to have lots of time available to work, and don't get too frustrated trying to put in the new drivers side mount. I know I did!
E55 AMG V8 Kompressor 2004 E 55 AMG Type: 5,439 cc (5.439 L; 331.9 cu in) Supercharged V8 Powe
STEERING Rack Mark before removal
Super guide I used it was super easy BUT get the the Mounts removal tool or like I did use a medium sized hand mirror + flashlight trust me so much easier to see the top of the bolts lol.
Anyways just an important side note
Steering rack removal: U will need a front-end alignment after / note steering wheel straightness before and after (as a check). - - if you mark things and get it back where you had it, you may Ok without one. Just check for tire wear a few hundred miles after. You can also note steering wheel straightness before and after (as a check).
Glad to see this is helping people out. As a side note and shameless promotional plug, I happened to pick up another E55 yesterday (last one was totaled to no fault of my own) and consequently my E63 is now up for sale. I just had to go back to the 113 motor.
Nice write up! How was the transmission mount? I had to change mine out when I did my motor mounts as it was ripped inside the mount almost all the way around.
Performed this procedure again on my second E55 (last one was totaled, to no fault of my own). These are the original with 103k miles on them. Check your mounts folks!
One additional note on this: 1) As was mentioned in a previous reply, you may or may not have to get the toe reset since this procedure involves dropping the steering rack down and moving it around a bit. This time, I did have to take it in to get the toe tightened up. Nothing crazy. Just a degree or two out. The first time I guess I got lucky and didn't need to mess with anything.
E55 AMG V8 Kompressor 2004 E 55 AMG Type: 5,439 cc (5.439 L; 331.9 cu in) Supercharged V8 Powe
Originally Posted by 87geeinn
Performed this procedure again on my second E55 (last one was totaled, to no fault of my own). These are the original with 103k miles on them. Check your mounts folks!
One additional note on this: 1) As was mentioned in a previous reply, you may or may not have to get the toe reset since this procedure involves dropping the steering rack down and moving it around a bit. This time, I did have to take it in to get the toe tightened up. Nothing crazy. Just a degree or two out. The first time I guess I got lucky and didn't need to mess with anything.
yes I mentioned it to and isn't it nice man what a job saved a lot of money using this DIY
This is such a pain in the butt on the E63! There is no room at all to fit a hand down the side of the engine to reach the top of the drivers side mount; have to reach from underneath, which is also very very difficult with limited space for a hand (one hand). loosening the steering rack wont help in this as well. No I don't have the special tool just a normal 16mm wrench. Still trying to get it but the darn heat shield wont let the wrench on. grrrrrrr
Great thread thanks first time did this in 3 hours, my only tips are if your having problems snaking the RH mount out just lift the engine up higher. And if you're having problems getting the 16mm top mount nut to start just lower the engine very slightly.

 05-15-2017, 10:06 PM


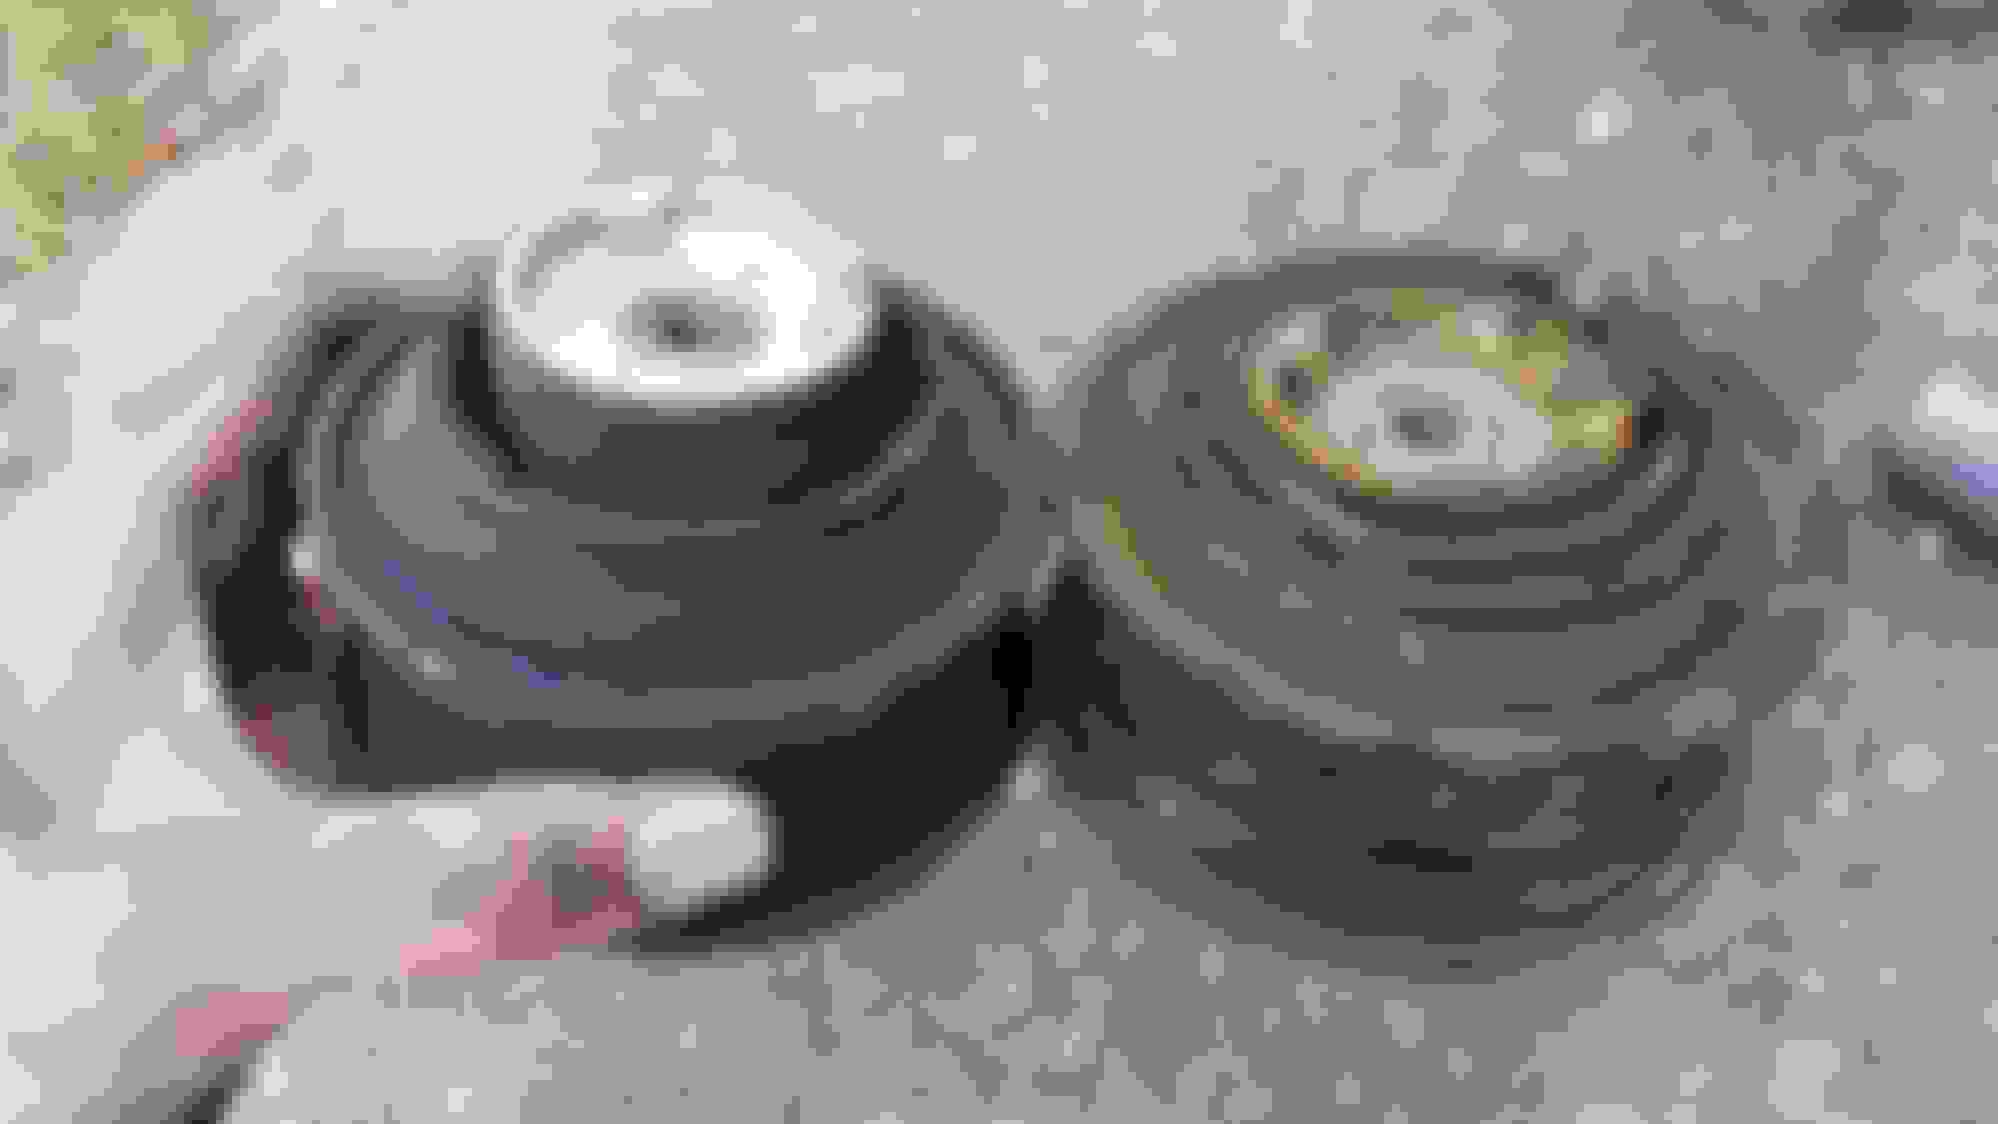


 Repeat steps #8 through #15. Notes on the driver side: I found the only way to loosen the top bolt was to approach it from the same angle as indicated on the passenger side in step #10 and the associated picture. I had to use the looped end of my fixed 16mm wrench to loosen and remove the top bolt. My ratcheting wrench just couldn't get a hold of the bolt due to the interference of the heat shield. You'll see what I mean if you decide to tackle this endeavor on your own. Also, I was able to remove the old mount in the same fashion as the passenger mount (i.e., through the gap between the sway bar and steering rack). However, the newer mount is taller since it's not collapsed. A trick I found was to slide it up from the passenger side and snake it all the way over to the driver side between the steering rack and front portion of the oil pan. I wish I had a picture of this but I was 4+ hours deep into the job and running out of daylight. Note: my completely trashed driver side mount: