When you click on links to various merchants on this site and make a purchase, this can result in this site earning a commission. Affiliate programs and affiliations include, but are not limited to, the eBay Partner Network.
For those of you that are contemplating an ALP system, here are a few pictures from my install, may be helpful to others.
I bought a three sensor front system, with one TX sensor and the HiFi speaker, but not bluetooth. It's very rare with rear laser where I live, and with a wagon the rear sensor install would be more time consuming.
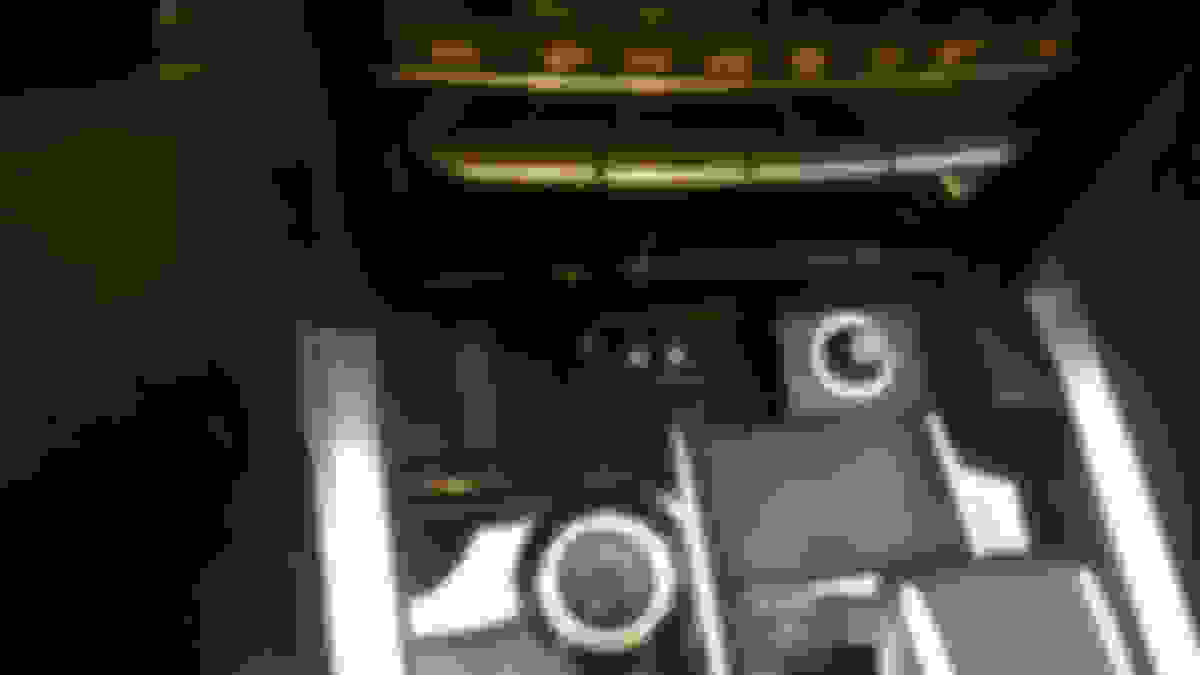
I choose to locate the control panel in the ash tray bucket (removed the ashtray and I don't smoke). This allows me to see the control panel and the LED (which is BRIGHT), while when the lid is closed you have a more stealthy install. Dremeled a hole in the rear of the tray (with the tray outside the car) for the cables.
After removing the center gear shifter surround (great writeup on the web: Instructions ), I tucked the wires through the hole towards the rear on the drivers side. I also took power from the cigarette lighter and routed that (red) wire through the same hole.
Through a member on this board I got a beautiful set of 3D printed holders for the sensors (I will let him reveal himself if he wants to). Here they are unpainted;
And after being degreased and painted black. I used the "half circle" version to allow for future sensor upgrades.
As I said - beautiful design - which allows for perfect level construction.
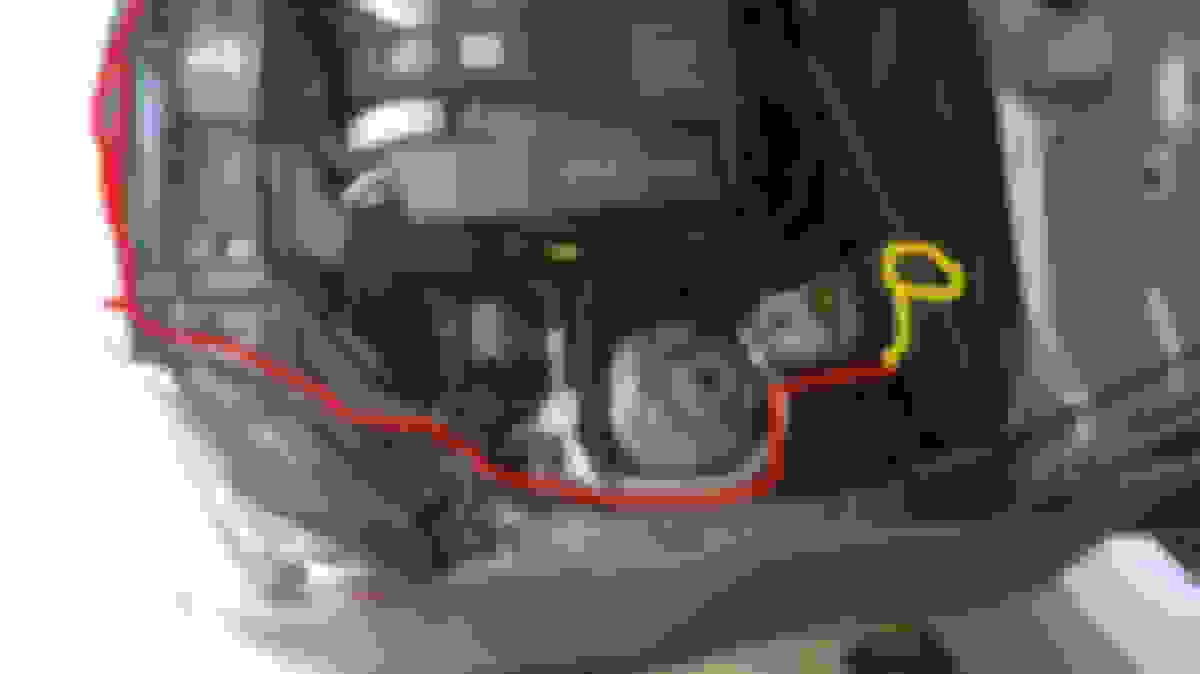
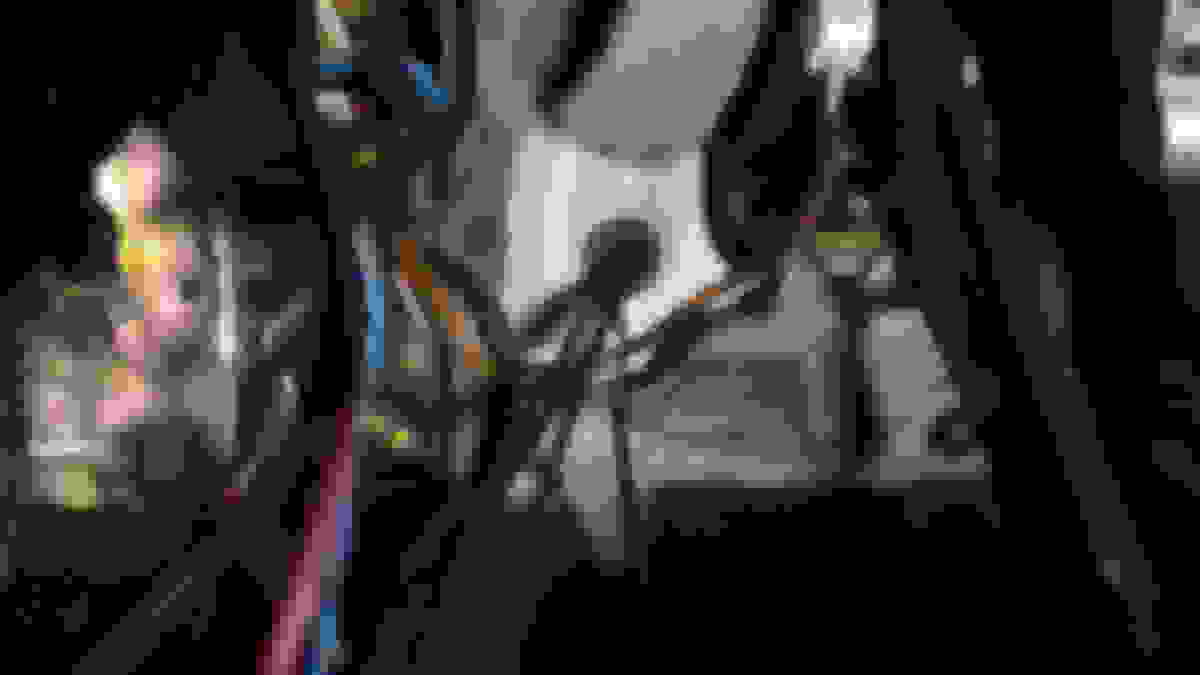
Here is s a top view that shows the sensor wires' routing (red), and the GPS sensor (yellow). I tucked the GPS sensor under the cowling where it stays using the built in magnet.
I placed the three sensor connectors tucked underneath the headlight support and attached with zipties. This allows for one location for all connectors to make it easier for a mechanic to find these connectors in case front bumper needs to be removed.
Used electrical labels (home depot) to label the connectors as well. same number on each end of connector. Again - to avoid issues if bumper needs to be removed.
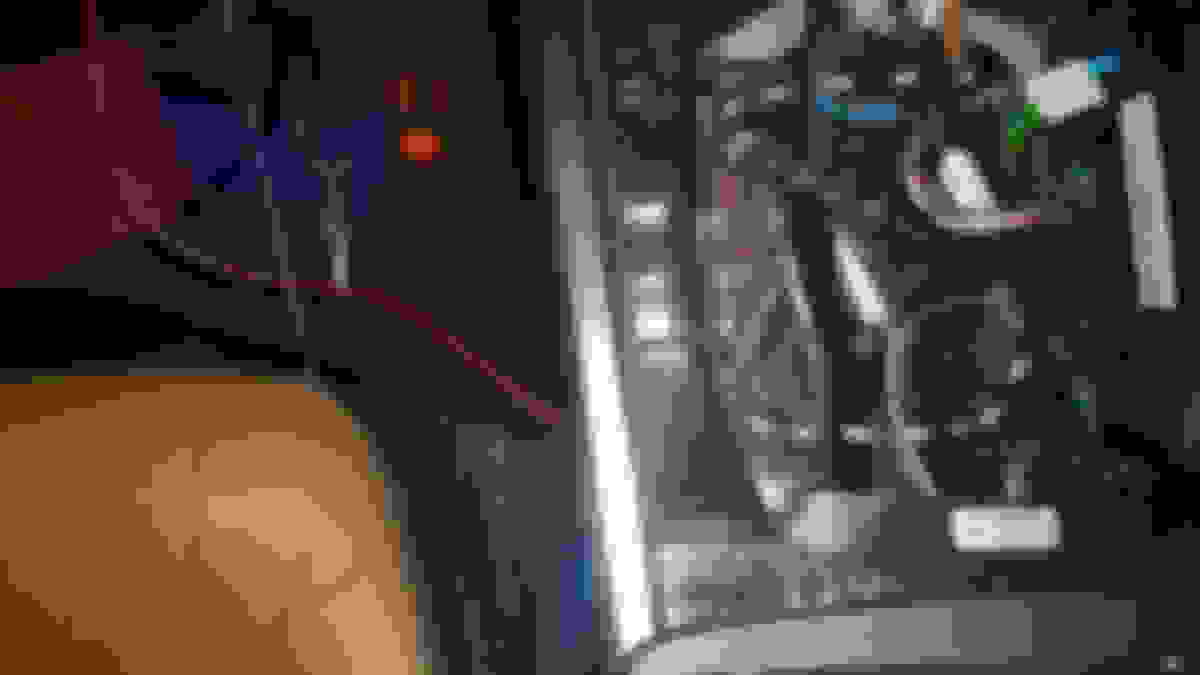
Then routed wires along edge, underneath existing rubber gaskets etc.
Going through the firewall through the grommet that is next to the brake booster, below and towards the center of the car from the fuse box.
Underneath the dash, the grommet is towards the outside of the brake pedal assembly, underneath an easily removable cover (used for clutch pedal versions of the W212). Here it's with cover:
And with sound proofing cover removed:
Grommet is easily removed, and I cut a square hole in the middle, with additional cuts towards edge to allow for wires to go through (don't cut through outside edge of course!).
Wires can then be pulled through easily.
Replaced into firewall
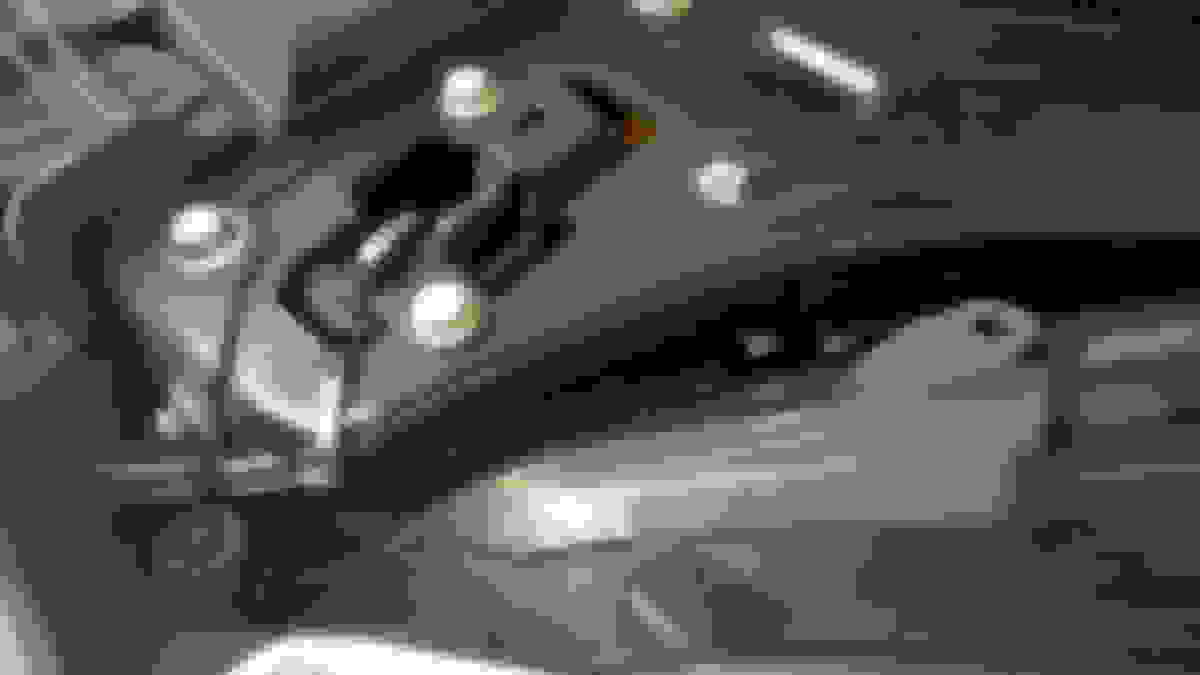
Clutch cover replaced. Here you can also see where I placed the ALP speaker unit. Perfect place to sturdy mount into parking brake assembly, but use shorter screws than the ones included to avoid interfering with the actual mechanism.
From the outside finished grommet looks like this. Note that you can use the white cable holder - perfectly located!
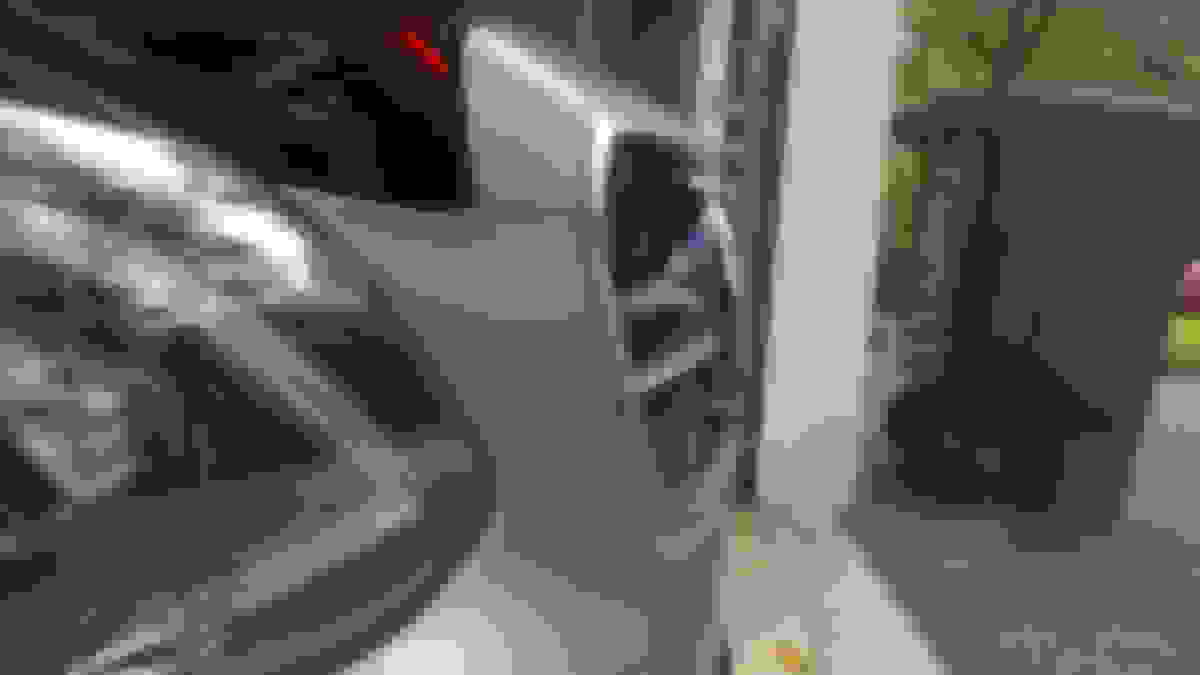
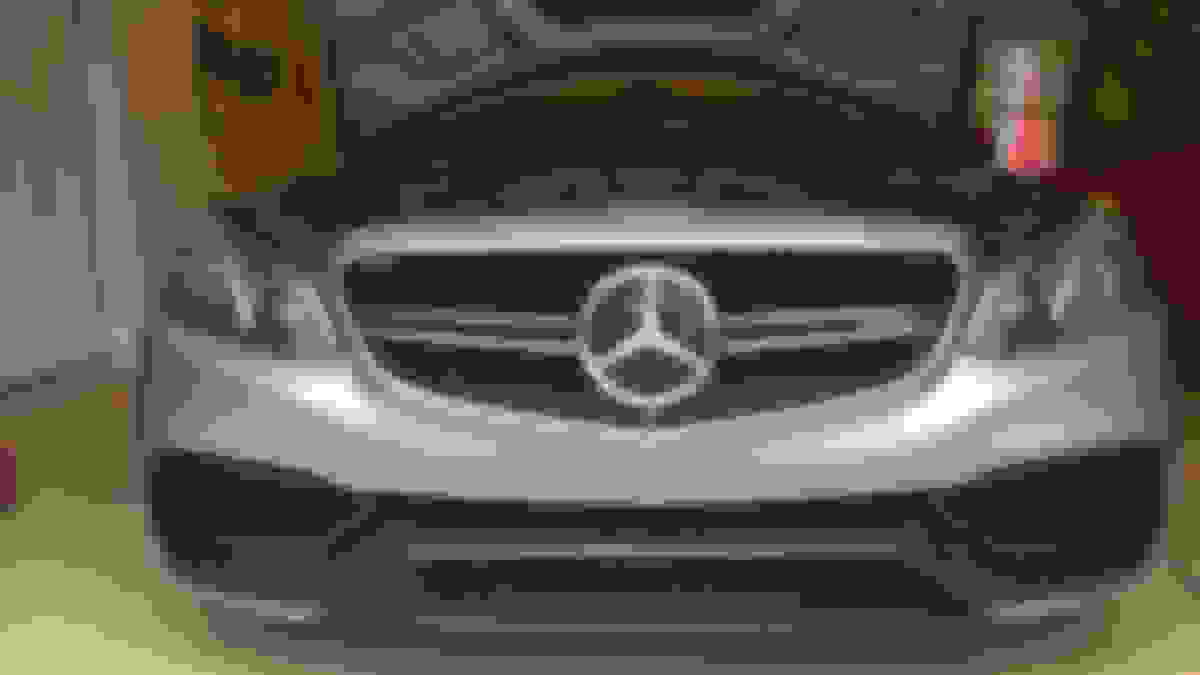
For the actual sensors, I dremeled some holes in the grill and then routed wires along top edge, using picking tools and zip ties to attach them to the grill.
Done!
The mounts were perfect - level and perpendicular (my garage floor has a few degrees angle, it's perfect on flat ground).
Final test before tucking away, It took me a few tries to load the firmware updates etc. Close to 10 minutes actually.
Lastly - mounted the USB extension cable on drivers side of the dash, allows for easy access while being hidden. In the background is the control box mounted to the support structure, using dual adhesive tape and zipties (to avoid rattling).
All in not that hard, but of course rather uncomfortable to work underneath the dash, as in all cars. The spare rubber grommet in the firewall is a great extra that makes this so much easier!
For those curious, I am the member he mentioned that designed the 3D optimized brackets. I am more than willing to help out any of you interested to a point. I created these using SolidWorks CAD. If you PM me with an email, I can send you the electronic files. It will then be up to you to have someone convert the file into the appropriate format for the type of 3D printer used (such as .stl, etc) and have them printed. I dialed in the fit for these after about 3 passes. I have files for the standard sensor in both closed and "half circle" (that I call open bottom) and the file for the TX sensor bracket.
FastWgn,
Maybe I missed it, but where did you end up placing the GPS puck?
Thanks Again, and really happy you liked my design.
Maybe I missed it, but where did you end up placing the GPS puck?
!
Thanks!
Look at the picture of the engine bay. The yellow circle is where I put the puck, underneath the plastic cowling, on top of the metal structure (it's magnetic). During rather spirited driving it remained in place.
Very nice. I�ve been contemplating this exact setup for a while.
You should post these photos on radardetectorforum.org - some great knowledgeable guys on there. Years ago I had the Quad Laser Interceptor setup on my E55, and had someone from that forum test them thoroughly for free, from every angle and distance to make sure they are bulletproof, saved me countless times.
Gluck! Feels naked driving without setups like this once you own one.
Thanks!
Look at the picture of the engine bay. The yellow circle is where I put the puck, underneath the plastic cowling, on top of the metal structure (it's magnetic). During rather spirited driving it remained in place.
So I was looking around where you pointed to in the cowling area. It looks like there are a few moving linkages for the wipers under there. Are you sure you found a safe place free from moving mechanisms? If so, did you actually have to unscrew the cowling piece? Sorry if I am missing something, but if you can offer a few more details on this puck location specifically, it would be greatly appreciated.
Very nice. I�ve been contemplating this exact setup for a while.
You should post these photos on radardetectorforum.org - some great knowledgeable guys on there. Years ago I had the Quad Laser Interceptor setup on my E55, and had someone from that forum test them thoroughly for free, from every angle and distance to make sure they are bulletproof, saved me countless times.
Thank you and good idea! Would be nice to have a real test of it.
So I was looking around where you pointed to in the cowling area. It looks like there are a few moving linkages for the wipers under there. Are you sure you found a safe place free from moving mechanisms? If so, did you actually have to unscrew the cowling piece? Sorry if I am missing something, but if you can offer a few more details on this puck location specifically, it would be greatly appreciated.
Yes, there are moving linkages there for the viper mechanism, but more towards the front. That is, the GPS puck is tucked up and towards rear of car underneath the gray plastic cowling. laying on top of the metal there. used my hand to "tuck it in" there. The cord is then going straight down to the grommet and into the car.
At first I was concerned the puck would not stay there and I was contemplating removing the cowling piece to attach the puck with dual adhesive tape or even velcro. However, the magnetic force of the puck is pretty strong, for the very light weight of the puck (which makes sense). Note that the puck is laying horizontally on top of the metal underneath the plastic cowling. It's not attached vertically on the wall.
So, again, the key is to avoid the linkages that are moving, and that are further forward. Tried running the vipers during the install and all is well. Plenty of distance between the cord and them .After the install I also drove "spirited", including a full powered stop, and the puck stayed put.
I finished my install this last weekend. You will notice that the custom brackets for the sensors in the OP's post look the same because they are. All details between the sensors in the grill to the firewall are virtually the same between FastWgn and mine. I used the same firewall feed through point as FastWgn (that I had discovered a while back in a separate thread regarding firewall pass through).
I mounted my speaker in the same exact place as the OP too.
Most of the rest however is a bit different than FastWgn's install. Here are the differences with pics below:
I mounted the CPU close to where his is but in a different orientation that allows for easy access with the USB drive without an extension cable. Simply pop off the dash end panel between the door and the dash with a plastic prying trim tool. Takes about 20 seconds. With this, I can easily update configurations or firmware while the CPU stays hidden.
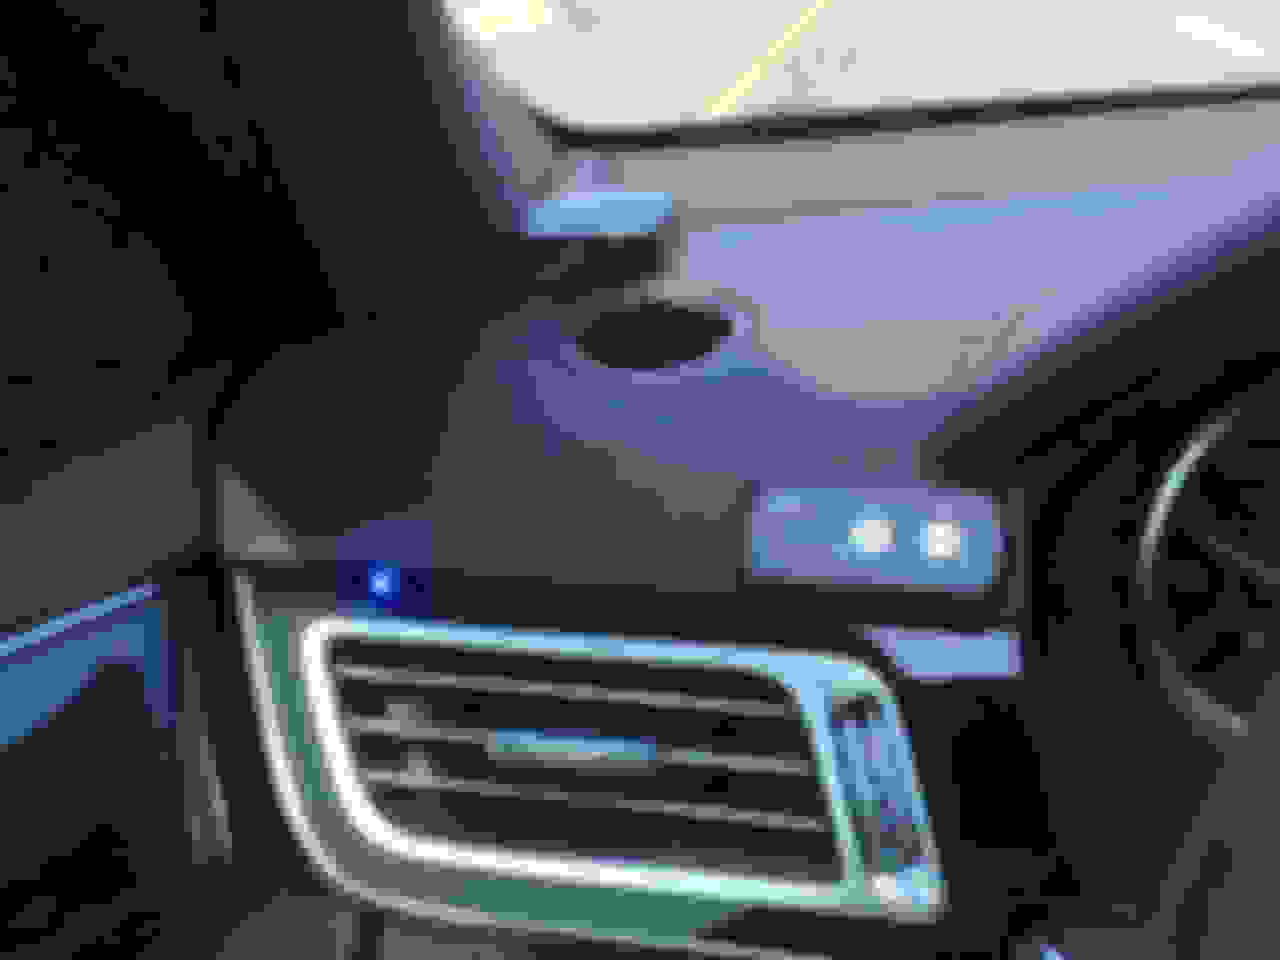
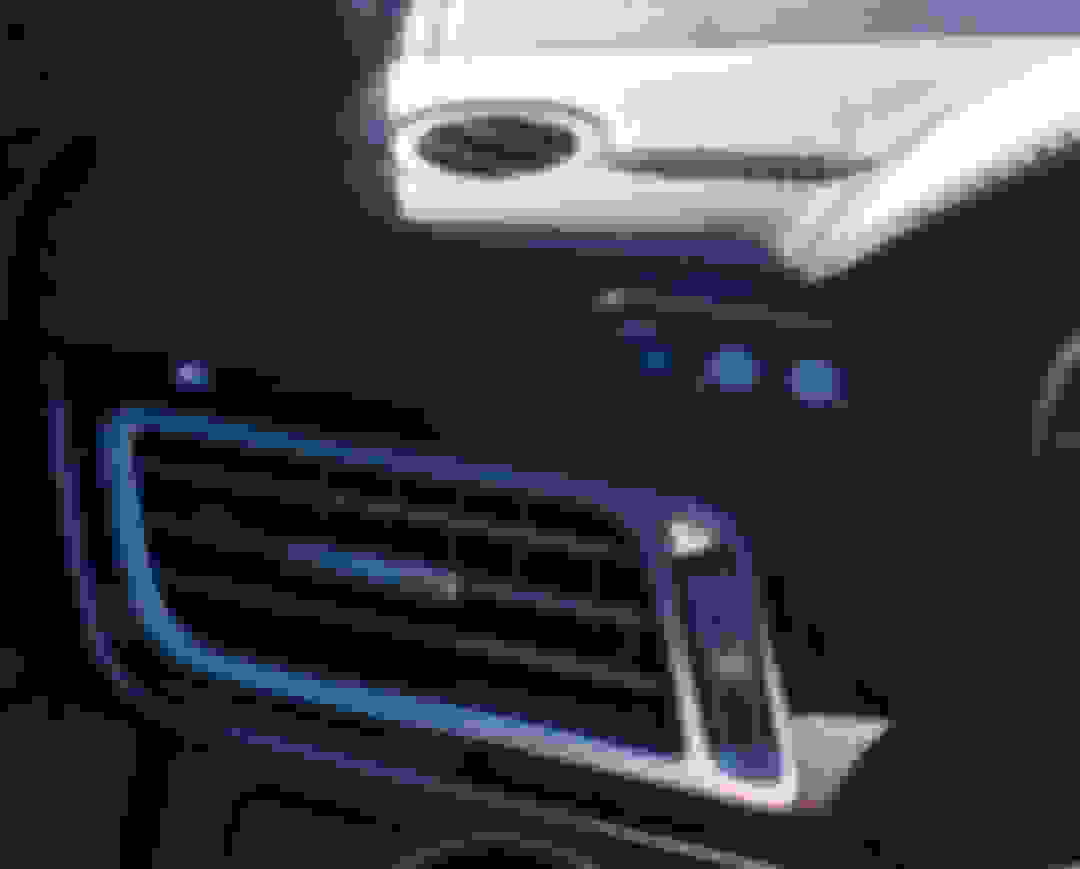
I mounted the controller just above the left vent as you can see. I felt this will be much easier to reach QUICKLY to kill the jammer. And I will be honest, it was easier than fighting the whole console disassembly! I teed off of the red wire going to the headlight switch for power and used one of the main dash bolts for the ground connection. This power connection is ignition switched which is what you want.
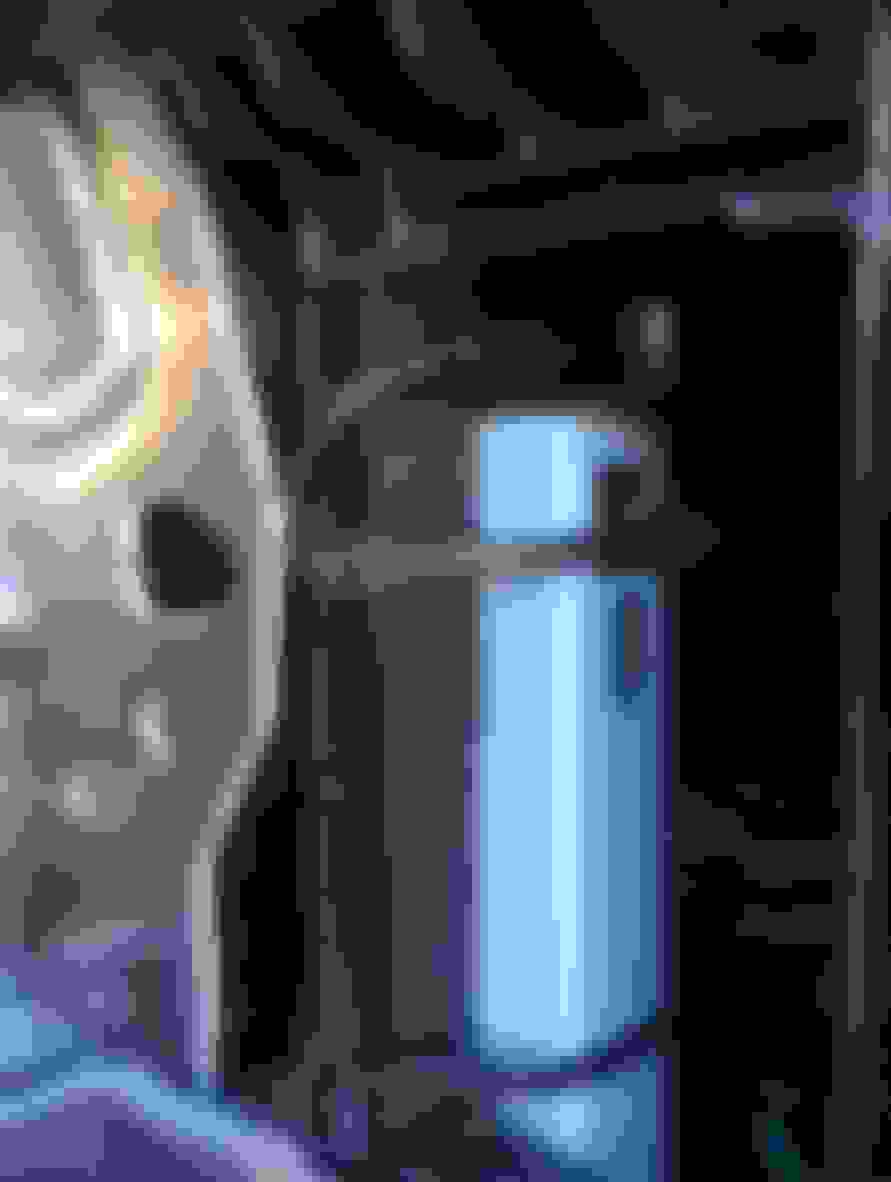
Unlike the OP, I was not able to find a spot under the wiper cowling that seemed suitable for the GPS puck. Perhaps the wagon is slightly different. For now I simply used a small piece of dual tape to attach it in the corner of the dash as shown. I can always easily re-position this down the road if I decide to. Personally it doesn't really bother me right there though.
Because I just didn't want to drill a hole anywhere for the LED (just like the OP) I noticed that the width of the 2 leads of the LED are very slim and sandwiched them between the vent assembly and the upper dash (just like the flat cable for the controller).
SO with my configuration everything can be mounted on the inside of the cabin by only removing the left vent assembly, the dash end panel that I mentioned above, and the kick panel underneath the dash.
My Gps puck location and the aux LED might change down the road and will be fairly easy to do. I also created a little cap that I can place over the aux LED if it becomes annoying.
I am also happy to report that the entire system is working perfectly so far. I purchased ALP's little LiDAR gun simulator for testing. I will at some point find one of these testing meet-ups to fully test it against "punch through"
So check out the pics and hopefully it helps some of you out there!
Thanks for the update!
Looks like a clean and nice install as well. Not sure the GPS puck would not bother me... Seems like others have even placed it underneath the dash with no limitations in sensitivity.
How has night driving been so far? The LED on the control panel is BRIGHT; and I assume the aux LED is as well (looks like it in your picture!)?
FYI - you are likely aware, but there is a configuration for turning down the intensity of the LED (at least the panel one - not sure about the aux one)
Hahaha
I actually dialed in the individual LED intensities last night. If you select the "dimmed" mode on the config page it opens up more adjustments such that you can discretely adjust each LED. So I set the control LED at 6 and the aux LED at 2. It looks pretty good now.
So on the puck I just decided that I will simply pop off the dash end panel and stick it up inside the dash somewhere and then test drive it. If everything works I will leave it there. Update on this later.
Over the weekend I tested out the GPS puck installed up inside the dash. IT WORKS! No issues at all. See new pics below. Removal of puck and notice the lights for the ALP are now dimmed too.
Nicely done!
That experience mirrors others who have placed the GPS puck underneath the dash with no problems. Good to see that it works for our cars as well.
As happy as I was with the original install I wanted to make the visibility of the control unit even better.
Hence I decided to create a angled support for the controller to rest on inside the ash tray bucket. It's about 10 mm in front and 18 mm in the rear.
To the right you have the prototype (Styrofoam) and to the left the finished product after painting, built using the white plastic composite board you use for outside construction, replacing wood in high moisture environment (window sills etc.). I just happened to have some of that laying around.
Turned out perfectly and allows even better visibility of the control panel and an better angle for pressing the mute button when hit. Attached controller to the block and block to the ashtray using standard dual adhesive tape. Rock solid.
Much improved visibility!
And retains the total stealth approach when you close the ashtray lid. Well except the beeps and announcement upon startup. I think I may go with the quiet startup option....
Last edited by FastWgn; 07-17-2018 at 06:00 AM.
Reason: Added extra picture
Yesterday - on the local highway heading to work, around 11.30. Road opens up (I'm in the right lane), and I step on it a little bit.
Suddenly four things happens at once:
1. Escort radar / laser detector goes off.
2. ALP goes off - states gun type
3. I step on the brake
4. I see the trooper - parked behind bridge support, in breakdown lane, about 200 yards up, right before slight right turn, hence very, very hard to see.
After 5 seconds, ALP tells me it's in non interference mode, and Waze tells me the "police ahead" warning...
Trooper keeps on shooting my car (as ALP will tell you), but now I'm between speed limit and 5 below.
When passing the trooper (still driving in right lane), he mouths something to me, unclear what. I give him a nod to acknowledge.
So - now the system has paid for itself (after ticket cost and insurance surcharge on ALL cars in household for 6 years). Thank you ALP!
FF. W212 E63 M156 non-pano 18" P2 ParkT NightV (gone but will be missed).
Originally Posted by FastWgn
Trooper keeps on shooting my car (as ALP will tell you), but now I'm between speed limit and 5 below.
When passing the trooper (still driving in right lane), he mouths something to me, unclear what. I give him a nod to acknowledge.
So - now the system has paid for itself (after ticket cost and insurance surcharge on ALL cars in household for 6 years). Thank you ALP!
Nice save!!! It always brightens my day to hear another legalized highway robbery has been averted!
Wow, you have quite a set-up there. That waze was a little slow, huh?!...Can't totally count on that. I would get an ALP system right away if there is no need to drill holes through the car body.
Yesterday - on the local highway heading to work, around 11.30. Road opens up (I'm in the right lane), and I step on it a little bit.
Suddenly four things happens at once:
1. Escort radar / laser detector goes off.
2. ALP goes off - states gun type
3. I step on the brake
4. I see the trooper - parked behind bridge support, in breakdown lane, about 200 yards up, right before slight right turn, hence very, very hard to see.
After 5 seconds, ALP tells me it's in non interference mode, and Waze tells me the "police ahead" warning...
Trooper keeps on shooting my car (as ALP will tell you), but now I'm between speed limit and 5 below.
When passing the trooper (still driving in right lane), he mouths something to me, unclear what. I give him a nod to acknowledge.
So - now the system has paid for itself (after ticket cost and insurance surcharge on ALL cars in household for 6 years). Thank you ALP!
THAT'S AWESOME!
I have not been hit yet. Is that a good thing or a bad thing? lol I did have it go off in our work parking lot though the other day. Heads up. It seems that ALP sees spinning LiDar sensors as a "Polyscan" Cops do not use polyscan in cali. But our multi laser spinning sensors look like a polyscan apparently. I believe I can turn off polyscan in the config file. Going to look. You likely won't see too many of these sensors out there. They are all over the place here in the Silicon Valley as Goodle and Uber, and others are driving around with them developing autonomous cars (driverless).
Heads up. It seems that ALP sees spinning LiDar sensors as a "Polyscan" Cops do not use polyscan in cali. But our multi laser spinning sensors look like a polyscan apparently. I believe I can turn off polyscan in the config file. Going to look. You likely won't see too many of these sensors out there. They are all over the place here in the Silicon Valley as Goodle and Uber, and others are driving around with them developing autonomous cars (driverless).
Ugh - another reason for the rest of us to not like autonomous cars...
Nice save!!! It always brightens my day to hear another legalized highway robbery has been averted!
Wow, you have quite a set-up there. That waze was a little slow, huh?!...Can't totally count on that. I would get an ALP system right away if there is no need to drill holes through the car body.
The only cutting of any kind that was done was the in the front plastic grill to allow the connectors for the sensors to pass through. When the sensors are in place, the grill mods are not visible. There is a well documented feedthrough grommit located in the firewall near the the brake booster for getting wires in the cabin. Oh, there are two small holes drilled way up under the dash for attaching the ALP speaker. These are in a piece of plastic that will NEVER be seen.
If I were for some reason in need of removing the ALP system and sensors, I could simply buy a new grill.
Personally I wouldn't let this be a reason to stop you from doing it. There is a nice ease of mind that comes with knowing you have it.
Apologies, if this is going off topic - but did you guys consider the Escort Max 360 ci at all? Especially considering the midcity engineering integration that routes it through the car's menu, so no need for external controls. Just wondering if you guys looked at other options and what made you go with the ALP? Looking at doing something similar to my 2016 in the future with the amount of laser that is being used in the East Bay.
Yes, I went with Escort Max 360 instead, which is $500. the ci is $2500, plus install if you can't do it yourself.
And it is my understanding that ALP is a better laser jammer than Escort, esp against newer threats and especially when using the TX head.
May want to read this article: Vortex radar jammer test
I also wanted rear radar detection and that you get for free with Max 360. So all in I'm at $1600 or so. With ci install I'd be at $3,500. Big difference and money better spent on other things. Maybe if you live in Virginia (detector are illegal)?
Last answer - why not get the Uniden since it is "better" than the Escort Max 360? I have used V1s for 15+ years and it is so amazingly good to have the arrows, I would not use a detector that doesn't have that.
Yes, I went with Escort Max 360 instead, which is $500. the ci is $2500, plus install if you can't do it yourself.
And it is my understanding that ALP is a better laser jammer than Escort, eso against newer threats and especially when using the TX head.
May want to read this article: Vortex radar jammer test
I also wanted rear radar detection and that you get from free with Max 360. So all in I'm at $1600 or so. With ci install I'd be at $3,500. Big difference and money better spent on other things. Maybe if you live in Virginia (detector are illegal)?
Last answer - why not get the Uniden since it is "better" than the Escort Max 360? I have used V1s for 15+ years and it is so amazingly good to have the arrows, I would not use a detector that doesn't have that.
Exactly everything he said!
I even have the 360 in the windshield as well. I did a lot of reading on the various jammers abilities. If you do the same, you will find that it is easily the best jammer out there. All other jammers seemed to have punch-throughs by one gun or another. Also, the ALP was the only jammer that consistently jammed the Dragoneye to the gun (Jam to gun).
How many sensors did you guys put on the rear or did you do front only?
I did front only. In Northeast they very rarely do rear shooting. Mainly since it (correctly) is significantly more dangerous during the inevitable high speed chase that takes place when the cop is trying to catch up to a car going "above" the limit.
Not that they care about dangers to others, but in the world of distracted drivers it may take the officer quite a while to catch up with the offending car, and they put themselves at risk for a longer duration.
And, in the world of Waze it's less effective than it was 10 years ago.

 06-24-2018, 06:46 AM