When you click on links to various merchants on this site and make a purchase, this can result in this site earning a commission. Affiliate programs and affiliations include, but are not limited to, the eBay Partner Network.
I just lowered my CLS last night and everything came out well except I�m not sure how to tighten the top 21mm strut bolt. I�m trying to do it on the car figuring Thanatos the pressure would allow me to tighten it but the strut shaft keeps spinning and so does the bolt. Did this happen to you?
Does anyone has a picture of the rear link on the car? I jacked up the, remove the wheel and underneath fender cover but couldn't tell which one is the link to be replacd with the adjustable link. Thank you.
Does anyone has a picture of the rear link on the car? I jacked up the, remove the wheel and underneath fender cover but couldn't tell which one is the link to be replacd with the adjustable link. Thank you.
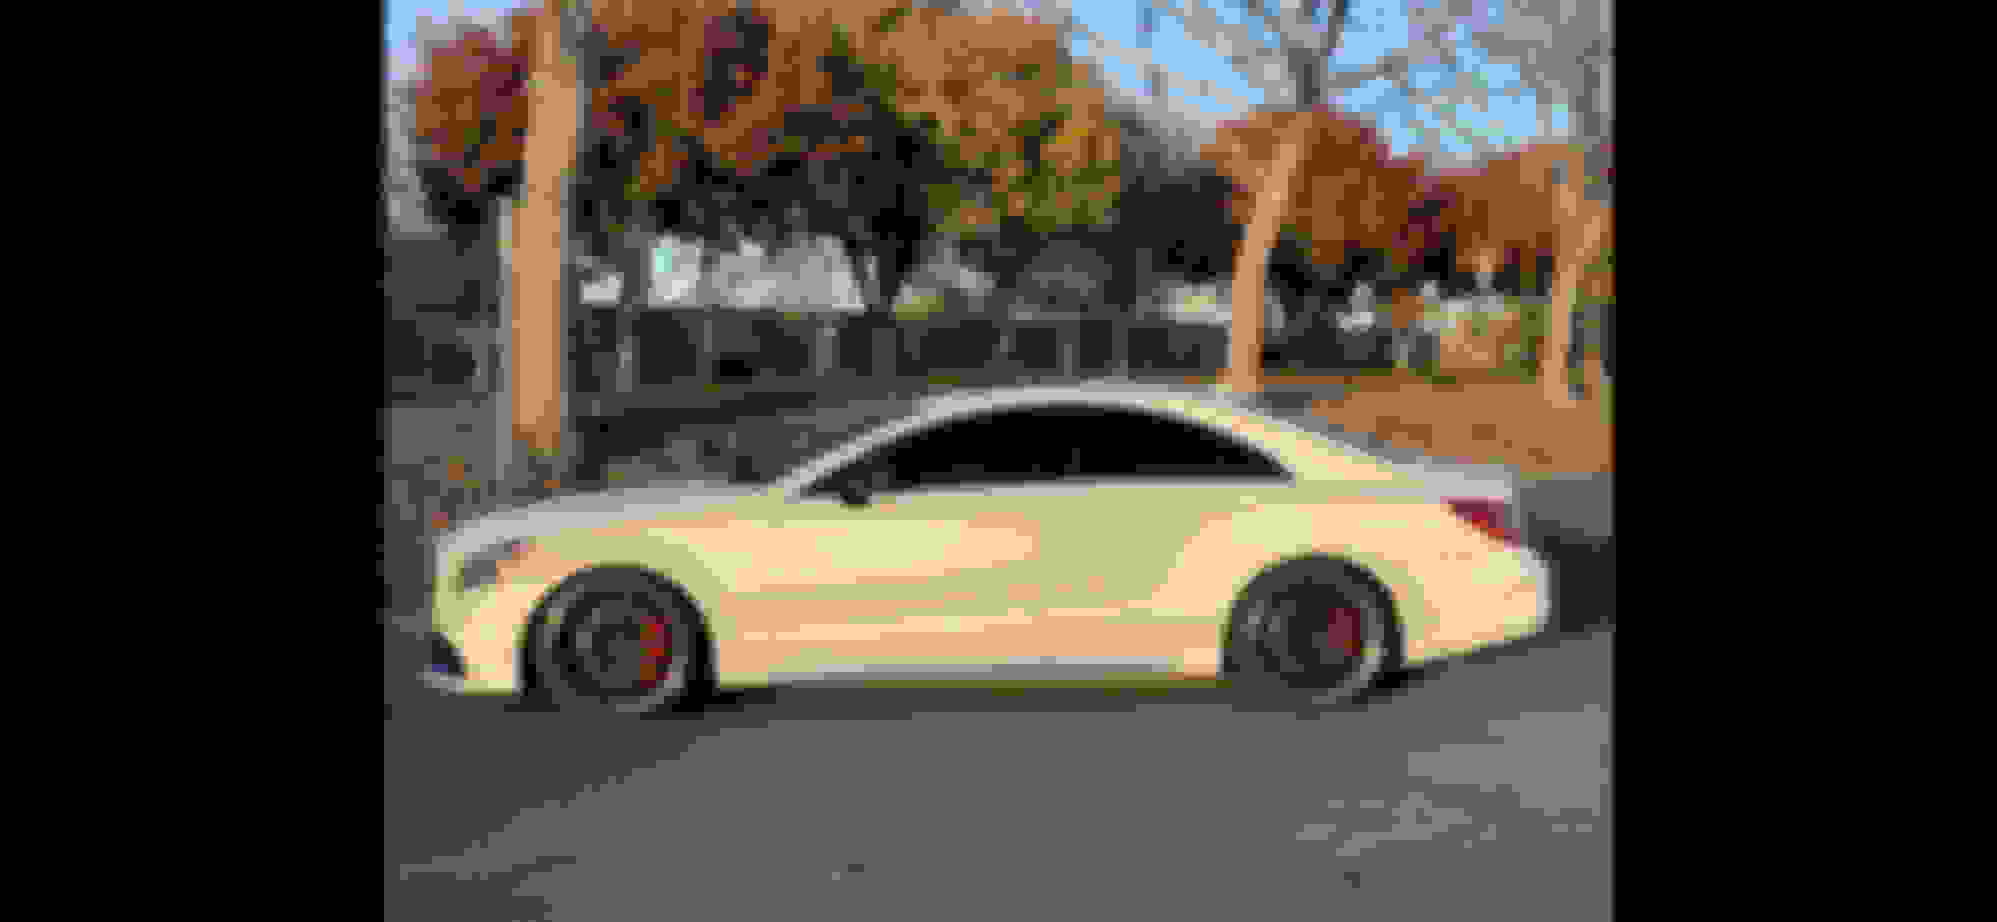
Today I installed H&R lowering springs (PN 29076-9) on my 2014 CLS 63 S. Since there wasn't much installation notes out there, I figured I'd type them up. This should work for a W212 as well.
Overall it's pretty straight forward, and takes about two hours per side (if you compress the springs by hand, this easily takes and hour per side).
Main tools:
Spring compressor tool (I rented one from autozone)
21mm Deep Socket
10m socket
18mm open wrench
T30 Torx wrench (I think, may be a T40)
E18 Torx Socket
E12 Torx Socket
E10 Torx Socket
Two socket wrenches and long extensions.
First loosen the main 21mm lock-nut on the tops of the strut. This nut keeps the top plate on and tension on the spring, so don't over loosen. A few full turns is fine. You can remove later, but it's hard to get the leverage when the strut is out.<br/>
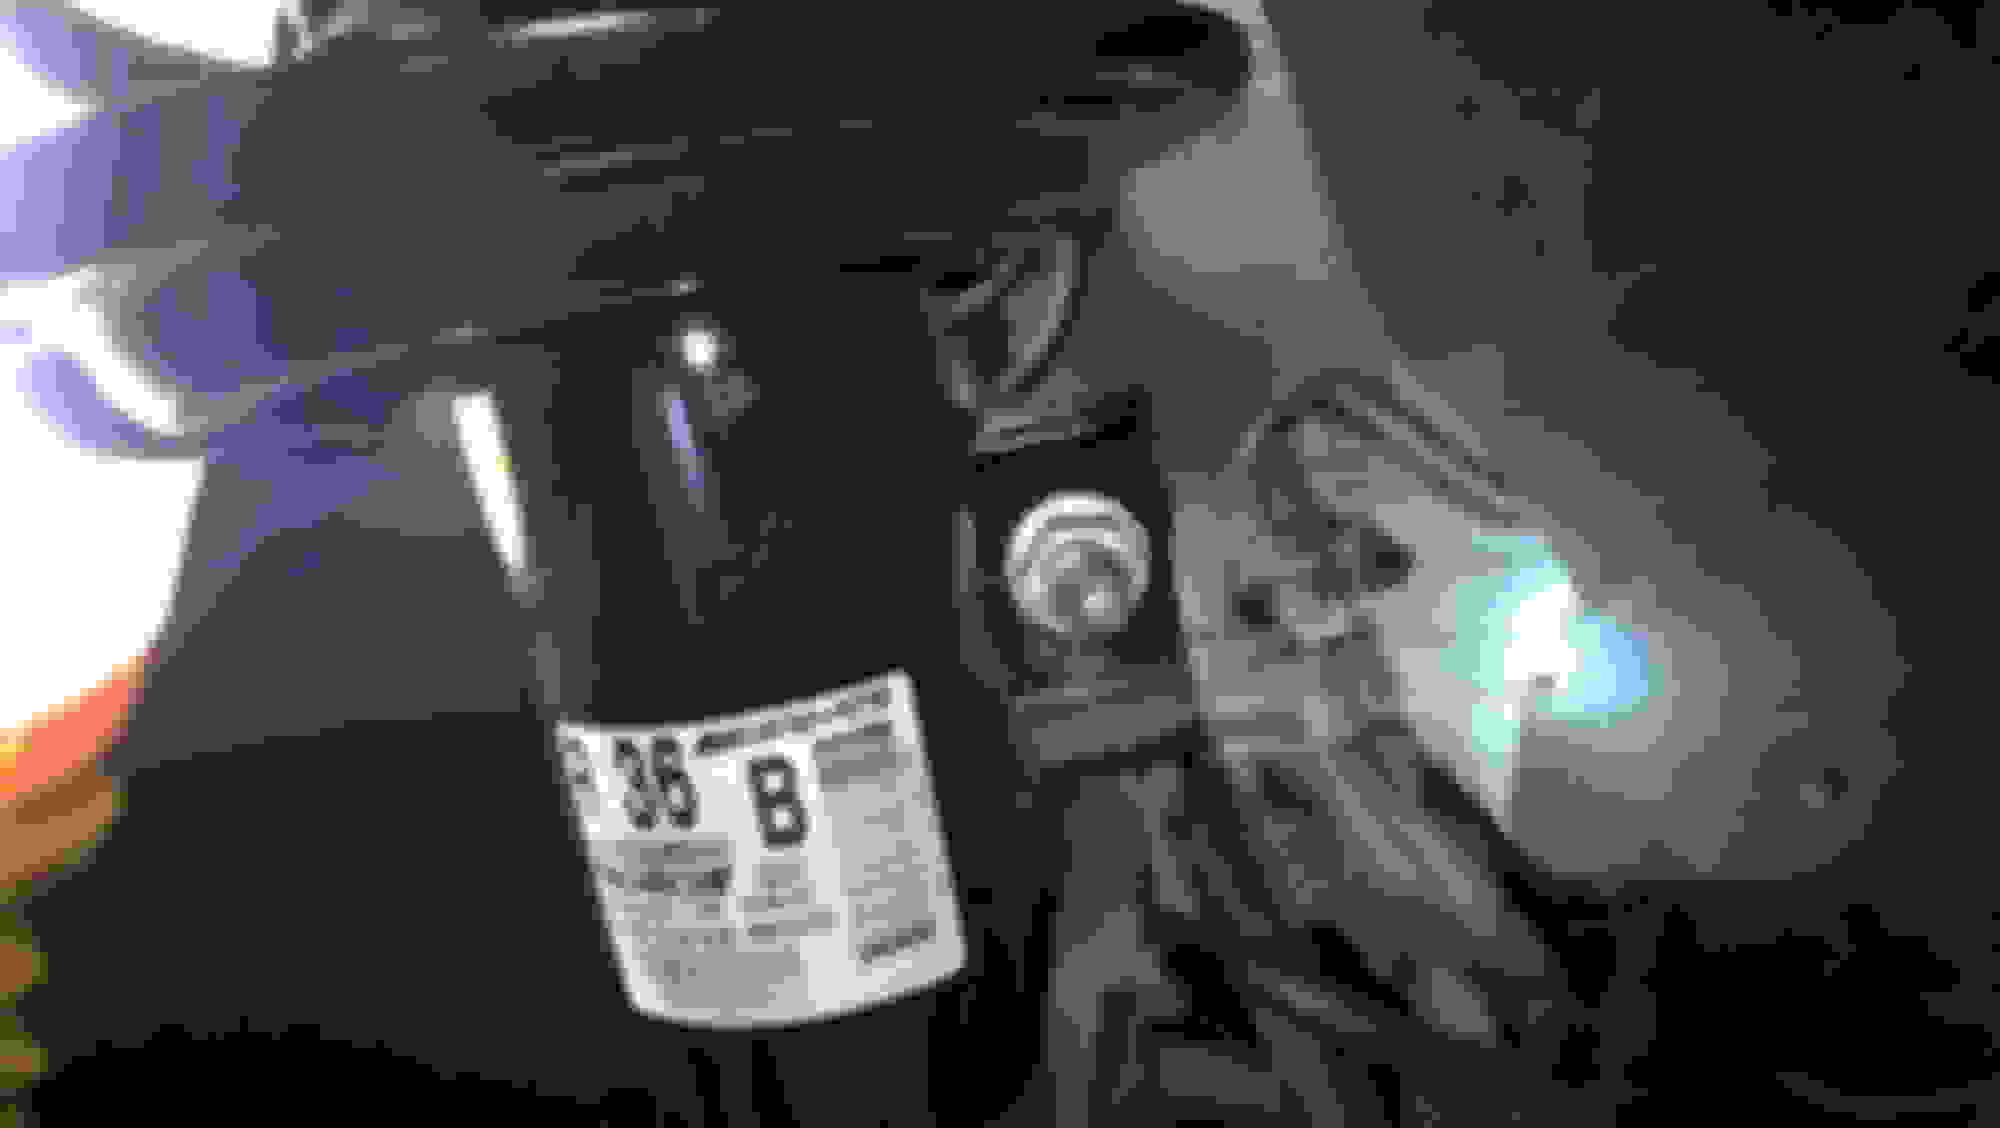
Disconnect the ABS sensor and (on passenger side) brake sensor wires from their associated brackets. The sensors are attached with a 10mm and E10 bolts. Push the wires out of the way. Also disconnect the brake line fron the strut bracket. <br/>
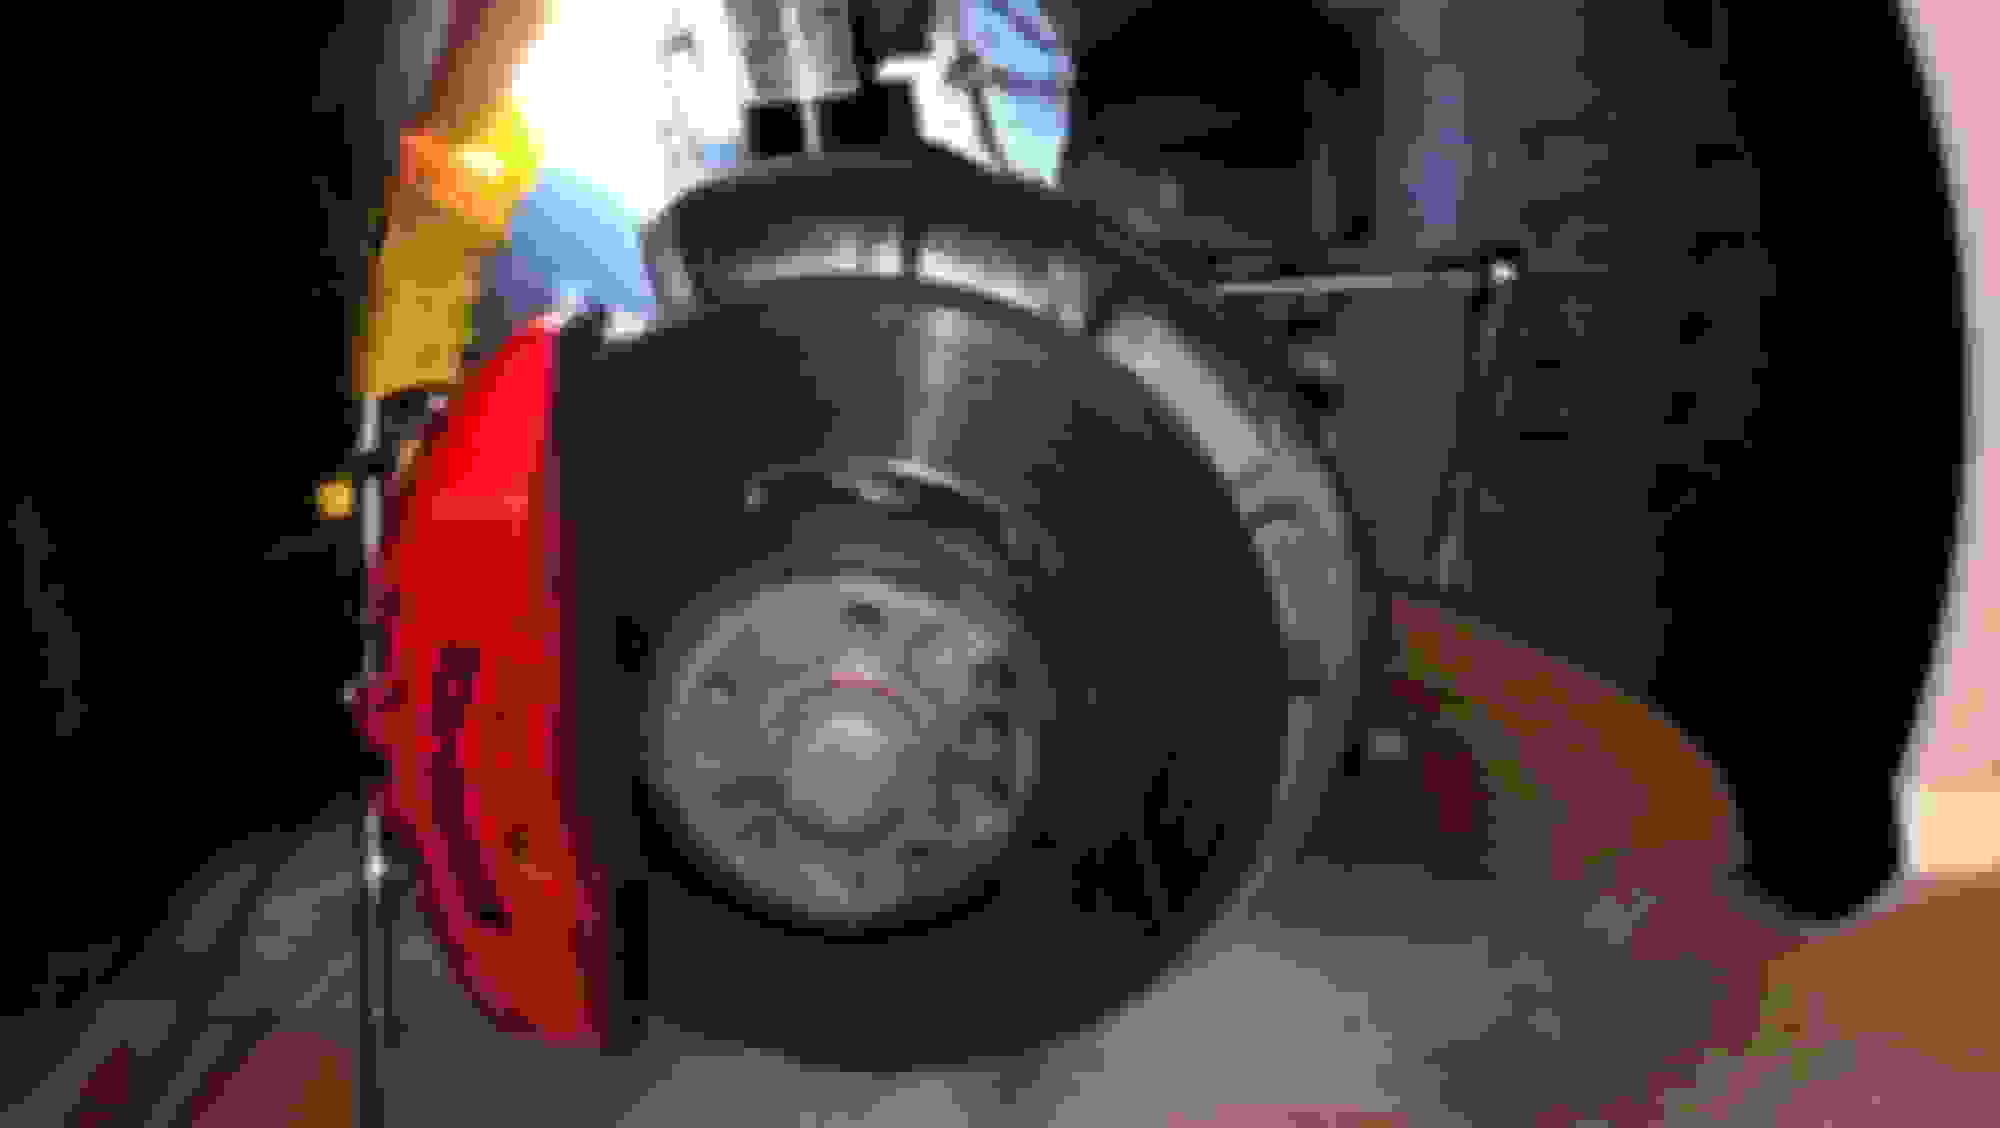
Disconnect the stabilizer bar. It has a ball joint that spins freely. Use the 18mm wrench and the T30 (I think) wrench in unison to remove / re-install the nut. Push the bar out of the way. I re-used the nut with lock-tight when re-installing.<br/><br/>
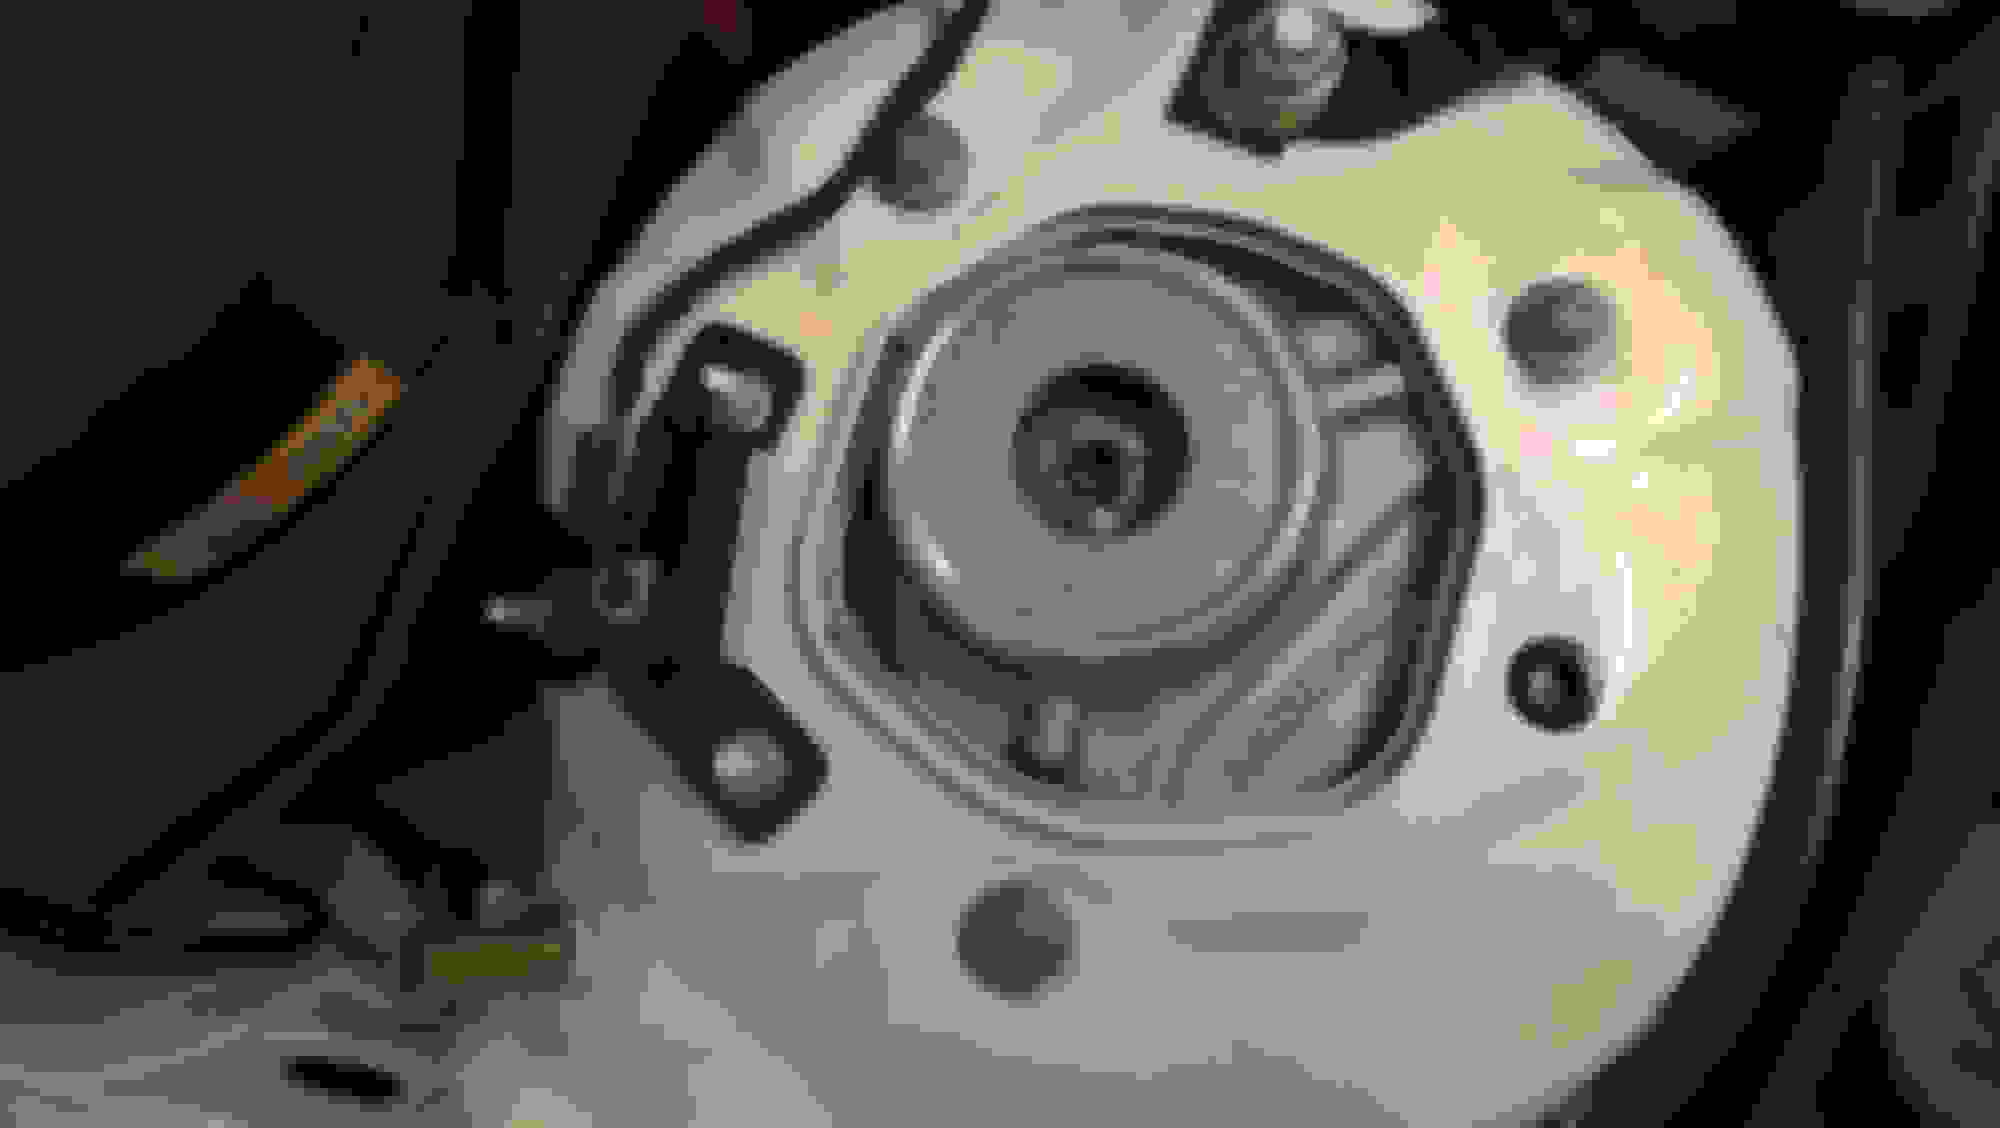
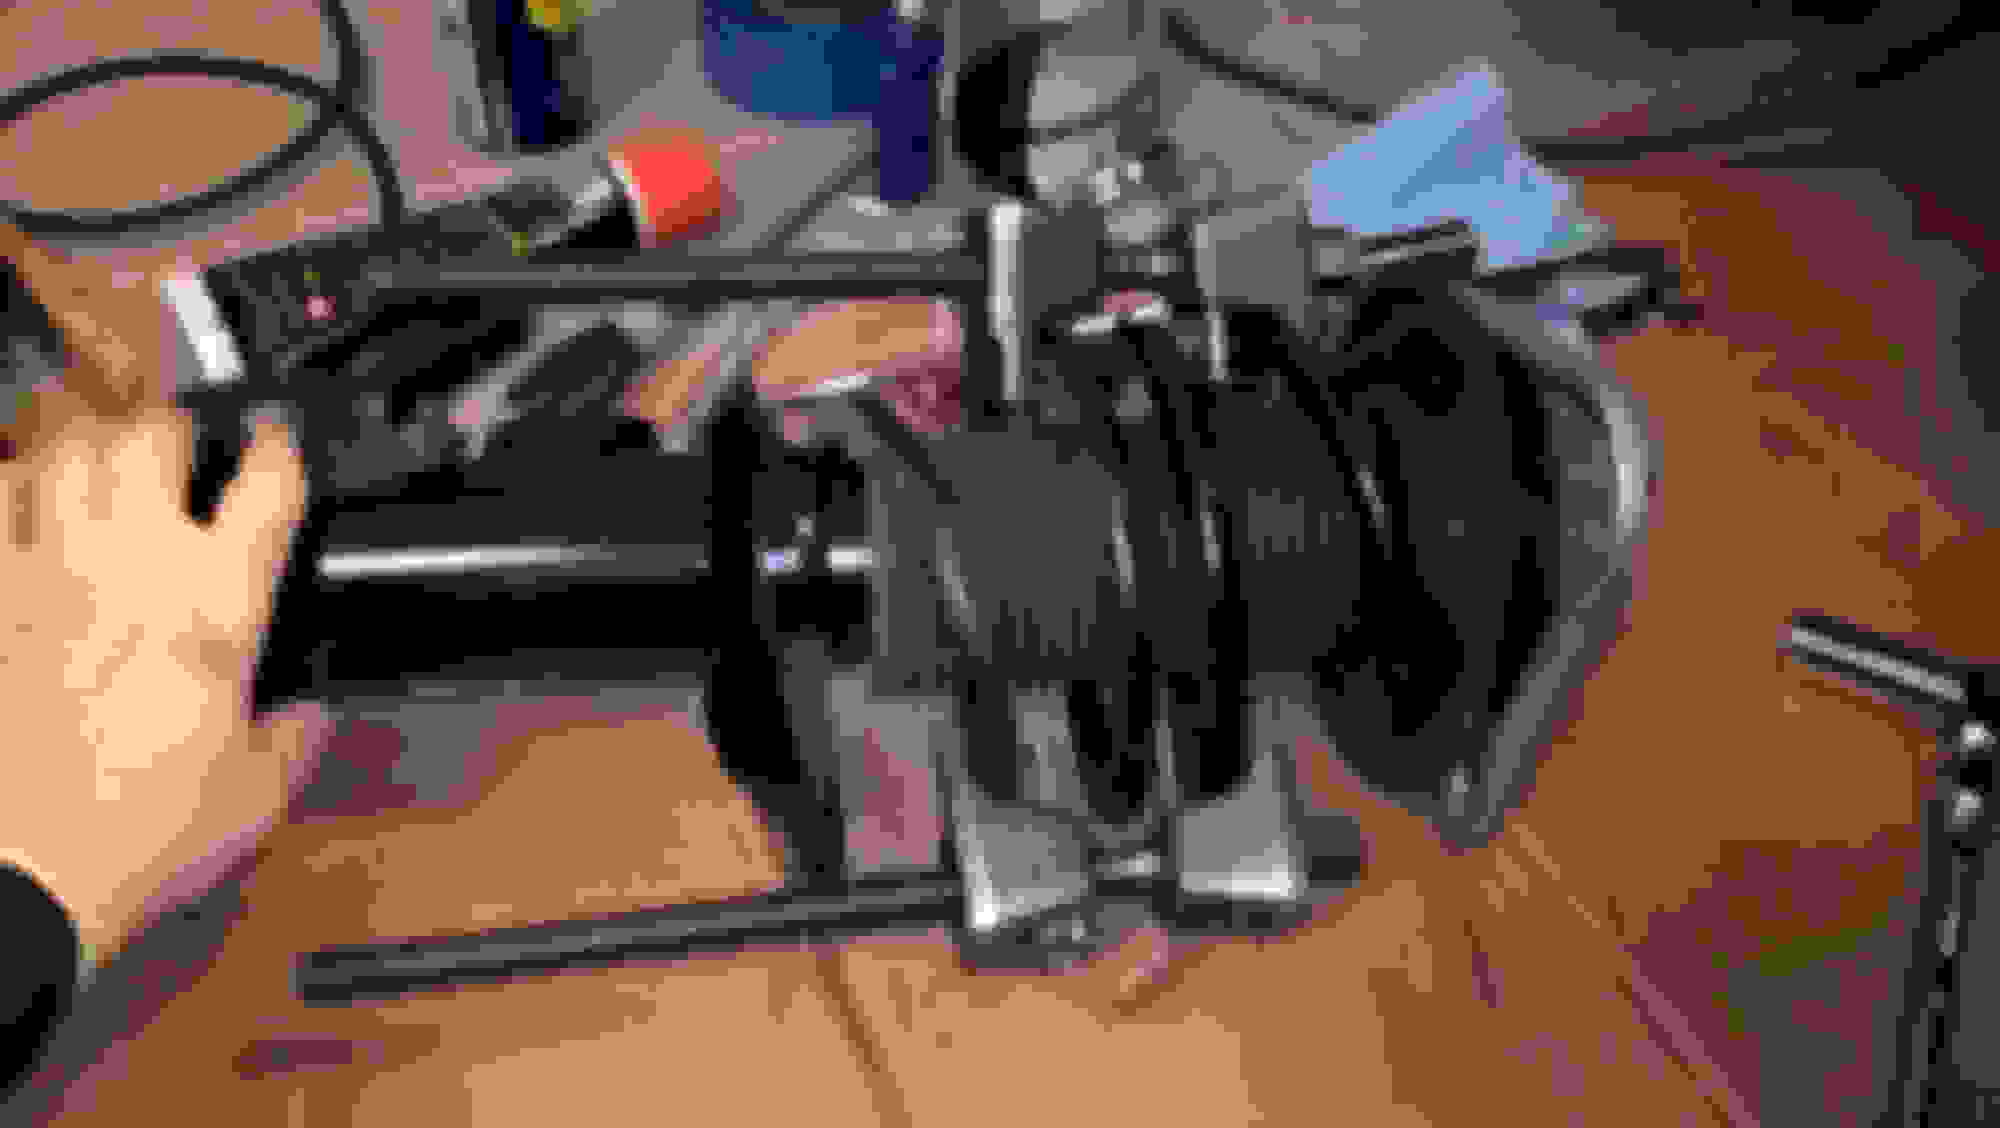
The strut is attached to the wheel knuckle with two E18 bolts with 21 mm locknuts on them. I re-used the nuts with lock-tight when re-installing.<br/>
E18 Bolts
Use two socket wrenches with the 21mm deep socket and E18 socket. Extensions are needed. I needed a breaker bar to free the nuts.<br/><br/>
Bottom of the strut is free. Now remove the top 3 E12 bolts. The strut comes out very easily at that point. I held it from underneath while removing the last bolt from the top. <br/>
Strut removed...<br/>
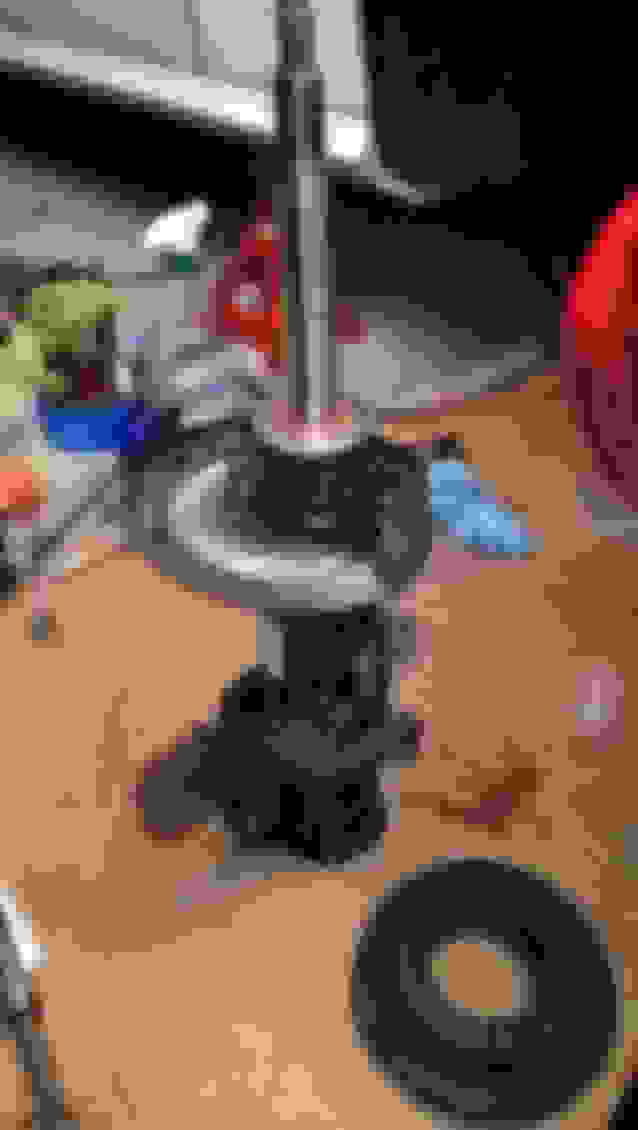
Compress the springs... the bottom plate makes these type of spring compressors hard to use, but it worked. It scraped the edge of the plate a bit down through the paint (I filed them down and quickly painted them with rustoleum). When the spring is compressed like you see in the pic, fully remove the top 21mm nut. It should come off easily since you broke it free in step one. Always point the top of the plate away from any person or objects that you care about, just in case there is any tension left in the spring (there wasn't with the compression you see here). <br/><br/>
Slide everything off... here's the strut with the bearing, top plate, and dust shield removed.<br/>
Strut bearing (there's no upper control arm, the strut connects to the top of the knuckle and rotates when steering).<br/>
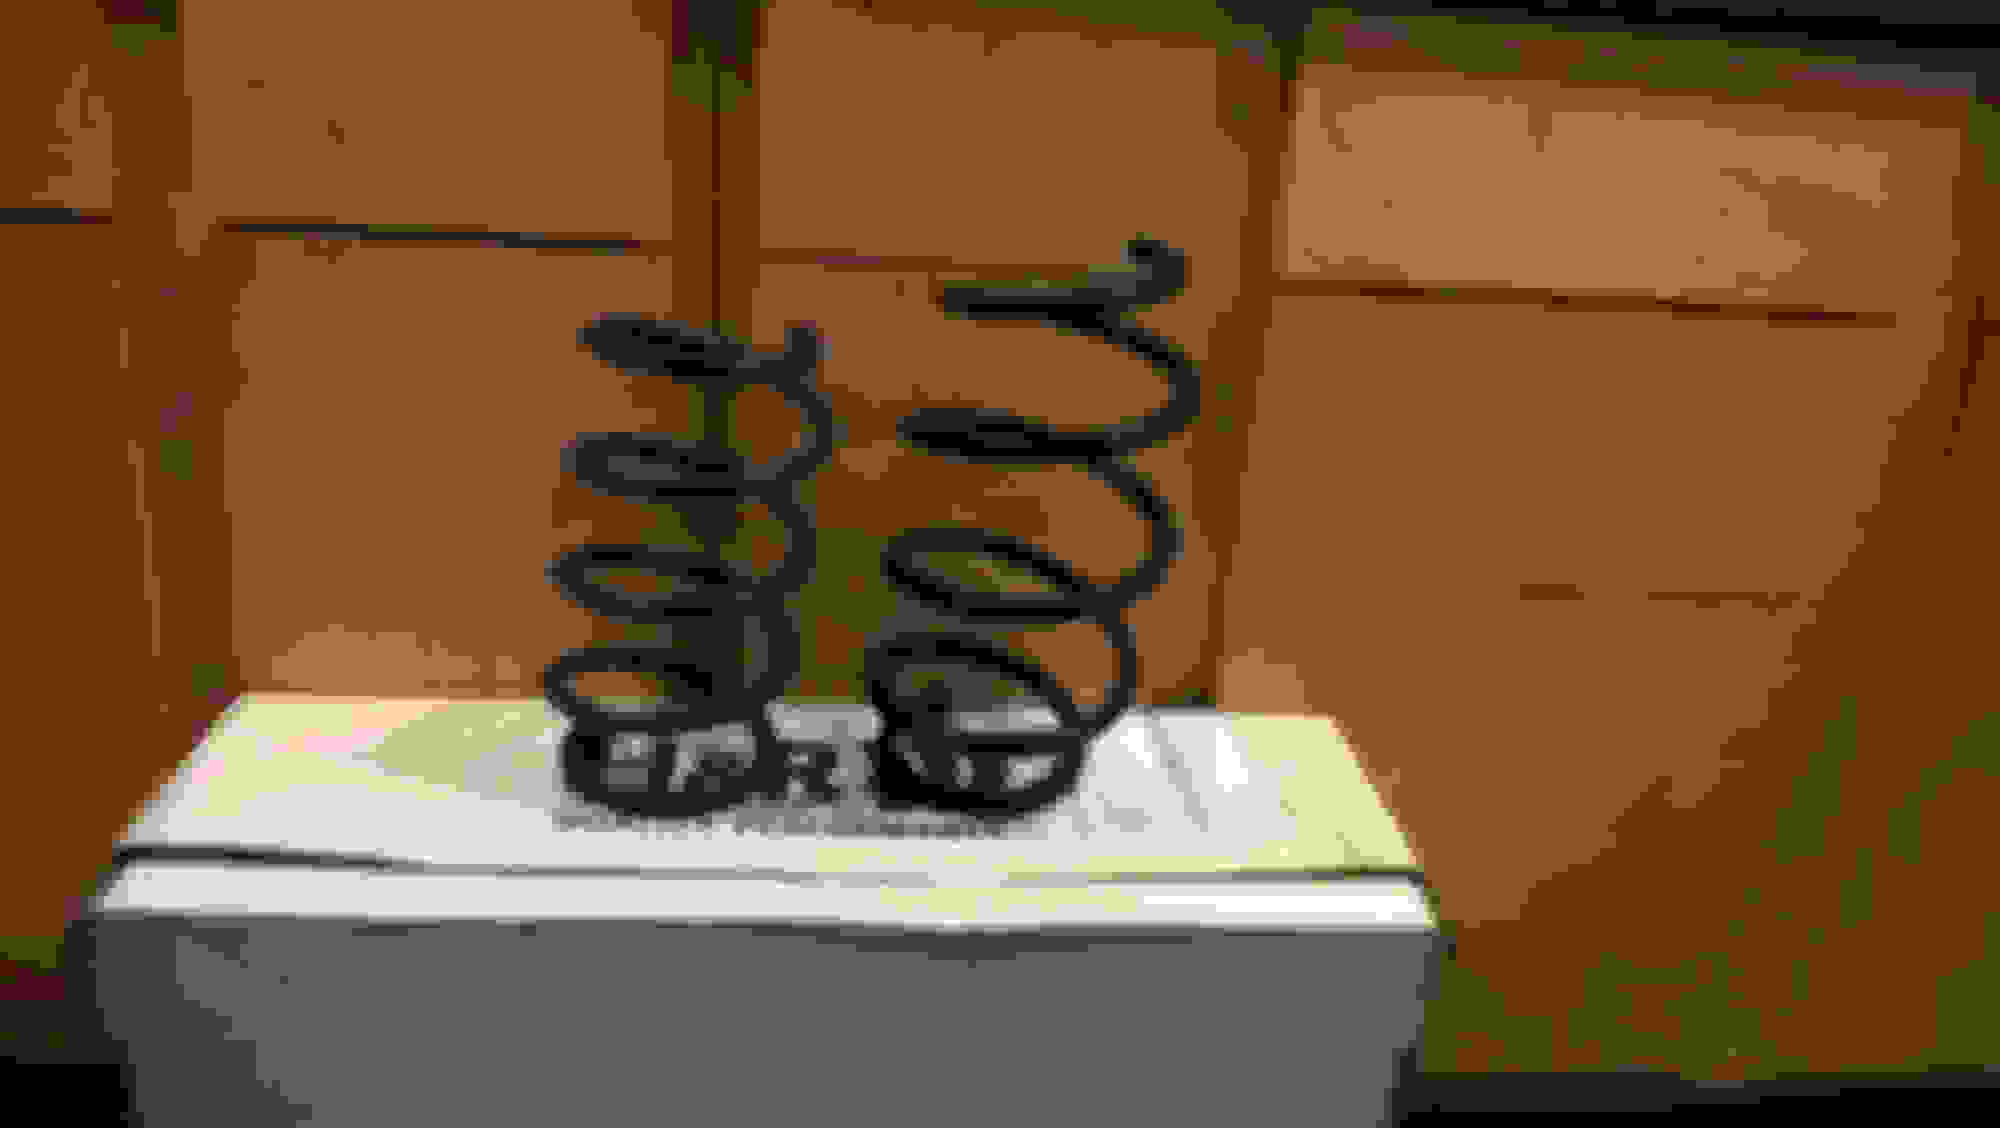
H&R spring (left) compared to stock spring.<br/>
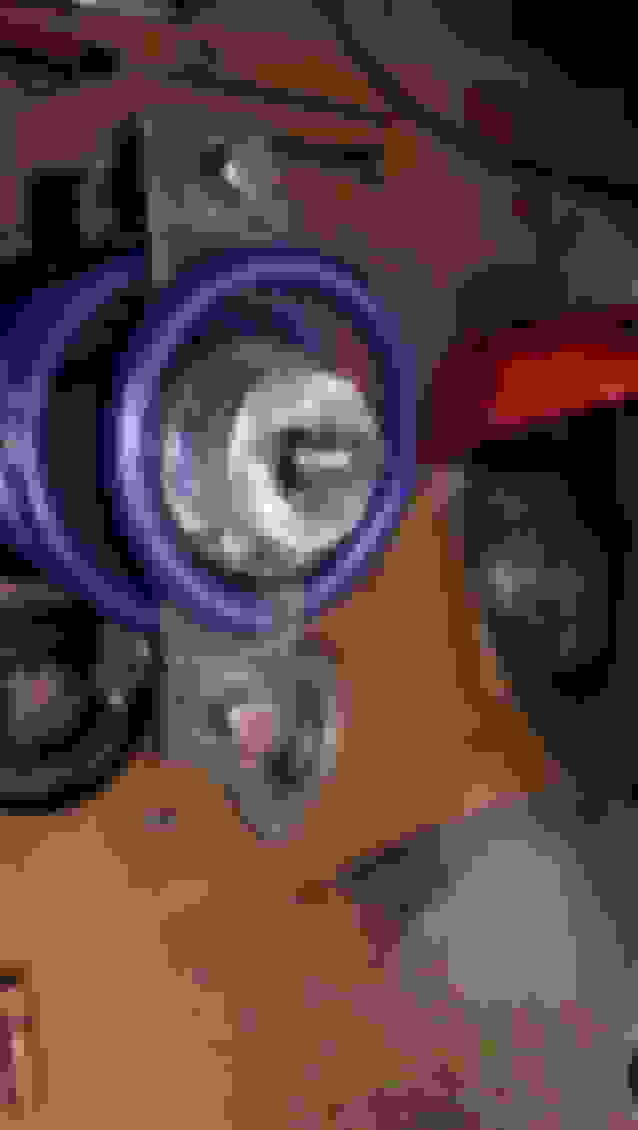
Compress the new spring (a lot), and add grease to the top of the dust shield, and inside of the bearing. I had an annoying steering noise issue caused by these rubbing...<br/>
Grease the rubber contacts on the bearing...<br/>
Make sure the spring seats against the stop-tab. I hammered the compressor tool to twist the spring.<br/>
All together. Everything goes in the way it came out. I used lock-tight everywhere is was used originally (almost every bolt, but not the top 21mm bolt on the strut).<br/>
Quite the write up! I'll definitely be using this thread before the end of the year when I get my KW H.A.S springs.
After installing the H&R springs, I heard some rubbering noise when right turn and parking speed. I checked the wheels and there are no wheel rubbering all 4 corners. I brought the car to an indy shop, they lifted it up but couldn't find anything wrong either. Any insight from owners? Thanks.
rubbering -> rubbing
Last edited by dustinN; 12-14-2020 at 10:54 AM.
Reason: edit: rubbering -> rubbing
cls63,oval and split vw, 50 Ford custom ,63 Riviera and a 35 Ford Phaeton
mine is making a rubbing noise as well hard locked rt and lft and I cant see any where that's rubbing but its diff rubbing something and now the steering is whining intermediately
mine is making a rubbing noise as well hard locked rt and lft and I cant see any where that's rubbing but its diff rubbing something and now the steering is whining intermediately
I lubricated the strut mount rubber and the noise is gone.
Notes for future Googlers: You ABSOLUTELY need a socket with external hex flats (like spark plug sockets have), an offset box wrench, or a GearWrench-style open socket to re-install the strut rod locknut. Once the nylock insert or the distorted threads of the locknut start to grab the threads on the strut rod, the strut rod will just spin unless you counter-torque it with a Torx bit (a T-55, if I remember correctly).


 08-10-2017, 09:36 PM