BLACK HOUSING HEADLIGHTS-A MUST HAVE MOD

 07-23-2013, 02:59 AM
#51
Senior Member


 07-25-2013, 04:13 PM
#53
Junior Member
Join Date: Jul 2013
Posts: 46
Likes: 0
Received 0 Likes
on
0 Posts
CLS55 AMG
The original link you posted when you started this thread no longer works. And a member search for Juno on here comes up empty as well. Do you have a way to get a hold of him? I'd like to have this done to the CLS55 I bought this week. Thanks in advance for any/all info you can provide.


 08-15-2013, 05:38 PM
#57
Super Member
08-15-2013, 06:04 PM
#58
MBWorld Fanatic!
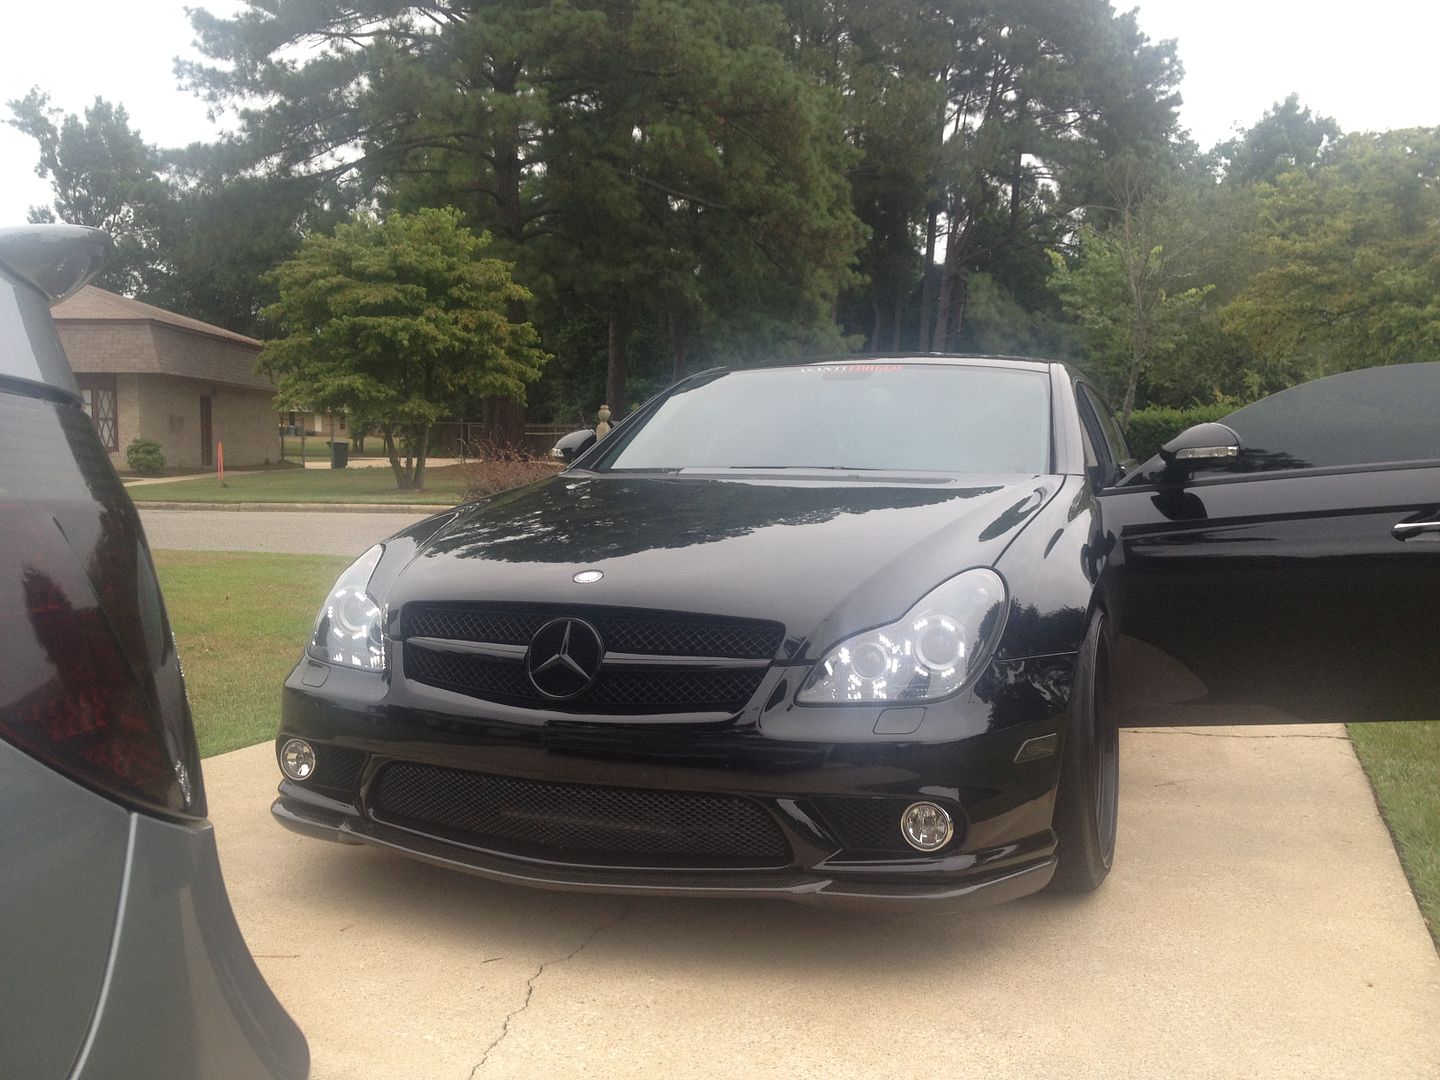
black housings are nice in a black car.
not sure the effect is nice the same in a silver car.
some time back Itried to make photoshops with different combinations but in the end I wasn't convinced completely, also becaus eyou loose a lot of details (chrome + silver lines) and maybe all reflections that were resulting from the chrome background ..
again, nice idea the LED rings ... pity I can't see in person
(it reminds me when I was trying to figure a fitment in SLR stirling moss style but ha dto give up becaus eit was impossible to find those leds ...)
about double projectors , is the added projector (and circuitry) something aftermarket or i s it taken from another MB car ?
and what for: just cosmetic or for added lighting capability (is it working just as high-beam or also low-beam ?) .. in which case, what practical result ?
compliments again for the effort
08-15-2013, 11:04 PM
#59
Junior Member

Join Date: Sep 2012
Posts: 73
Likes: 0
Received 0 Likes
on
0 Posts
Cls550
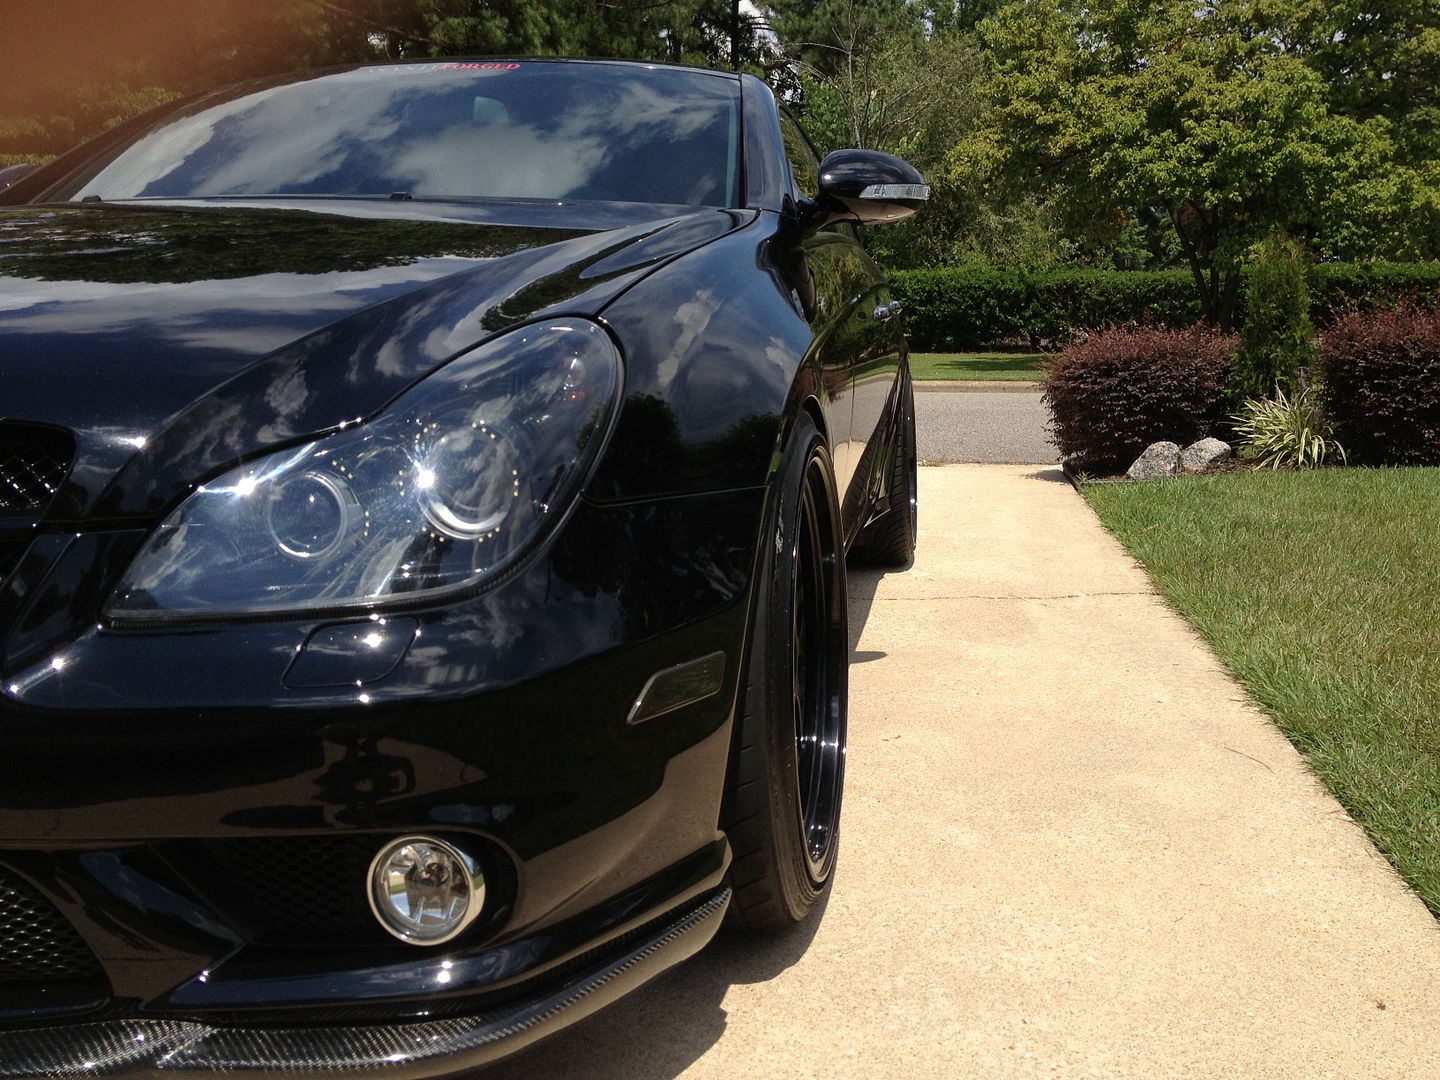
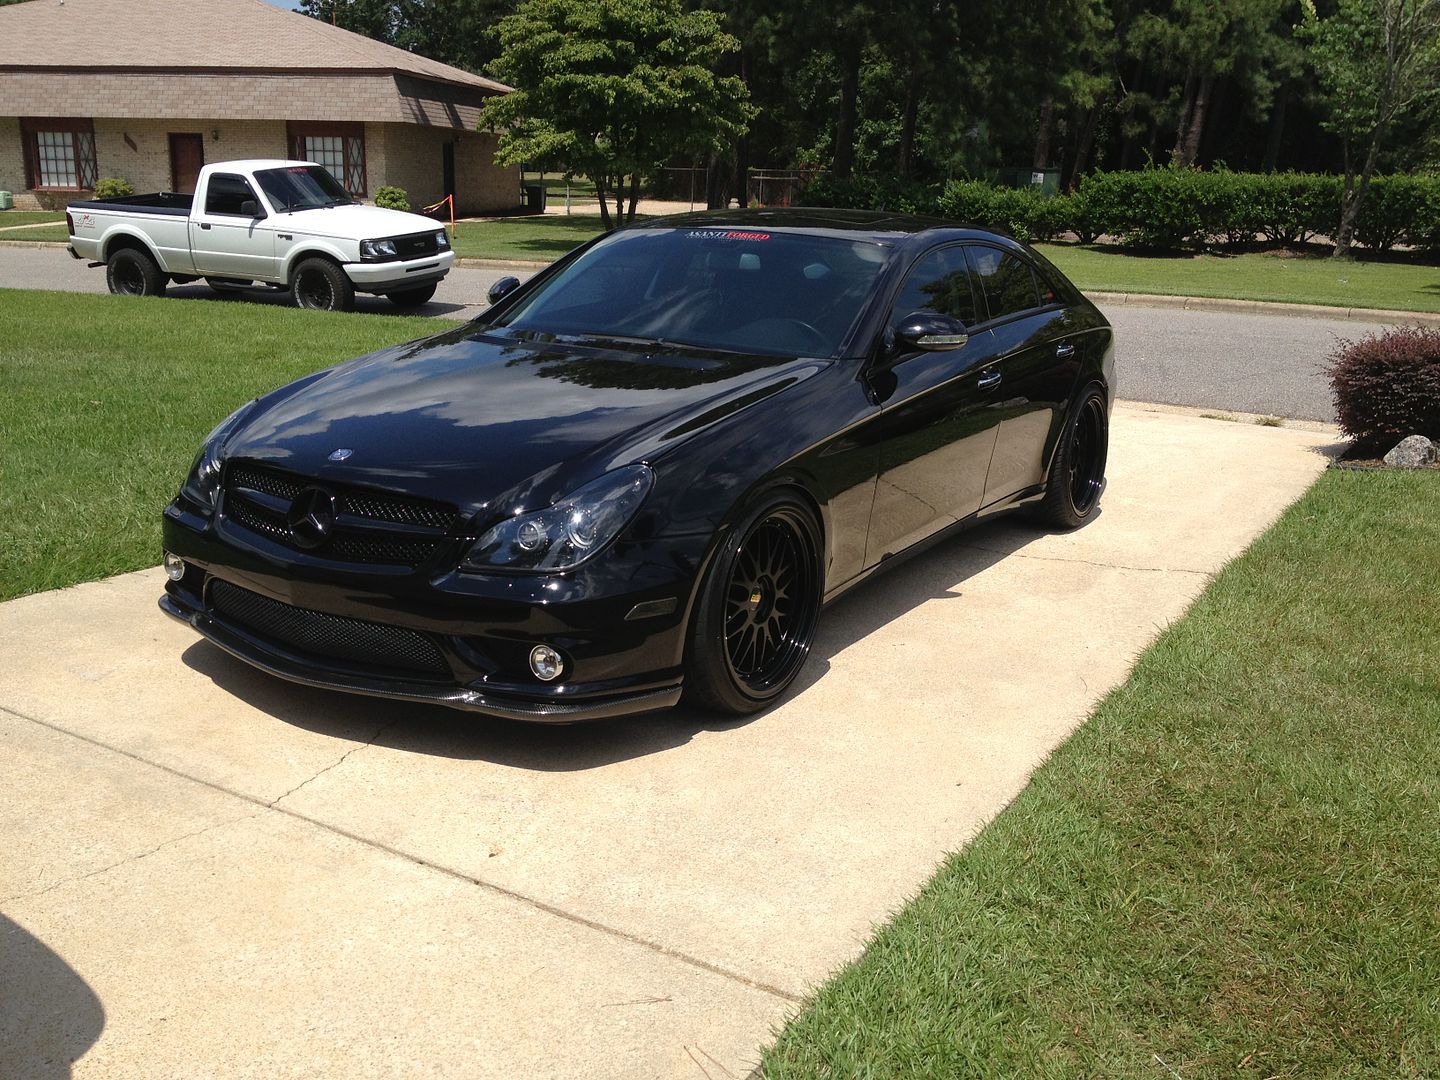
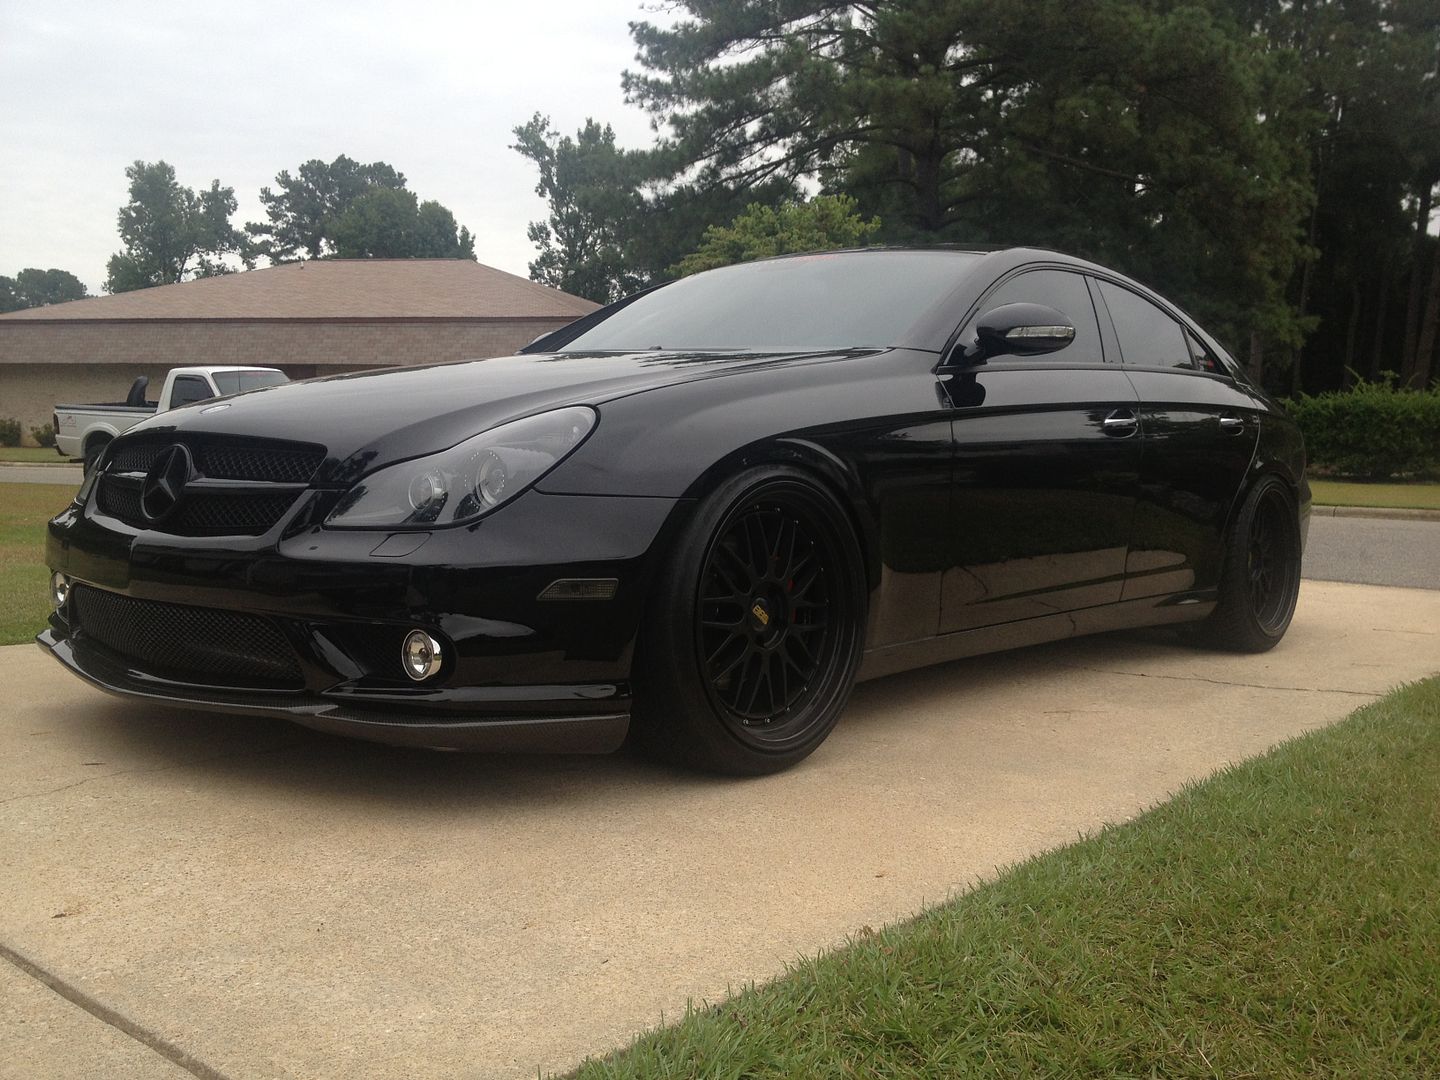
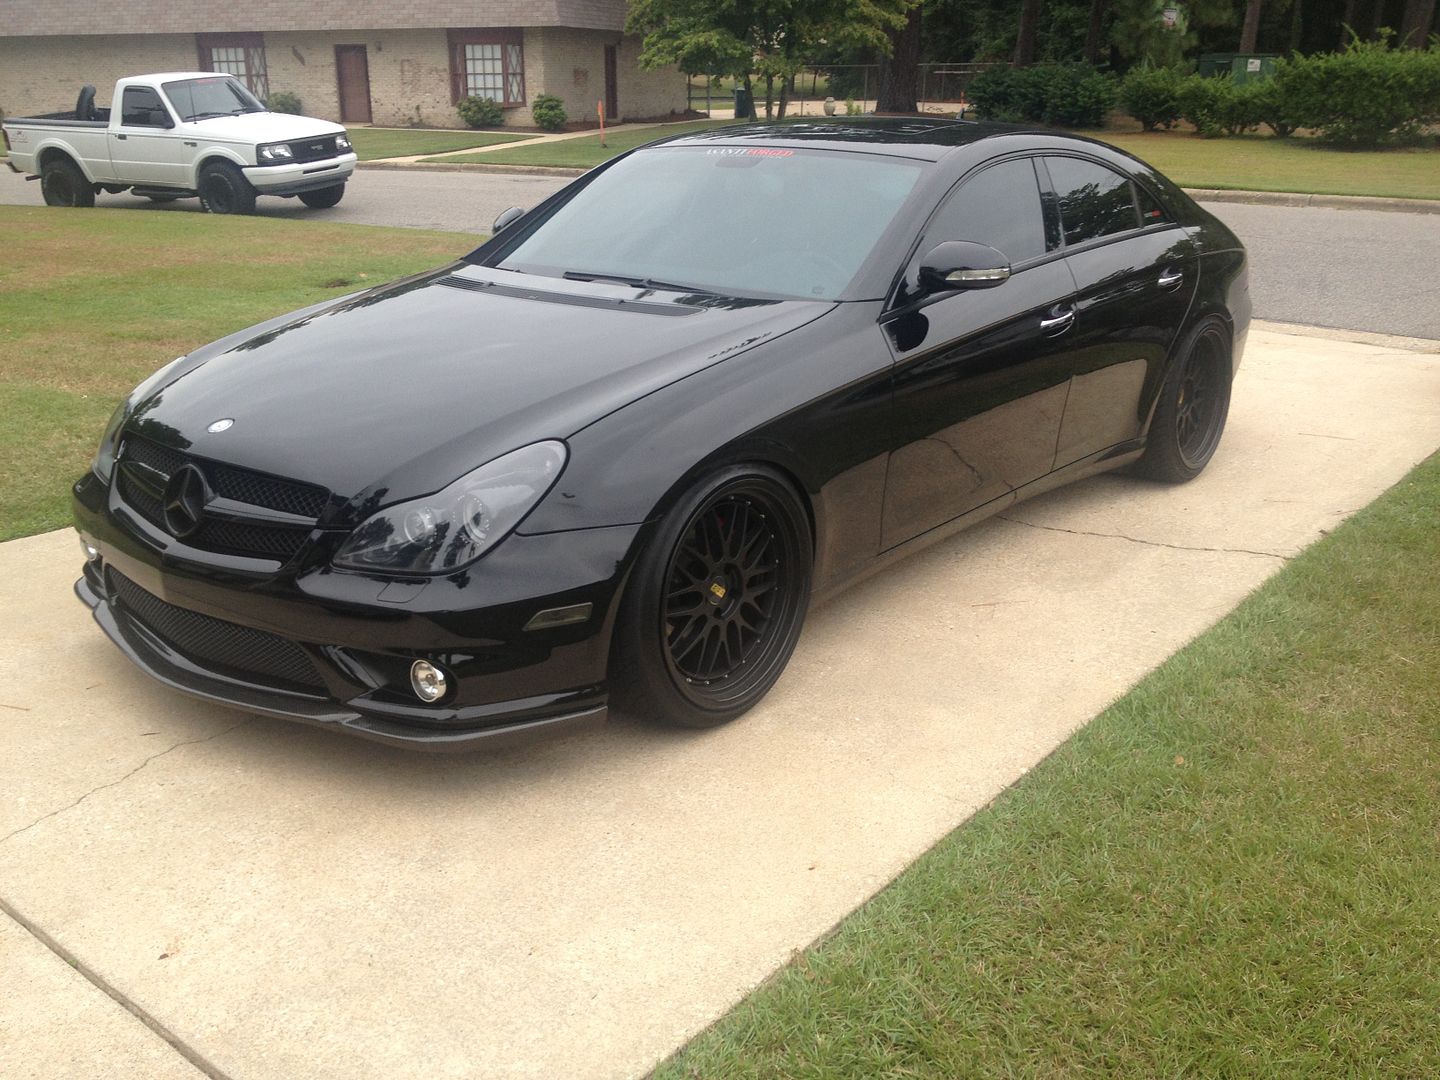
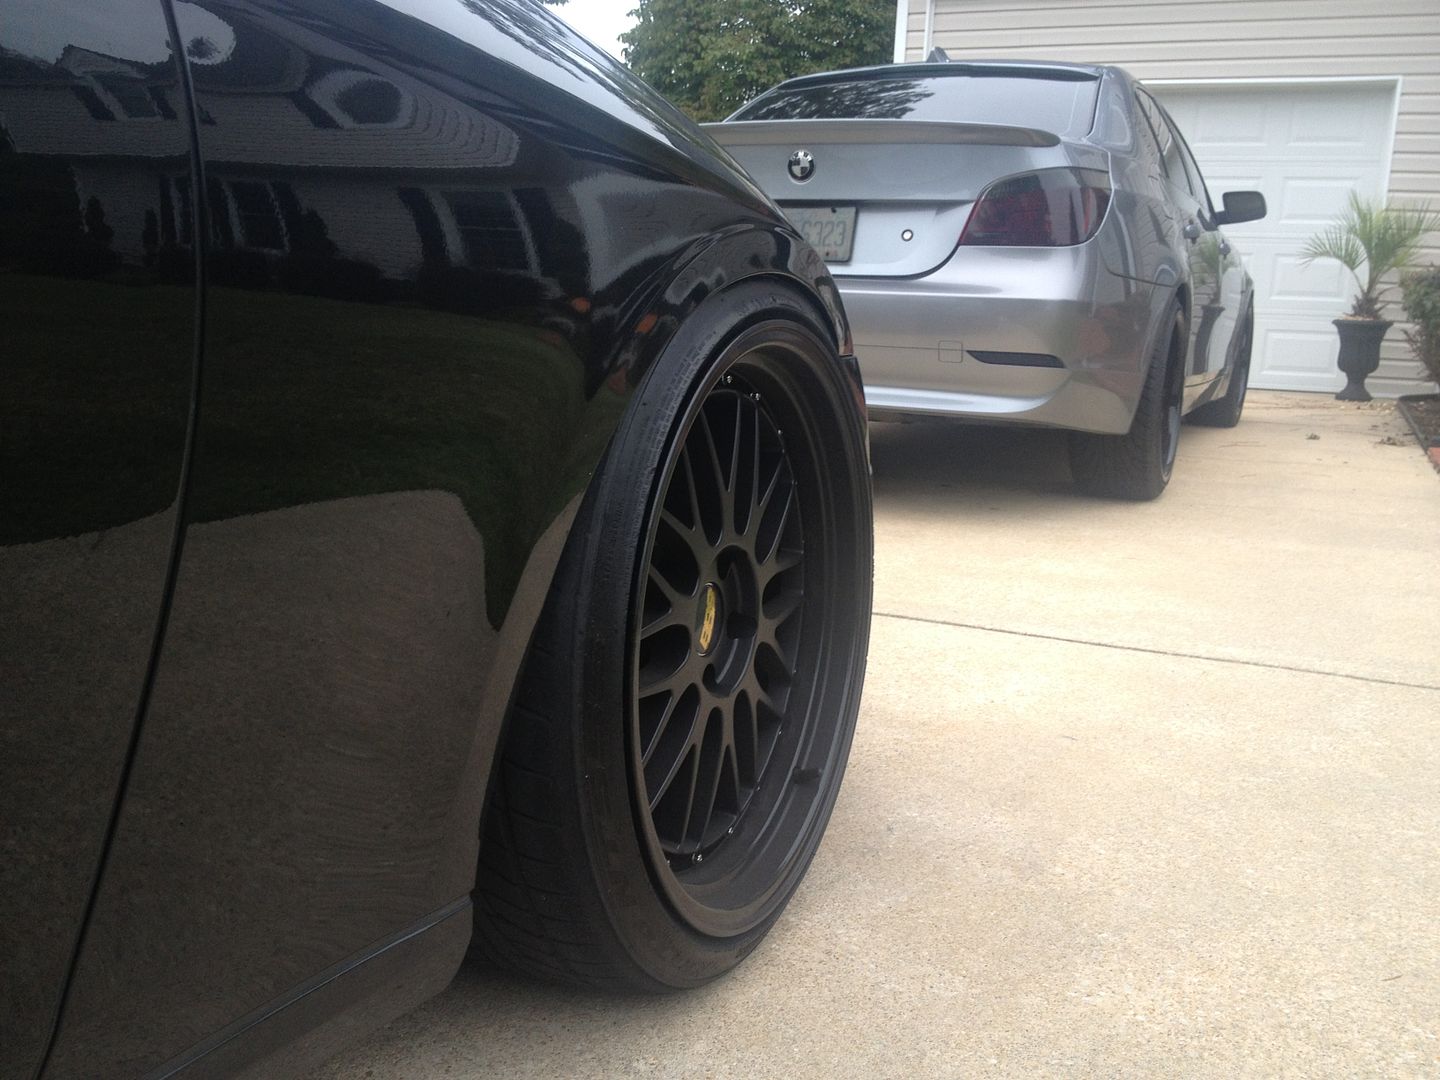
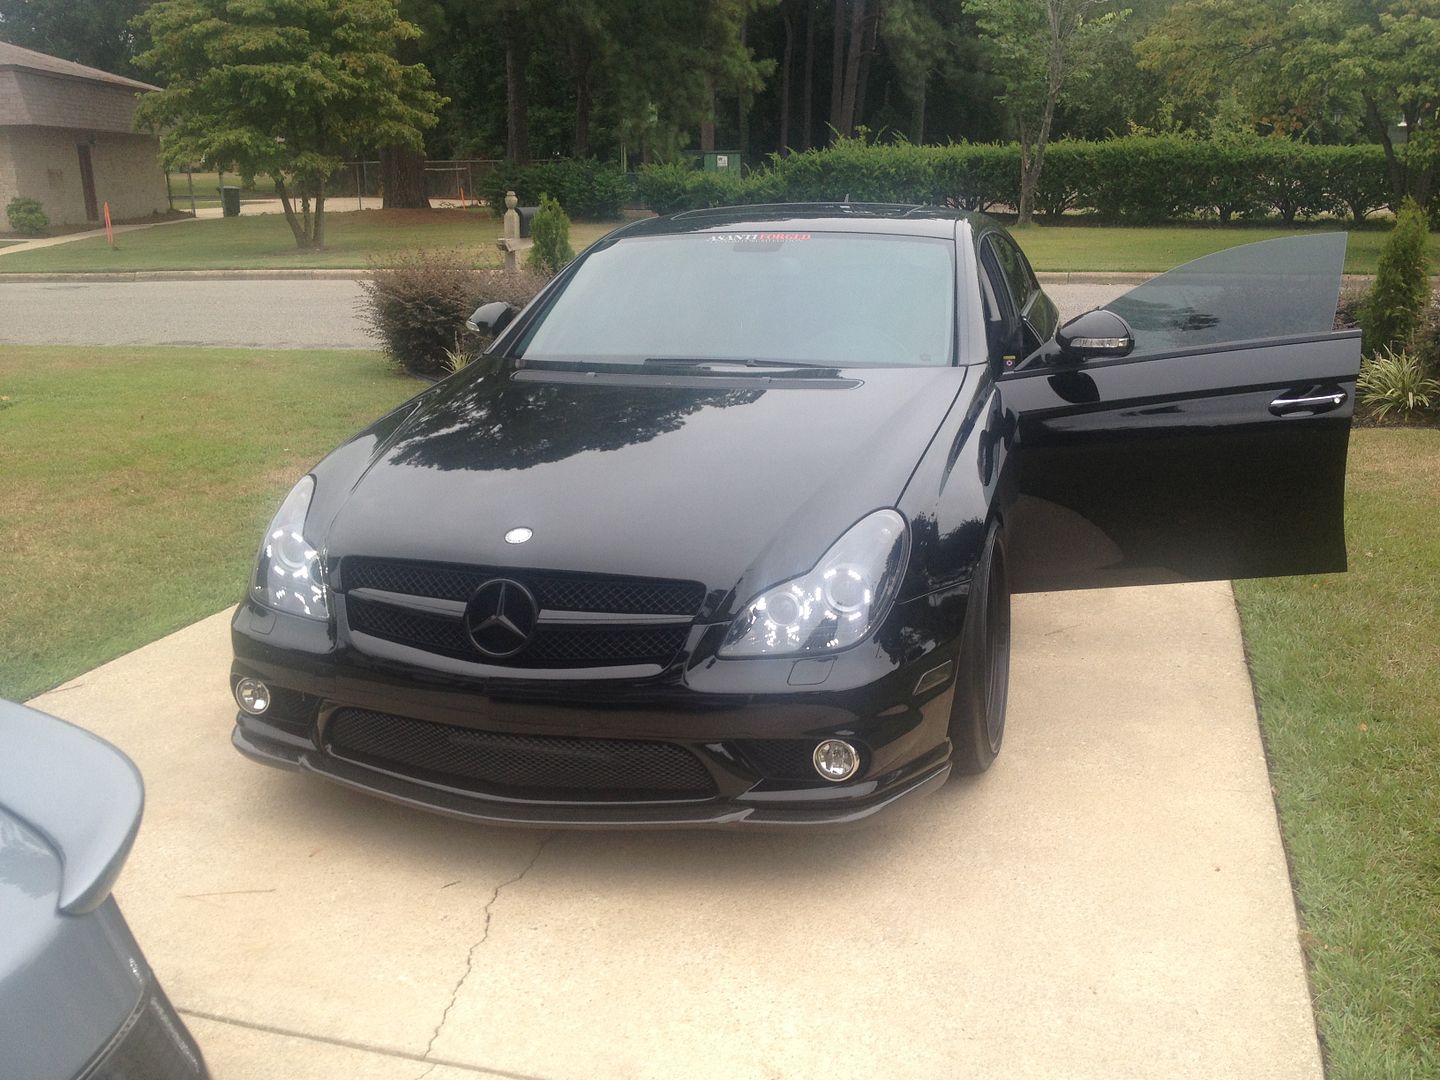
Lowered the car more, plus a couple more led pictures, sorry car needs awash, as far as the projectors, they are aftermarket, still for high beam and mainly done for visual. I will take night pictures and I'll use a dslr after I wash the car.
08-22-2013, 11:27 AM
#60

The original link you posted when you started this thread no longer works. And a member search for Juno on here comes up empty as well. Do you have a way to get a hold of him? I'd like to have this done to the CLS55 I bought this week. Thanks in advance for any/all info you can provide.
 11-13-2013, 11:06 PM
#63
Member

Join Date: Nov 2012
Posts: 87
Likes: 0
Received 0 Likes
on
0 Posts
E350 4matic, Porsche Cayenne S
I'm new in this forum and just bought a CLS63. I wonder where did you get that front lip? and the black housing headlamp?
Thank you.
11-14-2013, 01:16 PM
#64
Member
Not my car, obviously, but thats a Prior Design front bumper, not just a lip. And as far as the headlight housing, any reputable paint shop should be able to do it for you. Just make sure that its heat resistant paint and they seal the lense back EXTREMELY well.
11-14-2013, 11:46 PM
#65
Banned

Is there a DIY? I cant imagine there's anything difficult about the job. Seems like a precision prep job but after that it's a spray correct?
Link to a DIY? Does anyone know what kind of paint is used? Has anyone seen it done? For $700 I hope it's not paint out of a rattler.
Link to a DIY? Does anyone know what kind of paint is used? Has anyone seen it done? For $700 I hope it's not paint out of a rattler.

Going to clean the car up regardless(paint correction detail, headlight treatment, etc) but would be interested in DIY on the black housing process
11-15-2013, 12:07 AM
#66
Member
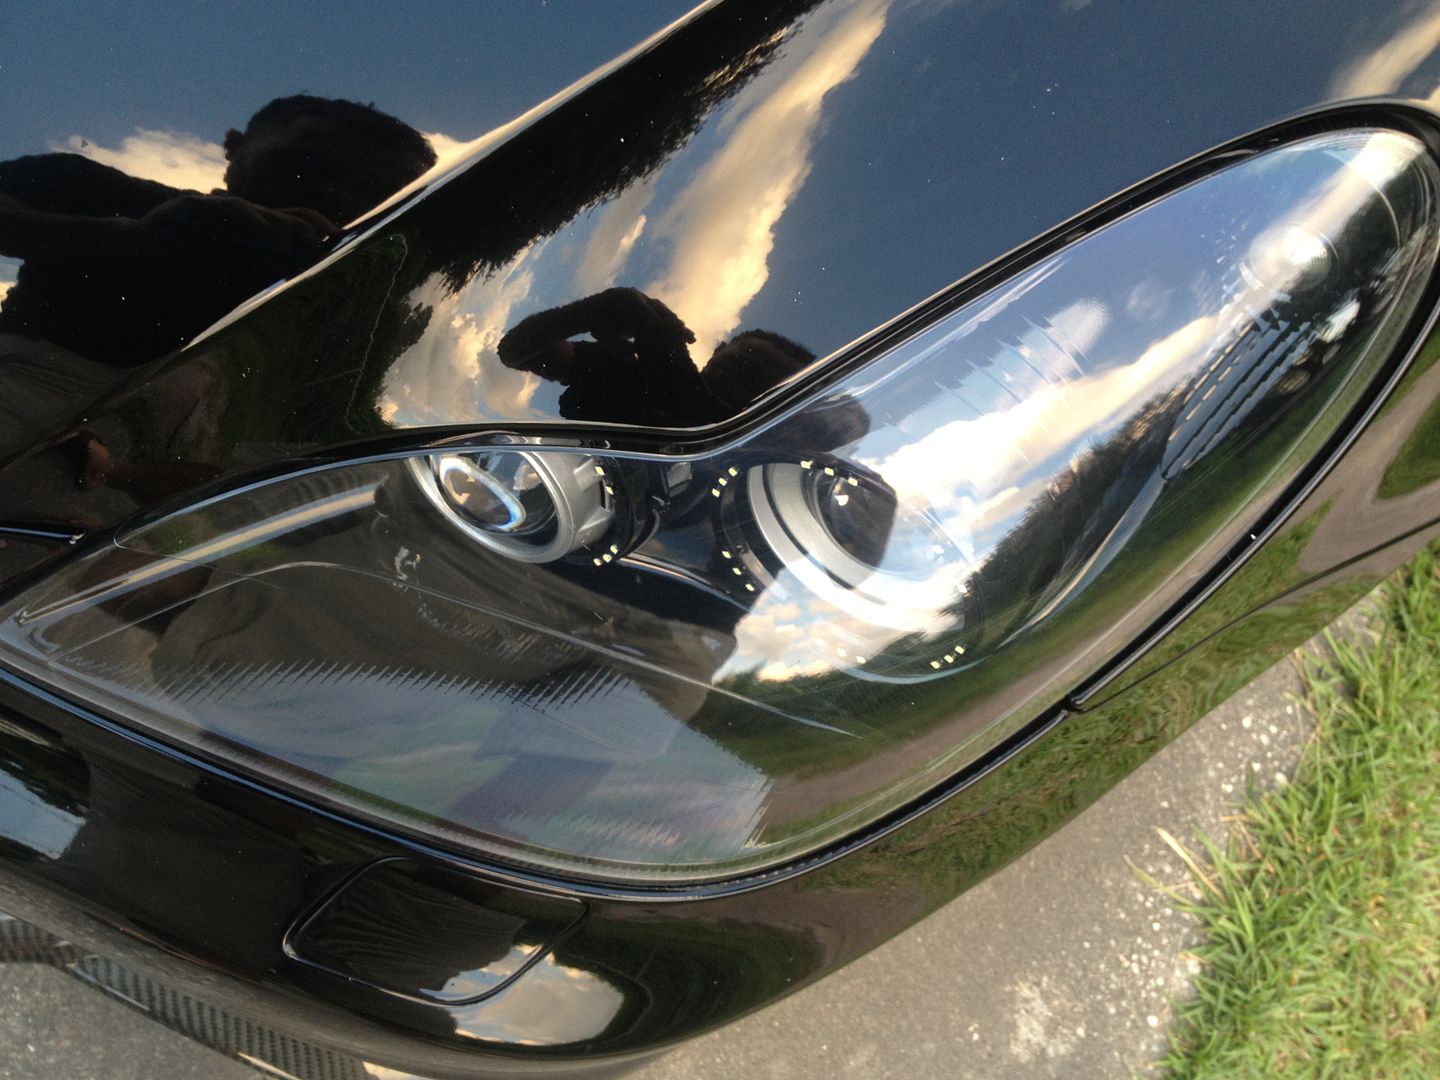
Pic of mine attached..
My .02
Last edited by Flo1989; 11-15-2013 at 12:11 AM. Reason: more info
01-18-2014, 09:03 PM
#68
Junior Member
Join Date: Aug 2013
Location: Pacific Northwest
Posts: 64
Likes: 0
Received 0 Likes
on
0 Posts
2007 Mercedes Benz CLS63 AMG
My Turn to tackle this mod.
First I want to thank apdesign for the OP and inspiration to try this and then everyone else here who has posted pics and some instructions.
If you have any DIY skils at all, you can do this mod with the right tools and some patience.
apdesign I don't want to hijack your thread but wanted to combine some information that is in several places in these forums and not all of it in the W219 site.
By far the hardest part of the job for me was convincing myself to put a $600 to $1400 part in an oven but it works great.
1. First is getting the bumper off. Remove the grill three top screws and gently pull the top forward to release it from the nubs at the bottom. While not from a CLS the attached picture is close so you can get the front inner fender liners off. There was some wires held on to a stud on the inside edge of my car that required prying the holder off the stud that aren't pictured. You should now be able to easily find the hidden Torx screw at the rear upper edge of the bumper to remove it.
2. Next we remove the headlight assemblies. If your car is equiped with headlight washers, remove the one washer attaching screw at the front of the assembly now. There are three 8mm head bolts that hold the assemblies in, two that are easily seen from the top with the hood open. The third is attached from behind low and outside on the headlight assembly. After these three bolts are removed you can move the headlight body forward as you unplug the wire connectors from them.
3. I don't know if this is necessary but I did it. Better safe than sorry. Strip the assemblies of bulbs without touching the glass parts. Remove the HID components at the bottom of the body.
4. Remove the black trim and the stainless clips from around the lens and the body.
5. Preheat your oven to 190 - 200 degrees F and put a body in there for 15 minutes. I use cheap cotton gloves from Harbor Freight to handle the heated headlight assemblies.
6. Put the second one into the oven as you put the first on on your bench.
7.Using two smallish flat blade screwdrivers from each side near the top, gently pry the lens off far enough to get a hold of it and continue pulling the lens off the body. there will be a lot of strings of bonding agent that I just sort of cut with one of the screw drivers as I pulled the two apart. that is another good reason for cheap disposable gloves.
8. Remove the 5 torx screws holding the chrome trim to the lens and remove it.
Repeat #7 and #8 for the second headlight out of the oven.
9. clean and color the chrome trims as you desire. Let them dry fully before reassembling.
Now would be the time to install Halos or Angel / Demon eyes if you wanted to do it. Not sure if I will or not.
10. attach the painted chrome to the lens, push the lens onto the body as far as you can and place in preheated oven at 190 - 200 degrees for 15 minutes again.
11. Push lens and body together and install stainless clips.
There is absolutely no real reason to use any more sealant on this joint unless you think water will come in the sides in a car wash or large storm. You are not sealing the assembly anyway. there are four large holes on the bottom and three large vents at the top of the assembly to keep it from building up moisture inside the assembly.
I plan on using spray Plasti Dip black and considering if I want to use the Glossifier and/or Perlizer. I am using this because it supposedly can be pealed off if I don't like the results or want to return for some reason to stock.
The rest is just reversing the disassemble processes.
Hope this helps someone else in completing this task because it makes the car look so damn good. This mod and a single bar black grill with chrome bar and star is a magic transition to the cars look.
Some References I used.
https://mbworld.org/forums/w211-amg/...rojectors.html
https://mbworld.org/forums/cls-coupe...time-pimp.html
Last edited by Bud Wilkinson; 01-18-2014 at 09:08 PM.
01-19-2014, 05:53 AM
#69
MBWorld Fanatic!
Theres a DIY on the E55 forum..same instructions for our cars. And $700 is a bit steep. My uncle, who did mine, has a couple body shops and he charges $400 for this job. Idk what others have paid but I think you can do better than 700. And personally, I would 2nd guess DIY...screw up and end up needing two new housings, thats a solid 1500-2k for a pair (new)
Pic of mine attached..
My .02
Pic of mine attached..
My .02
always loved the bi-colour combo

but there are a lot of different combos possible... miss your uncle !
01-19-2014, 06:03 AM
#70
MBWorld Fanatic!
....
By far the hardest part of the job for me was convincing myself to put a $600 to $1400 part in an oven but it works great.
...
I plan on using spray Plasti Dip black and considering if I want to use the Glossifier and/or Perlizer. I am using this because it supposedly can be pealed off if I don't like the results or want to return for some reason to stock.
LoL, I've also always been wondering about the oven think ..
thanks for pointing to all possible issues in your detailed write up.
the plasti-dip thing is smart, but I suppose you can't get the desired quality for your final job...
 01-20-2014, 01:50 PM
#72
Junior Member
Join Date: Aug 2013
Location: Pacific Northwest
Posts: 64
Likes: 0
Received 0 Likes
on
0 Posts
2007 Mercedes Benz CLS63 AMG
It really depends on what kind of finish you are looking for I suppose. The bare Plasti Dip is definitely a satin look with some texture to it. I like it as is for the contrast with the paint on the trim. If you are looking for glossy and a color match this isn't for you at all. Ultimately I chose to go with the raw Plasti Dip cause I didn't want to order and wait for the Glossifier and or the Pearlizer to put the car back together.
While I laid a pretty thick coat on the part and it should peel, I don't know if it can be returned to chrome by just peeling the Plasti Dip off. Just cleaning the surface with 15% alcohol 85% water and using soft tissue for prep seemed to remove a small bit of chrome in a couple spots. There is a Plasti Dip Liquifier if I need to remove it.
There are a few options for a Spray On Chrome process that is not paint. A chemically minded person could put it together or it can be ordered as a kit too. Do a Google search for "Spray On Chrome" or check out the You Tube segment on this process. interesting for sure and worth the time to watch. I almost got it for a different project but haven't used it. It could help with other projects as well for some people.
Bud
Last edited by Bud Wilkinson; 08-02-2021 at 07:17 PM.
01-22-2014, 03:49 PM
#73
Junior Member
Join Date: Aug 2013
Location: Pacific Northwest
Posts: 64
Likes: 0
Received 0 Likes
on
0 Posts
2007 Mercedes Benz CLS63 AMG
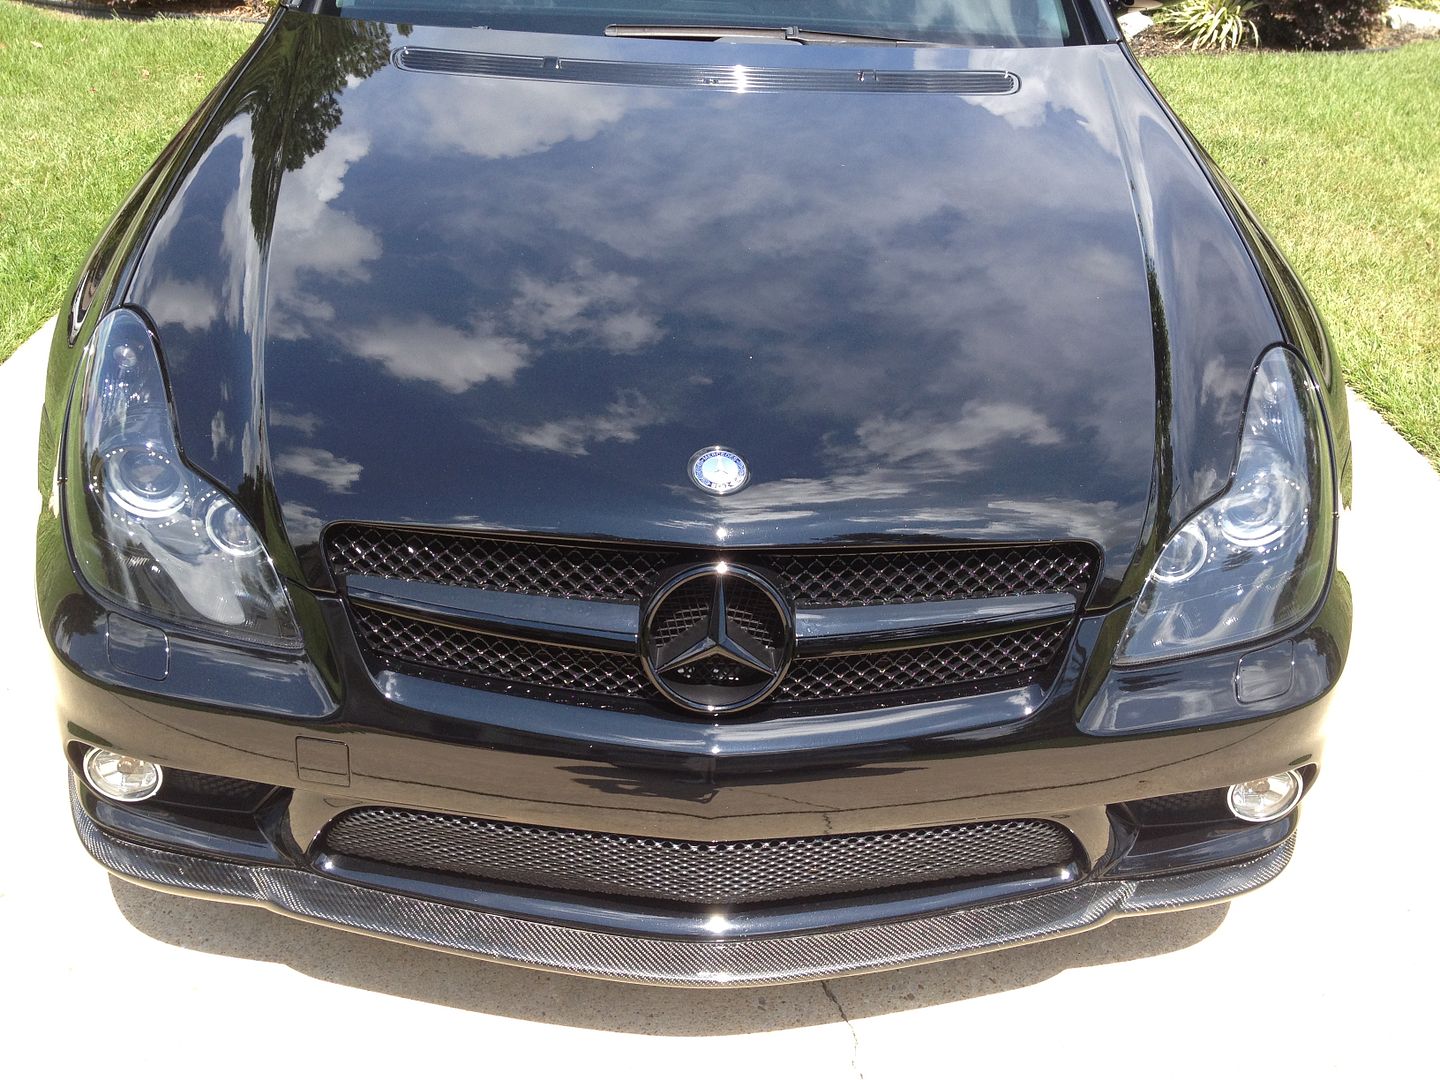
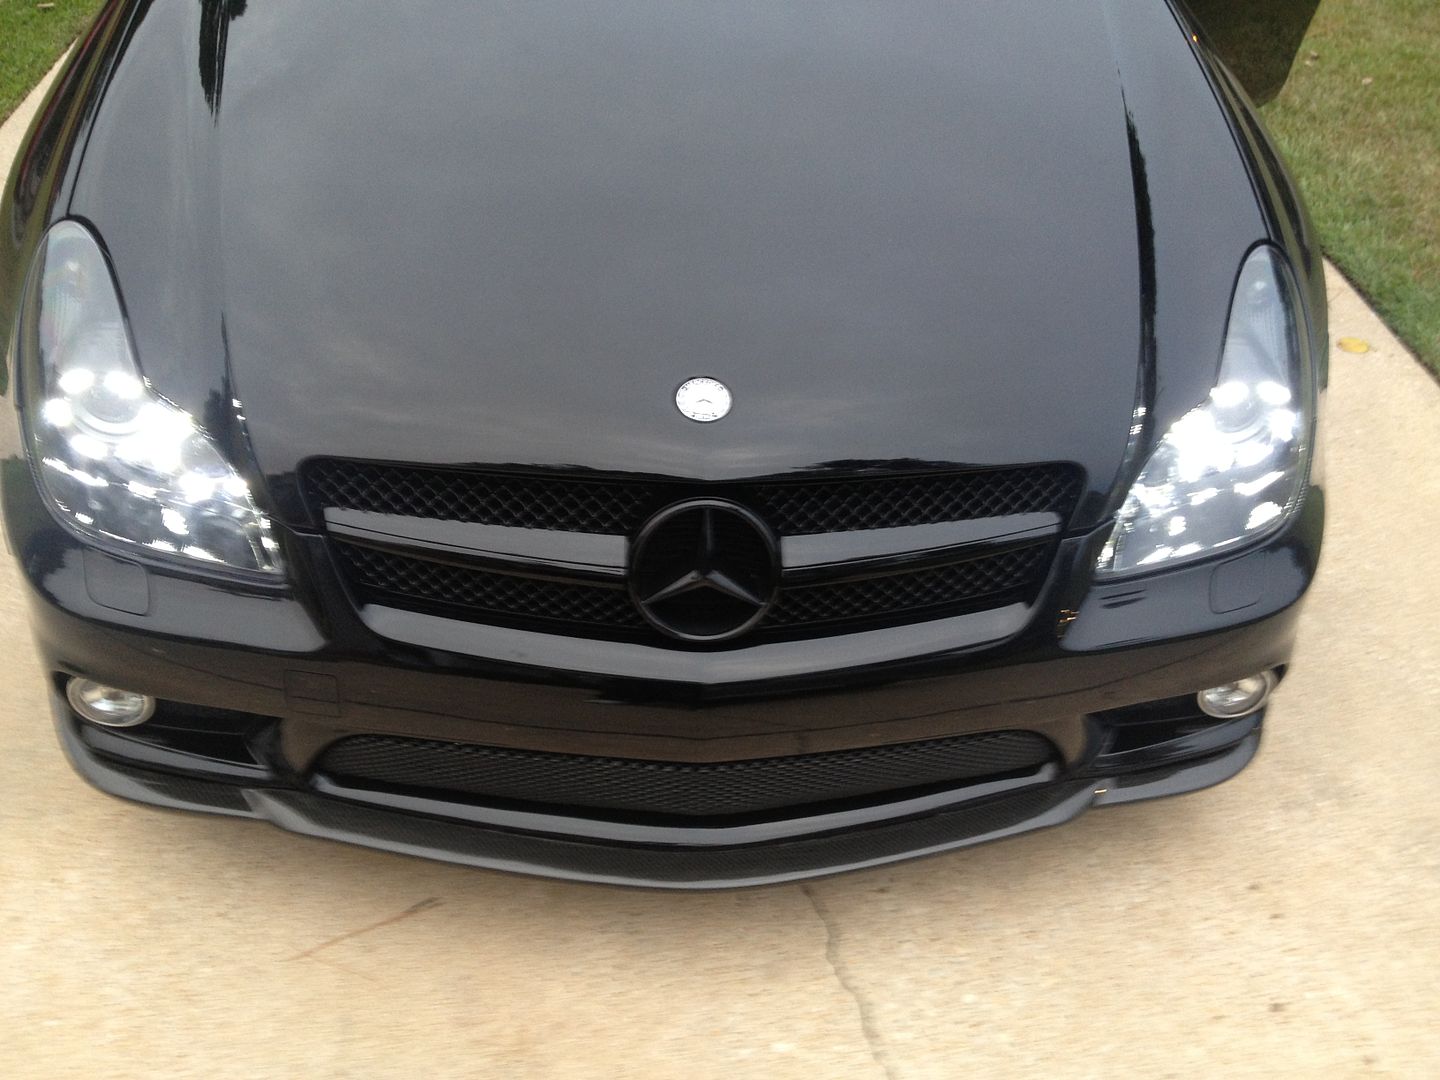
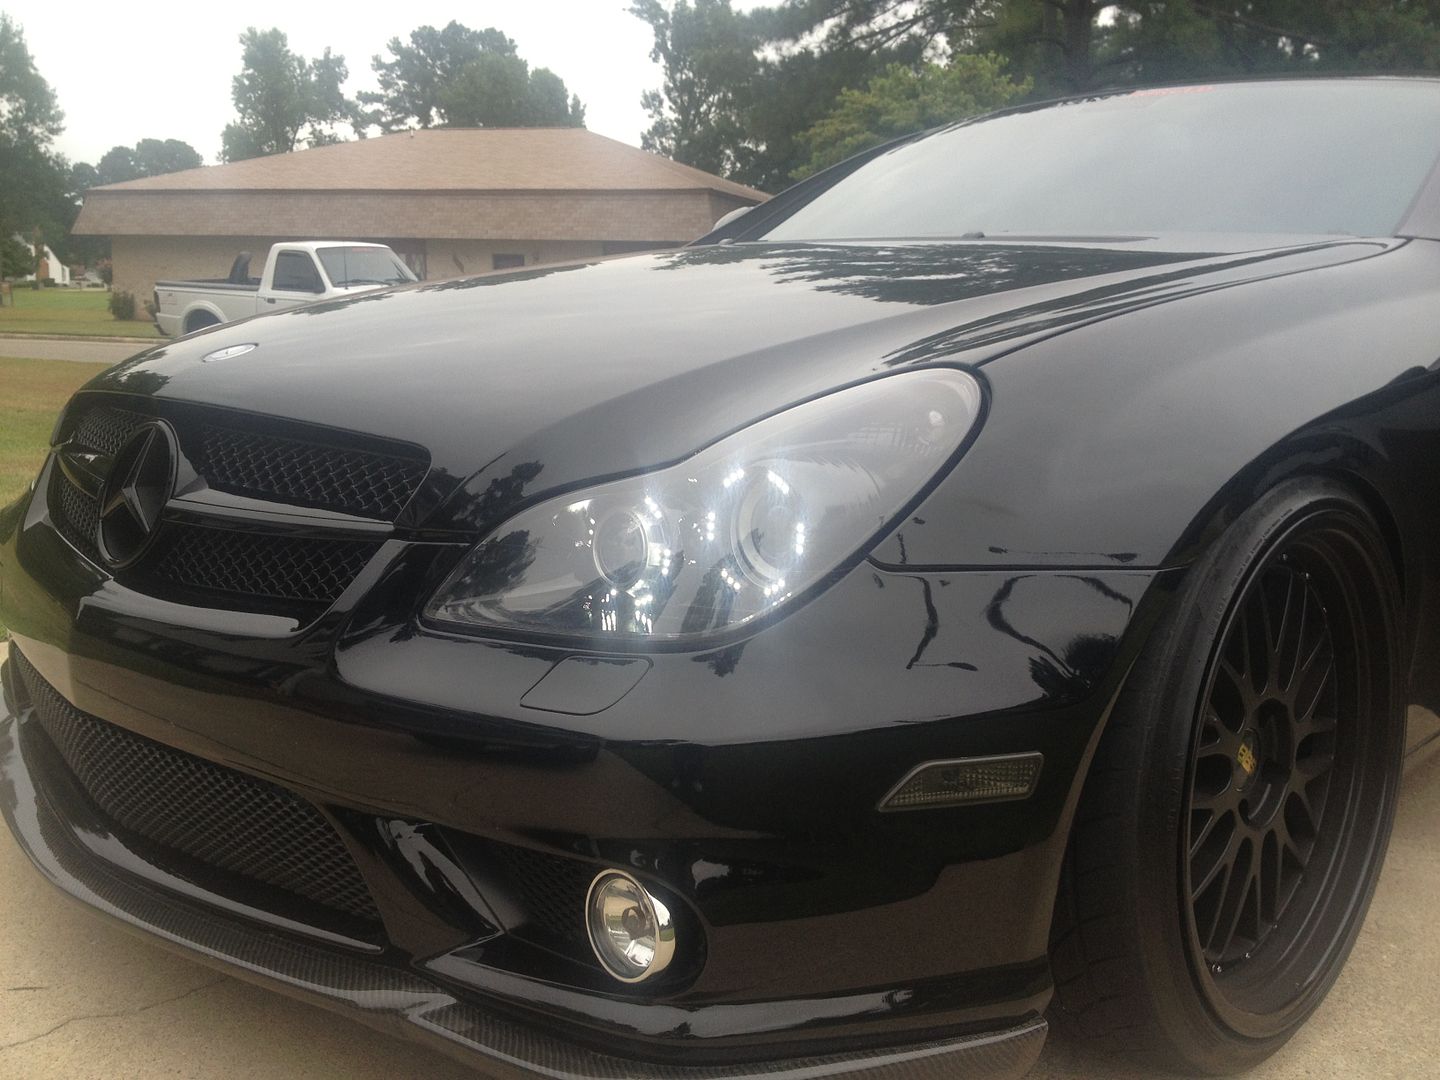
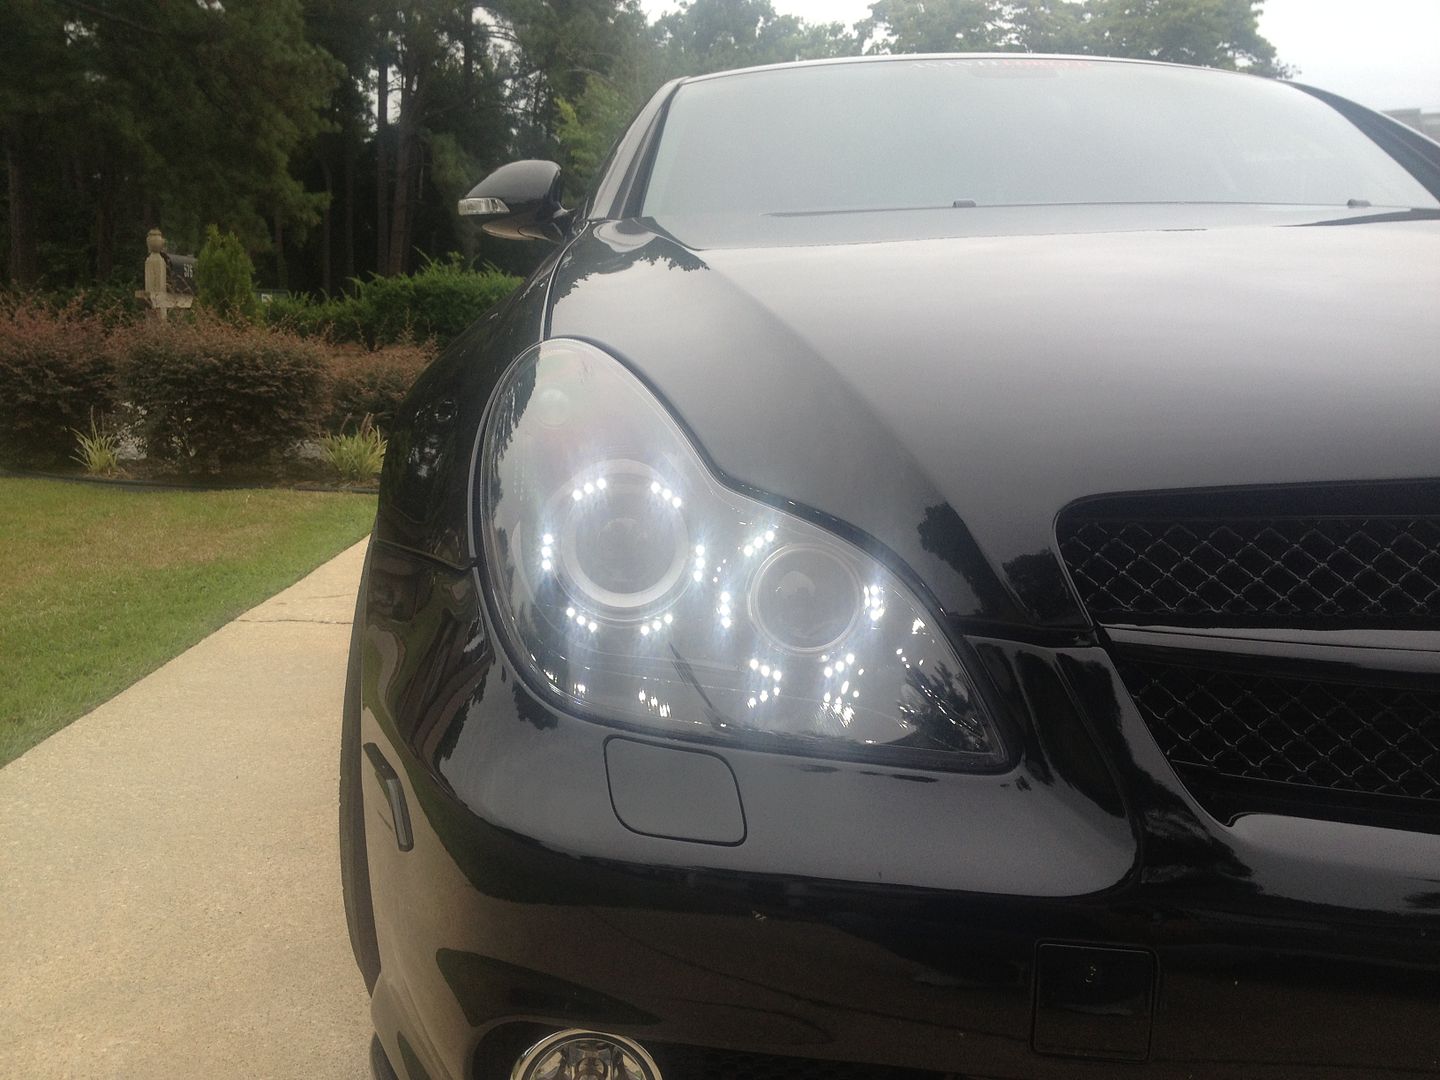
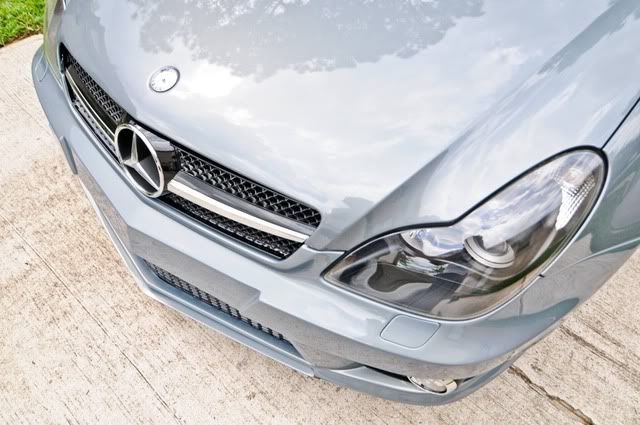
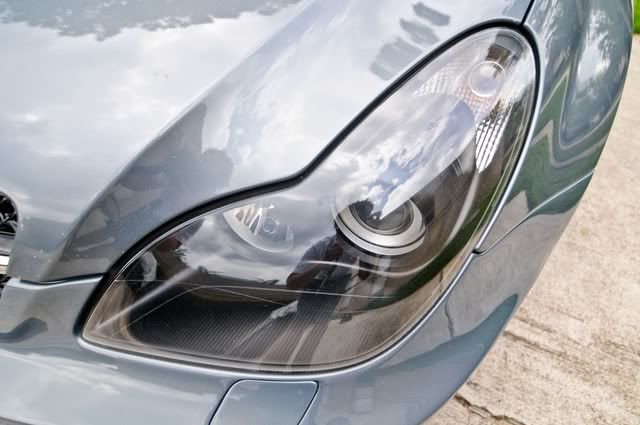
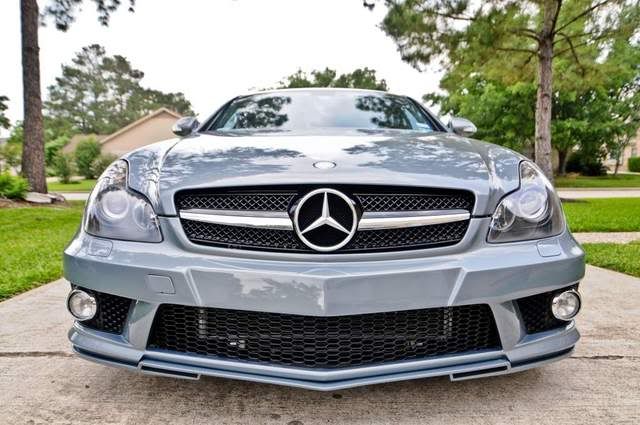
Finally a decent day
Got a decent day so took a shot of the front. Still need the grill but this is how the headlights look.
I forgot that I blacked out the fogs and side markers too.
I forgot that I blacked out the fogs and side markers too.
12-23-2014, 03:33 PM
#74
Newbie

Join Date: Dec 2014
Posts: 5
Likes: 0
Received 0 Likes
on
0 Posts
2007 CLS63 AMG
Headlight mod
I saw your thread regarding the black-out mod for the CLS headlights and I'm really interested in that for my CLS63 AMG. The link attached didn't work.
Can you send me the link address or PM me?
Thanks,
Eddie
Can you send me the link address or PM me?
Thanks,
Eddie


