Mercedes-Benz E-Class AMG: How to Replace Alternator
Your Mercedes-Benz E-Class AMG's alternator plays a big role in the operation of your vehicle. Keep reading as this article will help you to replace the alternator in your E-Class AMG.
This article applies to the Mercedes-Benz E-Class AMG w211 (2002-20009).
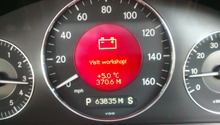
Your vehicle's alternator is responsible for a number of things—when it comes to the current that passes through the wiring in all the different components within your vehicle. This includes your radio, headlights, interior lights, A/C compressor, and so on. If your alternator is on its last leg, there are some obvious signs indicating failure. Your instrumental panel lights or headlights may flicker or dim. You may also notice the battery warning light coming on and off. The key is to address this issue sooner rather than later. Else, you and your passengers can end up stranded. Know how to diagnose the issue, and what to do if you have to replace your alternator.

Materials Needed
- 3/8 and a 1/2 ratchet
- Universal swivel joint
- 10mm socket
- External Torx sockets sizes E12 and E14
- Torx bit size T60
- 8mm and 13mm wrenches
- Flat head screwdriver
- Various extensions
- Star head screwdriver
Step 1 – Disconnect battery
Safety first! You don't want to risk getting electrocuted, or shorting your battery by keeping it connected. It needs to be disconnected first.
- Use 10mm socket to remove the battery cover.
- Use 10mm socket to remove/disconnect the negative (black) battery terminal first, and then remove the positive one.
Step 2 – Remove air filter
In order to gain access to the area where you will be working, the air filter and connecting hoses will need to be removed.
- Using a flat head screwdriver, pry the clips and the edge of hoses to work them off the air filter system.
- There is also a hose connected to the EGR system. This will need to be removed as well to gain more clearance. (Figure 2)
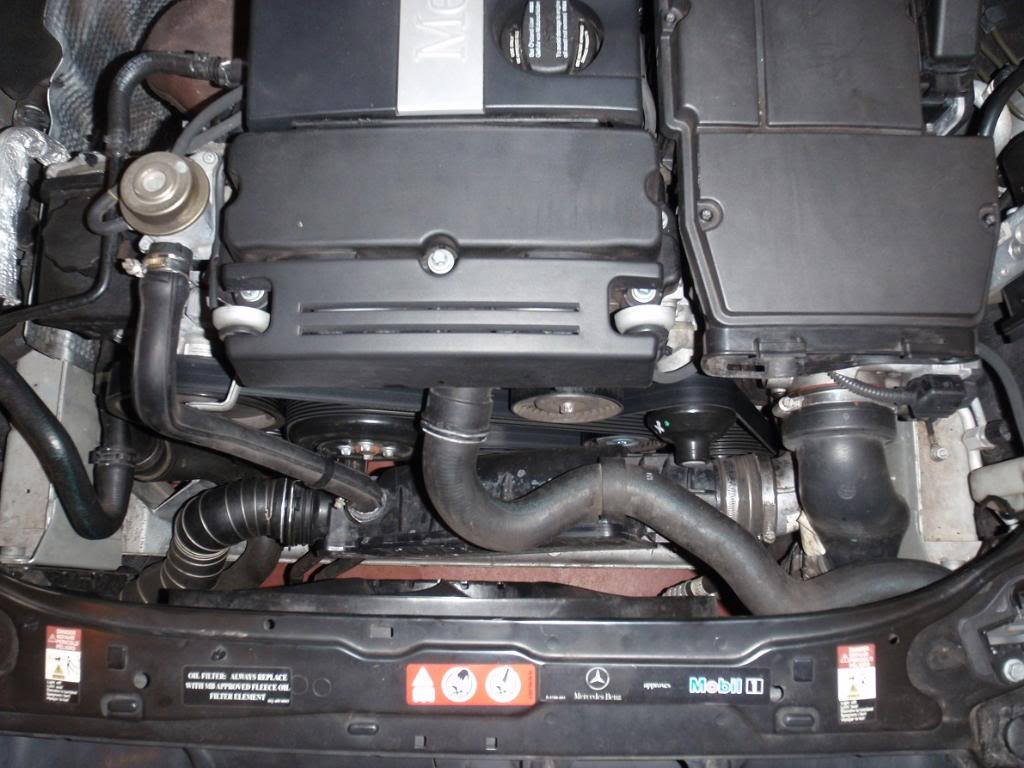
Figure 1. Remove engine cover. 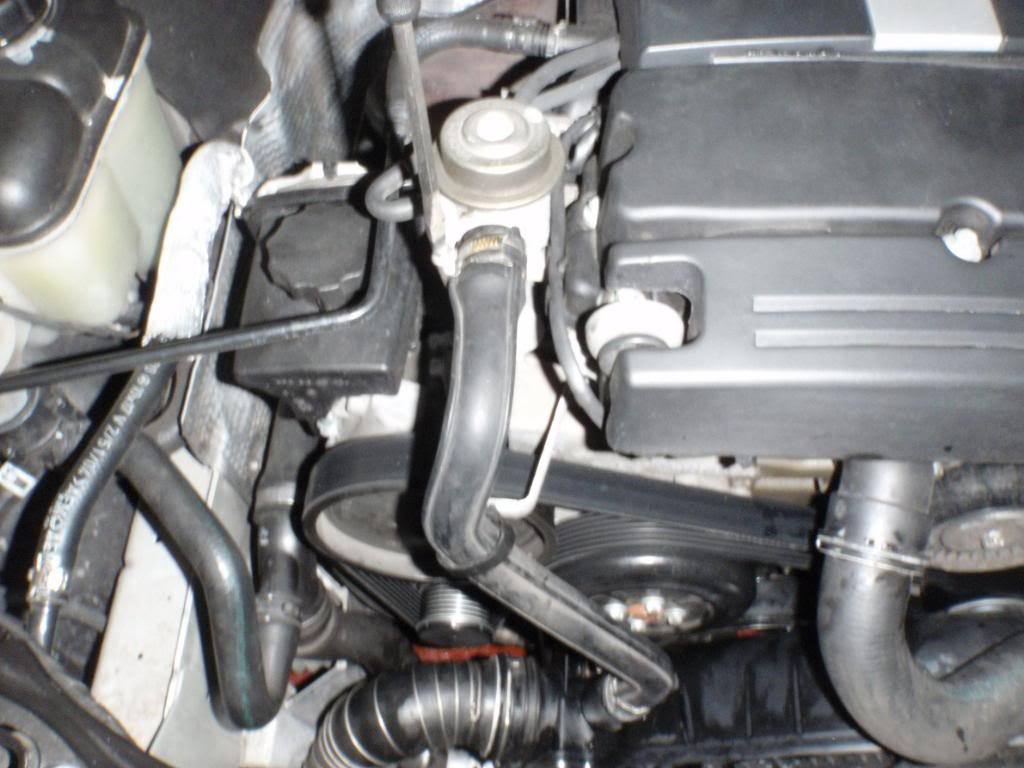
Figure 2. Remove the hose connected into the EGR system.
Pro Tip
The hose may be clamped down. You may also need to use a star head screwdriver to loosen the clamp's bolt. Often, a retainer clip can also hold the hose in, and you can use the flat head screwdriver to pull this clip out.
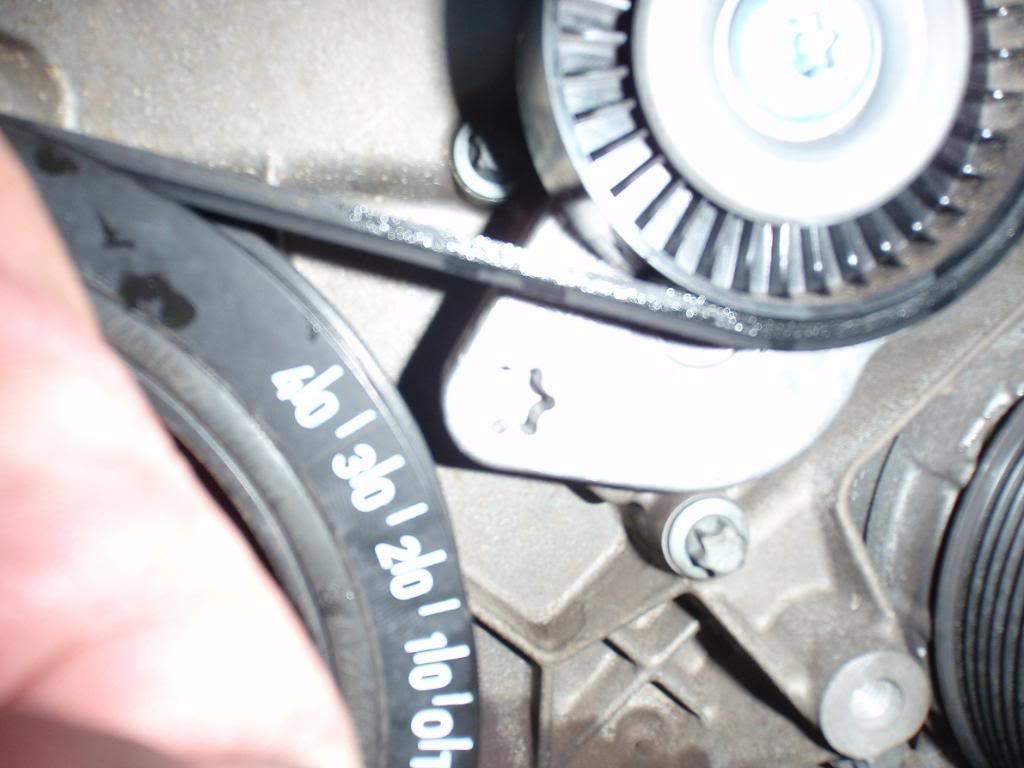
Step 3 – Remove silencer
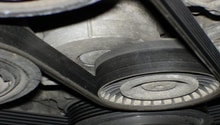
This component will be in the way of where you will need to turn the alternator pulley to release the slack on the drive belt. It will need to be removed.
- Using the E12 and E13 sockets, remove one upper and one lower bolt.
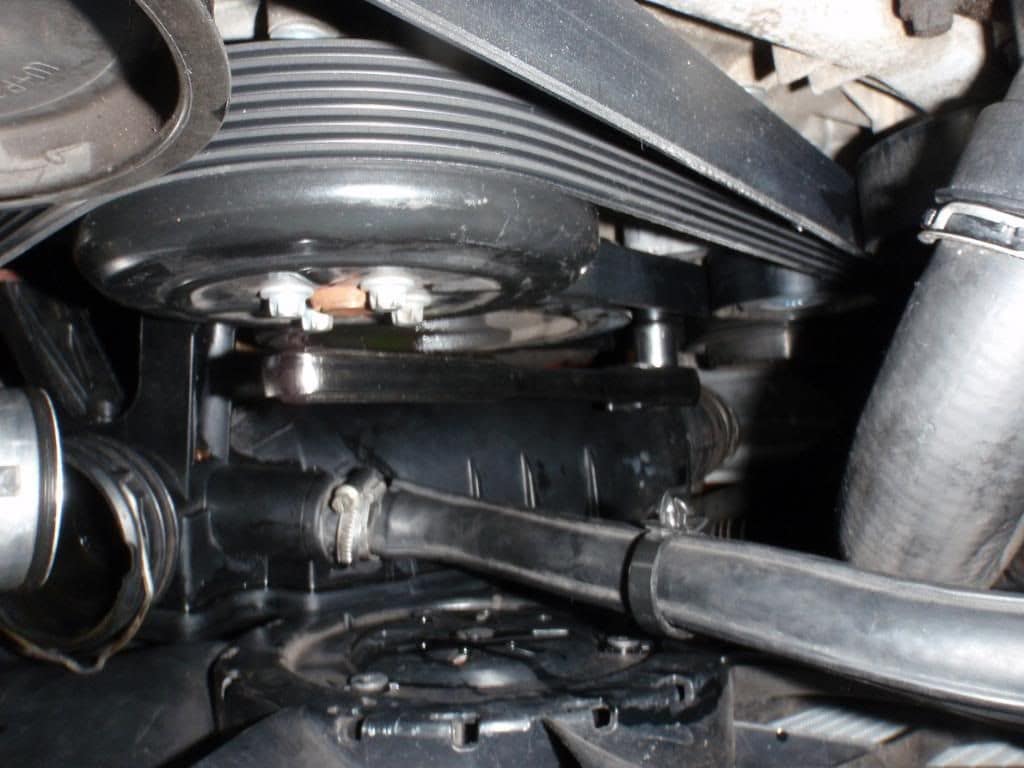
Step 4 – Remove power steering bolt
There is a bracket that keeps the power steering hose taut, and also prohibits clear access of the alternator.
- Remove the 8mm bolt.
- Move hoses out of the way.
- Remove the upper/forward bolt from alternator.
Step 5 – Remove alternator
Now that you finally have clearance to get to the bolts on the alternator, wire, and connector, it can be removed.
- Using the extensions and ratchets, unbolt the alternator.
- Using the 13mm wrench, undo the bolt for wire from the back of the alternator.
- Unplug the wire harness from the back of the alternator.
- Pull alternator up and out.
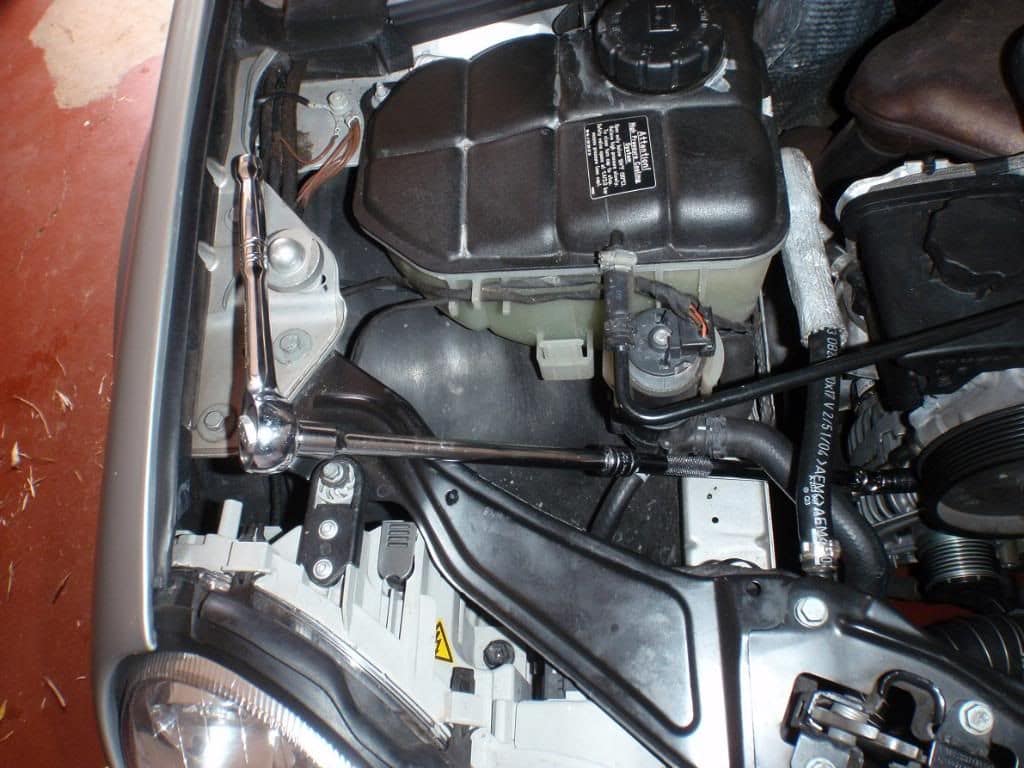
Figure 5. Remove alternator's connections. 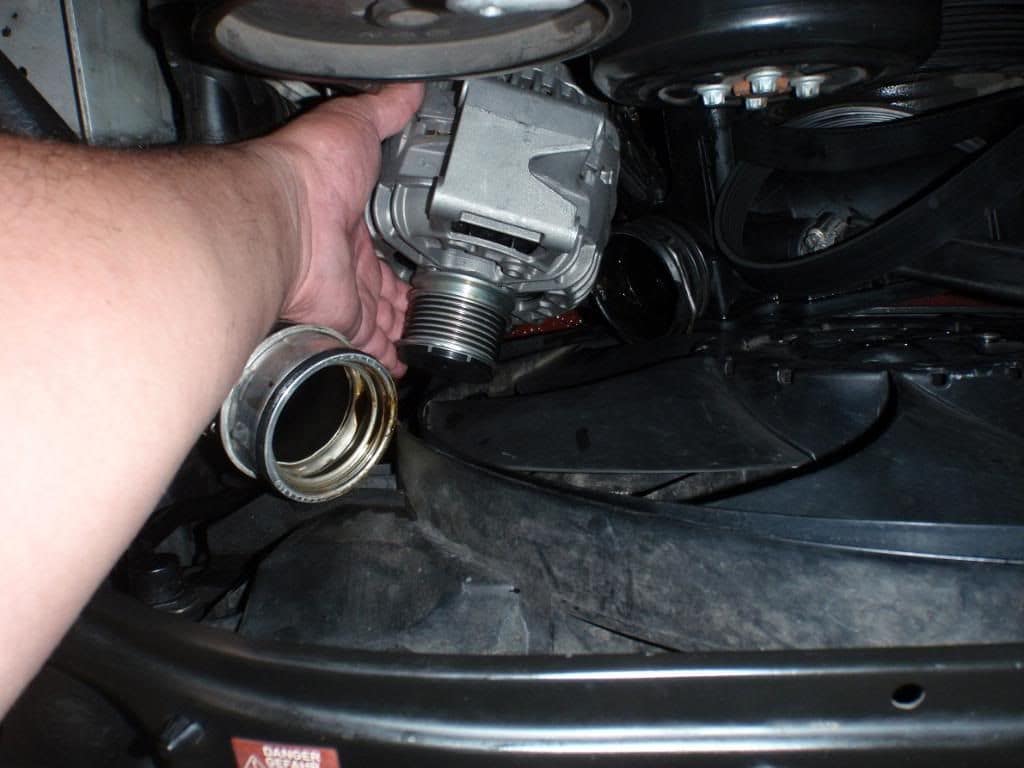
Figure 6. Remove alternator.
Pro Tip
The bottom front alternator bolt can be better accessed from under the car. The under tray cover has 5-6 clips that need to be removed first.
Step 6 – Installation is reverse of removal
Out with the old, in with the new!
- Install the new alternator.
- Tighten the bolts slightly.
- Tighten down the 13mm nut on the power wire.
- Reattach the plug.
- Tighten the bolts down securely.
- Position the power steering bracket back in place, and secure with 8mm nut.
- Reattach the drive belt.
- Re-install the silencer, and maintain belt tension.
- Re-install the EGR valve, air box, and related hoses.
- Reattach the battery's negative cable.
- Re-install the battery cover.
- Test all electrical components such as radio and headlights.
Related Discussion
- Replace Alternator DIY - MBWorld.org