Mercedes-Benz E-Class: How to Install a V-1 Radar Detector
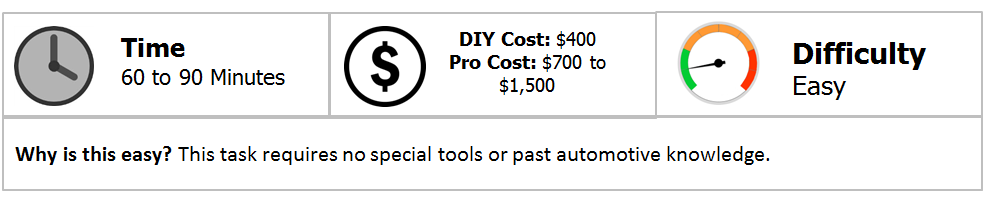
Want to install a radar detector in your Mercedes-Benz E-Class? You can DIY with a bit of time, effort, and the instructions below. It's better to be safe than sorry.
This article applies to the Mercedes-Benz E-Class (2009-Present).
The Valentine-1 (V-1) radar detector is the most popular of choices within the Mercedes-Benz community. As law enforcement may have strict rules against installing one into your vehicle, concealing it is all the more important. The following steps specifically demonstrate how to correctly install a V-1 radar detector in your W212 E-Class.
Materials Needed
- V-1 radar detector
- Trim removal tool
- Electrical tape
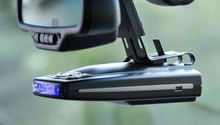
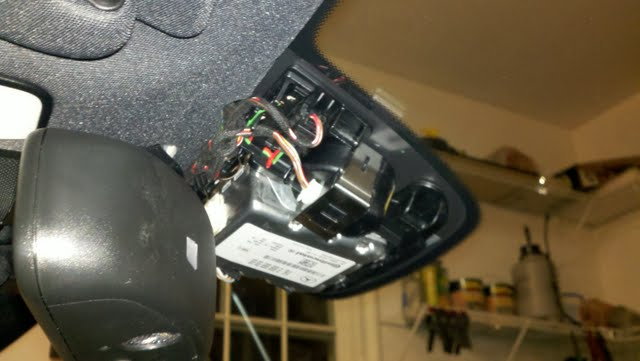
Step 1 – Mount the radar detector
The most popular location to mount the V-1 radar detector is at the top of the windshield, near the rear view mirror. To mount the V-1 detector here, simply attach the suction cups to the V-1 bracket and stick it to the window. Then, a few components will need to be removed to conceal the power wire. Use a trim removal tool to pry off the mbrace housing and remove it by hand.
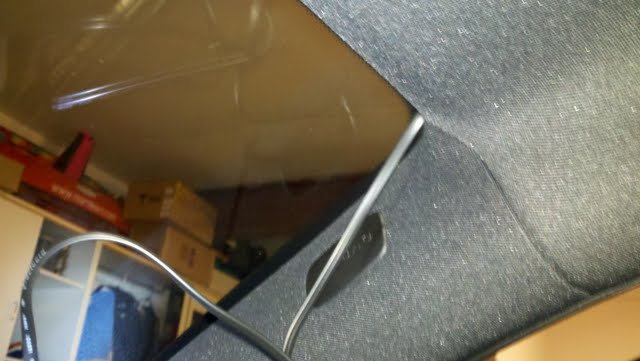
Step 2 – Route the wire
Attach the power supply wire to the side of the radar detector. Carefully peel back the front headliner to the right of the rear view mirror and tuck the wire in through to the A-pillar trim. Then, peel back the A-pillar trim on the side of the windshield and route the wire down to the side of the dash panel.
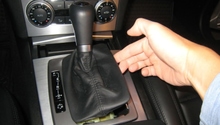
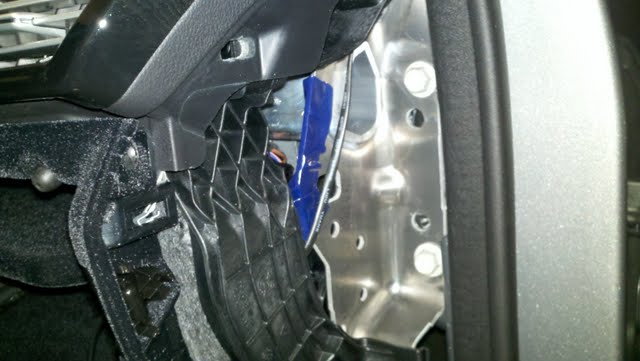
Step 3 – Remove the side dashboard panel
Gently remove the side dashboard panel using the trim removal tool. Be careful so as not to damage the dashboard clips. Route the wire from the A-pillar trim into the side dashboard. Cover all sharp edges along the metal dashboard frame with electrical tape to prevent the wire from breaking.
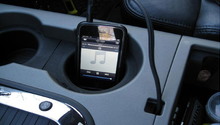
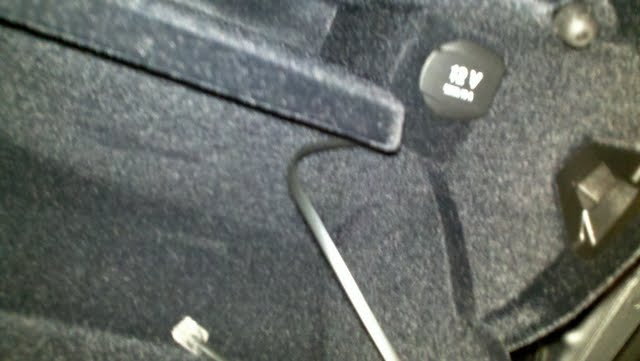
Step 4 – Power the radar detector
Thread the wire to inside the glove box compartment, where the 12 V socket is located. Open the glove box half way to tug and conceal the wire along the side. Then, plug in the V-1 power supply wire to the 12 V socket. Reattach the side dashboard panel and the mbrace housing.
Related Discussion
- V-1 Install on 2011 E-Class - MBWorld.org