Mercedes-Benz E-Class: How to Remove Front Grille
Going to the dealership to replace your grille could be costly. Here's how to do it yourself in the Mercedes-Benz E-Class.
This article applies to the Mercedes-Benz E-Class and E-Class AMG (2010-Present).
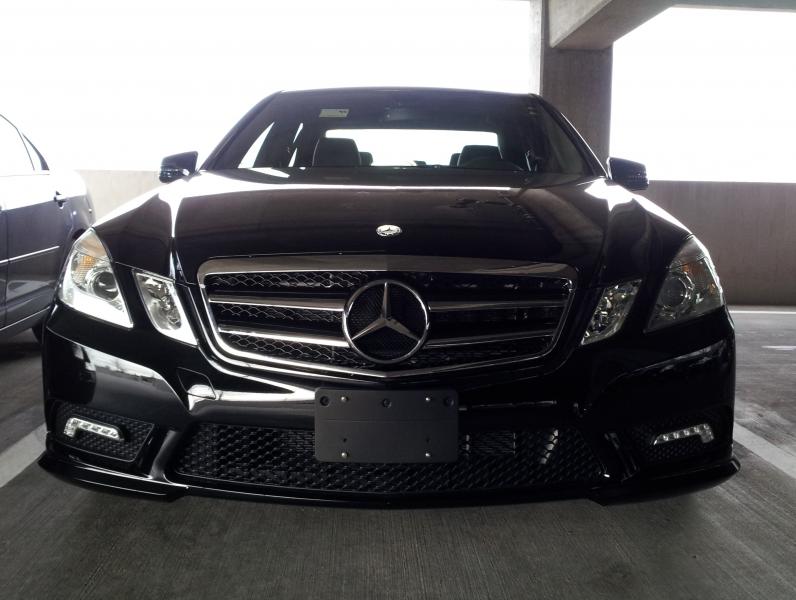
Whether you love or hate cars, most of the time, the first thing you see is the grille. The grille is the main focal point on the front-end of a vehicle. Because of this, many enthusiasts take it upon themselves to customize and replace the stock Mercedes-Benz E-Class grille. The grille is designed to let air through to the engine while blocking anything that could damage it, all while looking slick. There are many options available including flat black and chrome designs. However, before the grille can be replaced, it will need to be removed. The removal process takes less than an hour and can be done for free by using the following instructions.

Materials Needed
- Screwdriver
- Pliers
- 10mm socket wrench
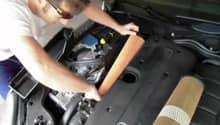
Step 1 – Un-clip the top of the plastic shroud
There is a large plastic shroud on top that covers the location of the grille. Each clip must be carefully removed so you don't break the shroud.
- Use a flat-head screwdriver and begin prying off the clips.
- Place each clip somewhere so they don't get lost.
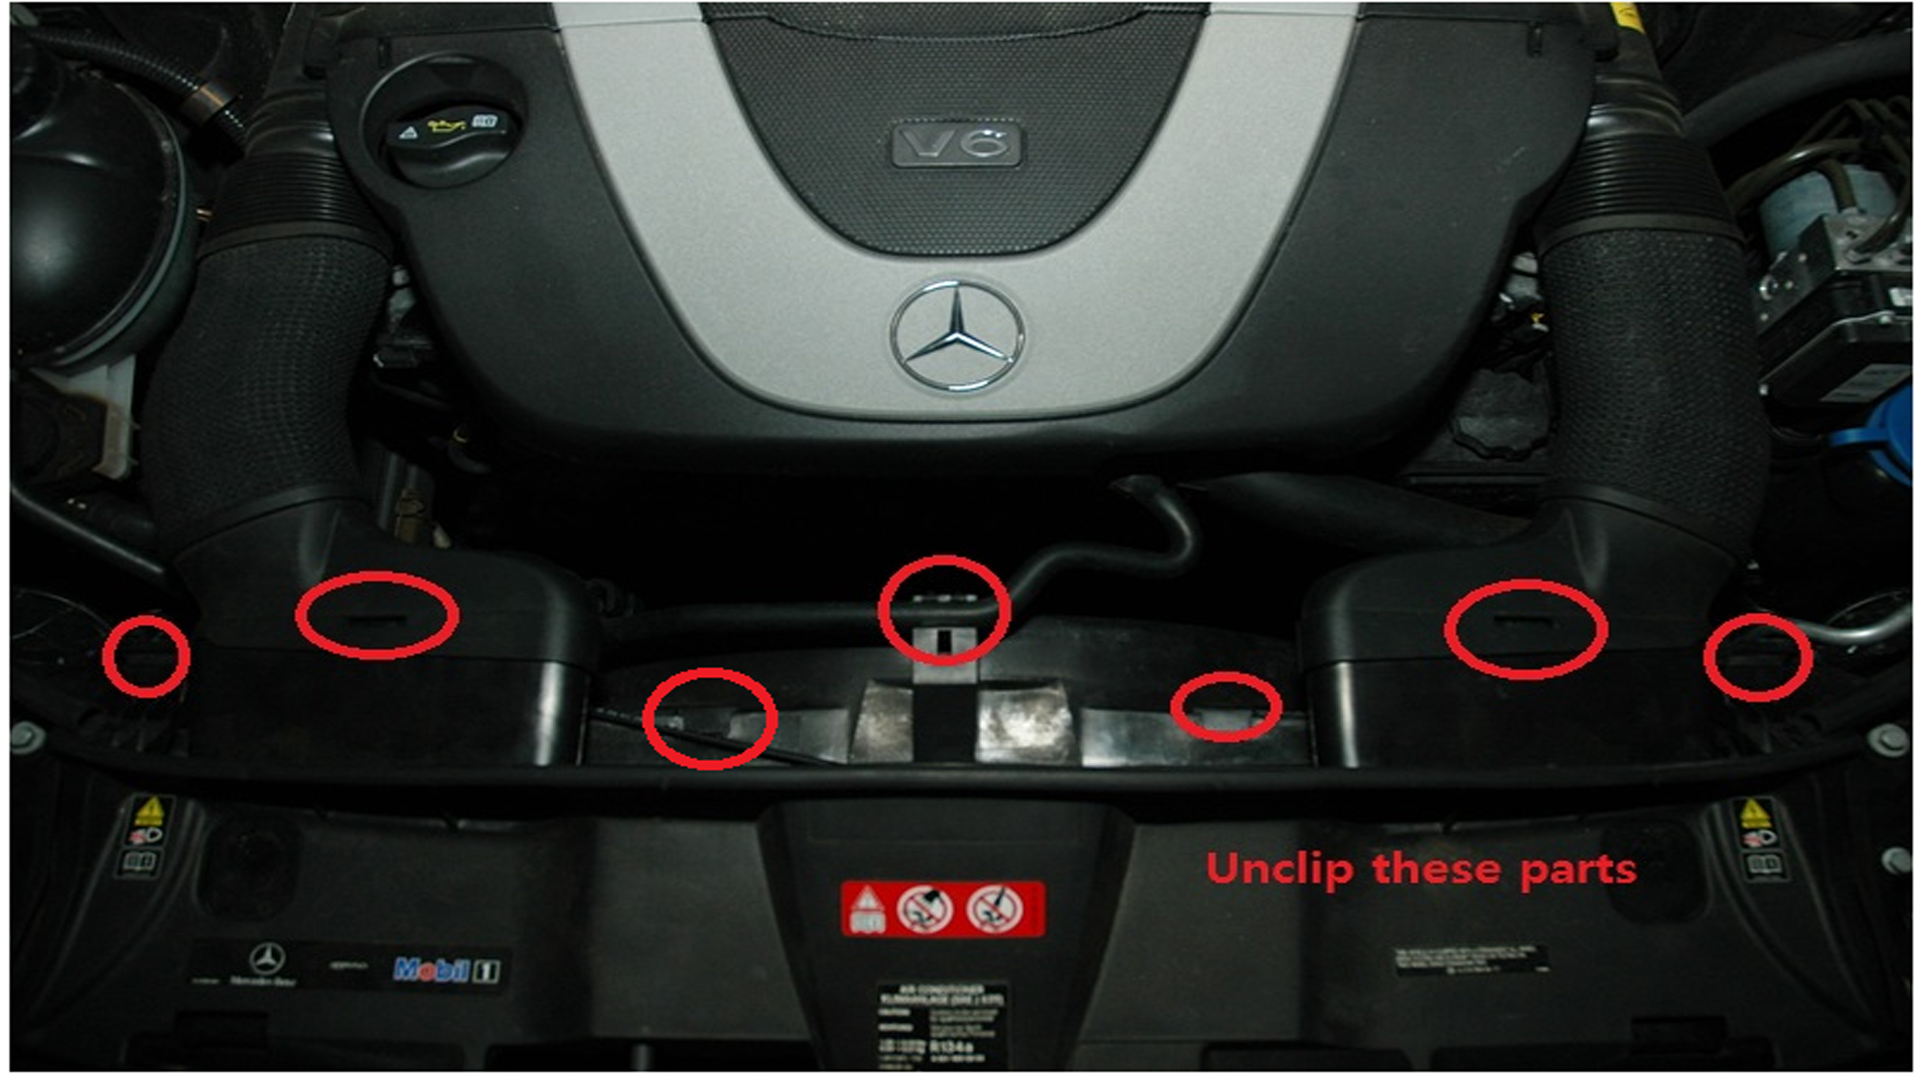
Step 2 – Remove the lower plastic cover
- There are two clips that hold a large plastic cover on the backside of the shroud.
- Grab onto the plastic piece and carefully pull it backwards.
- Once the clips are off, place the plastic trim aside.
- Grab and wiggle the shroud.
- Continue to wiggle it until the shroud clips come off.

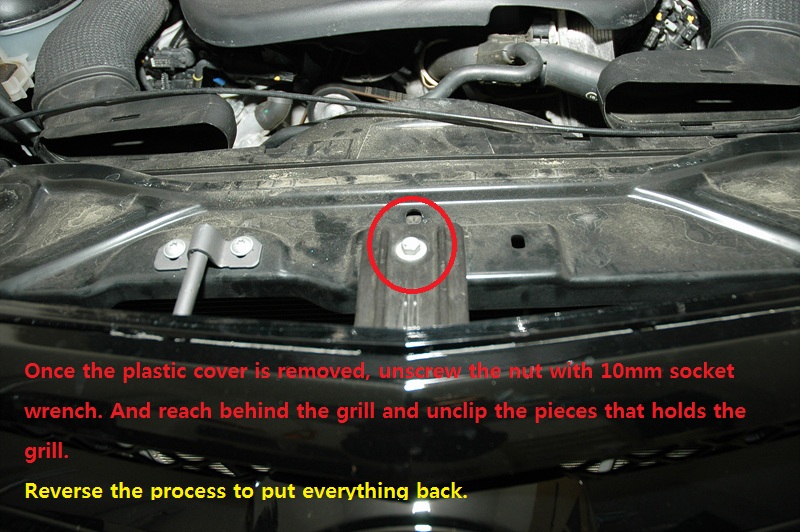
Step 3 – Remove the grille
Once the shroud is completely removed, the grille mounting bolt will be visible.
- Use a 10mm socket on the grill mounting bolt.
- Loosen the 10mm socket and place it aside safely.
After loosening the mounting bolt, the grille will be held in place by several clips. Remove each clip and push the grill out.
Step 4 – Re-installation
The re-installation process for the grille is relatively simple. Although aligning the grille to fit the front end can be somewhat difficult. While aligning it, be sure to take your time so it sits as even as possible. If the grille is installed incorrectly, it will ruin the whole image of the front end.
- Align the new grille into its location.
- Make sure the emblem and grille are straight and flush with the front end.
- Tighten the 10mm bolt onto the grille bracket.
- Place the plastic shroud back onto its location.
- Move the back piece of the plastic trim that holds the shroud in place and re-attach the clips.
- Reinstall every clip back onto the plastic shroud.
- Enjoy the new grille!
Related Discussion
- DIY: Removing w212 Front Grill - MBworld.org