Mercedes-Benz E-Class: How to Repair a Tire Leak
Most have unknowingly run over a nail only to find out that it's causing a slow leak in the tire. If getting a replacement isn't in your plans, the leak can easily be repaired yourself with simple steps.
This article applies to the Mercedes-Benz E-Class w211/212 (2009-Present).
A tire leak can put anyone in a bad mood, but how quickly you can diagnose and fix the problem will dictate whether your mood gets better or worse. If you plan on repairing the leak yourself, always remember to make sure the puncture isn't too large or located on the sidewall. Only a puncture on the side of the tire tread can be safely sealed. Also, since patching a tire leak is only a temporary solution, plan on replacing the tire in your E-Class as soon as possible. For now, however, follow the steps below to properly repair your leaking tire.

Materials Needed
- Tire repair kit
- Reamer tool
- Rubber cement
- Floor jack
- Lug wrench
- Needle nose pliers
- Spray bottle with soapy water
- Lug wrench
- Scissors
Step 1 – Remove the tire
Make sure you're parked on level ground, and the emergency brake is engaged. Then, locate the jacking point of your vehicle on the side closest to the tire you are removing. Use the lug wrench to first loosen the lug nuts, and use the floor jack to raise the car until the tire is a couple inches off the ground. Fully remove the lug nuts and pull the tire off.

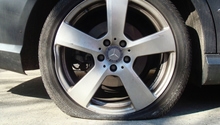
Step 2 – Locate the tire leak
Rotate the tire and inspect the tread until you find the source of the leak, such as a screw or nail. If the leak is difficult to find, spray a water and soap solution around the tire tread and sidewall until you find a spot that's bubbling. Once the nail is found, remove it with needle nose pliers.
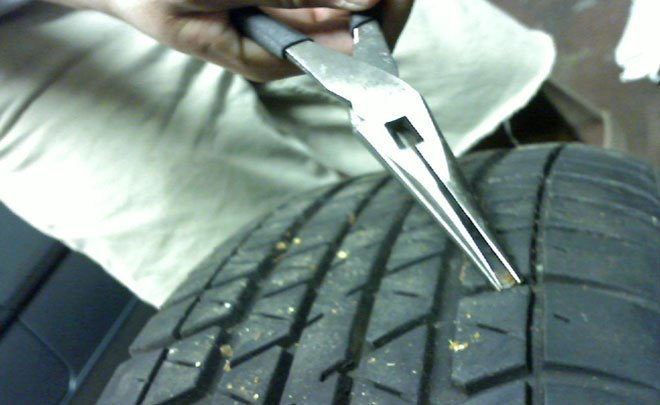
Figure 2. Remove nail with needle nose pliers. 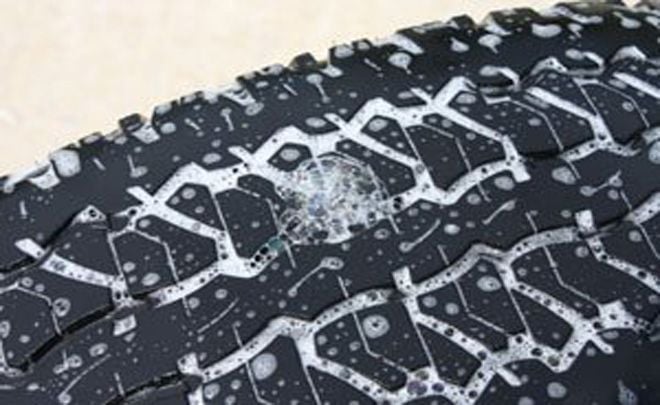
Figure 3. Spray soapy solution to locate the leak.
Step 3 – Prep the punctured area
Insert the threaded end of a reamer tool into the hole. Twist it until you've punctured through all the way to the inside. Then, repeatedly lift and push down on the tool, similar to a sawing motion. The purpose of this step is to smooth the hole and provide a better seal.
Step 4 – Plug the hole
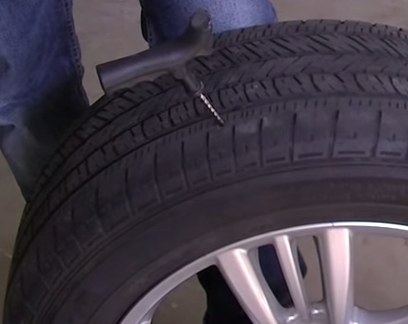
Thread the repair cord through the tip of the tire repair tool. Then, insert the cord into the hole until a quarter of the repair cord is visible outside of the tire. Use scissors to cut the section of the cord that's sticking out. To completely seal the hole, apply rubber cement and let it completely dry. Once the leak has been patched up, spray the tire once again with soapy solution and make sure no more air is leaking out.
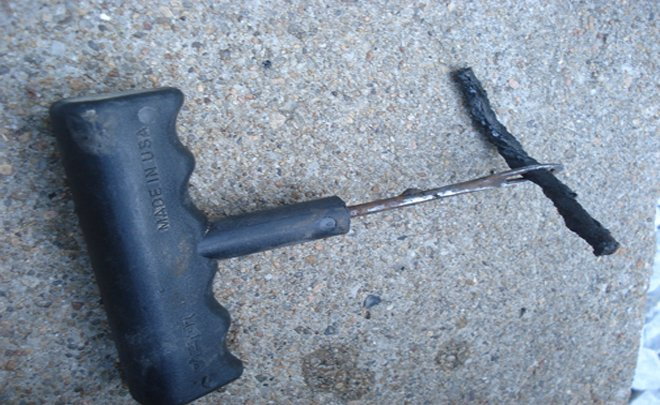
Figure 5. Thread cord through the repair tool. 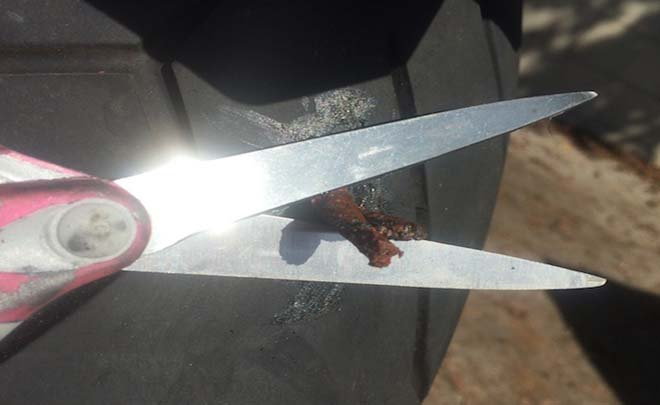
Figure 6. Trim the excess repair cord. 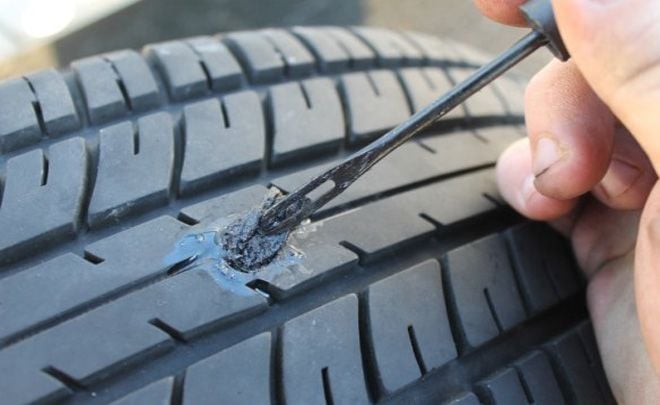
Figure 7. Apply rubber cement for a better seal.
Step 5 – Test the repaired leak
Mount the tire and hand-tighten the lug nuts. Then, lower the car to the ground and tighten the lug nuts further with the lug wrench. Check the tire pressure and add more air if necessary. Lastly, take your vehicle for a short drive and check the tire pressure once again. Make sure the pressure hasn't decreased and that the leak is properly repaired.
Featured Video: How to Plug a Tire
Related Discussion and Site
- E-Class Tire Lost Pressure - MBWorld.org
- How to Repair an Air Leak Guide - AutoRepair.com