Mercedes-Benz E-Class: How to Replace Side Marker
Tired of the same stock side marker lenses on your Mercedes-Benz E-Class? Learn how easy they are to remove and replace here.
This article applies to the Mercedes-Benz E-Class (2010-present).
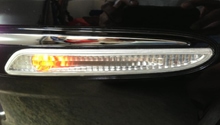
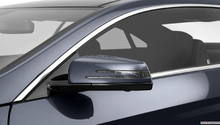
As many Mercedes-Benz E-Class owners agree, those standard side markers could sure use a makeover. There are several different options that can be used to replace the side marker color on the bumper. For those interested, smoked or clear housings can be installed to better blend with the color of the car. Whatever the choice, this article explains how to remove and replace the side markers of an E-Class.

Material Needed
- Pry tool
- Zip ties
Step 1 – Prepare the workspace
The side markers are found behind the plastic trim on the wheel well. Turn the wheel inwards on each side of the car you're working on. For the driver-side, turn the wheel all the way right, and for the passenger-side, turn the wheel all the way left.

Step 2 – Remove the plastic wheel liner clips
Locate the clips found on the wheel liner.
- Take the pry tool and remove each clip.
- Once the liner is free, pull it back with your hands.

Figure 2. Pry off the plastic clips. 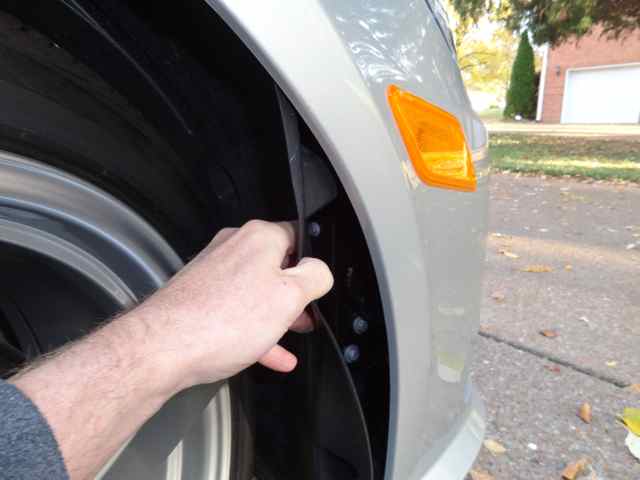
Figure 3. Pull back the fender lining.
Step 3 – Remove the bulb
There's nothing special here; just use your hand to twist the bulb out.

Step 4 – Pry the lens off the backing plate
The housing is held in place with the use of a backing plate located inside of the bumper. There are two tabs that need to be released, so the side marker housing can come off.
- Take your hand and feel inside for the front backing plate tab.
- Push on the tab and release it.
- Once the housing is broken free, angle it to get the other tab off.
- Holding the backing plate in place, remove the side marker housing.
- The backing plate will be loosely hanging, so be sure to use a zip tie to keep it temporarily secured in place.
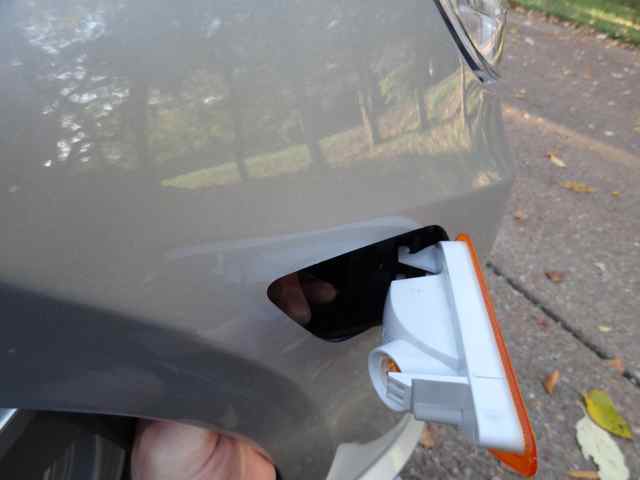
Figure 5. Release the first backing plate tab. 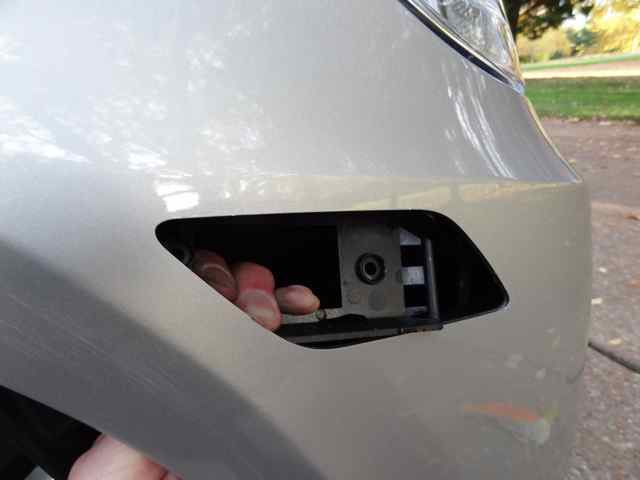
Figure 6. Remove the side marker housing.
Step 5 – Align the new side marker
There are several different types of side markers available on the market. OEM housings will fit perfectly; however, aftermarket units may require additional attention, such as using a small plastic shim to wedge them in place.
- Slide the new clip onto the backing plate and hook it onto the tabs.
- Once the side marker is aligned, push the other tab in place.
Step 6 – Install the bulb and trim
Here you can either replace the bulb or just reuse the old one.
- Twist the bulb into place.
- Reinstall the clips on the wheel liner.
Related Discussions
- Side Markers Replacement DIY - MBworld.org
- Clear Side Marker with Install Pics - Mbworld.org