When you click on links to various merchants on this site and make a purchase, this can result in this site earning a commission. Affiliate programs and affiliations include, but are not limited to, the eBay Partner Network.
My license plate bulbs burn out every 3-5 months, so I searched through alldata and found this TSB. It's a very easy DIY...costs about $30. Just want to share it with the forum...enjoy!
I also have canbus LEDs on my license plate lamp, but the voltage is too high. It melted the heat sink on top and killed the LEDs. So, this would help!
MB harness just give you cleaner apperance and you can get rid of it anytime want. As long as you wire your resistor correctly, you should be okay. Make sure you cover the resistor with foam sleeve or something, so it doesn't radiate heat to surrounding parts.
I bought two of these from the dealer and installed them but I still get the 'flashing' left license light and "left license bulb" out message. Anyone else with these resistors having the same problem? Currently installed with the Sylvania LEDs
The resistors from the dealer don't help with led's they just keep the regular bulbs from burning out so often. I got the ones for the tail lights as well as for the license plates and went 3-4 years on the bulbs after that up until I sold the car.
Just wondering, anybody out there measure the resistance of these resistors? Curious what their values are.
My license plate LEDs keep getting killed by voltage spikes. I have the AZNOptics ones and they're not surviving too long. Wondering if these resistors would do the trick?
Just wondering, anybody out there measure the resistance of these resistors? Curious what their values are.
My license plate LEDs keep getting killed by voltage spikes. I have the AZNOptics ones and they're not surviving too long. Wondering if these resistors would do the trick?
Take a voltmeter and check the voltage while the engine is running. Voltage should be [relatively] stable. If not, voltage regulator and/or the alternator should be checked.
Just wondering, anybody out there measure the resistance of these resistors? Curious what their values are.
My license plate LEDs keep getting killed by voltage spikes. I have the AZNOptics ones and they're not surviving too long. Wondering if these resistors would do the trick?
Same here, one side of my plate LEDs from Mike (AZNOptics) keeps burning out too. I've given up and have been driving without any plate lights for past year lol
Same here, one side of my plate LEDs from Mike (AZNOptics) keeps burning out too. I've given up and have been driving without any plate lights for past year lol
I know slammer111 was having issues with our 36mm V4 festoons, but we haven't received any other issues with these new designs. I believe you have the older version with the resistor right?
I think some cars have more spiking issues than others my 01 C320 loved to kill the rear bulbs until I bought the MB resistor plugs for the license plate and the side lights. If I had the car still I would have measured them for you guys... My guess is that they are not very powerful as the bulb out warning still worked fine.
My car hasn't burned out any bulbs. But I occasionally get the error message that the left license plate light is out. When I check, it's all lit up as normal. I pulled both bulbs, cleaned with contact cleaner, checked that the contacts are tight both ends. And no change - the error message still pops up occasionally.
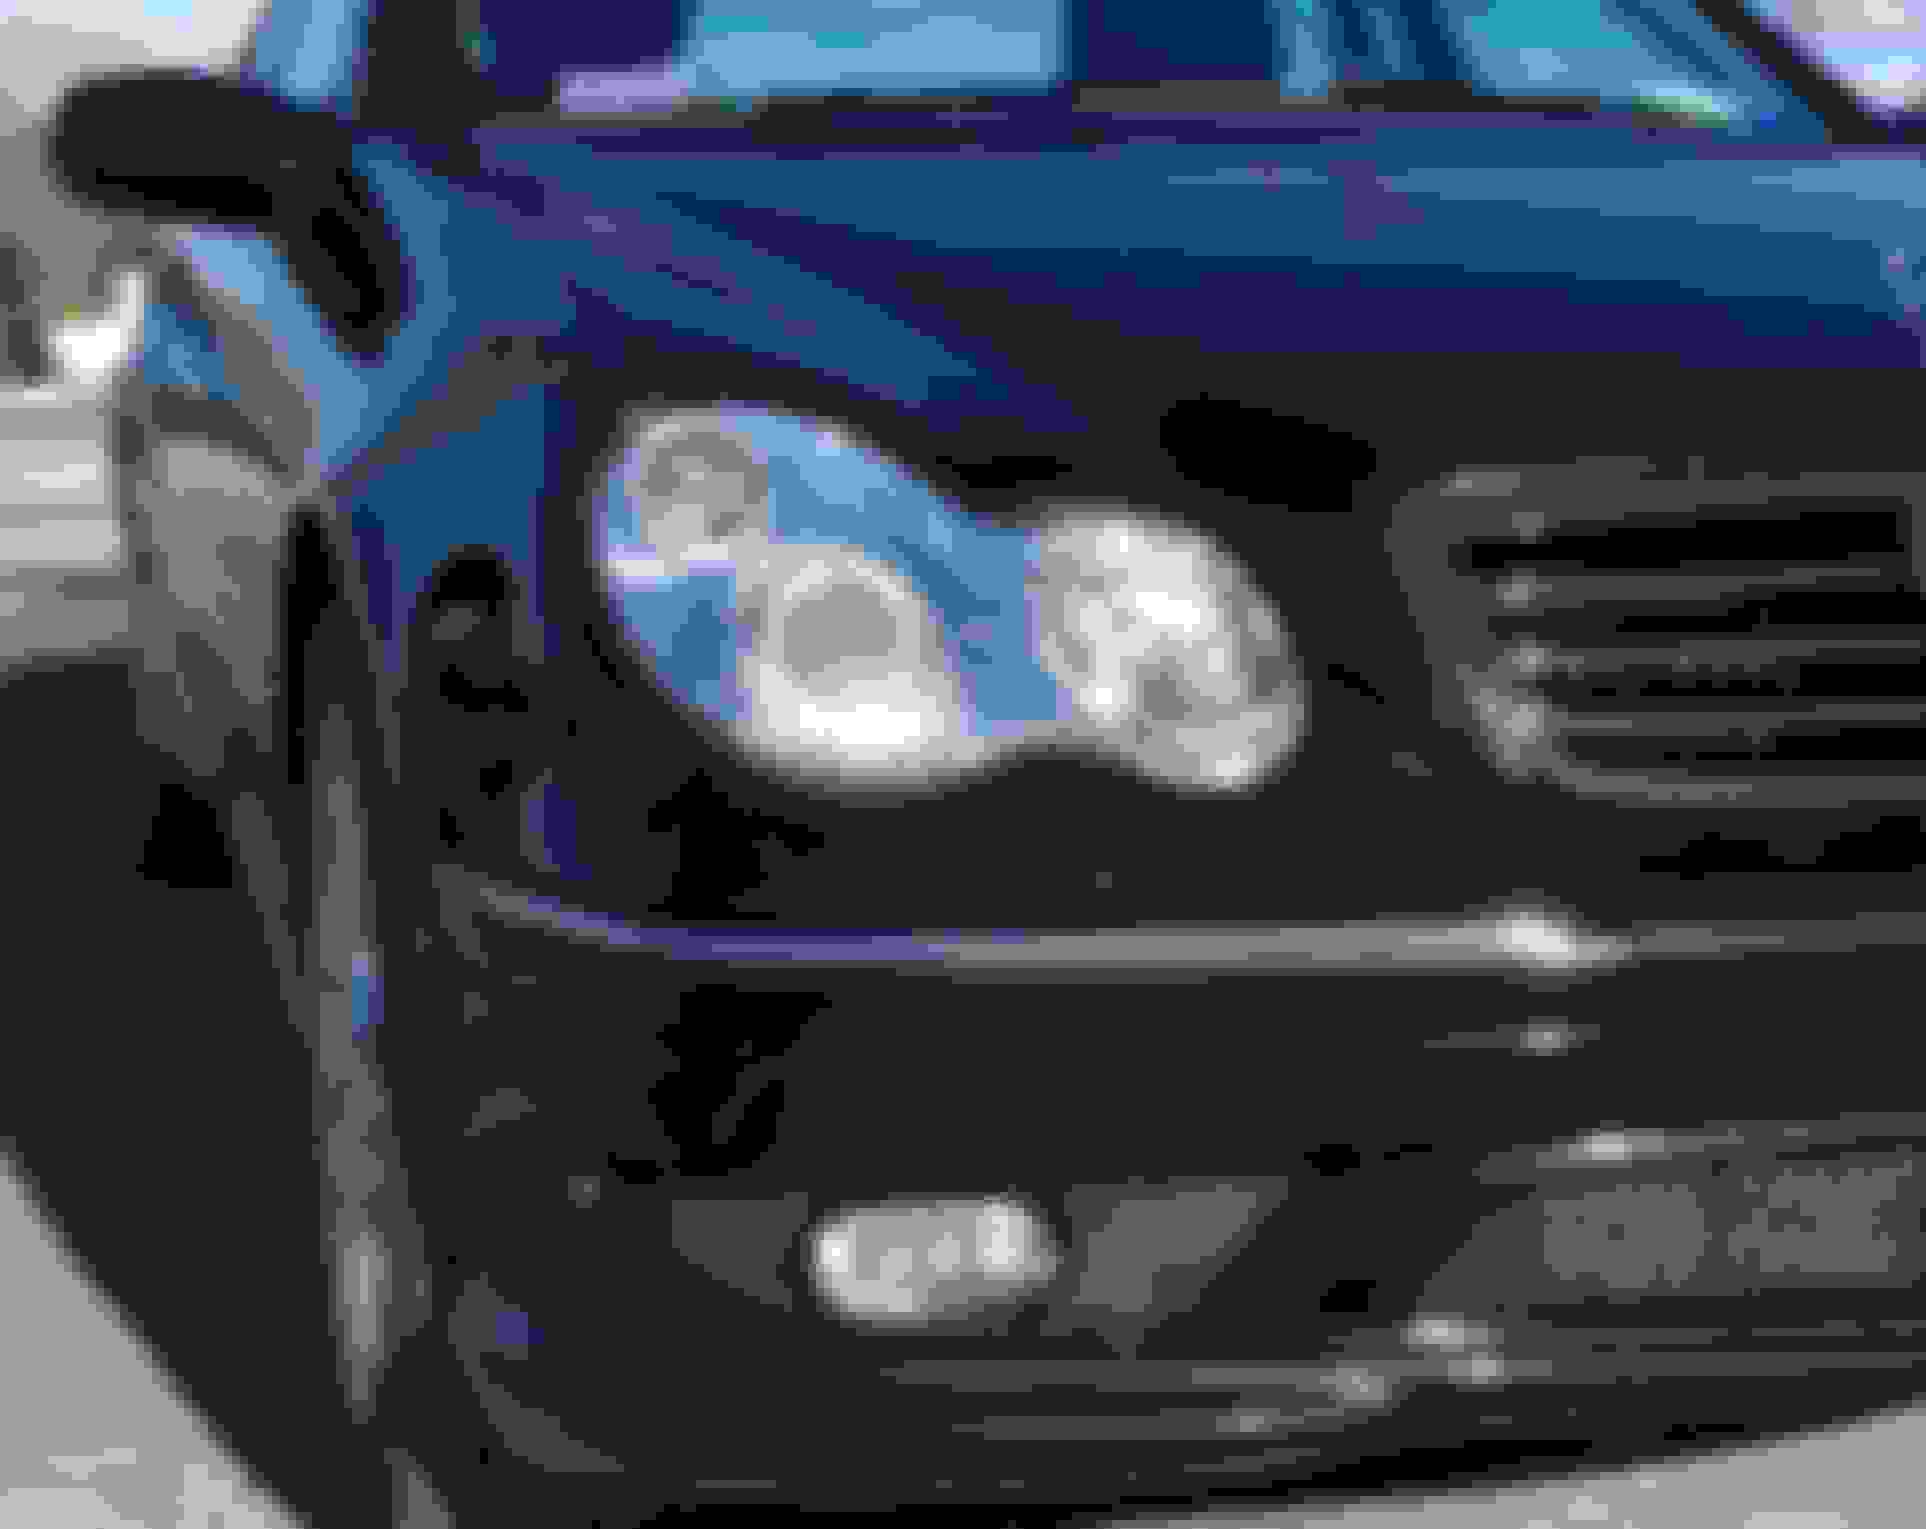
BTW slammer, I really like that blue color. Is it metallic? What's the paint code?
I don't care for my black car, and all panels need some touch up anyway. So I might as well go to a color I like better.
I know slammer111 was having issues with our 36mm V4 festoons, but we haven't received any other issues with these new designs. I believe you have the older version with the resistor right?
Hey Mike, I'm pretty sure I dont have the V4. In fact, the ones that kept burning out were probably either V2 or V3.
What's the biggest change with the V4? I might pick up a pair from you if I know they last longer.
BTW slammer, I really like that blue color. Is it metallic? What's the paint code?
I don't care for my black car, and all panels need some touch up anyway. So I might as well go to a color I like better.
Thinking whether or not to get these bulb resistors. Quite hesitant as they're $44CAD a side here. Almost double the price of the freaking plate bulbs. Sigh. Stuff in Canada is a freaking rip.
Mike (AZNOptics) was kind enough to send me a replacement pair of V4. My previous set (also V4) lasted about 7 months before one of them cooked. Fingers crossed.
Can someone chime in who has added those factory resistors?
My license plate bulbs pop faster than I like - but it�s a quick easy replacement....however...the most recent change out of the right side shows melting/deformation...
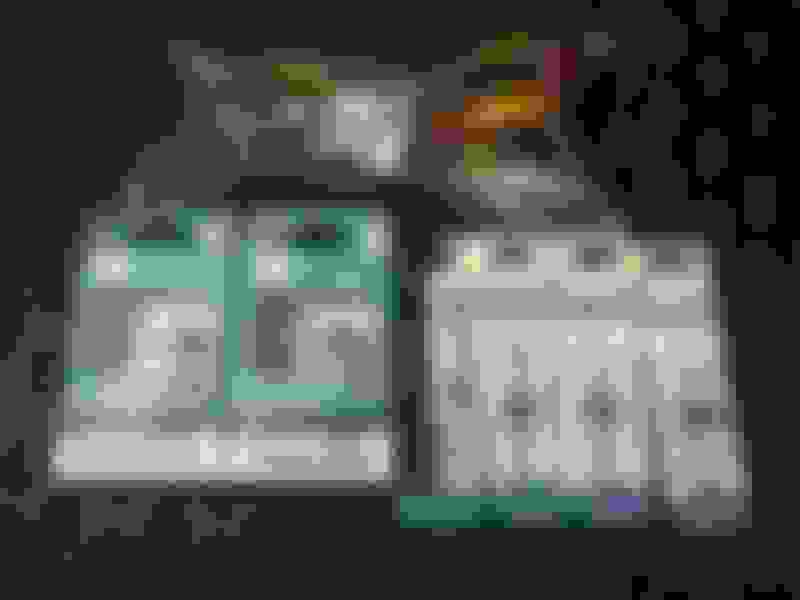
Time to unwrap the trunk liner!
(Do I install a OEM trunk SDRS antenna or leave mine on the roof...I like it on the roof, by the other antenna...)
So after having my plate LED bulbs cook again, I decided to go the name brand route. Looks like Philips now makes a 38mm festoon bulb. I bought the "up to 6000K" version.
The only problem is that most non-Canbus LED festoons draw only 1W or so. All SAM-controlled bulbs have to draw a certain amount of current (and therefore wattage) to prevent a "bulb out" error from appearing on the dash, otherwise the bulb will flicker while the car gets confused. To get around this, I did a bit of math and picked up a bunch of resistors from the local shop. Contrary to popular belief, a LED replacement does NOT have to draw the full 5W or 10W of the original incandescent. It only has to draw enough to trick the car.
This process turned out to be iterative because the minimum currents required seemed to change depending on which other circuits also had LED bulbs installed. For example, my R plate bulb with resistors worked fine until I also installed the L plate bulb or trunk cargo bulb. Other problems I encountered were that the bulbs wouldn't draw enough juice as the weather got colder (did a bit of research and it turns out all LEDs have a negative temperature coefficient), and sometimes would flicker when I hit the unlock button on the fob (guess the exterior lights draw too much current away from these circuits when flashing). All of these problems were solved by lowering the resistance values (ie increasing the current) on the affected circuits.
The trick is to select a resistance value for each circuit that is as high as possible but does not cause flickering under any use scenario. Too high a resistance and the bulbs would flicker under some use cases. Too low and the resistors run hotter than they need to, increasing the risk of melting something. With that said, there is no risk to melting the wires since the stock incandescent bulbs are only 2 ohms or so.
Even though an automotive electrical system is nominally 12V, the voltage is ~14.0V when the car is idling, and goes up to 14.7V when the engine is revving. This has to be taken into consideration when selecting and sizing the resistors, as the power dissipated through a resistor at V = 14.7V is 50%(!) higher than at 12.0V. Using Ohm's Law for power (P = V^2/R) where V = 14.7V (ie worst case scenario) I was able to stick in a combination that worked.
It is best practice to use a resistor rated for at least twice the expected stable wattage. Also keep in mind that multiple resistors can be used in parallel to spread the electrical load and heat. I used a combination of 1W and 2W resistors, but if I were to do it again I would simply stick to the 2W ones. They're physically larger but fit without issues, and a higher power rating is always better.
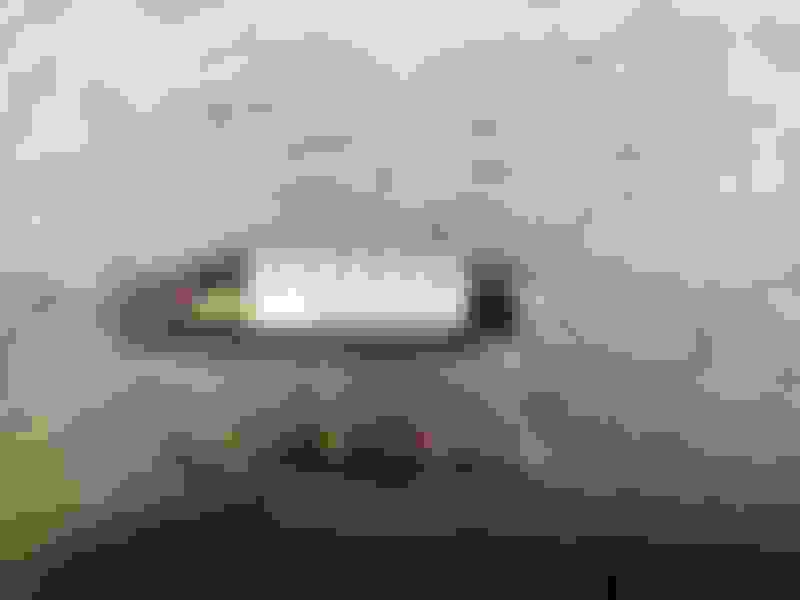
To fit them onto the plate connector, I bent the resistor leads as shown in the photo below.
I could then slide the resistors in and out of the connector as needed and try different values. Once the values were selected, I simply reinstalled the festoon bulb, which pushed the resistor leads against the connector ensuring solid contact.
For the trunk cargo light, I went with 4000K Philips festoons. Imo these lights are the perfect colour for the interior of the cabin and trunk - the light is so natural that I can't even tell when they're they're on. In fact, I ended up replacing all of the interior cabin lights with variants of this 4000K product. Money well spent. Philips 4000K 43mm festoon
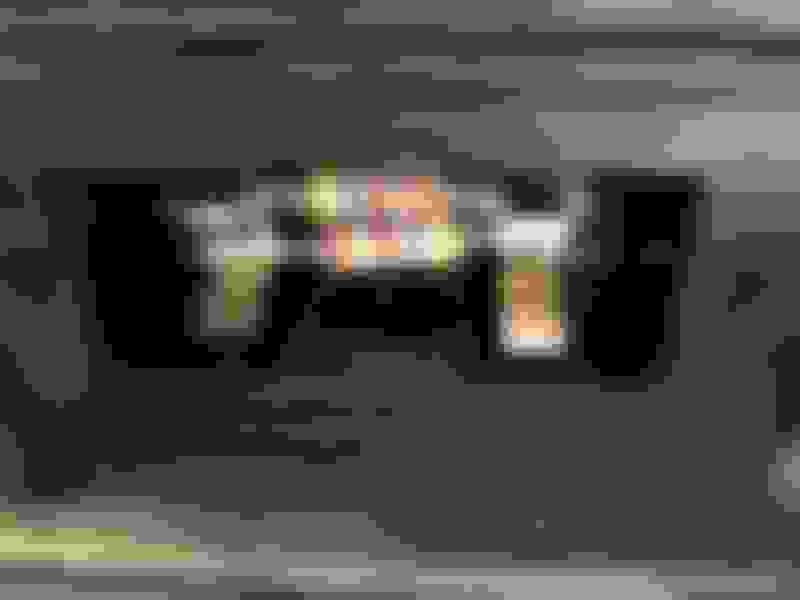
These festoon bulbs also work on the interior lights, but for the dome lights (the 2 lights with the dimmer function) one has to add a resistor in parallel or the bulbs won't turn off completely (they remain ever so dimly lit even when "off"). I was able to add a resistor in parallel to the terminals by bending the leads as shown below. A resistor is also required for the trunk cargo light to prevent flickering.
Disregard the values of the resistors in the photos, as they were taken while I was still tweaking the values.
As for the magic numbers, I found the following numbers worked under all use scenarios. Keep in mind that these values will change depending on the power draw of the specific LED bulb product installed, so YMMV. As mentioned before, in some circuits I used 2 resistors in parallel to spread out the thermal load.
Trunk cargo area (coupe, only uses 1 bulb) - 43mm festoon, 220 ohm. Not sure if sedans use 2 bulbs in the trunk, in which case the values may be different.
Rear plate L - 38mm festoon, 150 ohm
Rear plate R - 38mm festoon, 200 ohm. Yes, the L and R sides required different resistances.
Front/rear dome lights - 43mm festoon, 680 ohm (may be able to use a higher value but personally I didn't try)
Reading lights - W5W, no resistors required
Visor L/R - 38mm festoon, no resistors required
Glove box - 38mm festoon, no resistors required
At this point, the only incandescent bulb left in the interior of the car is the one inside the ash tray area.
I did not bother replacing any exterior lights (other than the plate ones) as they all require way more wattage, and I didn't want to have to bolt a bunch of 10W or larger resistors all over the body. I also didn't bother with the sidemarkers or daytime running lights as they also require resistors and there was no clean way to install them without chopping up wires.
***update*** I also upgraded the reverse lights to LED. Way more visibility. The stock coupe setup is useless, so I do recommend this mod. My opinion still stands for the rest of the exterior bulbs.
As these LED festoons (every festoon other than the plate ones) consist of a single diode, there is a hot spot that is rather irritating. This is a problem especially for the front dome light, which uses a clear diffuser as opposed to frosted ones everywhere else (other than the glove box). To get around this, I sanded and "frosted" the clear plastic on the festoons themselves. In addition, I made some ghetto diffusers by cutting up some plastic syringes and frosting the outer surfaces as well. I am sure other materials can do the job too. Just make sure the plastic isn't the kind that melts easily, in case the resistors get hot. In my situation I also had to cut some slots to fit the resistors.
LED diffusers
Last edited by slammer111; 11-29-2021 at 02:36 AM.
That�s awesome Slammer-it�s great to see some of us still posting upgrades, mods and dedication to our aging w203s! (Someday I�ll get Distronic to work!)
Did you end up putting in the OEM resistor pigtails? I did when I installed the new black look CHMSL and took care of some surface rust before it became an issue...I didn�t document the process - because it�s falling off a log simple. I installed (2x) a203-440-72-07 and all new related lighting parts...
Congrats! I bet it looks great at night!
(as for the bumper corner lights, seeing that not even DAS can turn them off...mine are...still on...just elsewhere.)
Thanks for the kind words. Yes I installed the resistor pigtails several years back. Before that, my aftermarket plate lights would only last a few weeks.
I really can't praise the 4000K LED colour enough. It really is that perfect. 6000K is good for the exterior as it is more stark, but is awful in the interior as the blue tinge makes it feel like a flashlight to the face. I liked the 4000K colour (pure white without the blue) so much that I even changed out the glove box and visor lights, which are barely ever used. Not to be confused with 4000-4200K headlights which are basically halogen yellow. It's almost like they use a different measurement system between headlights and interior bulbs.
Last edited by slammer111; 09-13-2022 at 06:51 AM.
 07-09-2012, 05:25 PM


 Mind if I add it to the wiki?


 It's Orion Blue (jaspisblau), paint code 345. Yes it's metallic.
 Almost double the price of the freaking plate bulbs. Sigh. Stuff in Canada is a freaking rip.

 For example, my R plate bulb with resistors worked fine until I also installed the L plate bulb or trunk cargo bulb. Other problems I encountered were that the bulbs wouldn't draw enough juice as the weather got colder (did a bit of research and it turns out all LEDs have a negative temperature coefficient), and sometimes would flicker when I hit the unlock button on the fob (guess the exterior lights draw too much current away from these circuits when flashing). All of these problems were solved by lowering the resistance values (ie increasing the current) on the affected circuits.