When you click on links to various merchants on this site and make a purchase, this can result in this site earning a commission. Affiliate programs and affiliations include, but are not limited to, the eBay Partner Network.
For what it is worth, I was having a lot of problems with my HID install. I used cambus ballasts but still had intermittent problems with them firing up. Solved the problem by making sure that the spade connections were super tight and then I did a secondary securing to make sure they wouldn't move at all. The spade connections that came with the kit were ok but I think there was just enough movement in them to have a very short loss of connection and that was enough to give me problems.
Doh! Problem solved! I was testing it without turning on the engine, just the ignition in the on position. Once I started the car, no problems. SKW, how is the cutoff on your car? My cutoff is horrible, it seems the passenger side angles up at the far right with a strong beam of light. It's also very cramped in the headlight housing after I stuffed everything in, hope things don't get overheated in there.
duh! that's right! Just installed and yes! up and running.
Strange that Morimoto tech support said they not support newest german cars...
Anybody knows part number for headlump access cover? Lost mine while playing with installation
Doh! Problem solved! I was testing it without turning on the engine, just the ignition in the on position. Once I started the car, no problems. SKW, how is the cutoff on your car? My cutoff is horrible, it seems the passenger side angles up at the far right with a strong beam of light. It's also very cramped in the headlight housing after I stuffed everything in, hope things don't get overheated in there.
Right side is a lil higher than the left in all US cars, DOT rules I believe for street signs.
Originally Posted by NickW
What did you guys do about the ground wire coming off of the error canceller? Blue wire in picture. Btw, great thread, helped a lot.
so, I finally worked up he courage and found the time to install the HiD. They work beautifully. It's not perfect but for practical use it's 100000000x better.
Few things: do the drivers side first. Easier to access and see how the clips work, impossible to find a ballast mount spot so if anyone has ideas please post! In terms of orientation of the bulb. I tried to outsmart the system and rotate the clip so that when I inserted the bulb the wire was down. No. don't do that. At least it didn't work for me. On prior posts there's an image. Basically the opening of the new clip goes on the same side as the rubber gasket on the bulb. Then insert the bulb. Doing it this way produced a nice beam while my original attempt put the light all over the place. Also, if you get the Morimoto xb bulbs make sure the euro adapter has a square opening not circular. TRS.com gave me both types on two different orders so just be sure, circular will not work. In addition I purchased 4500 and 5500k. I REALLY like the 5500k. It's very white, very minor hint of blue only at the cutoff when against a white building otherwise it's excellent. I haven't tried the 4500k but comparing it to the DRL, it's ever so slightly more white.
edit from below: anyone know how to change the side to side beam of the headlight? my right headlight projects too far left, it's very evident with only the right light on (which is how I noticed it). I can see the up/down hex screw but nothing else.
Do you guys think it would fit into the headlamp of the standard ML (halogen)?
Check the last pictures which gives instructions about fitting the bulbs.
Do you guys think it would fit into the headlamp of the standard ML (halogen)?
Check the last pictures which gives instructions about fitting the bulbs.
That looks like it will fit, since its only 35 watts, you will need an error cancelator.
I've installed mine using morimoto kits from AZN and the same adapter brackets, but somehow mine looks like this after rotating... It definitely feels locked in and I also feel the click by hand, but one "ear" is not in there. Both sides look like this =/
If I rotate it more, the left "ear" would just go beyond and fall out, but if I leave it as is, the right "ear" would just hang in the air like this.
I'm running it like this for now and checking it once every couple of days being afraid that the bulb might fall out. Please help me! Thanks in advance.
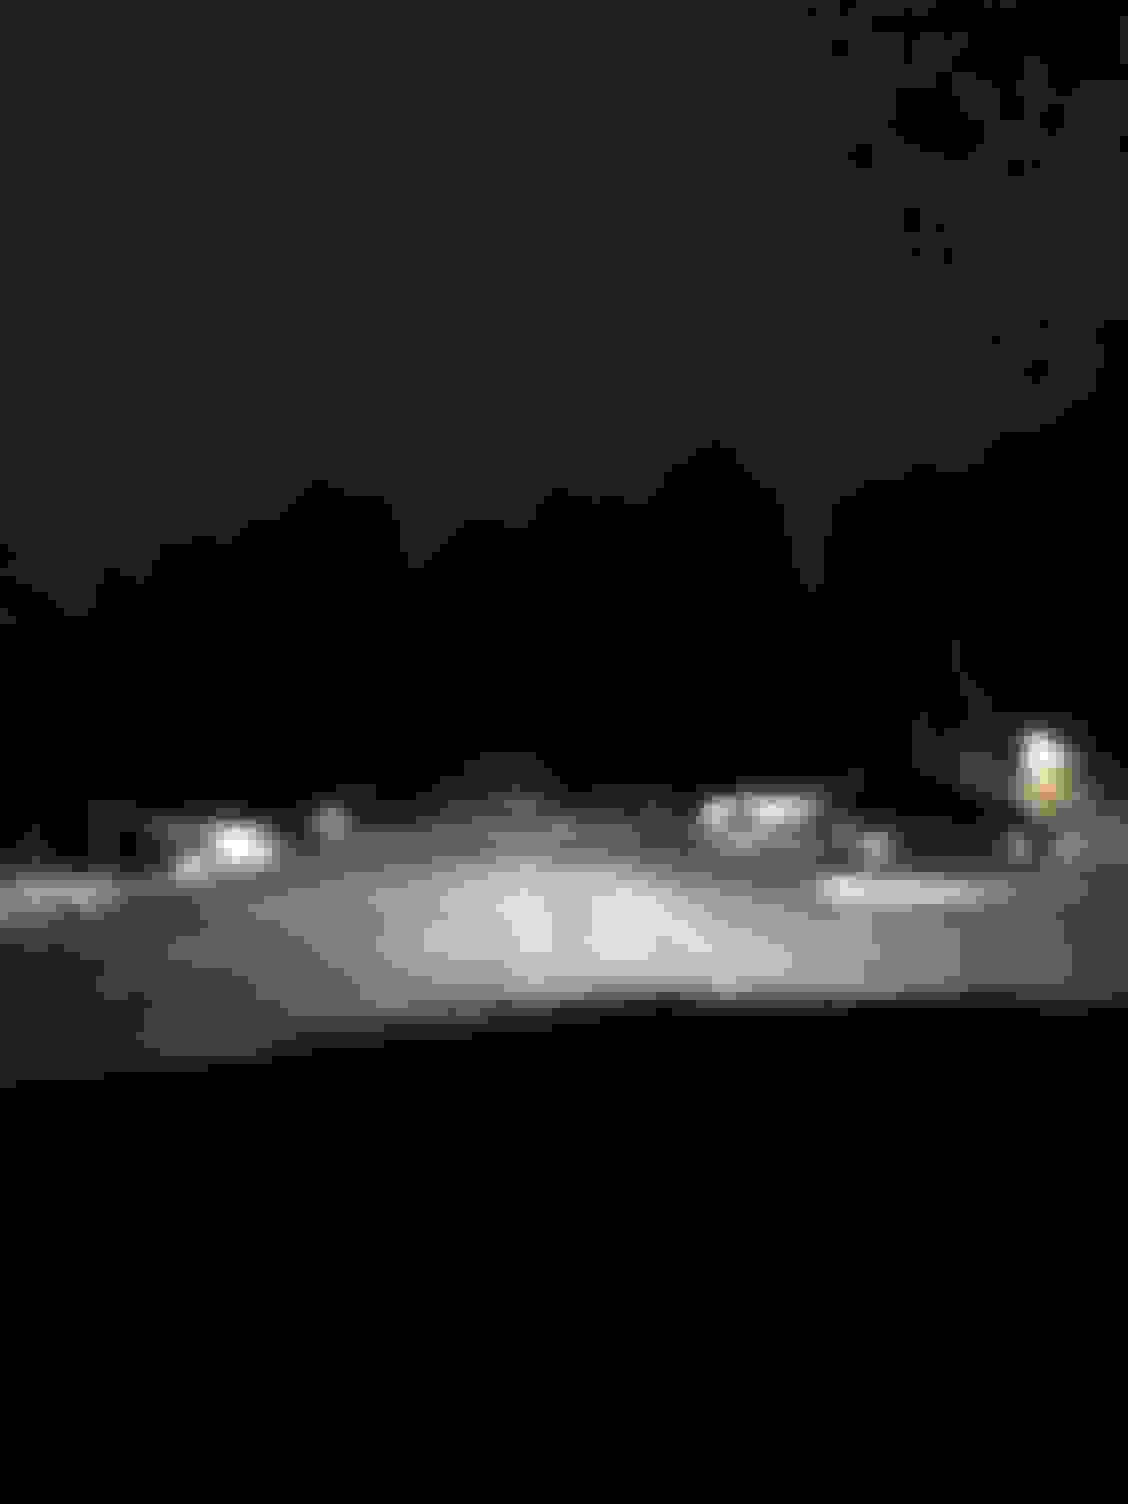
[QUOTE=skw;6714287]This is the Morimoto kit from AZN Optics, 35W, 4500K. Excellent customer service, fast shipping, and solid/well put together parts as well as packaging. These night pics were taken approx 8' from the garage door, the cut off is about 35" off the ground. My driveway dips a lil beyond that so it's not level at 10' away. Pics are from my LG phone. 1st one is just regular, 2nd one was on night mode. Not sure how I feel about the beam pattern/shape, keeping in mind this is in a housing designed for a halogen bulb. Initially, the driver's side looked a touch blue while the passenger side was straight white. Now they look almost even. Left on auto, in daylight going into a mall garage they came right on, later at night shopping and out to dinner, no dimming nor flickering. They do match the LED's right below them. Big improvement in color and brightness from stock but not the same as my BMW w/ factory xenons. I'm happy for now. Next up will be changing out the orange side marker light and turn signals.
--- did the same upgrade - what a difference !!!! Here are a few tips for 2015 W166:
1) An error free kit purchased from AZN Optics - the Hylux ballast /Morimoto h7 bulbs (new model, smaller bulbs) kit
Contact aznoptics@gmail.com prior to purchase to make sure the correct kit is selected. Purchase h7 bulb clips from AZN Opitcs as well - do not get them off ebay or amazon they have old design which will not work with the new smaller bulb
I chose the 6500K color because the originally ordered 5500k was noticeably greenish and did not match the running lights. The 6500k are an exact match to the factory running leds.
Prior to contacting AZN i reached out to retrofit source but did not get an answer until 10 days later. Their outdated website does not even list w166 as a model! .
On the contrary, Michael @ AZN Optics provided excellent customer service starting from pre-purchase advice to an exchange later on.
2) I purchased set of used dust covers on EBAY in case i need to undo the HIDs for whatever reason. Dealer wants $40 per cover, . MB part number: 000-826-81-24 OR 158-222-00 (same covers as for E class), drill it with a step-drill and install the provided wire grommet)3) mount the ballast and error module using Velcro and zip ties.
Make sure your test the light while you have dust covers off to correct possible dark spots or uneven light output (helps if you park in front of a wall or garage door and mark the cutoff of the original halogen lights prior to replacement. Ensure that your cutoff is clean before closing the dust covers as well.
I hope this helps.


 07-23-2016, 08:28 PM