When you click on links to various merchants on this site and make a purchase, this can result in this site earning a commission. Affiliate programs and affiliations include, but are not limited to, the eBay Partner Network.
13 ml 350 palladium silver, 14 grand cherokee overland hemi
Aftermarket HID problem solved!
Hey all. I was sick and tired. Of looking at retrofits and led bulbs and such. The wife refused to get the lighting package. I snuck in an hid kit that was suggested by a local shop that is considered a guru on hid planet. I was skeptical but he assured me that he used this on newer ml s. Installed today. Took about an hour with vehicle on buddies lift and front tires off. I'll try to grab some other pics at night, but I want to see if she says anything about them being brighter to rule out My placebo effect. See below for them on , auto. I tested. On auto with foot. On brake in reverse. No flicker, strobe, light going out, or bulb error. Since I believe I can't post info I can reply to your pm if you are interested.
13 ml 350 palladium silver, 14 grand cherokee overland hemi
This is a 13 ml350 without lighting package. I went with Hylux canbus and morimoto h7 (pain in ***** to make work with adapter) definitely order the adapter rings for Mercedes.
13 ml 350 palladium silver, 14 grand cherokee overland hemi
Originally Posted by yurygudonis
nice! could you please list all components, including links?
is it one man weekend job or specific tools and skills required?? thx!
Sure if it's allowed on here.
Ballasts.. http://www.lightwerkz.net/index.php/components/hid-ballasts/35w-2a88-hylux-canbus-ballasts.html
Bulbs ( I chose 4500k)
http://www.lightwerkz.net/index.php/components/hid-bulbs/morimoto-xb-h7-bulbs.html
I'd suggest then h7 euro adapters... I used the stockers and they will be getting changed https://www.theretrofitsource.com/accessories/euro-h7-hid-bulb-adapter-48773.html#.Vq-rrJ9OnqA
Then guys at lightwerkz were awesome! Very helpful. Definitely get in touch with them.
Was very easy not many tools needed. Basic shop tools . Took about an hour on a lift with wheels off going through access panel... Probably 2 hours in you just turn the wheels to get to hatches.
This is a 13 ml350 without lighting package. I went with Hylux canbus and morimoto h7 (pain in ***** to make work with adapter) definitely order the adapter rings for Mercedes.
How did you get the Morimoto bulbs to seat properly? I even ordered the adaptors (http://store.ijdmtoy.com/Audi-BMW-Me...s-p/aa1047.htm) and still not even close to sitting right. The metal clip needs to be right against the bottom of the metal part of the H7 bulb. The round shape of the Morimoto bulb seems to make this nearly impossible.
13 ml 350 palladium silver, 14 grand cherokee overland hemi
I had to use the stock retainers because i did know they had adapters until after. On the stock ones i bent out the tabs that run along the stock h7 plugs. I pushed in until it was snug once bulb is in it holds retainer against bulb. It very easy to see in when on a lift. A re you doing this on a lift?
I had to use the stock retainers because i did know they had adapters until after. On the stock ones i bent out the tabs that run along the stock h7 plugs. I pushed in until it was snug once bulb is in it holds retainer against bulb. It very easy to see in when on a lift. A re you doing this on a lift?
No, not on a lift. With the wheel turned at complete lock, I can see and reach easily into the headlight housing. I also have a spare W166 headlight from my old ML350 that I'm test fitting everything on a table top. Of course confirmed that it's the same as in my new GLE.
13 ml 350 palladium silver, 14 grand cherokee overland hemi
Originally Posted by skw
No, not on a lift. With the wheel turned at complete lock, I can see and reach easily into the headlight housing. I also have a spare W166 headlight from my old ML350 that I'm test fitting everything on a table top. Of course confirmed that it's the same as in my new GLE.
The retainer with the bulb pushes in and twists like the h7. Snug fit.
Was the base of the HID bulb you used round shaped? It was suggested to try the adaptors used for the BMW e39's (which I used to have as well) so I just ordered those. In the process of seeing if it's possible to cutaway at the adaptors I bought to see if I can get them around the round bottom of the Morimoto bulb.
13 ml 350 palladium silver, 14 grand cherokee overland hemi
Originally Posted by skw
Was the base of the HID bulb you used round shaped? It was suggested to try the adaptors used for the BMW e39's (which I used to have as well) so I just ordered those. In the process of seeing if it's possible to cutaway at the adaptors I bought to see if I can get them around the round bottom of the Morimoto bulb.
Does your bulb come apart at the base with a plug?
Yes. Bulb pulls off by itself, and then the metal clip can come off of the plug. Playing around with it more on the bench, I see what you mean by bending the part that would normally sit against the base of the regular H7. Think I got it in on the spare headlight. Now time to go try it outside...
13 ml 350 palladium silver, 14 grand cherokee overland hemi
Originally Posted by skw
Yes. Bulb pulls off by itself, and then the metal clip can come off of the plug. Playing around with it more on the bench, I see what you mean by bending the part that would normally sit against the base of the regular H7. Think I got it in on the spare headlight. Now time to go try it outside...
That looks about right. A little elbow grease and some fiddling.
Elbow grease and fiddling indeed but they're in. Gotta wait till night fall for some pics. Thanks for your help! As an FYI, I had to remove the orange brackets from the ballasts to get them to fit into the headlight housing.
How did you get the Morimoto bulbs to seat properly? I even ordered the adaptors (http://store.ijdmtoy.com/Audi-BMW-Me...s-p/aa1047.htm) and still not even close to sitting right. The metal clip needs to be right against the bottom of the metal part of the H7 bulb. The round shape of the Morimoto bulb seems to make this nearly impossible.
I had this exact same problem and is part of the reason why I haven't installed it in my 16GLE. I emailed retrofit source because they actually sell rings like this however I read on a post to not use the factory ones because they can only be found on a whole stock headlight unit so if you mess up you're screwed. They sent me the picture below. Their rings have a cut in them to allow the wires and then you actually have to modify the inside of the ring to fit the round shape. It makes sense but never occurred to me originally. Might need to borrow/buy a dremel and eye protection for this.
I used the adaptor on one and the factory clip on the other headlight. Both went in the same and sit against the bottom of the round part of the new bulb. The bulb stays still while you turn the metal clip in place.
Originally Posted by nvsocr7
I had this exact same problem and is part of the reason why I haven't installed it in my 16GLE. I emailed retrofit source because they actually sell rings like this however I read on a post to not use the factory ones because they can only be found on a whole stock headlight unit so if you mess up you're screwed. They sent me the picture below. Their rings have a cut in them to allow the wires and then you actually have to modify the inside of the ring to fit the round shape. It makes sense but never occurred to me originally. Might need to borrow/buy a dremel and eye protection for this.
13 ml 350 palladium silver, 14 grand cherokee overland hemi
Originally Posted by skw
I used the adaptor on one and the factory clip on the other headlight. Both went in the same and sit against the bottom of the round part of the new bulb. The bulb stays still while you turn the metal clip in place.
Mine bulb wasn't round like in that pic. It had almost same footprint as h7 except rounded a little.
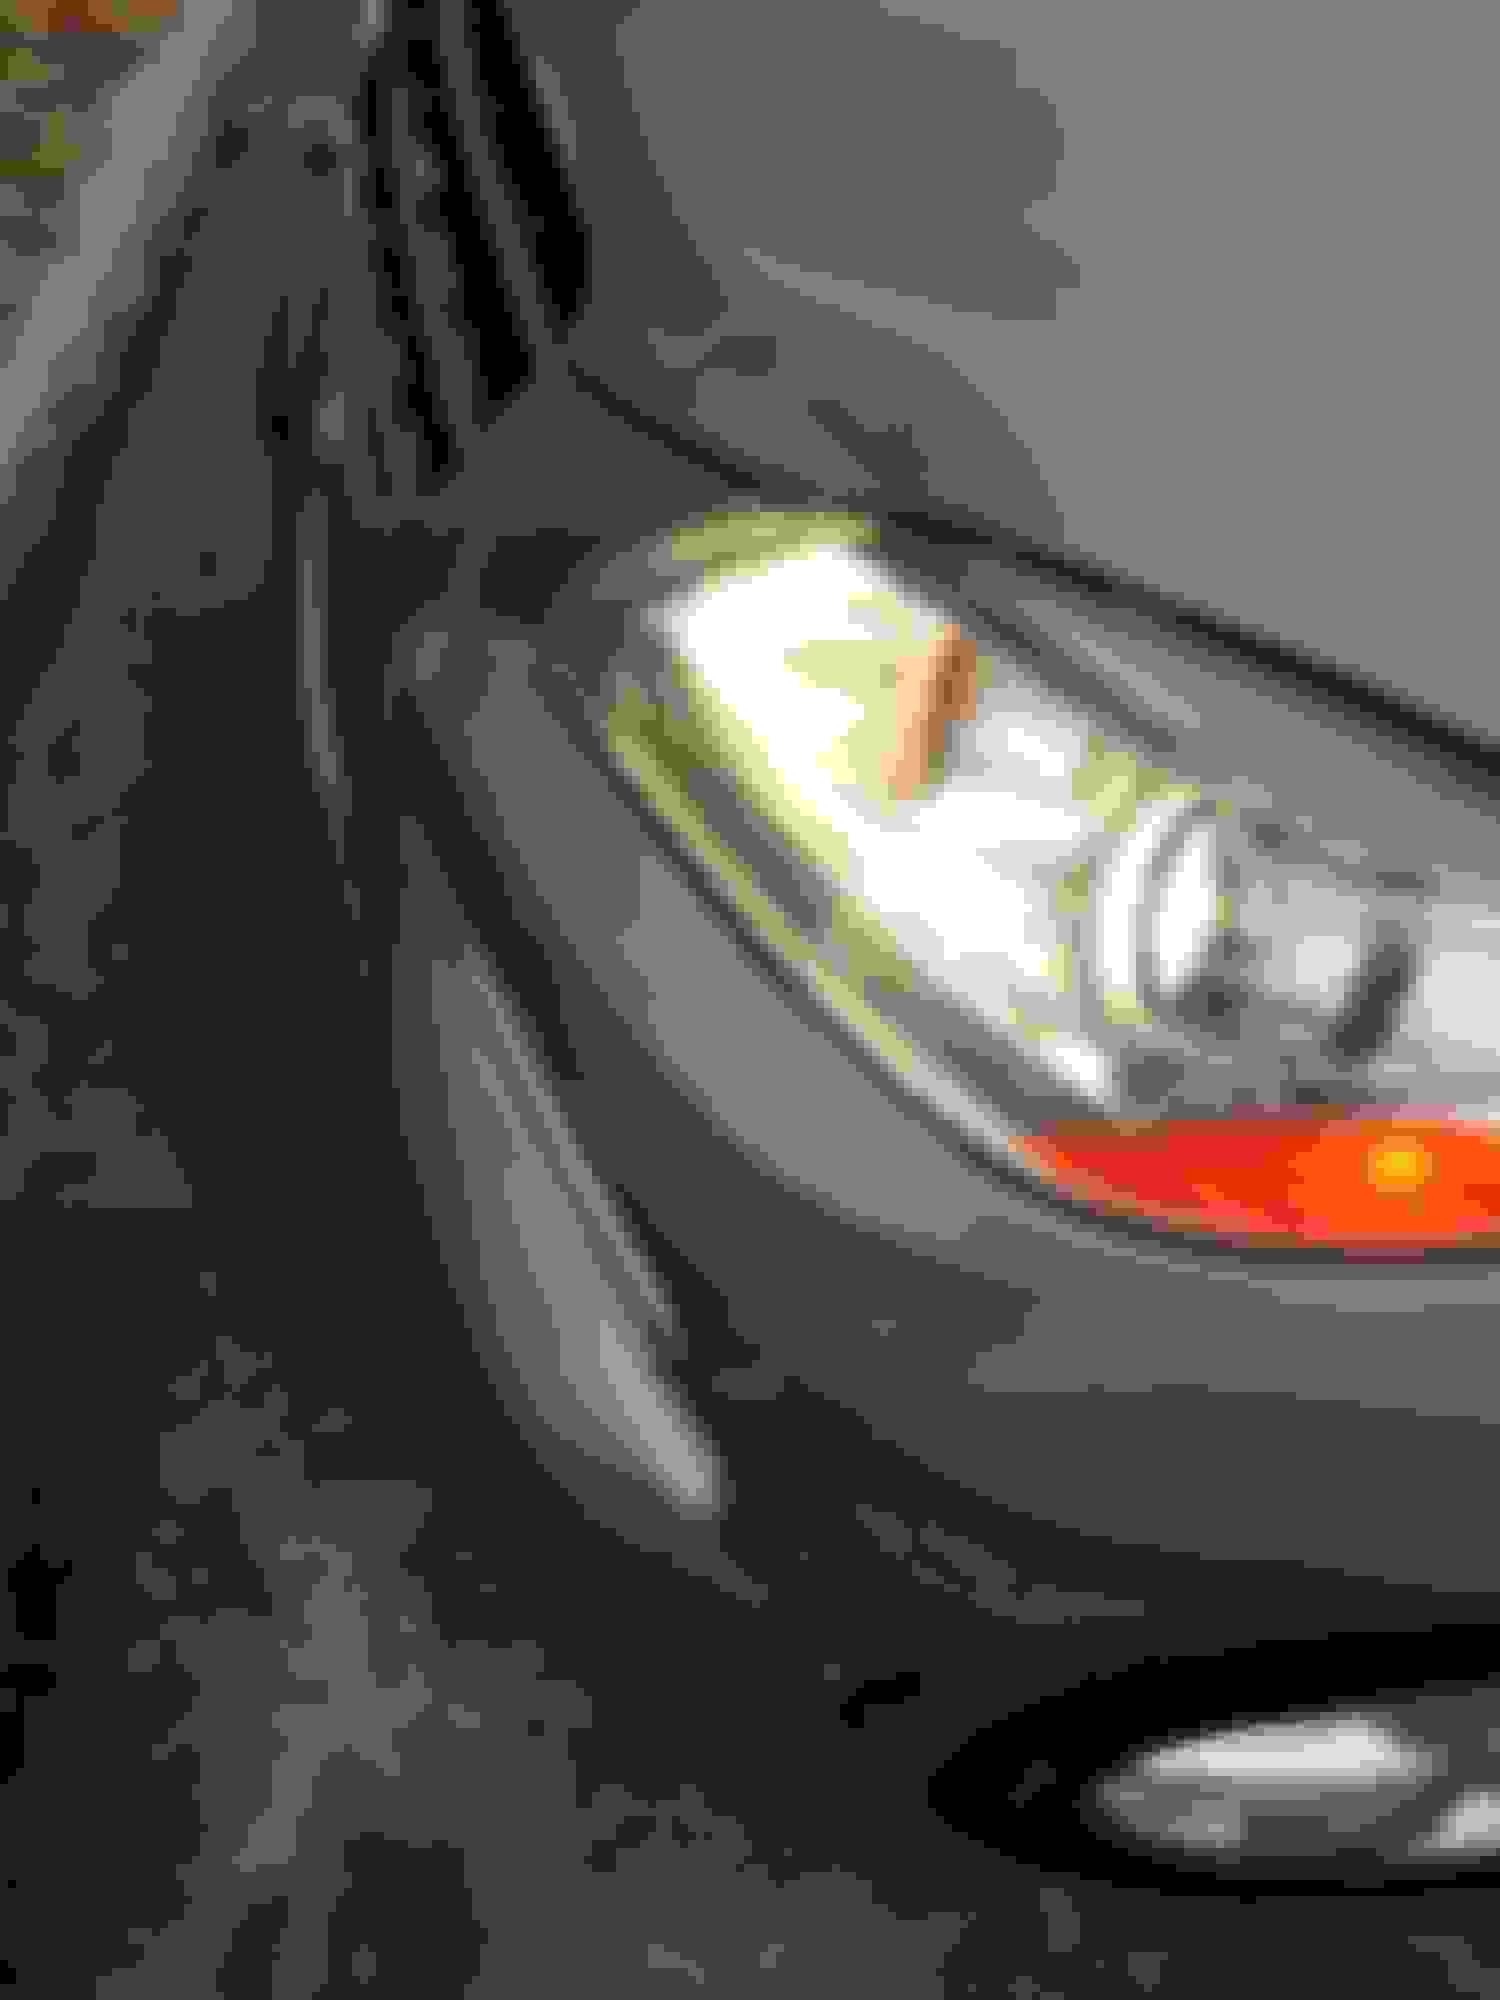
This is the Morimoto kit from AZN Optics, 35W, 4500K. Excellent customer service, fast shipping, and solid/well put together parts as well as packaging. These night pics were taken approx 8' from the garage door, the cut off is about 35" off the ground. My driveway dips a lil beyond that so it's not level at 10' away. Pics are from my LG phone. 1st one is just regular, 2nd one was on night mode. Not sure how I feel about the beam pattern/shape, keeping in mind this is in a housing designed for a halogen bulb. Initially, the driver's side looked a touch blue while the passenger side was straight white. Now they look almost even. Left on auto, in daylight going into a mall garage they came right on, later at night shopping and out to dinner, no dimming nor flickering. They do match the LED's right below them. Big improvement in color and brightness from stock but not the same as my BMW w/ factory xenons. I'm happy for now. Next up will be changing out the orange side marker light and turn signals.
This is the Morimoto kit from AZN Optics, 35W, 4500K. Excellent customer service, fast shipping, and solid/well put together parts as well as packaging. These night pics were taken approx 8' from the garage door, the cut off is about 35" off the ground. My driveway dips a lil beyond that so it's not level at 10' away. Pics are from my LG phone. 1st one is just regular, 2nd one was on night mode. Not sure how I feel about the beam pattern/shape, keeping in mind this is in a housing designed for a halogen bulb. Initially, the driver's side looked a touch blue while the passenger side was straight white. Now they look almost even. Left on auto, in daylight going into a mall garage they came right on, later at night shopping and out to dinner, no dimming nor flickering. They do match the LED's right below them. Big improvement in color and brightness from stock but not the same as my BMW w/ factory xenons. I'm happy for now. Next up will be changing out the orange side marker light and turn signals.
Can you take some night pics on a dark road for distance? I wonder how they stack up when you actually use them. Also. You did this on your 2016 gle right? No errors or anything?
Can you take some night pics on a dark road for distance? I wonder how they stack up when you actually use them. Also. You did this on your 2016 gle right? No errors or anything?
I'll try to find a dark road w/o street lights for more pics. And yes, on the GLE, no errors thus far.
I'll try to find a dark road w/o street lights for more pics. And yes, on the GLE, no errors thus far.
Awesome! Gives me hope that mine will work. I'm still not understanding how the euro adapter fits on the bulb then into the socket. I have the new H7 bulbs that have a round base so the clip expands when you push it all the way up.
If you look at my 2nd pic in post 7 as well as the pic in post 13, you'll see that the metal ring/clip sits against the bottom of the round part of the new bulb. I think you might be doing as I originally was and trying to get it to fit over that round part. When installing, carefully put the bulb into place, then you can use the factory piece or the adapter to press against the round part holding it in place. The tabs of the metal ring then get rotated into place. It's a bit hard to see the whole thing just looking from under the wheel well. The other poster had his up on a lift and I'm guessing with the wheel removed so he had a clear view. I have a spare headlamp unit from my ML so I could see exactly how it went and even test fit everything before actually putting them into the GLE.
If you look at my 2nd pic in post 7 as well as the pic in post 13, you'll see that the metal ring/clip sits against the bottom of the round part of the new bulb. I think you might be doing as I originally was and trying to get it to fit over that round part. When installing, carefully put the bulb into place, then you can use the factory piece or the adapter to press against the round part holding it in place. The tabs of the metal ring then get rotated into place. It's a bit hard to see the whole thing just looking from under the wheel well. The other poster had his up on a lift and I'm guessing with the wheel removed so he had a clear view. I have a spare headlamp unit from my ML so I could see exactly how it went and even test fit everything before actually putting them into the GLE.
Ohh so it works more by pressure in a way? At one point I thought thats how it was supposed to work but then theretrofitsource where I got my parts from showed me the picture of the metal ring being dremeled out to match the shape of the bulb
Ohh so it works more by pressure in a way? At one point I thought thats how it was supposed to work but then theretrofitsource where I got my parts from showed me the picture of the metal ring being dremeled out to match the shape of the bulb
Install your kit yet? No dremel needed. Happy to report no issues over the past few weeks. Still haven't had time to try the e39 adaptor yet. Only have 1 night pic but headlights are on on both cars. GLE on the right, BMW on the left.

 01-28-2016 | 05:45 PM