When you click on links to various merchants on this site and make a purchase, this can result in this site earning a commission. Affiliate programs and affiliations include, but are not limited to, the eBay Partner Network.
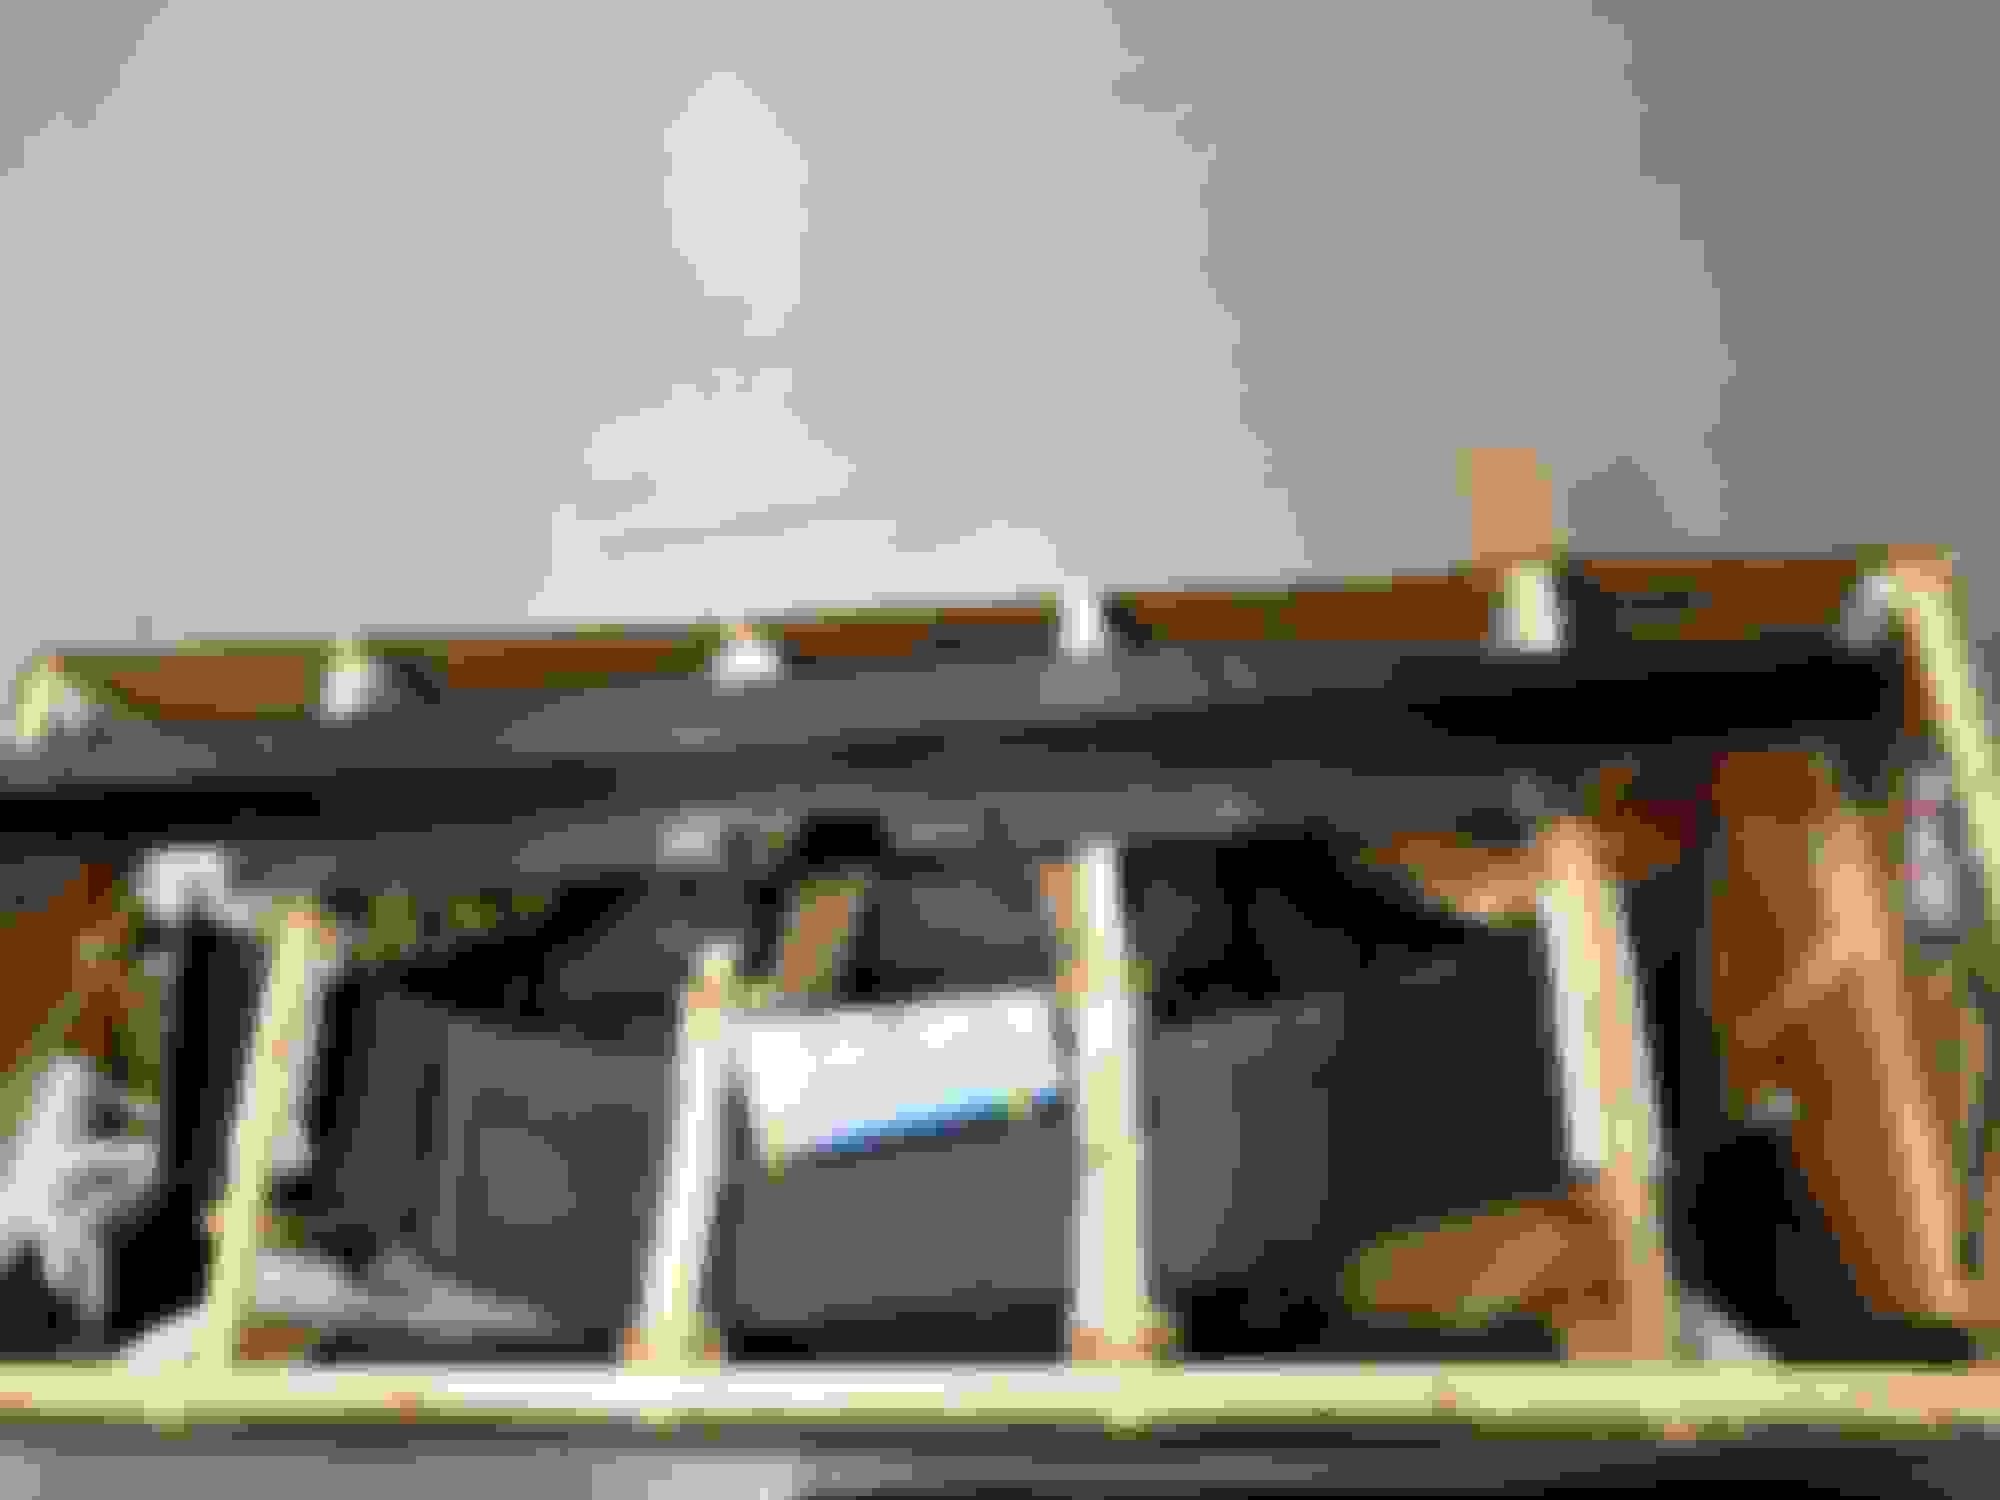
Got my box full of my goodies from TBT carbon. Initial impression is good, quality looks very good no uneven clear or dirt under the coat. The weave looks great. Will install this weekend and i will let you know how the fit is... Dont have to worry about the spoiler disable because mine came from the factory with a wing, which I'm going to sell off. Wife said cannot store the parts LOL...
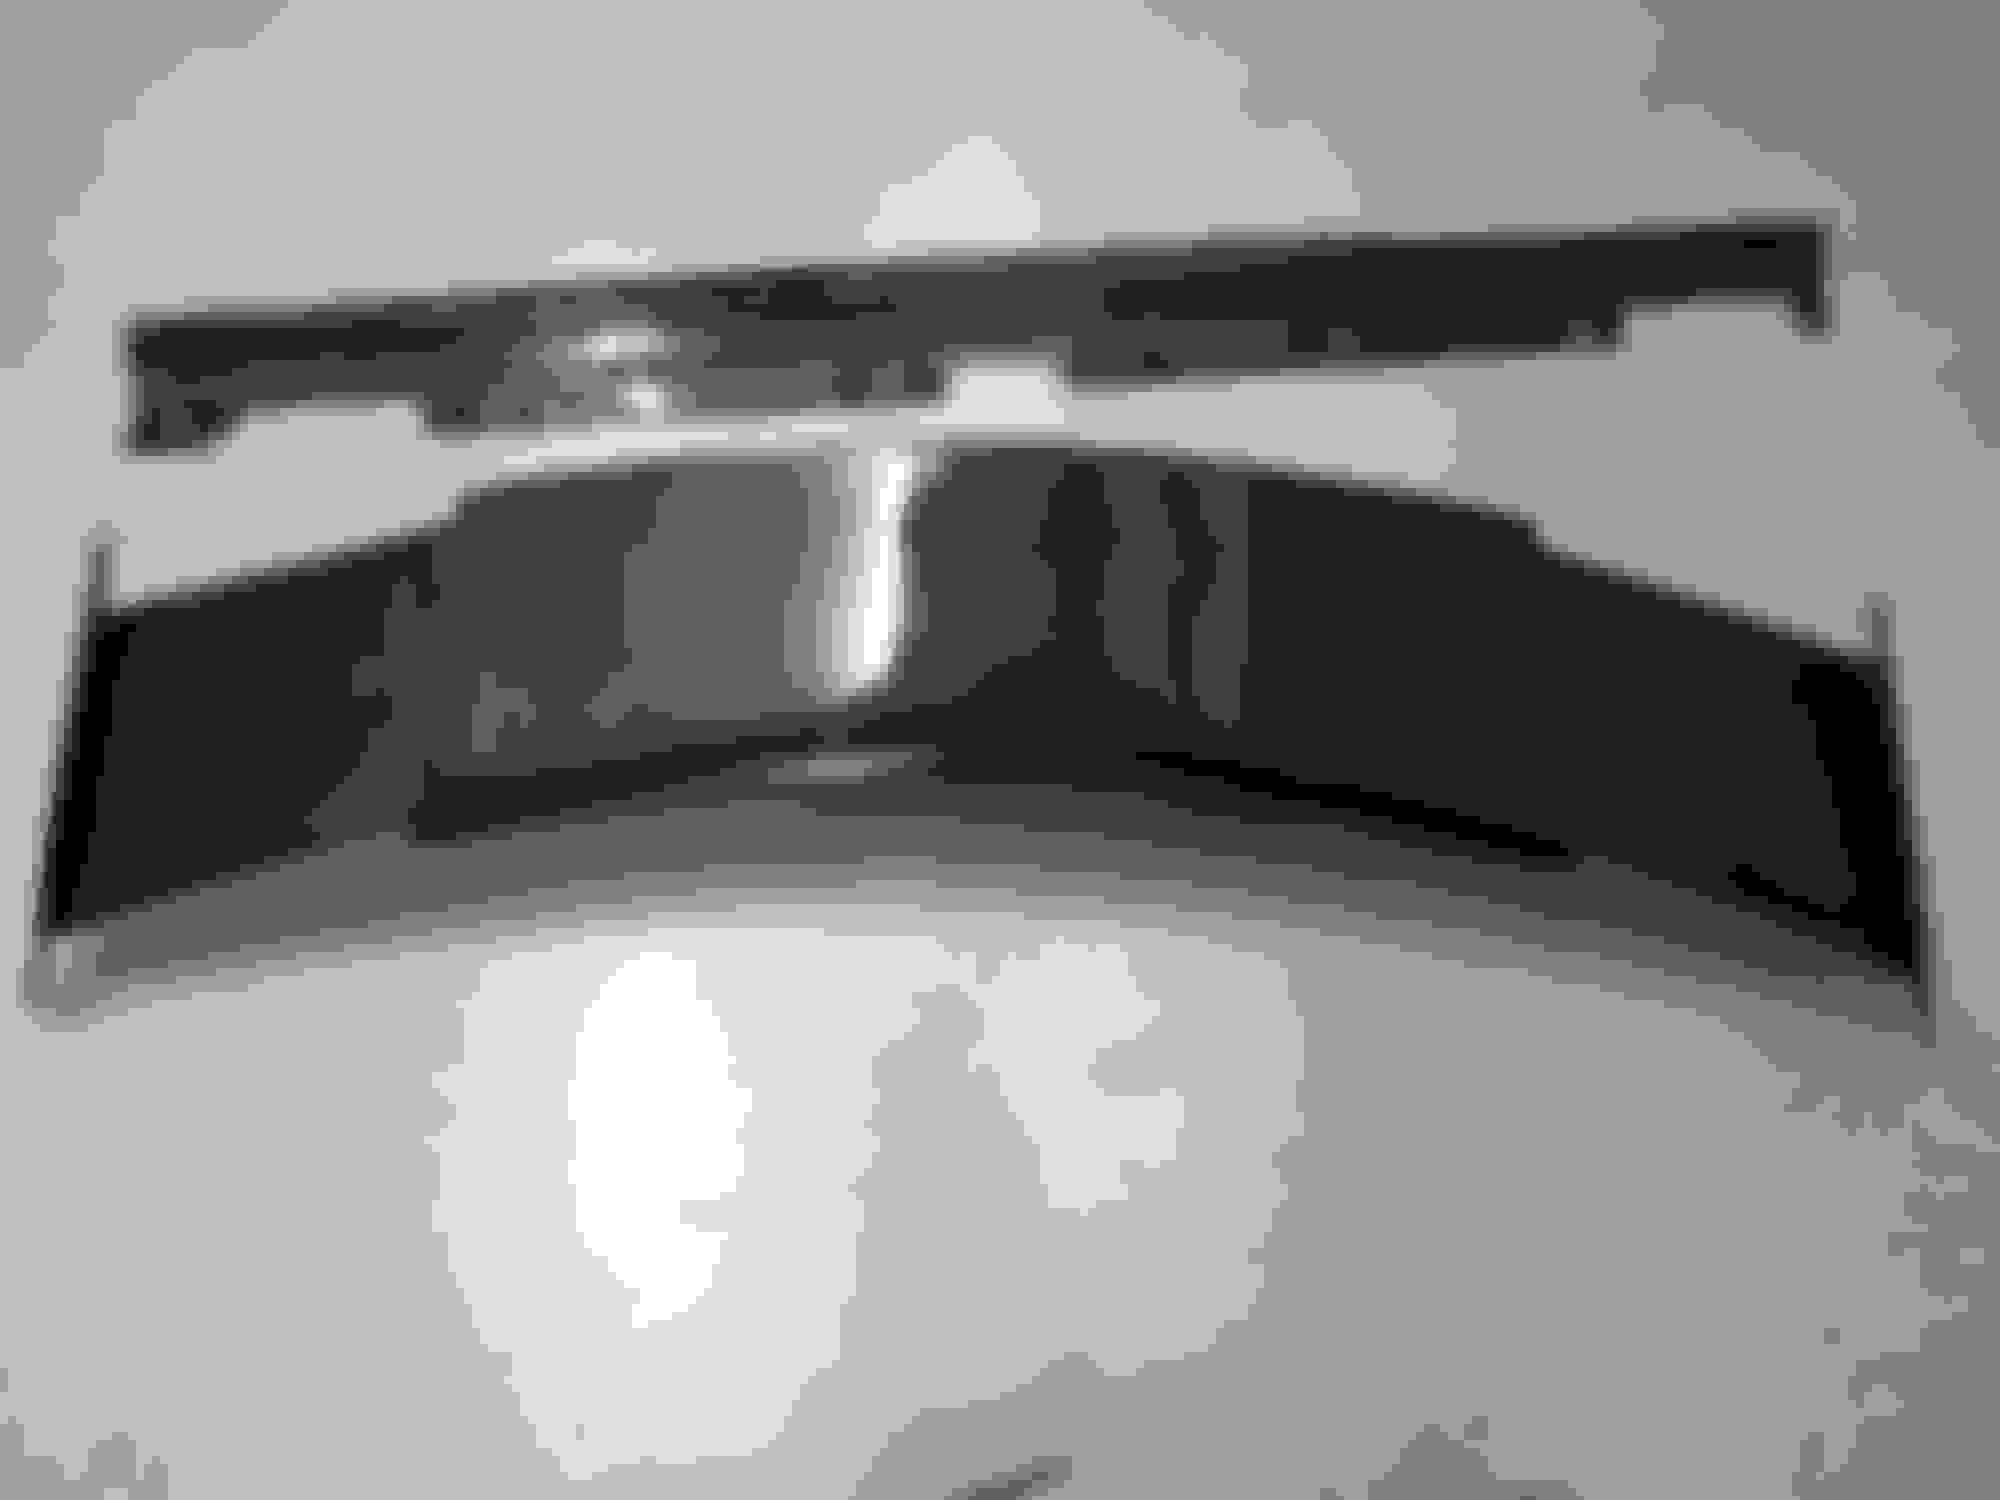
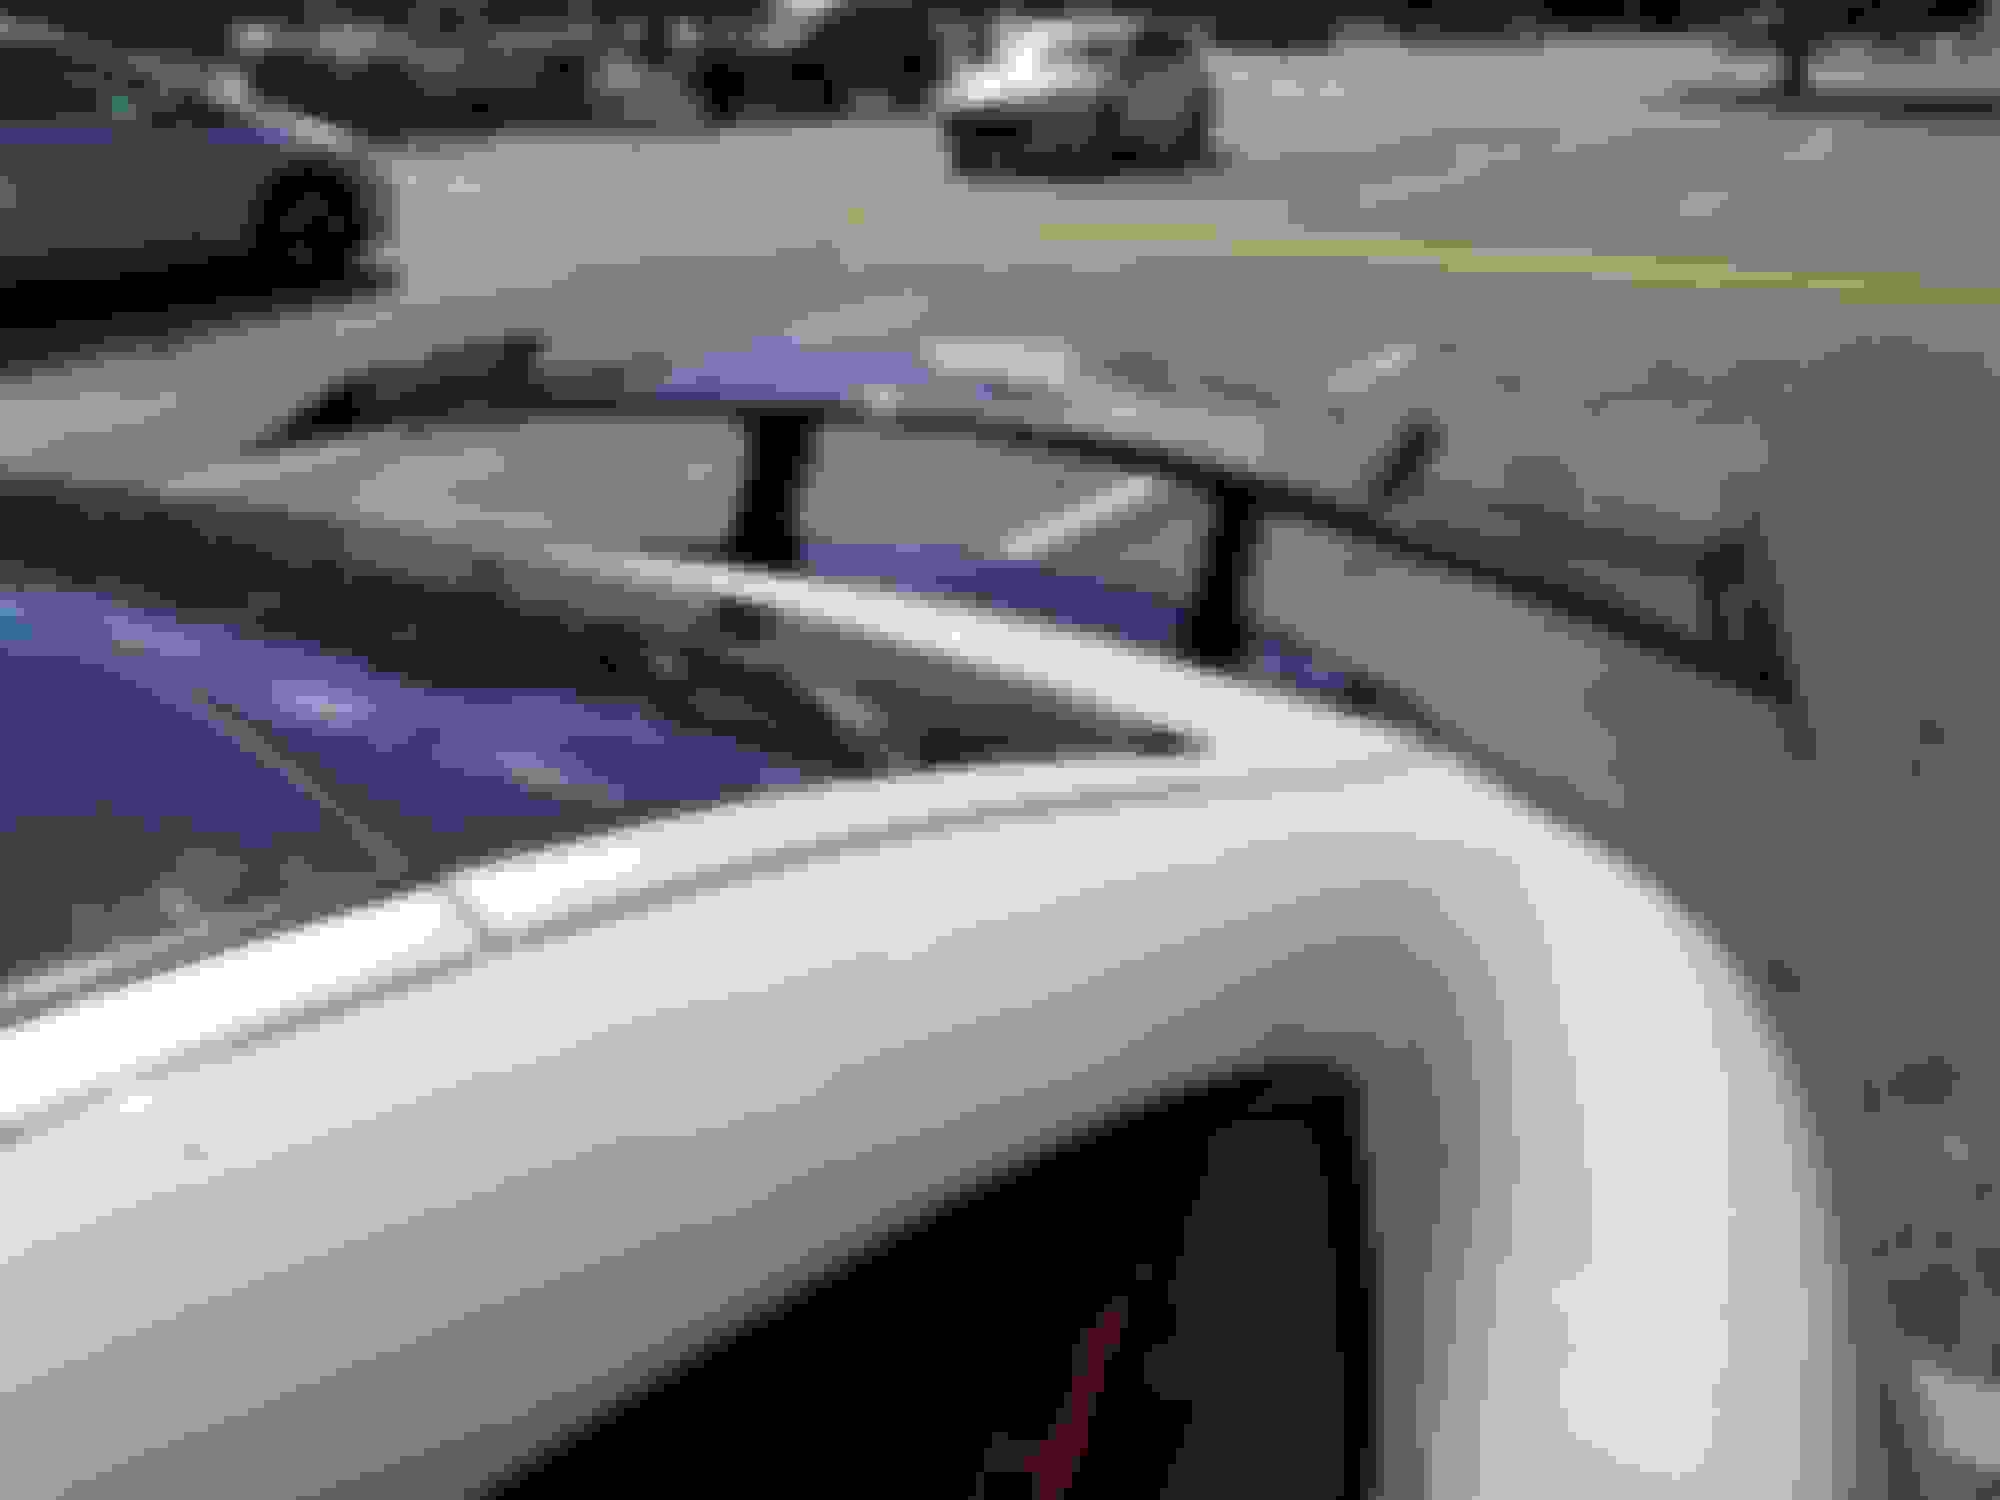
Well I started on Saturday the install with the wing, I'm lucky because since my GTS came with the factory aeros package I did not have to deal with the motor. Removal we straight forward, I was not expecting to encounter double sided tape on the ends of the OEM wing but it was nothing major. The pictures below show what my hatch looks like once I removed the OEM wing and a shot of the tape. The Wing came with a handy 8MM tool which was long and had a T handle on it to facilitate removal of the nuts. I did use a bungee to hold the hatch in a level position to prevent the nuts from fall into the hatch. The wing also came with a large tube of RTV clear silicone and actual instructions book. It was pretty straight forward as I mentioned but a nice add. I applied a erogenous bead around the location of the OEM seal and around all the stand off holes as indicated in the instructions.
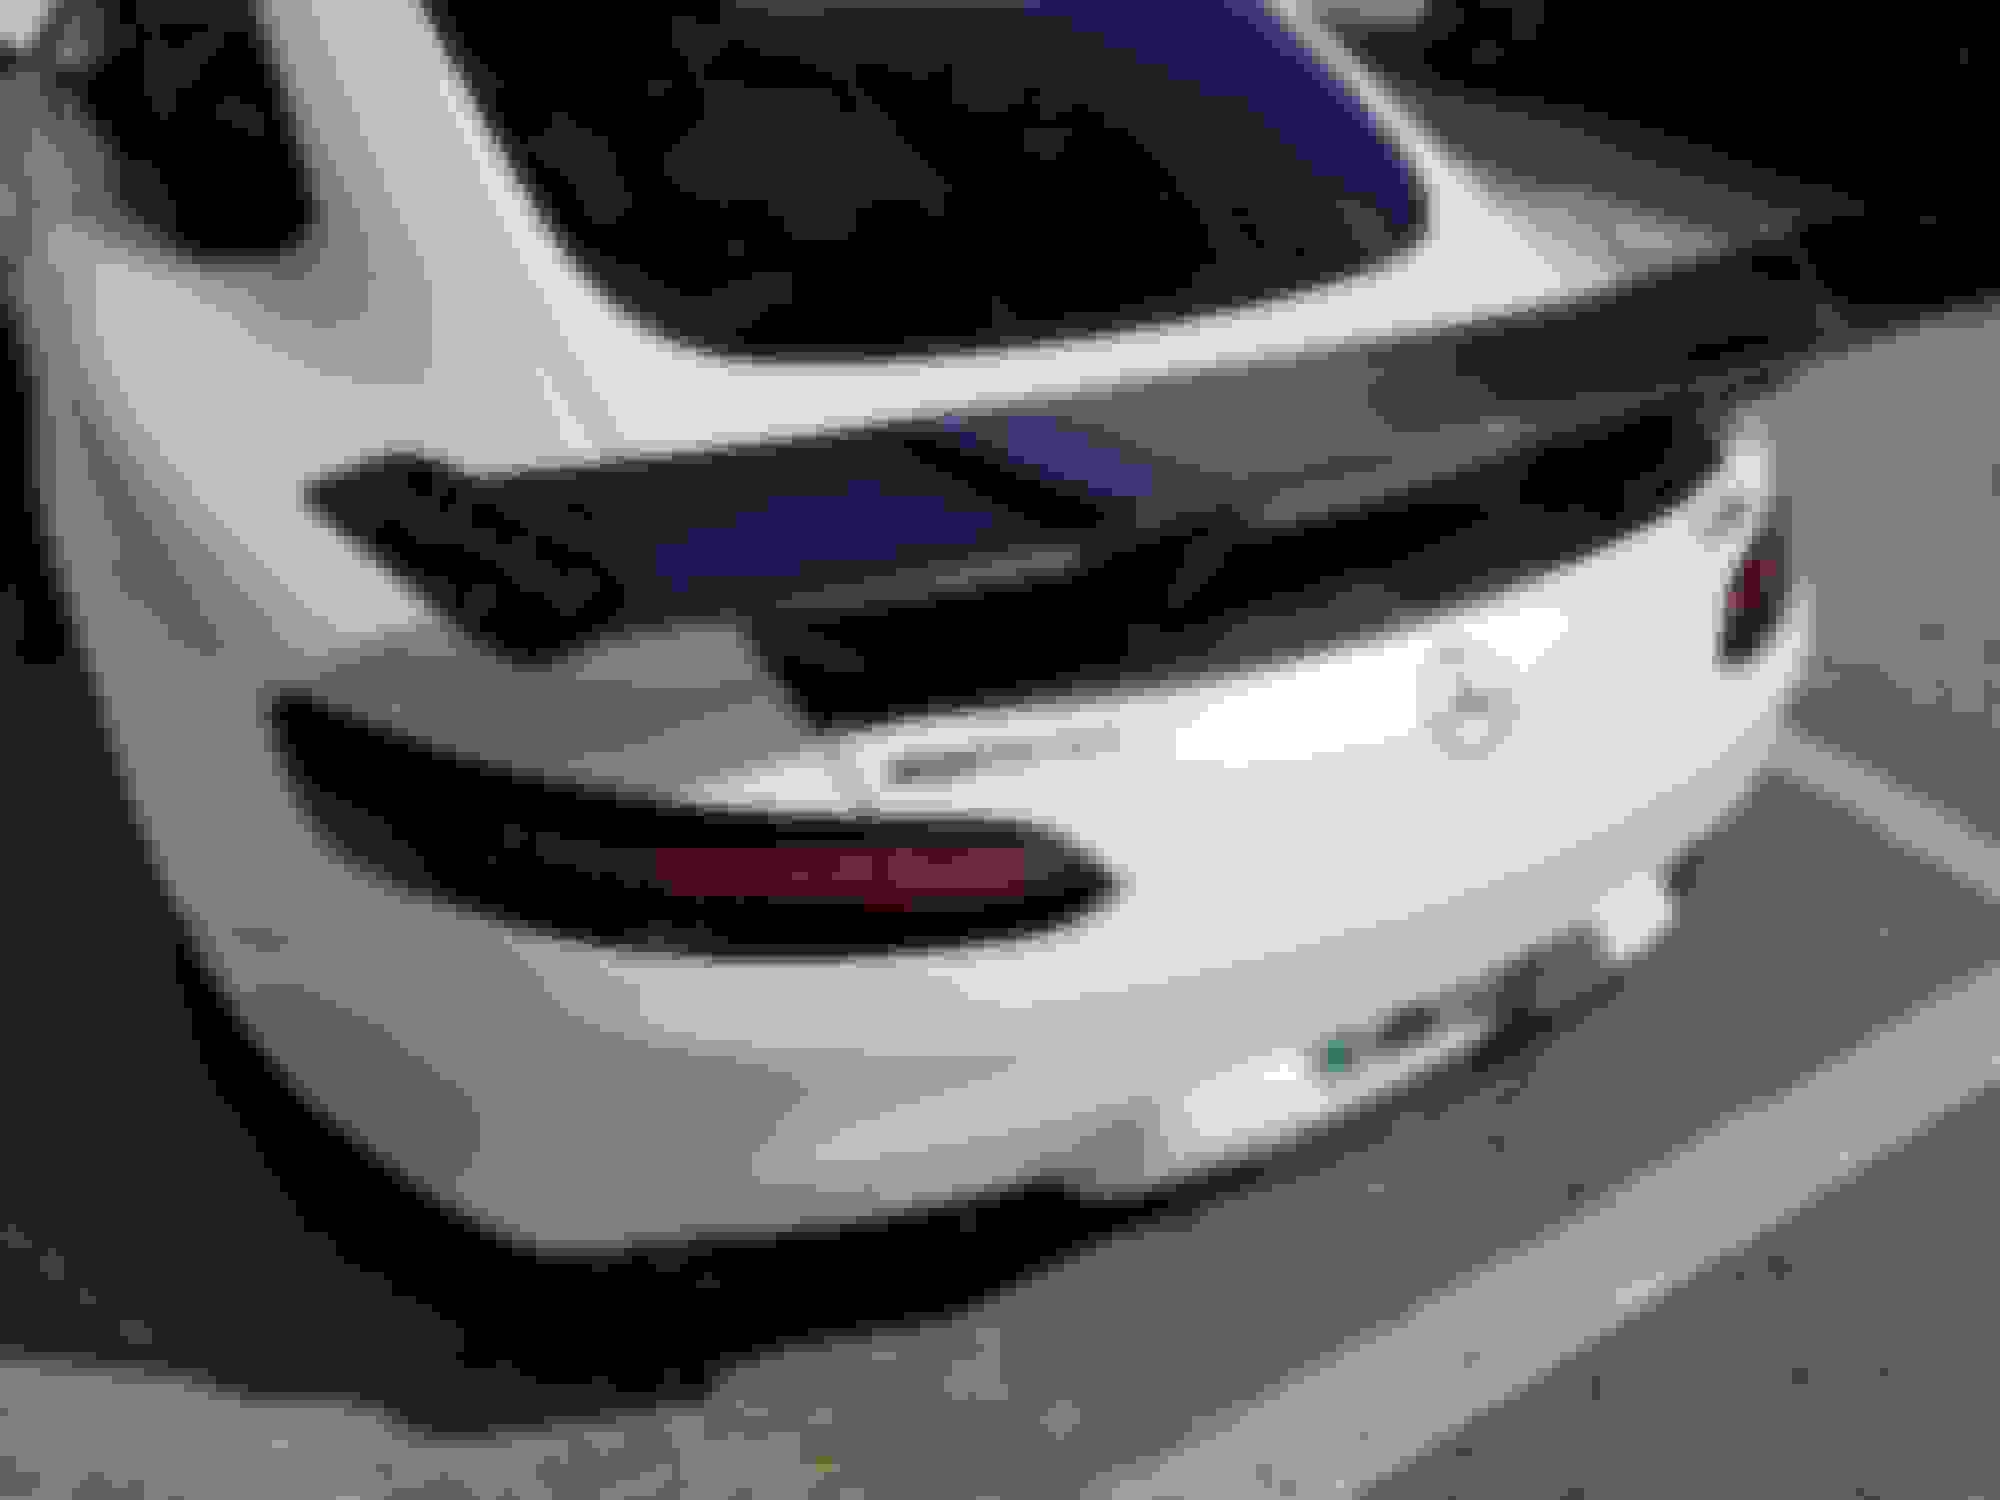
The fit of the wing base was OK, it was tight but not so much so that it required any modification. Since I had no motor it was a matter of tightening the nuts equally a little at a time till I had a nice solid even seating. I made sure to look for signs of Silicon around the seal of the base under the hatch just to make sure. NOTE: for those with a motor the wing did come with two nifty plugs for the drain hoses. Also the method for getting around the CEL that was noted in the instructions is the same that has been posted on here which is to retain the motor just an FYI. The quality seems par with all the other CF wings I have seen at the shows, one thing that I am on the fence about that I'm not sure if I like yet is the base being CF. I kind like it better if it were painted the same color as the body... may be it will grow on me if not I'll take it off and send the base off to be painted.
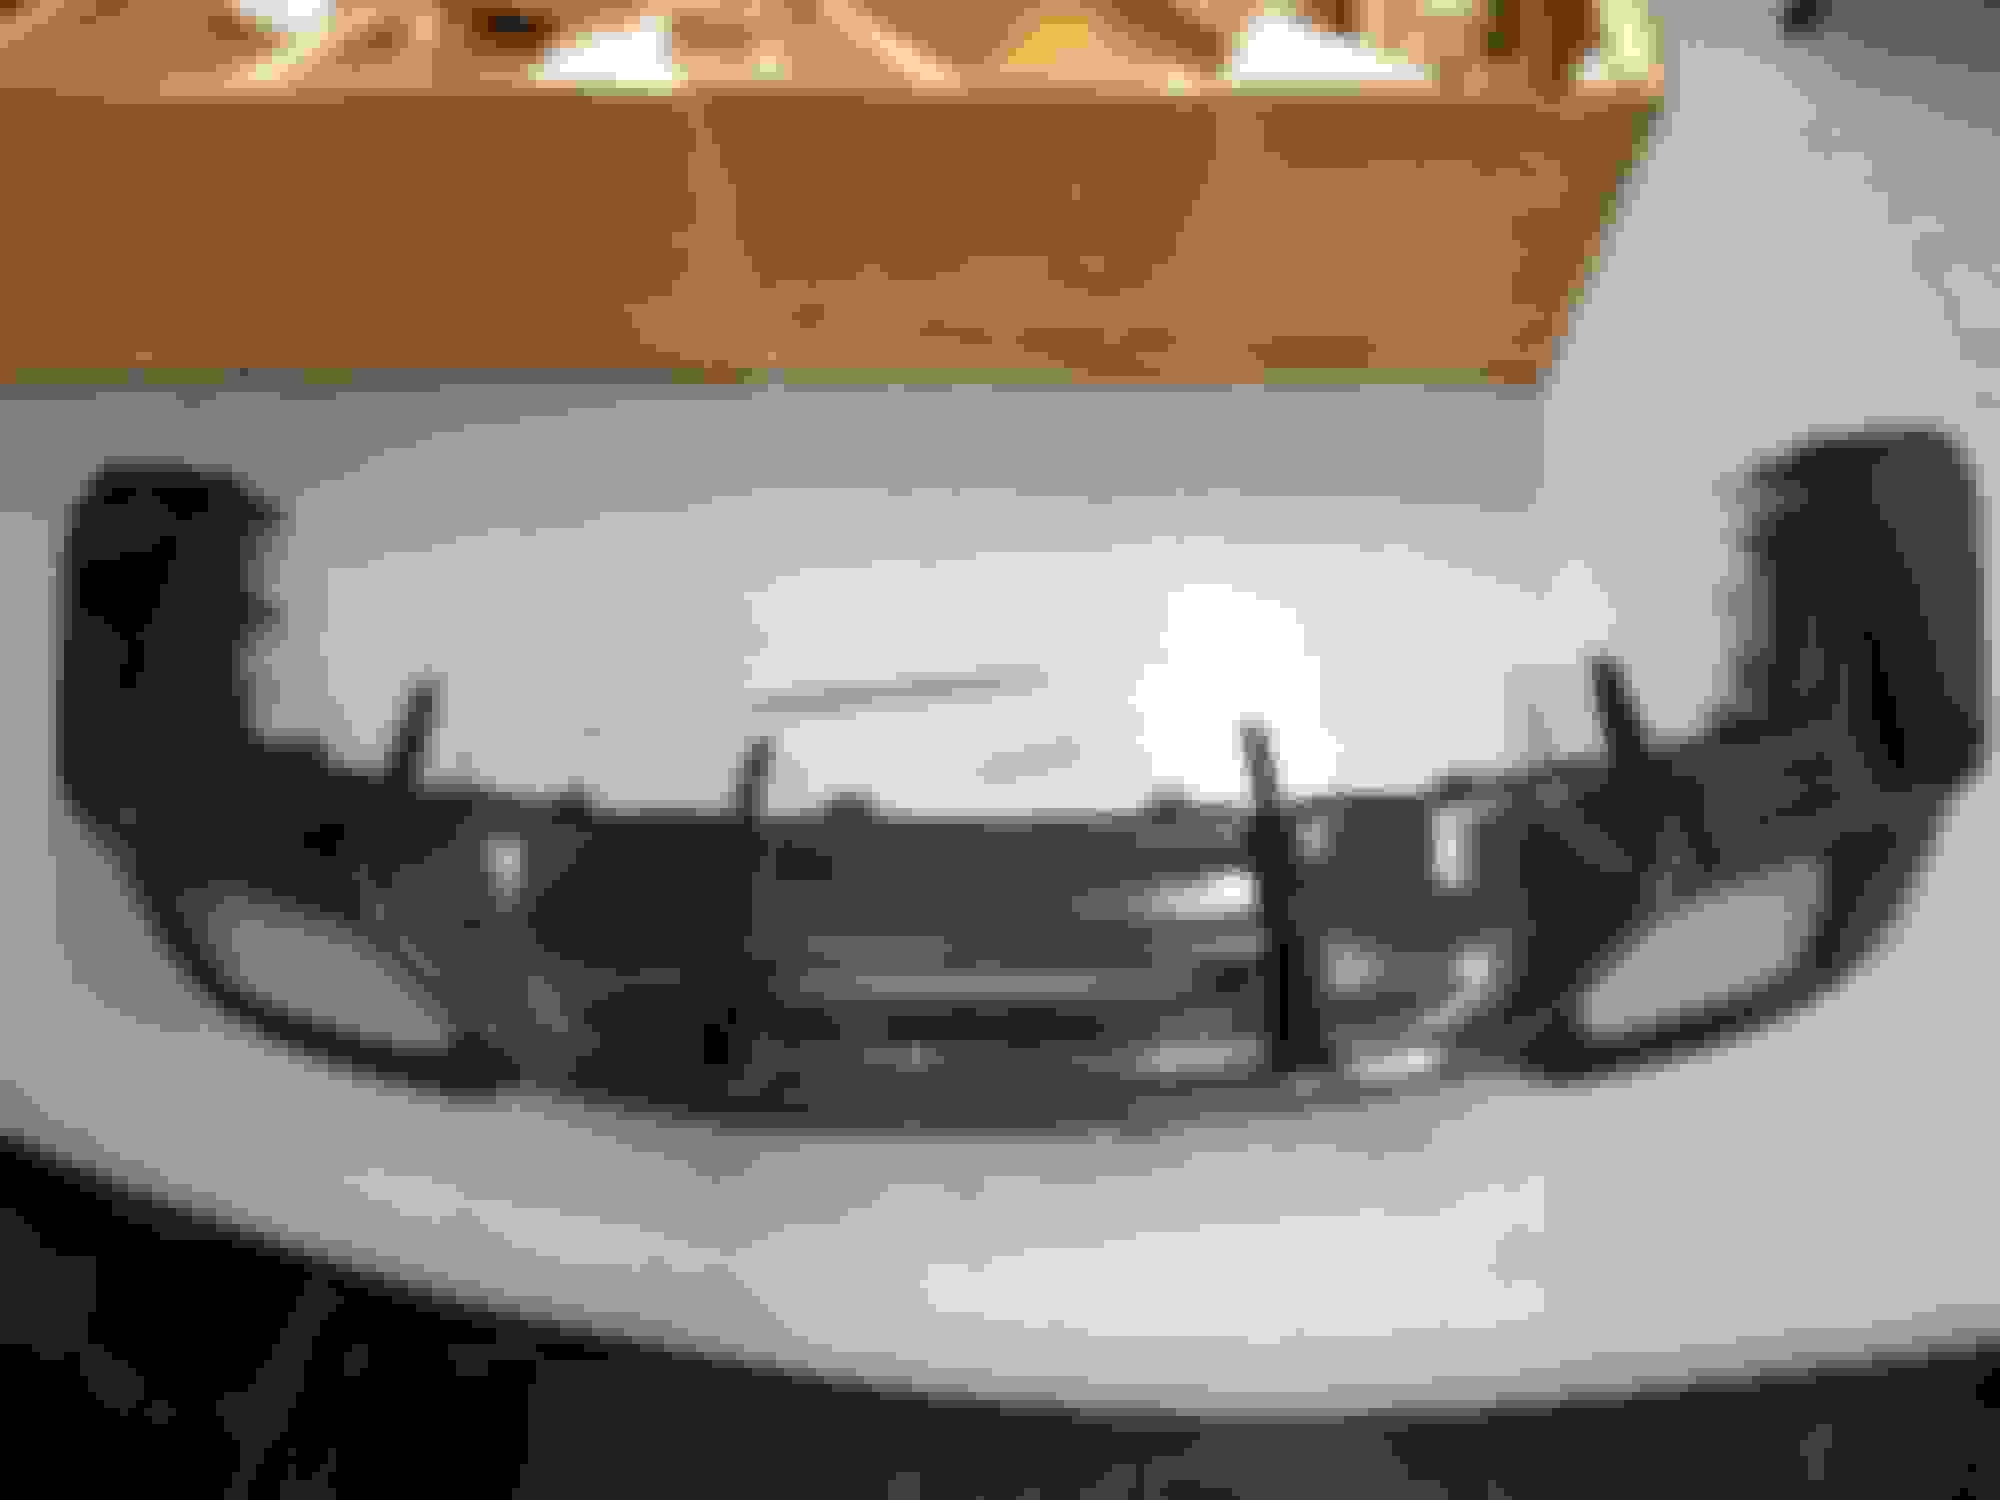
The next install on Saturday was the rear diffuser... BTW if I would have know what a royal PIA it would be to remove the bumper cap I would have not done it...
You have to put the car up on jack stands if you dont have a lift. The rear tires need to come off so you can get the inner wheel well covers partially off for access. you also need to remove the covers under the car and for this diffuser you have to partially remove the cover under the rear end (second cover from the rear) There is also some sort of cable that is attached to the rear end and the bumper cover, I'm thinking it is some kind of safety thing in case your bummer cover comes off on the track from a rear end or rubbin LOL... maybe? Just guessing since I have never seen anything like that before and it was a PIA to remove LOL. Then there is all the electrical connections, three in total. Did i also mention that you need to disassemble 90% of the rear interior so you can get to the tail lights, oh and if you have a sub, that has to come out of the passenger side rear so you can get to the nut behind it. It has a funny tube that also exits the car from the passenger side rear wheel but is protected by the wheel well cover.
Once I had it removed from the car it was brutal to remove the OEM diffuser, it has a crap load of rivets at the bottom that hold it to the cover, after that you have to work it with the plastic body tools. It did come off after a while of working it. Inside the OEM difuser I did find what may be the foot unlock sensor for the rear hatch, I reinstalled it into the new one but as expected that function no longer works. I also had to remove the exhaust tips to facilitate the install. It was hard, the fit is somewhat hard to achieve but with plenty of patience I did get it to fit and it mated up rather well. I think it could use some more engineering to make the fit a lot less hard or maybe it is just me. most of the CF parts that I have ever installed were what I call 95% on target for fit.. so maybe this is the same. The quality is good on par with the wing. Putting the bumper back on was OK but getting the covers under the car to go back on was a PIA. The new fins on the diffuser were somewhat of a challenge when it comes to inserting the cover.
Side skirts... jumped in head first on on Sunday. First thing was to put the car up on my race stands to get access. Mine has some OEM skirts on it already so I had to first drill out all the freaking rivets that it has which hold it in place, then there is the five feet of double sided tape that is used on the side of the car to hold the skirts in place. Removing the tape was a PIA... The skirts did require some dremal of one of the rear holes which was off by .25 and the fit was very tight. As you might know they attach using the plastic nuts that hold the side rocker panels to the car. After cleaning the gunk left from the OEM skirts I prepped the skirts, I added double sided tape to the full length like the OEMs had and added some additional tape at the lower front and lower rear which were there before. It took about an hour and a half for each side, removing the old double sided tape takes a while. The skirts look good just not too happy that the rear hole that was off, it is a fail in my book...
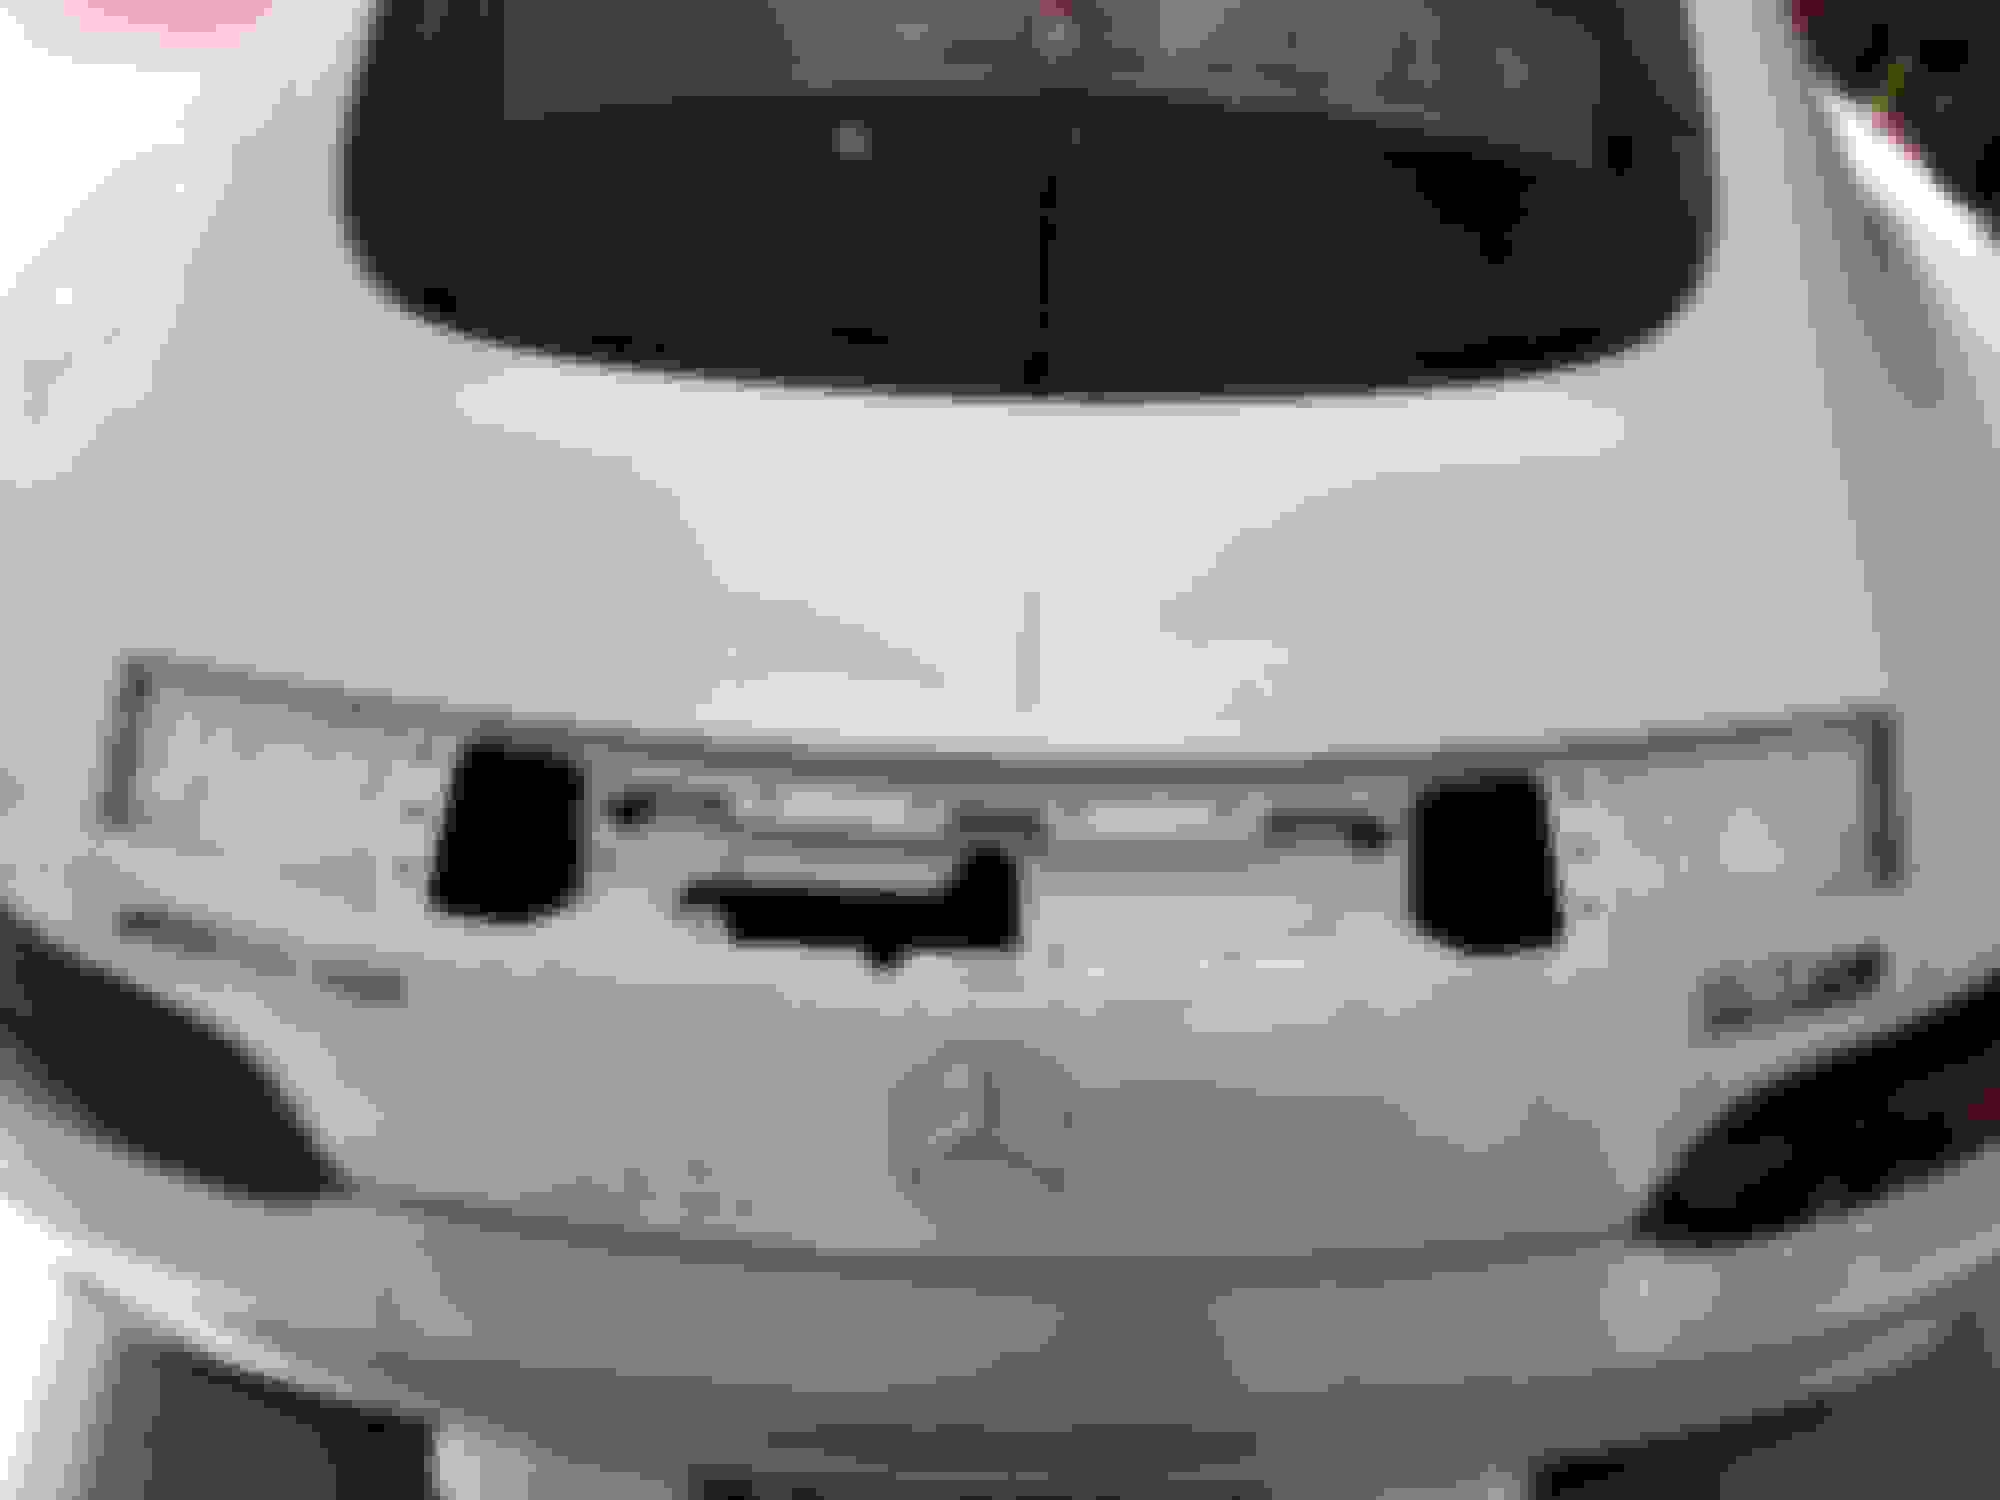
In the end I would recommend the wing and even the rear diffuser if you dont mind loosing the auto open with the foot functionality. I would say the skirts if you dont mind having to elongate one hole then the savings is might be worth the extra trouble. The CF quality is as good as any other for a lot less.
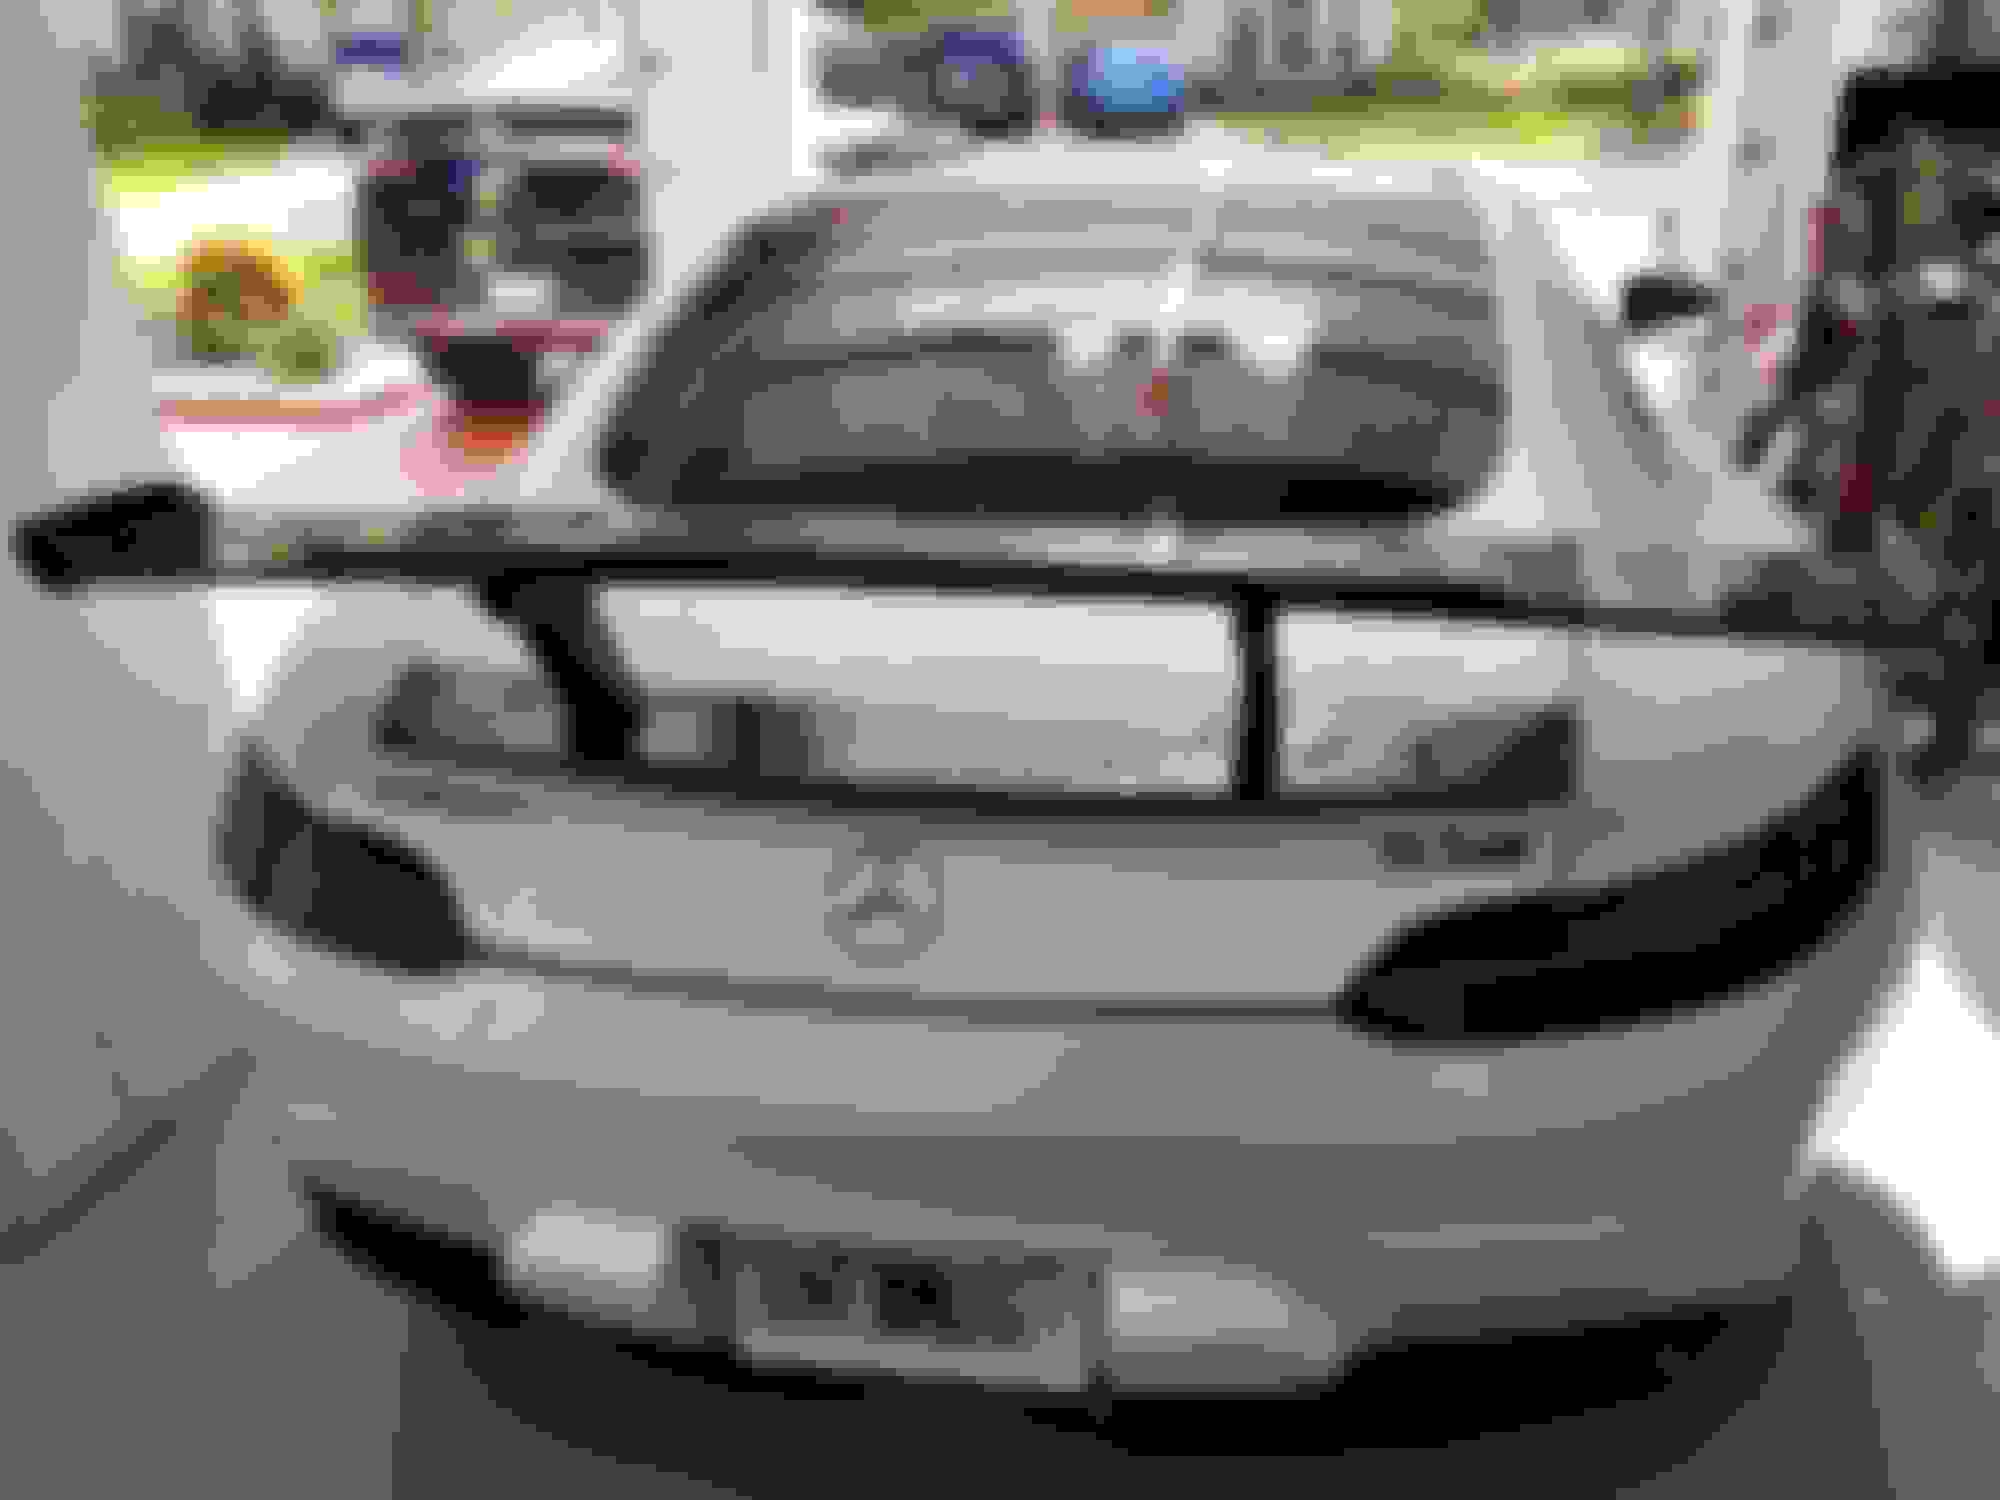
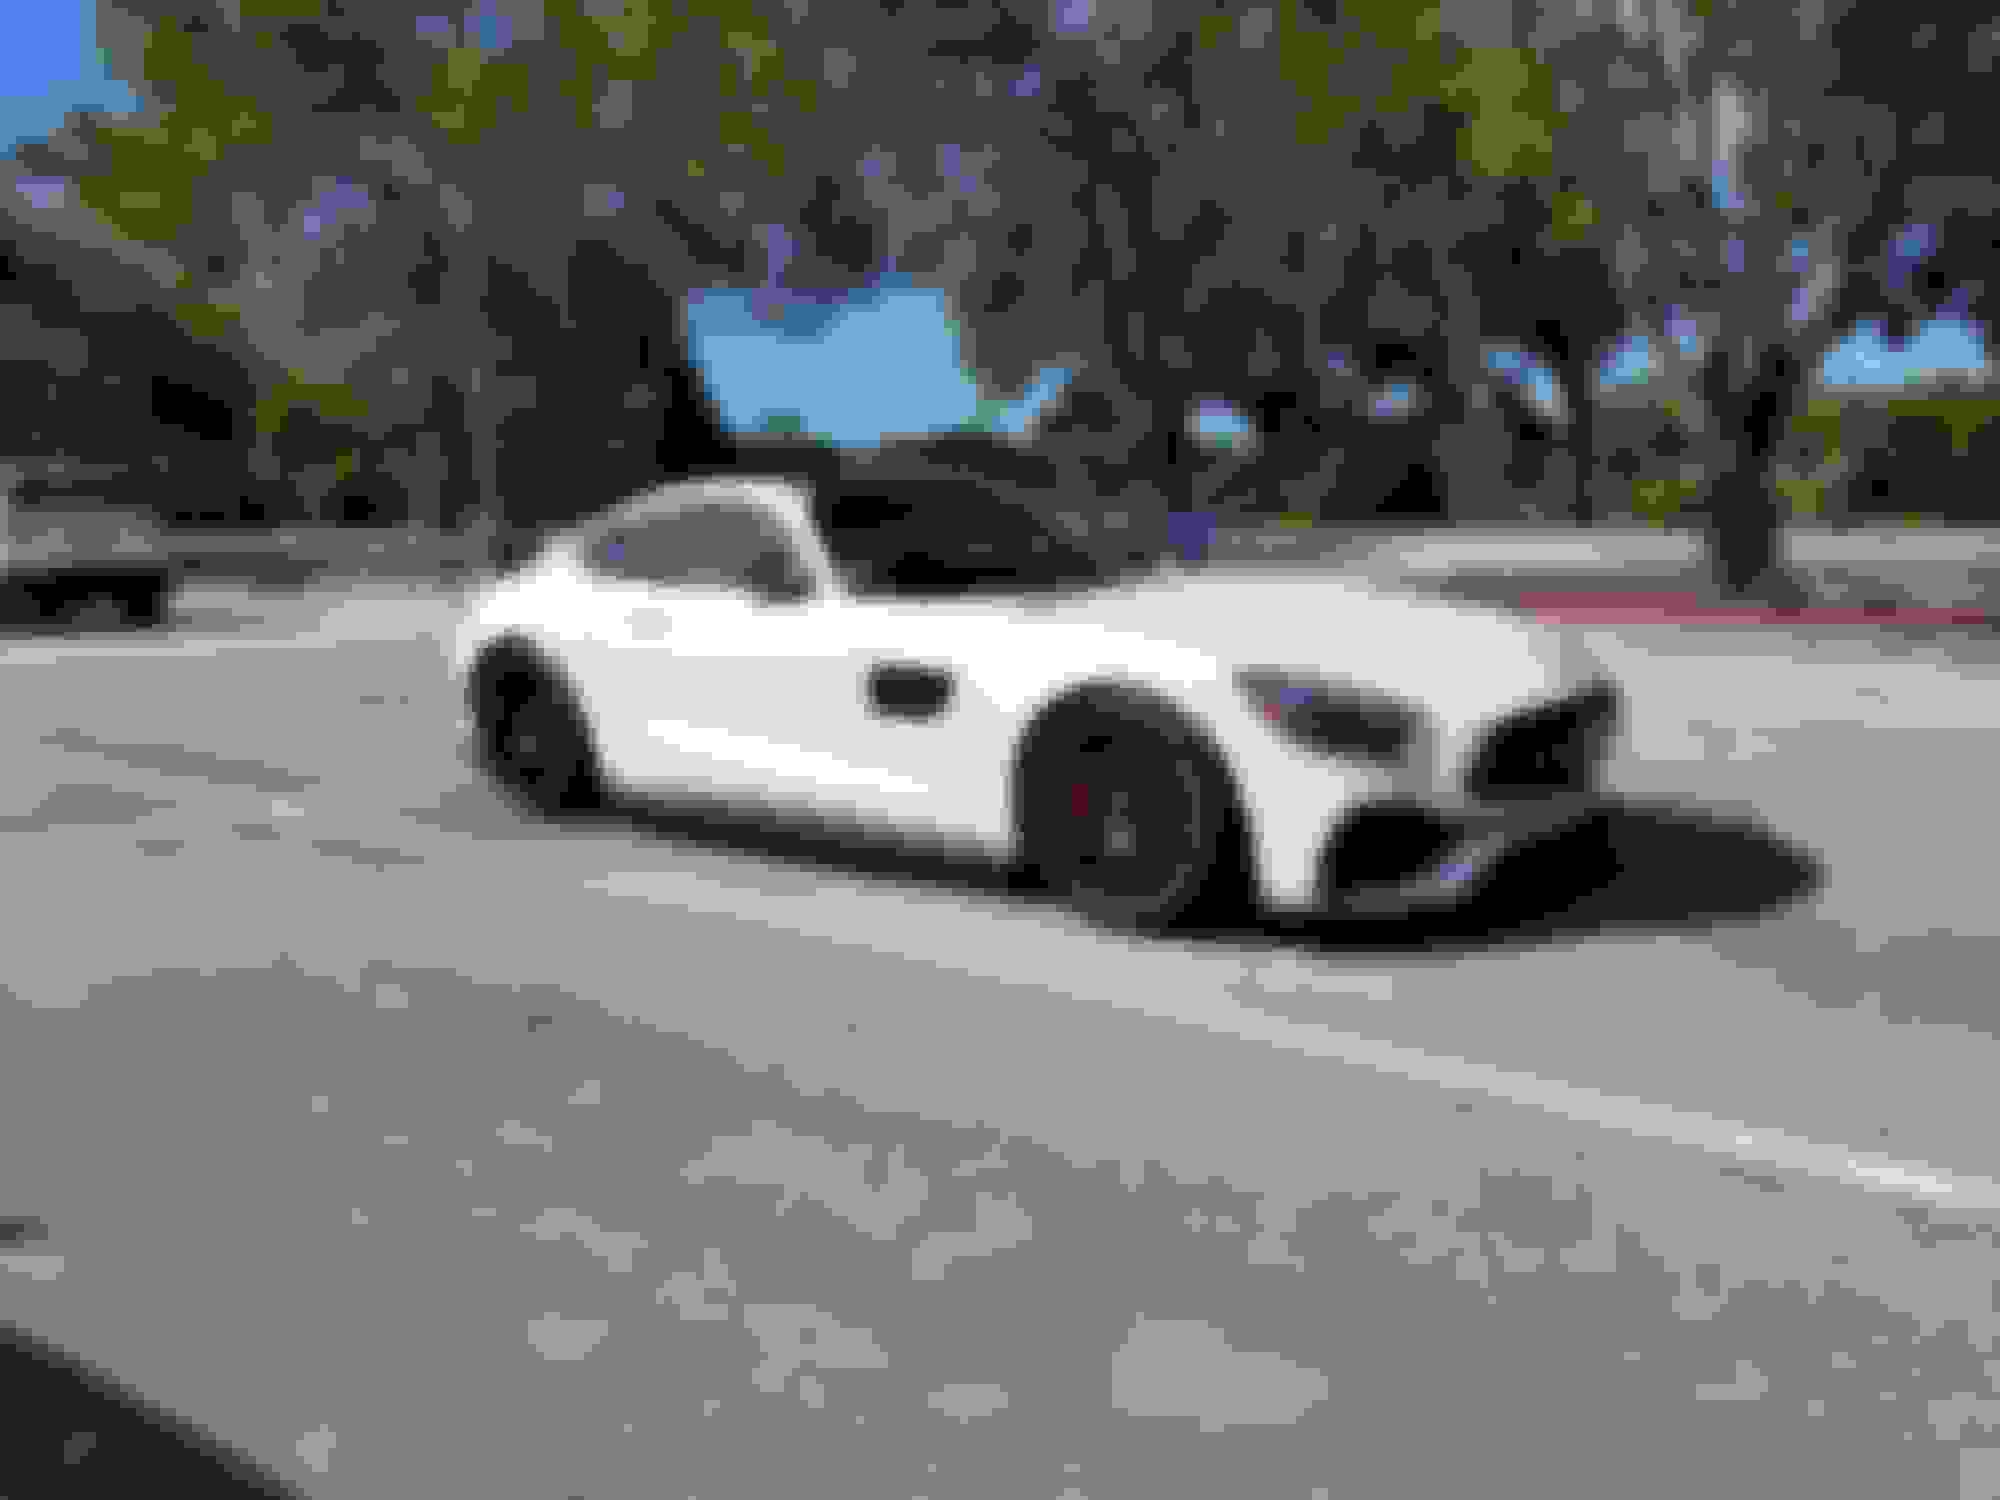
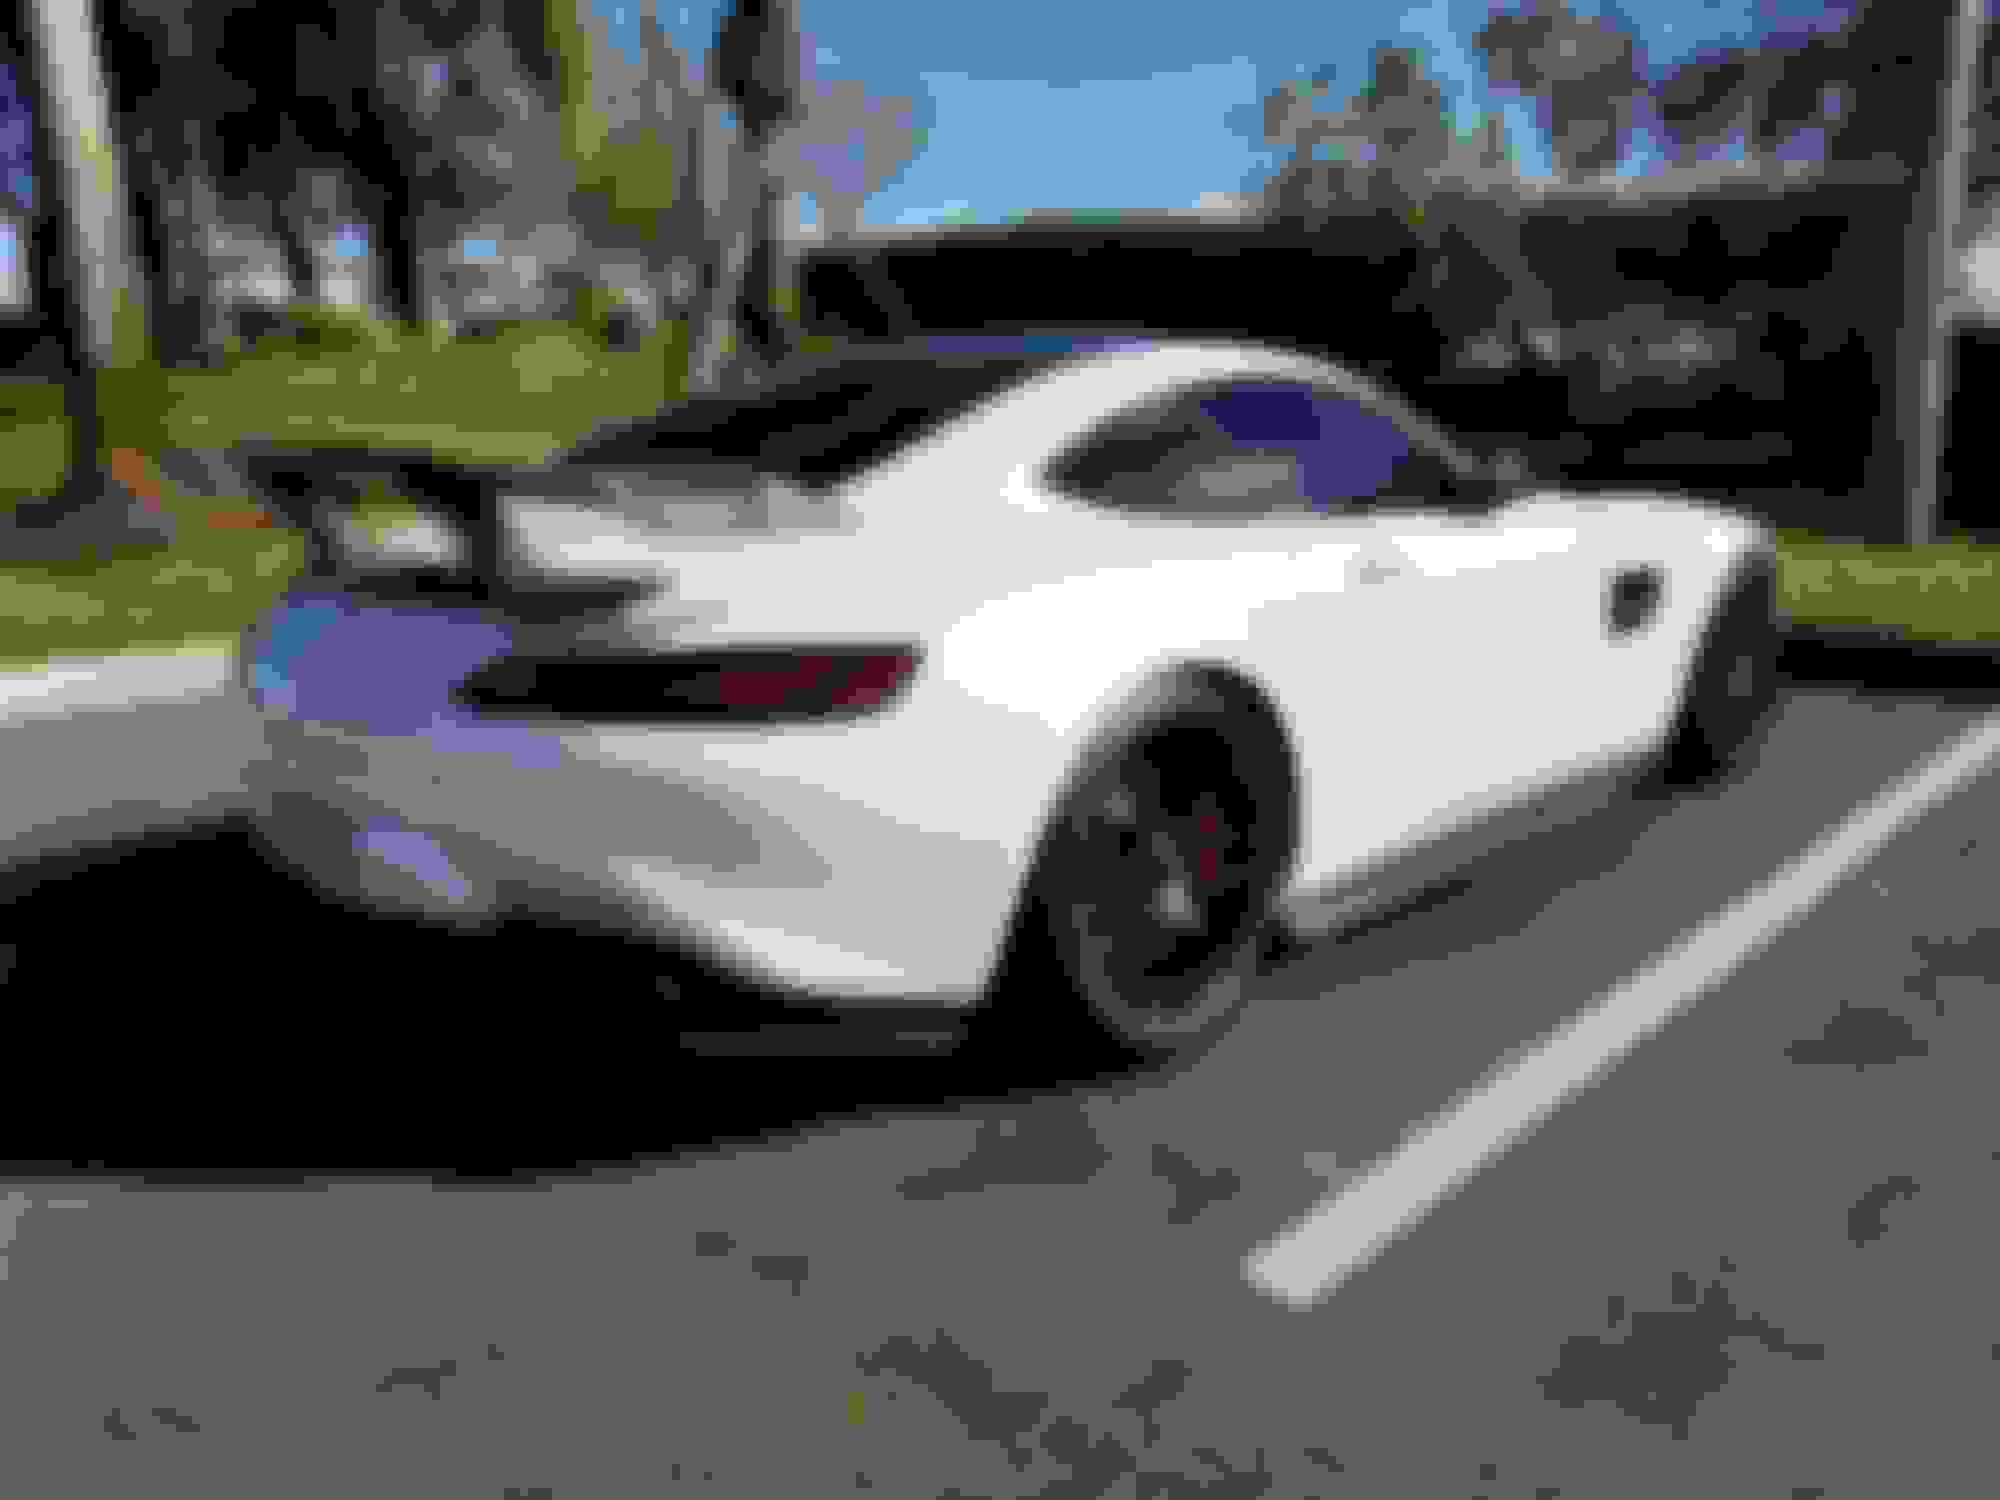
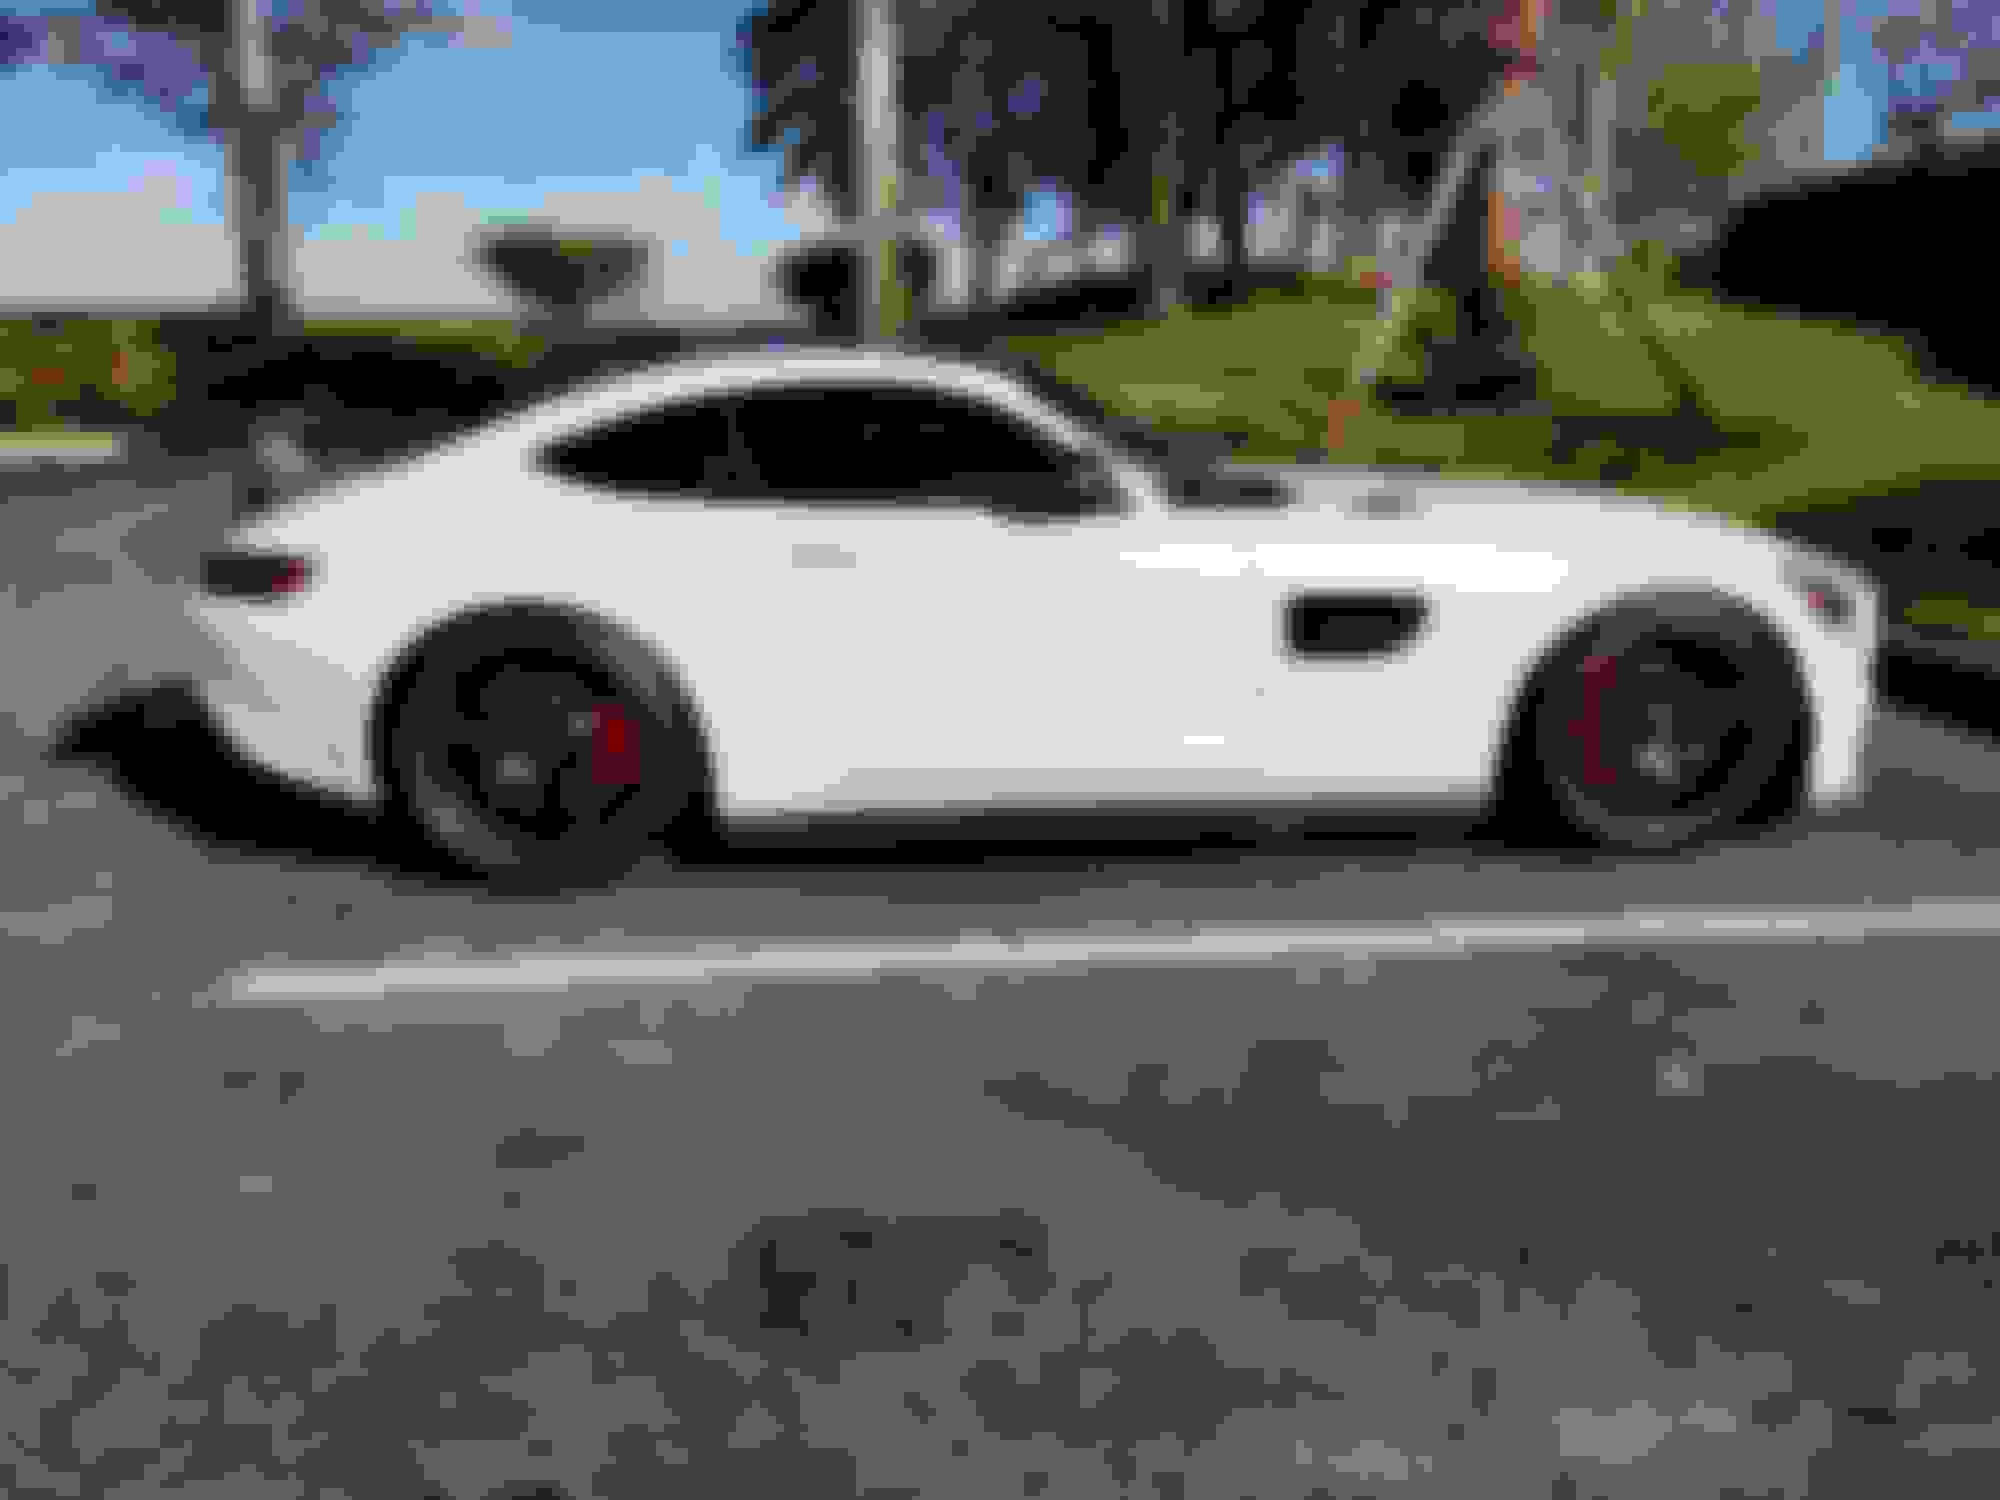
here are some pictures, excuse the fact that the car is a little dirty...
Been down this wing planning road for several months myself, I would 100% paint the base to match the body, that was a must in my situation if I were to make a wing change.
Not telling you what to do with your car, but if looking for reinforcement on where you are leaning, I�d do it!
Been down this wing planning road for several months myself, I would 100% paint the base to match the body, that was a must in my situation if I were to make a wing change.
Not telling you what to do with your car, but if looking for reinforcement on where you are leaning, I�d do it!
yea I agree it is a must and yes I appreciate the feedback.
Do you know why the foot kick opening of the hatch no longer works? That's kind of a deal breaker since the car doesn't even have a latch or anything.
I would venture to say that the CF for some reason impairs the signal. I transferred mine and placed it in the same location and it does not work. I have to admit that having to use the key again is a PIA.. but I dont put a lot of anything in there anyway.


 10-24-2018, 03:57 PM