

Ipod install using Aux. input W/ pics!


Thread Starter
Newbie
Joined: Oct 2006
Posts: 8
Likes: 0
Ipod install using Aux. input W/ pics!
Installation of Aux. Input for 2005 W203
Supplies needed:
Part # A 210 440 50 05 64
Allen wrench (unsure of size used)
Small flat head screwdriver
Razor knife
Installation Time:
30 minutes
Difficulty:
Easy
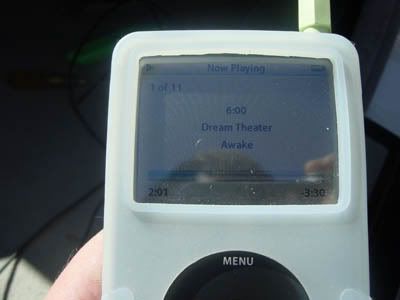
This is a great alternative to the IPOD Integration kit available from Mercedes for $300+. Although this does not allow you to control your Ipod with the steering wheel controls, it does give you more options! The Aux. Input will allow you to connect any audio devise with a 2.5 mm jack, so if you use another brand of MP3 player, you�re all set. This as also MUCH cheaper than the integration kit, I picked this part of from Mercedes-Benz of Orlando for $47 + tax. The dealer told me that this part will also work with several other models.
This is in NO WAY instructions from Mercedes Benz, The steps listed here are what worked for me, if you decide to try it, and mess something up, it�s not my fault! :crybaby2:
All Steps are done on the passenger side of the car.
Step 1:
Remove the side trim from glove box. This trim snaps off.
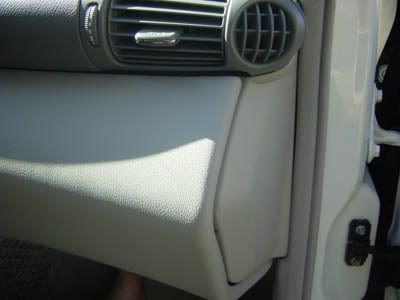
Step 2:
Remove lower door trim, this trim snaps off, once the front 3 snaps have been removed, it is not necessary to remove any more. You don�t need to completely remove the trim!
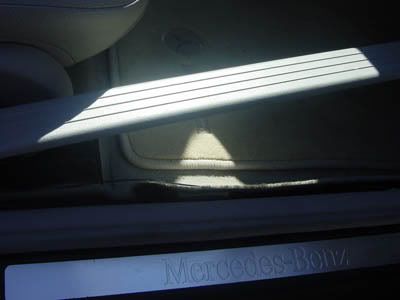
Step 3:
Using the small flat head screwdriver, remove the bolt covering from the side trim. Then remove the bolt using the Allen wrench.
After removing the bolt, the trim is healed by snaps, it was a little tough to get off.
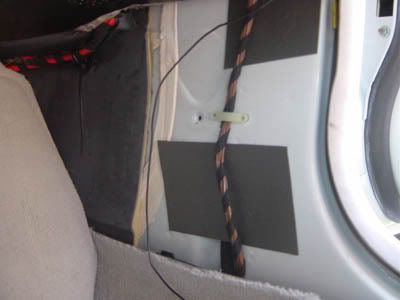
Step 4:
Once all the trim has been removed, you will see a track that contains all of the wires, this track snaps together at the top; simply unsnap it to expose all of the wires.
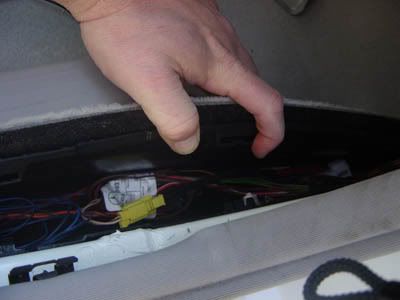
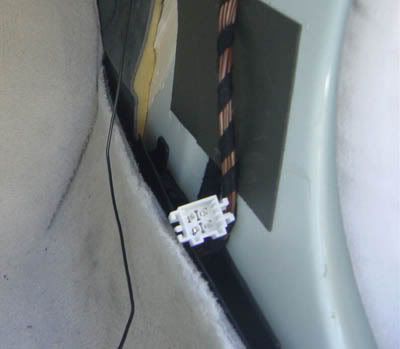
Step 5:
Near the front of the track (towards the front of the car) you will see the white harness plug. Just plug in your new part!
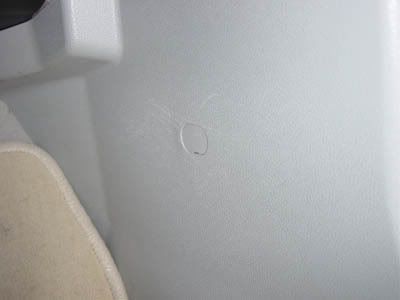
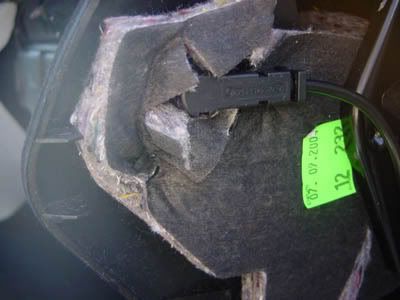
Step 6:
Once this is done redirect your attention to the side of the glove box, you will see a small round black plug that needs to be removed. Using your razor knife carefully cut it out of place. This is where you will position the jack for you new part.
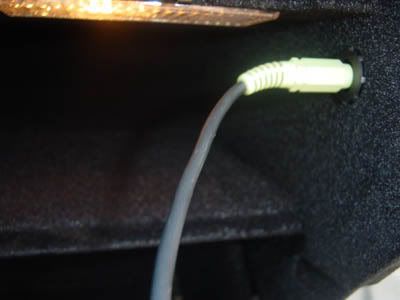
Step 7:
Once you have plugged the jack into the hole, simply hide the rest of the wire in the track near the floor. Reassemble (in the reverse order that you unassembled) and you�re done!
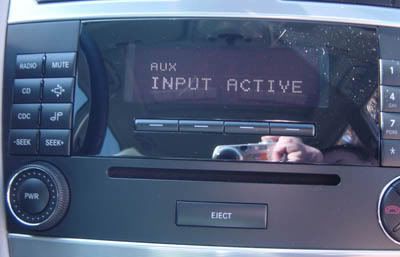
Hold down the CDC button to activate Aux. input.
Hope this is helpful
Ray
Supplies needed:
Part # A 210 440 50 05 64
Allen wrench (unsure of size used)
Small flat head screwdriver
Razor knife
Installation Time:
30 minutes
Difficulty:
Easy
This is a great alternative to the IPOD Integration kit available from Mercedes for $300+. Although this does not allow you to control your Ipod with the steering wheel controls, it does give you more options! The Aux. Input will allow you to connect any audio devise with a 2.5 mm jack, so if you use another brand of MP3 player, you�re all set. This as also MUCH cheaper than the integration kit, I picked this part of from Mercedes-Benz of Orlando for $47 + tax. The dealer told me that this part will also work with several other models.
This is in NO WAY instructions from Mercedes Benz, The steps listed here are what worked for me, if you decide to try it, and mess something up, it�s not my fault! :crybaby2:
All Steps are done on the passenger side of the car.
Step 1:
Remove the side trim from glove box. This trim snaps off.
Step 2:
Remove lower door trim, this trim snaps off, once the front 3 snaps have been removed, it is not necessary to remove any more. You don�t need to completely remove the trim!
Step 3:
Using the small flat head screwdriver, remove the bolt covering from the side trim. Then remove the bolt using the Allen wrench.
After removing the bolt, the trim is healed by snaps, it was a little tough to get off.
Step 4:
Once all the trim has been removed, you will see a track that contains all of the wires, this track snaps together at the top; simply unsnap it to expose all of the wires.
Step 5:
Near the front of the track (towards the front of the car) you will see the white harness plug. Just plug in your new part!
Step 6:
Once this is done redirect your attention to the side of the glove box, you will see a small round black plug that needs to be removed. Using your razor knife carefully cut it out of place. This is where you will position the jack for you new part.
Step 7:
Once you have plugged the jack into the hole, simply hide the rest of the wire in the track near the floor. Reassemble (in the reverse order that you unassembled) and you�re done!
Hold down the CDC button to activate Aux. input.
Hope this is helpful
Ray
Last edited by painkiller; Nov 18, 2006 at 03:42 PM.


