When you click on links to various merchants on this site and make a purchase, this can result in this site earning a commission. Affiliate programs and affiliations include, but are not limited to, the eBay Partner Network.
2017 GLA 250, 2011 C63 P31 (p30 w/ lsd) (in repair), 2005 C230 Sport Eurocharged, 2003 C320~sold
DIY - W203 Enable Reverse Mirror Parking Aid
This is a write-up on how to convert your passenger mirror on a W203 so that it 'dips' when you reverse if you do not have the memory seat option in your car.
If you are able to find a parts car from a wrecking/junk yard or off ebay is the best way to get the parts you need.
Below is the minimum for what you need to do this but you can also get the entire mirror frame with motor and wiring still attached and just replace the entire assembly.
Parts needed --
Right/pass door
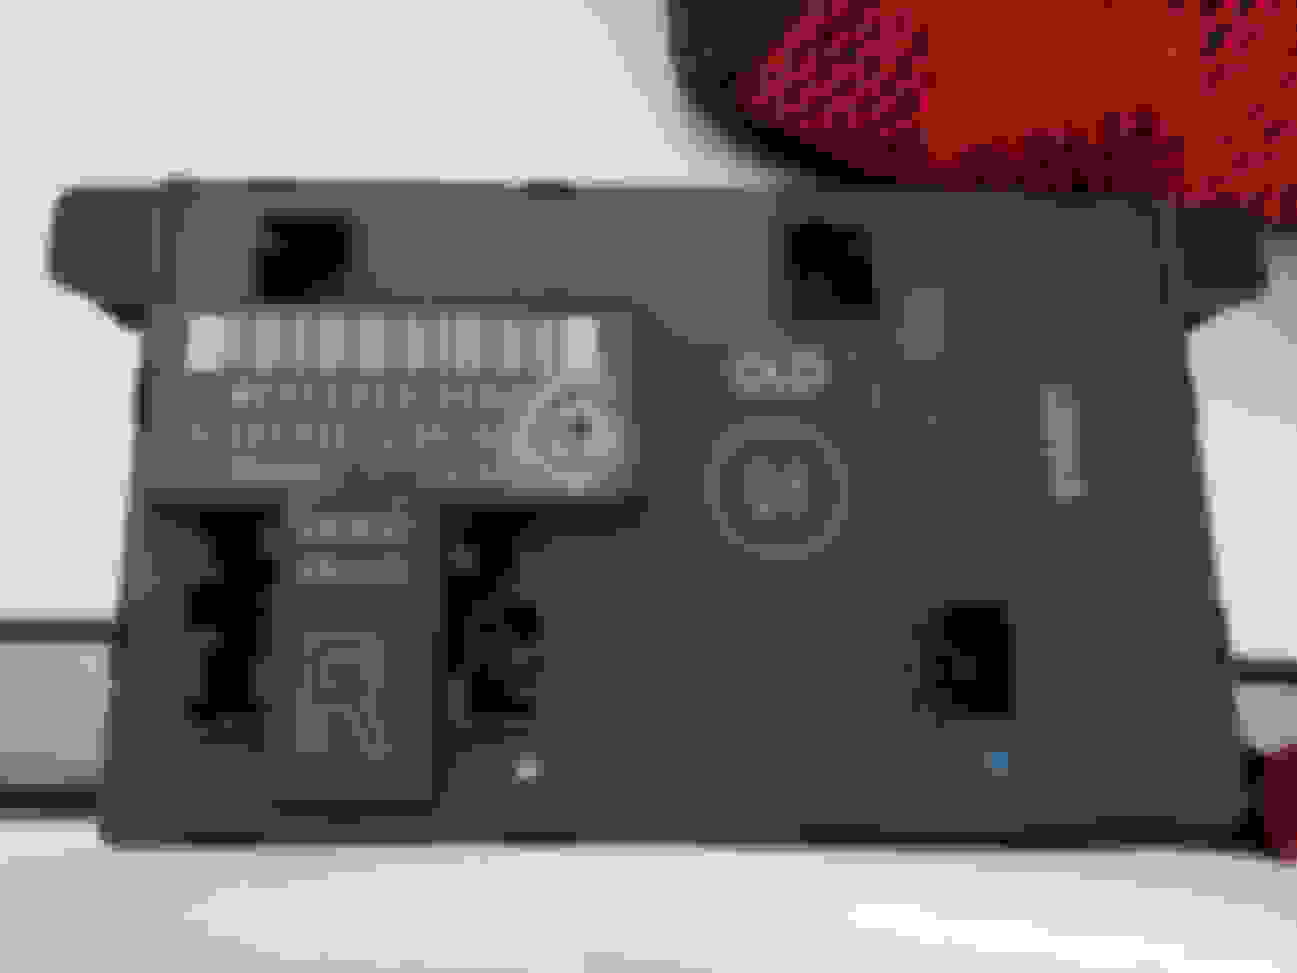
control module -- 203 820 14 85
mirror motor -- 203 820 22 42
mirror wiring with gasket-- must get with motor or 1 piece as replacement wire has 2 pieces it appears -- from DCM to door opening 203 540 89 08 which connects to wire from mirror (I don't know that part#) (if you only have wiring cut from gasket you will have to cut the rubber gasket to fish wiring through)
entire mirror motor/frame/wiring -- 203 810 66 76
Tools needed --
STAR DAS/XENTRY (developer mode NOT required)
Flat head screwdriver (to remove door entry light and mirror cover)
T10 or Phillips screwdriver (to remove mirror motor)
T20 and T30 to remove door panel and mirror frame -- note I have seen some mirror frames bolted to the door with a security torx screw (has nipple in middle of torx)
To check which door module you have, you do not need to take the door panel off if you have DAS/XENTRY already. If not you have to visually check the model #.
To check which door module you have via DAS/XENTRY go to --
Control unit
Seats and doors
DCM-FR - Door control module front right
Control unit version -- check MB number is 203 820 14 85
1 - remove door panel (T20/T30/flat head)
roll window down and remove key from ignition
remove speaker gently prying small flat head from front side uncliping from top of door panel first (bottom will still be clipped) push away from door felt releasing from door then slide forward and bottom clip will come undone
after removing clip near door latch with T20 gently pry door panel starting there is easiest to unclip panel from door
from front of car pry door entry light from panel and remove wire fishing back through door panel
remove door handle cable -- with door lever open, pull cable back while releasing door handle so thick plastic on cable will come out of groove (leaving only thin cable to slide out) then remove from door handle
unclip window switch
2 - remove mirror cover (flat head)
3 - remove mirror (needle nose) and mirror motor (phillips or T10)
use needle nose pliers to gently work wiring from mirror
BK/RD wire is outboard / BR/WH wire is inboard
4 - move mirror wiring to front of mirror frame (mirror side)
use needle nose from mirror side of frame to push blinker wire clip out
push mirror frame to the back of car to feed wiring around
5 - remove mirror frame (T20)
remove 2 upper/lower screws at the rear of frame first as the bottom one you have to push on the frame to the back to get to it and the front screw will keep it in place
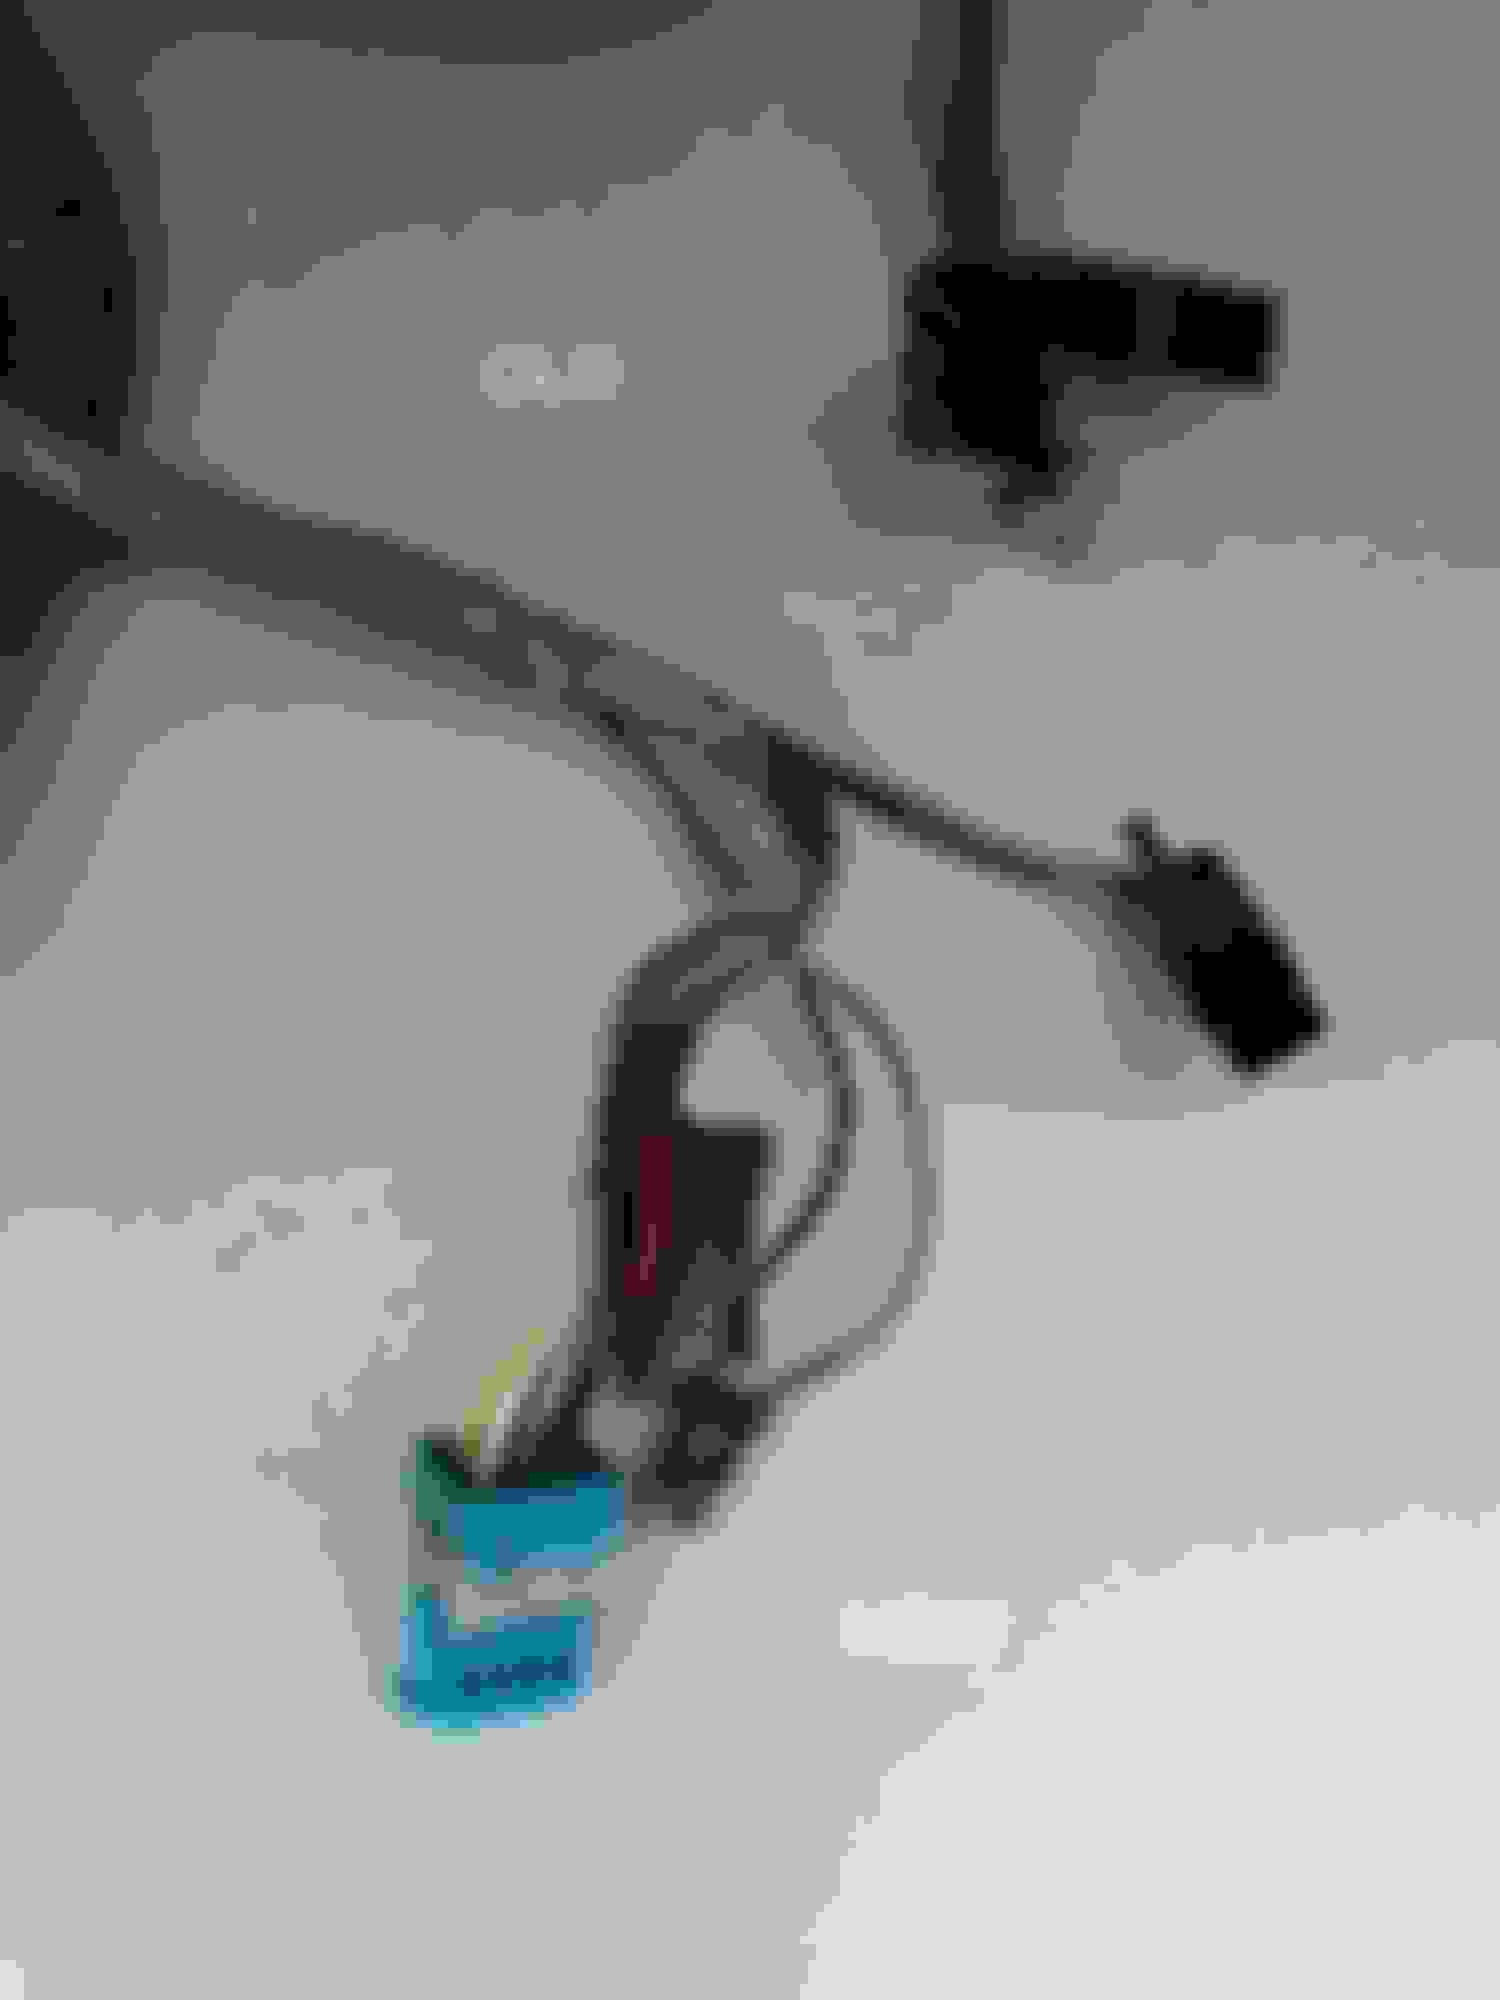
6 - unplug and remove mirror wiring from door module pushing connectors from inside to outside
remove foam from upper door trim where wires are on inside of door
7 - remove and replace door control module if necessary
top left/right squeeze together and module will remove from the door, then slides up
8 - remove and replace wiring and rubber gasket from mirror frame
9 - fish wiring back through door and install mirror frame
install front screw first leaving a little loose so you can align the rear screws
10 - install in reverse
plug wiring to door module, move wiring back around mirror, reclip blinker connector, install new mirror motor and plug in, install mirror and cover
11 - perform STAR settings
see steps below/bottom of write-up
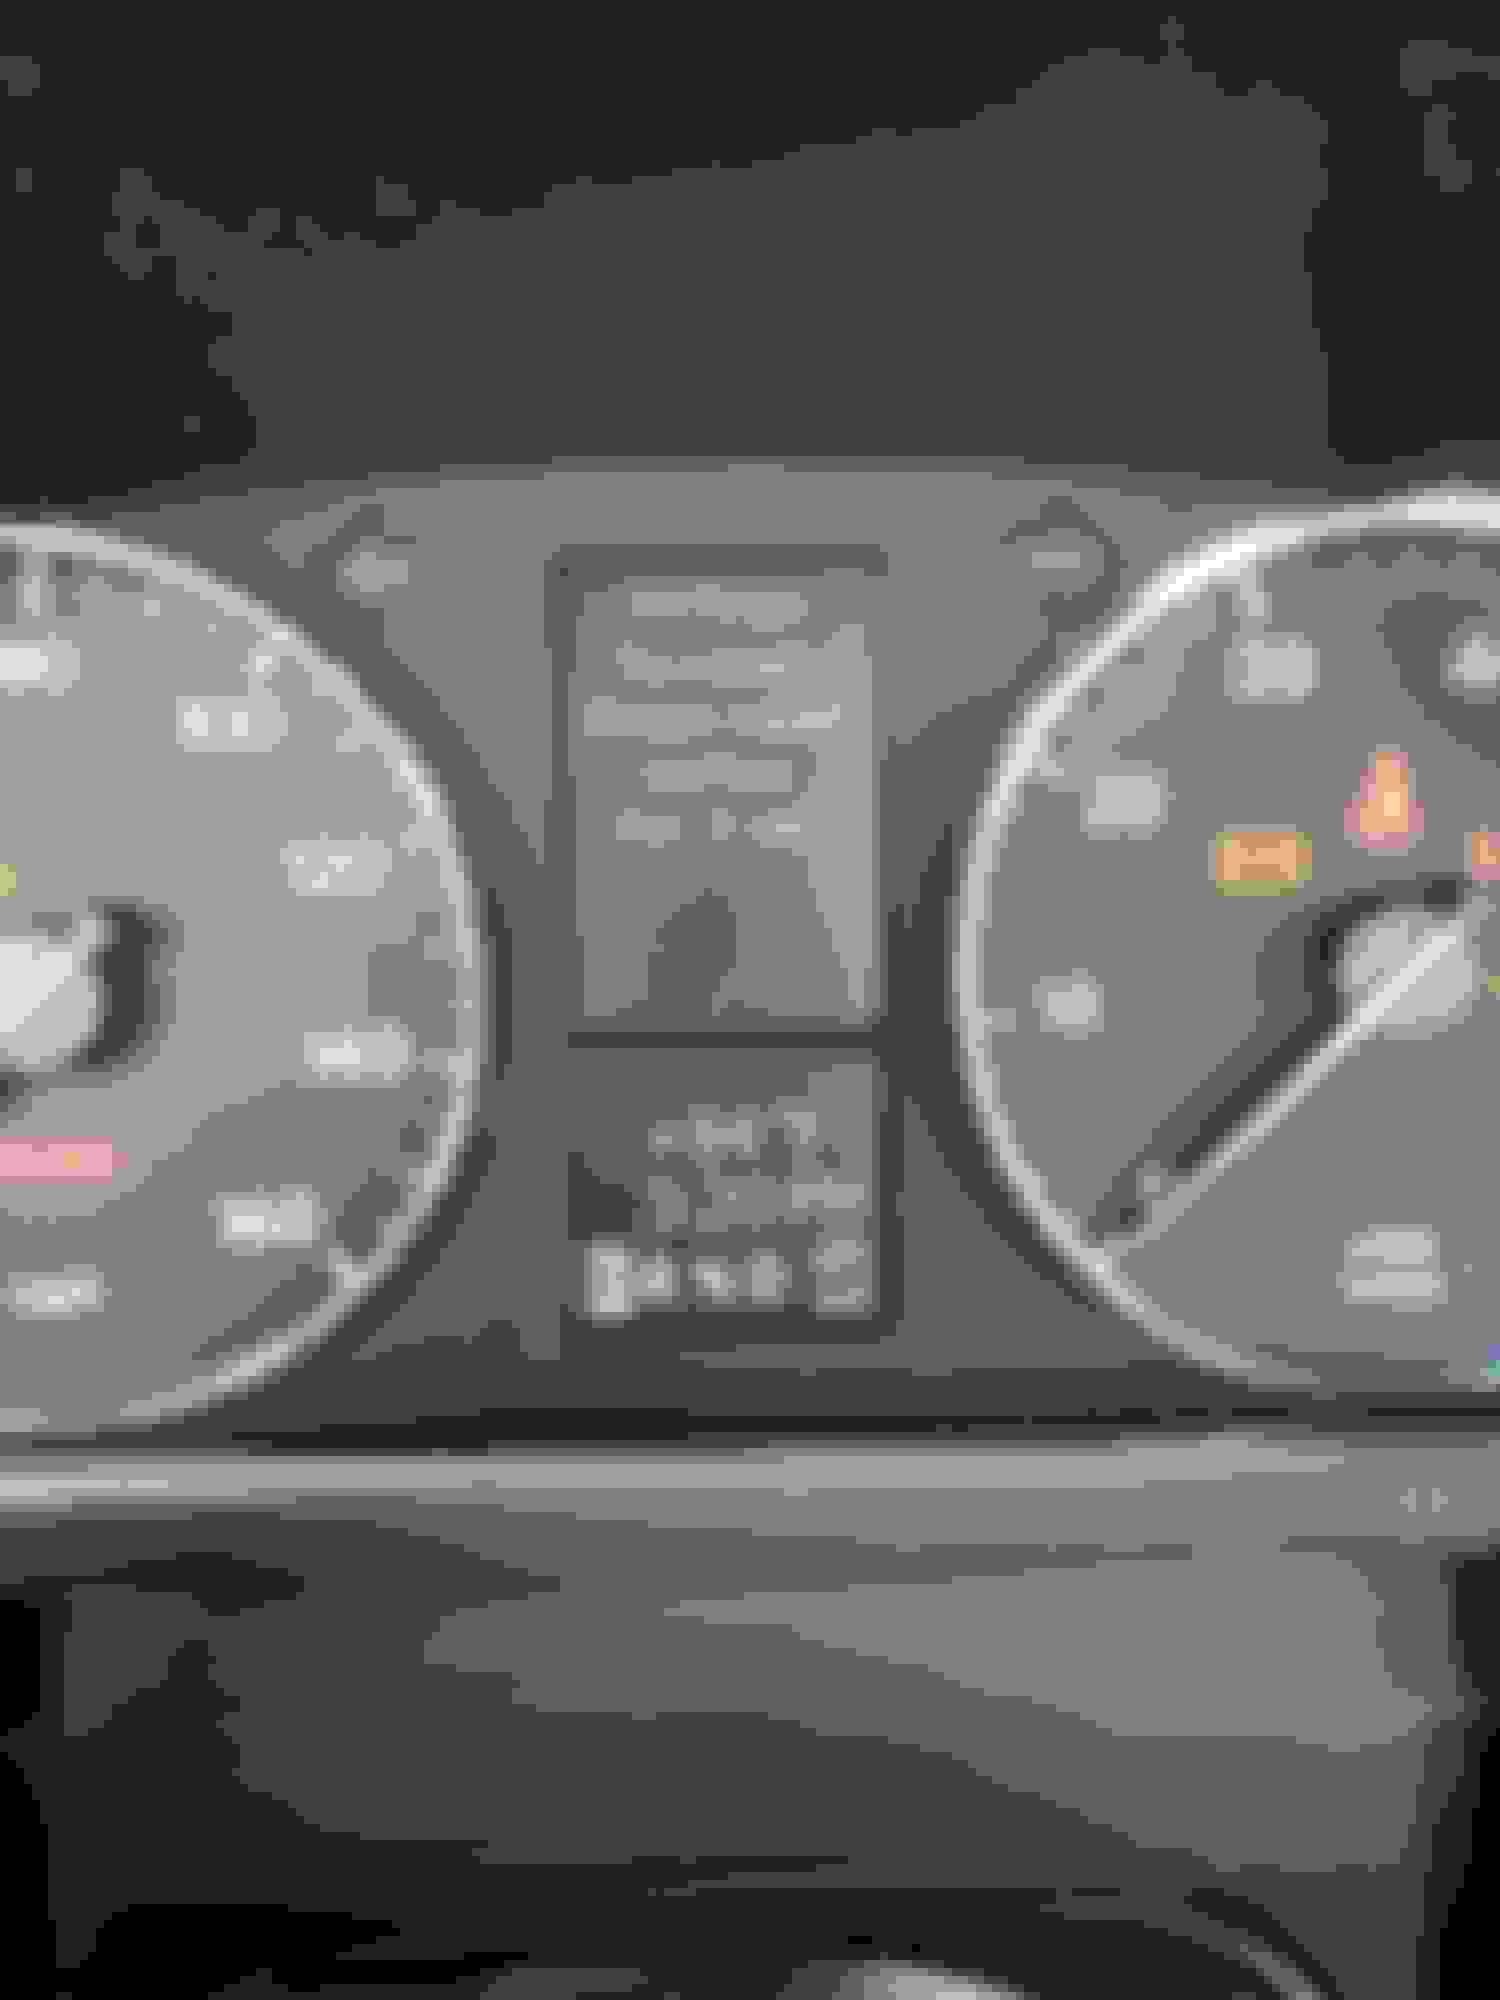
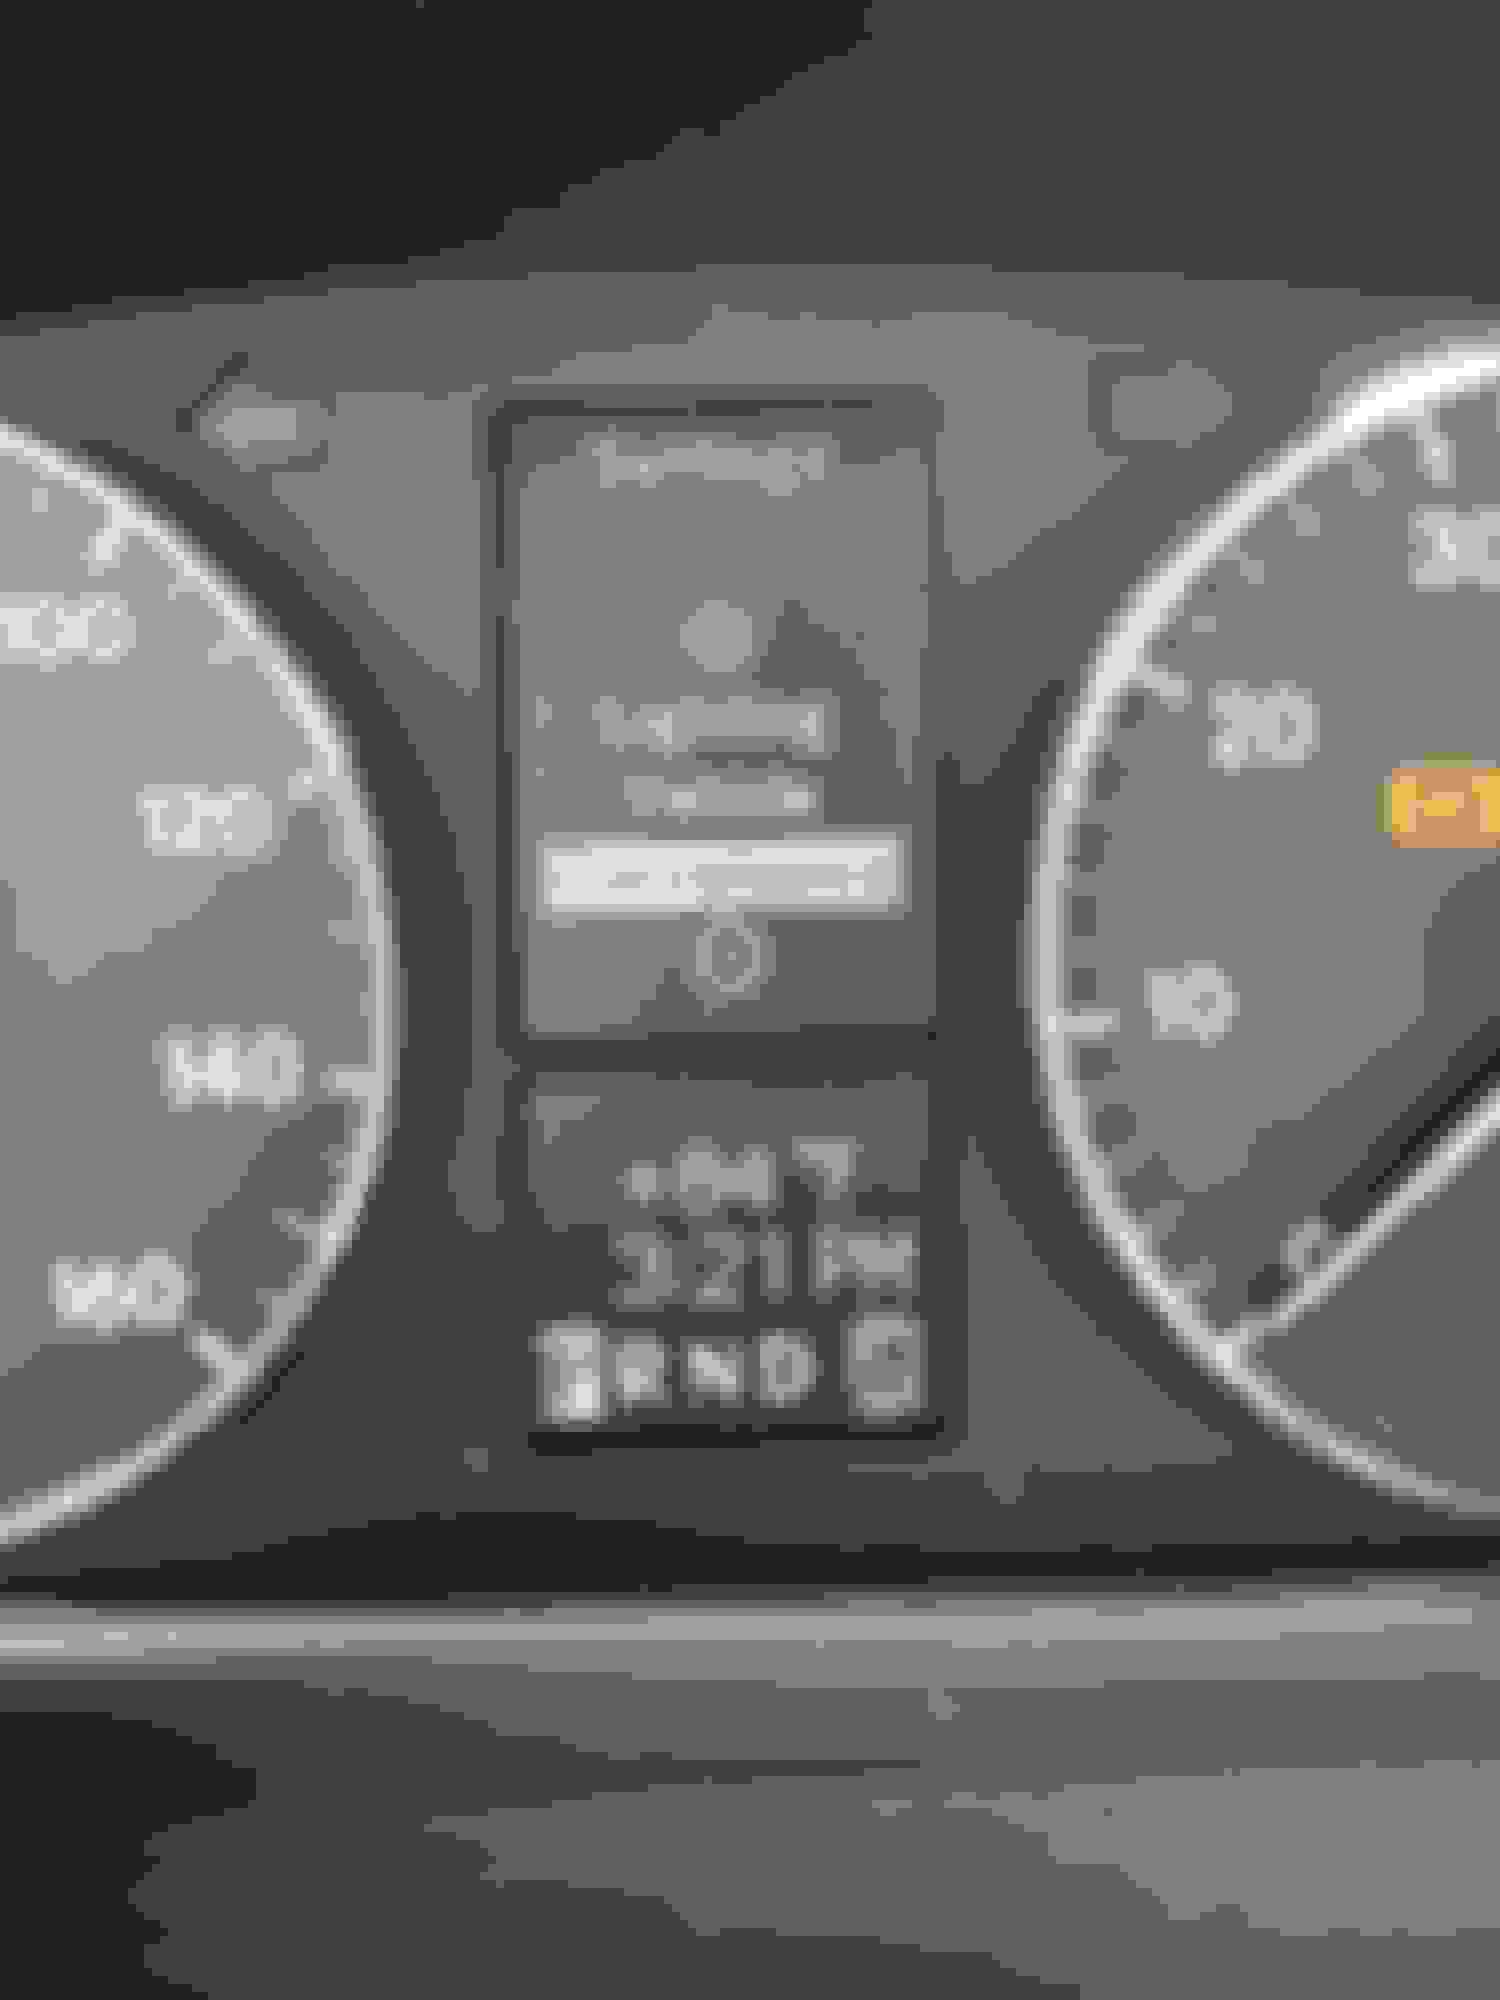
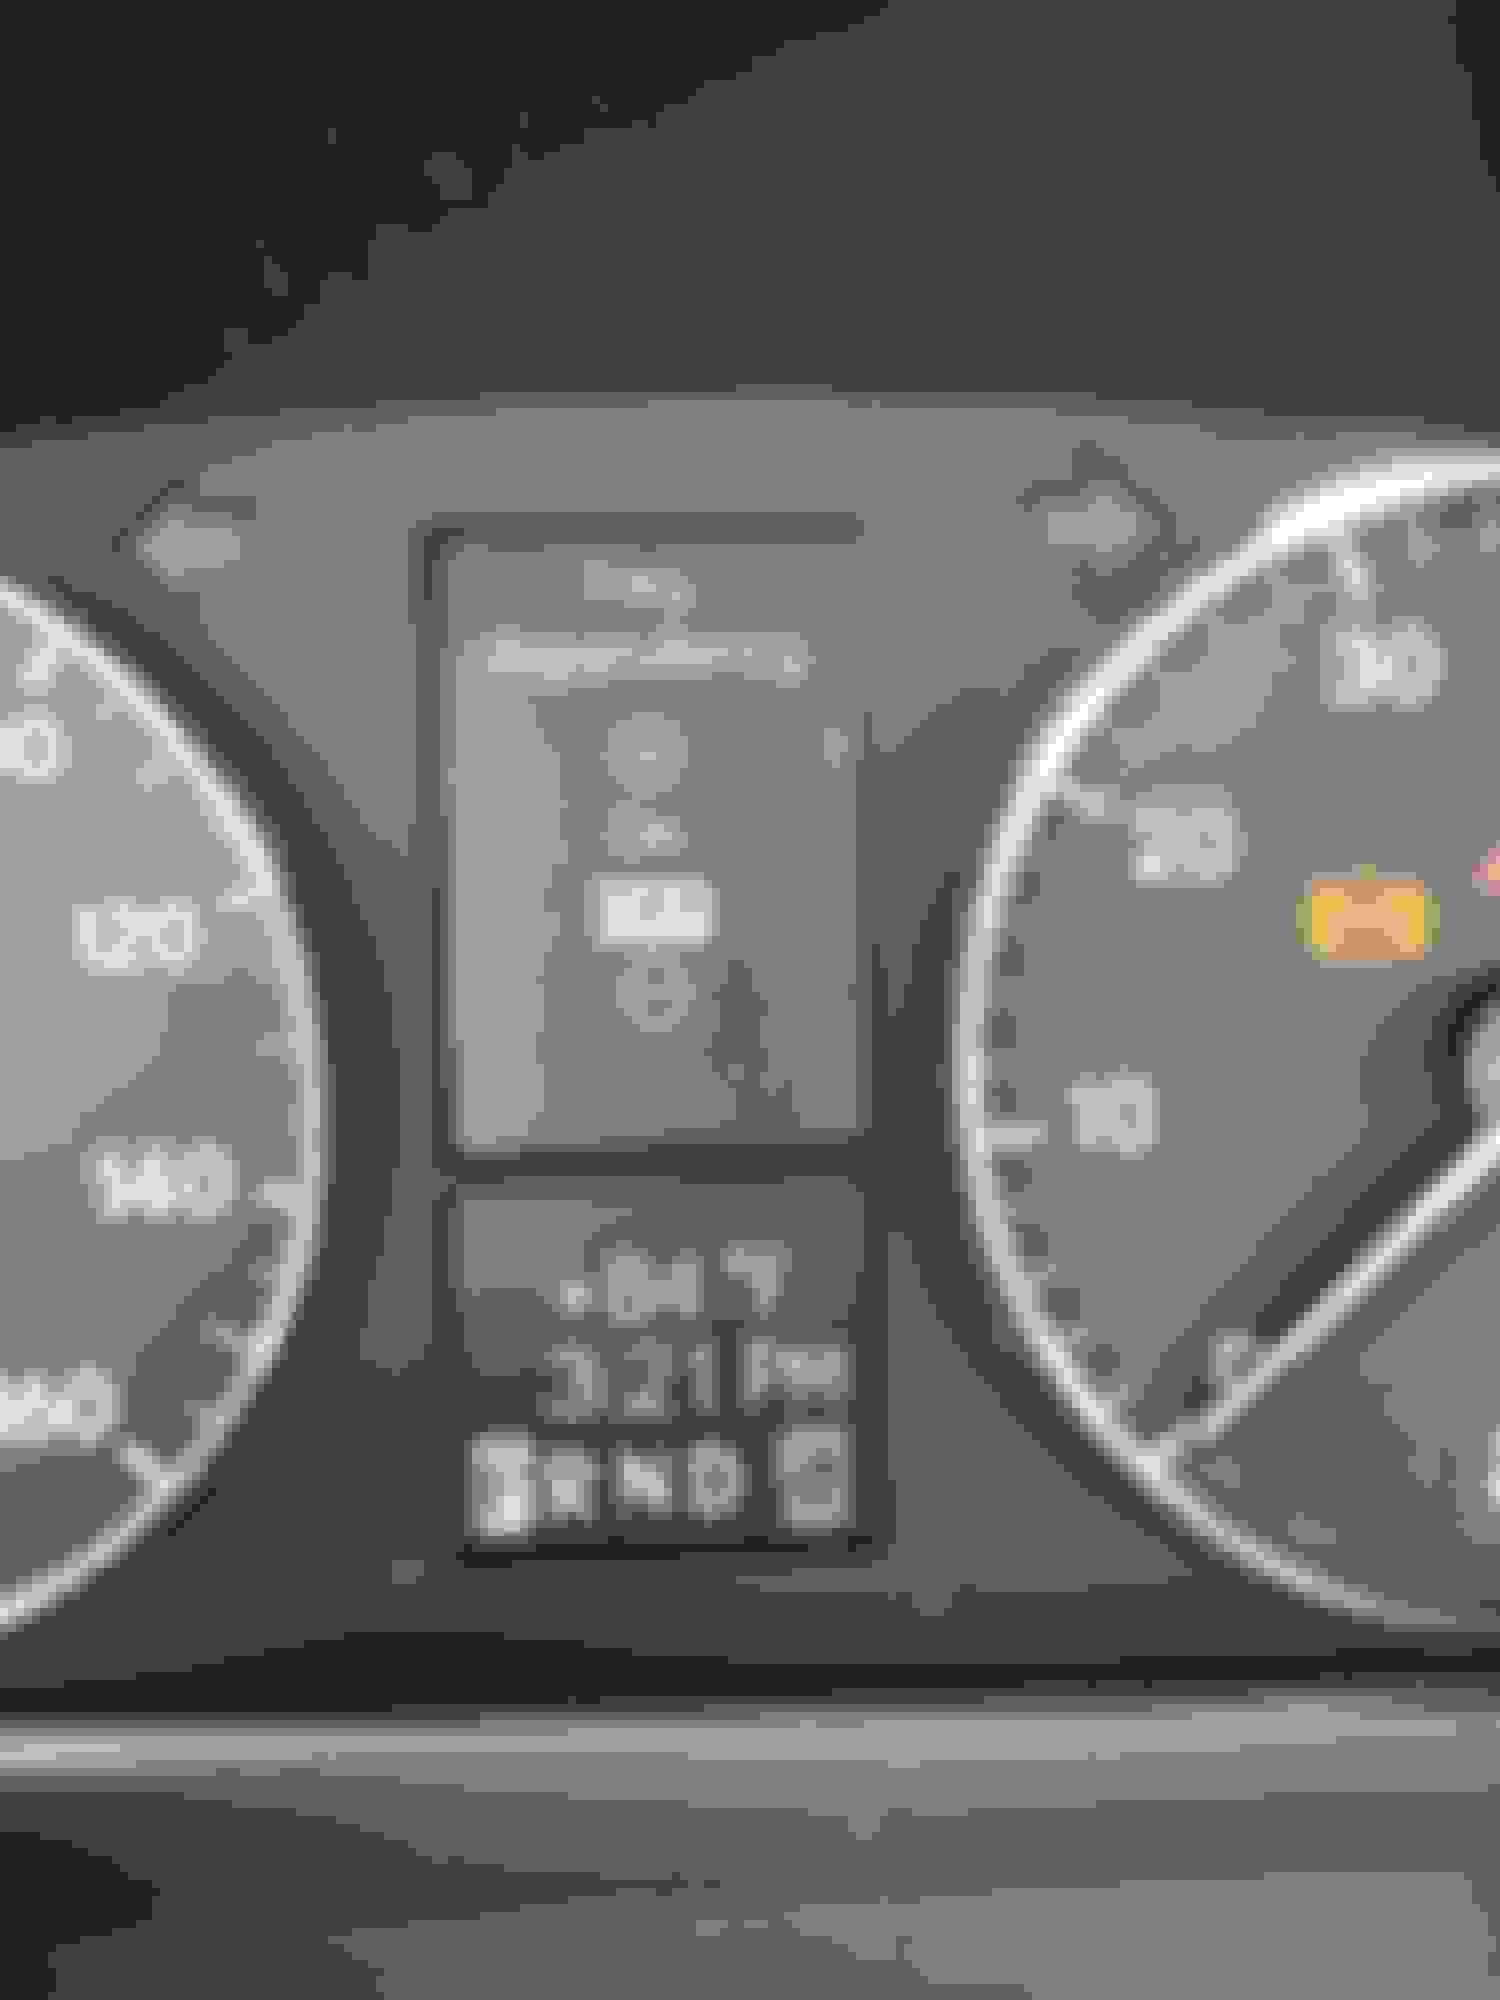
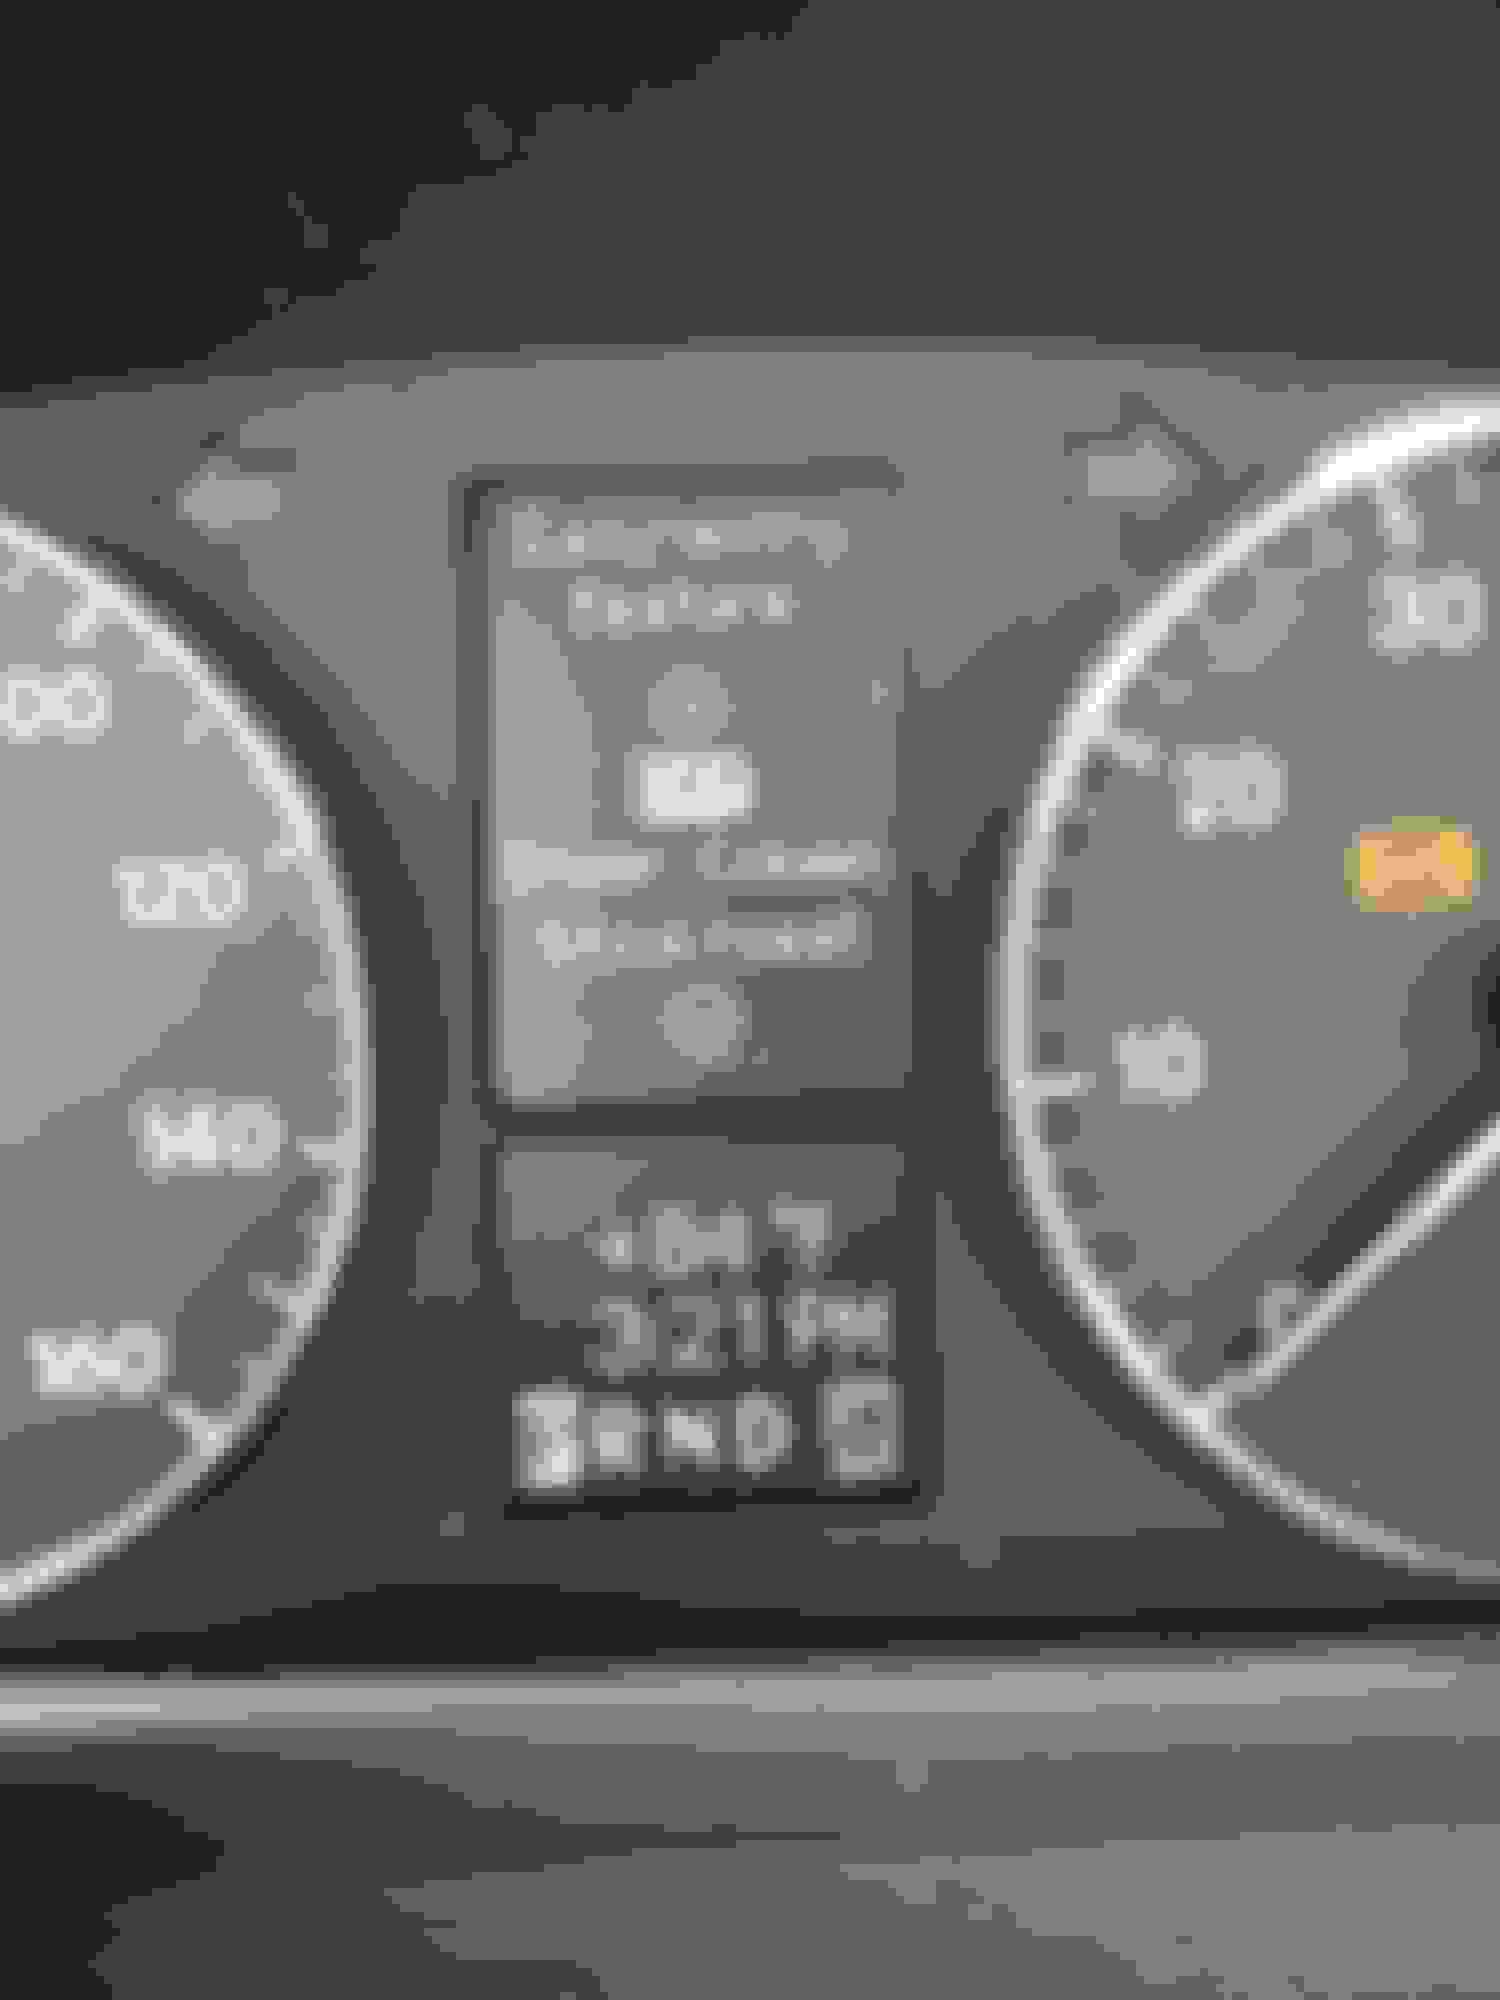
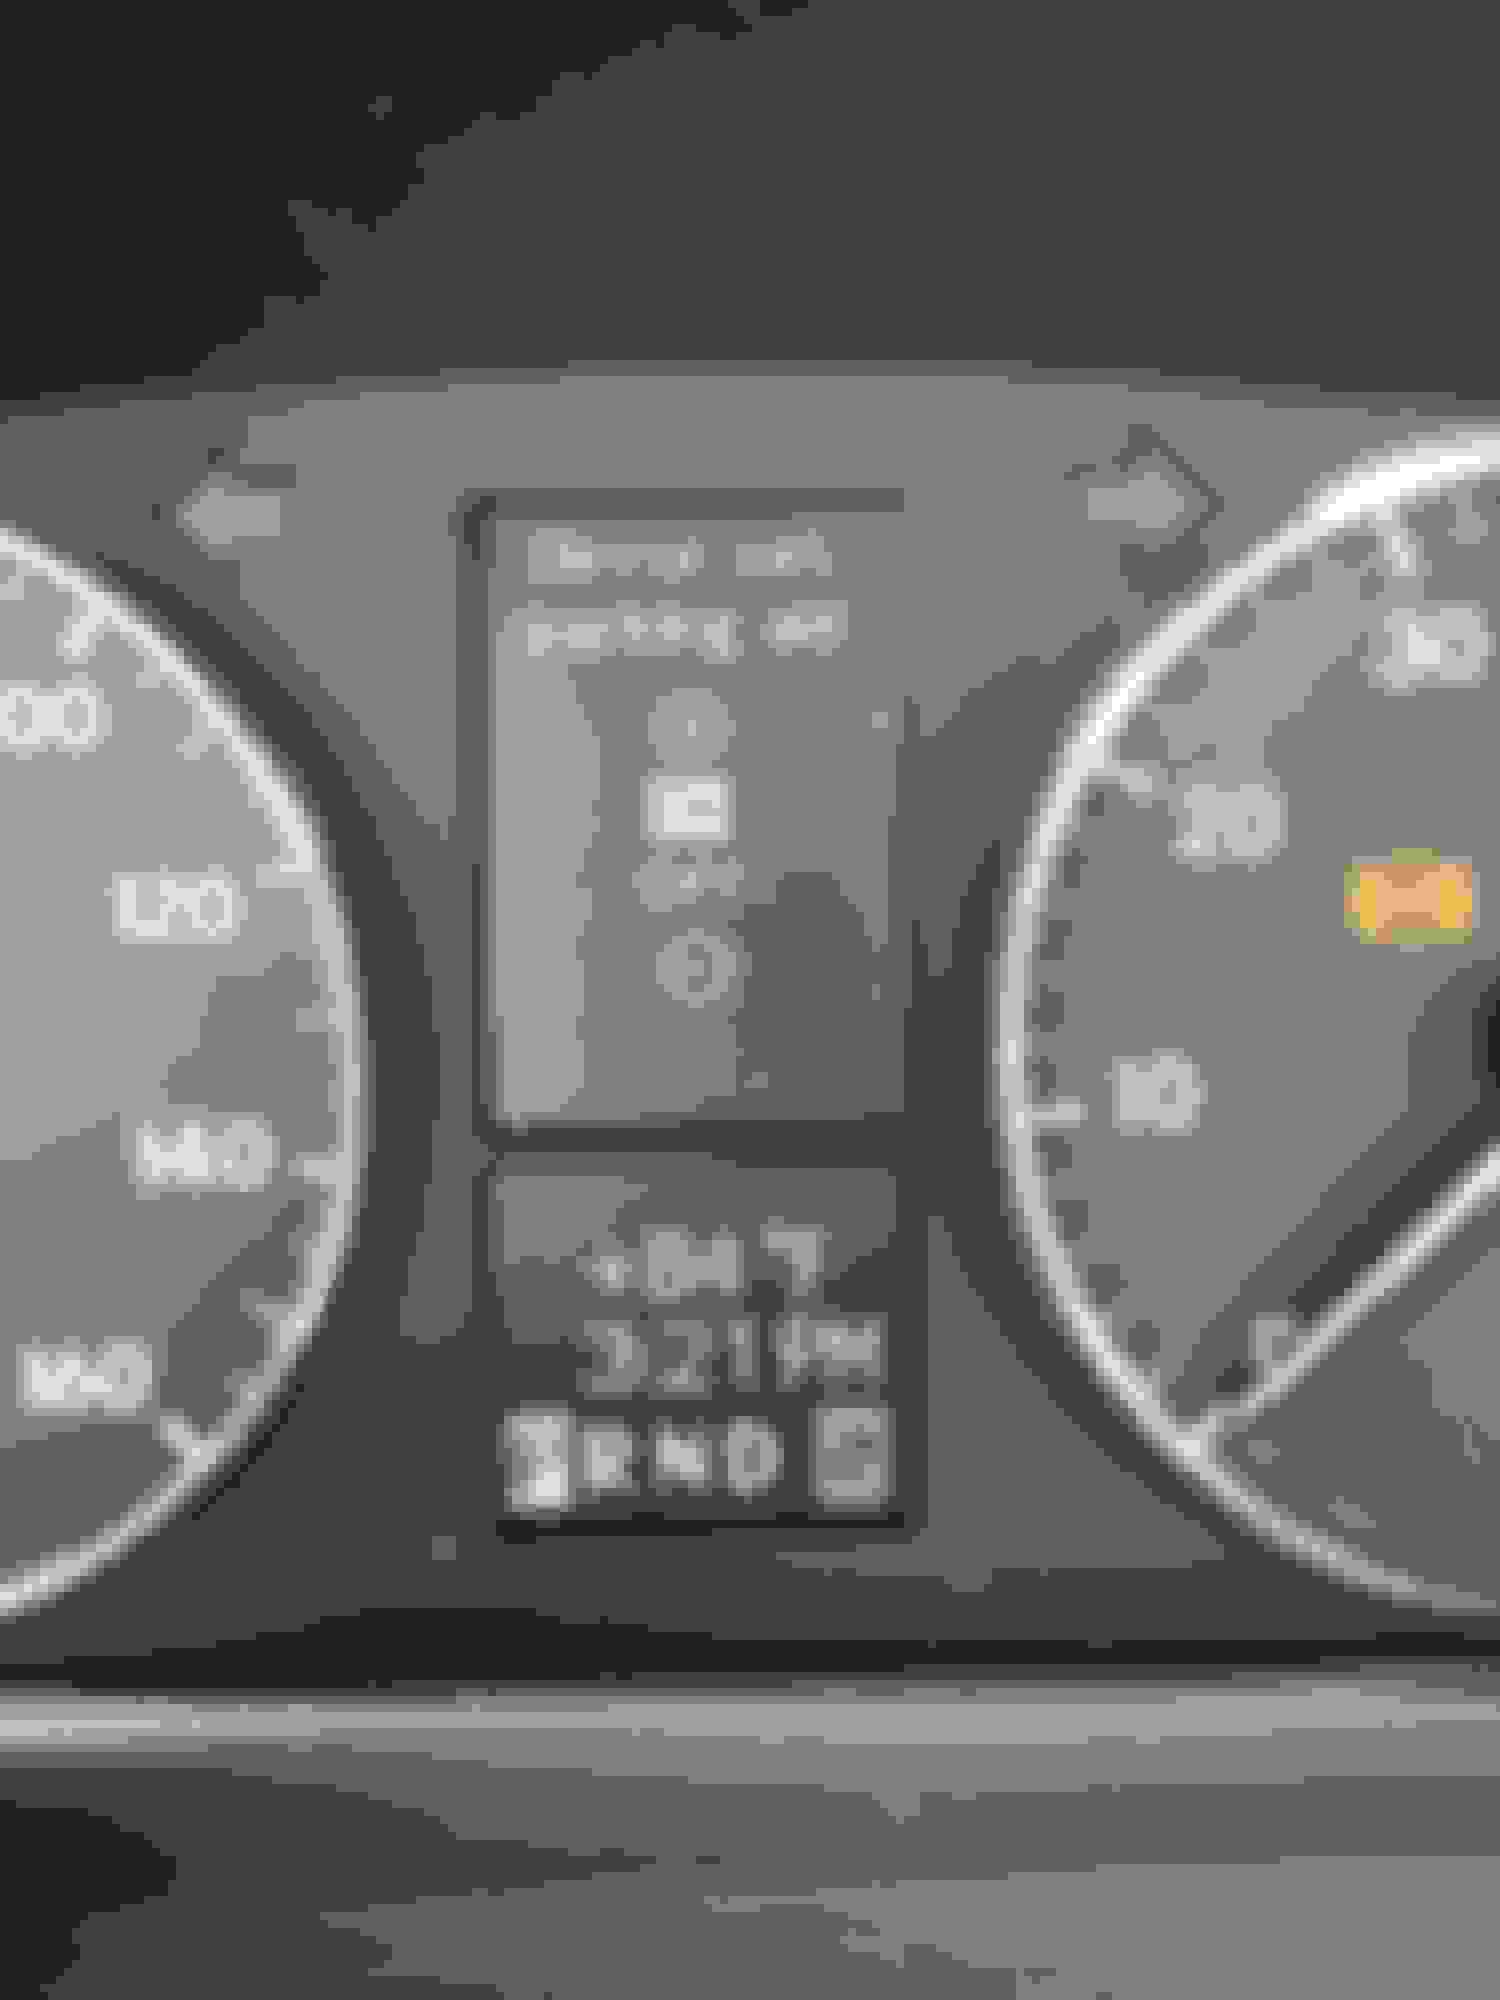
12 - turn mirror parking aid on
put key in position 1 or 2 so that you can scroll through the dash menu items
in convenience menu change mirror set. parking aid to On
13 - put key in on position 2 (doesn't have to be running), shift into R to test mirror (with mirror selector on right mirror)
14 - reinstall door panel and speaker (install speaker from window side gently fishing around window felt then clip in) the part the curves around door on window side is very fragile and cracks easily
15 - enjoy not hitting curbs and scratching rims when you backup
STAR DAS settings-- (developer mode not needed) -- go to these menus
(misc info just fyi --rear sam -- alarm sound change to netherlands to make the car 'beep' when you arm/disarm
front sam-- mirror fold-in/fold-out)
Functions performed by more than one control unit
Communication / Informatioin
Communication
Display unit
1st
EZS - Electonic ignition switch (this is where settings for xenon/seat memory/hot climate/desert country)
continue/F2
Contorl unit adaptaions
Read coding and change if necessary.
All Codes
scroll to 2nd page
***CHANGE THIS -- 'Driver' automatic seat adjustment with memory -- PRESENT
F5 coding is carried out
Yes to continue
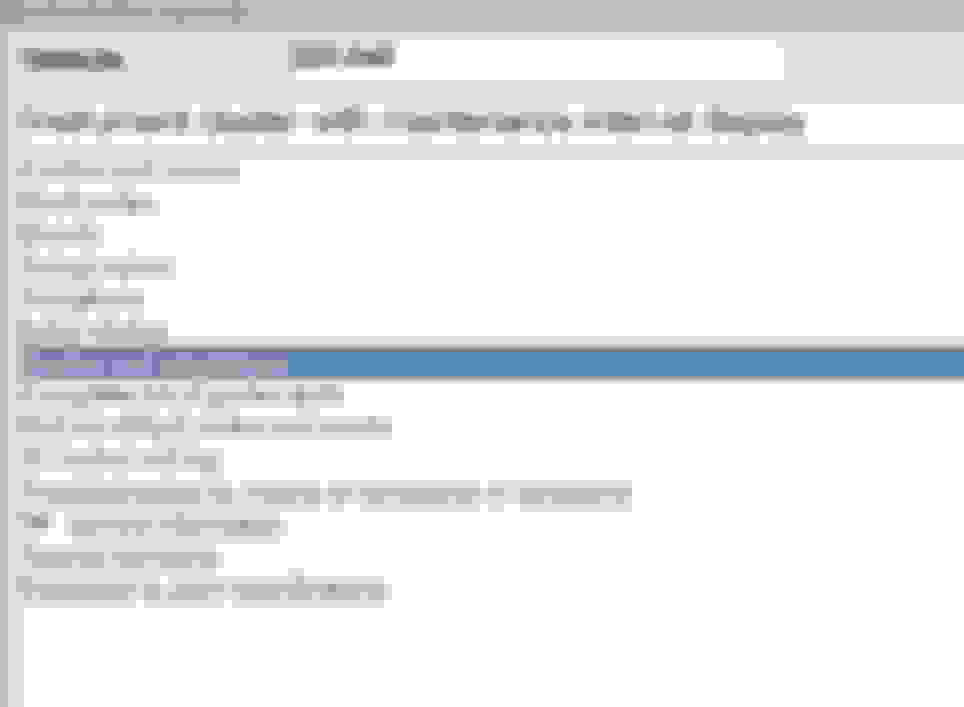
2nd
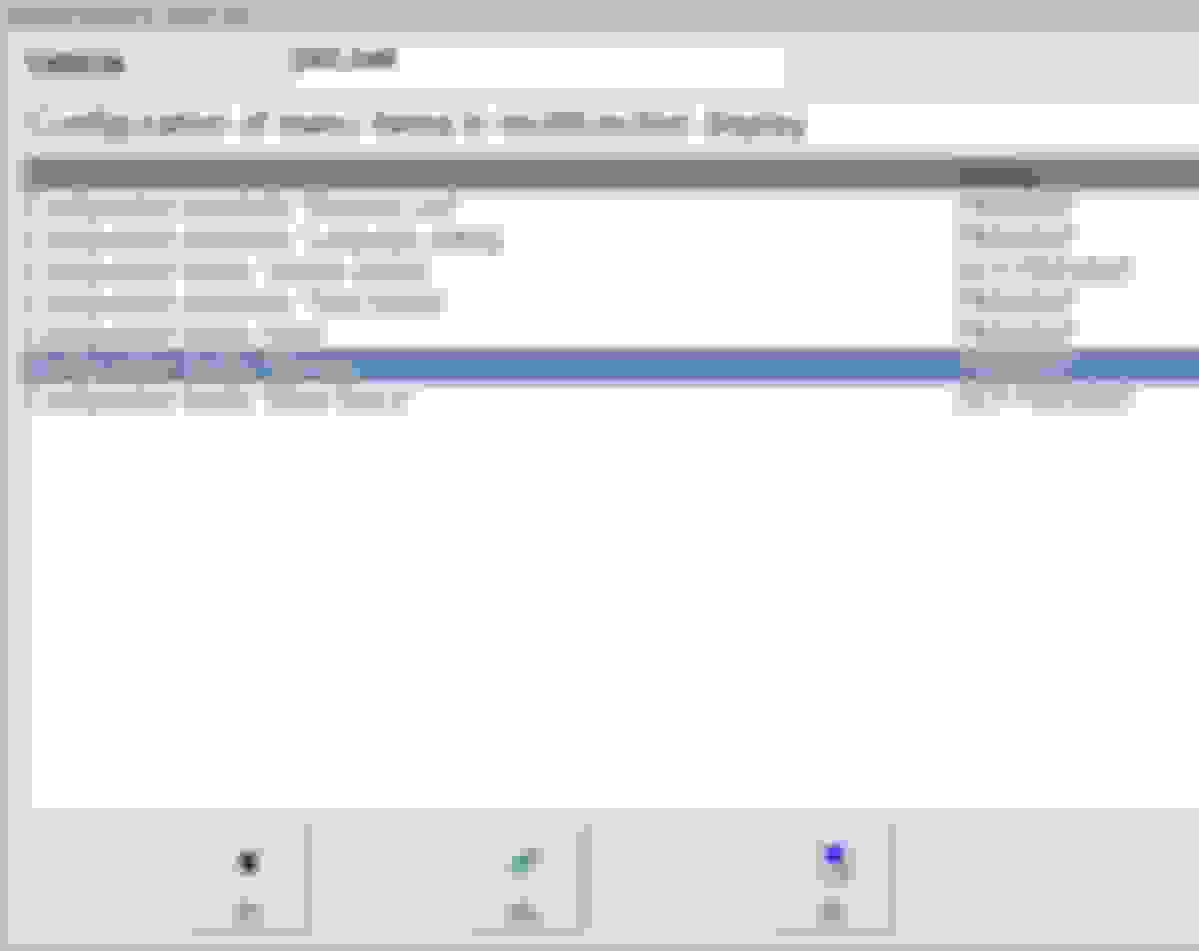
ICM - instrument cluster with maintenance interval display
Contorl unit adaptations
Variant coding
Configuration of menu items in multifunction display
***CHANGE THIS -- Configuration facility 'Memory' -- PRESENT
carry out coding as above
passenger/right mirror adjustment button has to be pushed in
when in reverse after a few seconds and key in on position, the mirror will dip down; you can now adjust the mirror to where you want it and it will save this setting separate from when mirror is in normal position.
If mirror selector is NOT on the right side, the 'dip' setting in reverse will not work.
SEE PICS IN NEXT COMMENTS
Last edited by krazzdav; Nov 21, 2018 at 04:12 AM.
Mercedes SLR McLaren 722 S Is Extremely Rare Example Modified by McLaren
Slideshow: A one-of-one U.S.-spec Mercedes-Benz SLR McLaren Roadster became even rarer after a factory-backed transformation at McLaren's headquarters.