When you click on links to various merchants on this site and make a purchase, this can result in this site earning a commission. Affiliate programs and affiliations include, but are not limited to, the eBay Partner Network.
As part of my memory seat retrofit, I need to swap my interior door panel. The one I bought with the memory switches has wood trim and I am replacing it with the brushed aluminum trim from my existing panel.
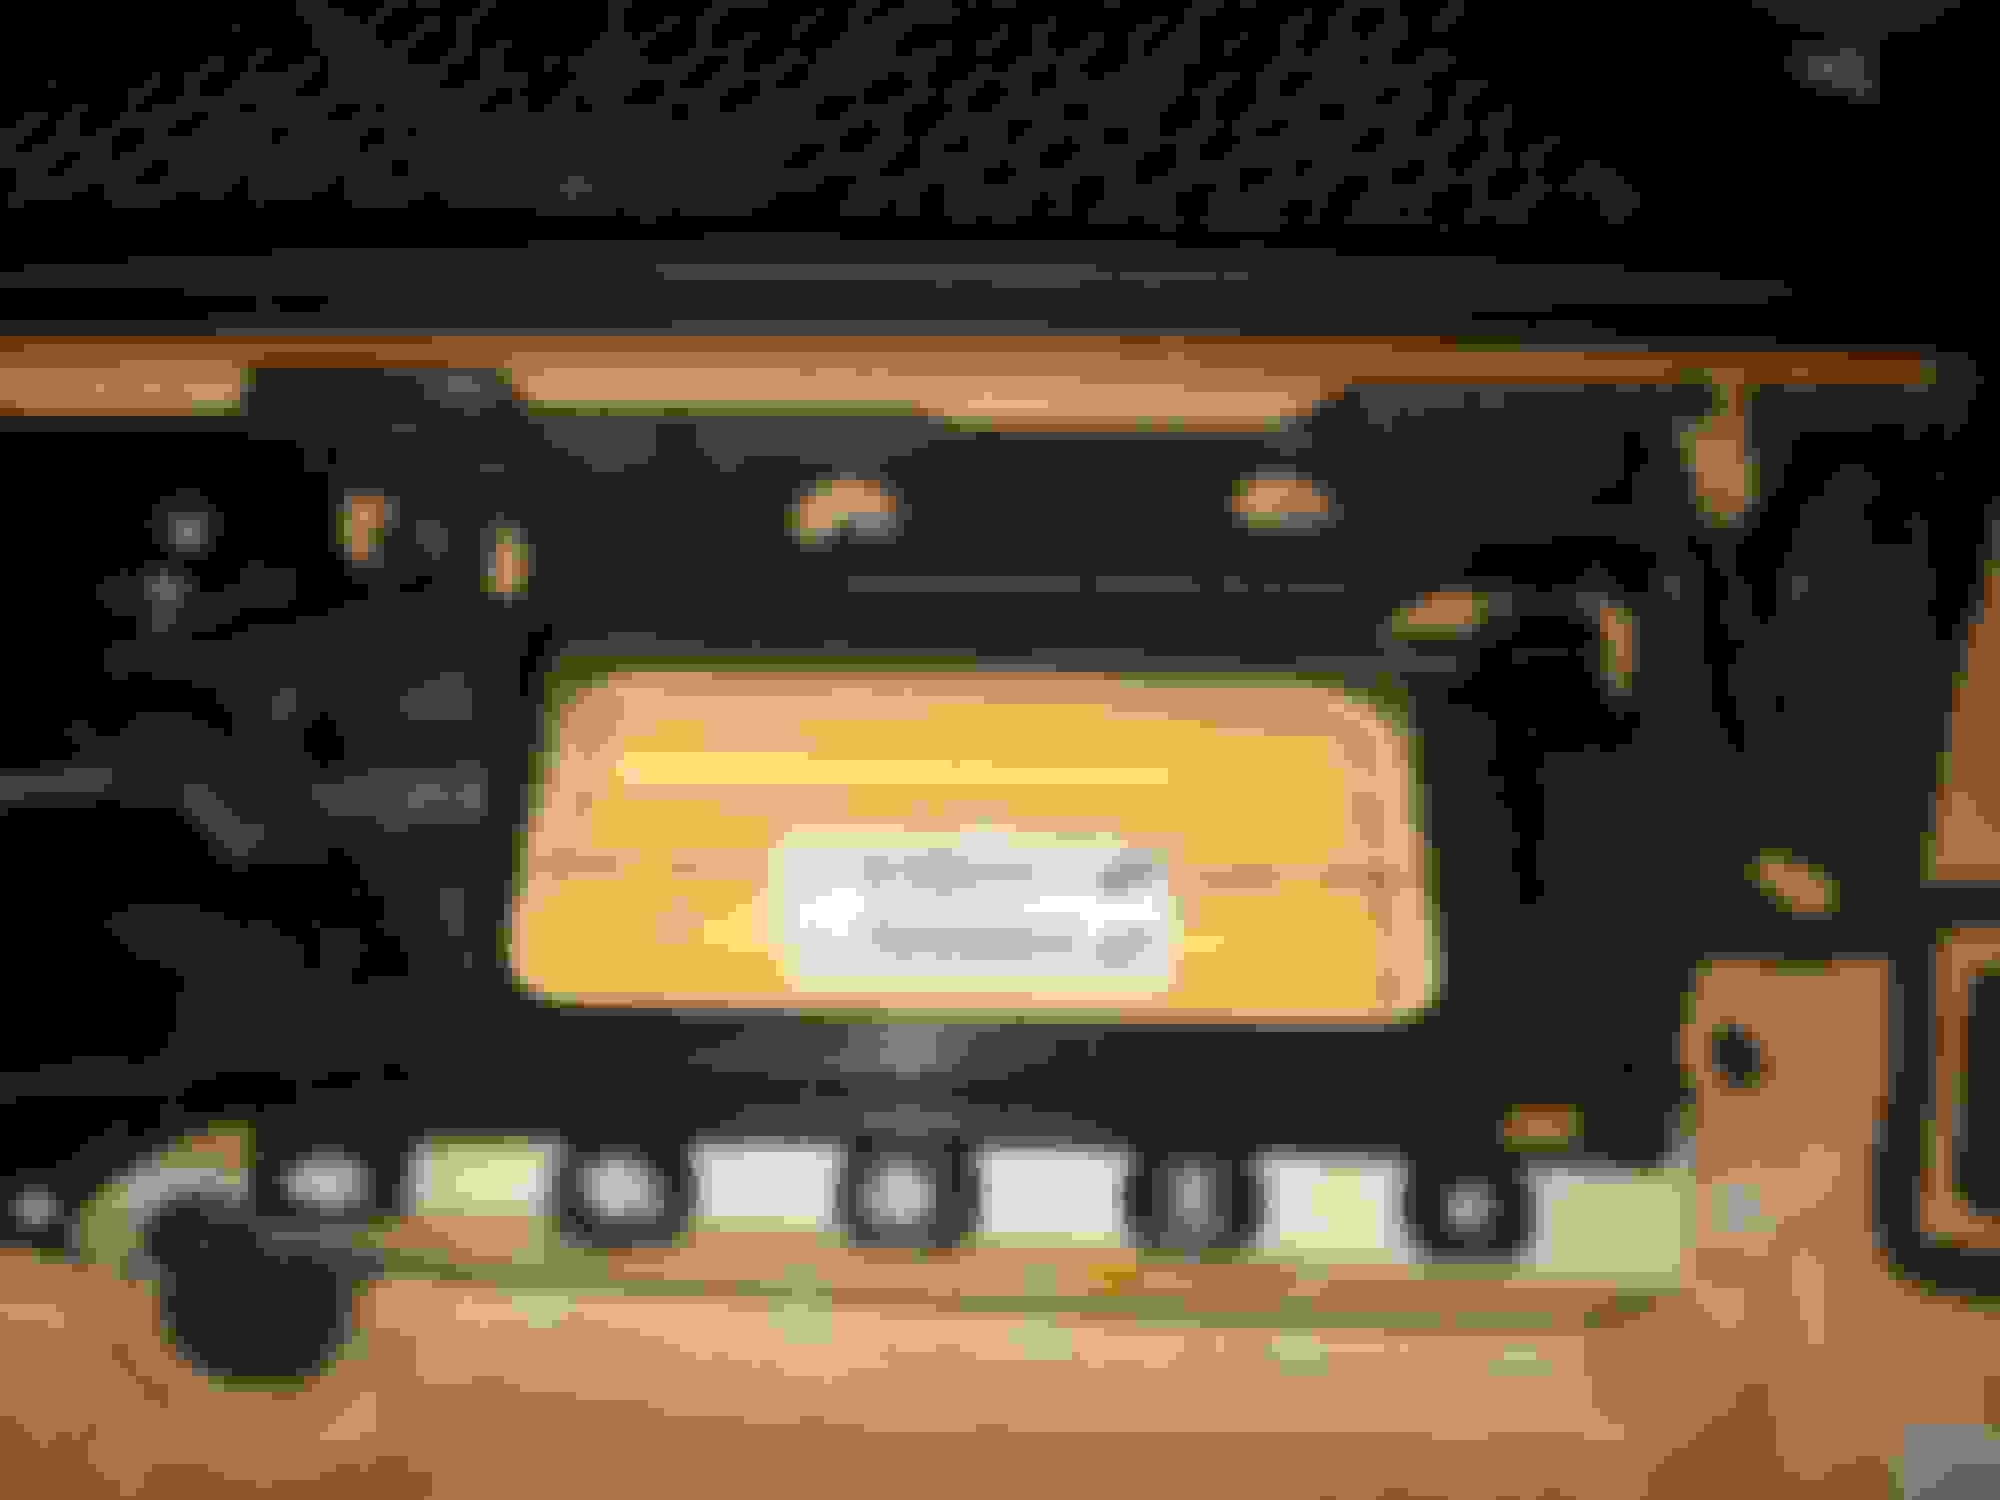
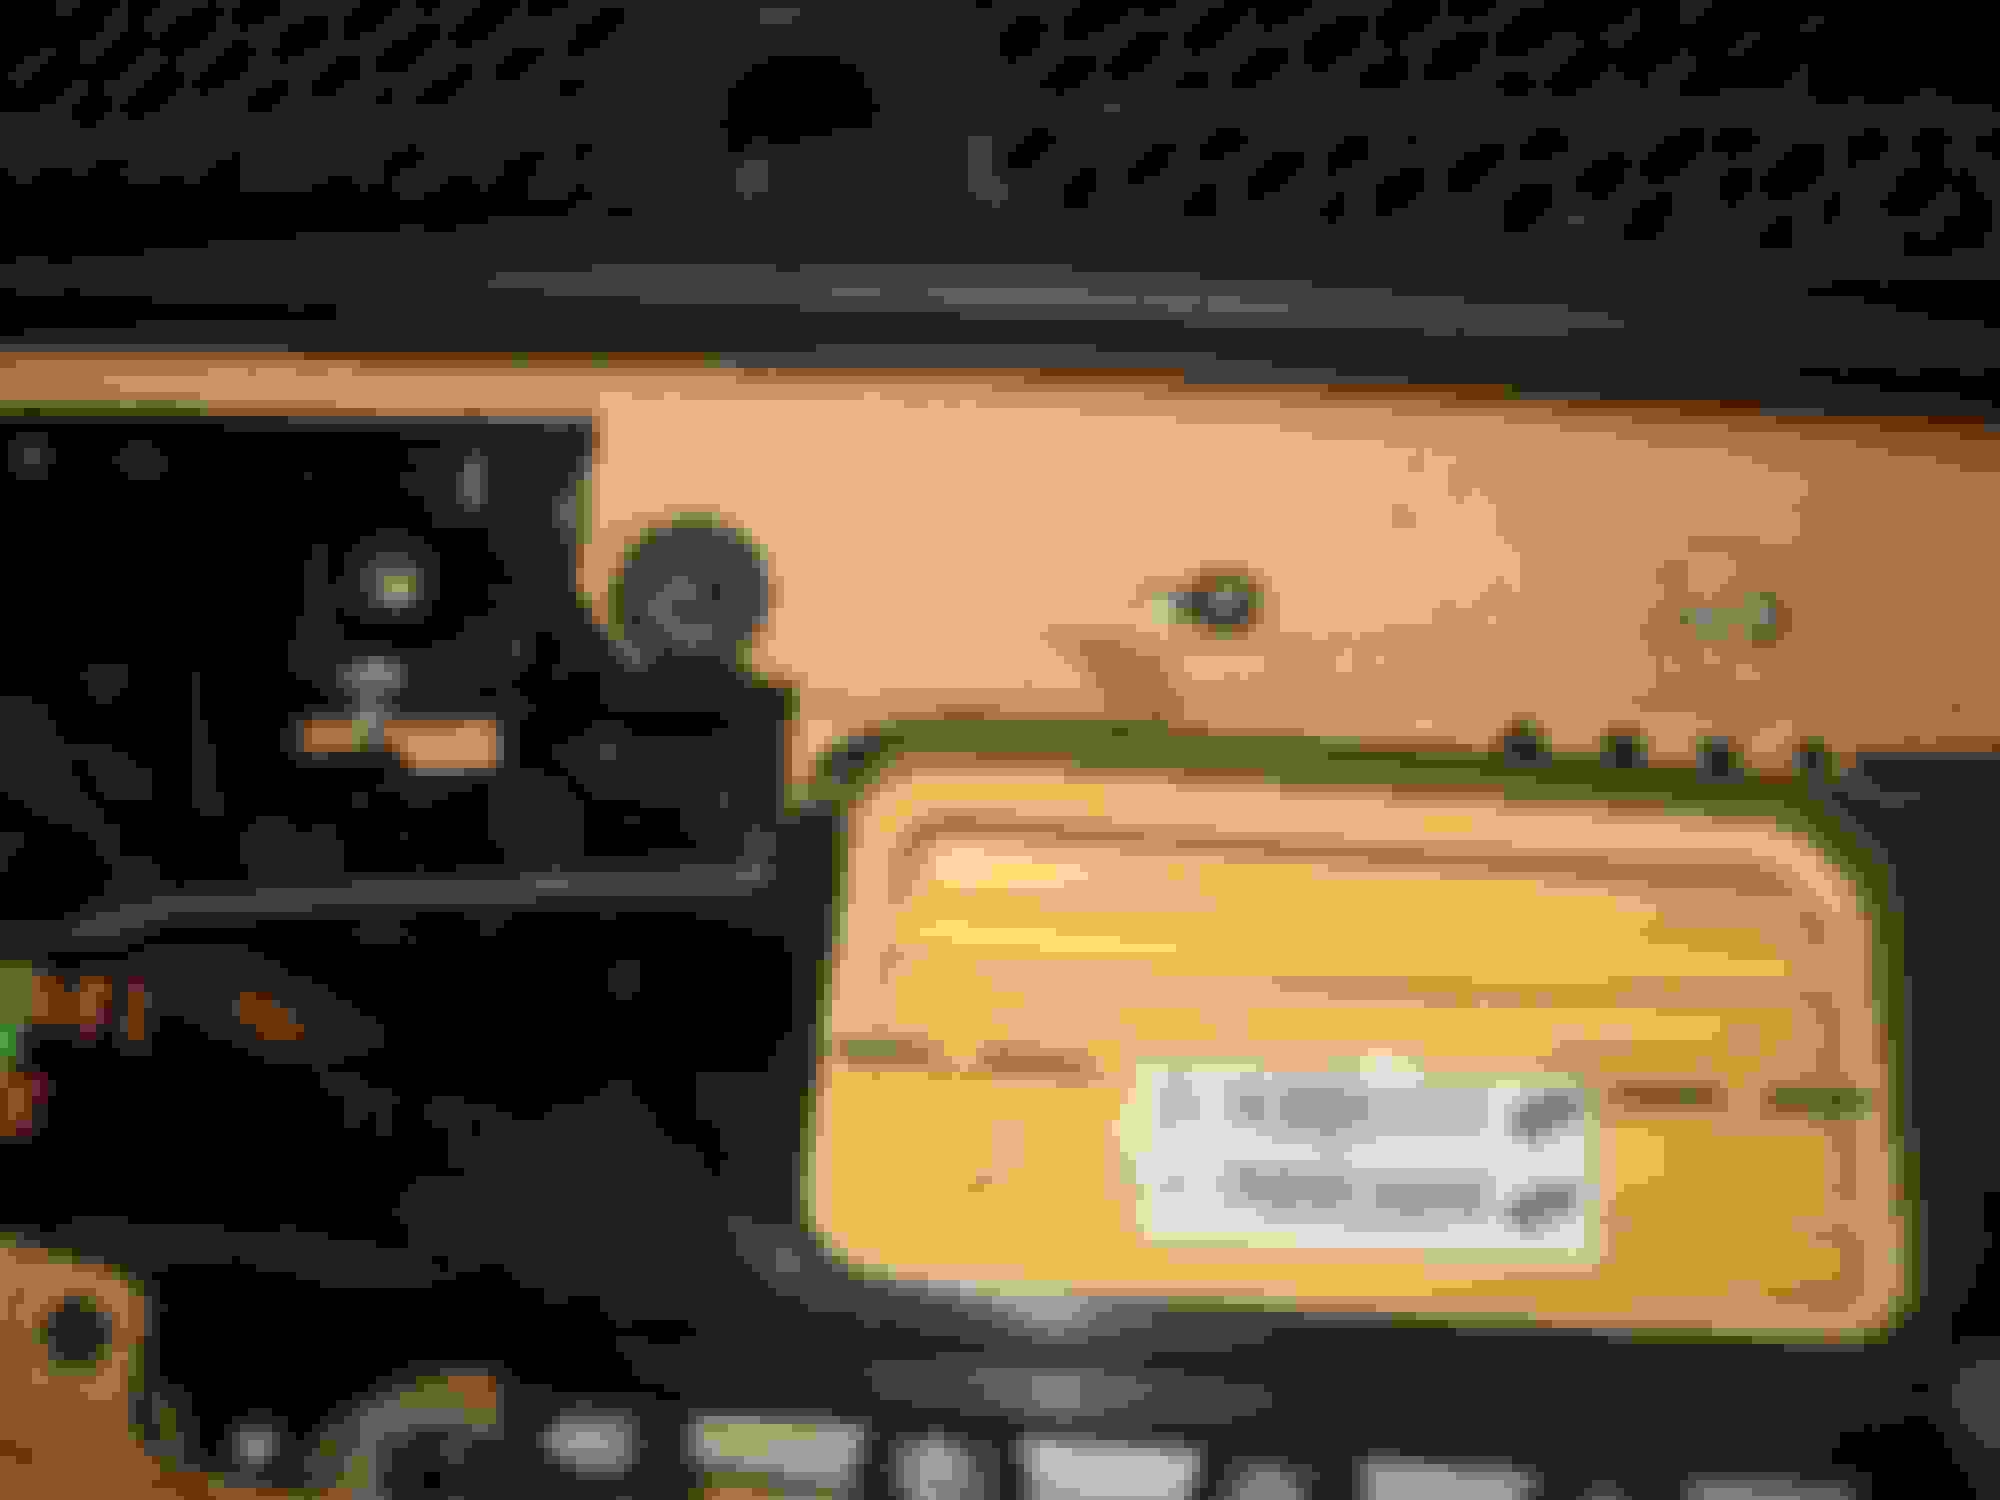
There are four fasteners holding the trim in place. They are partially covered by a piece of foam which I assume serves as sound-deadening. The foam lifts off easily. Each of the fasteners is covered by tape which probably prevents water intrusion.
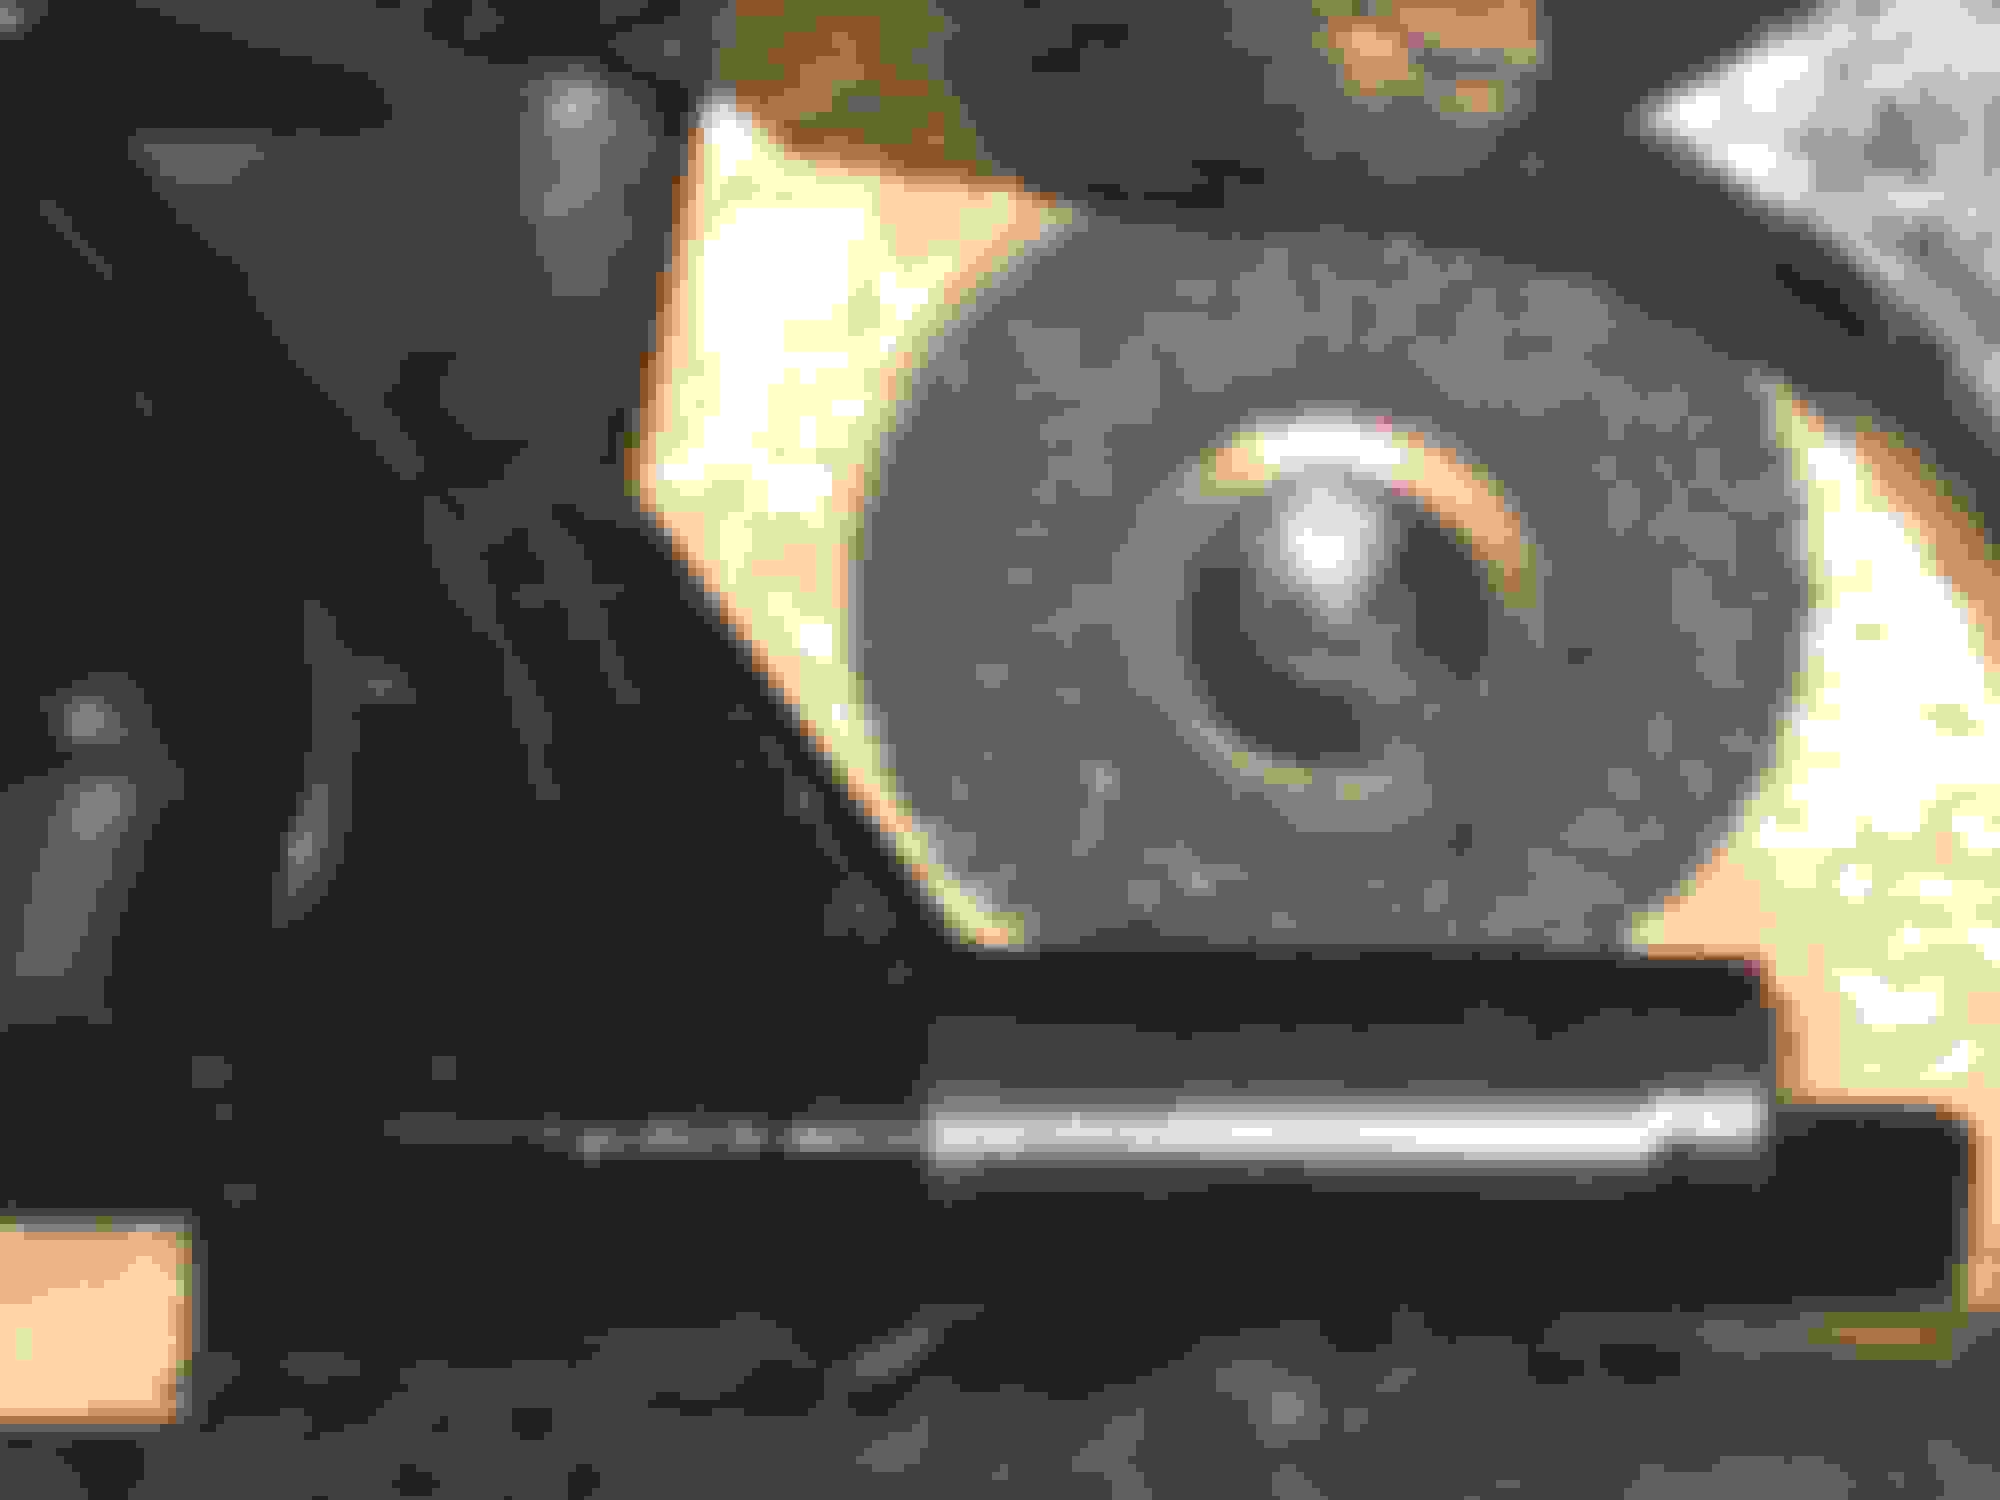
Four fasteners hold the trim in place. They are partially obscured by this piece of foam The foam lifts out of place to give access to the fasteners Close up of attachment point
It appears that the trim piece was attached by pushing the metal pins protruding from the back of the trim panel into bronze-colored pieces of metal with holes in the center. The holes in the centers of the disk are slightly smaller than the pins. The force of the pins entering the hole deforms the brass-colored disks and that grips the pins and holds the trim piece in place.
To remove it, it appears that I should pry up the bronze-colored metal and release the pin. Before I install my I will need to bend the flaps back so that they will grasp the pin.
Please let me know whether this is the correct method or if another technique is more appropriate.
As part of my memory seat retrofit, I need to swap my interior door panel. The one I bought with the memory switches has wood trim and I am replacing it with the brushed aluminum trim from my existing panel.
There are four fasteners holding the trim in place. They are partially covered by a piece of foam which I assume serves as sound-deadening. The foam lifts off easily. Each of the fasteners is covered by tape which probably prevents water intrusion.
Four fasteners hold the trim in place. They are partially obscured by this piece of foam The foam lifts out of place to give access to the fasteners Close up of attachment point
It appears that the trim piece was attached by pushing the metal pins protruding from the back of the trim panel into bronze-colored pieces of metal with holes in the center. The holes in the centers of the disk are slightly smaller than the pins. The force of the pins entering the hole deforms the brass-colored disks and that grips the pins and holds the trim piece in place.
To remove it, it appears that I should pry up the bronze-colored metal and release the pin. Before I install my I will need to bend the flaps back so that they will grasp the pin.
Please let me know whether this is the correct method or if another technique is more appropriate.
That's the way I did my trim upgrade this morning...
Use a hook tool and spin them off. They'll unscrew like a really awkward nut. You can then reuse them by just pushing them back on. I swapped out the aluminum trim in my car to the black birdseye this way.
Use a hook tool and spin them off. They'll unscrew like a really awkward nut. You can then reuse them by just pushing them back on. I swapped out the aluminum trim in my car to the black birdseye this way.
This is essentially what I did. I used needle-nosed pliers instead of a hook tool. It is easy once you know which tool and technique to use.
I used a small screwdriver and spun them off like Spooky did.
One of the '****' was already broken off.
So I found a small stainless cap screw and heated the head with a torch and sunk it into the plastic pocket.
The 2 stainless nuts (one used to lock the other) were used to fasten it back on.
Much better than new!
 08-01-2021, 01:50 PM