When you click on links to various merchants on this site and make a purchase, this can result in this site earning a commission. Affiliate programs and affiliations include, but are not limited to, the eBay Partner Network.
It is possible, really! The best part is that it won't break the bank. I believe this post will be useful to anyone interested in upgrading their car with an ADAS (Advanced Driving Assistance System) feature. Nevertheless, it needs an HDMI or analog RCA input.
WARNING: Please use caution to avoid any physical harm or possibly car damage as this involves altering the electrical circuit.
WHICH TO CHOOSE
Since I don't have the Parktronic option, I thought it would be nice to have a 360-degree system for easier parking in tight spaces. I went with SZDalos on AliExpress (China) since it had a nice 3D view with high-resolution cameras.
Product Package
[4] cameras along a trigger line for each camera at both connector ends. The camera enclosure was made of plastic (later on, they sold the camera with a metal enclosure).
[4] rolls of calibration tape. Notice: The product box is also used for calibration.
[1] drill bit for drilling under the side mirror covers.
[1] remote control.
[1] Infrared sensor extension cable for the remote
[1] English color manual.
There are two video outputs on this system: an analog RCA and an HDMI (or even VGA output). However, neither the manual nor the adapter were included. The four 1080p cameras look amazing when displayed on an HDMI monitor. Interestingly, it also has a CAN bus plug that isn't documented.
Cost
In 2017, the cost with shipping to Canada, was 466 CAD. Later, I purchased a rear camera "stabilizer" (a 1000 uF capacitor) from Amazon in the hopes of maintaining a stable 12 volts going to this unit. It is said that when the vehicle battery falls below a specific voltage, this unit turns off by itself.
Material and tools used
[1] Mercedes-Benz side mirror screwdriver (for complete removal from the chassis) HAZET 2715-20H
[1] Drill (to make a hole under side mirror cover)
[1] Heat-shrink tubing (to protect from water infiltration)
[1] Fuse Holder Add-a-Circuit *standard ATO size (not mini) (Fuse #7 is reused, another
7.5 Amp fuse is required)
[1] Solder iron (for a good connection that withstands vibration and pulling force)
[1] Dielectric grease (to prevent corrosion)
[1] RTV black silicone (to patch around the hole of the side mirror rubber seal from the side mirror wires)
[1] Optional: Mercedes WIS (Workshop Information System) (for official instructions for the side mirror, side-panel door, and license plate light/trunk disassembly).
[1] Very optional: OBD2 scanner or Star Diagnosis to clear error codes triggered by electrical disconnection of side-mirror LED and trunk wire.
INSTALLATION
I've attached a Mercedes WIS (Workshop Information System) document with instructions for disassembly and reassembly of the side mirrors, rear license plate light, front door side panel, etc.
STEP-BY-STEP SUMMARY
Before installing, test the 360-camera system with a small 12 V battery outside of the car. Black wire to battery negative (black). Yellow (constant) wire to battery positive. To start it, connect the exposed red (accessory) wire to the battery's positive terminal. Alternatively, twist both yellow and red together to the positive of the battery (red). This unit will not power on unless the red and yellow wires are connected together.
0. Put on your authentic Mercedes-Benz white cloth gloves (for both style and safety).
1. Remove the trunk trim panel (to gain access to the left-side ground bolt).
2. Install rear camera with trigger line on reverse light (find the correct wire color in the W203 forum).
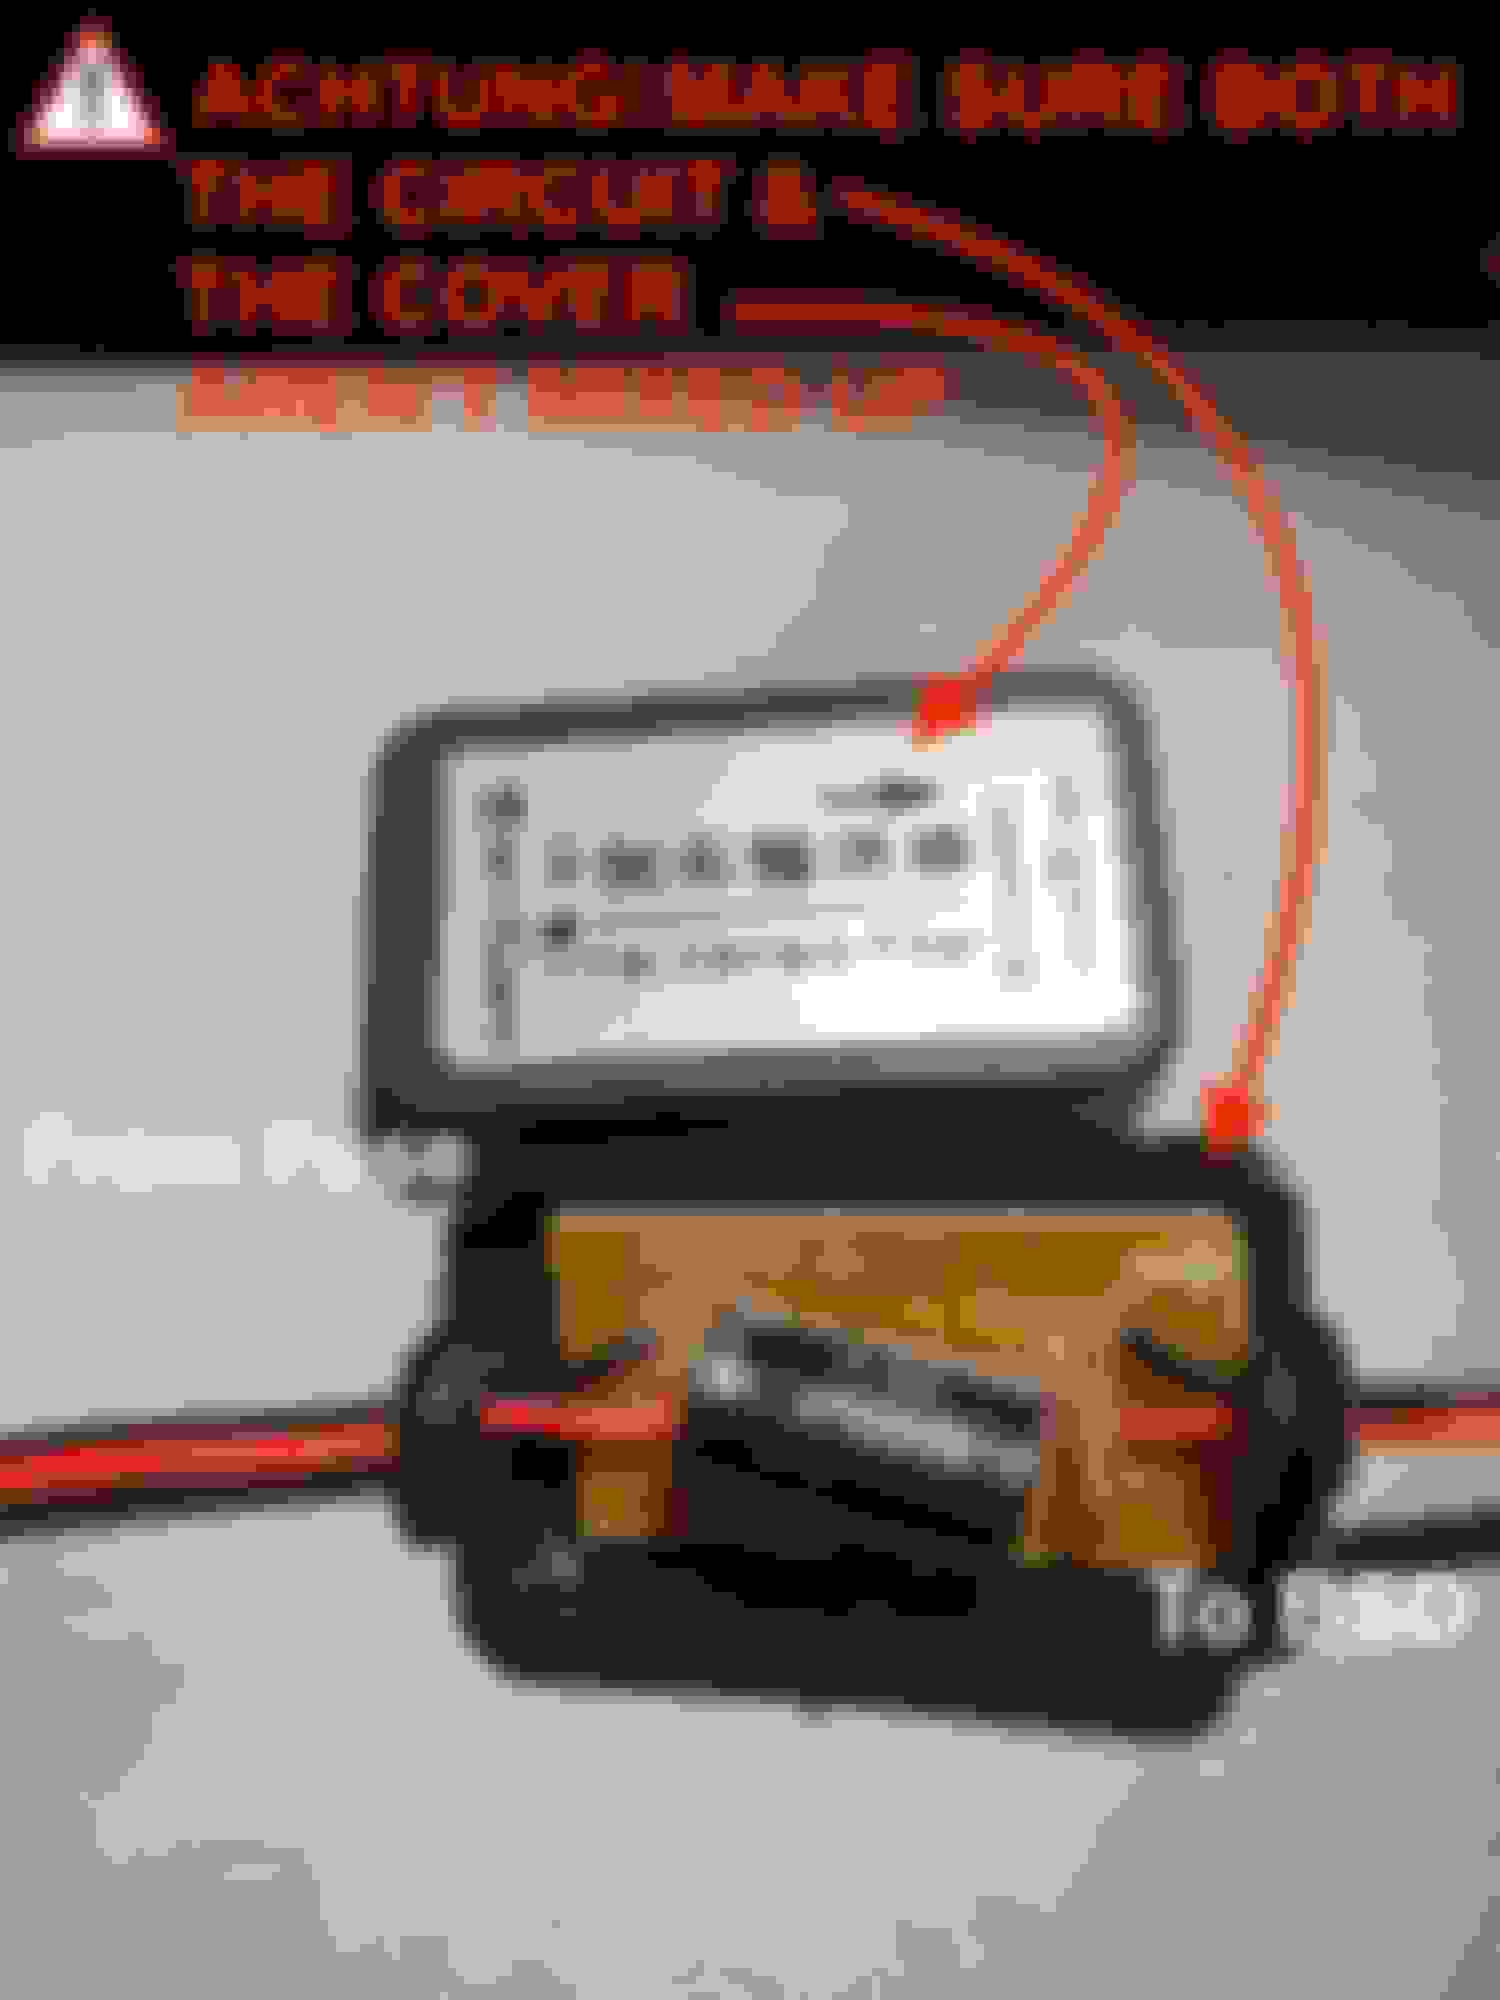
3. Construct the add-in circuit and locate the ground screw (as shown in the photo).
4. Remove the right-side door molding strip panels (to conceal the wire extension from the rear camera).
5. Remove the side mirror cover and drill a hole beneath it (as shown in the manual and photo).
6. Remove the side mirror assembly from the chassis (*special screwdriver required). Because the wires for the motor and the mirror heater are still connected to the front SAM (Signal Acquisition Module) behind the door trim panel, temporarily secure the assembly inside the driver's window frame with painter's tape.
7. Remove the interior door trim panel (to allow access to the wires inside the vehicle).
8. Crimp or solder the trigger line to the turn-signal line. To prevent shorts and corrosion, wrap exposed metal in heat-shrink tubing.
9. Poke a hole in the side mirror rubber seal. Fish the camera wire through this hole. Put RTV silicone around it (to prevent water infiltration).
10. Re-assemble the side mirrors.
11. Re-assemble the door trim panel.
12. Install the front-view camera. Secure the wire on the right side of the engine bay (for left-hand drive) with a zip tie.
13. Remove the plastic plug under the glove box behind the firewall (passenger side).
14. Pass the wire from the front camera through this hole. Seal the hole with RTV silicone to keep out any elements from the engine bay (heat, cold, water, gas fumes, insects, etc.).
15. Connect all of the wires to the harness.
16. Remove fuse #7 from its original socket (rear fuse box) and place it on the Add-In-Circuit before inserting the Add-In-Circuit into the fuse #7 socket.
17. Insert the keyfob and put it in ignition position 1. The unit should boot itself. To prevent battery drainage, turn the engine on completely (position 2) and proceed to the next step.
18. Begin the calibration process, which will vary depending on your system.
19. Stay calm and enjoy your 360-degree parking!
In the following sections, I'll describe them in more detail.
Base unit
The enclosure, which is currently located in the glove box for easier access to SD card or USB storage, appears to be made of aluminum alloy. For testing purposes, it was initially connected to an external, small 12-volt battery. It was then powered by the same 12-volt input as an Android device. Because it is continuous power (recording even when the engine is turned off), it drains the battery in the winter, despite the fact that the manual mentions low-voltage turn-off protection (I drained my battery twice). On the unit, there is no power button. I had to lean over the glove box to physically disconnect the unit's power. Later, the 12-volt power supply was obtained from rear trunk fuse box fuse 7.
Front camera
The location chosen was just below the bumper, angled down with two provided screws. To fish the wire into the car, remove a serrated tubular plastic plug on the right firewall (in the passenger footwell beneath the glovebox). Because I didn't find it useful, I didn't connect the trigger line to the low- or high-beam wire for front camera switching.
Side camera
A drill bit was provided; painter tape was used to mark the spot and reduce chipping around the drilled hole; the Mercedes-Benz side mirror cover is made of a very thick ABS material; expect to drill for quite some time. To solder the trigger line to the side-mirror LED light wire, which allows switching view when the turn signal light is on (your 3D-model car will rotate a bit and change the car perspective), you'll need a special long screwdriver.
Personally, I think it's more of a gimmick than a functional feature. I'm not sure if those with foldable side mirrors can install cameras because of the folding mechanism. Despite having a low profile on the inside, the plastic one can be tightened with a plastic nut from the inside of the side mirror cover.
Rear camera
I repurposed the plastic license plate light cover from an old non-360 backup camera (which I replaced with a 360 one, 2 screws). The rear camera trigger line is soldered to the right reverse light by default, but it can also be soldered to the left. The right side was chosen because the extension wire had the shortest path to the glovebox.
I used dielectric grease on the 4-pin connection of all cameras to prevent corrosion, as well as heat shrink for an additional layer of protection (optional). When my front camera stopped working, I noticed oxidation on the pins when I only used black electrical tape. I used Mercedes-Benz WIS to disassemble the side mirrors and license plate light/trunk. To erase the fault caused by disconnecting the side mirror light and trunk electrical connection, use a Star Diagnosis C3, C4 or diagnostic OBD2 scanner.
Following the instruction manual simplifies the calibration process. The tape is only intended for one-time use, which is why I taped it to a cloth so that I could reuse it in the future, as each time you replace a new camera, you must recalibrate the system. You can change the output video's sharpness, brightness, contrast, and saturation.
I use an add-on circuit on fuse #7, which is backup relay 1 (N10/2kD) 7.5 Amp, to power the system. This fuse is in the trunk's rear fuse box, on the inner left side. This fuse will not drain the battery when the car is turned off because it only works in ignition position 1. When the car is turned off, for example, fuse #3 (Parktronic dome light) and fuse #6 (spare) appear to be constantly on. The add-in-circuit's holds two 7.5 Amp fuses, leaving backup relay 1 unaffected by any shorts originating from the base unit.
***
You must establish which of the two fuse box contacts has power. The add-in-circuit contains a single power contact, which may change depending on the model. Check that it is properly positioned. To be safe, insert the add-in-circuit without the stabilizer first. The item will power on once the right orientation of the add-in-circuit has been determined.Otherwise, it will just not work. Disconnect everything; you may now add a stabilizer if desired.
***
For optimal performance and safety, we need to know the wire size. We use an online wire gauge calculator to calculate the recommended AWG size: 13.8 V (alternator output) with a 7.5 amp fuse if we tolerate 3% voltage drops (13.4 V) with 9 feet of wire (from glovebox to trunk +/- wheelbase distance); in this case the minimum recommended size is 16 AWG. The yellow (constant battery +12 volts) and red (switch accessory) wires from the unit were soldered together and heat-shrunk to prevent short-circuiting, and the black wire from the unit is connected to the add-in-circuit's negative. In case I need to service or remove the unit, I've built a wire with 3-pin connectors (female and male) near the unit to allow for quick disconnect.
Just a friendly reminder: if you connect to your radio head unit's yellow (constant battery + 12 volts) and red (switch accessory) wires separately, this unit may drain your battery overnight in the winter. I left it twice connected and both times had a dead battery the next cold morning. That's why I took a different approach and moved the wiring to the rear fuse box. Contrary to what is claimed, there is no low-voltage protection, or my base unit is not functioning properly.
VIDEO RECORDING
Each saved mp4 video file is two minutes in length and 90MB in size. For someone who drives his car less frequently, a 32 GB SD card can store a month's worth of video footage. When it's full, it can overwrite the oldest video file, just like a security camera DVR. I'm not sure what the maximum capacity of an SD card or USB storage is.
LONG-TERM REVIEW
The installation was completed in 2017, almost 6 years ago. Here's my personal take on their system. Parking is much easier, less guesswork, and more enjoyable with a bird's-eye view. This unit does not currently support dynamic steering lines to OEM 360 systems or a touchscreen interface to switch between views (only via a remote or trigger line) because there is no Can bus communication with the actual car.
LIVE 3D VIDEO
It has an average 0.5-second latency from actual video footage, possibly to stitch all four fisheye cameras on the fly; thus, high-speed 3D views are not real-time video. However, I'm not sure if this is because the Android head unit is of an older generation.
RECORDED VIDEO FOOTAGE
Nonetheless, it can record four unprocessed 2D fisheye views on an SD card or USB flash drive and play them back directly on the system via the remote control or on a computer via the supported storage media, just like a DVR security system. This vehicle will record any accidents that you are involved in or witness. The raw video footage consists of four split-screen fish-eye views. I'm not sure if G-sensor activation is actually implemented or if an optional external sensor is required.
Outdoor Temperature Tested: -30 C to +35 C
The IP rating is not IP65. From personal experience, it does not support a high-powered waterjet from multiple angles. If you use a car wash, as I frequently do in the winter due to salty roads, your front and rear cameras may become inoperable if the lens seal is compromised. My front camera failed during my first year of use. How do I know this? The front camera went black after I started the car and drove to the exit of the automated wash, according to the camera footage. It flickered briefly before coming to a complete stop at the next intersection light.
Continuous usage: 6 hours round trip. There was no problem detected (no reboot or freezing).
Night driving: The image quality is quite good in low-light conditions. Even in complete darkness, the surrounding color and details are stunning.
Rustproof: the front camera support and screws will both rust from road salt.
Durability: The first version of the camera casing was made of plastic, and my front camera blacked out within the first year (it was replaced for free under the 1-year warranty policy). We can see short-circuit damage on the camera circuit board by opening it. In 2020, I purchased a replacement front camera, the metal one, which was defective after 2 years (probably due to water infiltration again); additionally, the lens was broken by rock chips, creating an artifact that rendered it unusable.
When driving on salty roads in Canada during the winter, the front and rear cameras, as well as the mirrors on both sides, can become clogged with dried salt residue, rendering them useless if not properly cleaned. Understandably, the video image can distort in heavy rain due to water droplets on the lens.
Both the plastic and metal versions do not appear to be resistant to harsh environments. Water infiltrates between the lens and the casing and causes a short circuit. I'm now on my third front-facing camera. On both the front and rear cameras, I used an acrylic waterproof spray for electronics (masking off only the aperture of the lens to prevent blur). Only time will tell whether or not this was useful. Some color noise artifacts, an intermittent black screen, and eventually a constant black screen were symptoms of a failing camera. This camera circuit board, unlike other standard backup cameras, is not waterproof on the inside (neither black silicon injection nor epoxy resin).
The side mirror camera is less susceptible to water damage; however, condensation does form on the inside of the lens in extremely humid conditions (foggy days), but it eventually clears. These cameras are not as resistant to harsh environments as I had hoped. I'm not familiar with the protocol for the signal between the camera and the unit, but even if the pin out matches, replacing it with similar 4-pin cameras isn't compatible with this system.
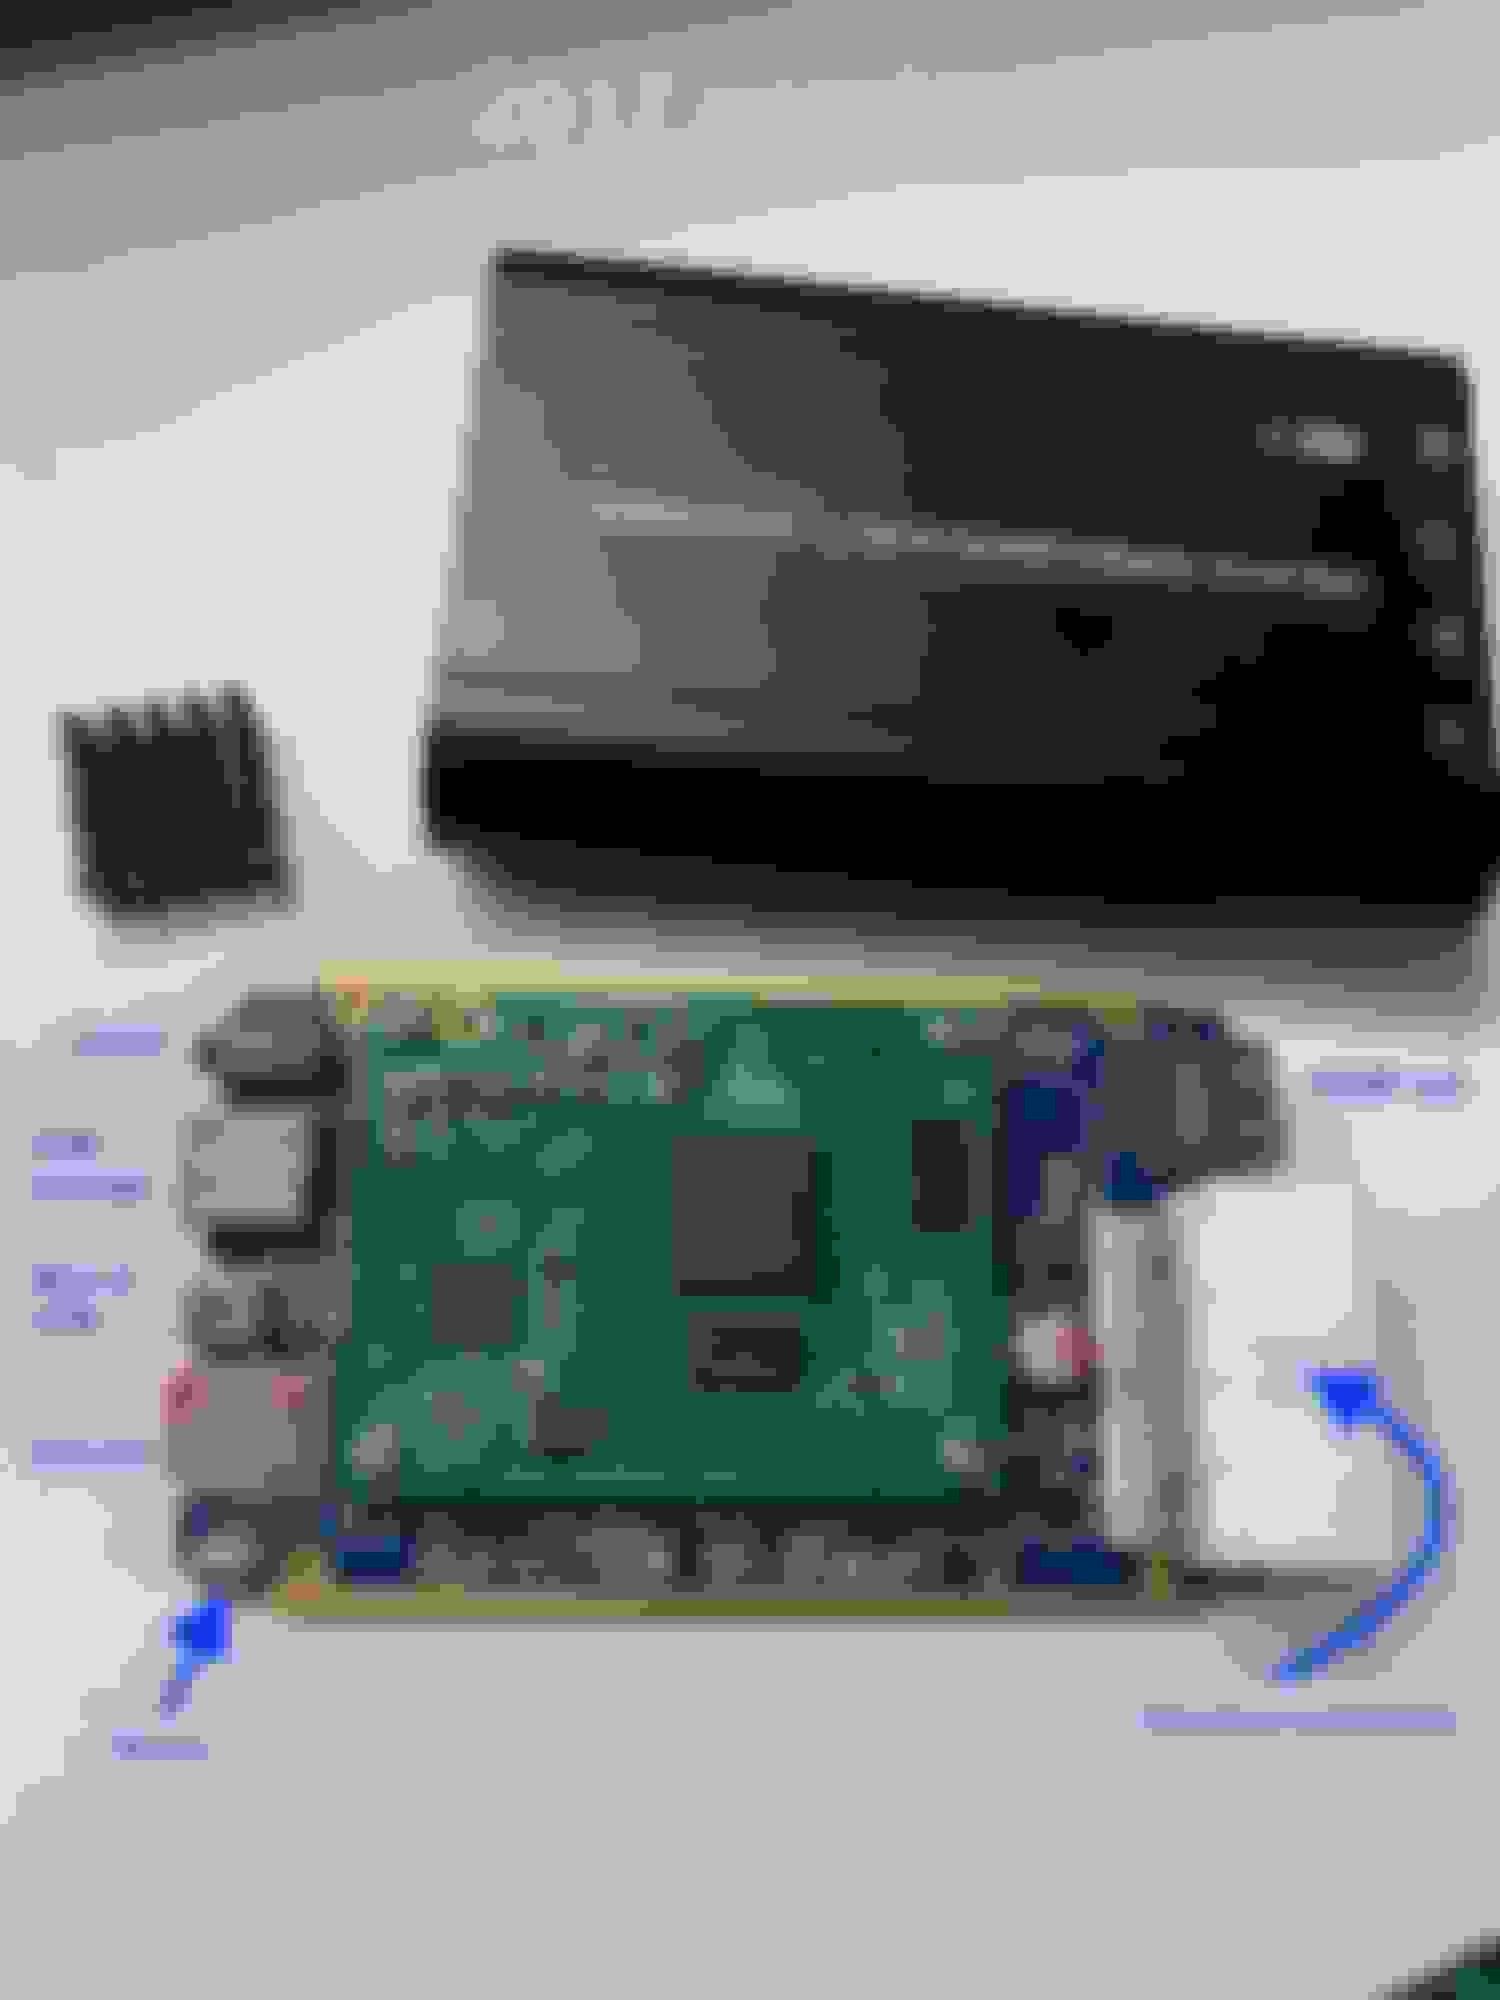
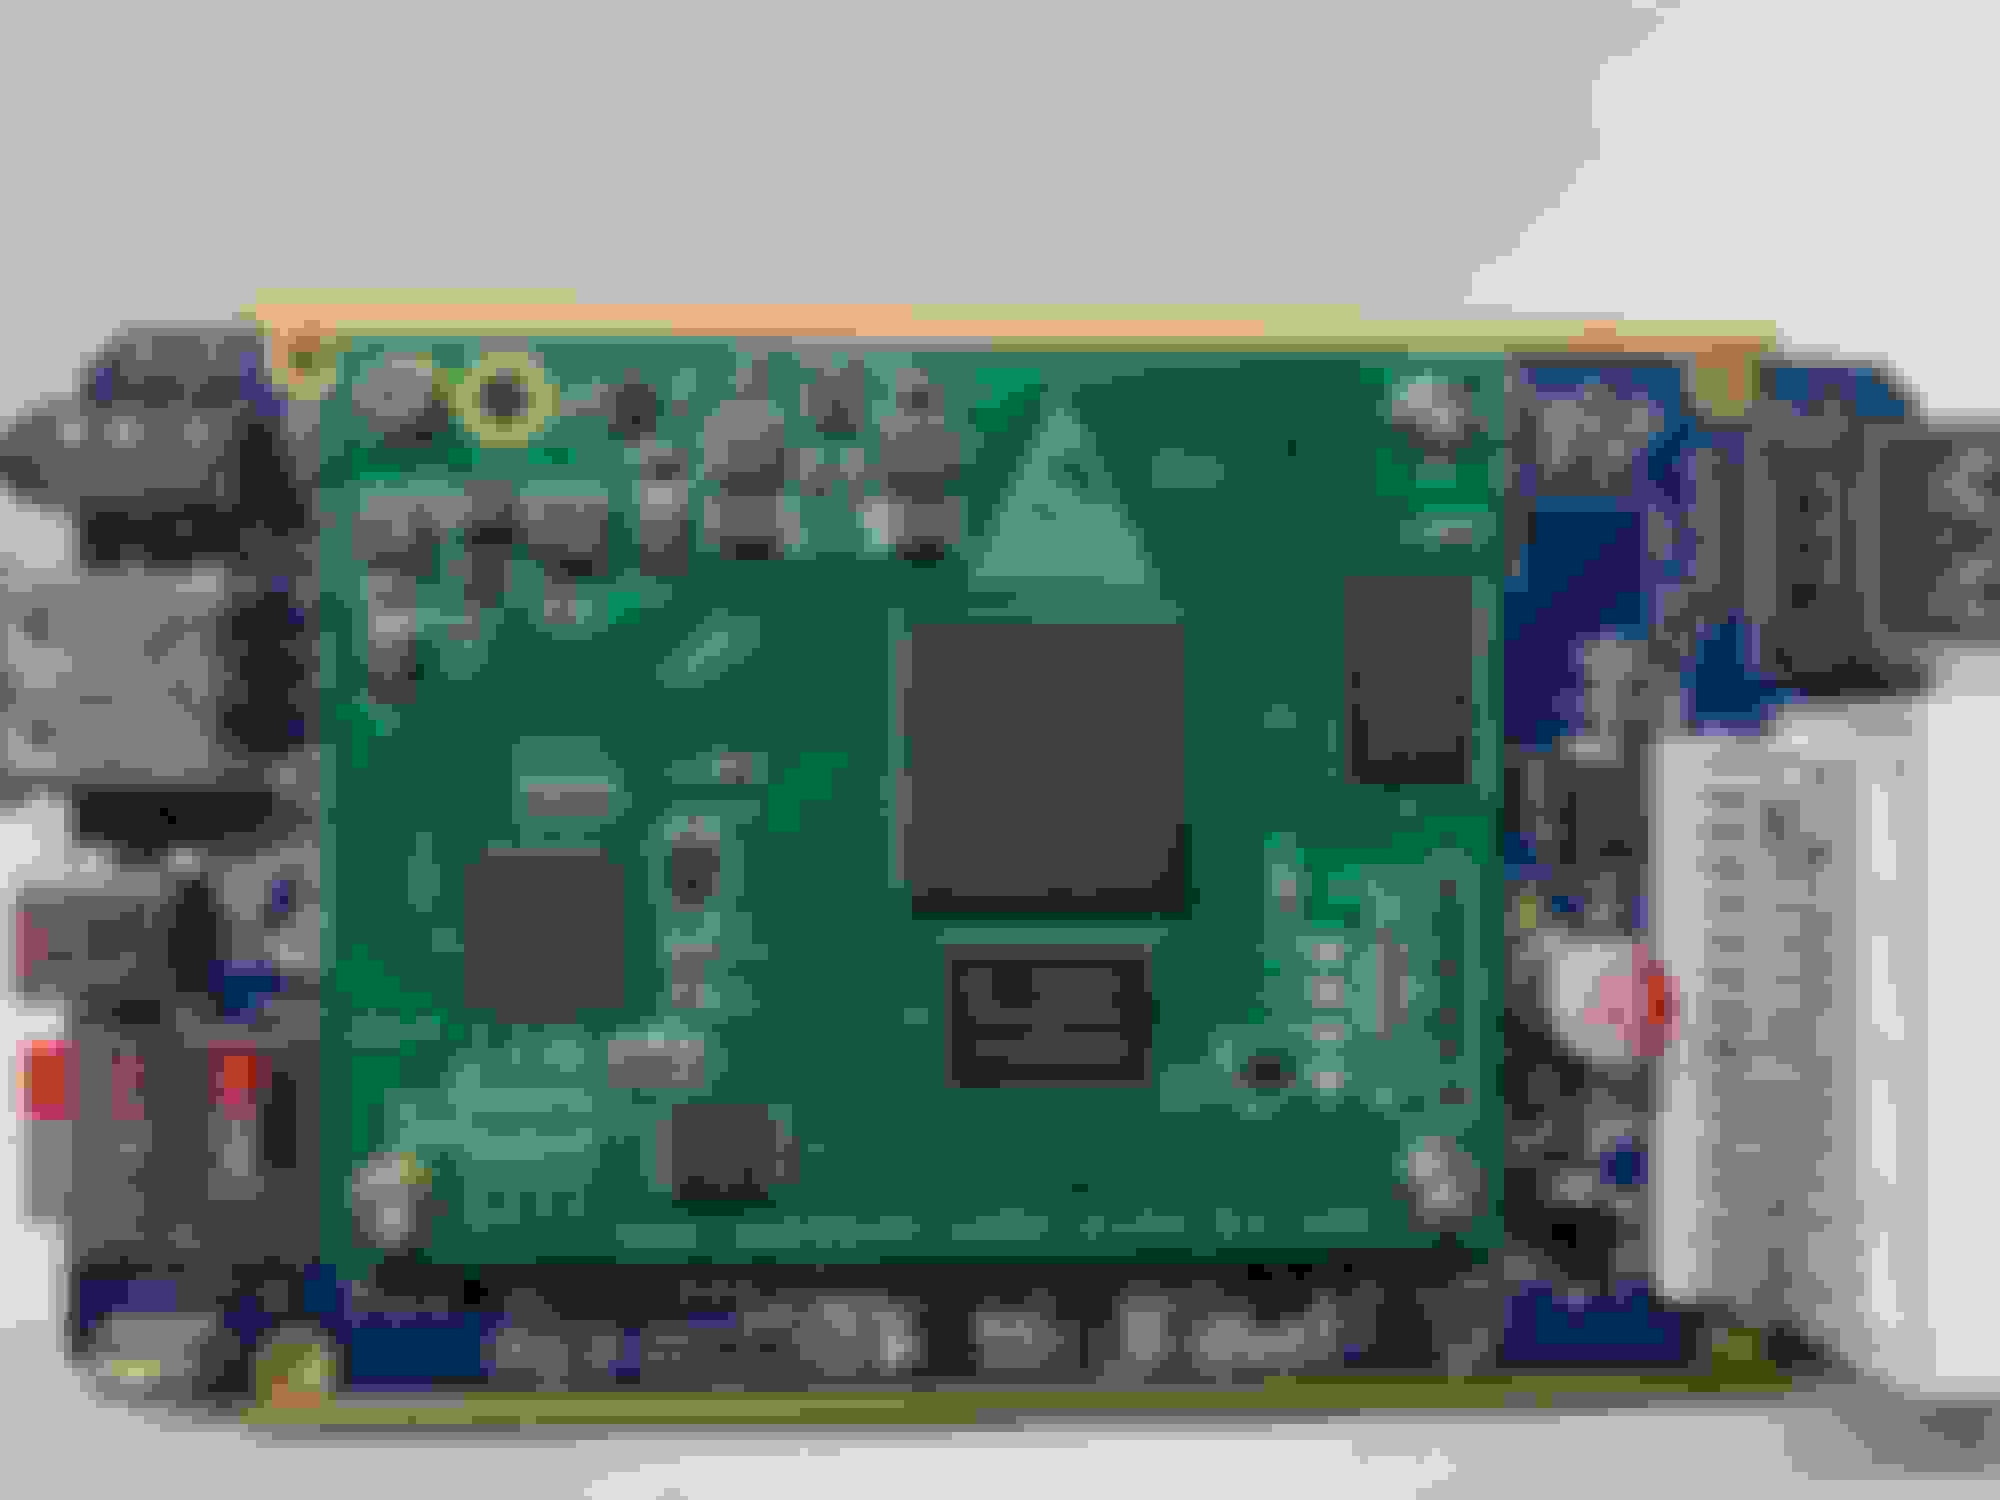
Heat dissipation: The enclosure of the unit gets quite hot. In the hopes of dissipating the trapped heat inside the enclosure, I've placed a heat sink (salvage from an old router) on the hottest chip (see photo) and drilled small holes on top of the enclosure. Prior to this, I noticed it occasionally rebooted itself. I'm not sure if it's due to overheating, an unstable 12V input, or something else.
I haven't had any major problems since I installed the heat sink and the 12V "stabilizer" (a capacitor used to prevent flickering in reverse cameras). To prevent moisture buildup (as with outdoor IP cameras), I placed a small desiccant packet in the base unit enclosure. I haven't timed the boot time, but it's quick�only a couple seconds.
Customer Service
Communication with the company was simple, and responses were prompt. I was impressed with how quickly they sent me a replacement front camera for free within the first year. Since it is currently a dark blue BMW sedan, I tried my luck and asked if it was possible to have a custom 3D model (in the settings, there is clearly a function to update the 3D car model).
I wish it was more customizable, like the Teyes head unit, with all of the 3D models available, including tanks! I also asked if an upgraded firmware for blindspot view when changing lines was possible (this unit has a USB mini-A female connector for upgrades and even a firmware update function). Unfortunately, I never heard back from them.
Future
I don't want to sound pessimistic, but the main issue for me is the camera's low durability, which is unfortunate, especially since it is installed on these well-engineered German vehicles. We expect the best or nothing! But wait, they sell replacement cameras, but how long before they stop being manufactured and become obsolete? Given that the entire 360 system costs less than 500 CAD, the replacement camera costs around 50 CAD, and what it has to offer, I believe it is still a good compromise. I'm not sure how Mercedes-Benz will charge us for a retrokit; if such a thing existed, it would most likely cost close to the car's actual value!
The most recent Android head unit includes pre-installed software for the 360 system. Cameras are connected to the head unit directly via a harness with a 12-pin connector. Much better compatibility with a touchscreen interface. It does appear to be promising.
Anyway, take care, and don't forget to... Check your surroundings!
vudka
Photos:
Last edited by vudka; Oct 29, 2023 at 02:57 PM.
Reason: *** Add-in-circuit orientation precision ***
Hi, nice write up!.. Can you provide more info on how you got the video signals from the cam unit to display on the W203 centre console display?.. Do you have any pics showing the rear video inputs and connectors used?..
Hi, nice write up!.. Can you provide more info on how you got the video signals from the cam unit to display on the W203 centre console display?.. Do you have any pics showing the rear video inputs and connectors used?..
Thanks!
CONNECTION
Essentially, the cam unit has a harness with a yellow video RCA plug at the end. Because this plug is connected to the video input on the back of my Android head unit, it is not visible in the glove box photo.
DISPLAY
When in reverse, it automatically switches to AVIN (my head unit's default video input player) and displays a 360-degree reverse view. If I want AVIN to be on all the time, I open it manually. My head unit remembers the last setting, so when I start the engine, it automatically switches to AVIN and displays a 360-degree view.
You can also look at page 8 of the "szdalos user manual.pdf" which shows what you're looking for.
Oh OK.. so you have replaced the standard OEM display with a new Android head unit?.. it fits well, I thought it was the factory display still!
where did you find that display?.. and does it support the steering wheel music functions like the OEM setup?..
Oh OK.. so you have replaced the standard OEM display with a new Android head unit?.. it fits well, I thought it was the factory display still!
where did you find that display?.. and does it support the steering wheel music functions like the OEM setup?..
SHORT ANSWER
1. Yes.
2. Seicane circa 2014
3. Yes.
LONG ANSWER AND RAMBLING
This unit is a branded HuiFei MTCB KGL5. It has a DVD/CD player as well as two USB ports. I believe this was among the first generations of Android head units (Android 4.4.4) that came out of China. 1024x600 touchscreen. Nowadays, there are plenty of even more powerful ones available, on AliExpress with the latest Android system.
It was the very first change I made to the car. Indeed, it was chosen with the intention of retaining as much OEM feel as possible, but that's just my preference. Initially, the car came with the standard Audio 20 with dot matrix LCD (no video screen). The main reason was to run GPS navigation apps (Tomtom, Sygic, CoPilot, and the now-defunct Navigon) on the Android head unit.
This upgrade enabled the addition of new features such as an aftermarket TPMS monitor (USB dongle) and CarPlay (USB dongle), both of which are currently operational. Although the microphone and Bluetooth were poorly implemented on my model, I had to modify the internals to make it usable, and it still has background noise, so it's not perfect.
Apps can be downloaded from Google Play. Video-on-motion... no problem, just change the settings. Volume that increases with vehicle speed. Even digital sound processing improves the sound quality of factory speakers. Ambilight with Bluetooth controls via an Android app for an S-class look... (I didn't try it), but why not if you like it? It's ironic that those who had an Android unit in their old Mercedes-Benz had wireless CarPlay from Carlinkit before it was even available in modern Mercedes-Benz models.
I'll definitely experiment with CAN bus hacking, but I'm concerned about interfering with the car's critical functionality. rnd_ash deserves credit for his W203 CAN bus hacking project and his amazing W203 light show YouTube video. It's all good fun, but what if something goes wrong? For example, with the android unit, the wiper appears to glitch and increase its speed for no apparent reason (no rain), and I'm not sure if this is due to the original car or the android unit's interference via CAN bus injection.
Have you ever thought about a virus infecting the car's head unit or a software bug causing the brakes to fail as the speed increases, both of which would be extremely dangerous! Only God knows why computers fail for no apparent reason. Have you heard about the Tesla crash in China? It may be worthwhile to investigate which signal controls the brakes and speed to protect ourselves from malicious intent or software flaws. Not to mention the prevalence of keyless car theft via CAN bus.
I've always wondered if the 0.5 second delay in this system was caused by the RCA output on my head unit.
In case anyone is curious, these videos gave me the answer I was looking for.
It also provided some background information on photogrammetry technology.
Building a Seamless 360 Degree Surround View with ECP5
If you look closely at the video, you will notice a slight delay between the presenter's hand movements.
As a result, the delay is caused by their base unit (HDMI, RCA video).
Two yellow lines that appear to be dynamic steering lines are also visible.
Mercedes SLR McLaren 722 S Is Extremely Rare Example Modified by McLaren
Slideshow: A one-of-one U.S.-spec Mercedes-Benz SLR McLaren Roadster became even rarer after a factory-backed transformation at McLaren's headquarters.