When you click on links to various merchants on this site and make a purchase, this can result in this site earning a commission. Affiliate programs and affiliations include, but are not limited to, the eBay Partner Network.
This is a simple DIY to a wheel stud conversion for your W204. Is a wheel stud conversion necessary? No. Does it make your life a whole lot easier in the long run? Yes. I run a 5MM spacer all around, and i was sick of fighting to get the wheel on and off every time. Personally being a former JDM guy I find the wheel bolt design of the Europeans inferior to a standard wheel stud/lug nut setup. Also by doing a thread conversion (14x1.5 to 12x1.5) I gave myself endless options of JDM brand lug nuts.
Time: 35-40 minutes max
Difficulty: 2/10
Total Cost: $100
Wheel Studs: 58MM length 14x1.5 to 12x1.5 (JDM) conversion
Lug Nuts: Muteki SR35 12x1.5 (Black)
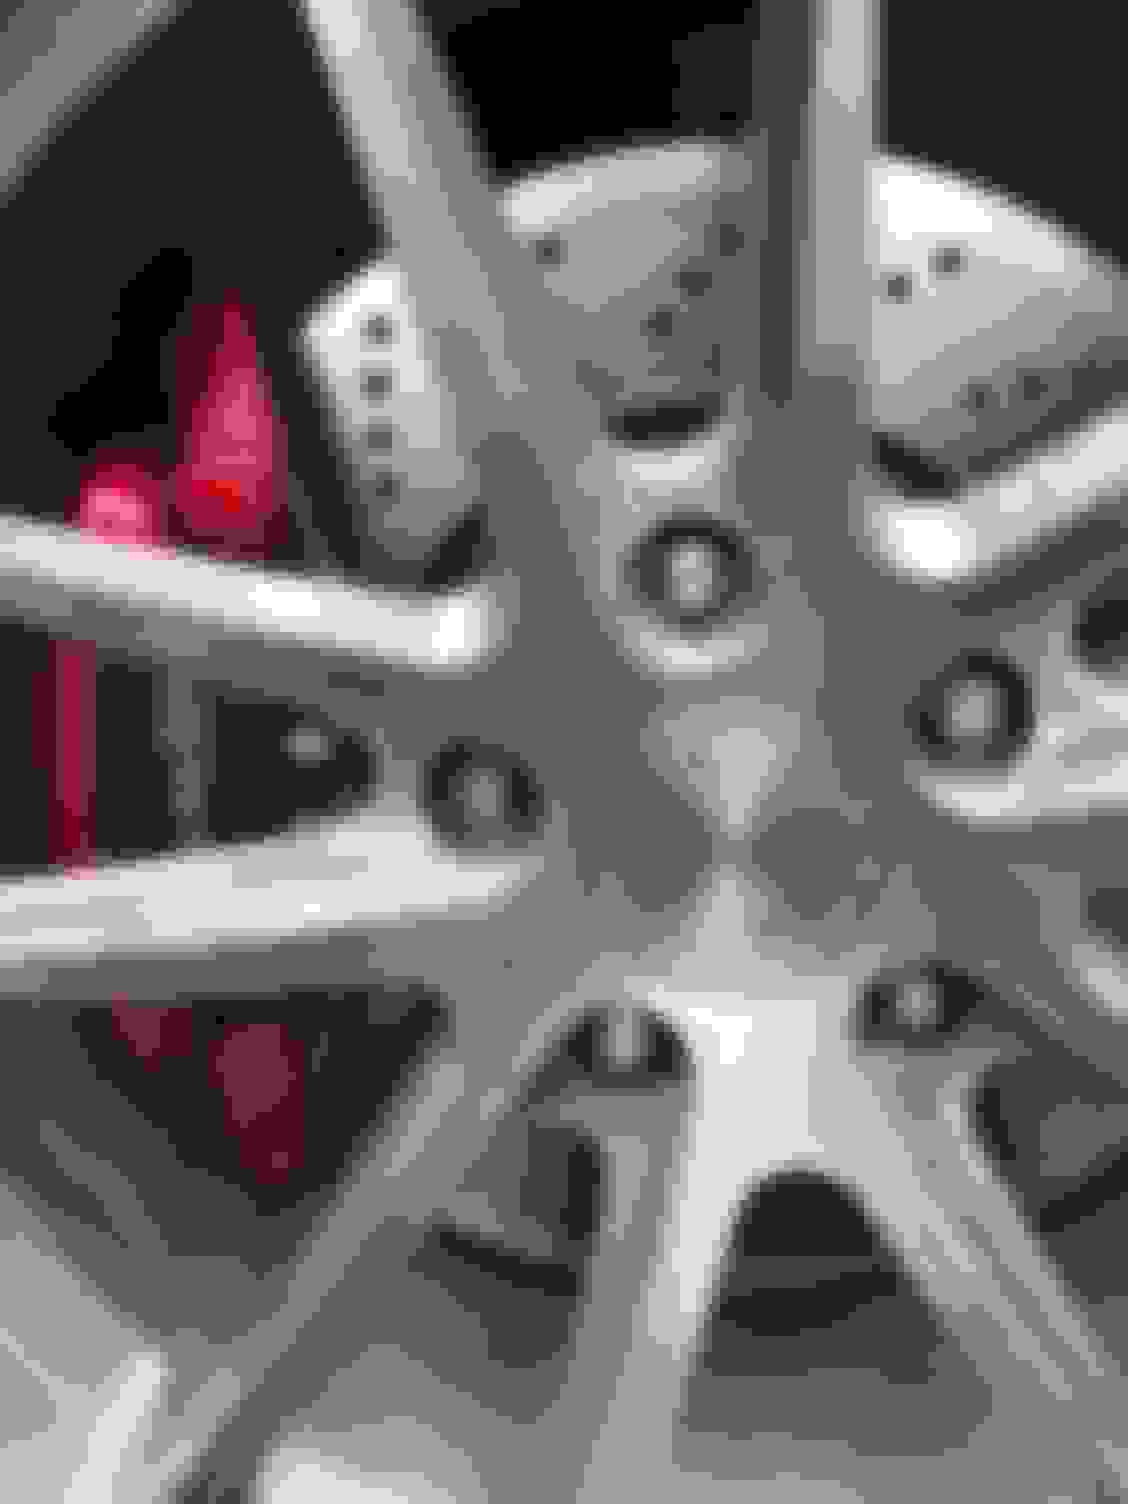
Please ignore how dirty everything is. It has been raining on and off recently with no time to wash the car. Before anyone asks the calipers are a candy red which was a 3 stage painting process I completed 3 wheels ago.
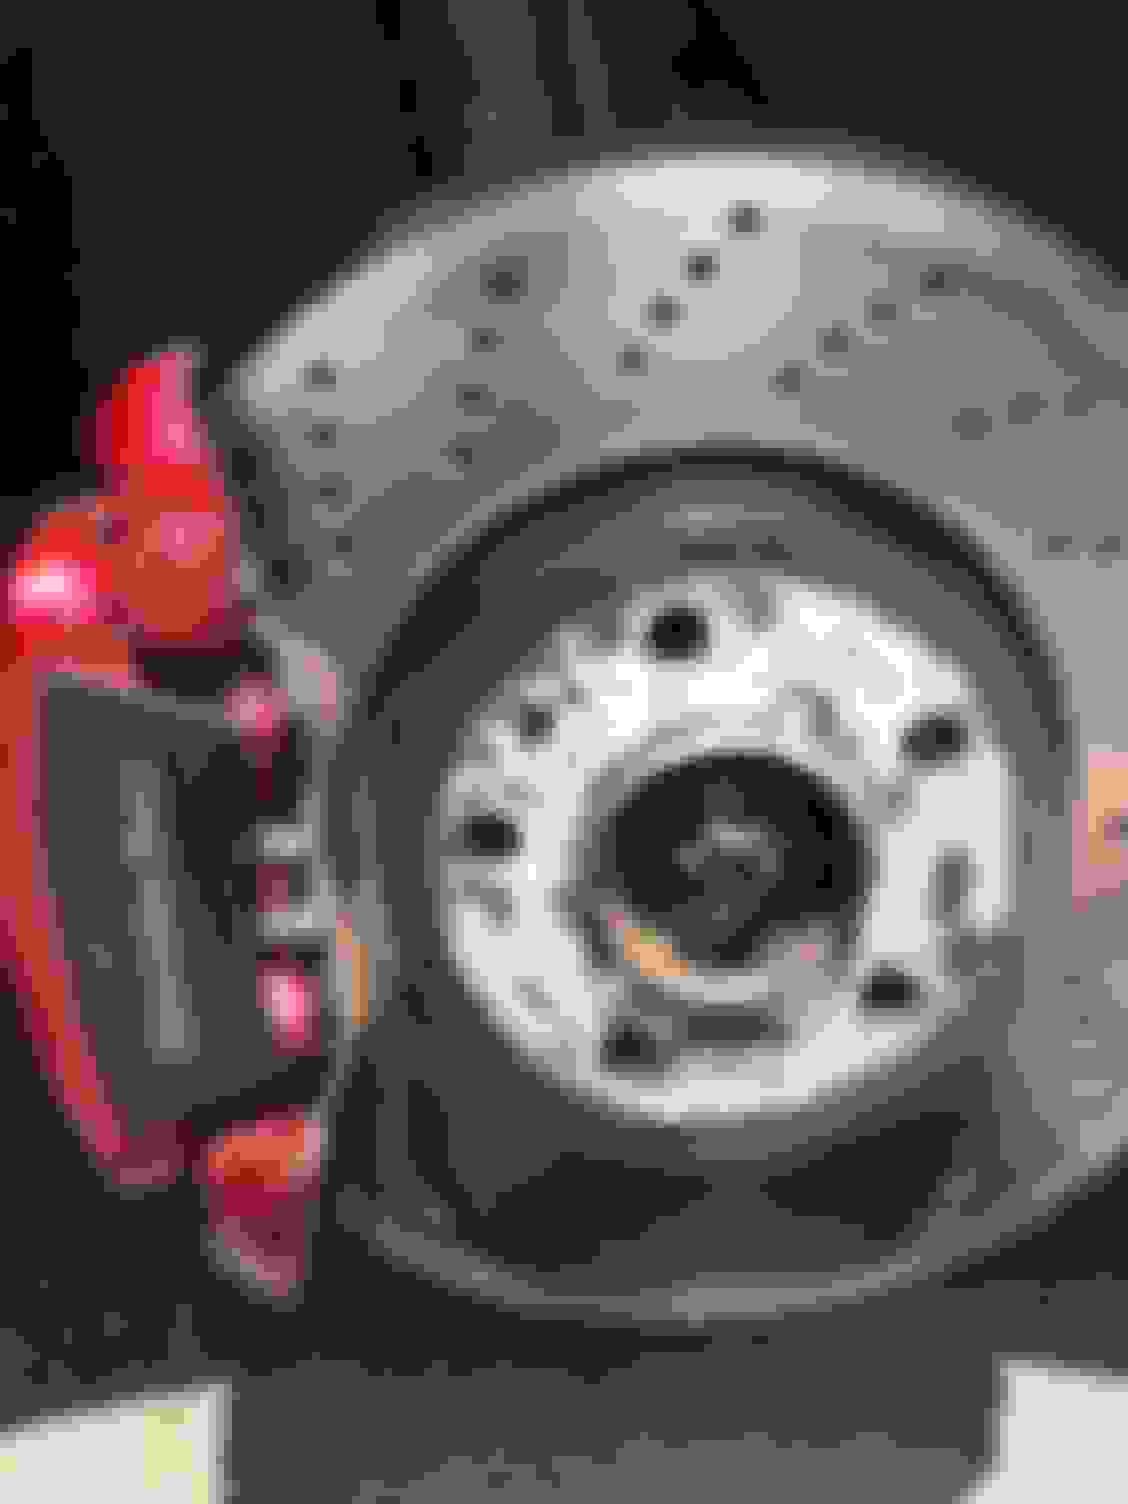
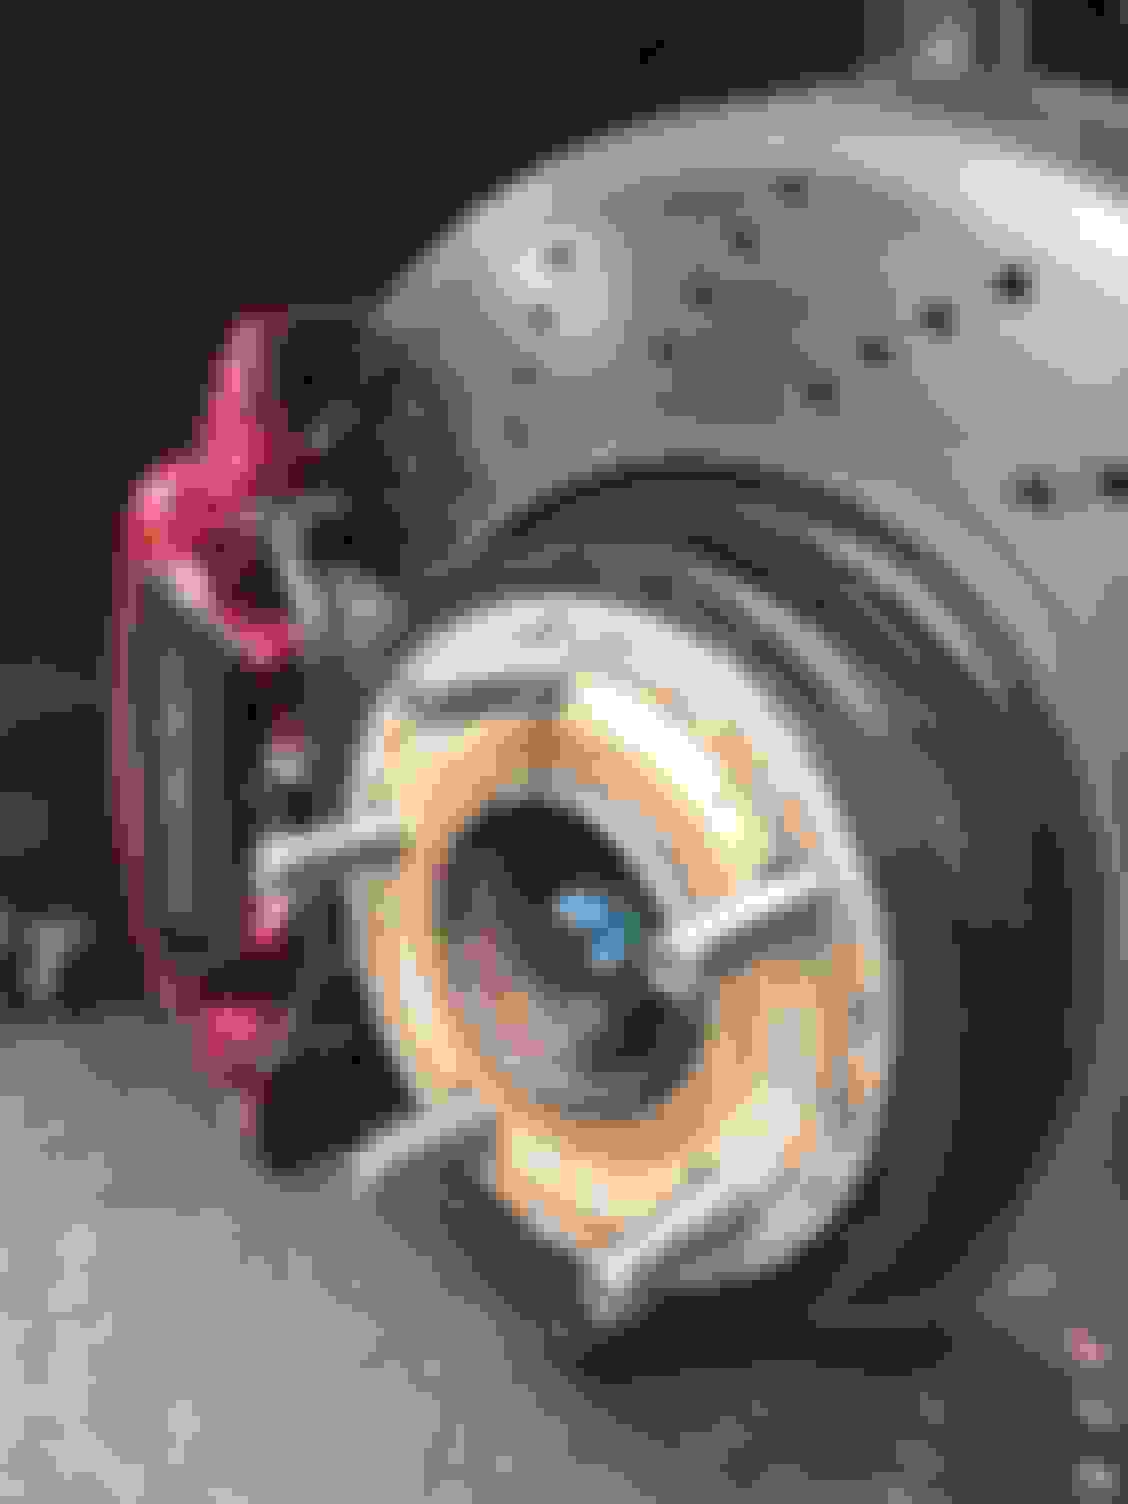
Step 1: Remove wheel/spacers (if used) and clean the threads with pressurized air.
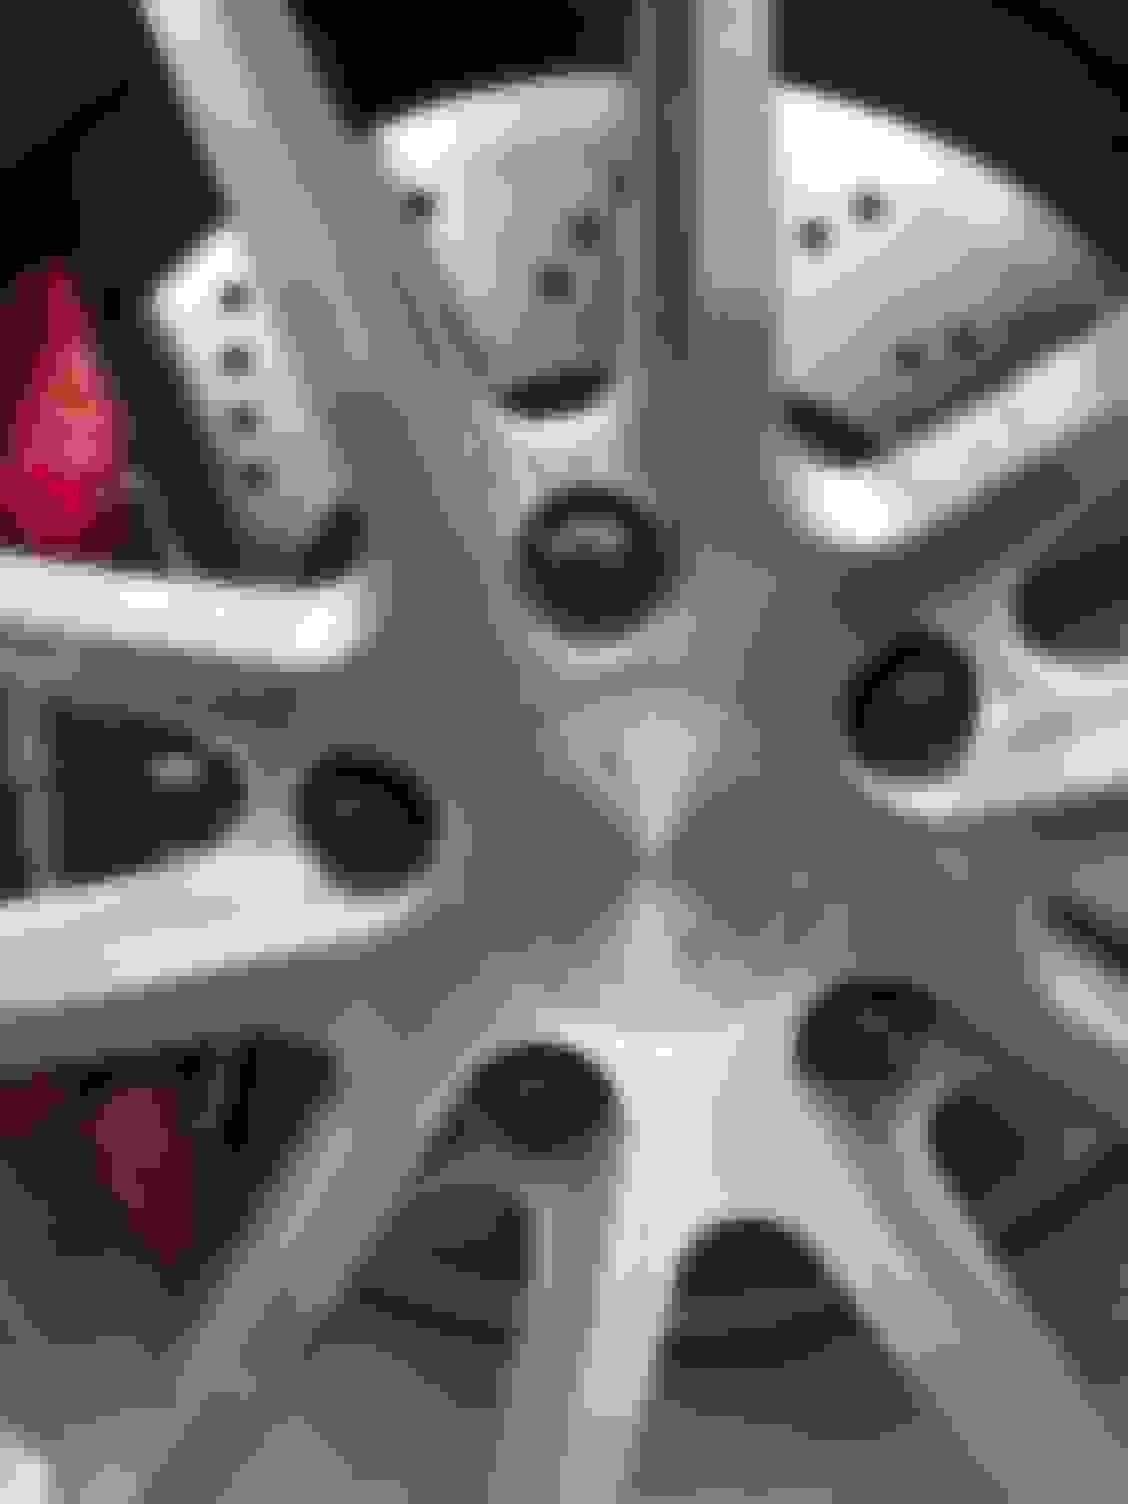
Wheel bolts for reference. They install with an allen key socket, and require 20 ft/lbs of torque to seat properly.
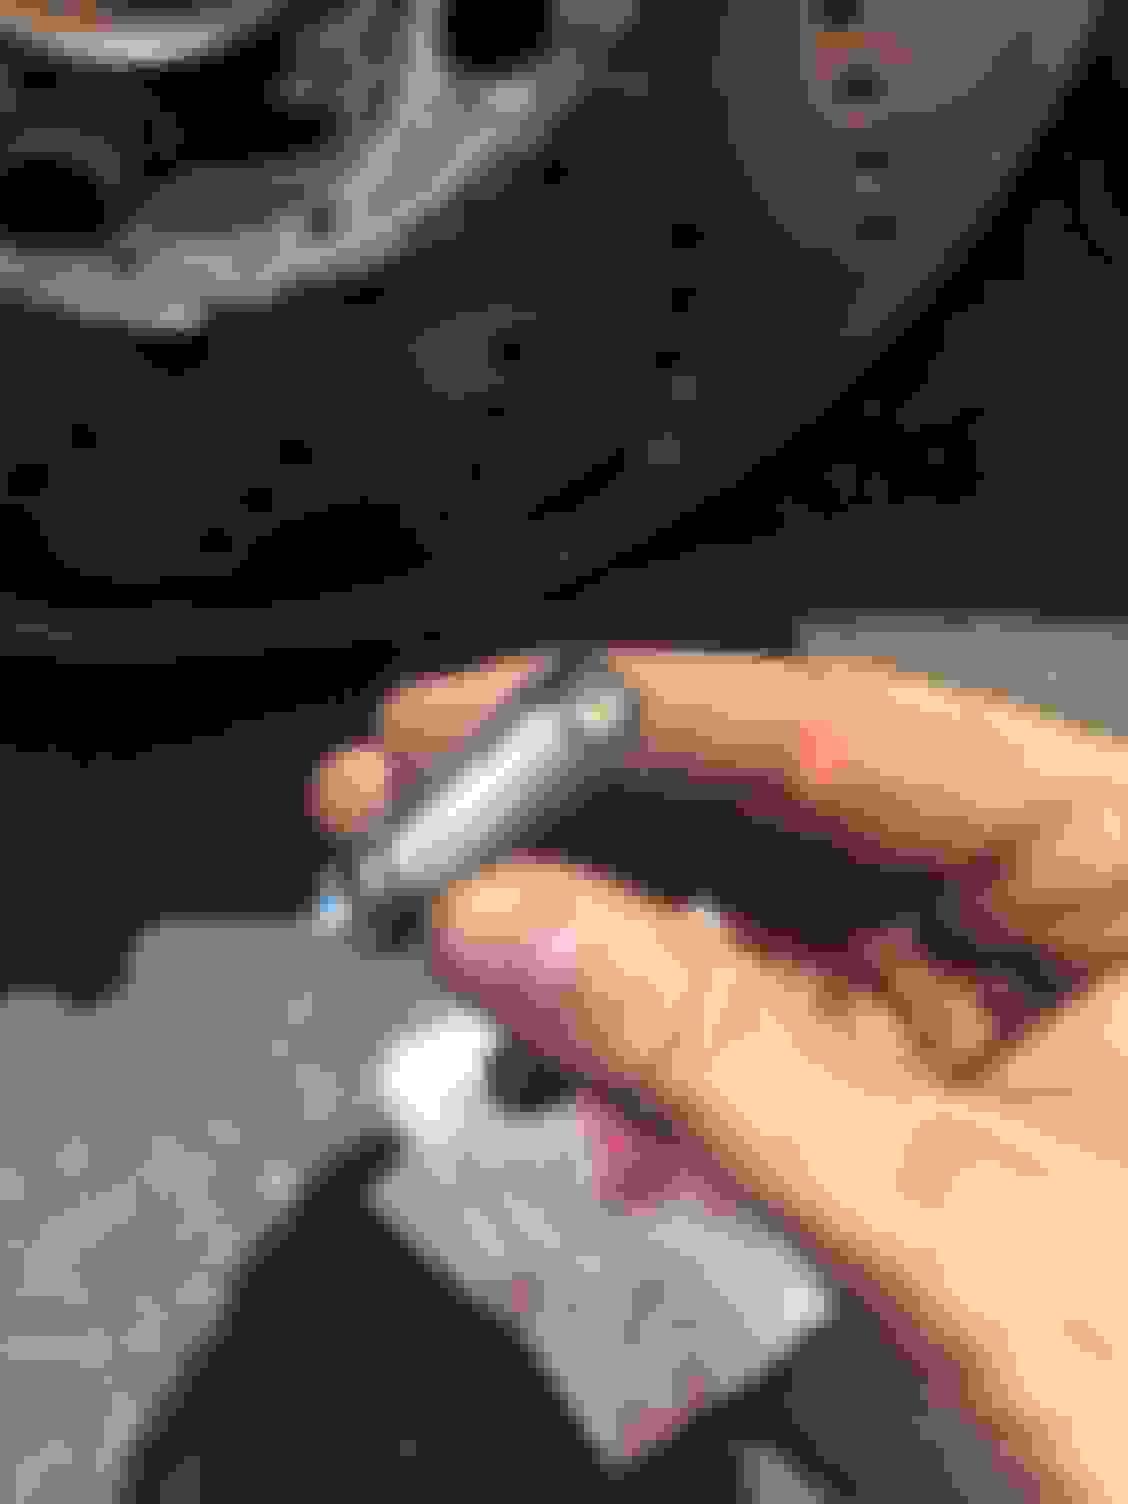
Step 2: Liberally apply Loctite RED thread sealer to keep your new wheel studs from backing out over time.
Step 3: Now install the wheel studs to 20 ft/lbs of torque like stated above. As you can see in the picture below the wheel studs are seated when the ball joint portion(separation of the two sections of threading) of the stud is seated into the hub and is not exposed.
Now its much easier to install wheels especially with a wheel spacer.
FINISHED
Last edited by 97 GSX 97; Jun 2, 2018 at 02:03 PM.
Mercedes SLR McLaren 722 S Is Extremely Rare Example Modified by McLaren
Slideshow: A one-of-one U.S.-spec Mercedes-Benz SLR McLaren Roadster became even rarer after a factory-backed transformation at McLaren's headquarters.


")