When you click on links to various merchants on this site and make a purchase, this can result in this site earning a commission. Affiliate programs and affiliations include, but are not limited to, the eBay Partner Network.
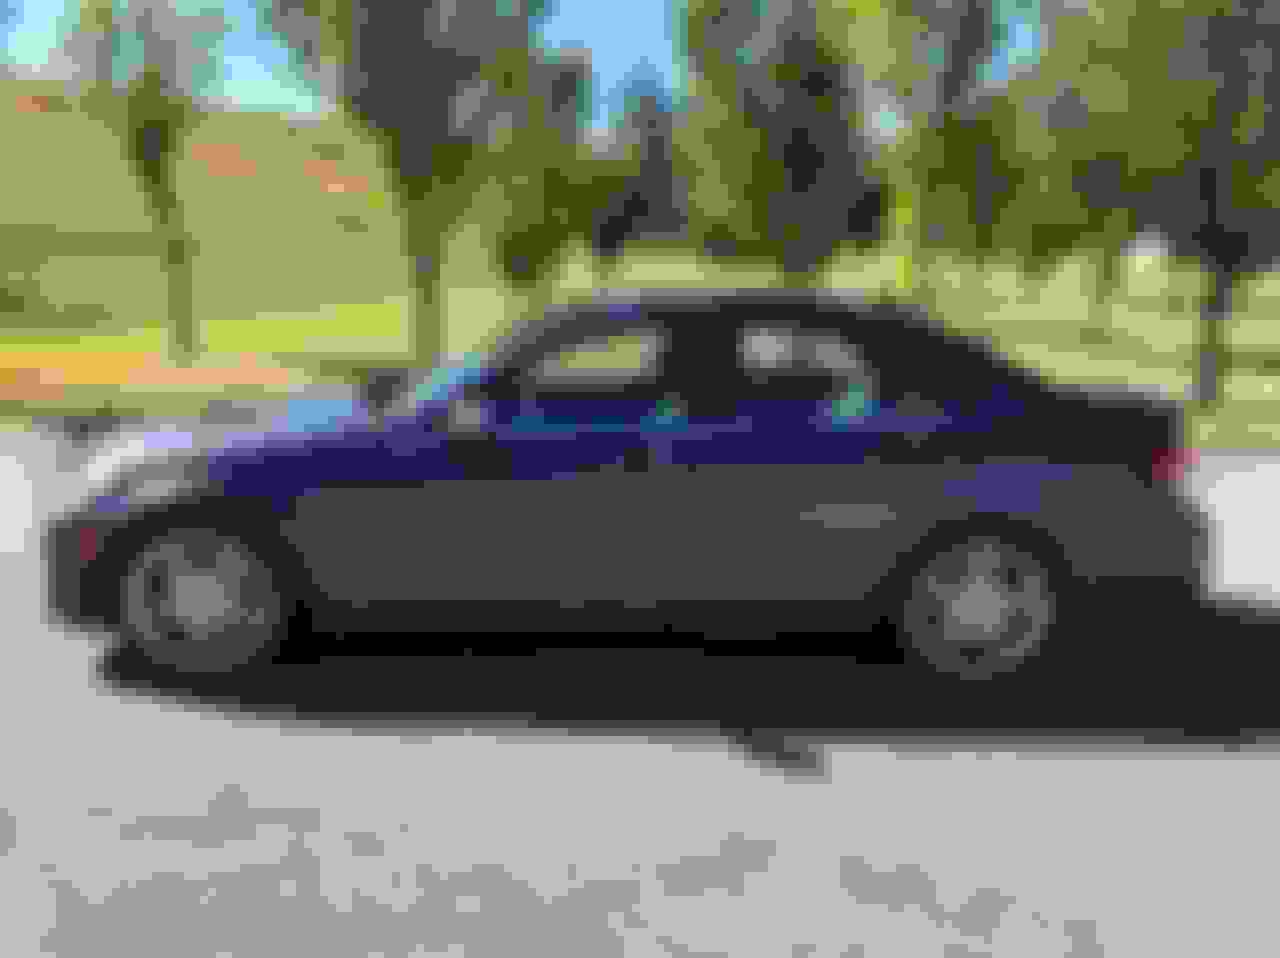
Vehicle information and condition when purchased in September 2018:
Make/Model:
2010 C350 Sport 4MATIC Sedan Mileage:
127,300KM (79,100 miles) Stock Options: - Tenorite Grey Metallic Paint - 18” AMG Twin Spoke Style IV Wheels - Black Bird’s Eye Maple Wood Trim - Black/Anthracite ARTICO Upholstery - 10-Way Power/Adjustable Front Seats - Heated Front Seats
- Split-Folding Rear Seats - COMAND NTG4 Navigation w/ 7” Display
- Harman Kardon Logic7 Stereo
- Sirius Satellite Radio
- Power-Folding Mirrors - Panoramic Sunroof
- KEYLESS-GO
- PARKTRONIC
- Bi-Xenon Headlights w/ Washer Jets Missing 2 options: - Rear View Camera - Real Leather
Exterior7/10
- Dull clear coat/paint (Fixed on July 13 2019 @ 141,870KM, noted below)
- Moderate Swirls/Scratches (Fixed on July 13 2019 @ 141,870KM, noted below)
- 3 minor body dings
- Cracked front lower grille
- Scuffs under front bumper
- Small scratch on passenger side skirt
- Faded wheel center caps (Fixed on Sept 7 2019 @ 144,376KM, noted below)
Interior9.5/10
- Crack in driver’s side door wood trim
- Both middle vent tabs broken (Fixed on Sept 7 2019 @ 144,376KM, noted below)
Mechanical6/10
- Issues/maintenance listed below, all Services/Repairs have been done by myself in my garage at home unless otherwise noted
June 30 2019 @ 141,116KM
Panoramic Sunroof Service -$20
July 6 2019 @ 141,550KM
Thermostat (OEM) -$87
Temperature Sensor (Ultra Power) -$5
Coolant Drain/Refill Service -$42
Front Fog Light Bulbs (Philips CrystalVision Ultra) -$74
July 13 2019 @ 141,870KM
Paint Correction -$150
July 14 2019 @ 141,895KM
Belt Tensioner/Idler Pulleys/Belt (OEM) -$180
Blower Motor & Fan (Ultra Power) -$83
Oct 8 2022 @ 173,920KM Mobil 1 Oil & FRAM Filter Service -$101 Cabin Air Filter (MANN) -$37 Panoramic Sunroof Service -$0 Service A4 (Service 1, 3, 8, 10, 12) Indicator Reset-$0 (I'm not doing Service 12, Spark Plugs, as I did them @ 142,000KM)
Spark Plugs with 142,222KM on them. Spark Plug order: 1 2 3 6 5 4
Not bad!
These made filling the transmission and front/rear differentials a breeze! MityVac MV6400 Fluid Dispenser & MVA588 ATF refill adapter. The adapter works for filling the front differential through the drain plug hole as well!
Draining the Torque Converter
Filling Transmission with Fuchs Titan ATF 4134
Front Differential fluid after 144,159KM
Fuchs Sintopoid FE 75W85 for the Front and Rear Differential
That’s a lot of work you’ve had done. I’d like to know of all those maintenance items, if you did the maintenance yourself or a dealer/mechanic completed it. Also we’re all those maintenance items necessary, or are some items “upgrades” you did regardless. Thanks for putting if the effort and sharing this info.
That’s a lot of work you’ve had done. I’d like to know of all those maintenance items, if you did the maintenance yourself or a dealer/mechanic completed it. Also we’re all those maintenance items necessary, or are some items “upgrades” you did regardless. Thanks for putting if the effort and sharing this info.
Thanks!
All the work was completed by myself except the passenger heated seat repair. EDIT: And the 4 wheel alignment/balance was also done at the tire shop.
All the maintenance items needed to be done, the only extras were things like the license plate frame, floor mats and puddle lights. My goal is to have a reliable winter car and I think I’m just about there!
I have updated the first post to reflect these additions and the next items on the list to complete. New pictures have also been added in Post #2 and #3.
I had a service reminder come on yesterday, it was a B2 with Service 2, 3, 4 and 10 and due in 30+ days or 4600+ KM.
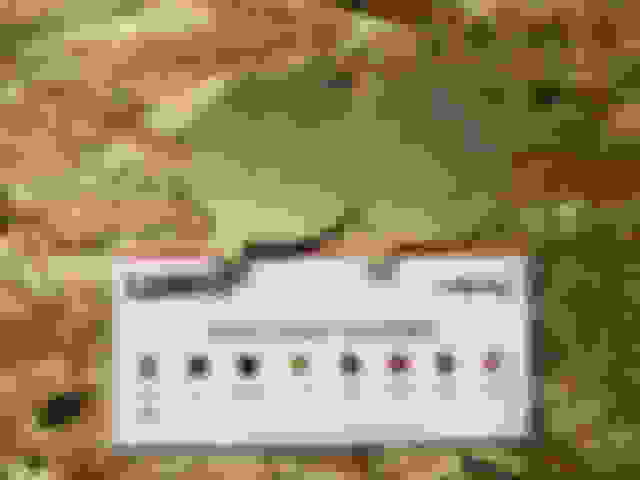
If we refer to the Service numbers picture in the first post, this breaks down to:
B = Major Service (I’ve inspected the car thoroughly as you can probably already tell) Service 2 = Fluids & Safety Check Service 3 = Change Engine Oil/Filter (Completed July 23 2019) Service 4 = Change Brake Fluid Service 10 = Service Panoramic Roof (Completed June 30 2019)
I waxed the car before the big snowfall we’re getting here. I used Meguiars Ultimate Liquid Wax and applied by hand. It was about 45 minutes to an hour from start to finish. The results?
Nov 5 2019 @ 146,390KM
Mount and Balance Winter Tires @Tire Shop -$169
It’s that snowy time of the year again so I had the winter tires mounted and balanced. Hopefully this is the last time I’ll have to remove the winter tires from these rims for a couple years as I’m working on an alternate set for the summer.
I purchased and installed the Michelin Pilot Alpin PA4 tires on Nov 21 2018 @ 132,336KM and removed them on June 24 2019 @ 140,929 so I put 8593KM on them over the 2018-2019 Winter.
These tires start off at 10/32 tread depth and my depths after 8593KM are:
Front Left: 9/32
Front Right: 9/32
Rear Left: 8/32
Rear Right: 8/32
The rears are actually near the middle of 8/32 and 9/32 but closer to 8 than 9. This means I should be able to get another 3-4 Winters out of these, barring any unfortunate incident.
These are great tires so far, let’s see what the second Winter brings!
Jan 20 2020 @ 148,593KM
Secondary Air Injector -$182
For the past few weeks, the car has had a high pitch whine on start up. It wasn’t until it was around -35C last week that the car decided to throw a CEL:
0410 - Secondary Air Injector Malfunction
Turns out the air injector finally crapped out. $182 and about 30 minutes later, everything was fixed.
The old unit that came out was the original from factory:
What do u think of the bilsteins b6 ?
any diffrence to oem ? Did it lower your car? How does it handle now?
Hi Jason A,
When I purchased the car, the struts/shocks were blown all around, the car bounced everywhere and I could rock it side to side with one finger so I can’t tell you how much they compare to OEM. After the install, the car felt solid, no more bouncing and swaying everywhere.
No, the B6 did not lower the car. If you want to do that, go with a set of lowering springs and the Bilstein B8s.
The reason I went with the B6 over the B4 is I wanted the struts to be monotube, not twintube as I have had better experience with monotube in my other sports cars.
I had a parking light go out this Winter. Now that it’s warmed up, I decided to tackle this.
I started with the left side as everyone says it’s the harder side. I can see why if you have large hands. I have fair sized hands but slender fingers so both sides took about 15 minutes all together.
The original bulbs are W5WB and are a blue bulb:
I used 2825 long-life bulbs from Sylvania (which were a clear bulb):
They work perfectly and look identical while on.
I was not interested in LEDs. I don’t need my DRLs to be 5000k and I do not want to deal with heat issues/melted sockets/CANBUS errors/built in load resistors failing/etc. Not saying all LEDs do this, I’m just good to go with reliable incandescent.
You can remove the existing stickers with acetone without damaging the sunvisor. I was surprised when it worked because I thought the sunvisors were made out of vinyl but they're made out of something else that does not react to acetone. I only tried because I was ready to buy a set from a European model that does not have any stickers attached.
It was a very simple process. All I did was soak a rag with acetone and blotted the stickers. After a few seconds the stickers started to soften and lift which then peeled off very easily. The only downside is the sunvisors are slightly darker where the stickers were because the rest of the sunvisor faded from the sun. Its very subtle but I'm hoping they even out over time.
May 2 2020 @ 151,724KM Replace Thermostat Gasket -$6
Coolant Drain/Refill Service -$31 Washed/Cleaned/Detailed Engine Bay -$0
May 4 2020 @ 151,770KM Lamin-X Fog Light Covers -$37
When I bought my thermostat, it came with a cork gasket that I foolishly used. If you look closely in the first picture you’ll see the crusty fluid build up around the thermostat housing where the cork gasket started to leak about a week after installation.
Make sure to get the metal/rubberized gasket from Mercedes: A272203018064
Leaking with the cork gasket
No leaks with the correct metal/rubberized OEM gasket
I don’t think the engine bay was ever cleaned...
I wish I had taken “Before” photos but you can get an idea from post 12 as to how dirty it looked. From start to finish was about 3 hours but definitely worth it!
Assembled
Disassembled
Drivers Side
Passenger Side
I haven’t had a rock shatter a fog light yet but I thought I would do some preventative maintenance. We’re moving into Spring and the gravel from the Winter still hasn’t been swept up in certain areas yet so I hope these do their job. These were super easy to install and you can’t even tell there’s a barrier on the lights.
I removed the cover and cleaned the fog light.
Lamin-X Clear Fog Light Covers with Part number and other colour selection.
So I had my right low beam go out a few days ago. I have HIDs so I sourced some authentic Sylvania D1S bulbs as Sylvania are just the Canadian rebrand for OSRAM XENARCs. The bulbs that were previously installed were Eiko’s, not sure on their quality. The install was very simple, maybe a few minutes per side:
Remove the dust cover
Unplug the cable by pulling directly down on the connector
Push the metal levers in towards the bulb and then slide the lever to the middle of the bulb
Remove the bulb and reverse the install
New Sylvania D1S OSRAM bulbs
Sylvania D1S is just a rebranded OSRAM
Sylvania D1S
Previous Eiko D1S from Korea. Not sure on quality.
Previous Eiko D1S from Korea. Not sure on quality.
July 17 2020 @ 153,793KM
Engine Mounts (Corteco) (Done by Shop) -$750 ($300 parts+$450 labour)
July 18 2020 @ 153,832KM
Transmission Mount (Corteco) -$97
Corteco Engine Mounts (4MATIC): 80001071
Corteco Transmission Mount (4MATIC): 80001061
These two items are most likely the best repairs I could have ever done. After 153,000KM, all 3 mounts were definitely blown. The engine mounts were so bad I could see the engine jump around 4 inches when holding the brake/pressing the gas pedal while in neutral. Taking any corner or even just driving normally would rock the engine side to side/ back and forth and the ride quality was the equivalent to running on a rock beach with bare feet.The amount of vibration in the cabin was overwhelming, everything would shake from the dash to the to the rear deck. I could feel every little crack in the road and had the worst handling, it felt like I had a 268HP little red wagon.
After the mounts were installed, the ride quality/handling/cabin noise & vibration has been reduced significantly. I can actually maneuver the car without feeling like it’s going to drive itself off the road when I run over a pebble and the interior is void of excessive noise and vibration now. My headliner no longer rattles either, this has pretty much solved all of my cabin noise issues but has revealed a new one in the dash that I need to find. It seems to come from somewhere around the cluster. The transmission shifting can’t be felt anymore, it smoothly changes through the gears without any extra movement or slop.
I bought Corteco 4MATIC engine/transmission mounts from FCP Euro for the lifetime warranty.
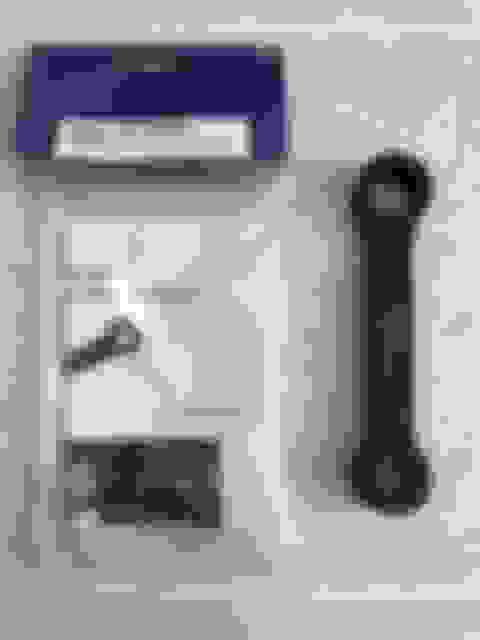
For the engine mounts, this was the first job on this car that I’ve paid someone else to do so the only info I do have is to buy an offset 16MM wrench to make this job easier as a lot of people struggle trying to loosen/tighten those bolts (picture and part number of wrench below). The tech was able to get it finished in 3 hours so the 8-10 hour labor quotes I have seen and received for 4MATIC engine mounts to be replaced seems a little far off.
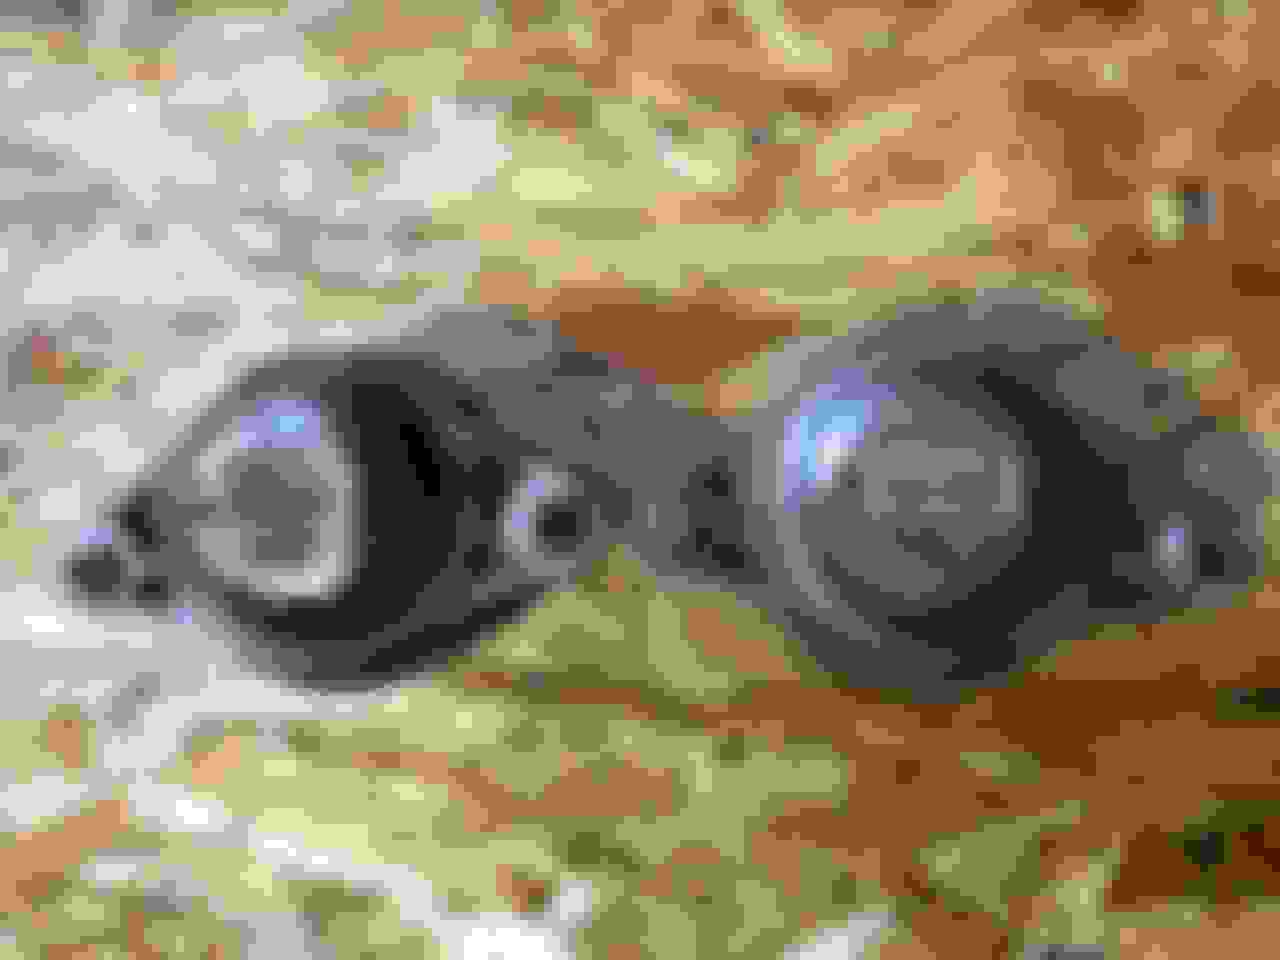
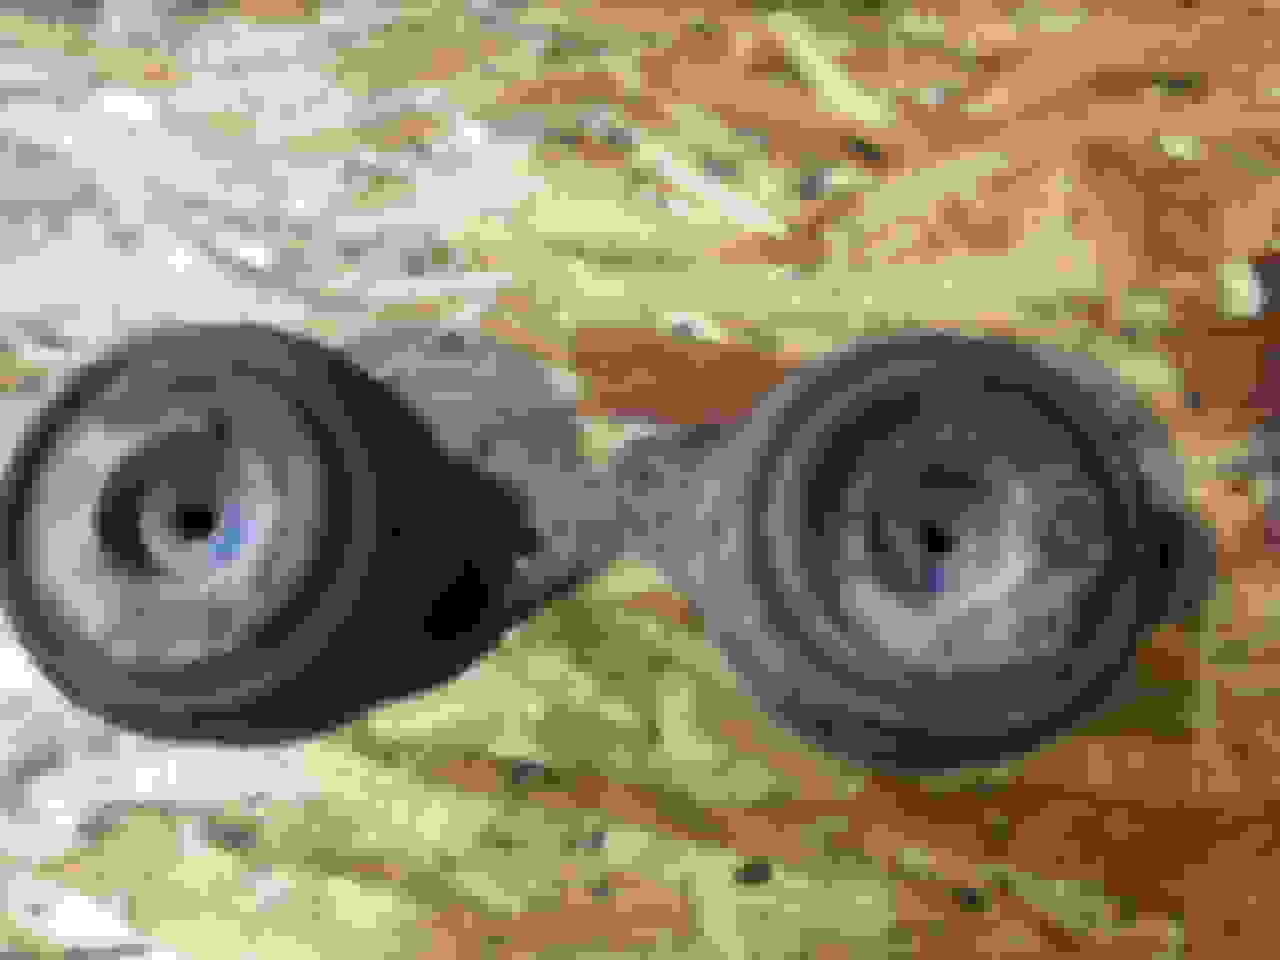
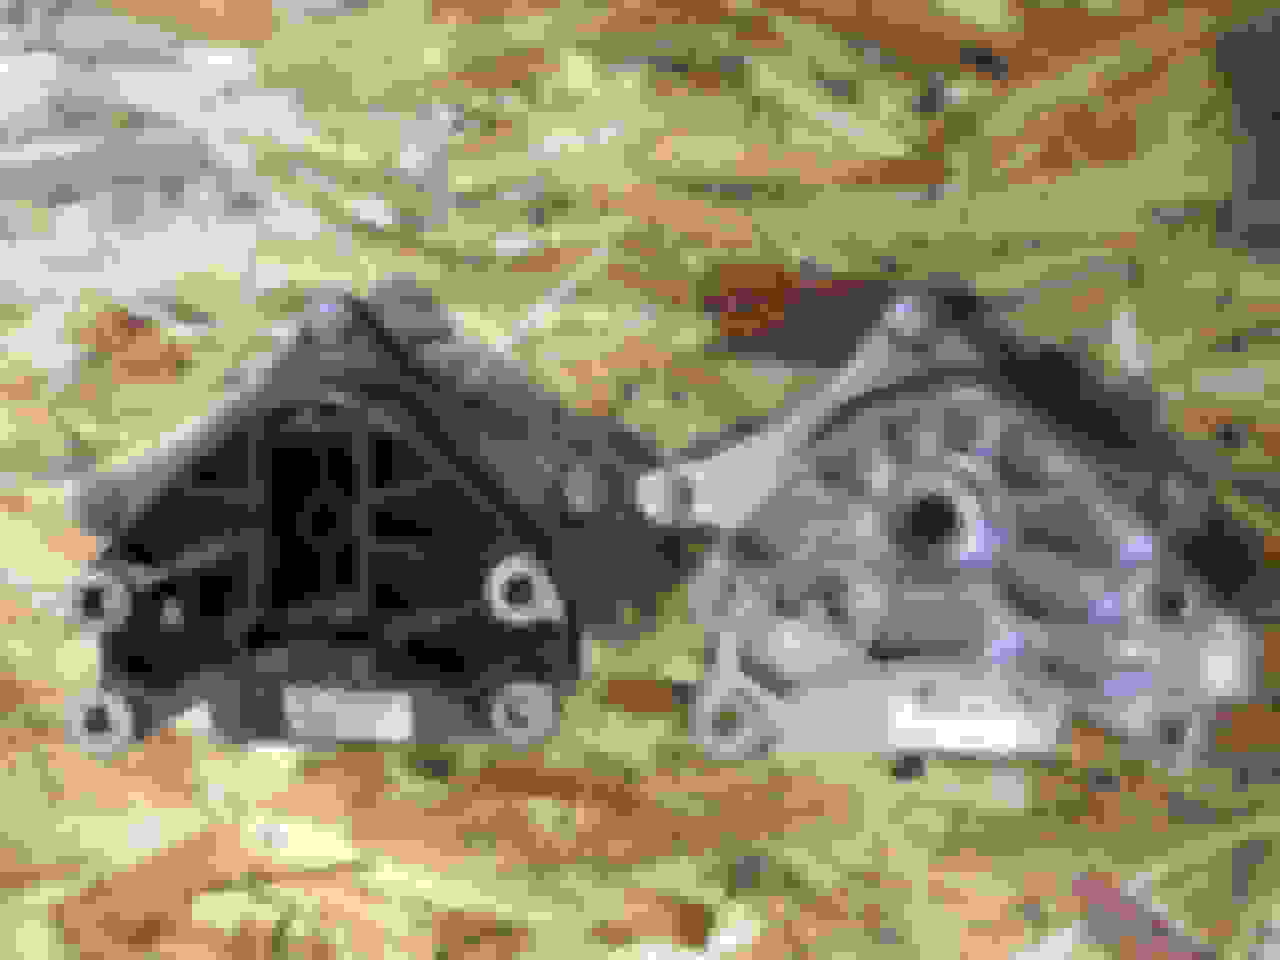
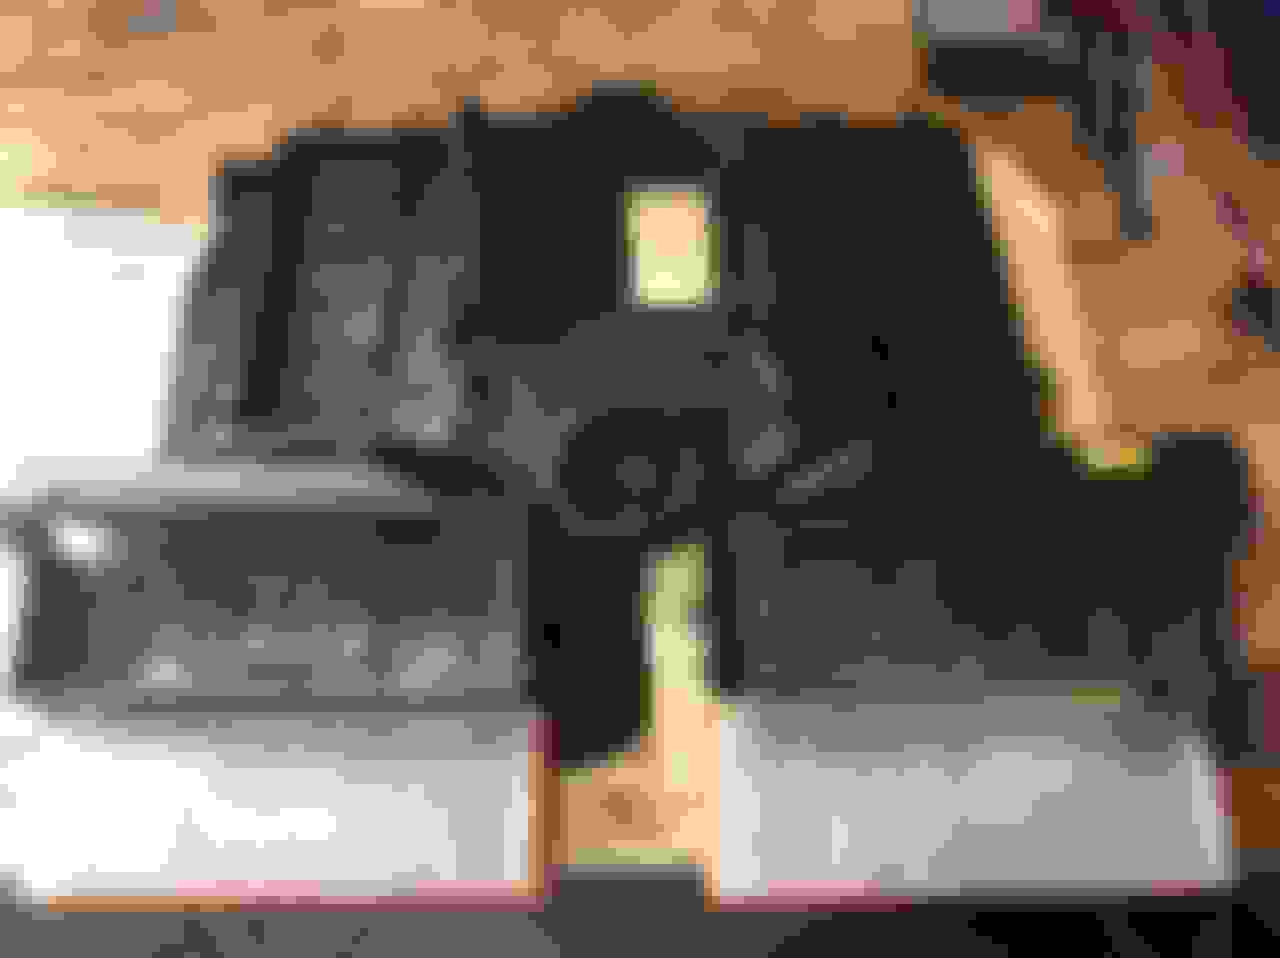
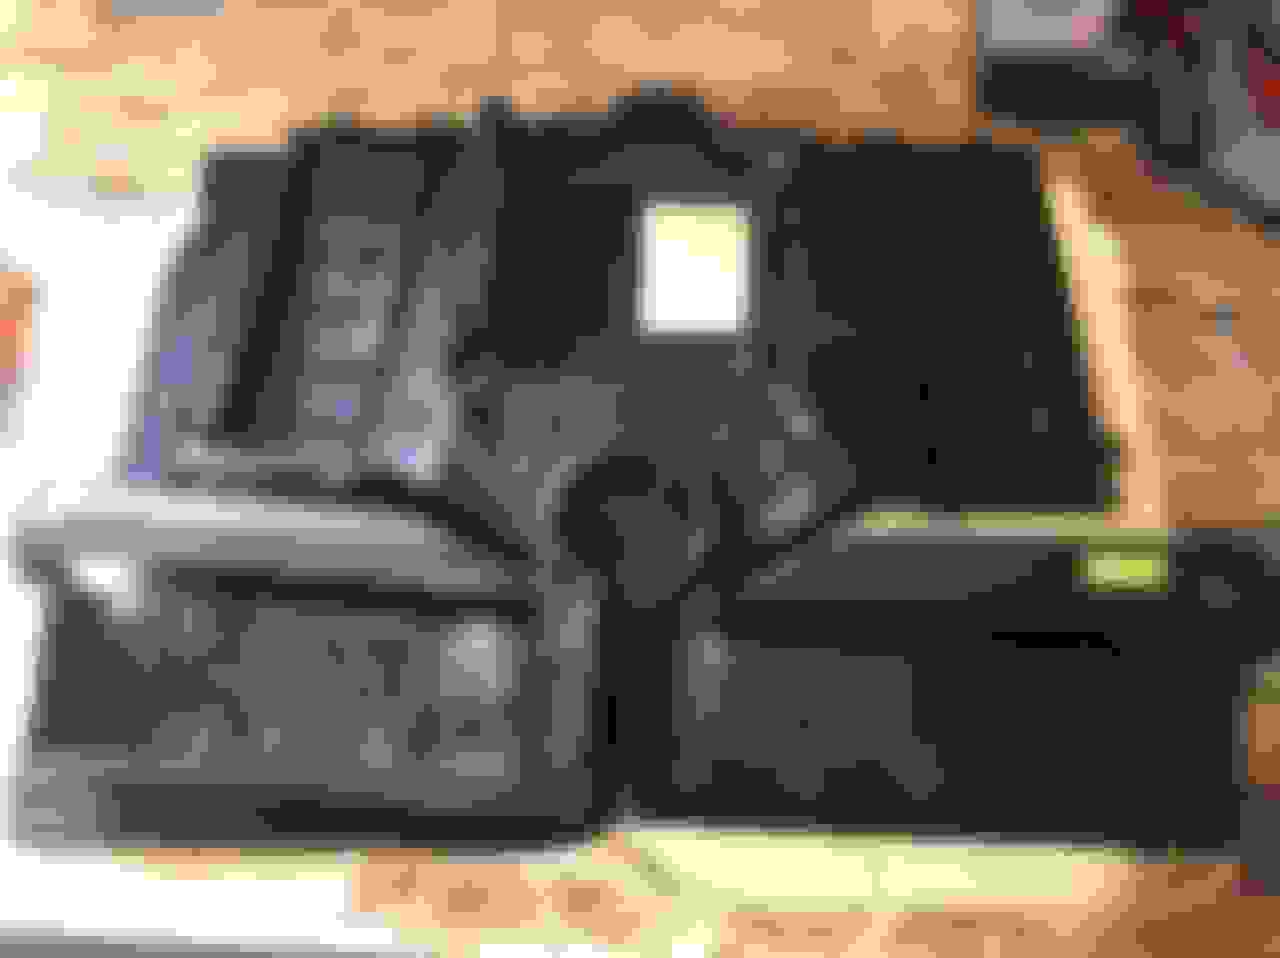
Old Mounts
Old Mounts
Look how collapsed the old mounts are, I can squeeze them down even further by hand.
You can see how high a mount should be in the center compared to the picture of the worn mounts above this picture.
Baum 16MM multipoint offset wrench Part#: 001-0016/2 The multipoint is the key feature here to be able to get at the correct angles for loosening/tightening the engine mount bolts.
For the transmission mount, it turned out to be an easy install. I drove up on Rhino ramps, removed the last plastic panel covering the transmission pan and used a small jack with a block of wood across the end of the pan to support the transmission. I then removed 5x 13mm nuts holding the mount to the cross member, 8x E12 bolts to remove the cross member and 4x E10 to remove the mount from the transmission. Install in reverse. This job was about 1 hour for me from start to finish.
New transmission mount
Old vs New You can see where the small transmission fluid leak was building up when the last service tech didn’t install the gasket properly on the 60k transmission service. It no longer leaks after I did the second transmission service
I could squeeze the old mount easily and twist it by hand. The Corteco mount has a larger circumference of rubber in the center.
Aug 20 2020 @ 154,830KM
Oil & Filter Service (Mobil 1 0W-40) -$68
Coolant Drain/Refill Service -$0
Brake Fluid Service (OEM) -$78
Paint Brake Calipers (Duplicolor Brush on Kit) -$46
Sept 5 2020 @ 155,289KM
Service A (Service 3) Indicator Reset -$0
I have completed another round of services, along with a cosmetic change.
The service indicator popped up 30 days ago saying the car was due for an A3 service, so just the minor inspection and an oil change.
Workshop/Service Code
List of Services to be Completed
Remaining Time/Distance to Complete Service
Along with an oil change, I also drained/refilled the radiator with OEM fluid as I had changed out the thermostat and temperature sensor a while back and wanted to get as much of the old fluid out as possible.
The more important part of this service was the brake fluid as I do not have any service records of it being done. It was due last year with the B service on Sept 8 2019 but I was unable to get it completed then.
To make the job as easy and mess-free as possible, I used a Motive Power Bleeder (Part: 0100 for Mercedes). Since I already had the bleeder, I had to buy the European(Mercedes) adapter (Part: 1100).
The service itself was very simple. I used 1L of OEM fluid in the Motive Power Bleeder, attached it to the brake fluid reservoir and pumped it to around 10PSI. With the car on jacks and the tires removed, I used a catch can with a hose to attach to the bleed nipples on the calipers and started from the furthest caliper from the master cylinder. This was about 1 hour of work total.
Motive Power Bleeder 0100 with European adapter 1100
OEM Fluid
Old Brake Fluid
New Brake Fluid
For the cosmetic change, I decided to paint my brake calipers while I had the wheels off the car. I am not looking for any colour that stands out but I also didn’t want to use black so the final decision was silver.
I did some research between a brush-on kit and aerosol, the brush-on kit won due to not having to deal with overspray. I had my choice between 2 kits; Duplicolor Caliper Paint Brush-on Kit and G2 Caliper Paint Kit. It looks like G2 Caliper paint is the clear winner but at double the price, I went with the Duplicolor Kit. After all, this is my winter car.
I opted to unmount my calipers so I could clean/prep and paint them properly.
Cleaning/prepping consisted of multiple rounds of wire brushing and brake cleaner until all brake dust and contaminates were removed.
Painting consisted of taping off a few parts and applying the paint with a paint brush (not the terrible one that comes with the kit).
Now that everything had 1 coat of paint, I let it cure for 24 hours and reassembled. My plan is to apply a 2nd coat of paint without removing the calipers as the 2nd coat will be only to fill in any brush strokes or imperfections that are currently visible.
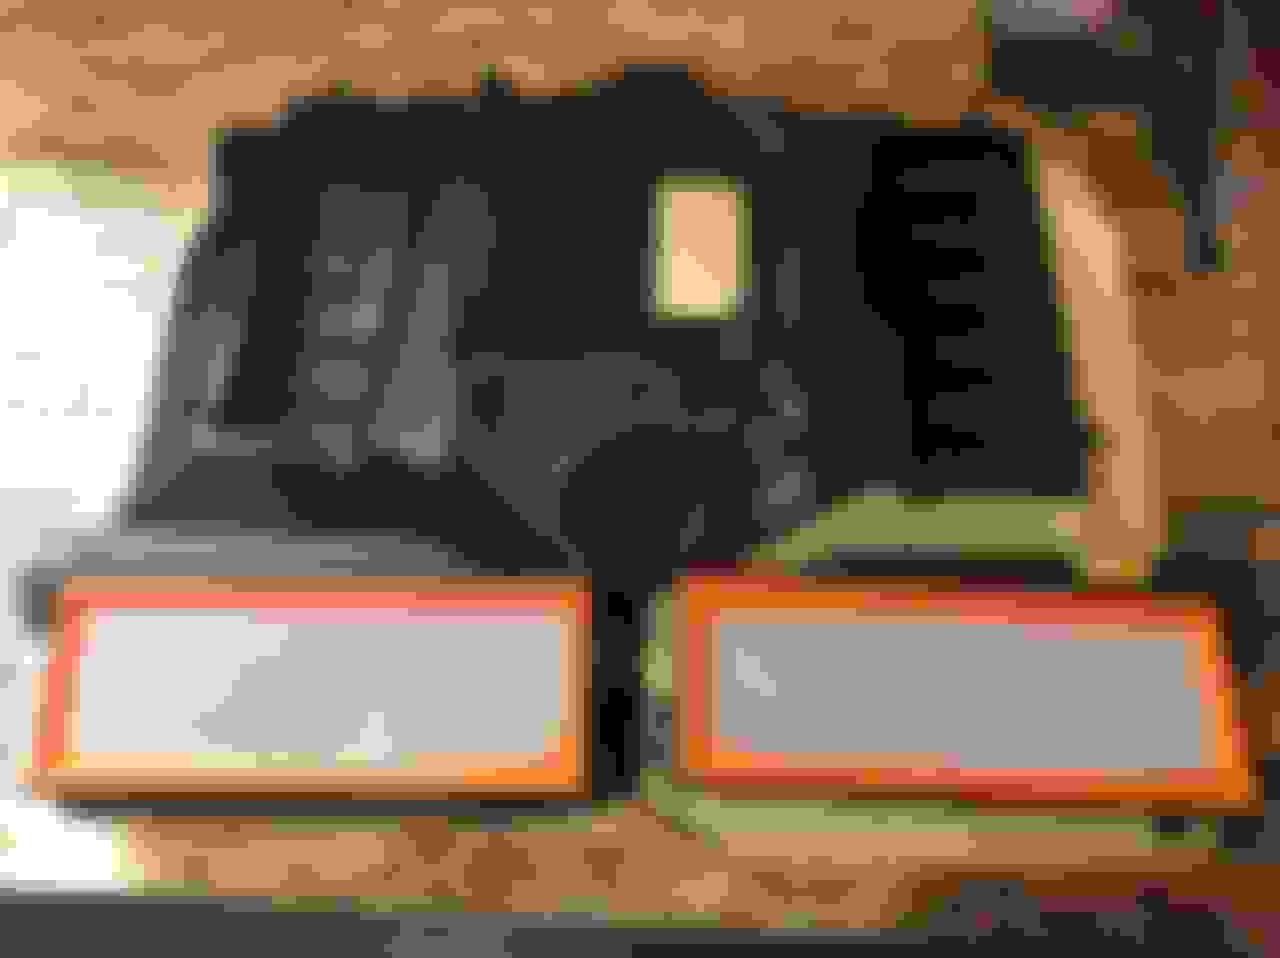
Sept 13 2020 @ 155,507KM Cabin Air Filter (MANN) -$29
It’s been 2 years(27,000KM) since I have changed the air filters and the cabin air filter. There was a bit more debris caught in the air box than I expected but that shows the filters were doing their job. It was easily cleaned with a soft bristled brush and a damp cloth.
I have entered my car in Septembers Featured Car of the Month.
I’ve tried my best to give as much back to the W204 community with the threads I’ve created and would like to ask for your help (and vote) in winning this month. I appreciate every vote!
I have entered my car in Septembers Featured Car of the Month.
I’ve tried my best to give as much back to the W204 community with the threads I’ve created and would like to ask for your help (and vote) in winning this month. I appreciate every vote!

 09-02-2019, 10:39 PM