When you click on links to various merchants on this site and make a purchase, this can result in this site earning a commission. Affiliate programs and affiliations include, but are not limited to, the eBay Partner Network.
DIY for replacing the motor mounts on a US spec 2010 C300 4matic. The 4matic makes this job more involved with the extra plumbing for the AWD. This is not a super detailed DIY that covers every little detail. The goal is to give you enough information so you don't end up spending a lot of time figuring out the next step as you go though this job like I had to do. Though I do give a good bit of detail on areas where I struggled or I don't think are obvious or covered by other DIY's.
First of all, I'm not a mechanic. I'm sharing what worked for me and your results may vary. You are responsible for what you do to your vehicle. If you are not comfortable doing something, I recommend you don't do it. This job can be dangerous especially if you don't have a lift and are not use to putting a car on ramps/jack stands.
I'm torn on whether to recommend someone do this job themselves. On one hand, it was a big pain in the ***. And on the other hand, it made a big difference in the quality of the handling and ride in general. The car is much smoother. This car has 150k miles on it and the car was vibrating/shaking for the past 20-30k miles. So probably could have used them at around 120k miles. You might consider having a mechanic do it though it probably will cost a good bit. IIRC, my indy wanted between $1,200 and $1,500 in labor to do this. I don't recommend doing this job if you have not done several jobs with a medium difficulty level. I estimate I invested about 30 hours in this. Though a good bit of time was spent researching and figuring out how to get various things removed. I could not find a DIY for the W204 with 4matic and I looked hard. I suspect if I were to do this job again, it would take me about 8 to 10 hours. Doing this job, you need to be able to reach down in the engine bay to place the wrench on the top of the motor mount bolt and to be able to start the bolt when putting the new mount in. I'm tall and have long thin arms. Probably want to make sure you can get in those spaces before your start this. One of my biggest fears was not being able to get the top motor mount bolt back on. I will recommend a couple of DIY's that are close and helped me.
I suggest you read this whole post before deciding if you want to do this job.
To replace motor mounts on a 2010 C300 4matic, the exhaust (mid pipe/cats) and the alternator needs to be removed. I lowered the steering rack hoping I would not have to remove the exhaust, but that did not work out. You probably don't have to lower the steering rack though it did give me a little better access at times. I won't cover lowering the steering rack in here. The left side (when sitting in the car) motor mount will be removed through the rear opening where the exhaust was and the right side will be removed through the front where the alternator is. Make sure you have a plan for being able to safely maneuver the engine into place when the engine is suspended and needing to screw in the top motor mount bolt. Reading through the steps to get a better idea.
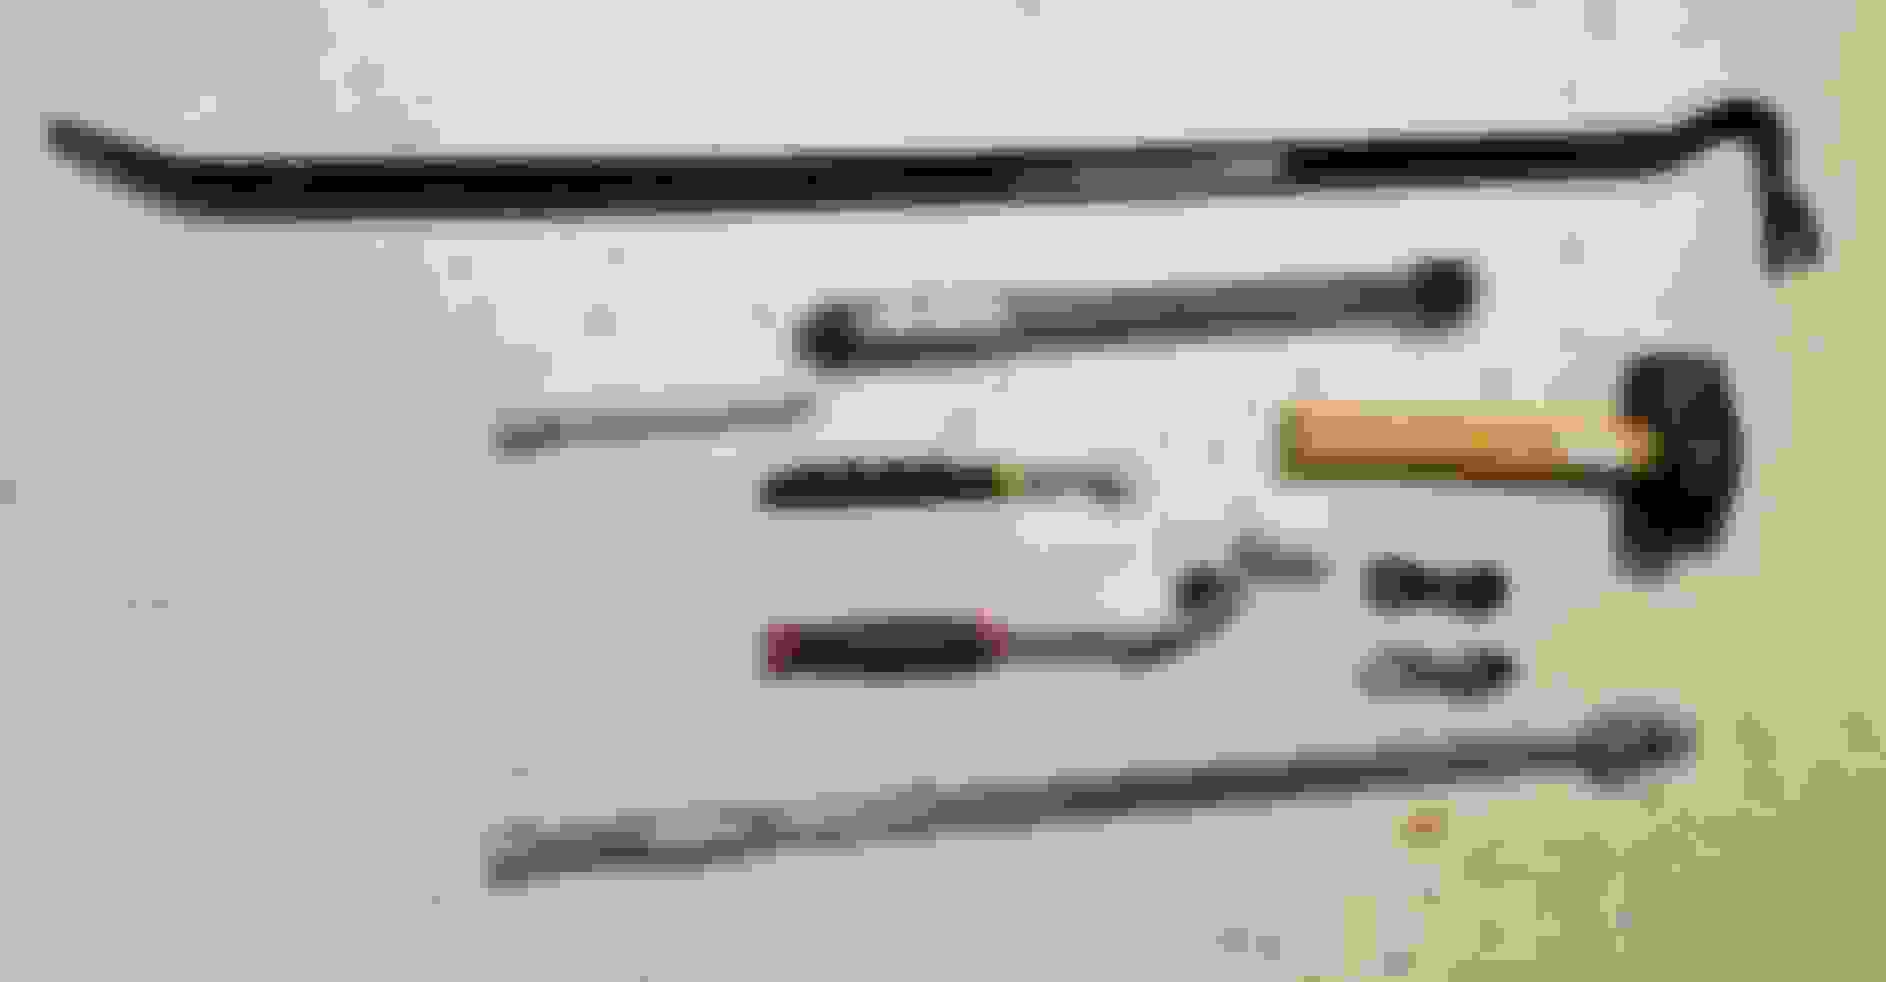
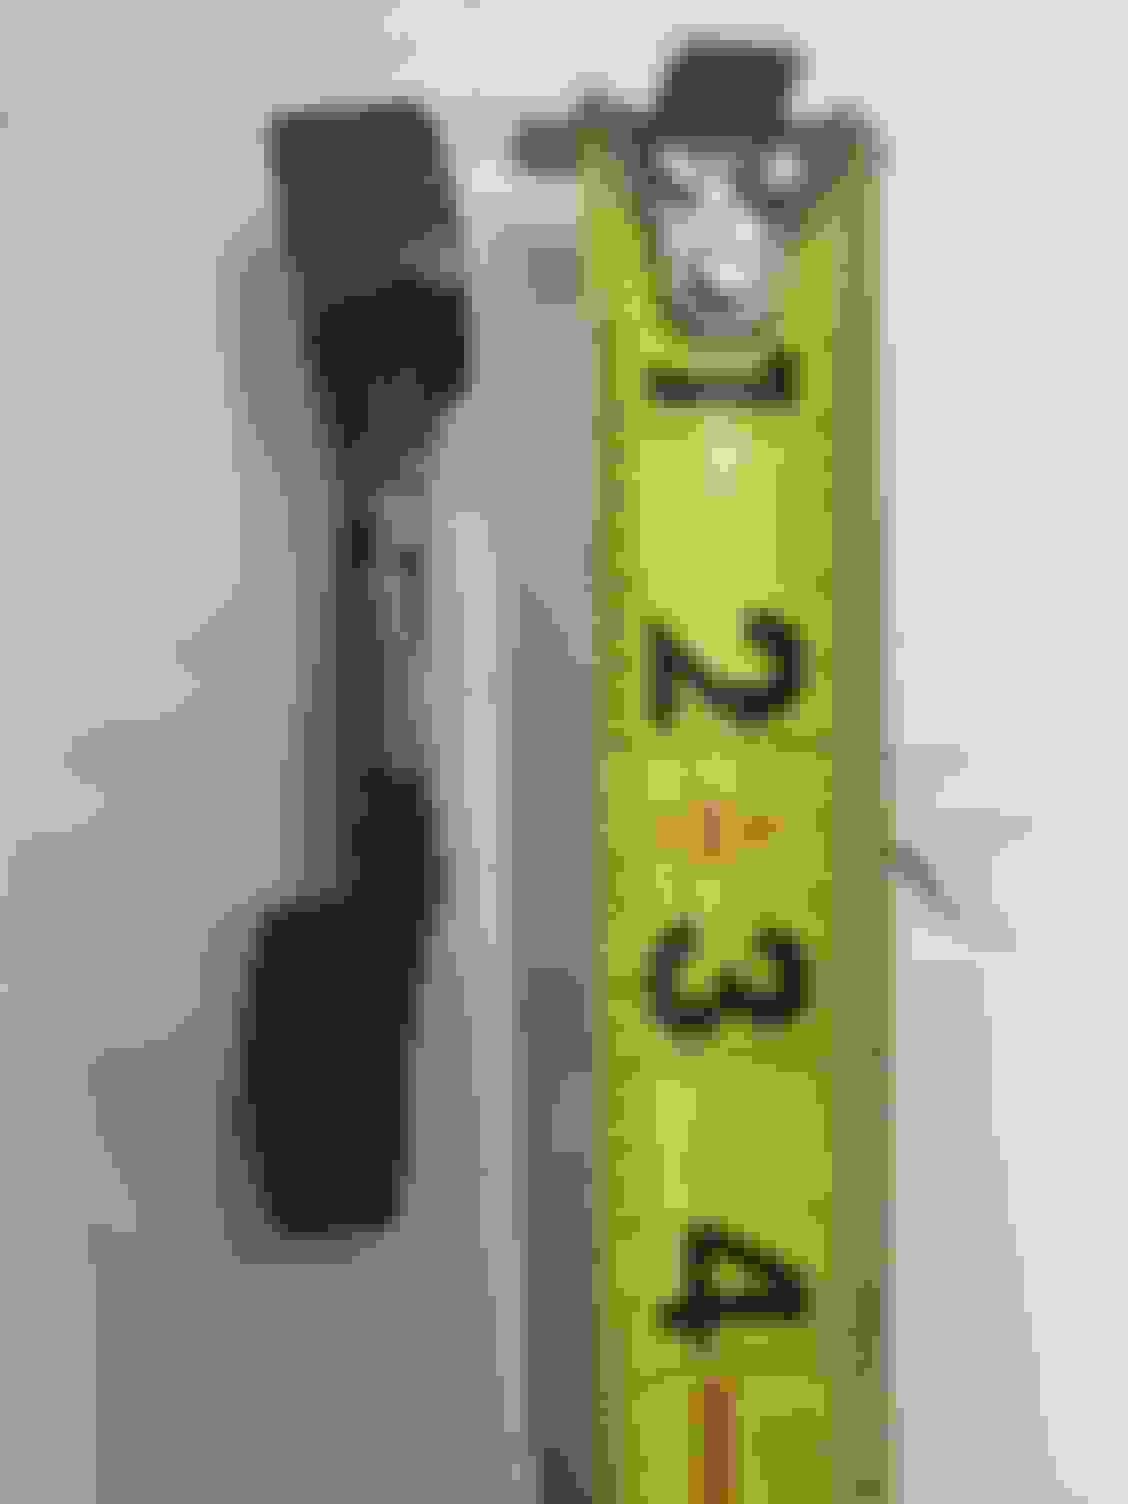
I highly recommend you get/make/have made a specialized 16 mm extension for removing/tightening the top bolt on the motor mount. You can Google "c300 engine mount extension wrench" to see what it looks like. Problem was the one I bought was too long. It was about 4.5 inches long and it needs to be more like 3 inches. I spent a good bit of time trying to make the 4.5 inch one work. I could not find one that was 3 inches (most don't give the length, so not sure if you can buy one that size). I ended up taking it to a welding shop and having them shorten it for $25. It worked great on the left side of the engine, but when I got to the right side, the head of the wrench was too thick to fit between the bolt and the exhaust manifold. So I went and bought a 12 point 16 mm box wrench (head was not as thick as the custom tool I had bought) and a 3/8 inch drive socket (doesn't matter what size the socket was as you just need the drive side). I had the welding shop make we another one 3 inches long for another $25 plus the $5 I spent on the wrench and socket. I could have probably ground/shaved the head of the first one, but choose to just have another one made. Knowing what I know now, I would just have bought the wrench and socket and had the welding shop make it. See picture below for some of the more specialized tools I used including these 2 extensions. A wobble extension could be helpful as well so the angle for getting to the extension and other bolts has a little flexibility in it. I also really like my 3/8 socket wrench with the pivoting head which may come in handy. You will obviously need many more tools than what is pictured below.
Removing exhaust bolts can be tricky as they usually rust and are hard to get off. Not uncommon for them them to snap in half due to pressure to remove/loosen. I didn't have that much trouble as mine were not overly rusty. If the bolts going to the manifold break, you may be screwed. I would not recommend removing the exhaust manifold as the studs looked really rusty. I replaced the exhaust bolts (mid pipe to exhaust manifold) and the C clamps as well.
Take lots of pictures and label your parts as needed.
1) Remove air cleaner
2) Disconnect battery
3) Raise car (lift preferred, I had on ramps for front and jack stand for rear)
4) Remove the engine and transmission under trays
5) Remove exhaust mid pipes
a) You will be removing the 4 bolts that connect both the mid pipes to the exhaust manifold, 4 bolts/nuts at the bracket just below the first cat and the 2 C clamps. I recommend you put some penetrating fluid on all bolts going into the exhaust manifold and the C clamp as they will most likely be rusted and let it sit for a few hours. The 4 bolts that connect to the exhaust manifold will be difficult to get to with fluid especially the ones hiding under the exhaust manifold. I used a rubber hose and sprayed fluid down that while holding the tube next to the bolt.
b) Unplug cables running from O2 sensors and remove wires from the various clips. Left side run to the bottom side next to transmission. Right side are on the top rear of the engine. Recommend taking pics so you remember how wires are routed.
c) Remove the metal cross brace at the rear of the mid pipes (4 torx bolts). You will need to remove the 2 under body trays that run inside the rockers. I just removed all the bolts/screws except a couple of front ones and let it down on the ground, removed the cross brace and then put the trays back up by fastening a couple of bolts to hold it until I put the cross brace back on.
d) Now remove the bolts/clamps holding the exhaust on. I removed the 2 bolts at the manifold first, then the C clamps at the rear of the mid pipes and then the 2 bolts at the cross member running under the front of the transmission. Makes sure you support the mid pipes and don't drop it as you take off the last bolts. You may actually want to leave the left exhaust (without the copper mesh gasket) bolts at the brace and the C clamp on for the moment to helg with getting the right exhaust loose. See next step.
e) Take off mid pipes. The left side exhaust came off pretty easy, but you probably want to take off the right first. The right side has a copper mesh gasket at the C clamp and I did end up using a torch to heat up the outer pipe and then a 3 pound sledge and a board at the bend in the pipe to hammer it loose. Keeping the left in place will help keep the rear exhaust still so hammering the right will be more affective. Once the right exhaust is loose, you will probably have to take off the left C clamp to get enough clearance on the rear exhaust assembly to get the right exhaust off.
6) This may be optional. I removed a bracket (2 bolts) holding a power steering hose just under the alternator so it would be out of the way a bit.
7) Remove the drive belt. Remove the alternator's 4 bolts and just set down on the cross member. I did the bottom 2 bolts first as you can't use a wrench to completely remove the bolts as there is not enough clearance...had to loosen the rest of the way by hand. Doing these first kept the alternator in place so it did not bind on the bolts when loosing by hand. I did this from the top and the bolt on the bottom rear you have to do blind, but I was able to get in there with a socket wrench. No need to remove the alternator wire connections.
8) Loosen the cable running along the right side of the engine above the exhaust manifold so you will have room to work. I removed the screws at the middle and front of the engine. I left the one on the rear. I also removed the cable connection running on the top back edge of the coolant expansion tank.
9) Remove the heat shields on the top of the motor mounts; one bolt from the front top and one bolt from the rear where the mid pipes were removed. I completely removed the left heat shield from the rear, but I could not get the right one out because of the extra AWD plumbing on that side. So on the right side I just moved it out of the way (towards the back) the best I could.
10) Position a floor jack under the engine's oil pan with a board on it or position an engine support bar to get ready to lift the engine.
11) Remove the bolt on top of the motor mount using the custom/specialized extensions. Once the bolt is broken loose, you might be able to loosen by hand. If not, the engine support bracket is most likely against the front of the bolt. You may try to loosen the bolts a little more, lift the engine slightly and pull the engine slightly forward using a crowbar. I put board between the engine and firewall and put the crowbar between the board and sold/metal surface on the back of the engine. Be careful you don't damage anything. You might need another set of hands to help with this part (I did). Or you may just unscrew the bolt a little at a time and not worry about moving the engine forward. It may take a little longer. But I suspect you will have to do move the engine forward when putting the bolt back in as I could not get it started without doing this. You will probably have to lift the engine some as you remove the bolt as it may hit the bottom of the exhaust manifold or if you end up using the extension to completely remove the bolt you will need the clearance.
12) Once you have removed the bolts on top of the motor mounts, you can remove the 2 bolts on the front and back of the engine mount anchoring it to the axle carrier. You may want to do one side at a time so you always have one motor mount bolted to the axle carrier (see next step as well). I did, but not sure it was necessary. Remove the right motor mount from the front and the left from the rear. You might need to lift the engine a little more to get clearance.
13) Position the new motor mounts where they go making sure the tab is facing outward. You may need to lift the motor a little more as the new motor mounts are probably taller than the old ones. You may need to lower the engine slightly once you get the motor mounts close to being in place as the axle shafts may be raised so the motor mounts don't sit flush on the axle carrier. But make sure the engine is not resting on the motor mounts until the mounts are in place and bolted down to the axle carrier. Once the mounts are in place, screw in the front and rear bolts that attach the motor mount to the axle carrier. You might torque to spec now or at least make sure the bolts are very snug. I believe the torque spec is 28 ft lbs, but verify for your vehicle.
14) Screw in the bolts on the top of the motor mounts. This was the tricky part for me because the engine needs to be positioned so the bolt can be lined up with the hole on the top of the motor mount. I lowered the engine so it was just above the motor mount but not touching it and making sure their was enough clearance under the exhaust manifold to get the bolt in place. I used a crowbar like mentioned above to pry the engine slightly forward so the bolt would line up with the hole. I needed another person to help with this. Once it was lined up, I could screw the bolt in most the way. Lower the engine so it rest on top of the motor mount. If you do it right with the crowbar, you should be able to screw the bolt in the rest of the way and just need the extension and wrench for when you torque it down.
15) Torque down the bolts on top of the engine mount once the engine is resting on top and the engine is no longer supported by a jack or engine support bar. Since you are going to have to torque using the extension, you need to figure out the adjusted torque spec. There are online calculators that will do this for you. I believe the torque spec if 50 ft lbs for this bolt (verify for your vehicle) and mine end up being around 41 ft lbs. But yours may differ and is based on the length of the extension and the length of your torque wrench.
16) Reinstall in reverse order. I did use new bolts and C clamps for the exhaust. My exhaust shifted to the rear when the mid pipes where removed. I did have another person pry the exhaust forward when reinstalling the C clamps with a small pry bar as my larger crowbar was too long to be usable under the vehicle on ramps/jack stands. Getting the exhaust in place can be a little challenging, especially the 2 bolts connecting the mid pipe to the exhaust manifold. But it did not give me too much trouble. I put the bolts at the bracket on first, then the manifold bolts, then C clamps and finally route/plug in O2 sensor wires. Of course as you put the mid pipes in place make sure the O2 sensor wires are in a good place so they can be routed later. For the right side exhuast, I tied a string on the wires and had someone help fish them through the top as I put the mid pipes in place.
Excellent write up Eric! From my experience your how to is right on. I completely agree about the motor mount bolt wrench. I had to shorten and shave mine as well to work.
You tube video for the 204 is lacking, however I found this one for the GLK-350 and it is almost the identical procedure and a well done video.
My mounts were swapped as a "might as well while I am in here" while replacing the upper oil pan. DO NOT TRY TO YANK OUT DRIVERS CV AXLE!! You will break the oil pan. Ask me how I know....
Thank you very much for this great thread and for linking the key resources for this DIY (I wan't able to find much else out there to help, this thread pretty much has it all! I have just completed the task on my '10 C300 RWD (mercifully not a 4matic) and am very glad to have it over with. I did flex discs, trans mount, and motor mounts and it took more than 2 days! This is the type of project where a lift would make a big difference compared to having it on jack stands- I had it on jack stands and was in and out from under the car many times for unexpected tools etc.
In my repair (C300 RWD), I removed the left-side exhaust mid-pipe to remove the mount out the bottom but was able to leave the right side pipe in place. On the right, I dropped the alternator (but did not disconnect wires) and that gave enough clearance to get the motor mount forward out of the top. I did not drop the steering rack. I also did not have the 16mm special extension tool but instead used both a 5/8" (equivalent to 16mm) ratcheting box end wrench as well as a shorter 16mm non-ratcheting box wrench and between the both of them was able to get to the top bolt of both mounts. One thing I can add is that once the top bolts are unscrewed all the way, you don't have to actually remove them from the engine bracket as they hit the exhaust manifold. They can just be pulled up to where they hit the manifold and the new mount slips in underneath. Getting them to rethread was not difficult at all compared to getting a wrench on them to loosen/tighten.
All in all, I'd characterize this project as quite a hassle! A high point was realizing I had to remove the aluminum stiffener beam in front of the muffler to drop the mid pipe, pulling those torx screws out and realizing the beam was longer with another pair of screws obscured by the side underpanels, and then realizing some underpanel nuts were stripped so I couldn't remove one panel at all... Out came the drill and after adding a big hole to that plastic underpanel, the pesky bolt was removed to get the beam out of the way but that moment summed up my feelings on this one!
Mercedes SLR McLaren 722 S Is Extremely Rare Example Modified by McLaren
Slideshow: A one-of-one U.S.-spec Mercedes-Benz SLR McLaren Roadster became even rarer after a factory-backed transformation at McLaren's headquarters.