
AerowerkZ Integrated Dashcam Installation and Review
 06-06-2017, 10:26 AM
#1
Senior Member
Thread Starter

AerowerkZ Integrated Dashcam Installation and Review
Picked this up a few weeks ago and finally got the chance to install it this past weekend. Thought I'd post some thoughts from the install.
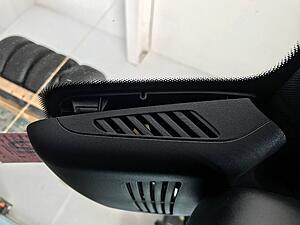
The AerowerkZ unit has a slightly different gloss to the plastic. It's definitely glossier than the OEM plastic. If this piece butted up against another piece of OEM plastic, it would likely bother my OCD tendencies, but since it sits on the windshield by itself it's really not noticeable.
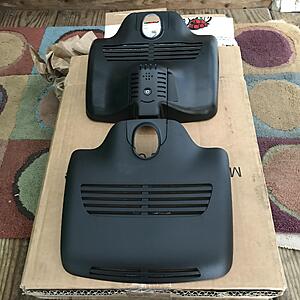
Start by removing the OEM rain sensor cover. Its pretty easy once you've done it once: there are four pressure clips that hold it to a bracket underneath. You can simply get your fingers behind it, and gently pull down.
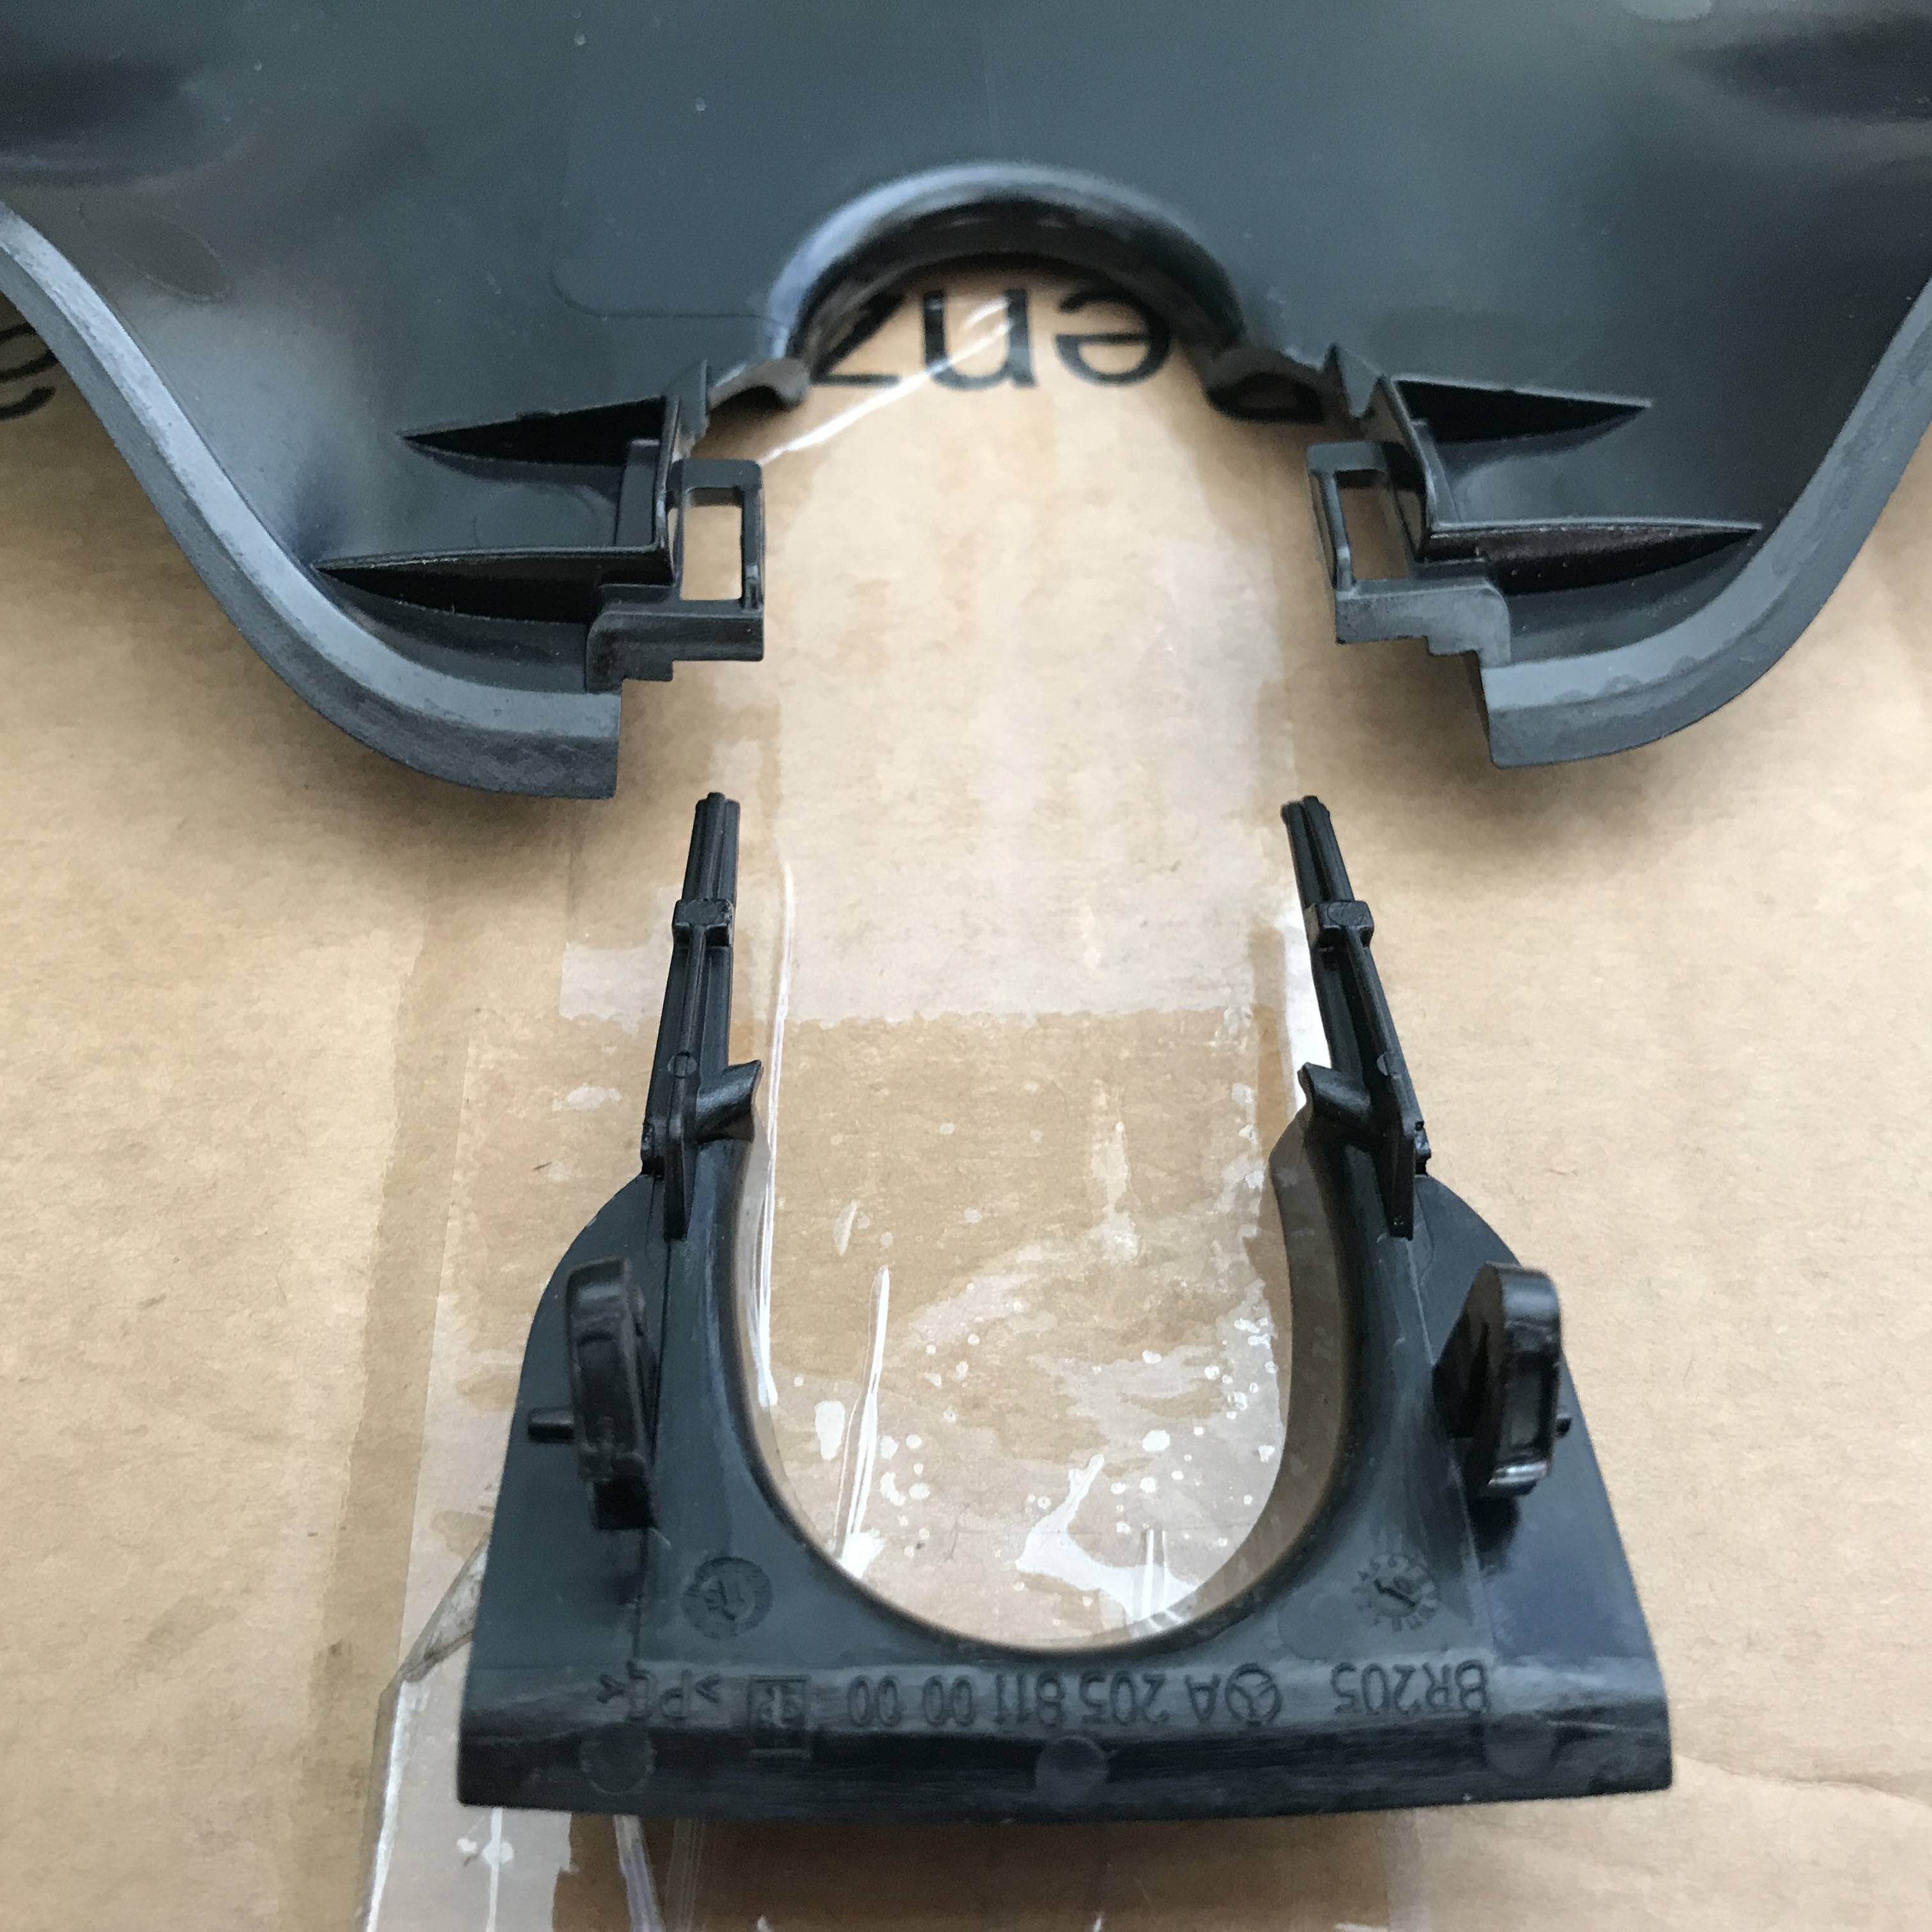
There's then a plastic "collar" that fits around the stalk of the rearview mirror that you need to remove. Without any reference for how to do so, I looked at the AerowerkZ piece to try and figure out how to remove it. After ten minutes trying to remove it, I discovered why this is NOT a good idea: the AerowerkZ piece uses a different method to secure the collar than the OEM piece. The OEM piece has retaining "prongs" that need to be pushed "forward" (toward the windshield) using a small screwdriver to release, while the AW piece uses clips that need to be pushed "in" toward the rearview mirror stalk.


With either type, once the clips are released, the collar slides out.

From a wiring perspective, the guide AerowerkZ supplies does a good job showing exactly where to plug into the fuse box on the C205. I didn't even bother taking any pics. The fuse box cover (in case you haven't removed it before) is on the driver's side of the end of the dash. Open the driver's door, and you can pop the cover off with some strong fingers (and maybe a plastic pry tool).
Hook up the three connections from the wiring harness: use a 13mm socket to loosen an existing grounded bolt, put the ground lug from the AW camera ground underneath it, and tighten. Remove the two fuses highlighted in the AW instructions, and replace using the labelled fuse taps.
Run the cable up the A-pillar. It's very easy to simply tuck it behind the pillar. At the top of the pillar, cross over to the headliner. Run it along the front of the headliner, tucking it behind as you go. Once you get to the housing, you may find you have excess cable. I secured it together with a ziptie, and then wrapped some felt tape around it to keep it from rattling.
Plug the cable into the connector on the AW housing lead. It will only go on one way. Mount the housing by pushing it back onto the retaining clips, and then attach the collar.
Power up the ignition, and follow the instructions to download the app and map the WiFi network. You're now up and running.
Very easy, the whole installation shouldn't take more than 20-30 minutes.
Only issue I ran into is that in NH, vehicle inspection stickers are placed directly underneath the rearview mirror, EXACTLY where the AW camera lens ends up. I ended up having to scrape my sticker off and place it offset ~4" or so to the passenger side. Can't see it when in the car either way, so again doesn't bother my OCD tendencies too much.
Image quality during the day is good; haven't used it at night yet.
The AerowerkZ unit has a slightly different gloss to the plastic. It's definitely glossier than the OEM plastic. If this piece butted up against another piece of OEM plastic, it would likely bother my OCD tendencies, but since it sits on the windshield by itself it's really not noticeable.

Start by removing the OEM rain sensor cover. Its pretty easy once you've done it once: there are four pressure clips that hold it to a bracket underneath. You can simply get your fingers behind it, and gently pull down.

There's then a plastic "collar" that fits around the stalk of the rearview mirror that you need to remove. Without any reference for how to do so, I looked at the AerowerkZ piece to try and figure out how to remove it. After ten minutes trying to remove it, I discovered why this is NOT a good idea: the AerowerkZ piece uses a different method to secure the collar than the OEM piece. The OEM piece has retaining "prongs" that need to be pushed "forward" (toward the windshield) using a small screwdriver to release, while the AW piece uses clips that need to be pushed "in" toward the rearview mirror stalk.

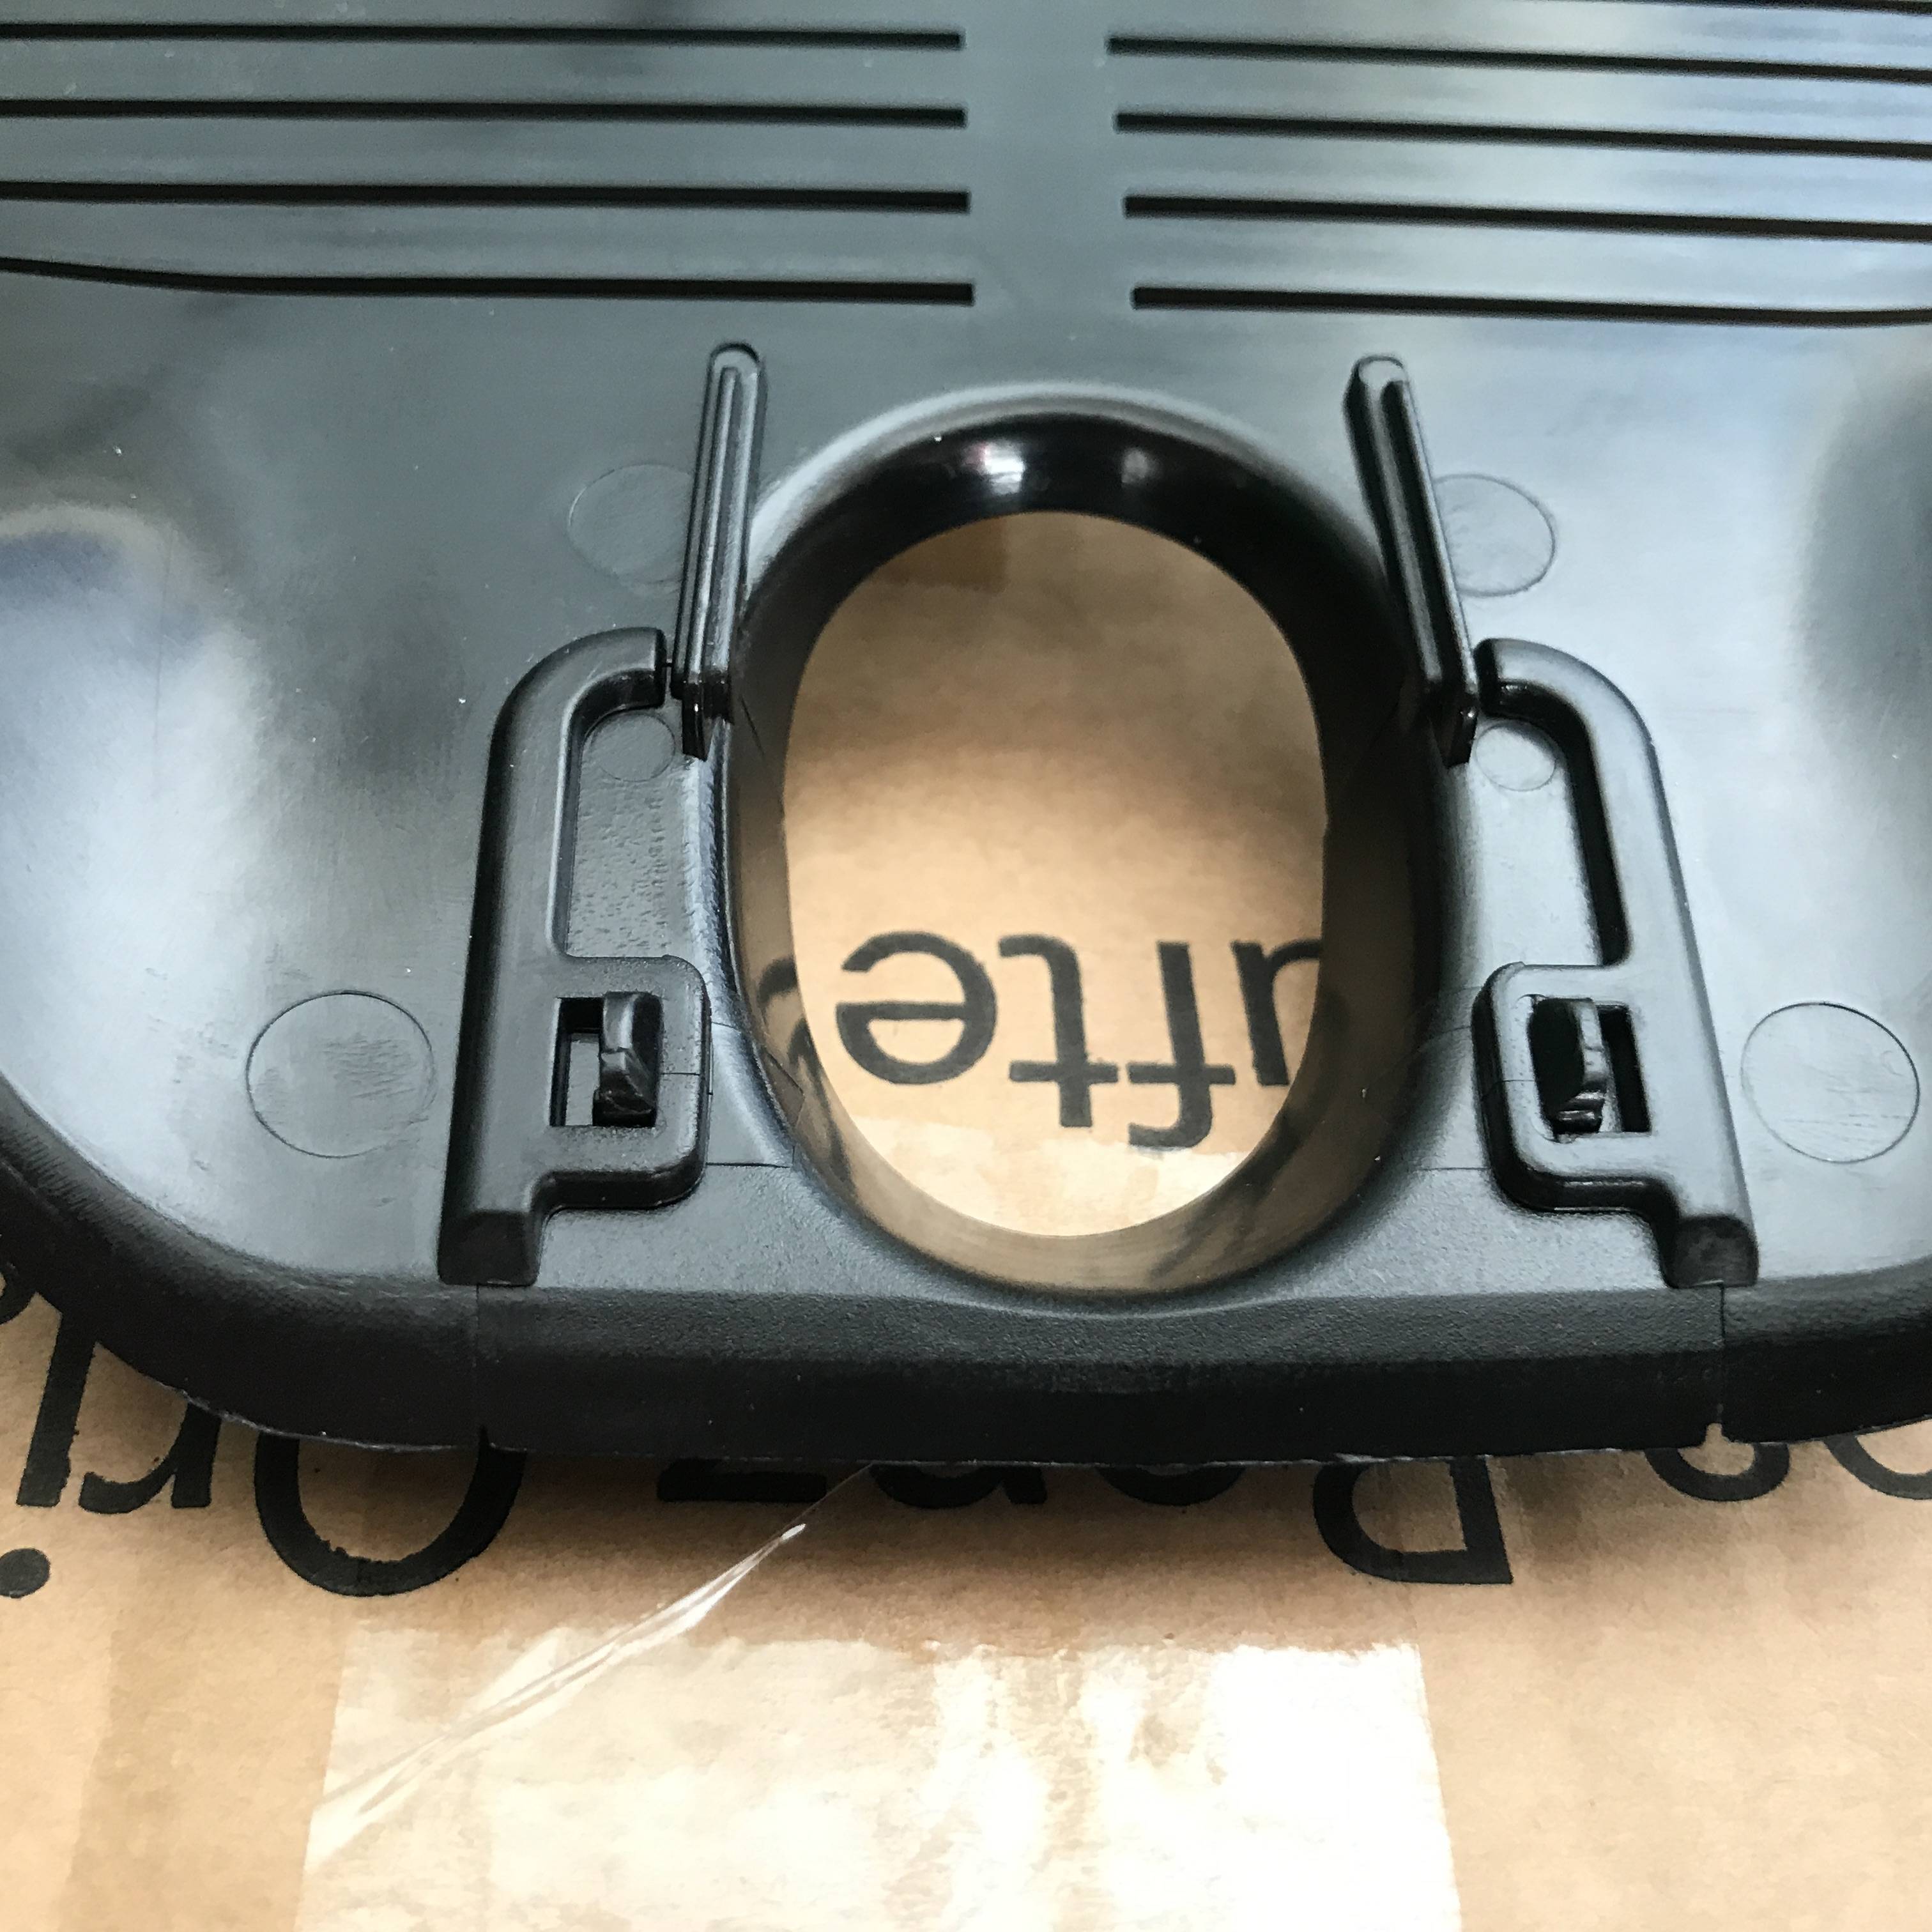
With either type, once the clips are released, the collar slides out.
From a wiring perspective, the guide AerowerkZ supplies does a good job showing exactly where to plug into the fuse box on the C205. I didn't even bother taking any pics. The fuse box cover (in case you haven't removed it before) is on the driver's side of the end of the dash. Open the driver's door, and you can pop the cover off with some strong fingers (and maybe a plastic pry tool).
Hook up the three connections from the wiring harness: use a 13mm socket to loosen an existing grounded bolt, put the ground lug from the AW camera ground underneath it, and tighten. Remove the two fuses highlighted in the AW instructions, and replace using the labelled fuse taps.
Run the cable up the A-pillar. It's very easy to simply tuck it behind the pillar. At the top of the pillar, cross over to the headliner. Run it along the front of the headliner, tucking it behind as you go. Once you get to the housing, you may find you have excess cable. I secured it together with a ziptie, and then wrapped some felt tape around it to keep it from rattling.
Plug the cable into the connector on the AW housing lead. It will only go on one way. Mount the housing by pushing it back onto the retaining clips, and then attach the collar.
Power up the ignition, and follow the instructions to download the app and map the WiFi network. You're now up and running.
Very easy, the whole installation shouldn't take more than 20-30 minutes.
Only issue I ran into is that in NH, vehicle inspection stickers are placed directly underneath the rearview mirror, EXACTLY where the AW camera lens ends up. I ended up having to scrape my sticker off and place it offset ~4" or so to the passenger side. Can't see it when in the car either way, so again doesn't bother my OCD tendencies too much.
Image quality during the day is good; haven't used it at night yet.
Last edited by nobbyv; 06-06-2017 at 10:32 AM.

The following 4 users liked this post by nobbyv:
06-23-2017, 03:52 AM
#2

how does the video feed look like a night?
How much video time can you get on the 16gb card?
any chance your going to buy the ambient lighting package from aerowerkz?
How much video time can you get on the 16gb card?
any chance your going to buy the ambient lighting package from aerowerkz?


 09-04-2017, 11:39 AM
#6
Senior Member
Thread Starter
The following users liked this post:
wizwilson (09-04-2017)

Trending Topics
10-04-2017, 11:44 AM
#8
Newbie

Join Date: May 2016
Posts: 2
Likes: 0
Received 0 Likes
on
0 Posts
2016 C300
The AerowerkZ unit has a slightly different gloss to the plastic. It's definitely glossier than the OEM plastic. If this piece butted up against another piece of OEM plastic, it would likely bother my OCD tendencies, but since it sits on the windshield by itself it's really not noticeable.
I really want to install a dashcam, but I'm extremely hesitant on doing so as my biggest fear is breaking a small plastic clip somewhere along the way during the installation.


