When you click on links to various merchants on this site and make a purchase, this can result in this site earning a commission. Affiliate programs and affiliations include, but are not limited to, the eBay Partner Network.
These are tips/issues I have come across when I did the install on my 2016 C450. I'm a Certified Red Seal AST (Canadian Journeyperson Automotive Service Technician certification) who spent about 3 years as a Benz tech working at a dealership.
*****disclaimer*****
I am not responsible for damage you do to your vehicle or EIS if something goes wrong while attempting to perform your DIY
First of all, the folks over at Mid City engineering did a very good write up for the EIS modification and the actual remote start system install. But I had a couple hiccups that should be a warning to anyone before they attempt to DIY this. Don't get me wrong, It's very doable. HOWEVER, there are some things you should know and be prepared for before you start.
Parts needed:
steering wheel bolt x1
remote start kit from mid city engineering
Spare Mercedes key fob(has to go in a key box that stays with the car)
Tools:
Soldering gun with pencil tip and adjustable heat setting
Electronics solder
Something to cut through 1/4' thick plastic framing (I heated up a butter knife with a small torch to melt through it and used a zip wheel to trim it aswell)
T25 screw driver with a minimum 3" long shaft
and a DMM (Digital Mutlimeter)
Large 1/2" drive allen socket set
3" long 1/2" drive extension
1/2" breaker bar (I used a pneumatic impact 1/2")
1/2" torque wrench
This can be very difficult if you aren't familiar with automotive mechanics or technology, this install has a high level of difficulty and shouldn't really be attempted by the average person who expects it to work perfectly the first time. I'm a certified AST who specialized in Benz vehicles, and I had some issues.
It is not necessary to remove any of the center stack/center console components to get the EIS out. You can remove the steering wheel/airbag/SCM and with some minor plastic cutting modifications sneak it out by the steering column opening.
REMOVING THE EIS
FIRST adjust the steering wheel all the way up and out as far as it will go. Then disconnect the main battery ground cable in the engine bay that's under the passenger side engine cowling. Remove aux battery fuse 448 from the rear SAM and let the car sit for 15 minutes
Fuse 448 is the red colored 10 amp fuse that's in the pink fuse block, which is located in trunk near the right front of the cargo area floor. You will have to lift up the cargo area floor cover, and a flimsy fabric cover that's over the right front corner of the trunk floor to expose the rear SAM.
Then unclip the trim in behind the steering column module, pops forward to unclip all the way around it
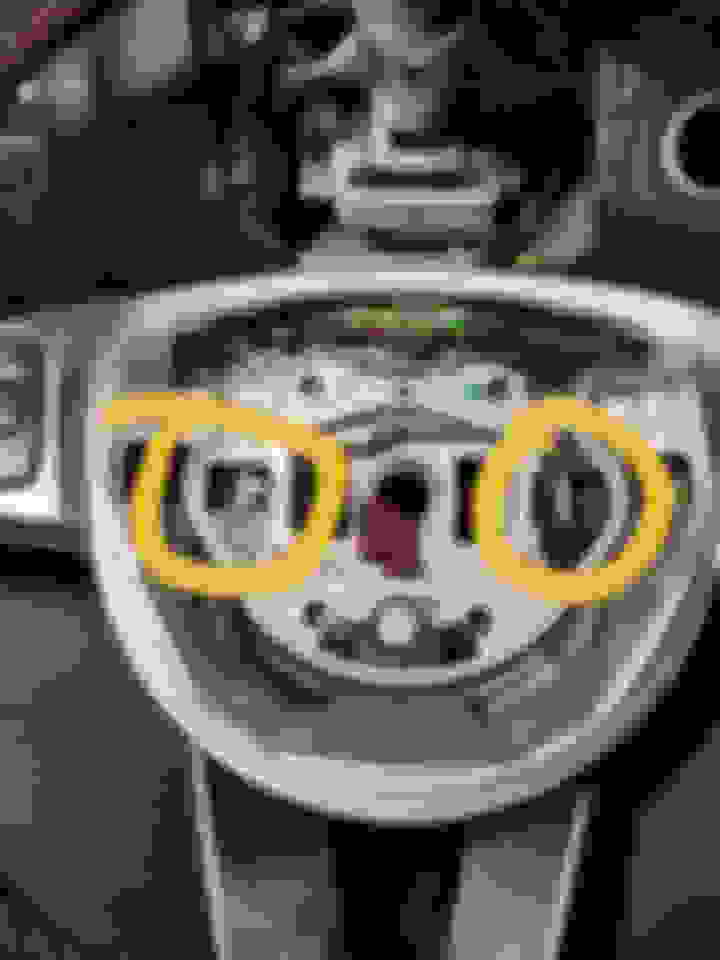
To pop out the steering wheel airbag, these two metal wires hold the airbag module in and must be pressed inwards
The holes on the back side of the steering wheel may or may not be there, as they are only punctured if the wheel has been removed once already. I takes a minimum 3" long torx T25 screw driver to go through the hole in the wheel and hit the two metal wire as shown above
One on each side of the wheel
Again, those two holes on each side of the steering wheel won't be there if the airbag has never been removed in your car. you'll have to puncture them with the torx screw driver and guess where they are because Mercedes engineers are ****s sometimes...
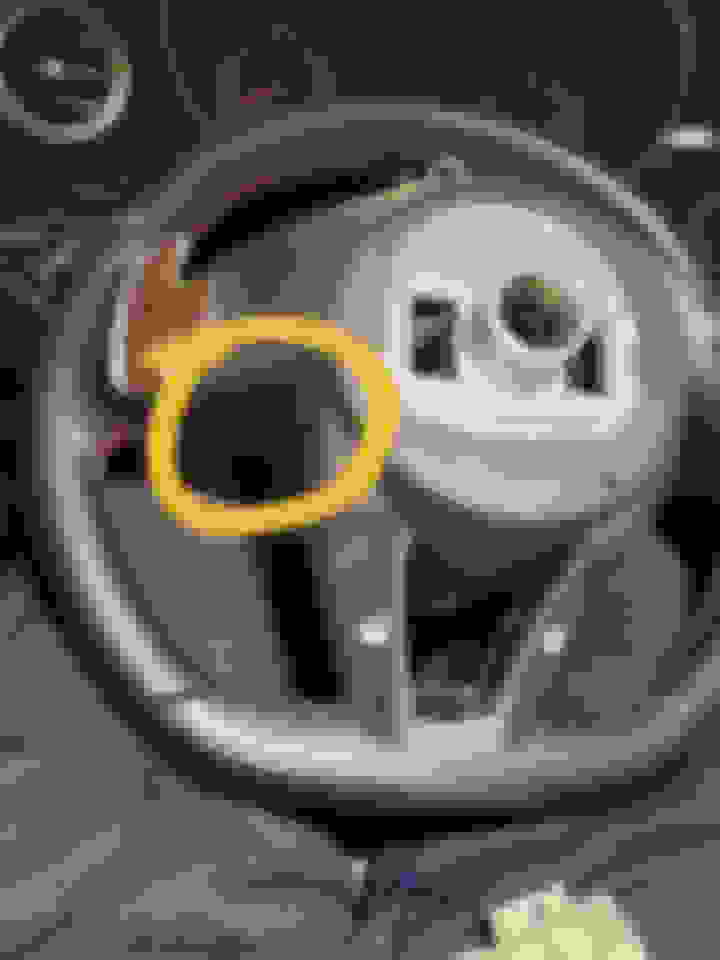
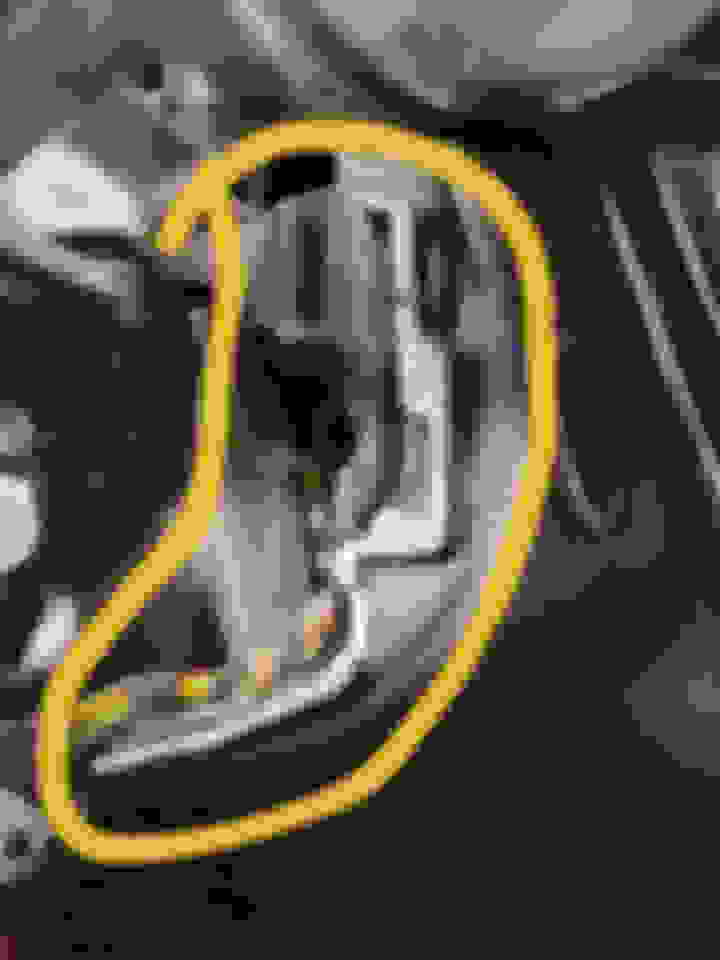
The yellow connector in the steering wheel (not the one on the back of the airbag module) must be disconnected before you try to pull the airbag out completely.
Before the steering wheel comes off there's a large allen bolt that needs to be removed (You need a new one for reinstall, but I didn't replace it due to parts unavailability)
Then unplug the brown connector that's to the left of the yellow one you just unplugged for the airbag.
***These marks must be observed when removing the steering wheel, and it MUST go back on in the exact position it comes off.***
Next off comes the SCM, give it a firm but loving jerk towards you and it should pop off its seat on the steering column shaft. BE GENTLE, or it will break and require a sad tear filled trip to the dealership to have it replaced and programmed.
then just let it hang
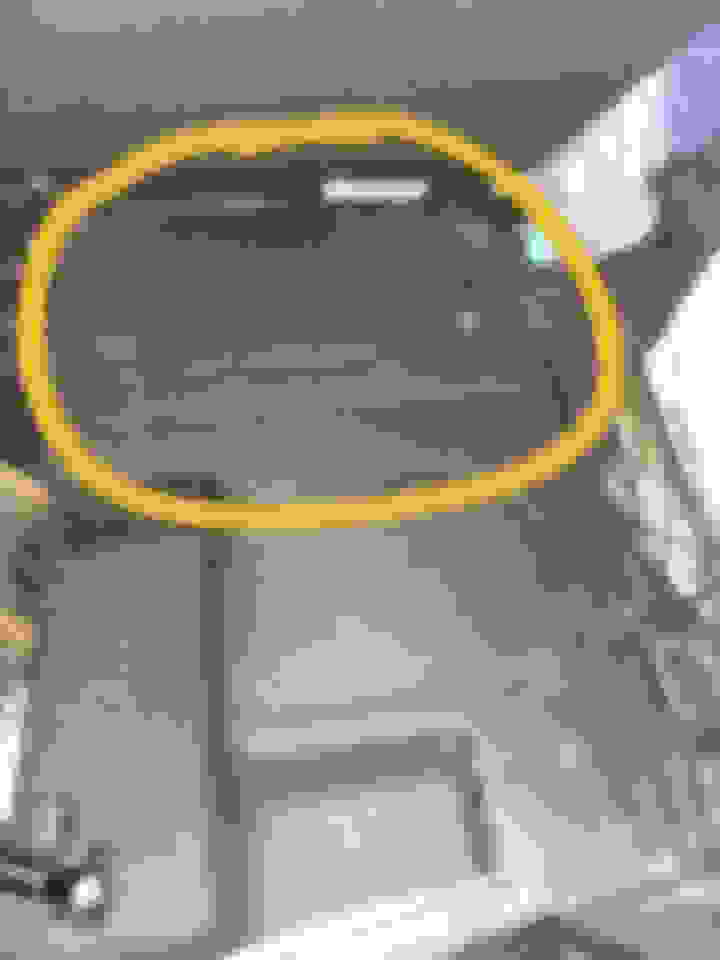
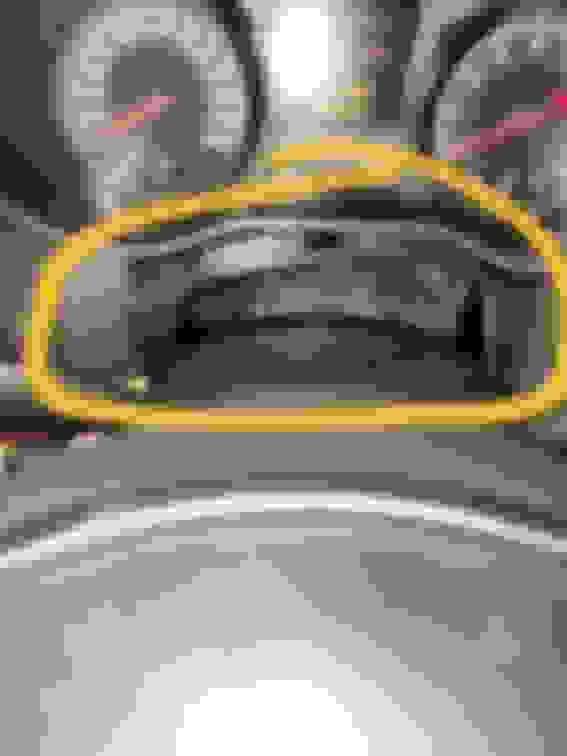
Now you have a good sized hole, but it must be made a bit larger to squeeze the EIS through once its unclipped/unplugged
Unplug and unclip the EIS from the mounting frame, then cut/melt out some of the plastic frame to widen the hole
This is the hole after its been widened (Don't cut the actual leather trim, just the plastic framing to widen the hole.
Now very very carefully wiggle/squeeze the EIS out of the hole that's now present.
Now it's to the nerve racking EIS disassembly and modification
WEAR A GROUNDING STRAP WHEN WORKING WITH THE EIS. The EIS needs to be VERY VERY carefully disassembled and handled since the mainboard inside is an ESD (electrostatic discharge) susceptible part. If your not careful and you ESD zap the mainboard during disassembly or when you have it apart, something WILL get fried, and you WILL have to trailer your Benz to a dealer to have the part replaced and programmed. (This didn't happen to me thankgod)
For soldering the EIS mainboard, you absolutely MUST have a pencil tip soldering iron that is heat adjustable or be an expert with electronics soldering. The two spots you need to solder on the EIS mainboard are literally the diameter of the ball point tip on a pen. I coated the heated solder gun tip in solder, then placed the jumper wire on the contact to be soldered, then placed the gun tip onto the wire with enough pressure to let the heat conduct into the wire and mainboard contact point. BUT only long enough for the solder to flow from the gun tip to coat the wire/mainboard contact point.
EIS soldering: Just follow MID City Engineering's instructions for this part, they are quire good and accurate. Just make sure to run the brown and blue can wires to the front passenger side foot well before reinstalling the EIS.
To reinstall the EIS, just reverse the removal process and make sure to replace the bolt for the steering wheel and torque to 80nm as per WIS. Reconnect the battery/install fuse 448 in rear sam ONLY AFTER the airbag is reinstalled
Now I'm gonna jump to the Keyless Go CAN wire finding part of the install
Get to the part in the Mid city engineering instructions were they talk about how to find the correct KG connector to unplug at the passenger side foot well under the carpet. This is the part I struggled with for about 20 minutes before I realized the KG finder function of the remote start module isn't entirely accurate. I'll explain
Basically (with the key in ACC POSITION (or position 1) they tell you to unplug and replug connectors one at a time on the brown twisted pair CAN Block until the yellow light turns off on the remote start module. Stating that the first one you unplug that turns the yellow light off is the right one. HOWEVER this is not correct as TWO of the connectors will BOTH turn the yellow light off. If you connect the wrong one of the two to the remote start module, it will make weird things happen as you've just taken down a critical CAN Network... (highbeams on at all times, engine fan on highspeed when key is turned to on, vehicle wont respond to key fob buttons). Just general stupidness and a very unhappy car will come about.
One of the connectors goes directly to the keyless go module, the other goes to a GATEWAY module which becomes rather upset when disconnected from part of the CAN Network and connected to a remote start module. So.... don't use their method, or car may be unhappy.
Instead if you disconnect the connector at the keyless go module in the trunk on the right side. Then using a DMM, connect one lead to one of the brown can wires coming out of the keyless go connector, and the other lead to each connector at the passenger floor till you find good continuity or very low resistance (0.1 - 0.4 ohms) on one of the connectors. Then you know you found the right one. Unplug the brown wire connector that you found and continue on with Mid city Engineering's' instructions.
So that's pretty much it. remember DO NOT plug the 10 amp fuse back in and reconnect the main battery negative cable until AFTER the airbag is reinstalled or you'll have to find someone that can clear the airbag light.
To reinstall, just reverse the removal process and make sure to replace the bolt for the steering wheel.
Some other notes...
key take-over consists of the car shutting off and immediately restarting. It won't just stay running, and I've been told this is normal by Mid city's tech guy.
The auto power folding mirrors just kind of do their own thing when the remote start activates.
the EIS modification instructions tell you to solder the pin that gets added to the EIS mainboard, but all the existing pins are press-in, not soldered at all. So I guess its up to you if you wanna solder it in or just press it in and leave it.
Mid City Engineering did a bang up job for the instructions and the remote start in general for the PF W205. A couple little tweaks to the KG finder instructions maybe, but its quite good and the remote start works the way it should.
Wow, lots of excellent info here. Thanks for sharing!
Looks like you have to really want remote start to commit to doing this. I'm sure it is totally worth it if you live somewhere with extreme temperatures.
Wow, lots of excellent info here. Thanks for sharing!
Looks like you have to really want remote start to commit to doing this. I'm sure it is totally worth it if you live somewhere with extreme temperatures.
That's a good way to put it lol. If you wanna do it diy style, you definitely have to really really want it. I live in south central Canada where it goes from plus 40�C in the summer to -40�C in the winter. So it's definitely worth it for me. There's quite a few places within 500 km of me that regularly do the mid city engineering remote start install on these cars, but I wanted to do it myself. Was quite a bit of work, but worth it.
Hi Tuner, thank you so much for the write up and we�re glad to hear everything is working well.
Quick note on the KG finder: we�ve added a note to that step about the possibility of two plugs shutting the yellow LED off along with instructions for how to determine which is the correct plug if two are found during the test.
Mercedes SLR McLaren 722 S Is Extremely Rare Example Modified by McLaren
Slideshow: A one-of-one U.S.-spec Mercedes-Benz SLR McLaren Roadster became even rarer after a factory-backed transformation at McLaren's headquarters.