When you click on links to various merchants on this site and make a purchase, this can result in this site earning a commission. Affiliate programs and affiliations include, but are not limited to, the eBay Partner Network.
I got confused and thought you were talking about your black one. I didn�t realize the red was pealing. I went back through your thread and it appears the front/rear bumpers, trunk lid, roof(?) all need paint work. The doors are cleaning up really well. The color doesn�t appear to have faded at all either, that�s very good. I was not so lucky with mine.
Keep the jams as is, it�s actually less work and will help preserve the value of the car. A good body guy will remove the dings to minimize the amount of body filler (Bondo is to body filler as Kleenex is to facial tissue). It�s perfectly fine to use it in thin layers post metal work were appropriate. It gets a bad rep from lazy *** people using it to simply fill dents, rust holes, etc.
Mercedes and all manufactures have used three stage paint for decades. The three stages are primer, color, and clear. Two stage combines the color and clear into one and its total crap. It was done years ago when lacquer paint was used (it could be buffed like crazy to bring back the shine) and today when people are cheap. In the mid/late 90�s the manufacturers where transitioning to water based paints which act differently than their solvent based predecessors. The red cars have a tendency to peal because they sprayed the color, then waited 24 hours before clear due to the process in place, while the rest of the cars went straight from color to clear resulting in a better chemical bond between the layers.
If you look closely at the photos of my car there are small dings in the before pics. Then the body shop fixed those, sprayed the car with something called high build primer or 2K primer followed by a thin layer of black (hence the striped look). The primer is then sanded carefully using the black as a �guide coat� to ensure it�s perfectly flat. Low spots will remain a little black while the high spots turn gray immediately. They then apply another primer, color, clear all in a single painting session so it chemically bonds.
Pj, your a pretty handy guy. You should watch YouTube videos on how to fix small dents. You can fix them and get it to primer. Than take it to a paint shop to have the primer paint matched to the rest of the panels. Than they can clear coat the whole car. Than you can wet sand the car and than buff it. You will save so much money. But if you don't have the time than it's a different story.
Thanks man. Id love to do that but now is not the time. I barely have enough time and space to do the stuff this car needs just to look normal for now.
Im trying to inform my self as much as I can so I can avoid shops taking me for a ride on this matter. Too many sketcy shops around here.
I got confused and thought you were talking about your black one. I didn�t realize the red was pealing. I went back through your thread and it appears the front/rear bumpers, trunk lid, roof(?) all need paint work. The doors are cleaning up really well. The color doesn�t appear to have faded at all either, that�s very good. I was not so lucky with mine.
Keep the jams as is, it�s actually less work and will help preserve the value of the car. A good body guy will remove the dings to minimize the amount of body filler (Bondo is to body filler as Kleenex is to facial tissue). It�s perfectly fine to use it in thin layers post metal work were appropriate. It gets a bad rep from lazy *** people using it to simply fill dents, rust holes, etc.
Mercedes and all manufactures have used three stage paint for decades. The three stages are primer, color, and clear. Two stage combines the color and clear into one and its total crap. It was done years ago when lacquer paint was used (it could be buffed like crazy to bring back the shine) and today when people are cheap. In the mid/late 90�s the manufacturers where transitioning to water based paints which act differently than their solvent based predecessors. The red cars have a tendency to peal because they sprayed the color, then waited 24 hours before clear due to the process in place, while the rest of the cars went straight from color to clear resulting in a better chemical bond between the layers.
If you look closely at the photos of my car there are small dings in the before pics. Then the body shop fixed those, sprayed the car with something called high build primer or 2K primer followed by a thin layer of black (hence the striped look). The primer is then sanded carefully using the black as a �guide coat� to ensure it�s perfectly flat. Low spots will remain a little black while the high spots turn gray immediately. They then apply another primer, color, clear all in a single painting session so it chemically bonds.
thanks for the detailed explanation man.
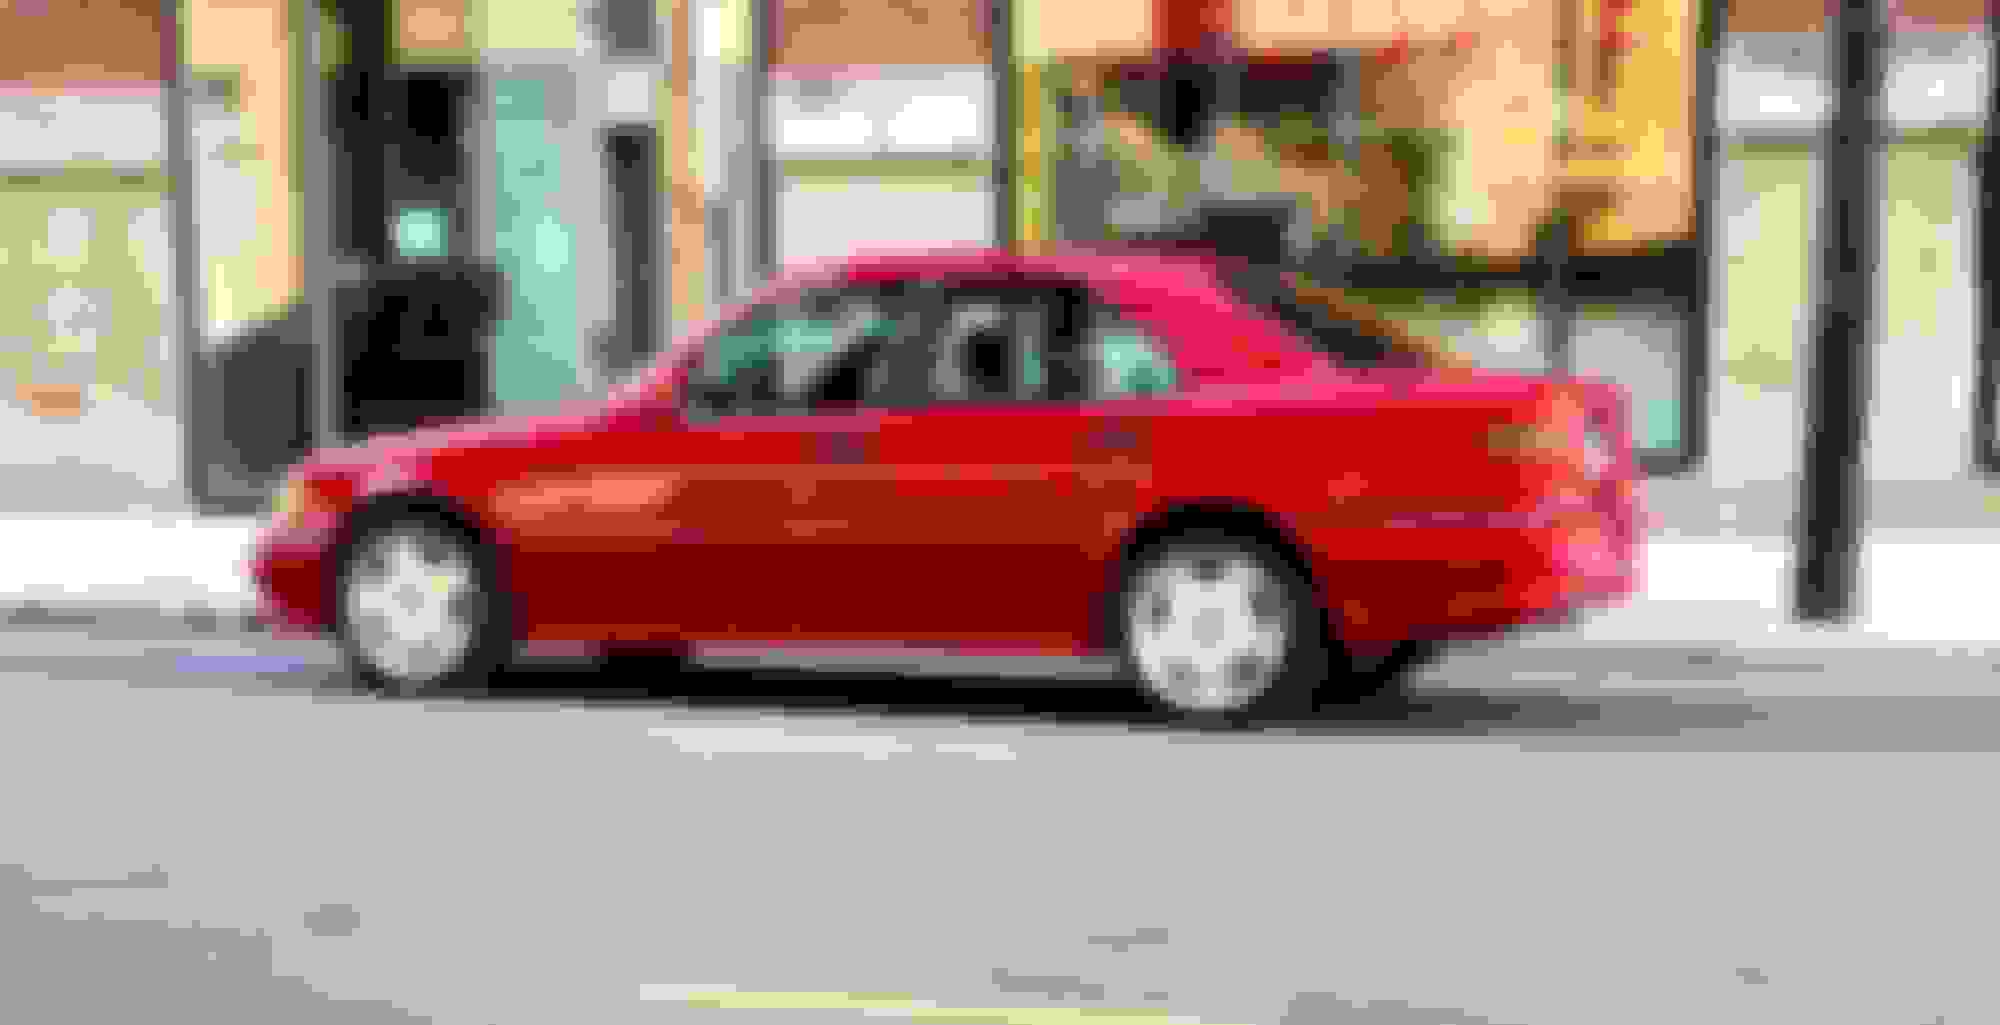
Yes its the red car. There are a few small areas that peel but nowhere as bad as yours was. Top of the trunk on my car is really bad.
I want a respray because I want it to be perfect. No need in trying to preserve the paint since most of the car was repainted I figured out. Car shows no accidents on the carfax so Im sure it was repainted due to it peeling more.
Just trying to clean it up the best i can until I can tek itnto get resprayed and until I find a reputable shop.
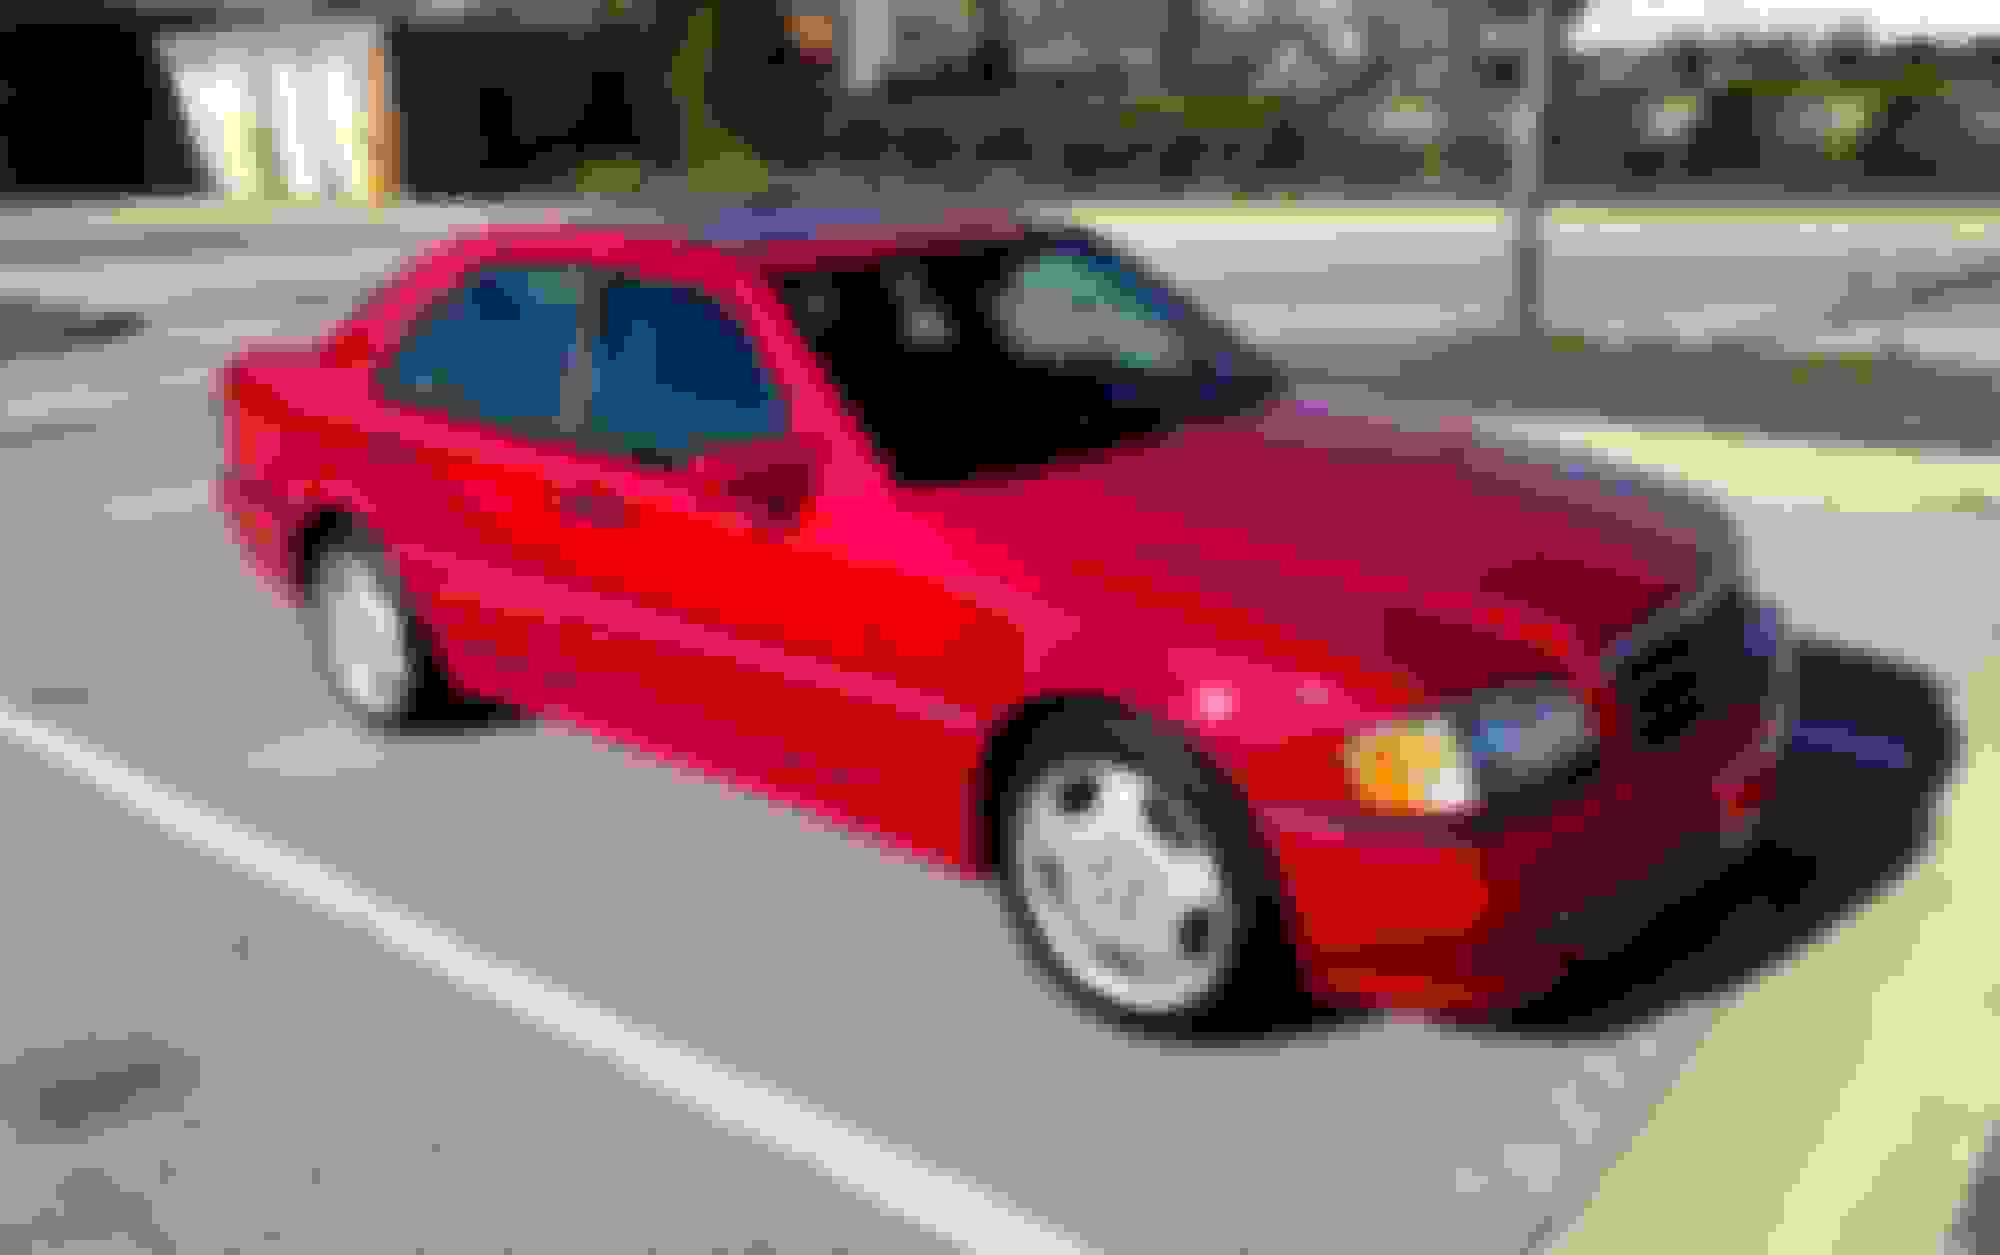
So worth it! Picked up the car on Saturday and snagged a few shots while doing very important and necessary trips during quarantine. I couldnt be happier with the results. The paint has been sanded/buffed but no wax yet. The paint needs ~30 days to full out gas before sealing it up with a wax coat. Ill do another round of buffing myself in some key areas to remove any hint of orange peel before waxing everything. Now its time to start cleaning and checking off the rest of my list.
How much was the cost again and what kind of paint was used?
Thats all ive got for now. More soon though!
I paid a lot of money for the paint job, but i got what i was after, a perfect better than factory paint and replacement/restoration of many little bits along the way (with OEM replacements of course!). It was not a $2-4K scratch and respray. If the clear coat is the only issue, and the paint is still in good shape, a good shop can blend a little new color and fresh clear for $3-4k. Taking the paint off, perfecting the body work, and spraying 100% new paint is $5K+ depending on labor rate and how meticulous the painter is. Add $$ for high quality paint.
Glasurit paint is used by Mercedes and Porsche. Its highly regarded as one of the best paints on the market and commands a premium price. My painter uses only Glasurit and its factory correct, perfect combo! When applied correctly, unlike from the factory, its highly reliable and the color/depth is worth it.
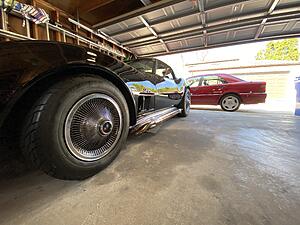
Im turning my attention to the C36 now. My other project car took a little longer than expected.
Other project:
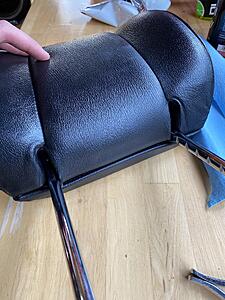
Now that i have your attention lol, how the hell do you open up the headrest? I can feel the metal plates and the leather is in great condition. The headrest freely rotates up/down like nodding your head and I can hear something loose inside.
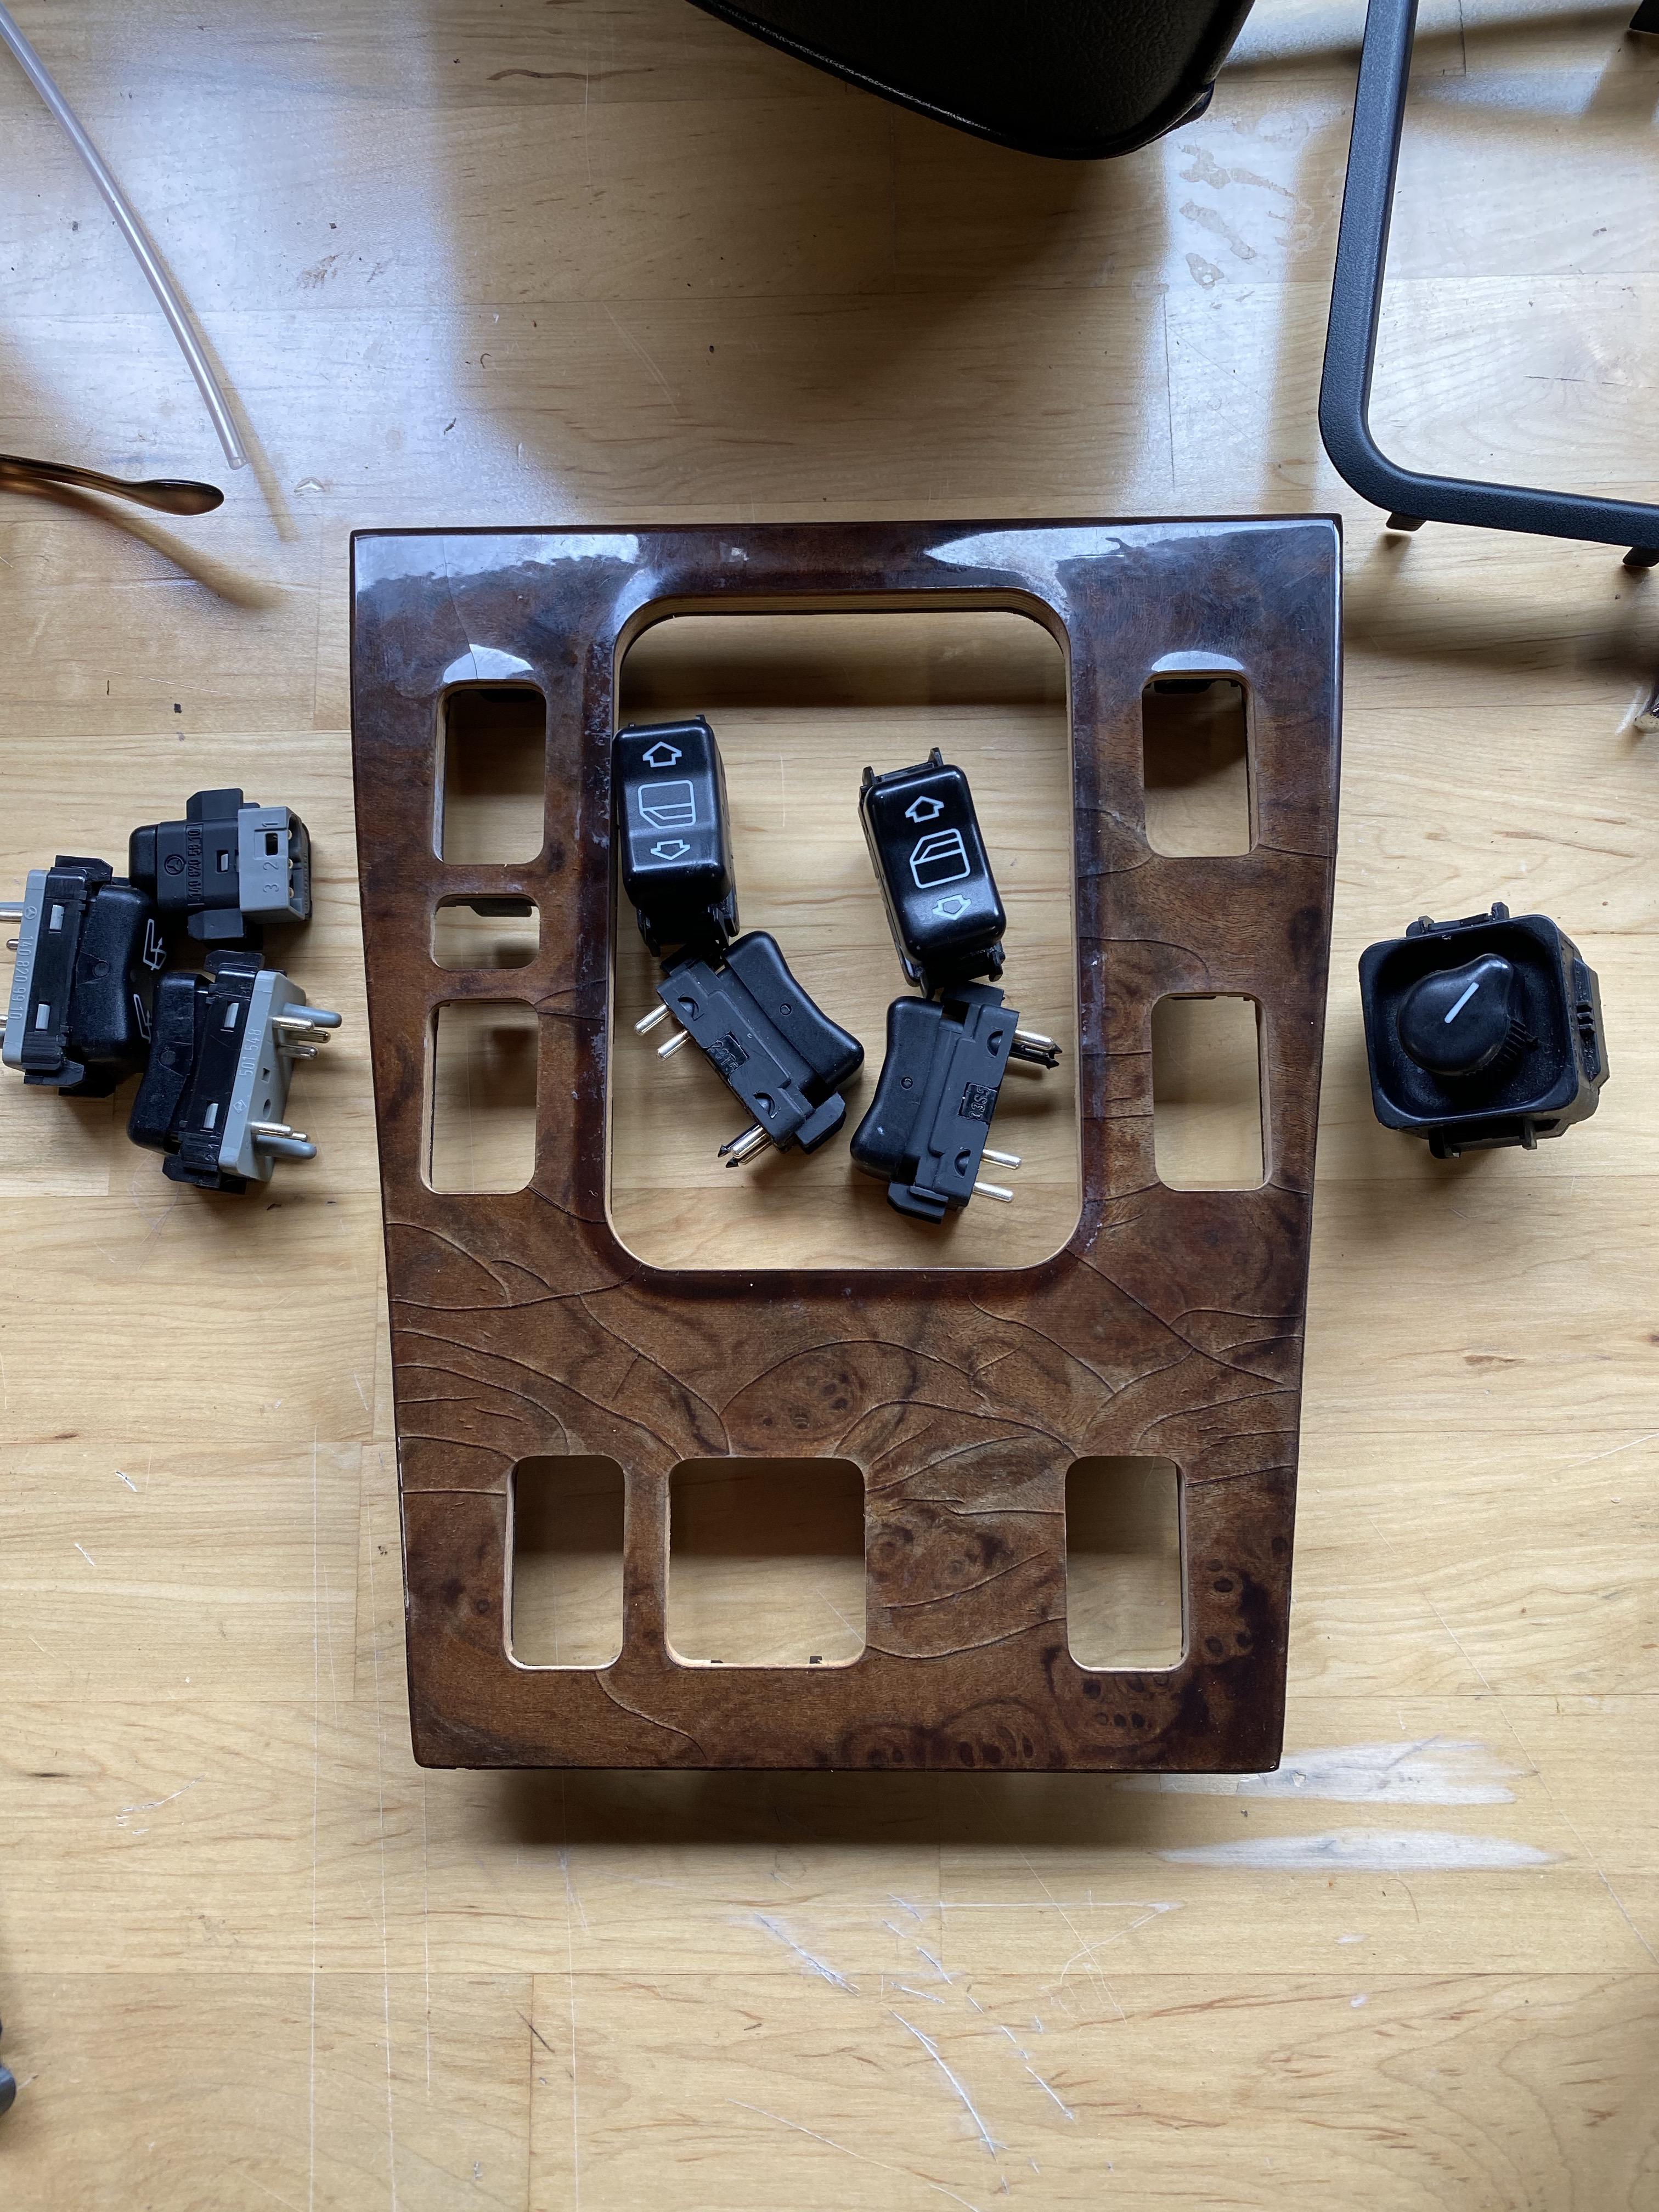
I also removed and striped down the shifter consul so I can send it out for restoration along with the cup holder cover.
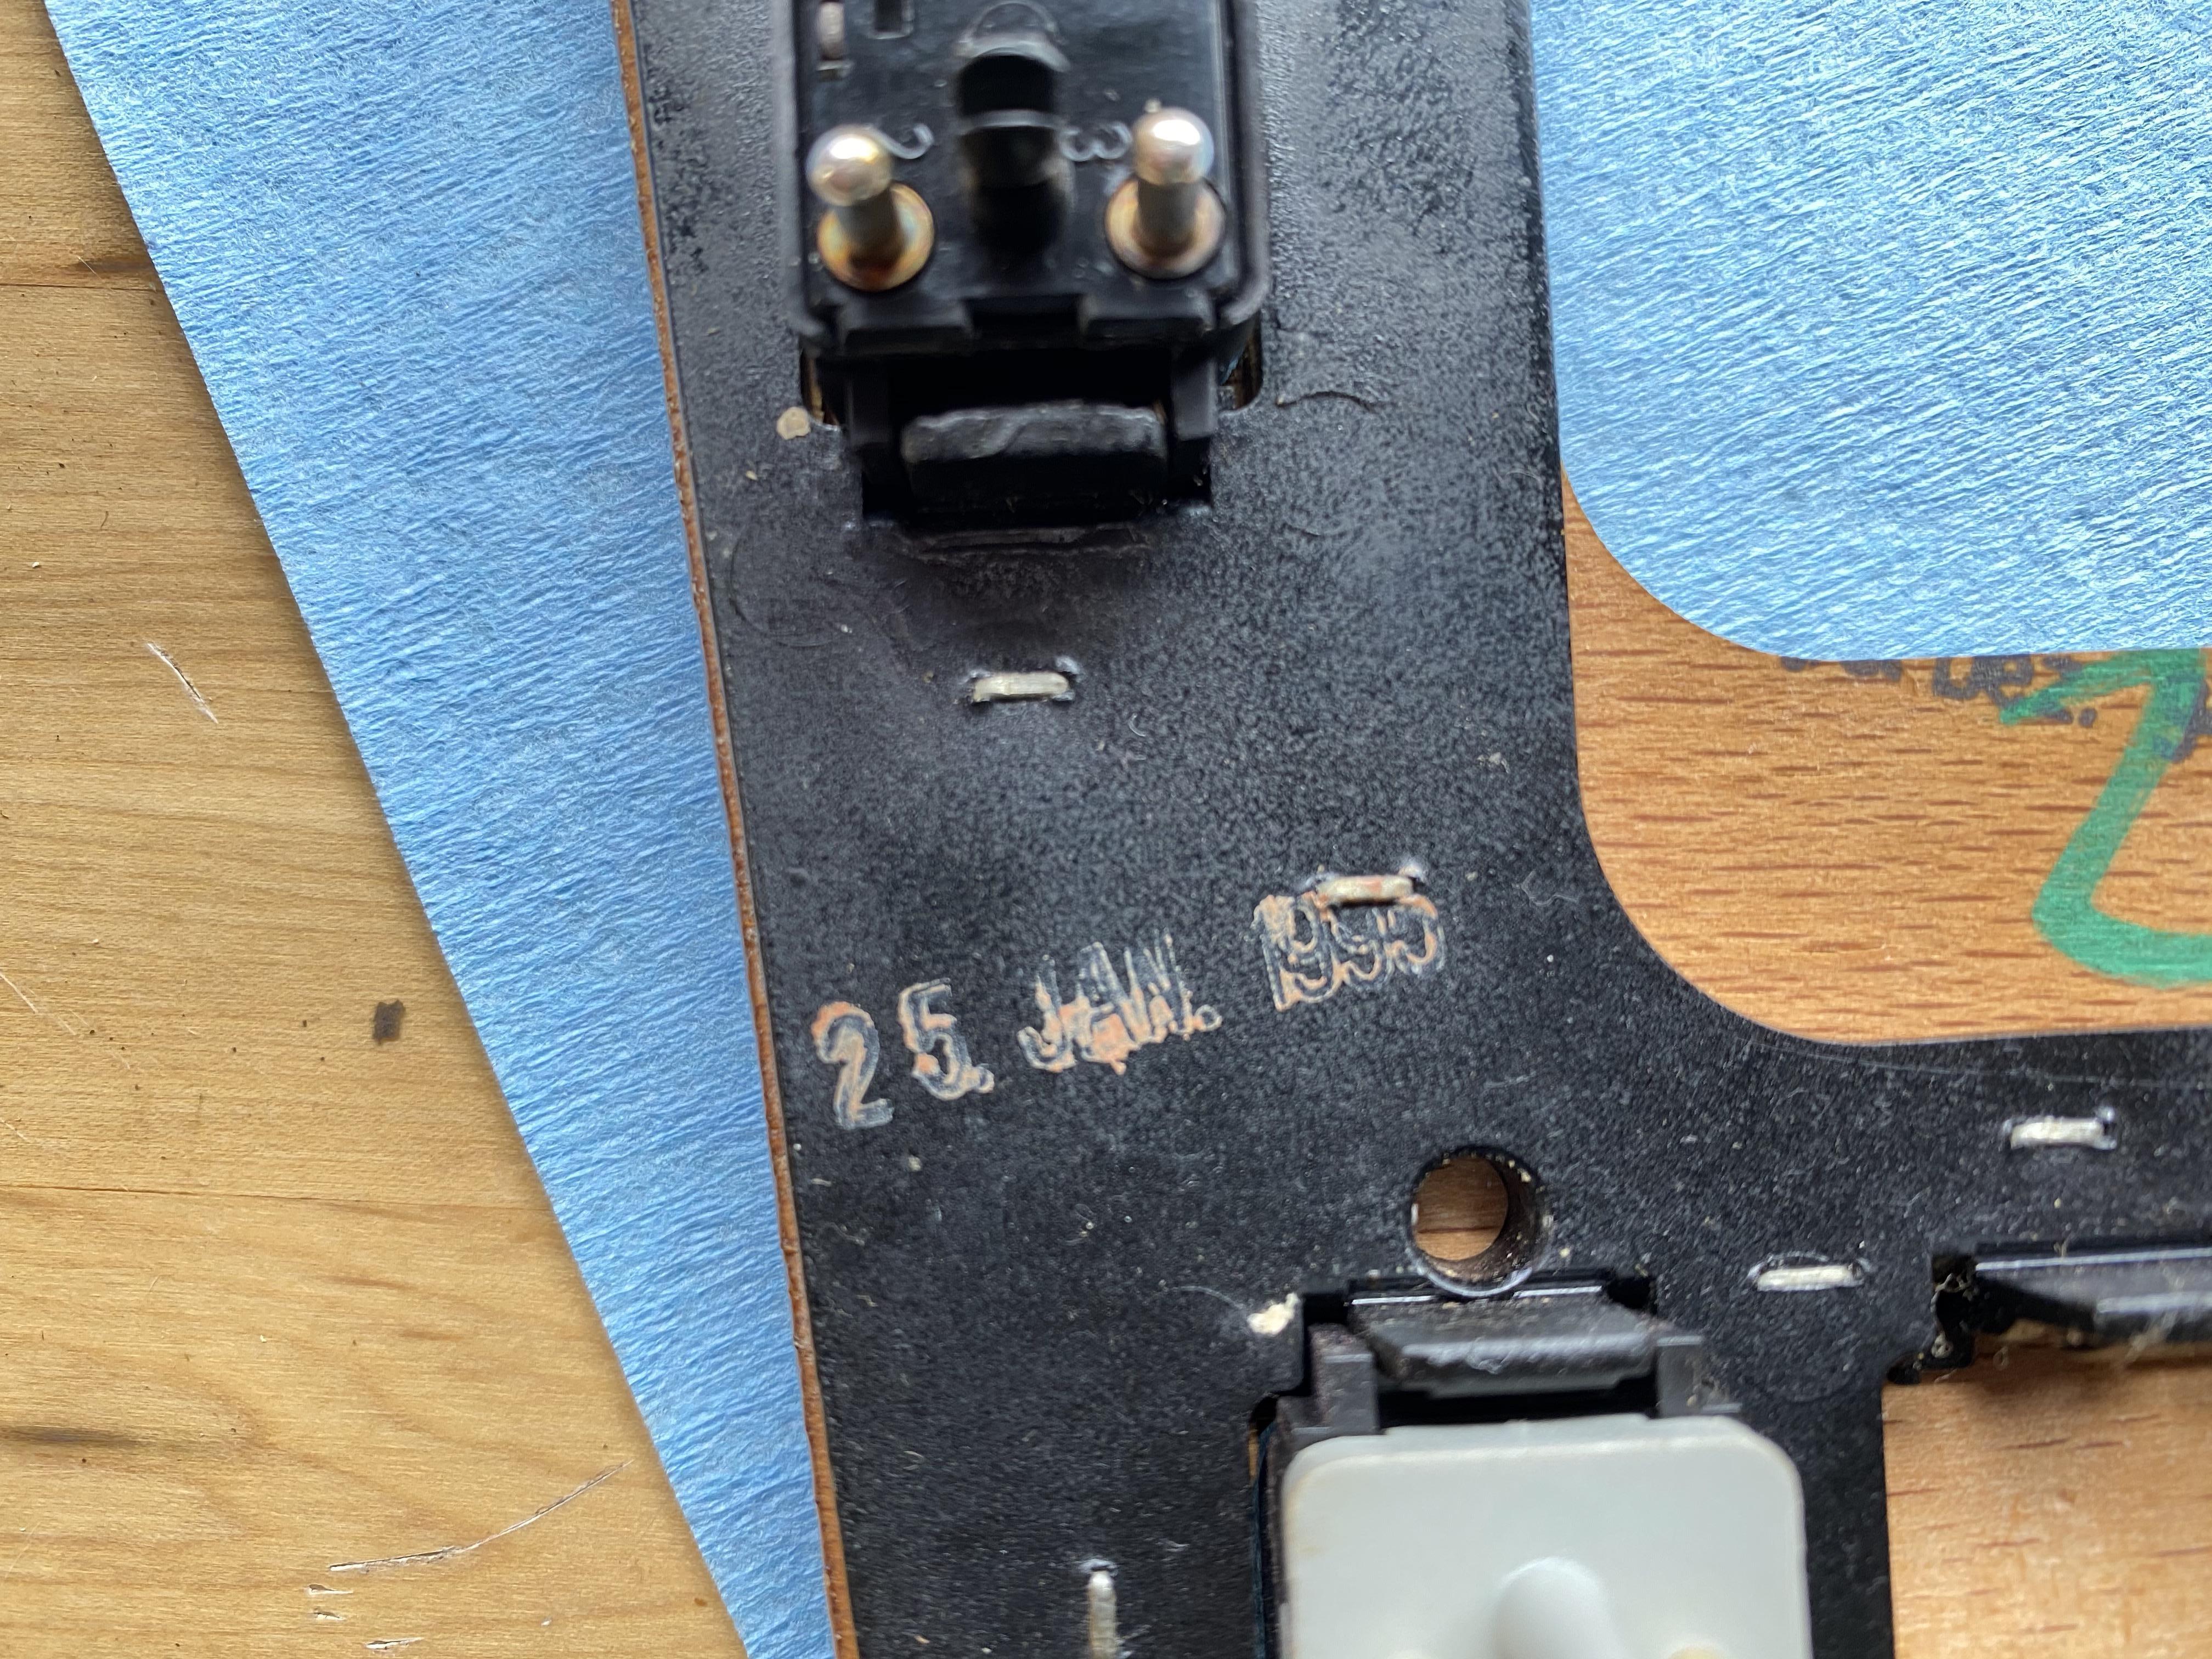
Original part manufactured Jan 1995
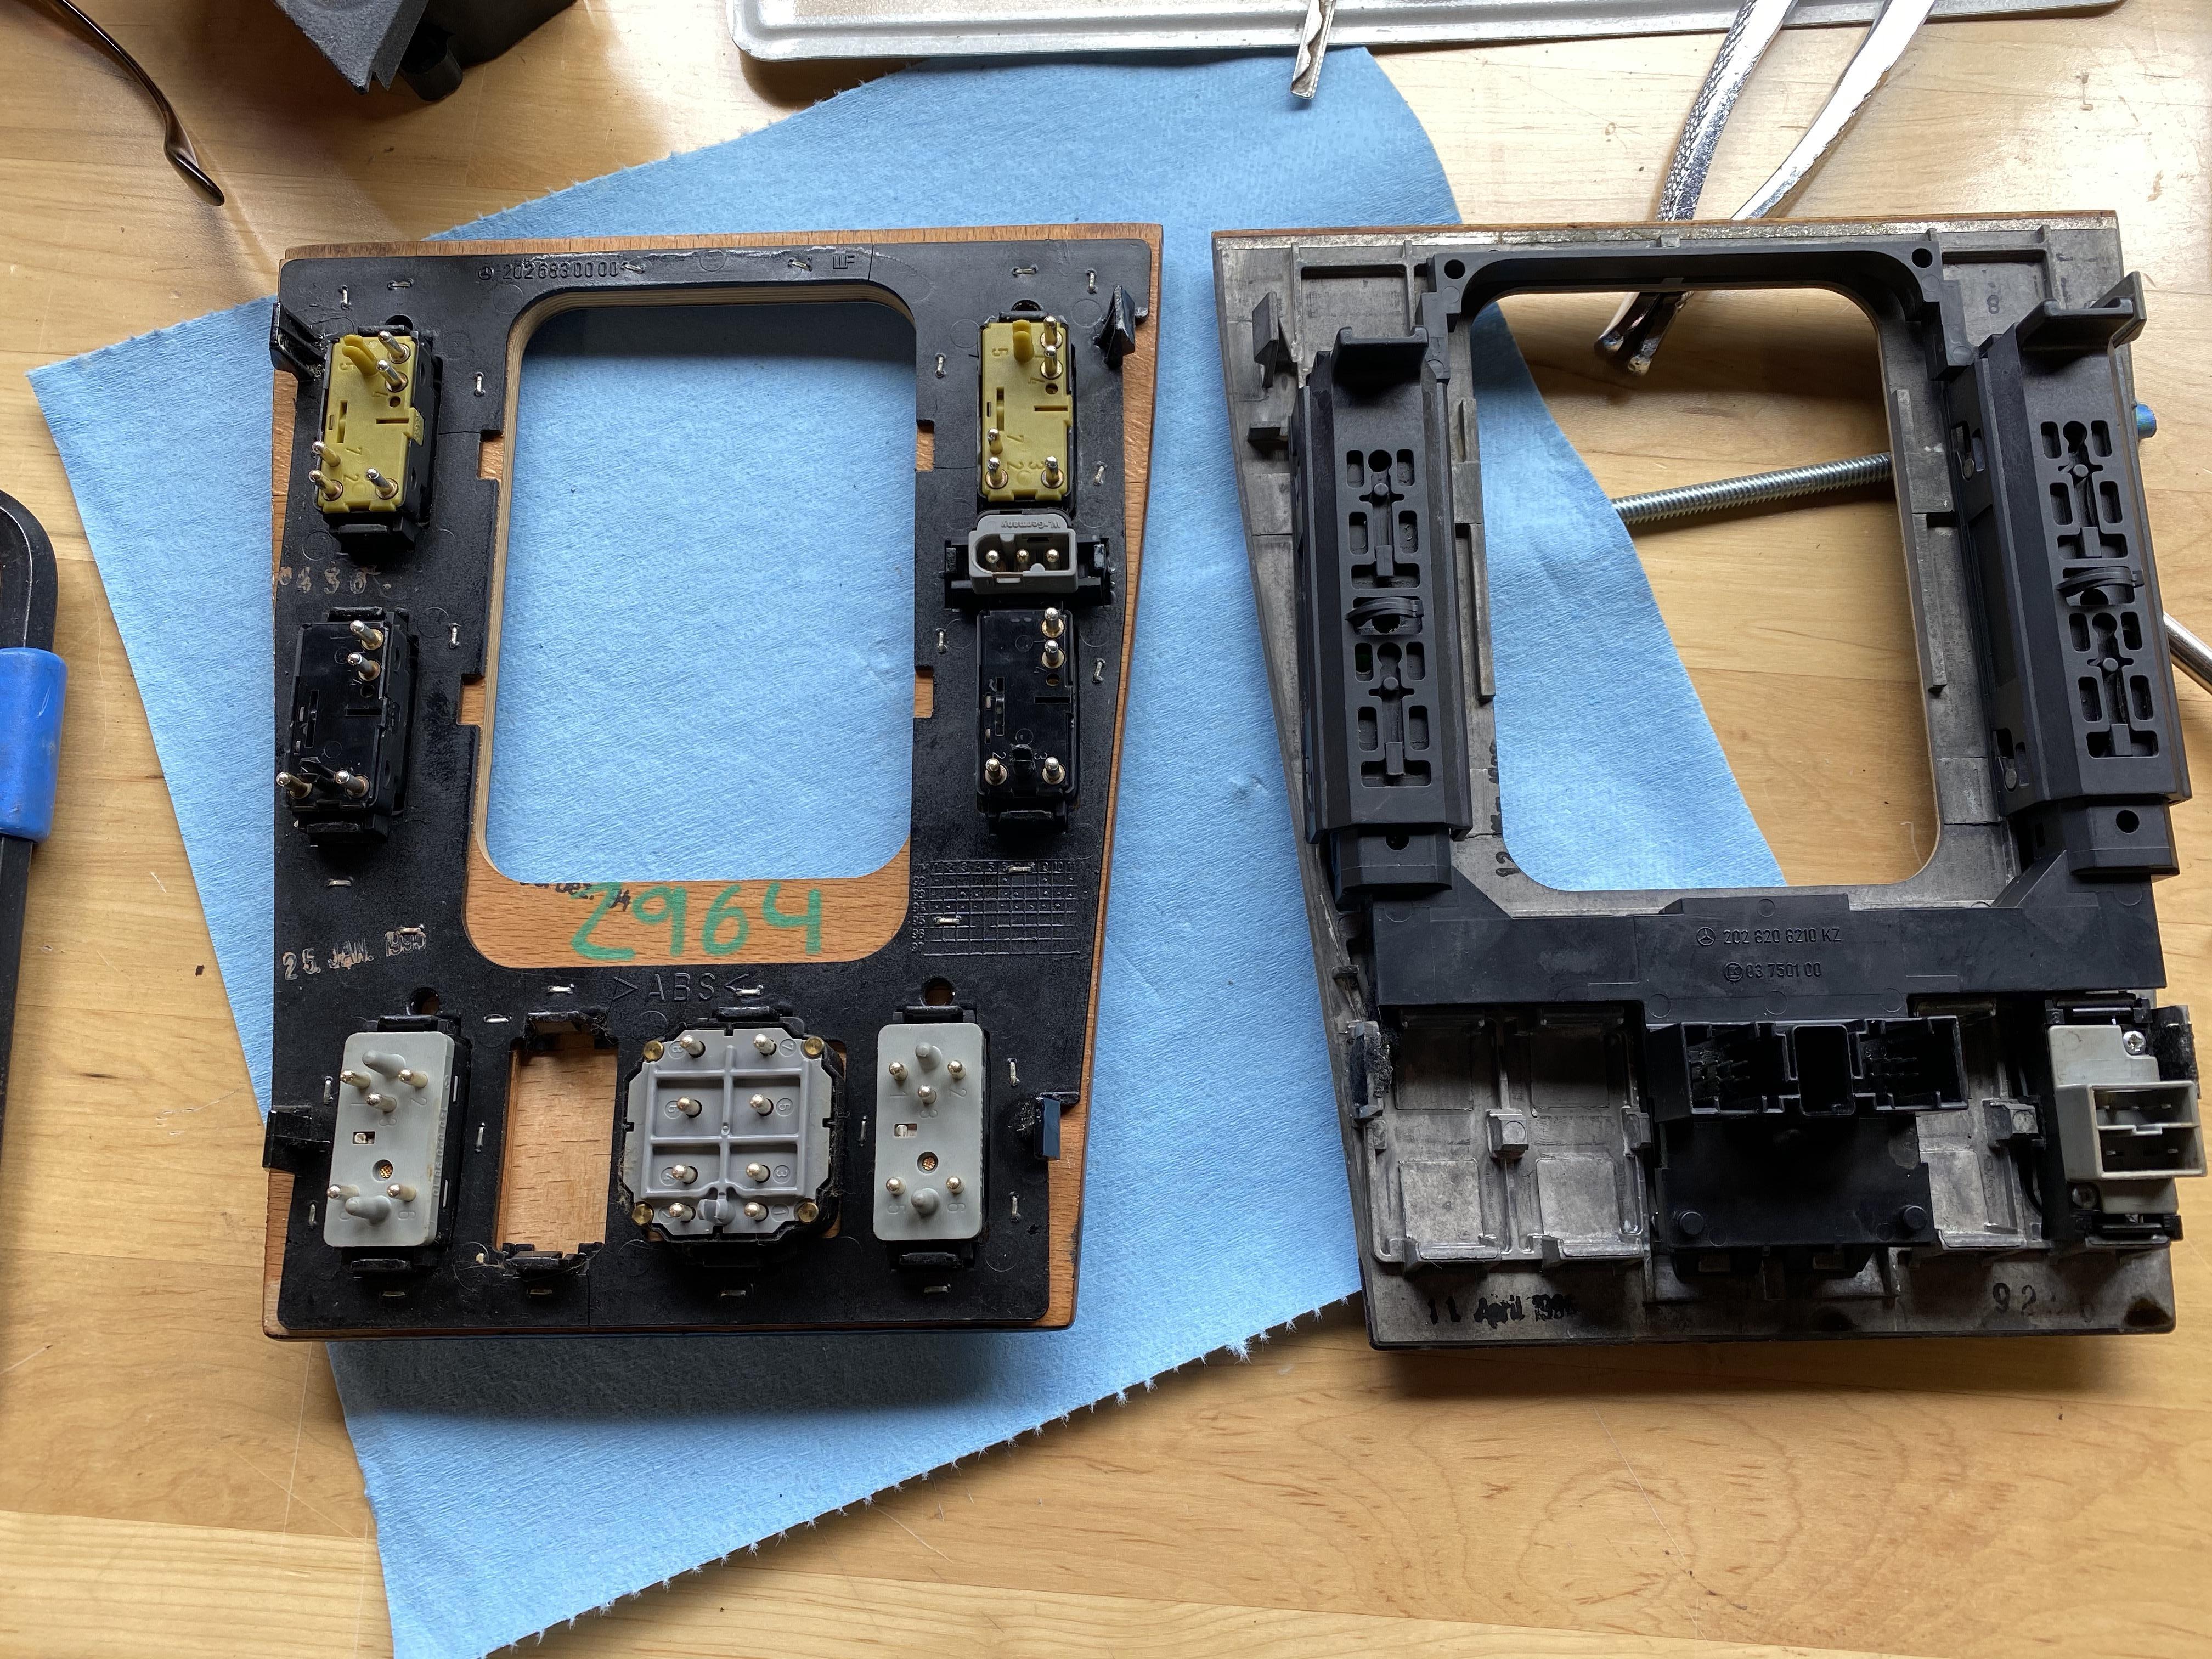
I was a little shocked how different the 95 (left) and 96 (right) construction is despite no top side cosmetic difference. The 96 is thin wood on a cast aluminum back plate. The connectors are held in place with a slick snap in place bracket with a single connector location in the center. The 95 is old style! Thick wood, each switch is snapped in place with its own connector.
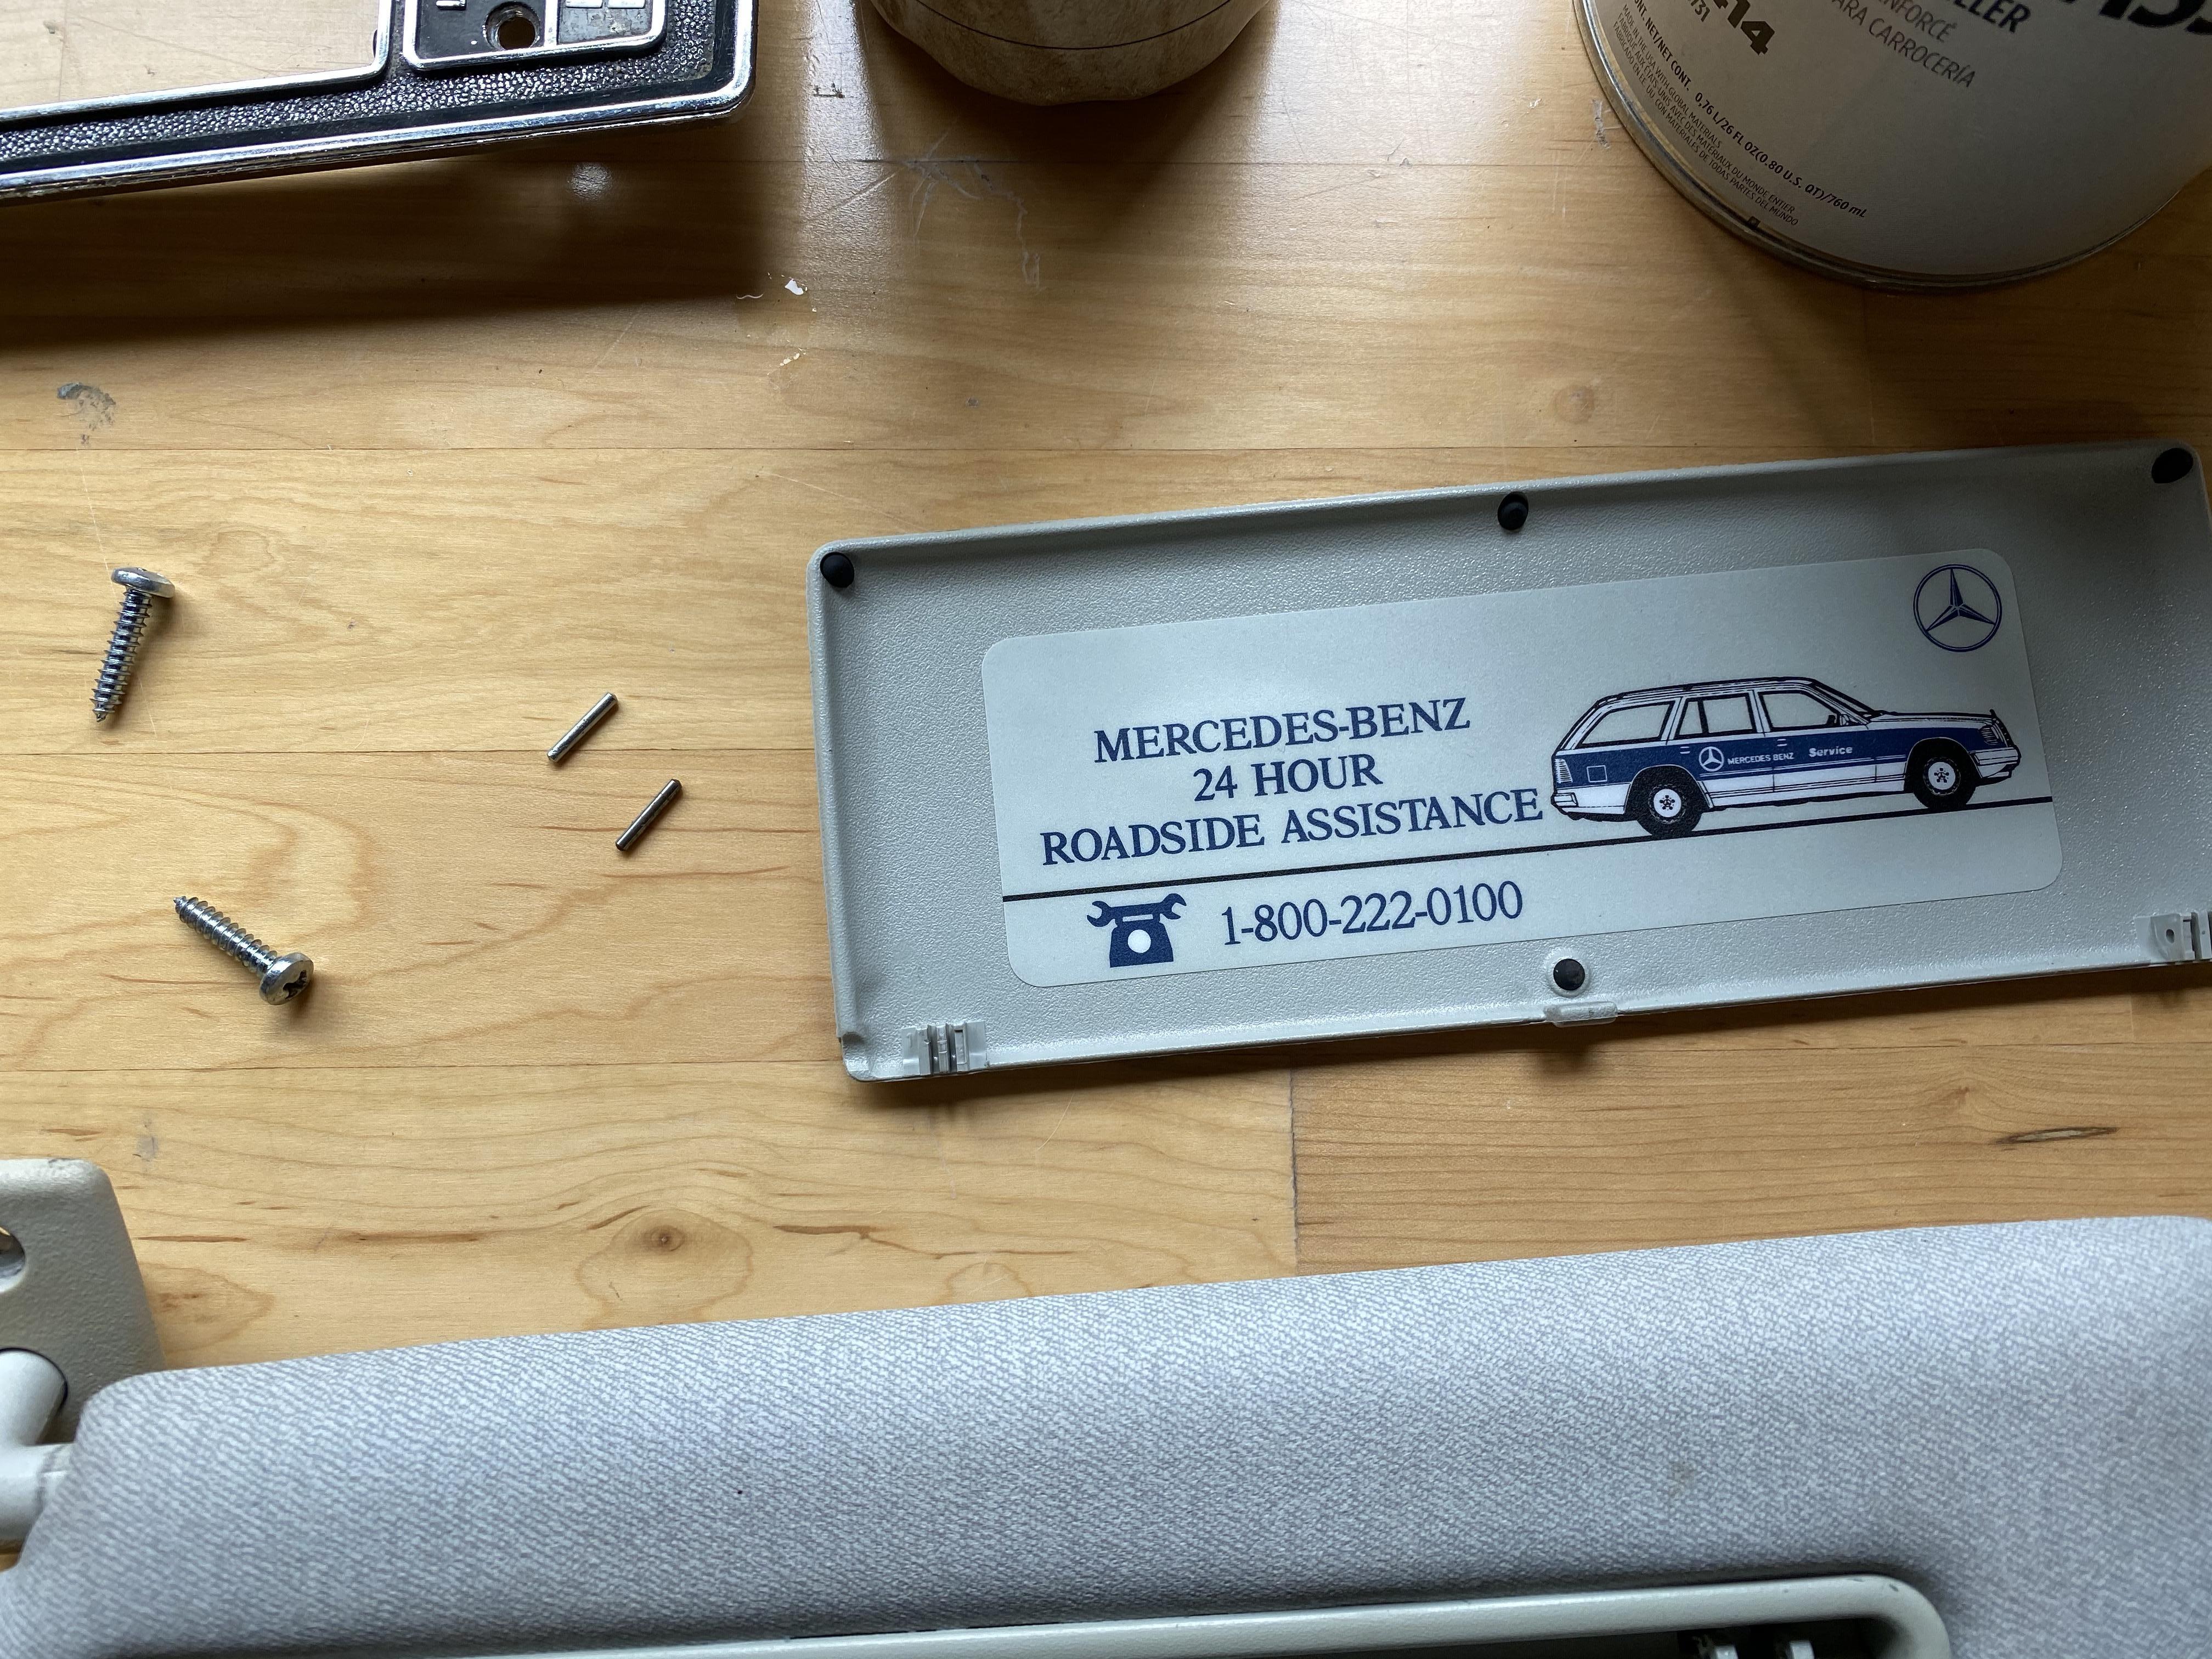
Finally, the driver side sun visor vanity mirror cover (say that 5 times fast) was loose, a pin was missing. Closer inspection showed a small crack in the visor allowed the pin to loosen up and disappear. A little superglue later, the crack was filled and a replacement pin from another visor solved the problem. Officially the smallest part that makes a big difference! The loose visor drove me nuts!
I should also mention i have H&R springs and 18" E55 wheels ready to go on.
Im ready to pull the trigger on a $200 spring compressor kit. Anything I should know? Is one brand better than another? Im not trusting my life to a $60 spring compressor.
Lookin good man. Keel it original where you can. Those wood pjeces are the same across all models so id go look for a used one in good shape from same year c280 maybe.
I used a ut $70 ebay spring compressor last week. It worked fine.
Lookin good man. Keel it original where you can. Those wood pjeces are the same across all models so id go look for a used one in good shape from same year c280 maybe.
I used a ut $70 ebay spring compressor last week. It worked fine.
ive been looking for good condition center consuls for years lol. The one in the photo is an example I got for my old 96. The differences in switches (seat warmers are in this piece vs upper center consul, and no trunk release). I may even attempt myself. We shall see. Doing research now.
You might want to try and use the bigger plates fr the front since the front springs are bigger in diameter. On a w202 youll use the small plates front and back
You might want to try and use the bigger plates fr the front since the front springs are bigger in diameter. On a w202 youll use the small plates front and back
So try the bigger plates up front? If they don�t fit try the small?
Meanwhile, i figured out how to open the headrest (from the bottom, pull the sides first. There is a plastic clip tucked into the folded back leather.
It seems someone gave this thing a very hard it a long time ago. The plastic around the clip/bolt was completely destroyed. Most of the pieces where missing so now im on a search for a replacement. Good news is its a generic W202 part.
2000 C230k sport (sold), 1999 c43 Amg, 1997 C280 sport sold) 1996 C36 Amg, 2001 E55 Amg
Originally Posted by The_mabman_20
I really appreciate the offer. I ended up ordering This one for $67 with good reviews and i think shipping would have been more lol.
hey man that spring compressor you ordered is
awesome! Actually used it yesterday to help my buddy install h and r springs for his 190e W201! Its a life saver and makes suspension work not as scary or stressful !
Mercedes SLR McLaren 722 S Is Extremely Rare Example Modified by McLaren
Slideshow: A one-of-one U.S.-spec Mercedes-Benz SLR McLaren Roadster became even rarer after a factory-backed transformation at McLaren's headquarters.