


Detail writeup on my car (for anyone interested)
Thread Starter
MBWorld Fanatic!


Joined: Aug 2011
Posts: 5,351
Likes: 1,677
From: Kitchener, ON
2010 C63 AMG
Member
Joined: Feb 2013
Posts: 230
Likes: 2
From: southern NJ
C63
through buffing, he removed some of the surface of the clear coat, leveling the clear coat so the bottom of the scratches that were present are now level with the rest of the clear coat, essentially removing the scratches and revealing basically a fresh surface of clear coat. however, this removes clear coat material and makes the clear coat slightly thinner. to give you an idea, the whole paint system on your car (primer, base coat (color) and clear coat) is about the thickness of a Post-It note!
but, Wes is an expert and takes measurements to assure that he's removing JUST enough to remove the scratches but not compromise the clear coat in any way. clear that is too thin will fail early because it doesn't have enough material to handle UV, heat, damage from bird bombs, hard water, etc. measurements help prevent this. if a scratch is too deep, often times an expert like Wes will leave it since it's not worth the chance of making the clear too thin JUST to totally remove a deep scratch.
but yeah, the scratches will come back if improper washing/drying techniques are used. this includes brushes, dry wiping, hard wiping, poor/dirty wash media, dirty wash solution, etc. other types of damage can occur if bugs, bird poo, hard water and such are left to dwell on clear coat. there are techniques and products that can be employed to greatly reduce the chance of any sort of damage.
the coating he applied is way more robust and harder than the factory clear coat. this means that the coating, not the original clear coat, will now face the environment and since it's SO much harder and more durable than the clear coat, it will be much more resistant to damage. and if it does happen to get slightly scratched or damaged somehow, at least it's the coating and not the factory clear coat.
think of it as a super thick, super hard WAX or sealant.
i have Opti-Coat Pro on two vehicles and i've had bird poo sit on a coated panel for several days, baking in the sun. this sort of exposure would surely permanently eat away at clear coat. when i finally attended to the bird bomb, it appeared as if it did etch the coating, but, within a few days, the staining completely disappeared and it was perfectly smooth again. the bird crap didn't even phase the coating.
Last edited by builthatch; Jun 17, 2015 at 11:42 PM.

Member
Joined: Feb 2009
Posts: 117
Likes: 0
From: Toronto
batmobile
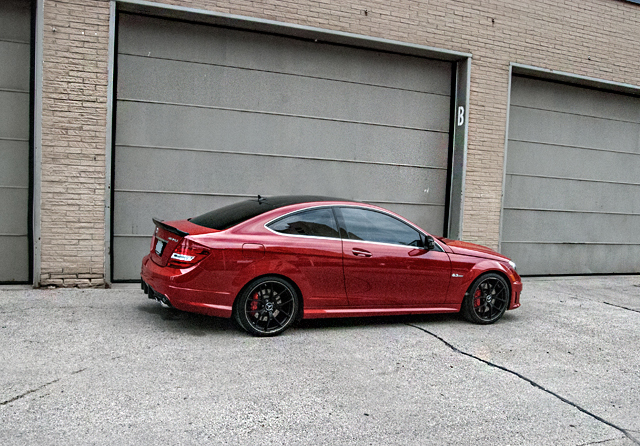
Met this customer through Facebook and admired his photography for quite sometime. Was quite surprised to receive a message from him interested in our work. Long story short, into the shop in came.
Very impressed with the initial condition of the paint and found it only needed a 1 stage polish which was protected afterwards with Opti Coat Pro.
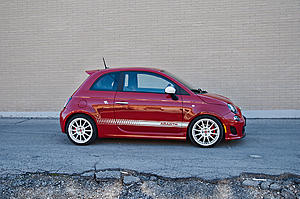
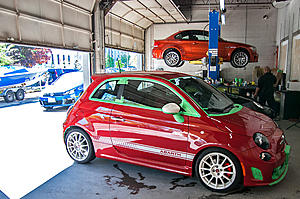
Arrival
Rubber and plastic trim all masked up
Measuring the paint

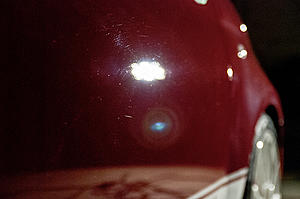
Before
After

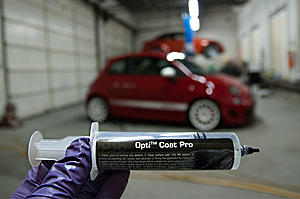
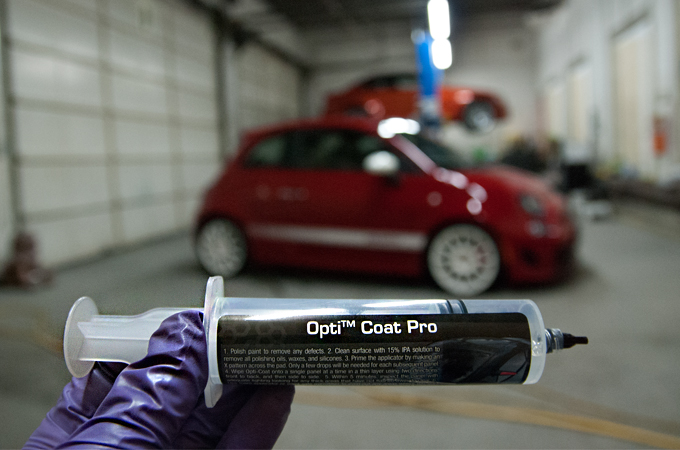
Opti Coat Pro about it be applied
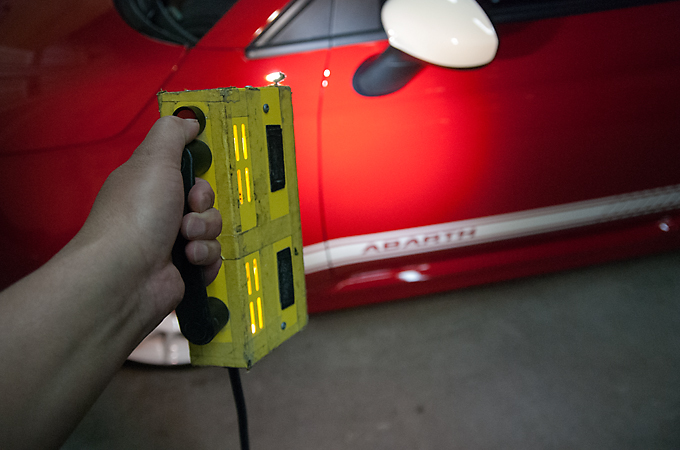
Double checking our work with a light that omits the same color as the sun

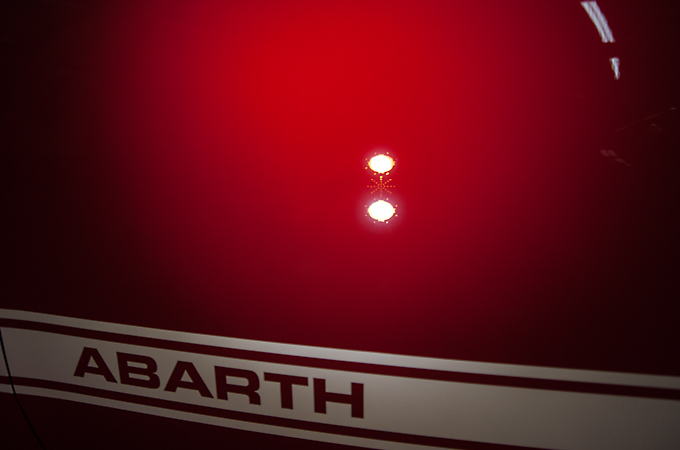
No swirls

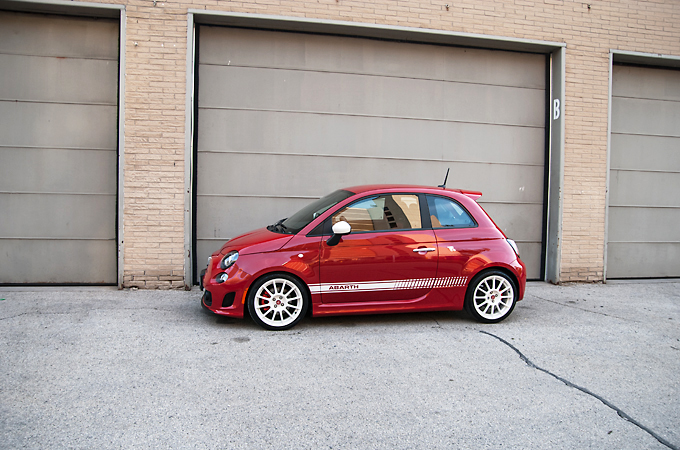
And the finished product
Very impressed with the initial condition of the paint and found it only needed a 1 stage polish which was protected afterwards with Opti Coat Pro.
Arrival
Rubber and plastic trim all masked up

Measuring the paint

Before
After

Opti Coat Pro about it be applied
Double checking our work with a light that omits the same color as the sun
No swirls
And the finished product
Member
Joined: Feb 2009
Posts: 117
Likes: 0
From: Toronto
batmobile
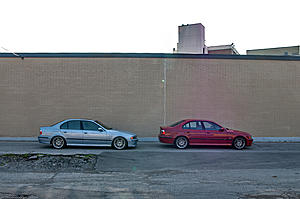
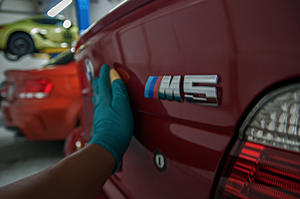
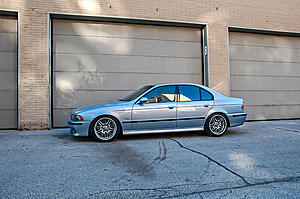
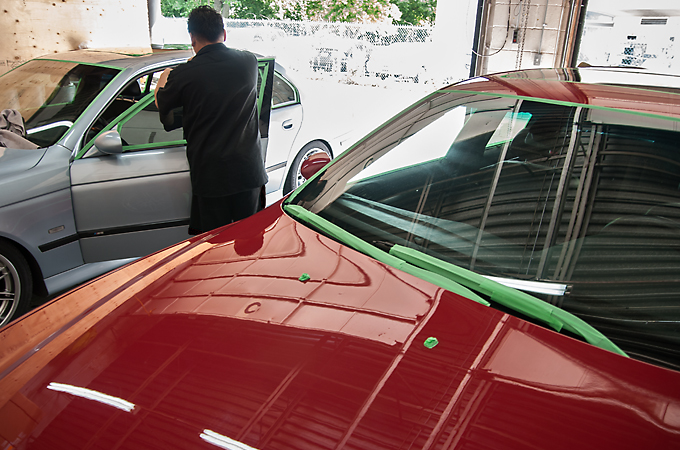
This was totally a coincidence that two e39 M5s came in for a 2 stage polish + Opti Coat Pro. They had both booked on the same day so I ended up doing the write up on both cars at the same time which is a first and was quite interesting to do. I was very happy with the out come on both cars as were the owners so enjoy seeing the process and final pics!
Arrival (you should have seen both owners' faces lol)
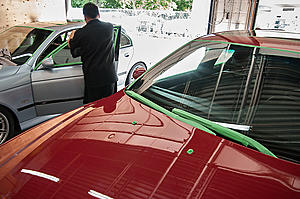
Masking off the rubber trim after the wash and clay
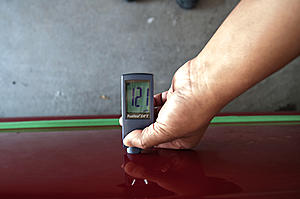
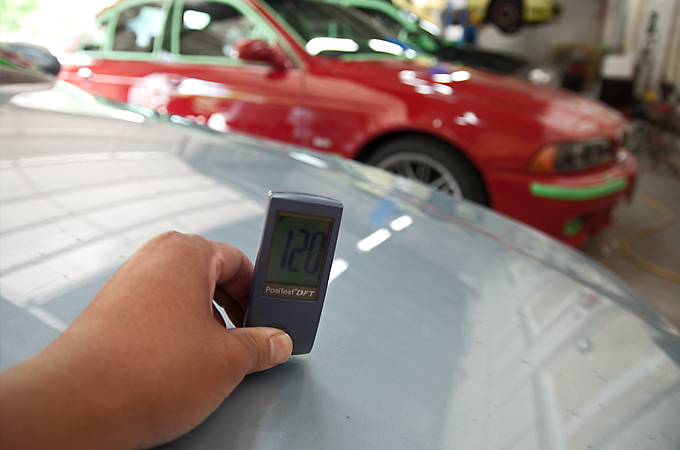
Taking paint measurements

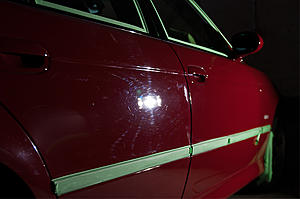
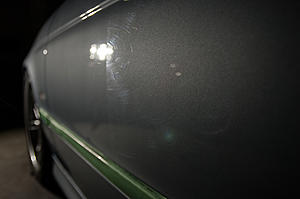
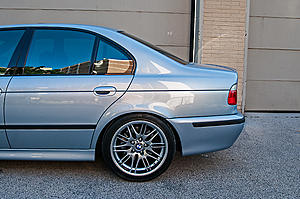
Before
After
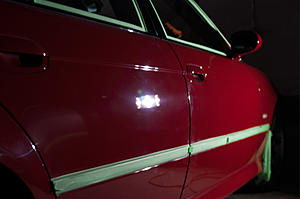
50/50 shot
Opti Coat Pro
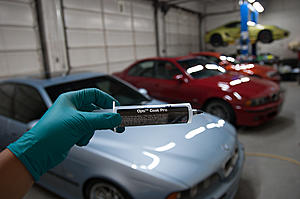
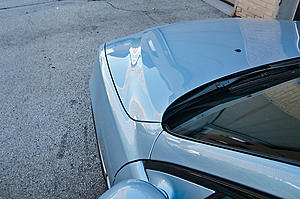
Application
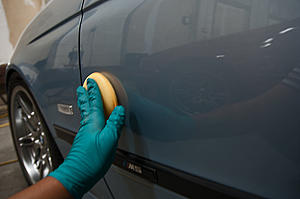
And the finished pics
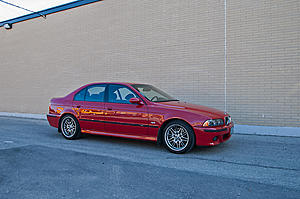
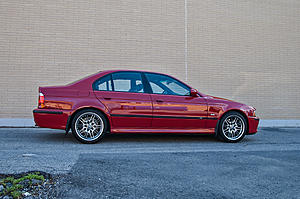
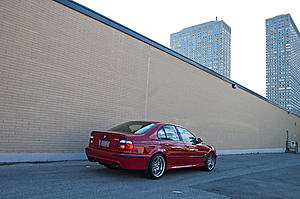
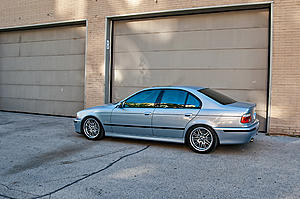
I hope you enjoyed the pics as much as I enjoyed working on my favorite generation M5!
Arrival (you should have seen both owners' faces lol)

Masking off the rubber trim after the wash and clay
Taking paint measurements

Before

After

50/50 shot

Opti Coat Pro

Application


And the finished pics


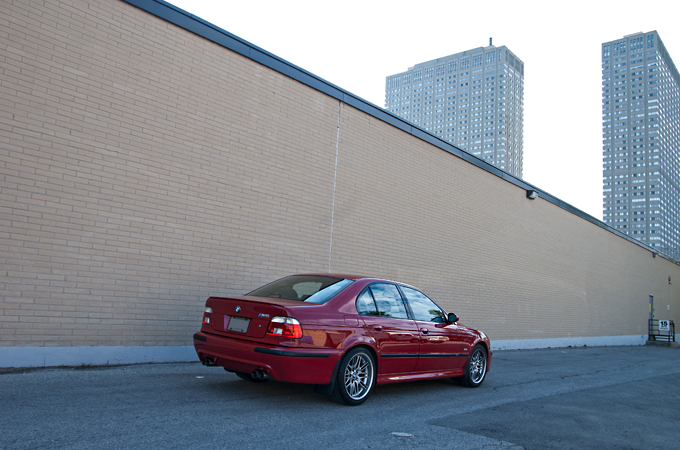

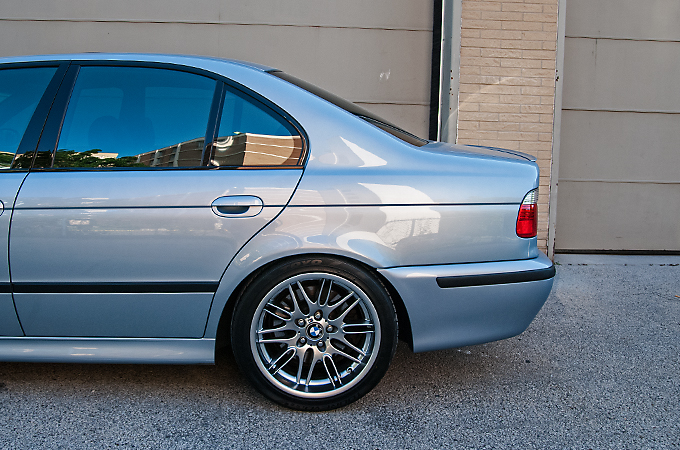

I hope you enjoyed the pics as much as I enjoyed working on my favorite generation M5!

Senior Member
Joined: Aug 2012
Posts: 400
Likes: 36
From: Los Angeles
2006 E350 (SOLD), 2010 C63 AMG


Just did some work on a Mustang that hadn't been touched in a little over a year, also did the owners Bentley that also hadn't been touched in a year, before and after shots of the paint. Oh yeah no pro just wanted to share some paint correction I did recently
Last edited by C SEXY 3; Jul 17, 2015 at 03:10 PM.
Member
Joined: Feb 2009
Posts: 117
Likes: 0
From: Toronto
batmobile
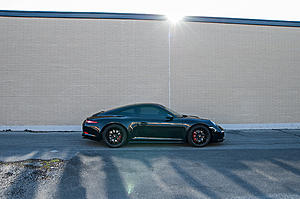
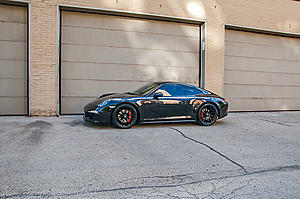
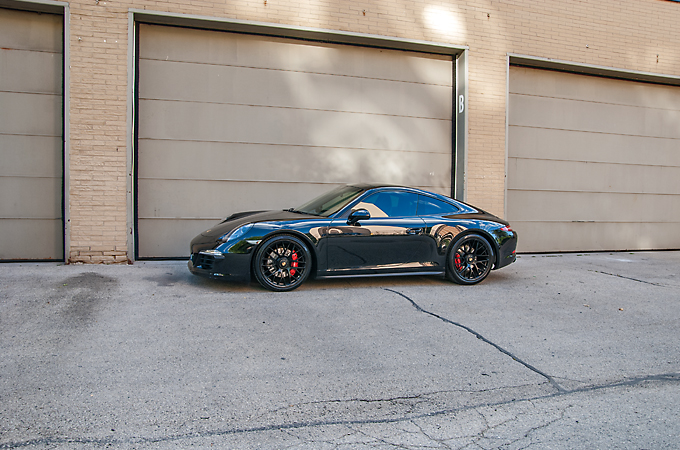
A long time customer recently purchased this new 4 GTS from Pfaff and wanted to get the paint protected asap. Well after 1000km in it finally came.
I must say this is one of the most beautifulest 991s we have done this year and we had a great time working on it and admiring all the little details put together on this 4 GTS.
Paint wasn't in bad shape so just a quick 1 stage polish and then protected with Opti Coat Pro.
Enjoy!
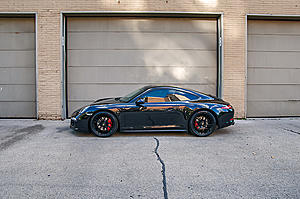
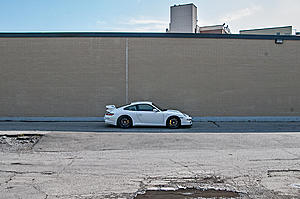
Arrival pic
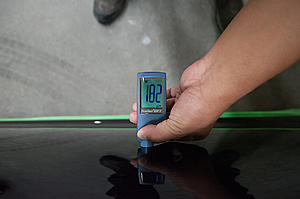
Paint measurement and plastic trim masked off
Before
After
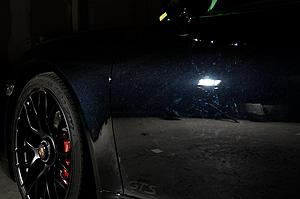
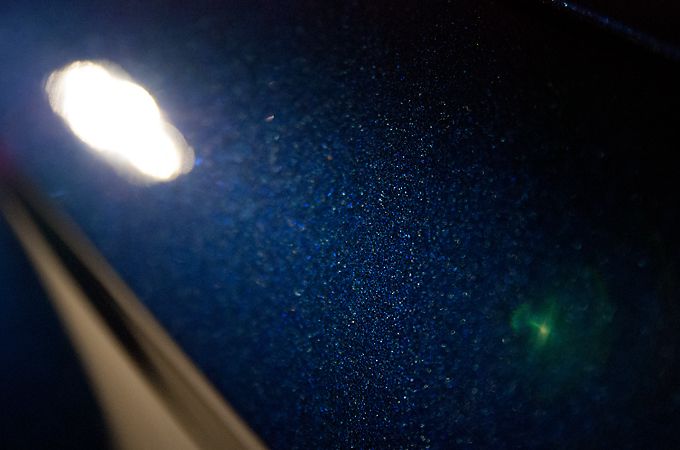
Lovely metallic flake shot
Opti Coat Pro
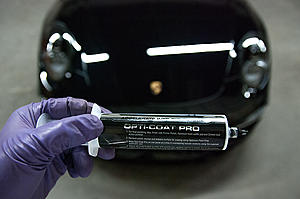
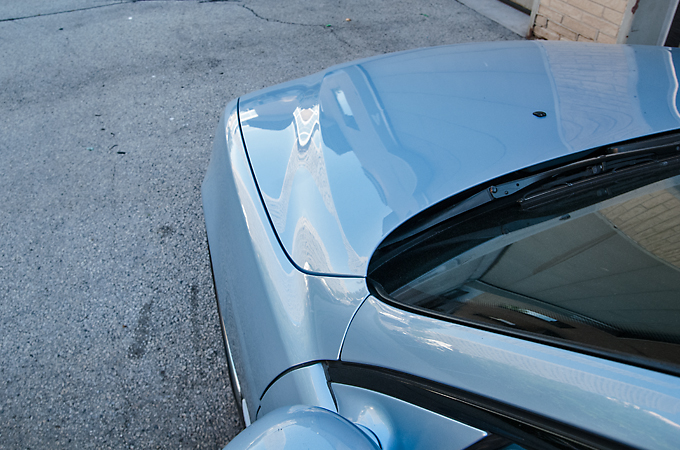
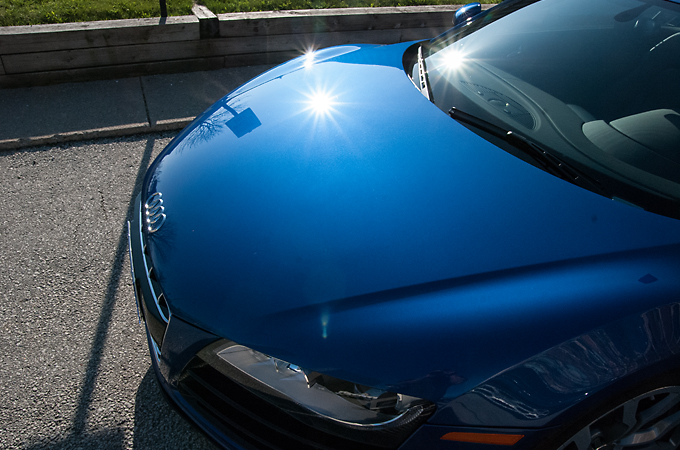
And the finished pics starting with reflections off the hood
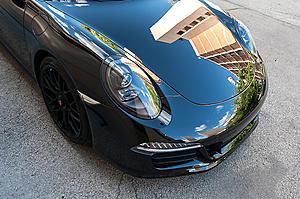
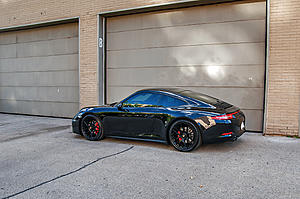
Definitely looking forward to maintaining this one over the years!
I must say this is one of the most beautifulest 991s we have done this year and we had a great time working on it and admiring all the little details put together on this 4 GTS.
Paint wasn't in bad shape so just a quick 1 stage polish and then protected with Opti Coat Pro.
Enjoy!
Arrival pic

Paint measurement and plastic trim masked off

Before

After
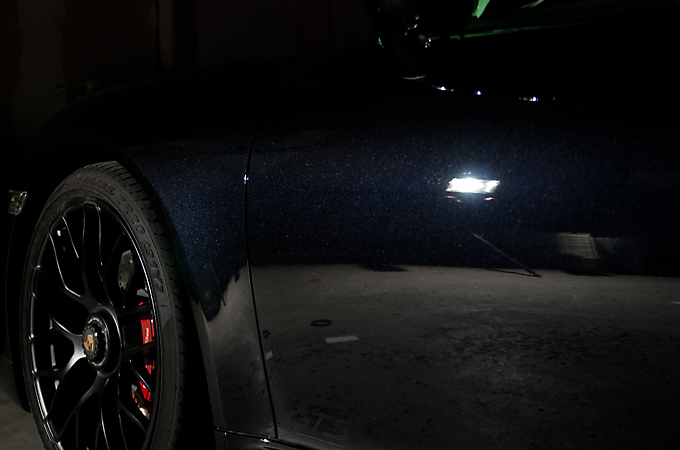
Lovely metallic flake shot

Opti Coat Pro

And the finished pics starting with reflections off the hood

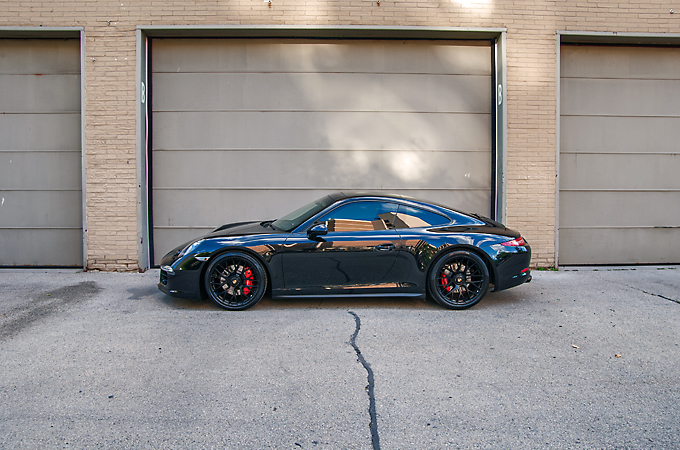

Definitely looking forward to maintaining this one over the years!
MB World Stories
The Best of Mercedes & AMG

Manual Mercedes? 6 Times Sindelfingen Let Drivers Have All The Fun
Verdad Gallardo
Mercedes SLR McLaren 722 S Is Extremely Rare Example Modified by McLaren
Verdad Gallardo
8 Classic Boxy Mercedes Designs That Have Aged Like Fine Wine
Verdad Gallardo
Flawlessly Restored Mercedes 190E Evo II Heads to Auction
Verdad Gallardo
Electric Mercedes C-Class Unveiled: 11 Things You Need to Know
Verdad Gallardo
Mercedes EQS Gets A Major Update: Everything You Need to Know
Verdad Gallardo
5 Underrated Mercedes-Benz Models That Don't Get the Love They Deserve
Verdad Gallardo
Mercedes 300D Has Pushed Well Past 1 Million Miles and It Ain't Stopping
Verdad Gallardo
10 Most Reliable Mercedes-Benz Models You Can Buy Used
Verdad Gallardo
Member
Joined: Feb 2009
Posts: 117
Likes: 0
From: Toronto
batmobile
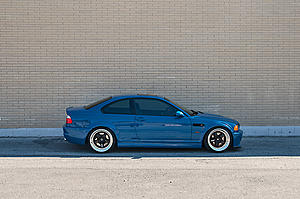
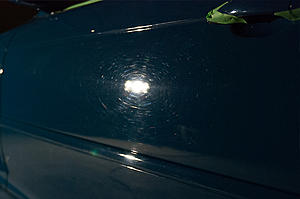
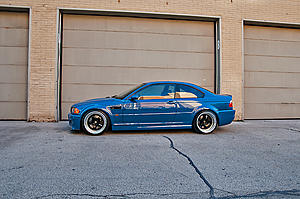
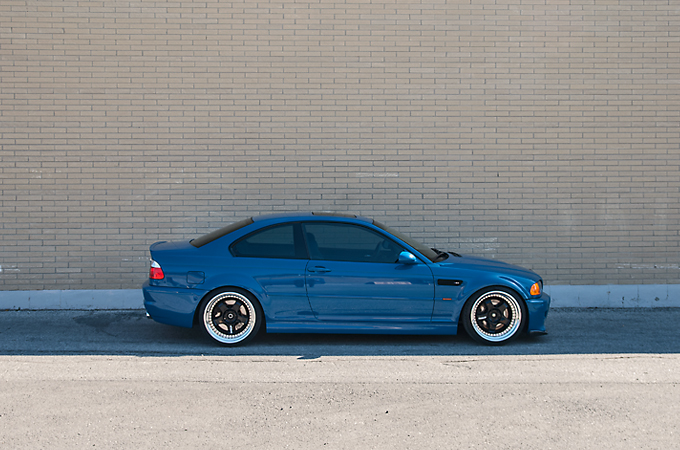
I love this e46 M3! Laguna Seca Blue on Laguna Seca Blue seats and navi! What more could you ask for.
The shine on this M3 was still great but the swirls in the sun was annoying the client and he wanted to get as much of the swirls out as possible. We ended up doing a 2 stage polish which brought the paint condition to about a 9 out of 10 minus the deeper scratches.
Hope you enjoy the pics as much as we enjoyed polishing this one!
Arrival
Paint measurements

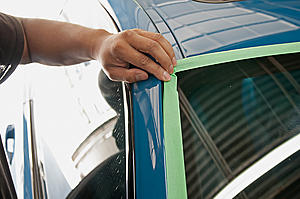
Masking off the rubber trim
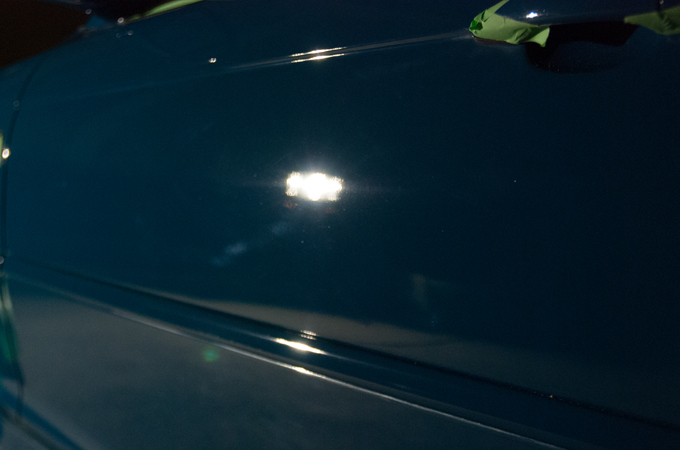
Before
After
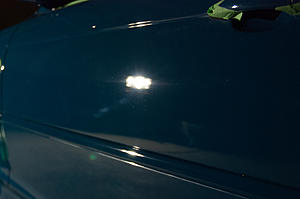
50/50 shot
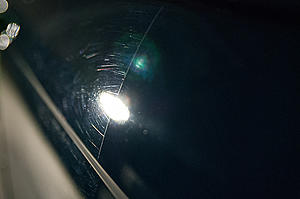
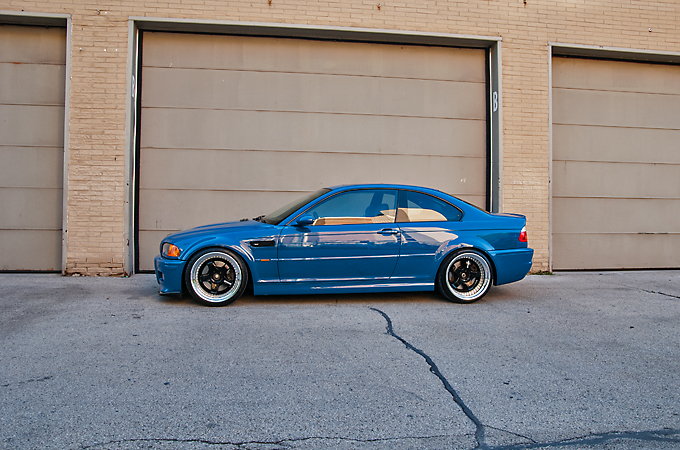
And the finished product
The shine on this M3 was still great but the swirls in the sun was annoying the client and he wanted to get as much of the swirls out as possible. We ended up doing a 2 stage polish which brought the paint condition to about a 9 out of 10 minus the deeper scratches.
Hope you enjoy the pics as much as we enjoyed polishing this one!
Arrival
Paint measurements

Masking off the rubber trim

Before

After
50/50 shot

And the finished product
Member
Joined: Feb 2009
Posts: 117
Likes: 0
From: Toronto
batmobile
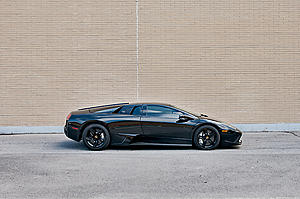
Very good client contacted me regarding a 2 stage polish + Opti Coat Pro on his recently purchased Lp640.
We had tried to schedule an appointment prior to this one but due to rainy weather we had to reschedule and he mentioned that maybe he was considering postponing the detail until the springtime, which is understandable. Luckily ... he had a change of heart and we were able to schedule a date where the weather worked in our favour!
So in to the shop it came!
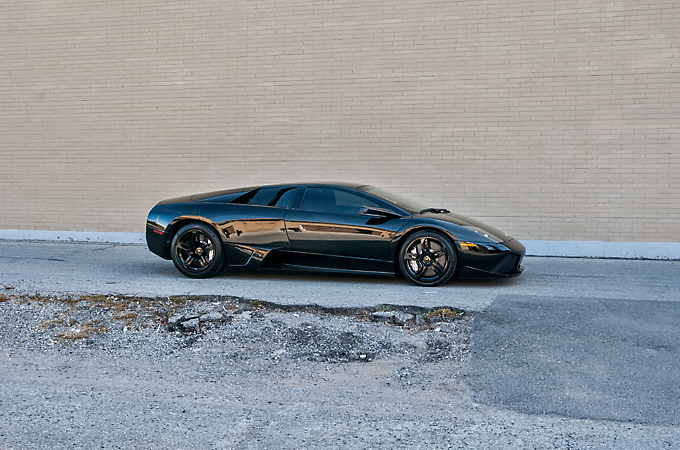
As usual, the arrival pic
After cleaning the wheels, 2 Bucket Method wash, and clay bar, we masked the rubber trim
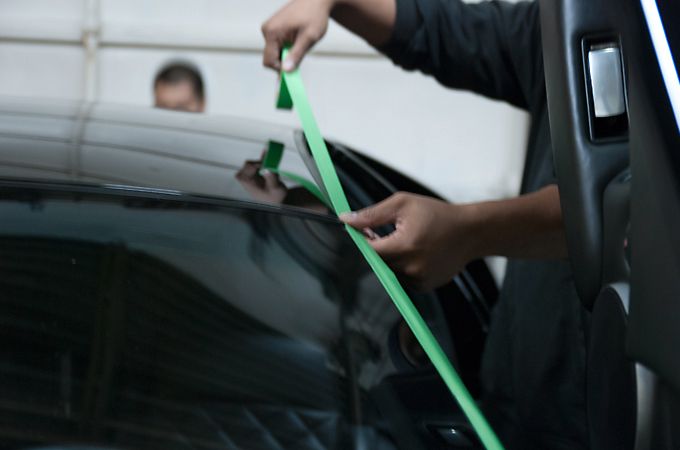
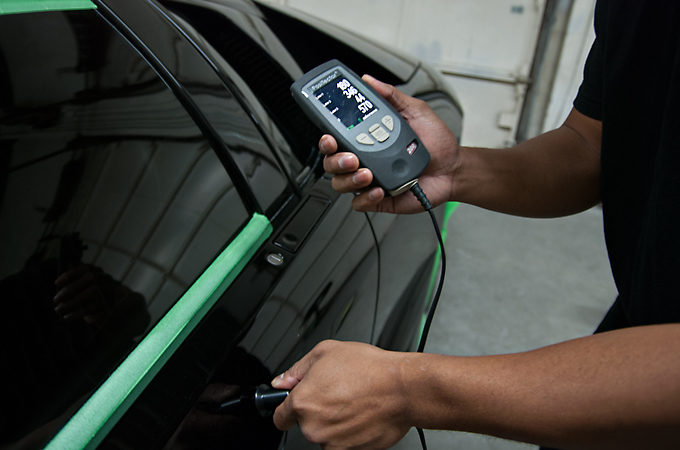
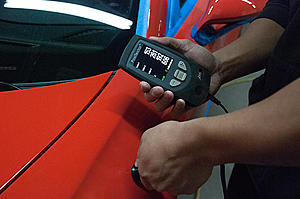
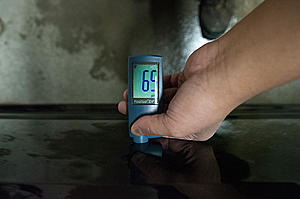
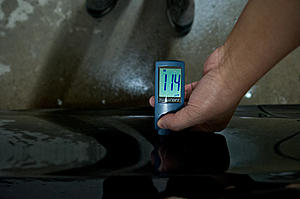
Next up was to take measurements of the paint with our special paint depth gauge which measures via ultrasound due to a few panels not being made of steel or aluminium. This gauge is not cheap at all and costed us $3000

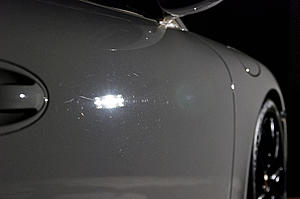
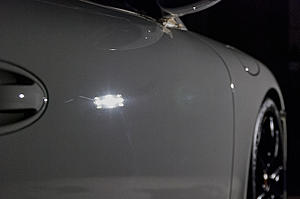
These are the results of the 1st stage of polishing
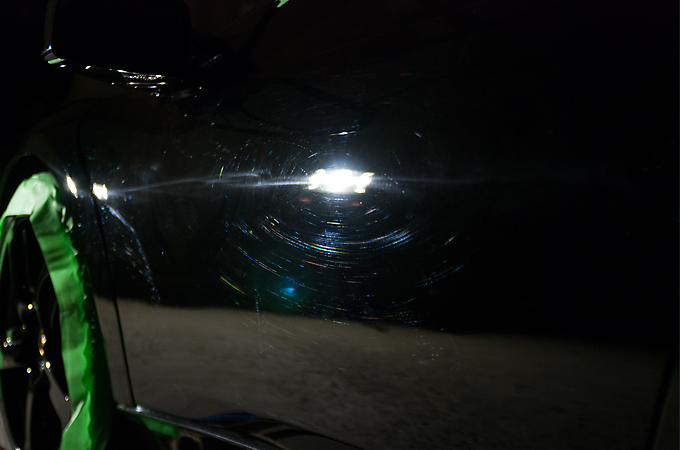
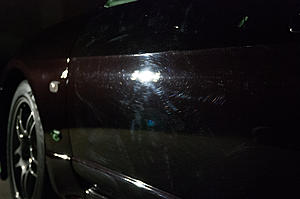
Before
After(did I mention that solid black is a pain in the a**?!)
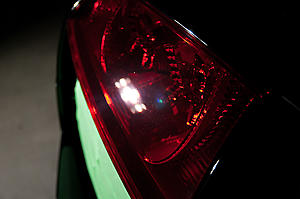
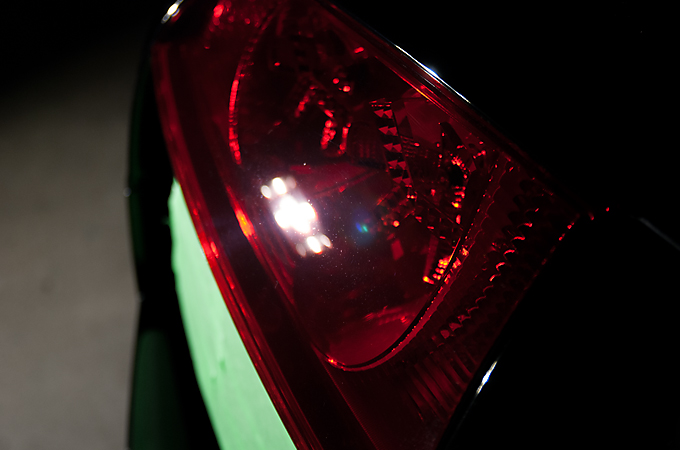
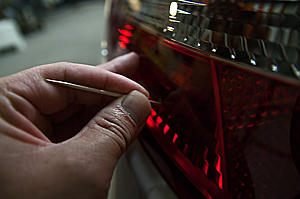
Headlights & Taillights were polished as well
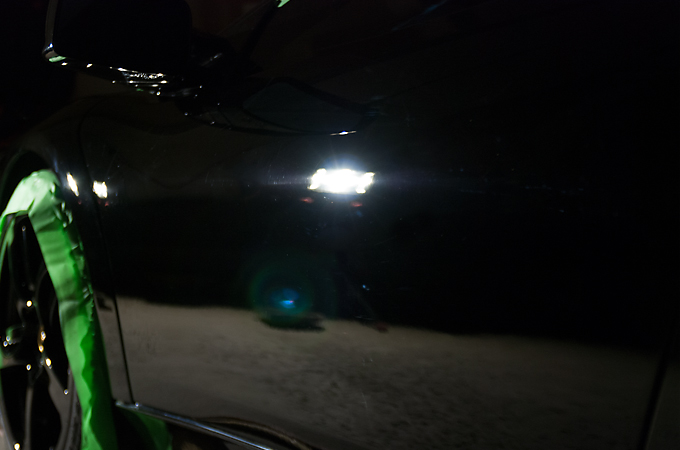
Before

After
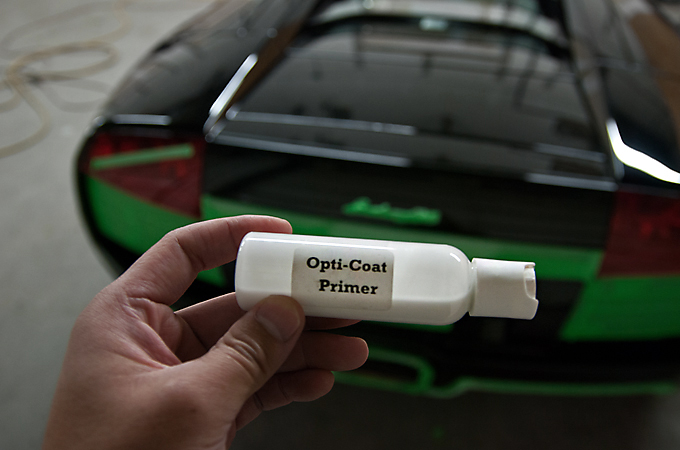
2nd stage of polishing was completed and then an alcohol wipe down to remove the polishing oils. Finally Opti Coat Primer applied to prepare for the Opti Coat Pro application

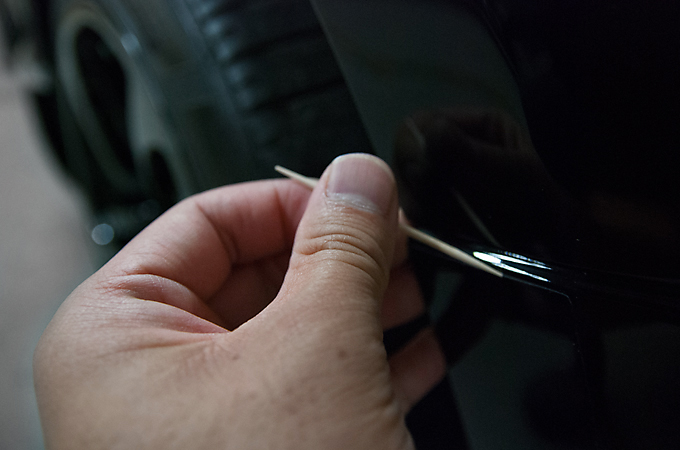
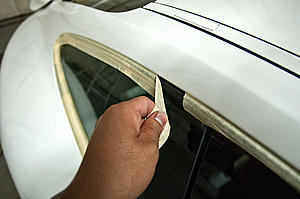
Tape removed and little details such as removing polish with a tooth pick from the edge of the stone guard was performed

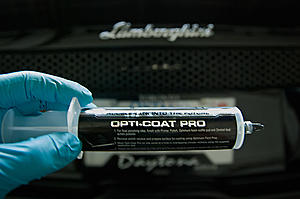
And finally the star of the show, Opti Coat Pro
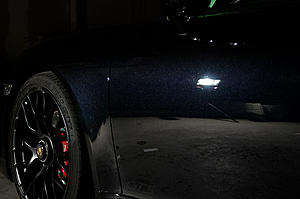
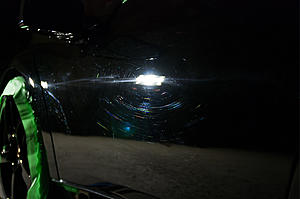
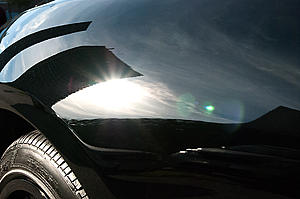
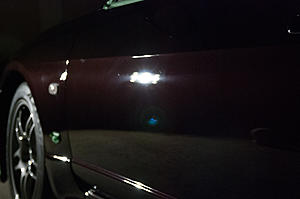
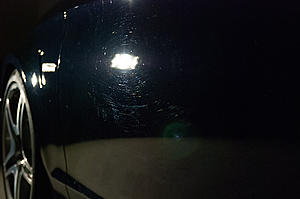
A shot in the sun to show no more swirls in the paint
All in all minus some deeper scratches which I suspect may have been from people leaning on the car for pics and the fact that it is solid black, I would say we got the paint condition to about an 8.5/9 out of 10.
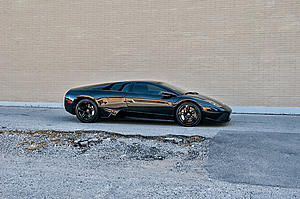
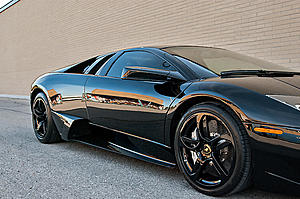
Here are the results
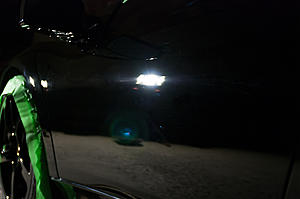
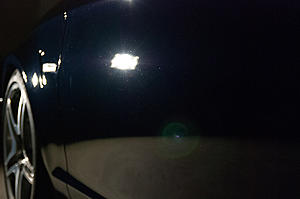
I love reflection pics
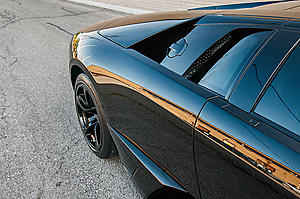
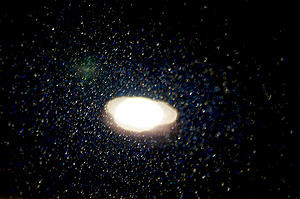
The lens flare pointing at the car is pretty cool
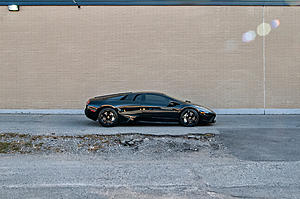
And the last pic to finish the walk around
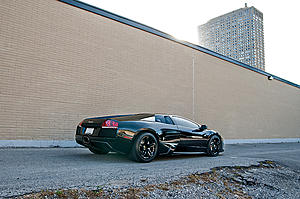
Hope you enjoyed the pics!!!
We had tried to schedule an appointment prior to this one but due to rainy weather we had to reschedule and he mentioned that maybe he was considering postponing the detail until the springtime, which is understandable. Luckily
... he had a change of heart and we were able to schedule a date where the weather worked in our favour!So in to the shop it came!
As usual, the arrival pic

After cleaning the wheels, 2 Bucket Method wash, and clay bar, we masked the rubber trim
Next up was to take measurements of the paint with our special paint depth gauge which measures via ultrasound due to a few panels not being made of steel or aluminium. This gauge is not cheap at all and costed us $3000
These are the results of the 1st stage of polishing
Before
After(did I mention that solid black is a pain in the a**?!)
Headlights & Taillights were polished as well
Before

After
2nd stage of polishing was completed and then an alcohol wipe down to remove the polishing oils. Finally Opti Coat Primer applied to prepare for the Opti Coat Pro application
Tape removed and little details such as removing polish with a tooth pick from the edge of the stone guard was performed
And finally the star of the show, Opti Coat Pro

A shot in the sun to show no more swirls in the paint

All in all minus some deeper scratches which I suspect may have been from people leaning on the car for pics and the fact that it is solid black, I would say we got the paint condition to about an 8.5/9 out of 10.
Here are the results
I love reflection pics

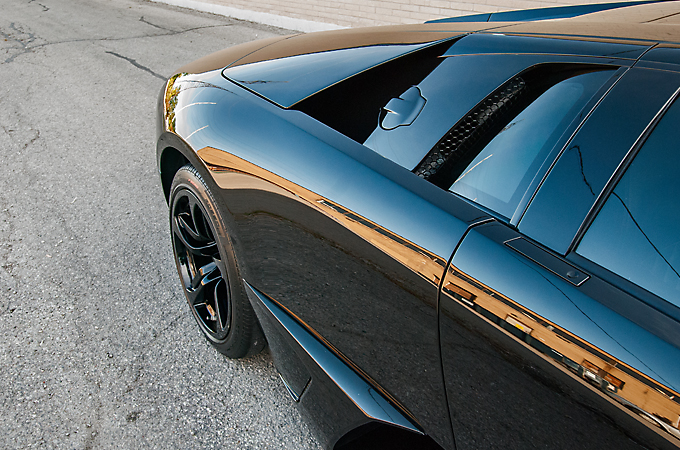
The lens flare pointing at the car is pretty cool

And the last pic to finish the walk around

Hope you enjoyed the pics!!!
Member
Joined: Feb 2009
Posts: 117
Likes: 0
From: Toronto
batmobile
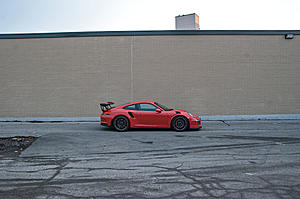
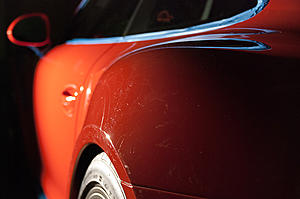
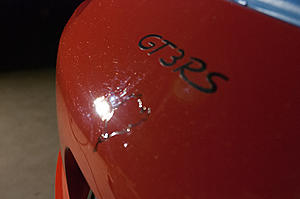
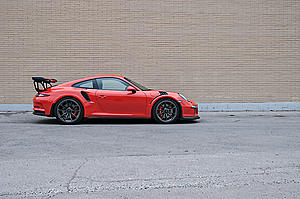
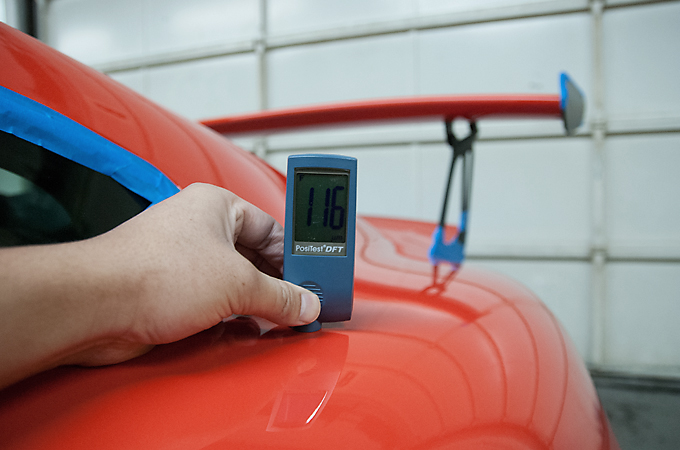
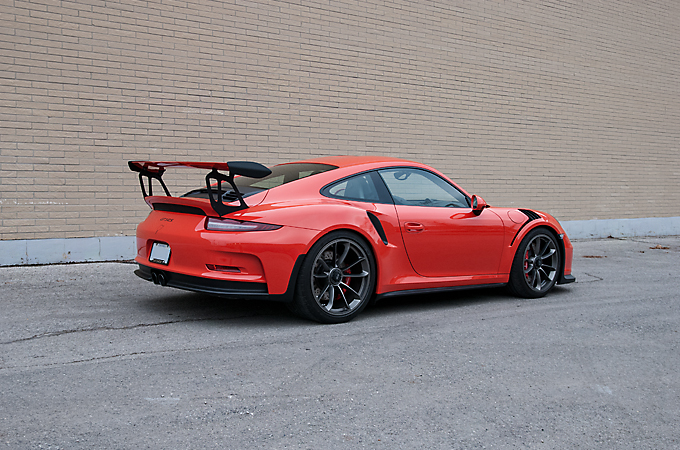
We had been looking forward to this Lava Orange 991 GT3RS for quite sometime. We maintain this clients other RS's as well so we knew about this one for almost a year now.
Not really much else to say, got the call Saturday evening and it was in the shop by Wednesday
Arrival
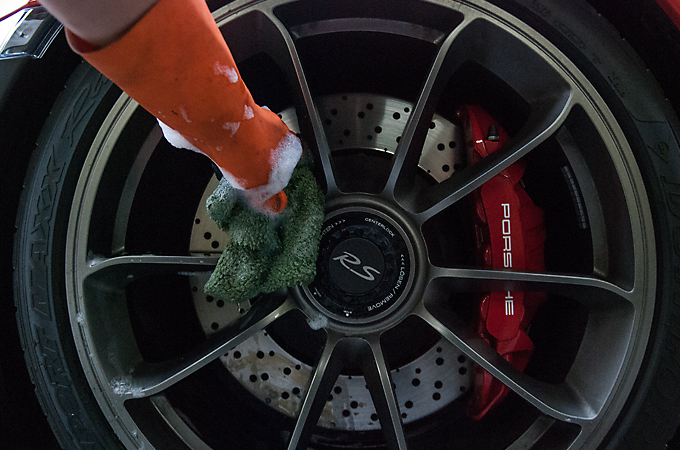
Cleaning the wheels
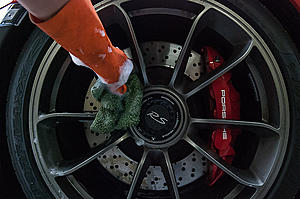
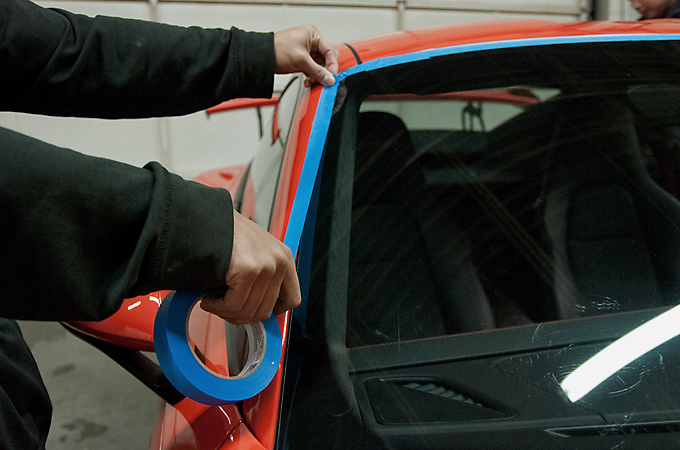
Masking off the rubber and plastic trim

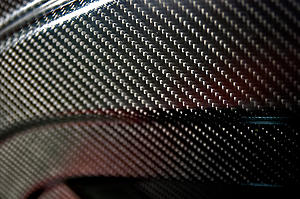
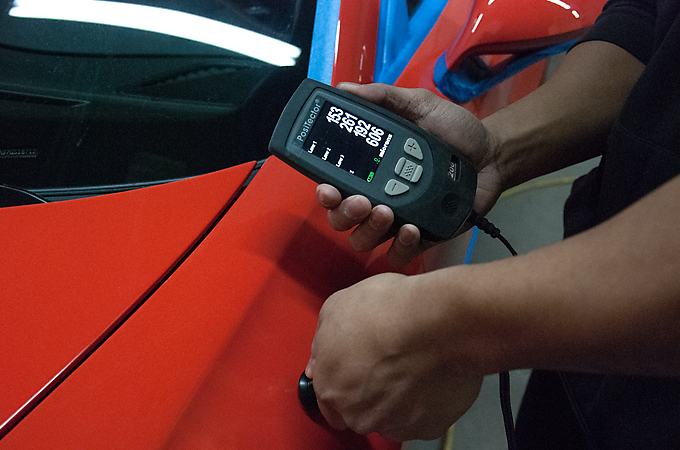
The whole front end is carbon fibre so we had to bring out our ultrasound paint gauge to measure the paint
Underneath the hood
Ultrasound measurements
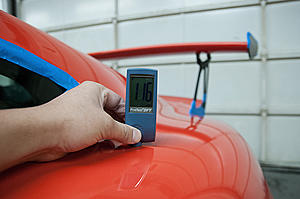
Magnetic measurements
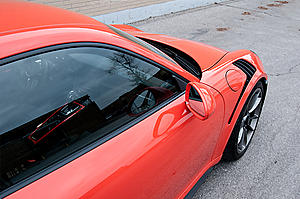
And on to polishing the paint.
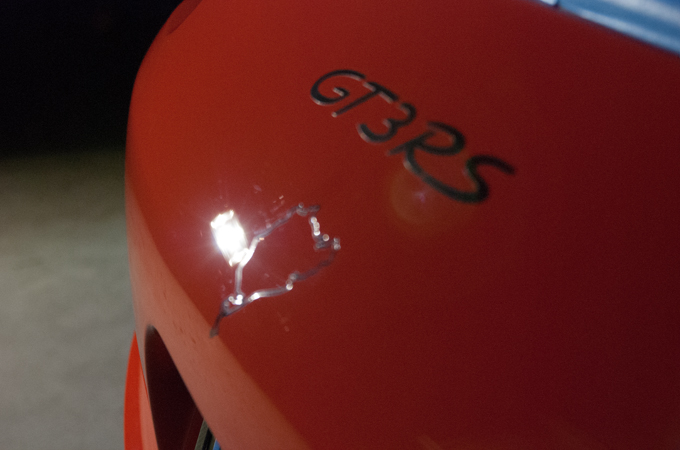
There was already close to 5000km on the odometer so the paint had some light swirls to polish out before applying Opti Coat Pro.
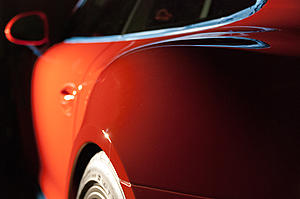
Before
After
Before
After

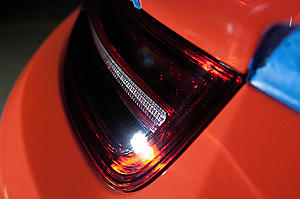
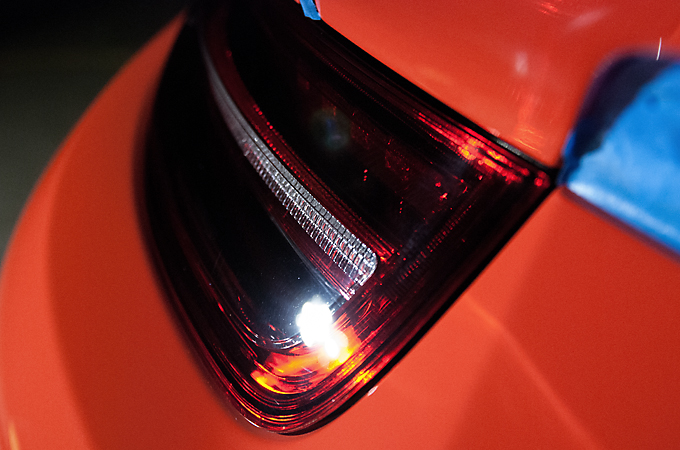
The taillights were polished as well
Before
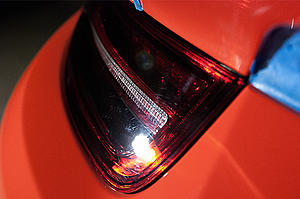
After
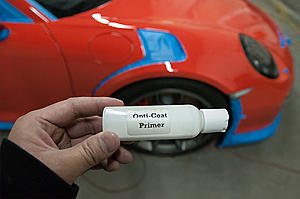
After the 2nd stage of polishing was completed we applied Opti Coat Primer via machine to the paint

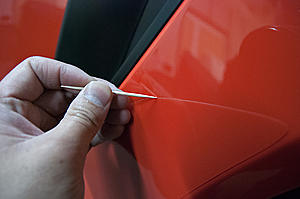
We unmasked the trim and took care of some finishing touches like cleaning up the polishing dust and cleaning polish from the edge of the stone guard with a tooth pick
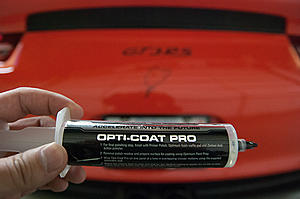
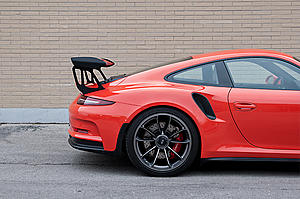
And finally applied Opti Coat Pro
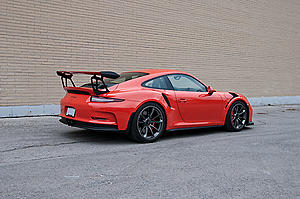
Overcast day so the gloss was not photographing the best it could be, but still happy with the finished pics!
And the icing on the cake.... an autograph under the hood from Wolfgang Porsche!!!
Hope you enjoyed the pics as much as we enjoyed working on the car!
Thanks!
Not really much else to say, got the call Saturday evening and it was in the shop by Wednesday
Arrival

Cleaning the wheels
Masking off the rubber and plastic trim
The whole front end is carbon fibre so we had to bring out our ultrasound paint gauge to measure the paint
Underneath the hood

Ultrasound measurements
Magnetic measurements
And on to polishing the paint.
There was already close to 5000km on the odometer so the paint had some light swirls to polish out before applying Opti Coat Pro.
Before

After

Before

After
The taillights were polished as well
Before
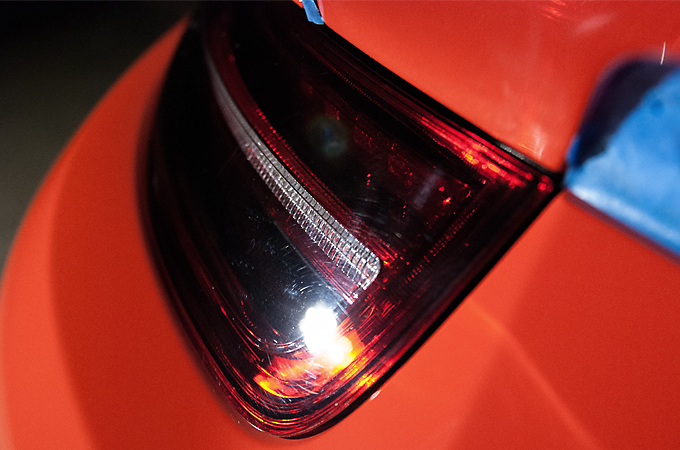
After
After the 2nd stage of polishing was completed we applied Opti Coat Primer via machine to the paint


We unmasked the trim and took care of some finishing touches like cleaning up the polishing dust and cleaning polish from the edge of the stone guard with a tooth pick

And finally applied Opti Coat Pro

Overcast day so the gloss was not photographing the best it could be, but still happy with the finished pics!


And the icing on the cake.... an autograph under the hood from Wolfgang Porsche!!!
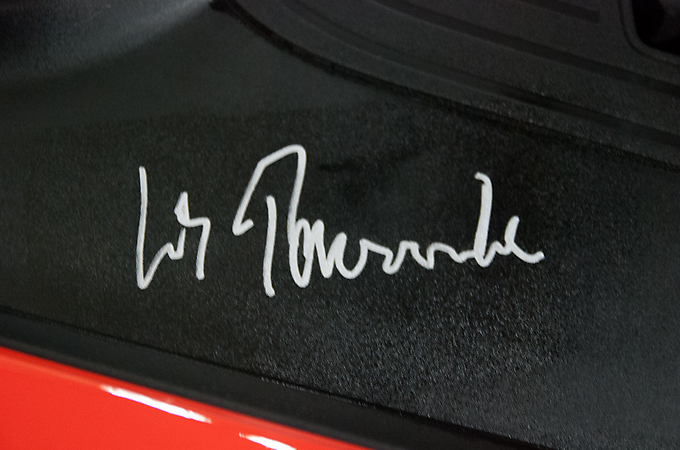
Hope you enjoyed the pics as much as we enjoyed working on the car!
Thanks!
Member
Joined: Feb 2009
Posts: 117
Likes: 0
From: Toronto
batmobile
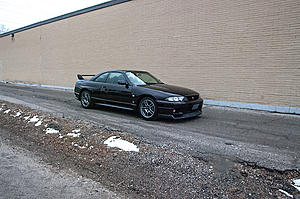
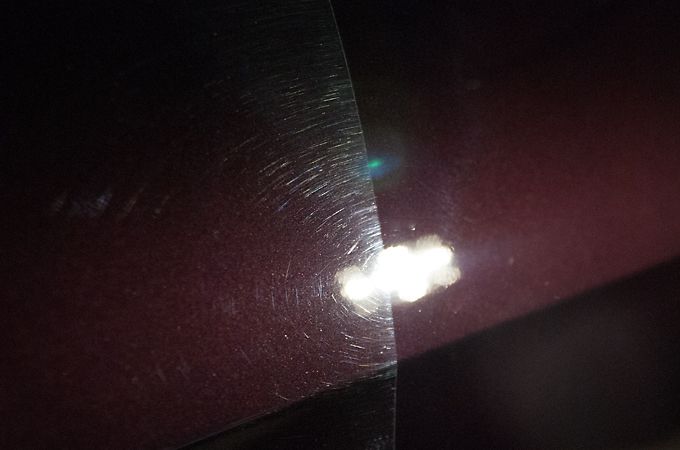
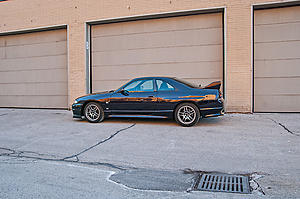
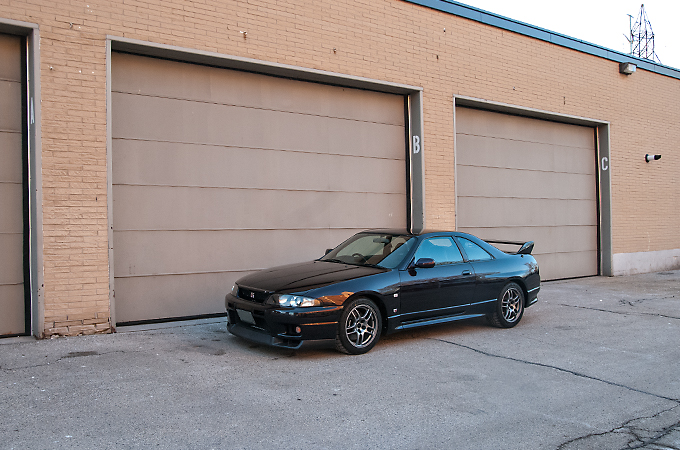
It was a huge pleasure to work on this classic R33 Skyline and in Midnight Purple too! We ended up performing a 2 stage polish on the paint and protecting it afterwards with Opti Gloss Coat. Ran into a small complication with the paint being fairly thin in some areas and couldn't get as aggressive as we would like to but everything turned out great regardless.
Hope you enjoy the pics!
Arrival
Cleaning the wheels

2 Bucket car wash
Claybarring the paint with the Nanoskin mitt
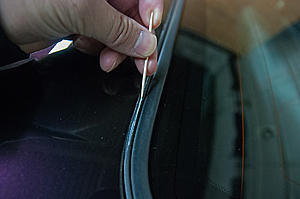
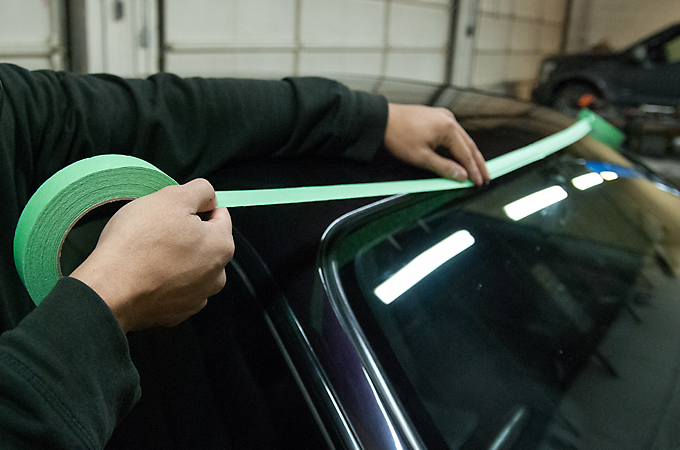
Masking off the rubber trim

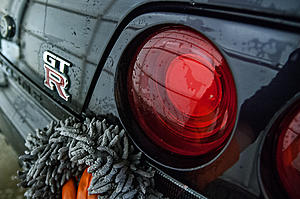
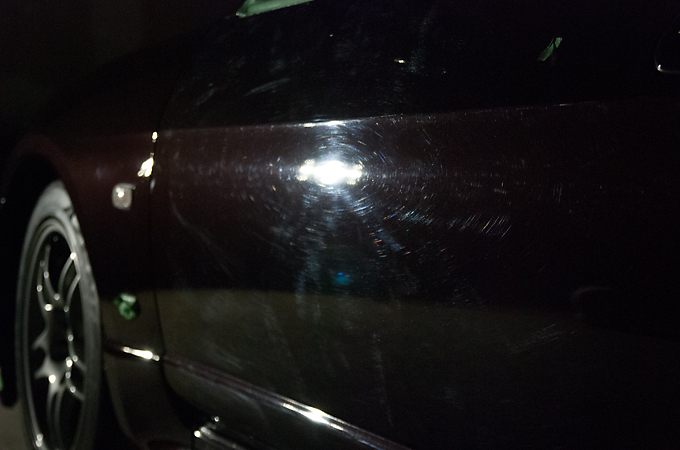
And measuring the paint. This is one of the lower areas earlier mentioned
Before
After
50/50 shot
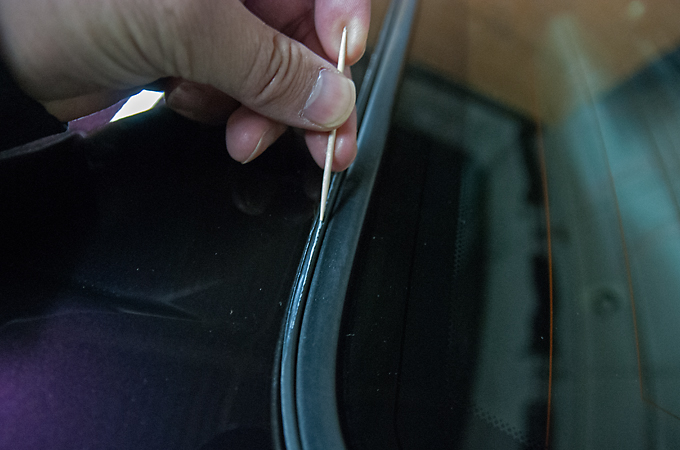
After the polishing was completed we cleaned out the left over polish out of the tighter areas with our trusty tooth pick
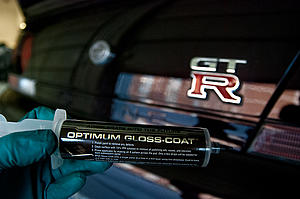
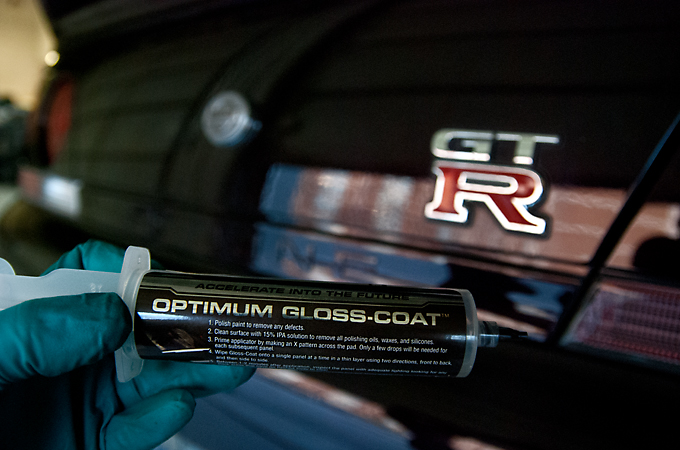
And finally Opti Gloss Coat is applied
Now for the finished pics


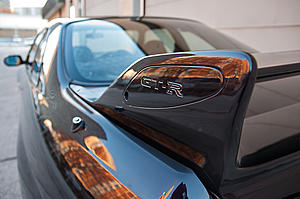
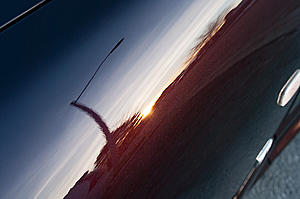
I tried to get a sun shot to show the flake but it had already set to far. This is the best I could do.
Hope you enjoyed the pics on this R33 Godzilla!
Hope you enjoy the pics!
Arrival

Cleaning the wheels

2 Bucket car wash

Claybarring the paint with the Nanoskin mitt

Masking off the rubber trim
And measuring the paint. This is one of the lower areas earlier mentioned

Before
After

50/50 shot
After the polishing was completed we cleaned out the left over polish out of the tighter areas with our trusty tooth pick
And finally Opti Gloss Coat is applied
Now for the finished pics
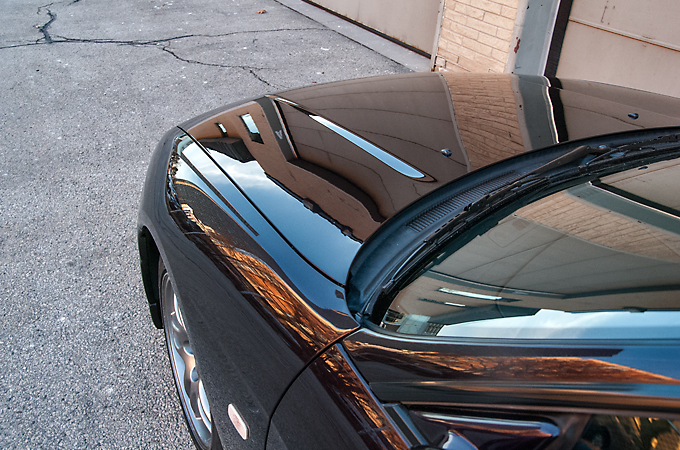


I tried to get a sun shot to show the flake but it had already set to far. This is the best I could do.

Hope you enjoyed the pics on this R33 Godzilla!
Member
Joined: Feb 2009
Posts: 117
Likes: 0
From: Toronto
batmobile
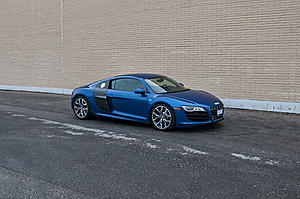
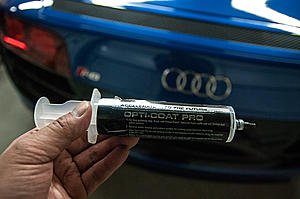
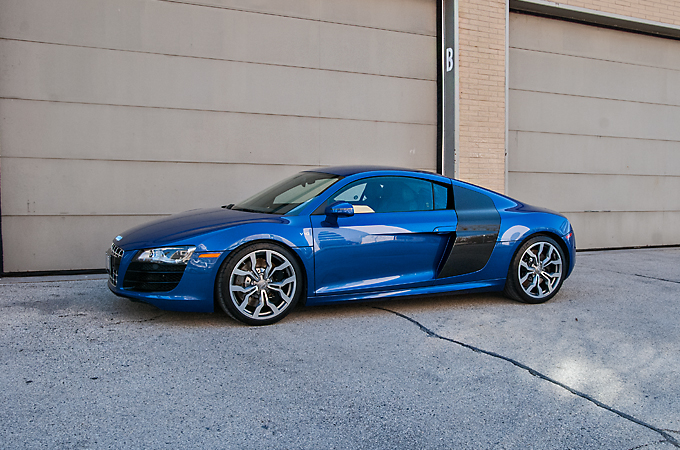
This beautiful Sepang Blue V10 R8 came in early spring but we have been so busy that I haven't had time to post it until now.
Not really much of a back story, got a call inquiring about Opti Coat Pro, client inquired with a few Audi Club members who vouched for our work, then in it came.
Arrival
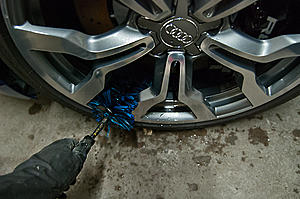
Cleaning the wheels
Claybarring the paint with the Nanoskin Mitt
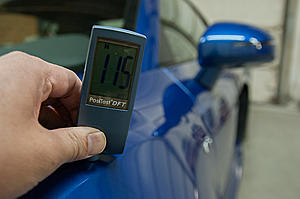
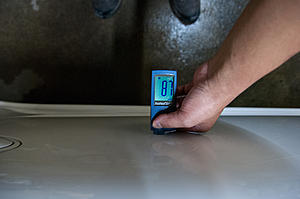
Measuring the paint
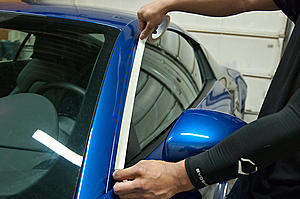
Masking off the rubber trim
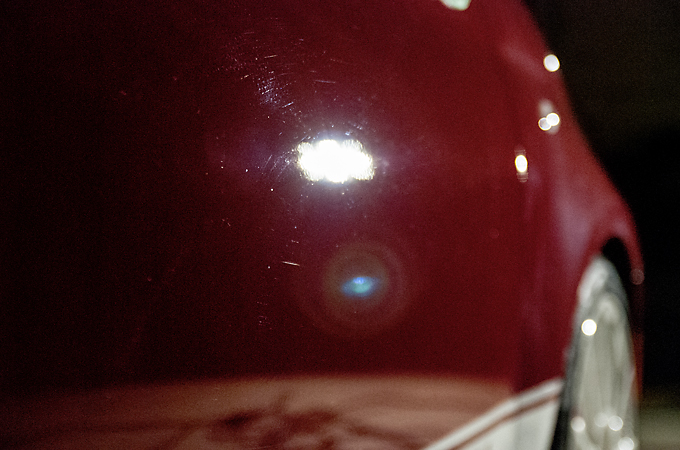
Before
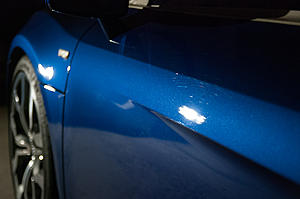
After
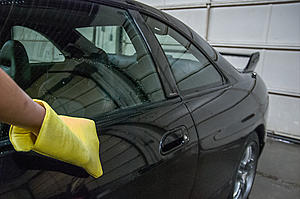
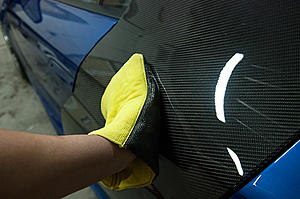
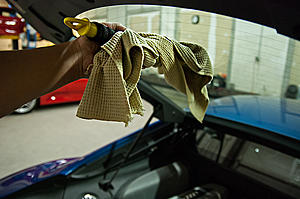
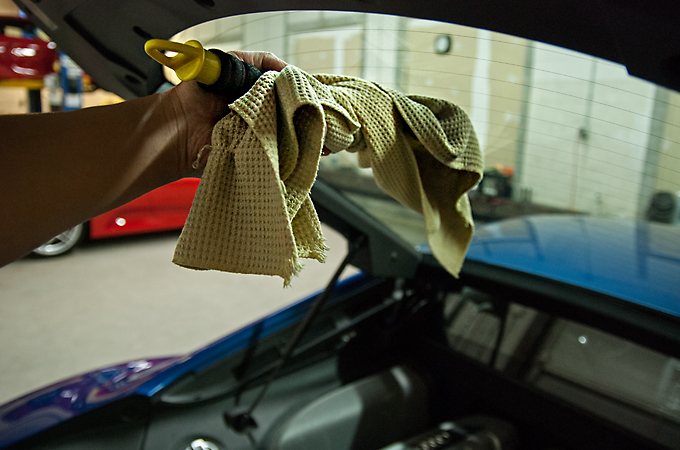
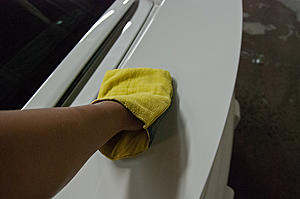
After polishing and prep for Opti Coat Pro cleaned the windows
Opti Coat Pro about to be applied
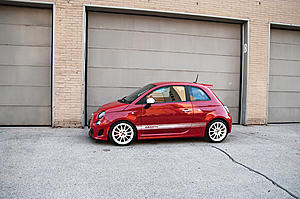
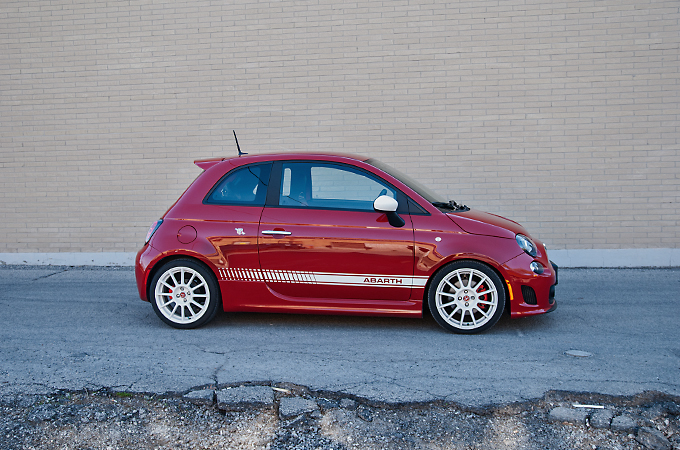
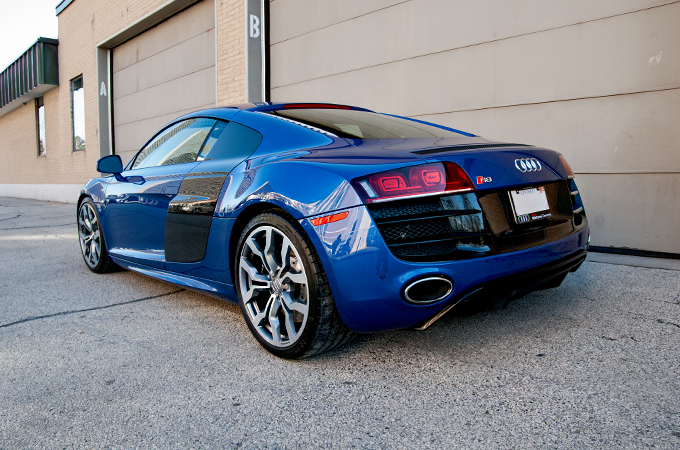
And now the finished pics
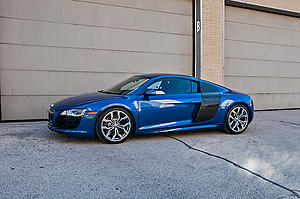
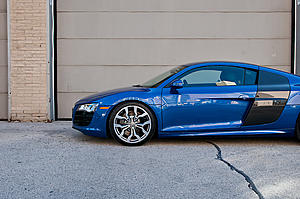
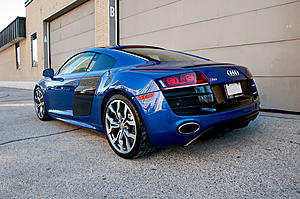
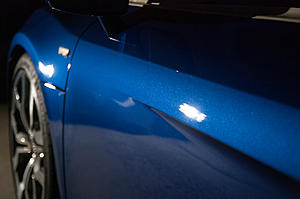
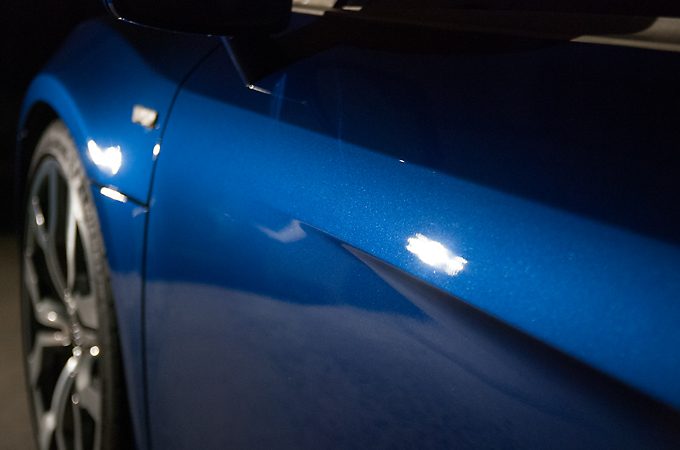
And a sun shot to show no more swirls

Hope you enjoyed the pics!
Not really much of a back story, got a call inquiring about Opti Coat Pro, client inquired with a few Audi Club members who vouched for our work, then in it came.
Arrival

Cleaning the wheels

Claybarring the paint with the Nanoskin Mitt

Measuring the paint

Masking off the rubber trim

Before

After
After polishing and prep for Opti Coat Pro cleaned the windows
Opti Coat Pro about to be applied

And now the finished pics

And a sun shot to show no more swirls
Hope you enjoyed the pics!
Member
Joined: Feb 2009
Posts: 117
Likes: 0
From: Toronto
batmobile
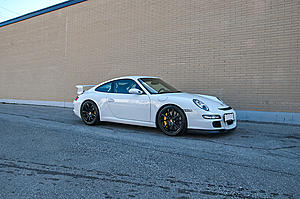
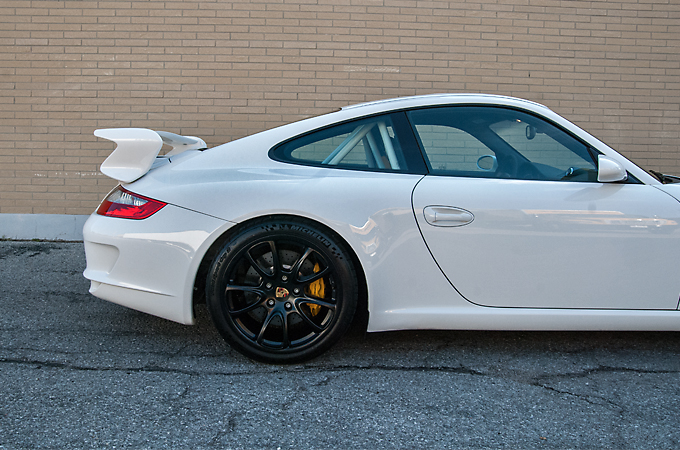
Had spoken to this client about a previously owned Porsche but things didn't pan out. A year later and and a newly purchased 997 GT3
and we set up a date to get it detailed so the owner could have a fresh start.
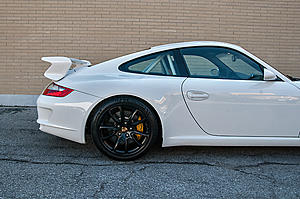
Paint wasn't to bad but still wanted to do a 2 stage polish so that it could be as good as possible.
Arrival
Claybarred the paint with a Nanoskin Mitt
Measuring the paint
And on to the polishing
Before
After
After the 2nd stage of polishing we unmasked the rubber and plastic trim
And cleaned polish residue out of the tight areas
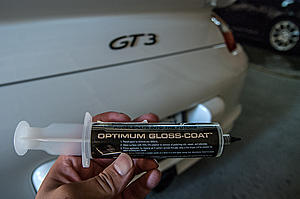
Then finally applied Opti Gloss Coat
And now the finished the pics
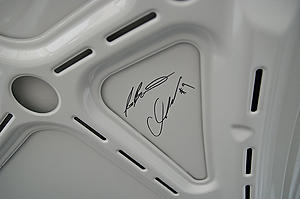
And a signature from Chris Green from over at Pfaff, not to sure who the other signature is from.
Hope you enjoyed the pics!
and we set up a date to get it detailed so the owner could have a fresh start.
Paint wasn't to bad but still wanted to do a 2 stage polish so that it could be as good as possible.
Arrival

Claybarred the paint with a Nanoskin Mitt

Measuring the paint

And on to the polishing
Before

After

After the 2nd stage of polishing we unmasked the rubber and plastic trim

And cleaned polish residue out of the tight areas

Then finally applied Opti Gloss Coat

And now the finished the pics

And a signature from Chris Green from over at Pfaff, not to sure who the other signature is from.

Hope you enjoyed the pics!
Member
Joined: Feb 2009
Posts: 117
Likes: 0
From: Toronto
batmobile
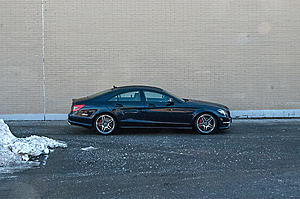
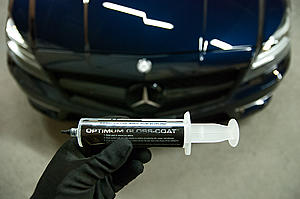
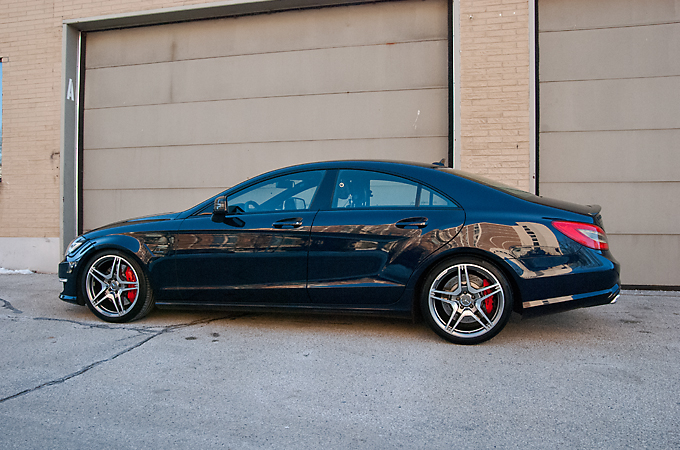
Long time client who previously brought us his w219 CLS 500, purchased this new w218 CLS 63 AMG and brought it in again for a 1 stage polish + Opti Gloss Coat.
Not much to mention about the car itself, the paint wasn't to bad and the 1 stage was enough to bring it up to a 8.5/9 out of 10.
On to the pics.
Arrival
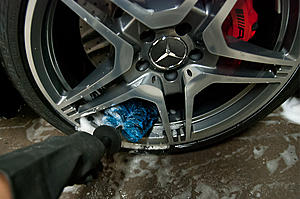
Cleaning the wheels
Claybarring the paint
Quick measurement of the paint
On to the polishing
Before
After
Metallic flake looking beautiful
Opti Gloss Coat about to be applied
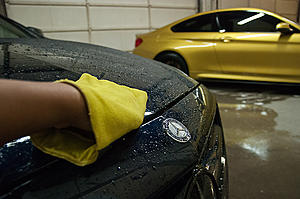
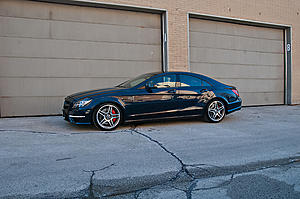
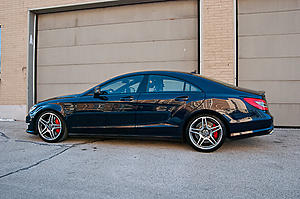
And finally the finished pics
Always a pleasure to take care of this clients cars and I hope you guys enjoyed the pics!
Instagram - OrionDetailing.Co
Facebook - Orion Detailing Co.
Not much to mention about the car itself, the paint wasn't to bad and the 1 stage was enough to bring it up to a 8.5/9 out of 10.
On to the pics.
Arrival

Cleaning the wheels

Claybarring the paint

Quick measurement of the paint

On to the polishing
Before

After

Metallic flake looking beautiful
Opti Gloss Coat about to be applied

And finally the finished pics
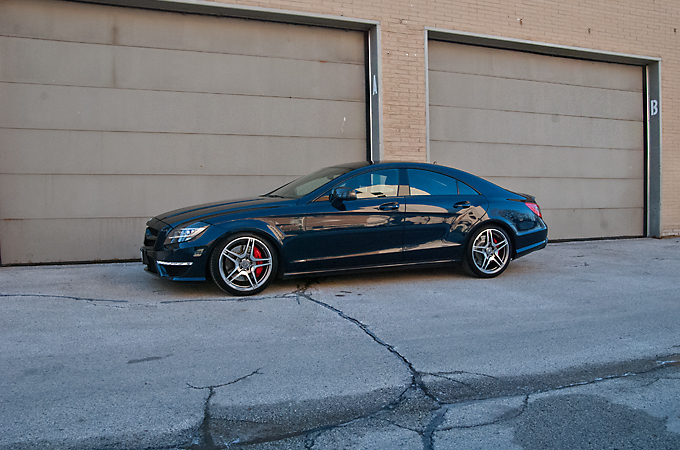
Always a pleasure to take care of this clients cars and I hope you guys enjoyed the pics!
Instagram - OrionDetailing.Co
Facebook - Orion Detailing Co.

Member

Joined: Jan 2017
Posts: 99
Likes: 6
From: Toronto, Ontario
2013 C63 AMG Sedan, 2015 GLK350
Hey Wes!
I brought my TSX to you last January. I always had non stop compliments on the paint on a 12 year old car because of you!
I will have to bring the new whip by for opticoat as my first order of business.
Amazing work man!
-Patel
I brought my TSX to you last January. I always had non stop compliments on the paint on a 12 year old car because of you!
I will have to bring the new whip by for opticoat as my first order of business.
Amazing work man!
-Patel
Member
Joined: Feb 2009
Posts: 117
Likes: 0
From: Toronto
batmobile
Long time no post! Sorry for the delay, very crazy spring and summer and I didn't get the chance to sit in front of the computer until now.
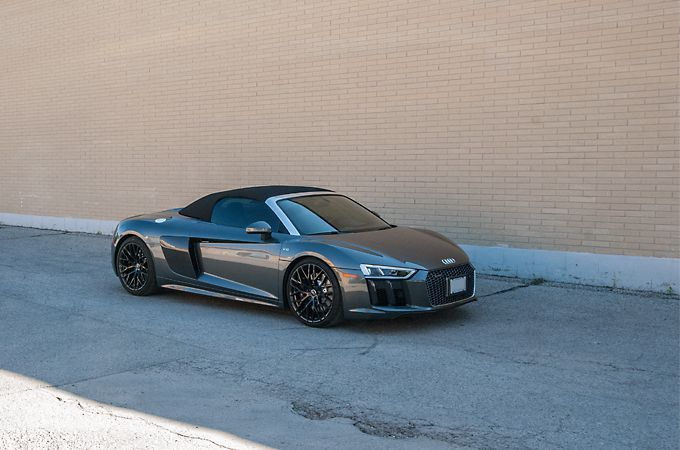
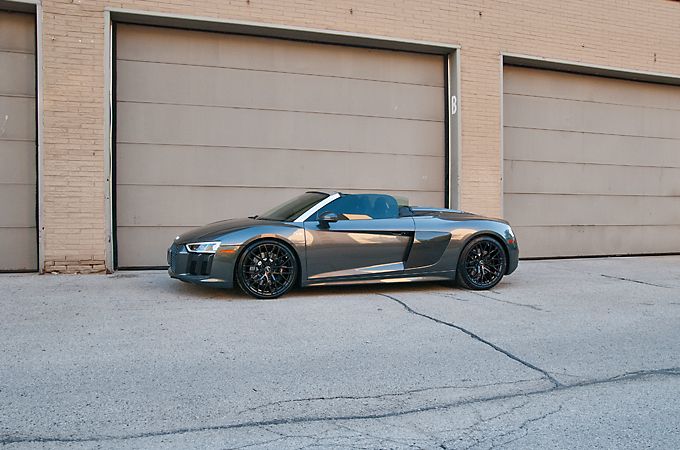
Brand new R8 Spyder which I believe at the time was 1 of 2 in Canada. Very long time client, probably 10 years now so everything was very straight forward. Got the email that this new Spyder was expected and that Opti Coat Pro + was wanted for protection as well as Opti Coat Fabric for the canvas top.
Anyways no more talk, here she is.
Arrival
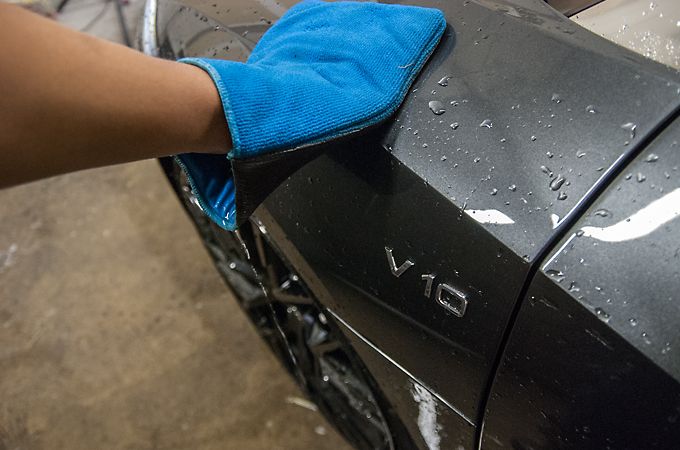
Claybarring the paint with the Nanoskin Mitt
Measuring the paint
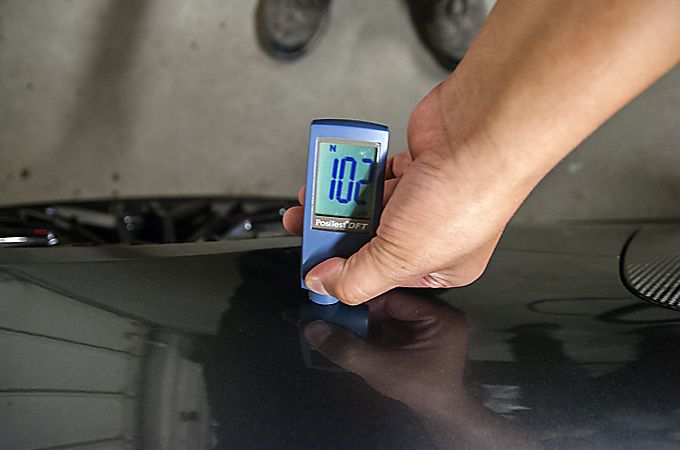
I'm finding with the new Audis being delivered they are coming with some scratches specifically in certain areas and learned they don't have shipping plastics anymore but use a cover that is clipped on which I believe is the cause.
Before
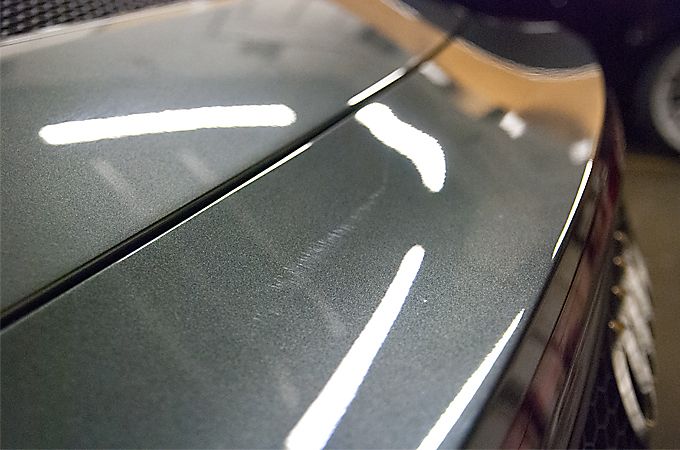
After

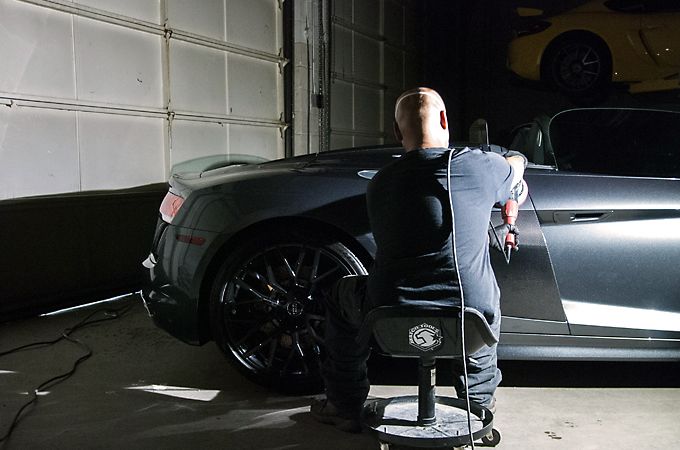
Shot of us polishing
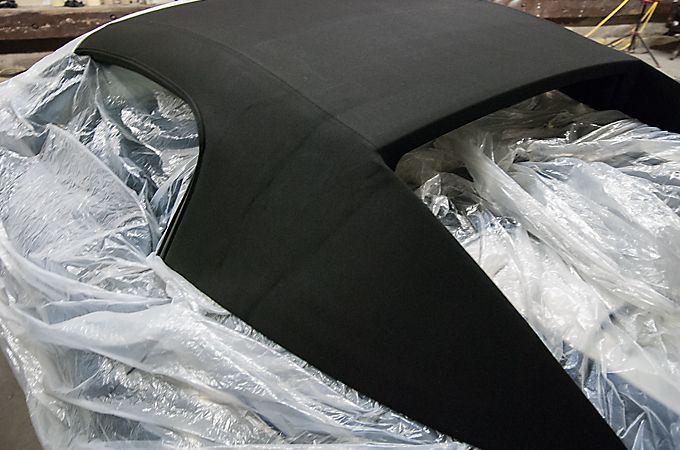
Preparing the top for Opti Fabric to protect the canvas top
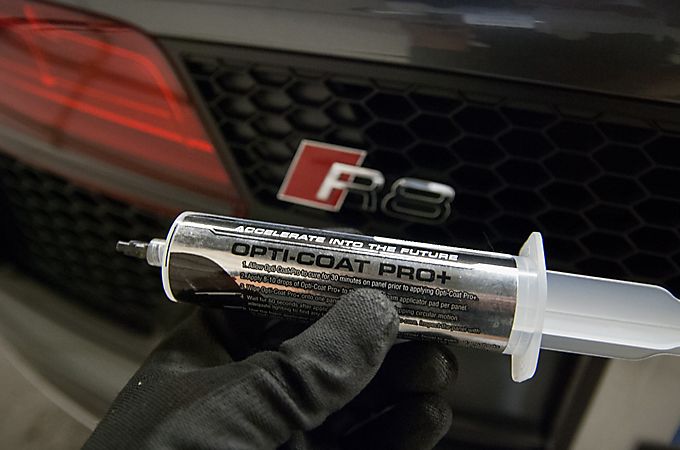
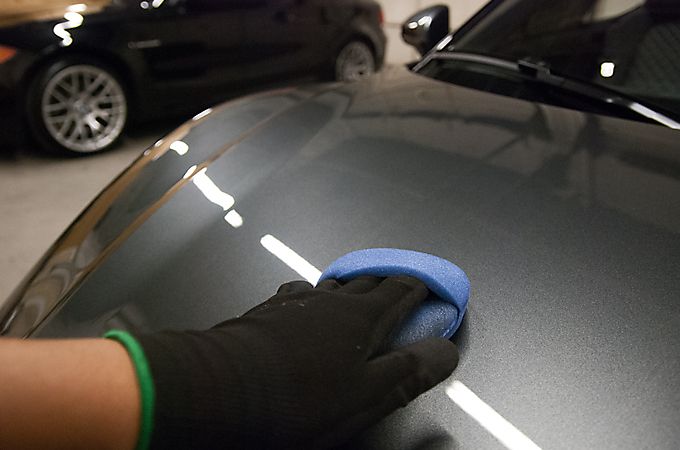
Opti Coat Pro + about to be applied in 3 layers which is our thickest and shiniest coating
To the paint
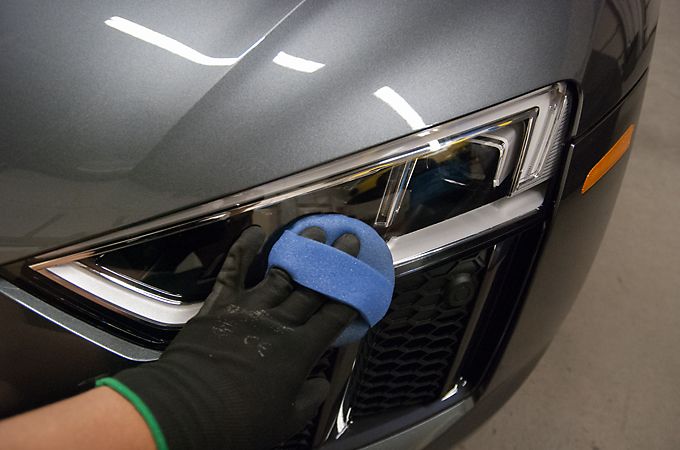
Headlights
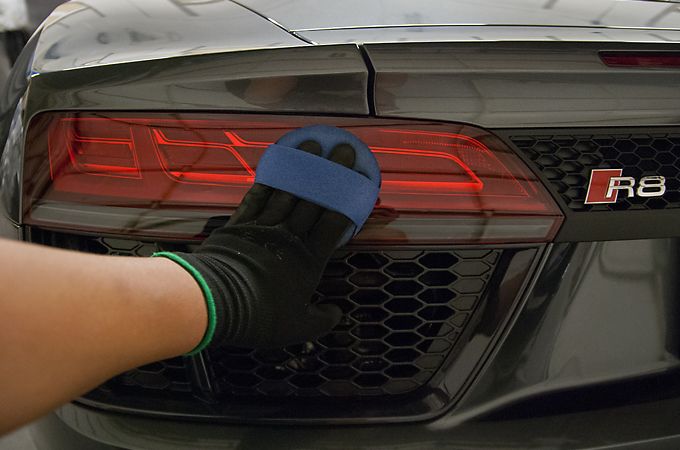
Taillights
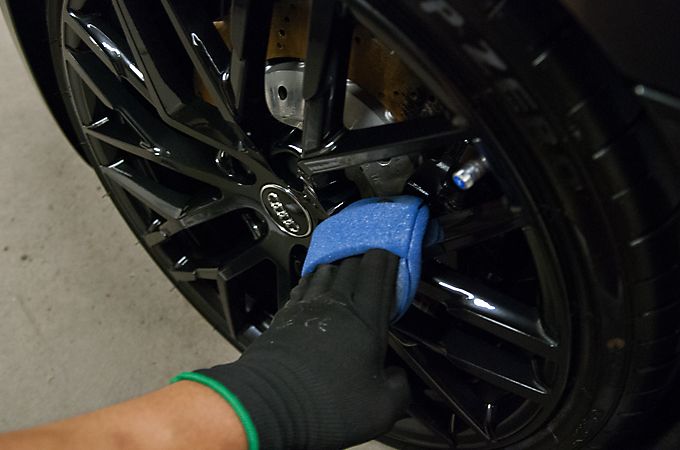
Wheel faces
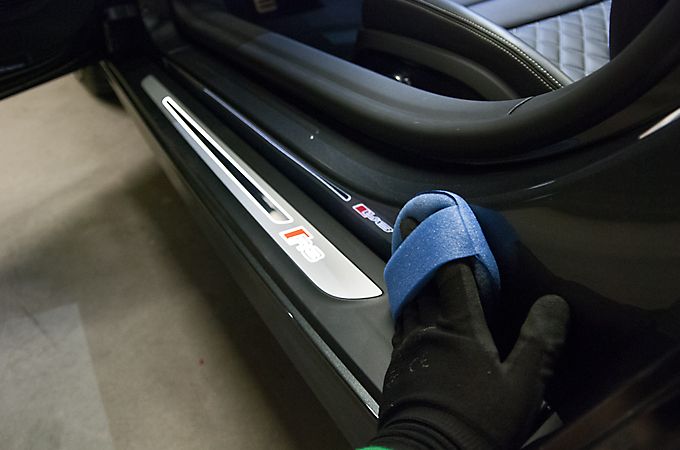
Doorjambs
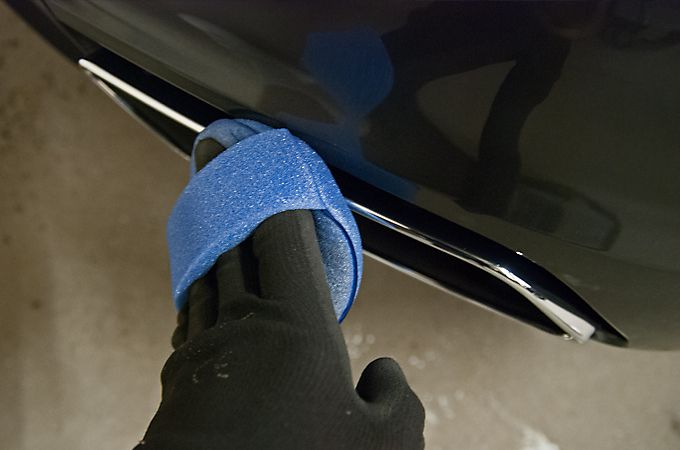
Exhaust tips in and out
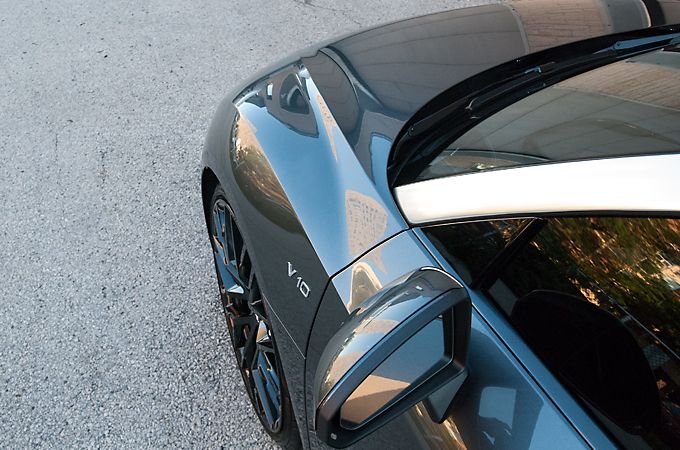
And the finished pics
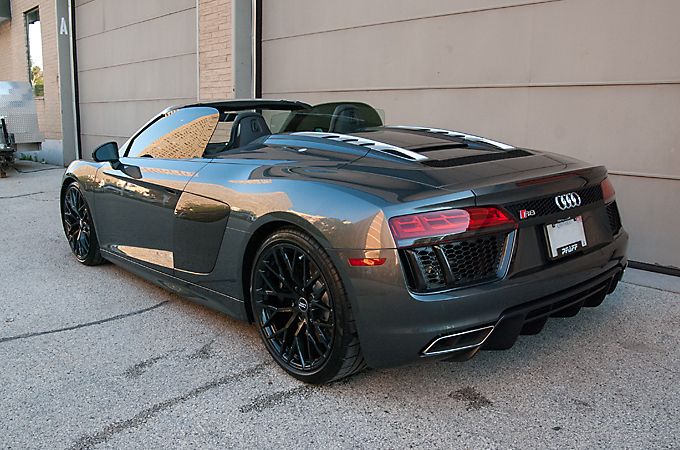
Glad to finally be posting again! Hope everyone is doing well!
Thanks,
Wes
(647)999-8499
Instagram - Orion Detailing Co
Facebook - Orion Detailing Co
WeChat - Orion Detailing Co
Brand new R8 Spyder which I believe at the time was 1 of 2 in Canada. Very long time client, probably 10 years now so everything was very straight forward. Got the email that this new Spyder was expected and that Opti Coat Pro + was wanted for protection as well as Opti Coat Fabric for the canvas top.
Anyways no more talk, here she is.
Arrival
Claybarring the paint with the Nanoskin Mitt
Measuring the paint
I'm finding with the new Audis being delivered they are coming with some scratches specifically in certain areas and learned they don't have shipping plastics anymore but use a cover that is clipped on which I believe is the cause.
Before
After
Shot of us polishing
Preparing the top for Opti Fabric to protect the canvas top
Opti Coat Pro + about to be applied in 3 layers which is our thickest and shiniest coating
To the paint
Headlights
Taillights
Wheel faces
Doorjambs
Exhaust tips in and out
And the finished pics
Glad to finally be posting again! Hope everyone is doing well!
Thanks,
Wes
(647)999-8499
Instagram - Orion Detailing Co
Facebook - Orion Detailing Co
WeChat - Orion Detailing Co


