When you click on links to various merchants on this site and make a purchase, this can result in this site earning a commission. Affiliate programs and affiliations include, but are not limited to, the eBay Partner Network.
This message just popped up in the cluster of my 2011 C63 tonight. "Check left rear turn signal" The LED light doesn't blink, so it's definitely out, but all the wires look connected properly and are tight.
The weird thing is that if I put my emergency flashers on, one of the normal bulbs in the left rear tail assembly (the top one) blinks to match the right LED, which is functioning normally. Is that a secondary safety thing?
I popped out the harness from its clip and saw no signs of melting, loose connections or corrosion. I checked the ground wire and all looks fine there, too.
Anything else to look for? I checked all the bulbs on both rear lights and they're all fine. Is there a fuse somewhere that may have blown?
2017 Mini Cooper S Clubman ALL4 - British Racing Green
This is a known issue, can affect either side. The original OEM connector has a fault that results in a short. You might have noticed static coming over the speakers at some point as well (depending on teh music you might not notice it either heh.. )
Take it to MB, they will fix it. It is a fire hazard, do not ignore it.
Thank you for the advice! We pulled the tail light out at the dealer and found the blue tab that connects the LED array to the pin had come unclipped, so we plugged it back in and all is well.
We didn't notice any burn marks or any of that. My car is a MY11 with an 08/10 build - does the faulty harness affect 2011s as well as older years?
Thanks very much for the post. I had what turned out to be the exact same problem and resolution. I was stumped for quite a while as the turn signal still worked (problem started after getting car serviced and stumped the shop too). It wasn't until I read this post that I realized the bulb acting as my right turn signal was a backup and it's the LED strip (which wasn't working) that's supposed to function as the turn signal. Upon unclipping the bulb assembly from the lamp housing, I quickly noticed the blue wire connected to the LED strip was not plugged in. Upon plugging it back in, it was problem solved .
Thank you for the advice! We pulled the tail light out at the dealer and found the blue tab that connects the LED array to the pin had come unclipped, so we plugged it back in and all is well.
We didn't notice any burn marks or any of that. My car is a MY11 with an 08/10 build - does the faulty harness affect 2011s as well as older years?
I keep getting the error message for my right turn signal. I took it out and and found the blue connector was not completely pushed onto the pin. I plugged it back in and my turn signal worked... until I went for a drive when it seemed to back itself off of the post again and caused the error message. Is there anything I can do to secure that blue LED connector onto the pin?
Thank you for the posts. Been trying to figure this out for about a month, was beginning to think I needed to replace the LED strip, then I saw this and found the blue wire had come off the tab (ground, I believe) on the plastic bulb housing, reconnnected it and everythig works perfectly. When the wire slips off the tab it hangs down behind the trunk lining so when you pull the bulb housing out, you may not see it hanging loose.
After a lot of searching, testing, grounding with no success, I found a fix!!
Car: 2011 c350 4matic (w204)
The problem was intermittent failing of the led turn signal. The led would blink and then "glitch" and a light bulb above the led would takeover for 10 seconds and the led would start flashing again. All that would give me a burn signal error on my dashboard and the flasher would blink fast ( burnt bulb standard error).
This was until it just stopped flashing altogether after 2 years of annoying fast blinking turn signal.
My recall for the tail light socket/connector was done and the problem was still present. I also tried adding a separate ground wire with no success.
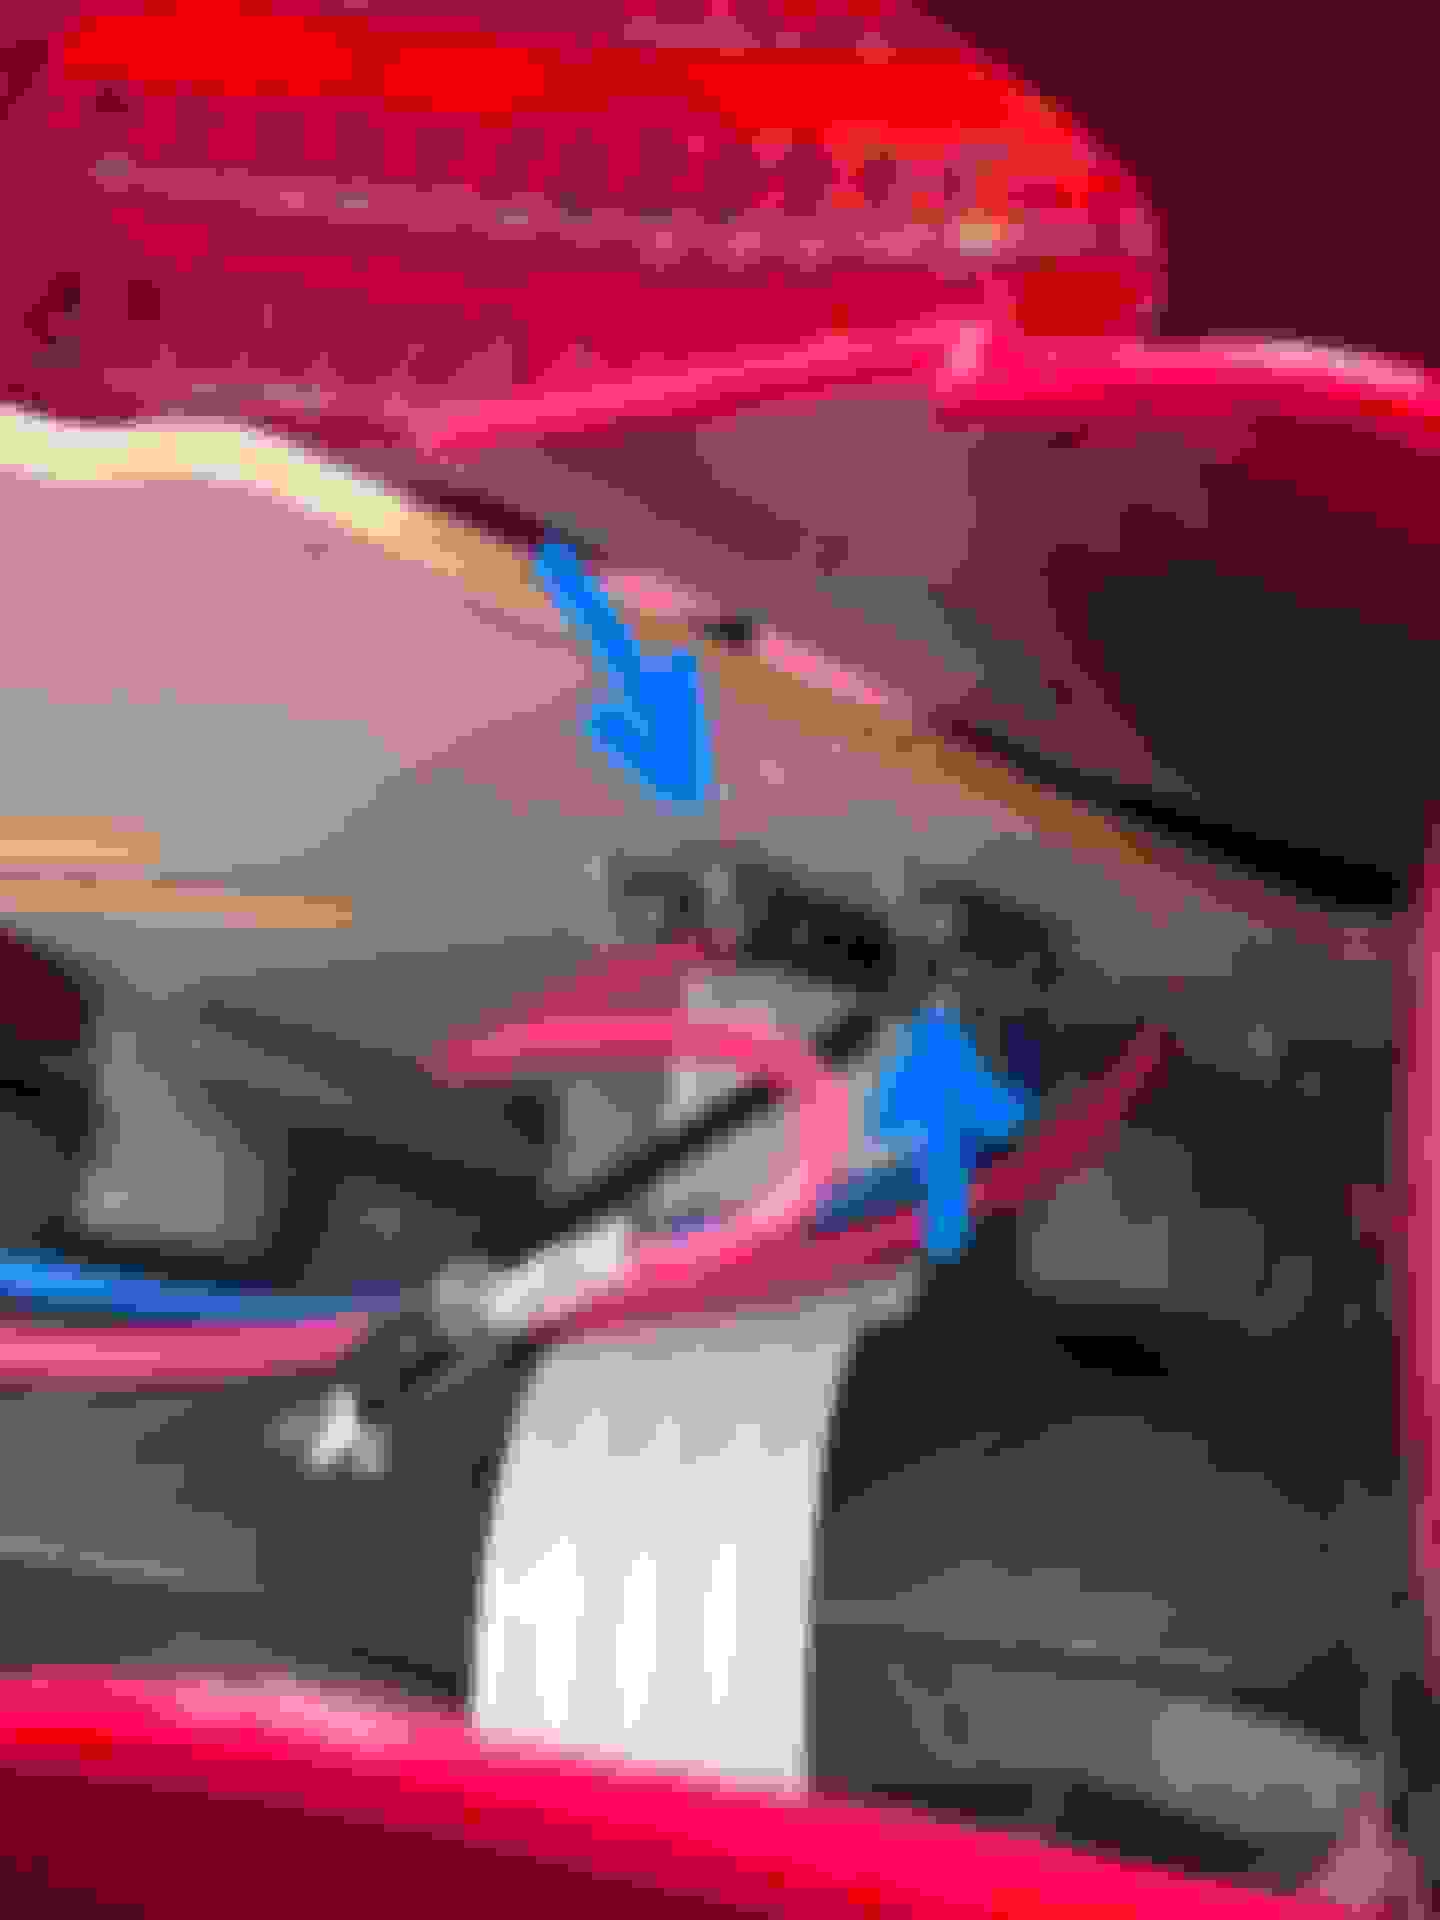
The fix was replacing a diode that is accessible without cutting anything up! You can see it in the pictures, it is located on the back side of the board in the tail light Assembly.
If the components is not failed completely it can be hard to diagnose since it will work sometime and other not. Mine was showing open circuit on both ways when a diode should have shown conductivity in one direction.
The diode was open circuit so I just added one in parallel. Note that I used a red and a black wire to facilitate the soldering.
As seen in the picture, I added a diode in parallel since mine was completely open circuit. Make sure to put it in the same way as the one on the board.
If yours is completely blown like mine, you can try to bridge it temporarily and applying 12V to the Red(+) and Blue(-) wires.
Hope it will help someone else fix this very annoying issue.
Last edited by Alain Picard; Feb 6, 2022 at 09:37 AM.
After a lot of searching, testing, grounding with no success, I found a fix!!
Car: 2011 c350 4matic (w204)
The problem was intermittent failing of the led turn signal. The led would blink and then "glitch" and a light bulb above the led would takeover for 10 seconds and the led would start flashing again. All that would give me a burn signal error on my dashboard and the flasher would blink fast ( burnt bulb standard error).
This was until it just stopped flashing altogether after 2 years of annoying fast blinking turn signal.
My recall for the tail light socket/connector was done and the problem was still present. I also tried adding a separate ground wire with no success.
The fix was replacing a diode that is accessible without cutting anything up! You can see it in the pictures, it is located on the back side of the board in the tail light Assembly.
If the components is not failed completely it can be hard to diagnose since it will work sometime and other not. Mine was showing open circuit on both ways when a diode should have shown conductivity in one direction.
The diode was open circuit so I just added one in parallel. Note that I used a red and a black wire to facilitate the soldering.
As seen in the picture, I added a diode in parallel since mine was completely open circuit. Make sure to put it in the same way as the one on the board.
If yours is completely blown like mine, you can try to bridge it temporarily and applying 12V to the Red(+) and Blue(-) wires.
Hope it will help someone else fix this very annoying issue.
Dear Alain,
What type of diode you used? 1N4007? And why you added in parallel. Why you did not remove old diode?
Thanks.
What type of diode you used? 1N4007? And why you added in parallel. Why you did not remove old diode?
Thanks.
Hi,
I don't remember the diode I used. Any 12v compatible with enough amperage will do the job. I did not remove the old one because it was not necessary and I used it to solder the wires as it's not very accessible. Electrically speaking it does not change anything.


 )
)