When you click on links to various merchants on this site and make a purchase, this can result in this site earning a commission. Affiliate programs and affiliations include, but are not limited to, the eBay Partner Network.
Here's my install of the Eurocharged tune. I did this over the period of a few weeks, so I may have forgotten a few items. Please let me know and I will amend. Thanks!
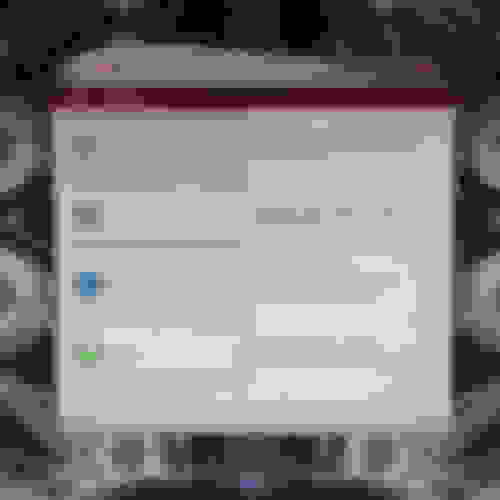
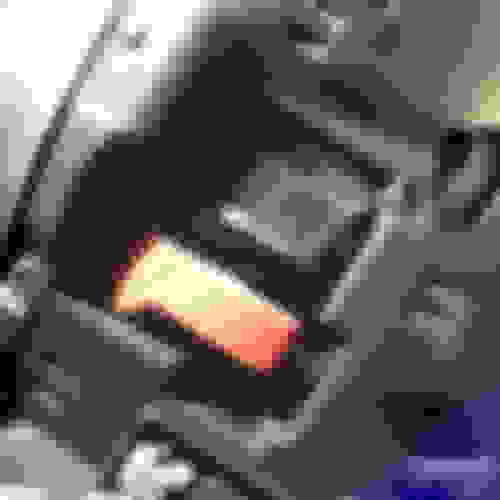
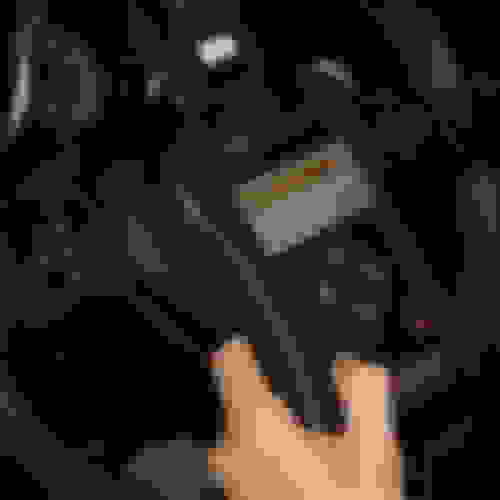
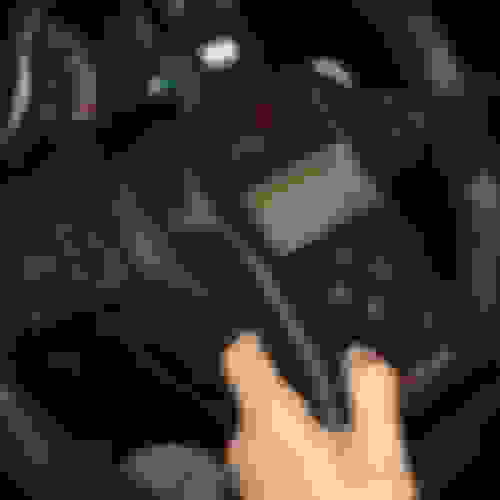
Upon opening, flip handheld over and locate these numbers on the back. This 8 digit code is your activation number and should be e-mailed to Eurocharged for activation. They will e-mail you an activation file that you load into the MyGenius software which will activate the handheld.
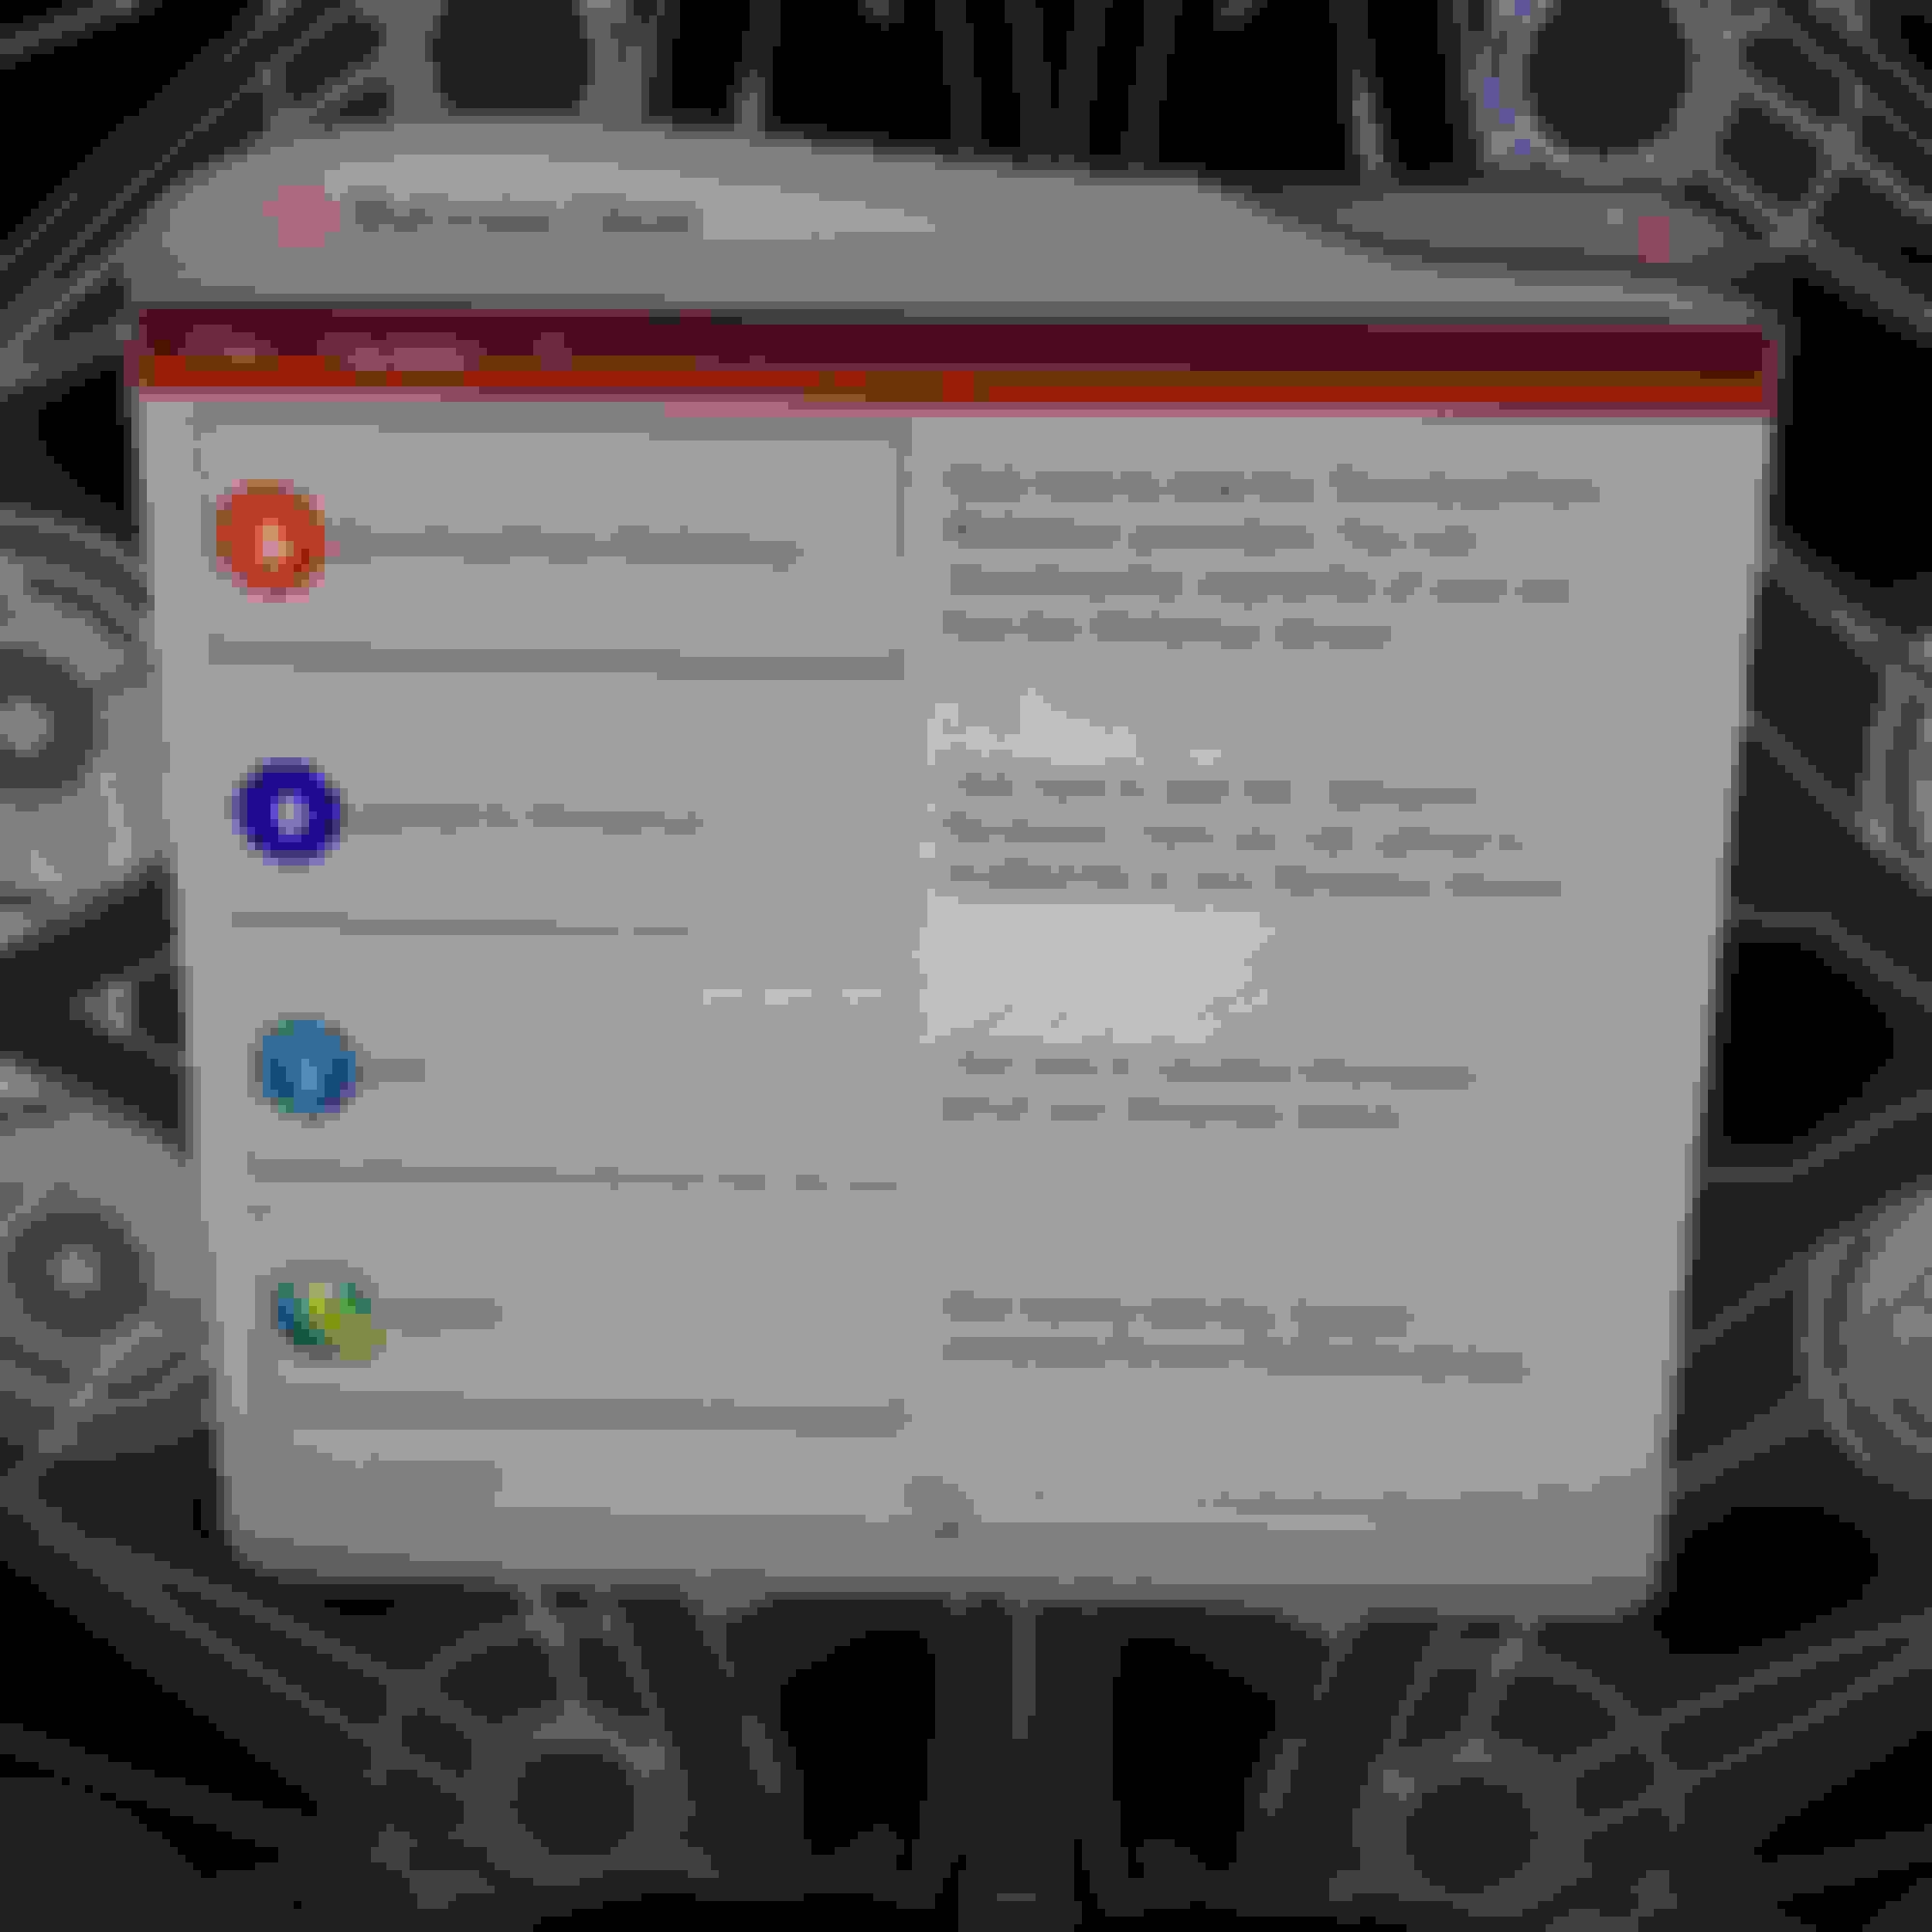
***THANKS TO PRASHD FOR THIS SECTION BELOW!***
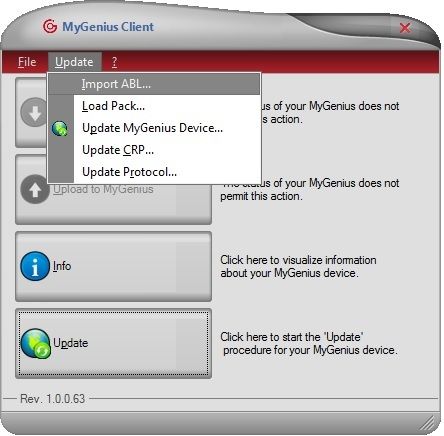
* Download the <MyGenuisSerialID>.abl (activation file) sent by Eurocharged to your computer
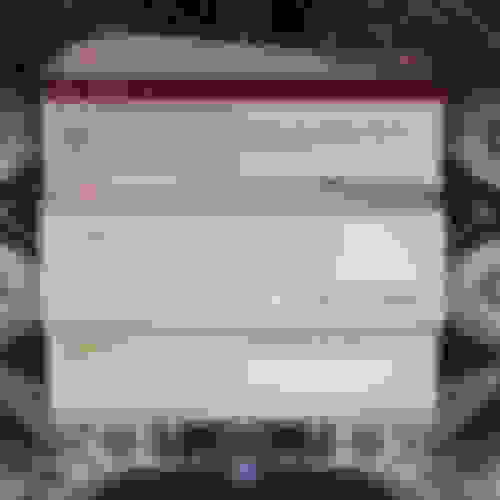
* Open the MyGenius Software and click on Update-> Import ABL... as shown below
Browse to the folder where the activation file was saved and select the file and hit ok.
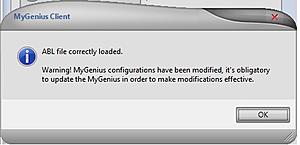
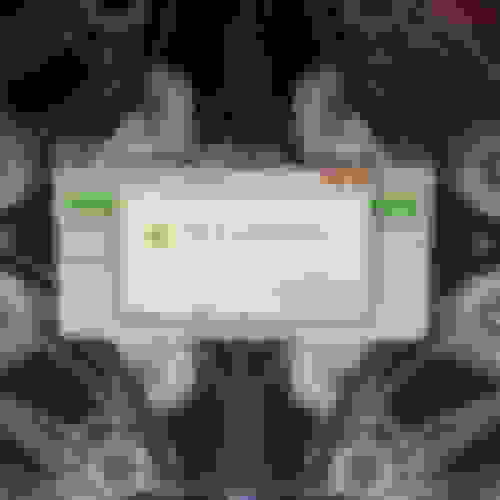
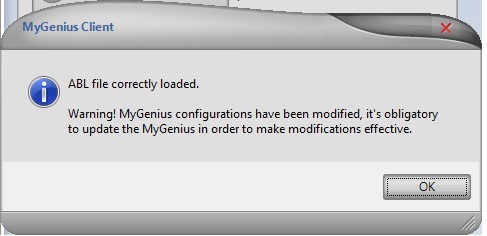
This will activate the MyGenius device and the following will be shown ***THANKS TO PRASHD FOR THIS SECTION ABOVE!***
Install software found on this USB located in the box.
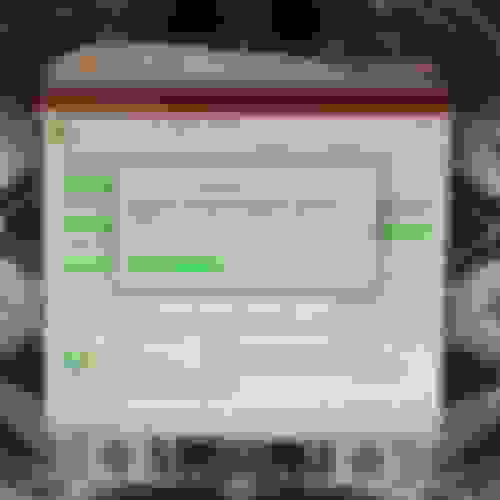
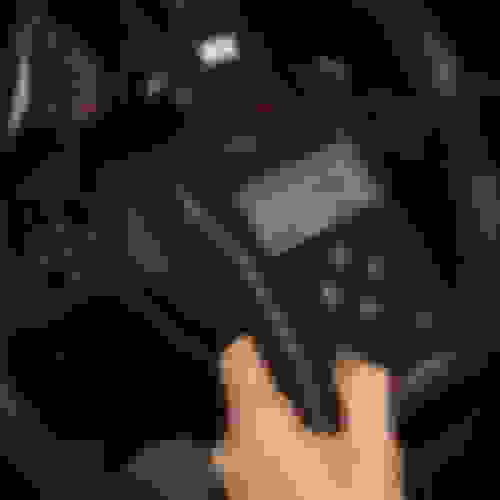
Upon plugging in your handheld, this screen will pop up. DO NOT HIT "OK". I discovered if I hit ok, it would put me on the main menu and I would have connectivity issues.
Click update button
I decided to update each item individually. I went with updating the software first. Repeat this step 3 times to insure all updates are captured.
Select yes.
This screen should pop up pretty quickly after the third repeat of this stage of the process.
Select updating the device and repeat this step three times to insure all updates have been completed.
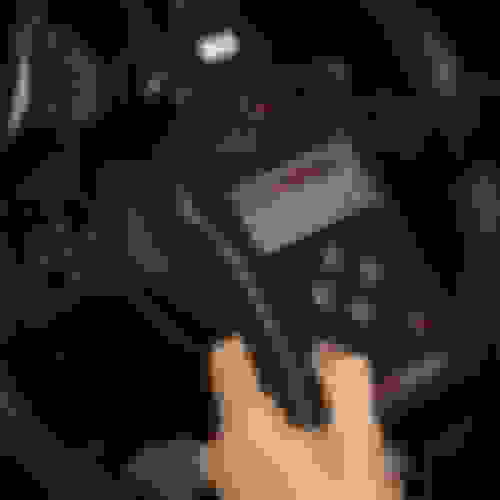
Upon completion of updates, unplug the USB cord and attach the serial/OBDII cord to the device. Onto the car!
The OBDII port it protected by a flap, open flap located near the hood release under the steering column.
Plug in OBDII plug into OBDII port.
Upon plugging the device in the main menu should pop up. Select "WORK"
It will take you to an identification menu. Select "PRT INDENTIFY"
***REMEMBER: When it tells you to turn the switch on dashboard, go to POSITION 2 with your key. DO NOT START THE CAR. w/ KEYLESS GO: Push the button twice, DO NOT PUT FOOT ON BRAKE PEDAL.***
When you see "WRITE" in the identification menu, this process is complete. Disconnect mygenius and go to your computer.
Select the Download button
Select "NEXT"
Select destination of file, select "NEXT"
Download complete! "CLOSE" and locate your file.
Select this file and e-mail to Eurocharged.
Stay tuned, I'm waiting to get the files back and I will complete this How-To.
Great write up so far. I will be using this when I upload mine. I didn't even know you had to give the serial number on the back of the programmer to Eurocharged for authorization until I read this.
Thanks for the write up. I will be receiving the MyGenius soon from EC and I'll be following these steps for sure.
One suggestion though.. In your first step, you say that you will receive the activation file and need to upload to myGenius software. It would be great if you can update with a screen shot of this step.
Yes, I didn't think about doing a how-to until after I completed that step. As a result, I don't have photos. So, if you get yours and document that portion, I can add them to the front of the instructions.
Mine is on the way as we speak. Should be here today. I intend to send the info to EC about my mods and elevation. At what point do I do that so that my tune can be custom to my needs? Also, can I use a Macbook or do I need a PC?
Yes, I didn't think about doing a how-to until after I completed that step. As a result, I don't have photos. So, if you get yours and document that portion, I can add them to the front of the instructions.
Sure.. I will send you the pic so that the thread can be updated.
2012 C63;1971 280SE 3.5(Sold);2023 EQS 450 SUV 4 Matic (Wife's)
Originally Posted by papashango
Mine is on the way as we speak. Should be here today. I intend to send the info to EC about my mods and elevation. At what point do I do that so that my tune can be custom to my needs? Also, can I use a Macbook or do I need a PC?
Thanks!
You will need a PC or software to let your Mac run windows programs.
How long does it take to upload the tune to the vehicle?
When I was uploading tunes on a BMW using a handheld device, it would take 30 minutes and interrupting the process with any action (start the car, open doors or windows, etc) could potentially brick the ECU.
Also, if you have it installed now post your thoughts about it and how it has changed your car/if at all.
I just installed mine last week and put about 1000-1500 miles on it this weekend from Wed-Sun. The car definitely feels more "alive". I personally have never driven a faster car in my life and I can't imagine how any car could be faster.
Cars that were interested in getting a first-hand taste of my new tune this weekend: BMW 335, Lancer Evo, Corvette and a modded Civic SI. Needless to say, it didn't work out too well for any of them.
I am very happy with the tune. However, I wish I would have gotten stock dyno numbers before my ROW/AFE install and EC tune. At this point, I would love to know what the difference is. If I was at 481HP before, I would guess that I am somewhere in the neighborhood of 520-530 now - but who knows.


 04-22-2015, 11:42 PM