When you click on links to various merchants on this site and make a purchase, this can result in this site earning a commission. Affiliate programs and affiliations include, but are not limited to, the eBay Partner Network.
Replace the standard Mercedes star gear shifter emblem with aftermarket AMG emblem
Time:
About 15-30 minutes
~12 hours drying type (per 3M instructions)
Hardware Used:
Heat gun (or hair dryer)
3M double sided adhesives tape
razor blade
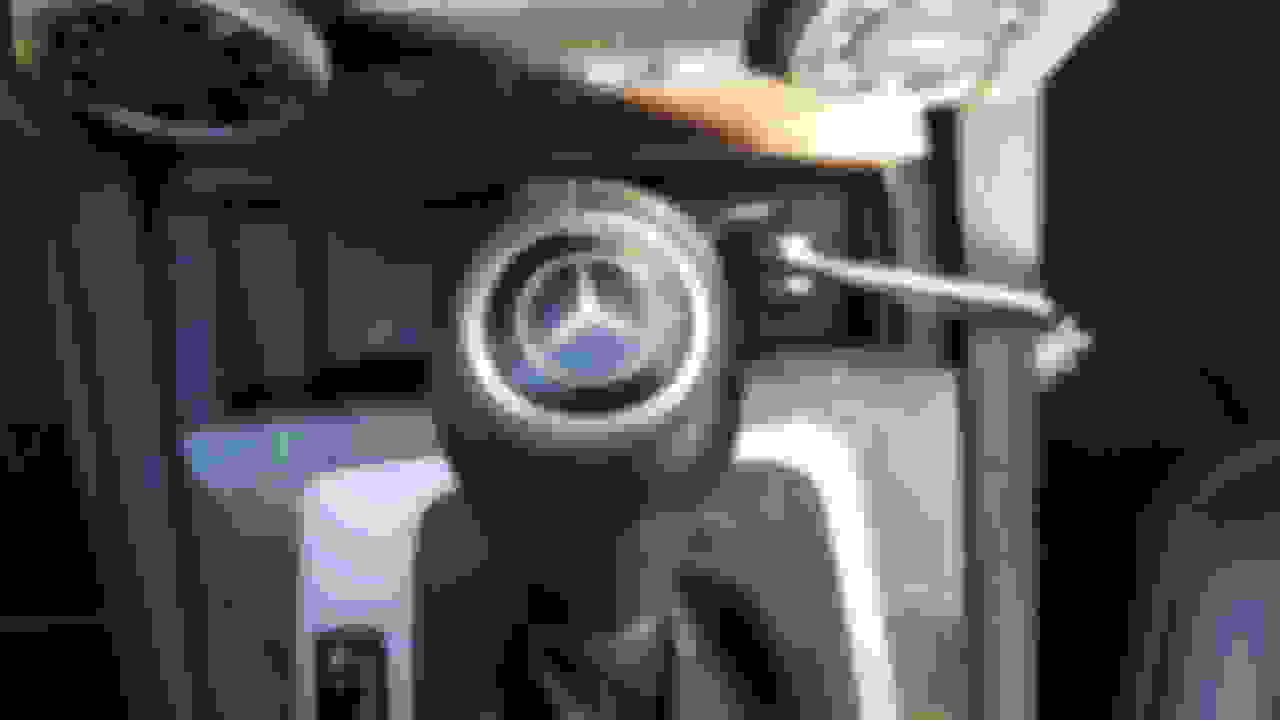
1. Use a heat gun (or hair dryer) to heat up the top of the shifter where the MB star emblem is 'glued/taped' on
2. Check the pliability/adhesiveness of the emblem every 10-15 seconds to avoid burning and destroying the emblem (note, this is not an interchangeable OEM part, it is sold as part of the shifter assy.)
3. Use a razor blade to lift up the emblem once the adhesive is sufficiently heated and pliable and cut it away
4. Use the razor the cut away the remaining adhesive and clean the emblem housing (rubbing alcohol can help if you're having a hard time getting the adhesive off.)
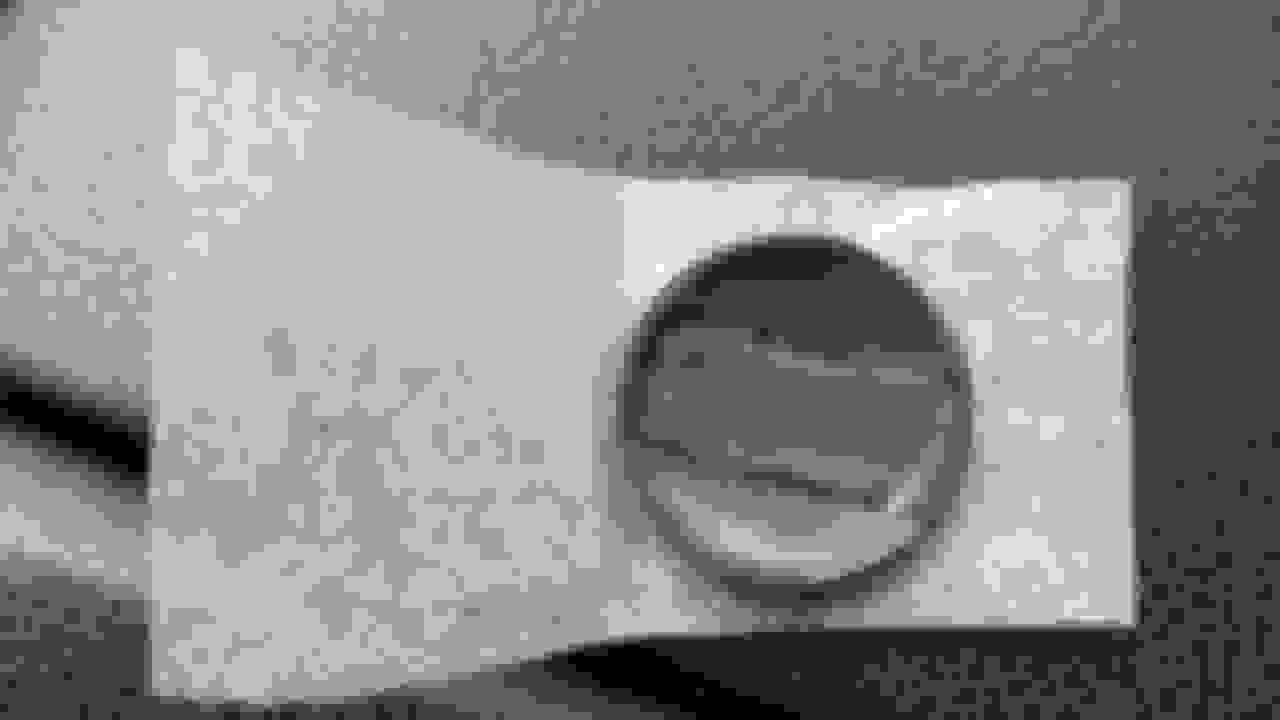
5. Prep the new AMG emblem for mounting in the shifter housing, depending on size of your emblem (if aftermarket or 507 edition.) In my case the emblem's diameter was exactly the same as the housing's diameter so I needed to 'pad' the base of the housing with double sided 3M tape to allow the new emblem to sit flush
6. Use 3M tape to fill the cavity on the back of the new emblem (in my case I had to use 2 layers of tape to get the proper thickness.) The easiest way to do this is the place the emblem on the tape and cut around the emblem with a razor and then push the rest of the tape to fill the cavity of the emblem.
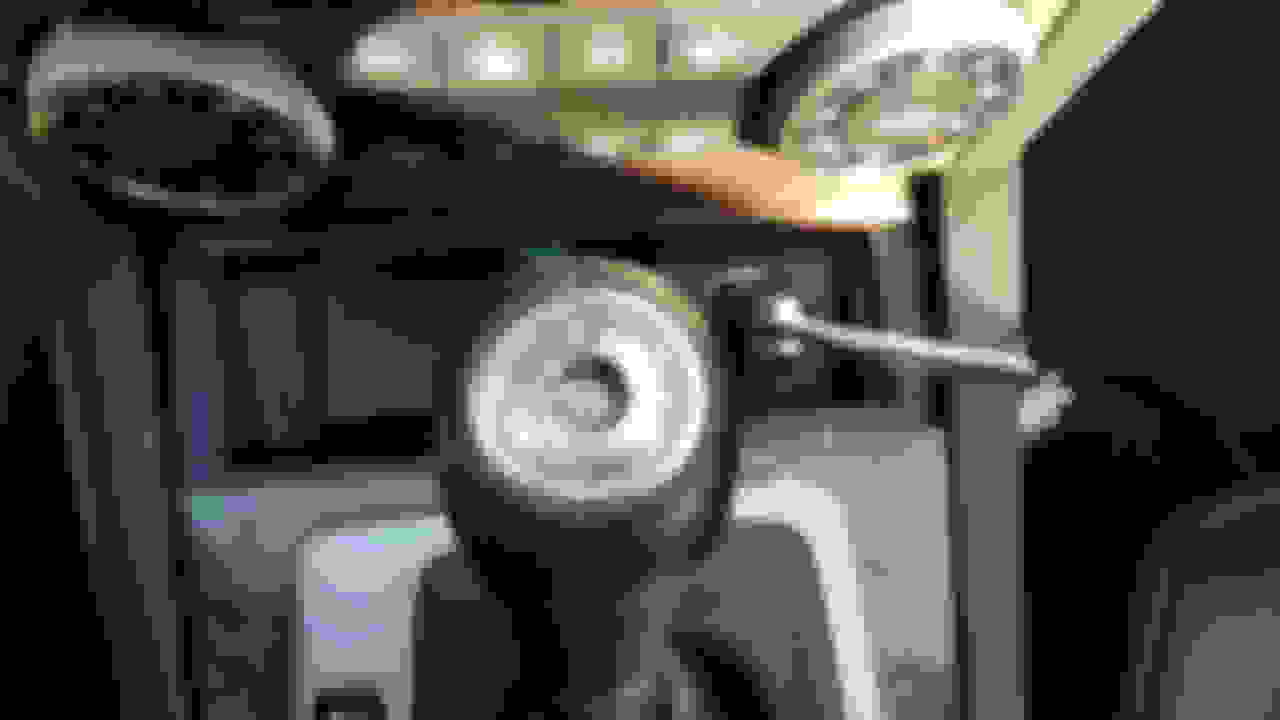
7. With the proper amount of 3M tape on the back of the emblem you're now ready to install it into the shifter. Peel off the adhesive cover and using both hands position it square and centered into the shifter. (The easiest way is to use the stitching on the shifter to line up any lines on the emblem, the last thing you want is to be a few degrees off center and have to repeat step 5.)
As with any adhesive you can stretch maybe +-2 degrees for any fine positioning that you might need within a few minutes of applying it. Once you have the emblem in a position that you want, use your palm to apply light and even pressure to make a flush connection with the shifter.
Give the adhesive a good 12 hours to dry, away from direct sunlight or heat.
(Note, in some cases you might have some adhesive (1mm-2mm) squeeze its way out of the shifter housing when you press the emblem into place. There shouldn't be much, but you can use the razor to just cut it away or push it back in.)
Mercedes SLR McLaren 722 S Is Extremely Rare Example Modified by McLaren
Slideshow: A one-of-one U.S.-spec Mercedes-Benz SLR McLaren Roadster became even rarer after a factory-backed transformation at McLaren's headquarters.