When you click on links to various merchants on this site and make a purchase, this can result in this site earning a commission. Affiliate programs and affiliations include, but are not limited to, the eBay Partner Network.
OK so following in others' footsteps, I've been interested in sway bars for my P30. As it turned out, last week I discovered Eibach was clearancing their C300 28mm bars and likely discontinued. Research showed that this was an easy DIY and people said "no problem" with the install. Well, I'm a novice and I'm here to tell you if you don't crawl under your car a lot, and don't have tiny Trump hands, then it can be time-consuming and a bit tricky as all the bolts we'll be removing have corresponding nuts up above on top so lots of reaching in and through stuff is required, along with precise blind hand control. For anyone that's done their own headers, this probably seems like child's play. But if you're new, just getting into the AMG, and wanted to add the Eibach bar without paying for install, maybe this thread will help. See my earlier "PSA Eibach on sale" thread for more background. This DIY from Pelican covers most of it but for a C300 and that doesn't involve the steering rack drop like our C63s do.
Tools:
Obvious stuff like Floor Jack and stands or lift or whatever.
8mm socket for removing both undertrays.
T40 Torx for disconnecting lower end links.
18mm socket and ratchet and also another 18mm wrench in spanner form in variety of widths, lengths to fit up above steering rack tray.
13mm socket for sway bar bracket nuts
E12 Torx (aka reverse Torx) for sway bar bracket bolts.
Good quality sharp stepped drill bit for removing the rivets from the brackets.
PB blaster, WD-40 etc.
LOTS of LED lights under there so you can see.
Towels, beer, etc.
1. Jack the car, put it on stands cause you'll prob need your jack again later for supporting the steering rack.
2. Get under there with your 8mm socket (I like an electric wrench/nut driver to zip them off). Set them in a magnetic work bowl and put undertrays aside.
3. Next disonnect the lower sway bar end links. Pelican has a good DIY on this. But, the critical piece here is you need to insert a T40 torx into the end of the end link bolt to keep it from spinning while you wrench off the 18mm nut. So you'll need an open spanner style 18mm wrench which is good for the lowers or what's called a "pass-through" 18mm socket and wrench (hollow). They are torqued on to about 75 ft.lbs so you will need good leverage or a breaker bar. In my case, I didn't remove the wheels first which somewhat limits accessibility but it can be done.
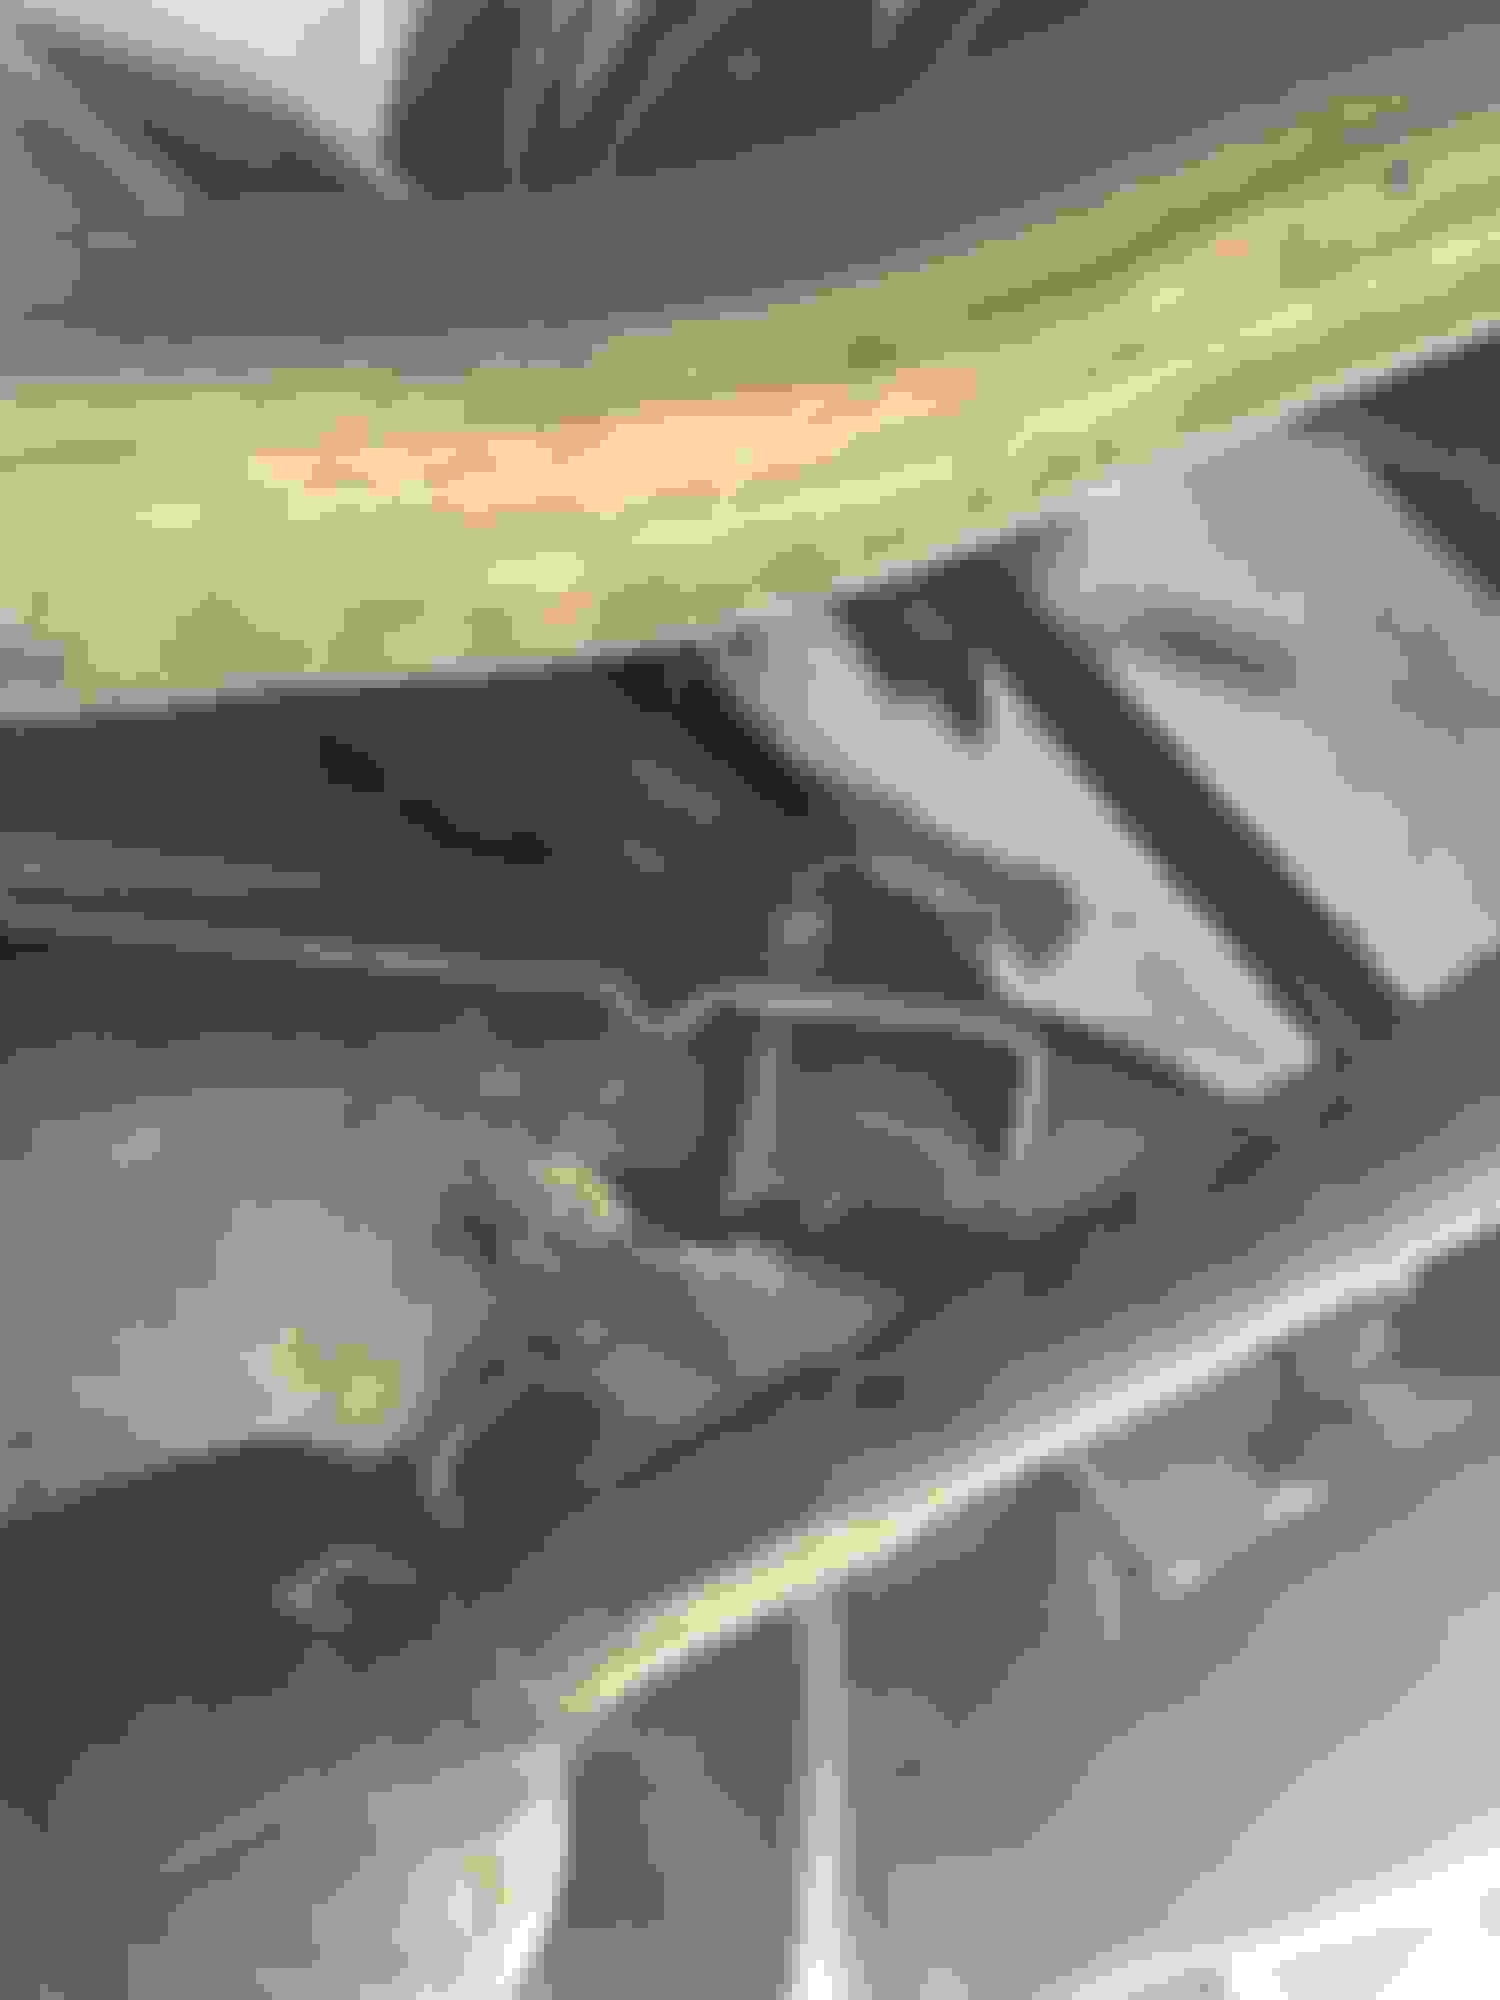
3. Now it's time to drop the steering rack plate pictured here from ESS Engine Mount DIY thread and my own. What you need to know, which I didn't is that removing the plate will drop the steering rack so here's what I recommend. All six bolts are 18mm and 18mm nuts on top. A lower profile socket wrench and short 18mm socket for the nuts works well, and a spanner or big 1/2 drive wrench for the bolts as they are also torqued on really tight and I used a breaker bar...You can see all six bolts in the pic. I'd remove the two bolts on top first, then move down to the one outer bolt on each side at the bottom towards the rear. That will leave the rack connected with the two inner bolts. You really gotta reach up and around and feel around for the nuts to get your wrench on them. Once you do, be ready to support the rack with a nearby jack or whatever is serviceable. Proceed to remove the last two bolts slowly...
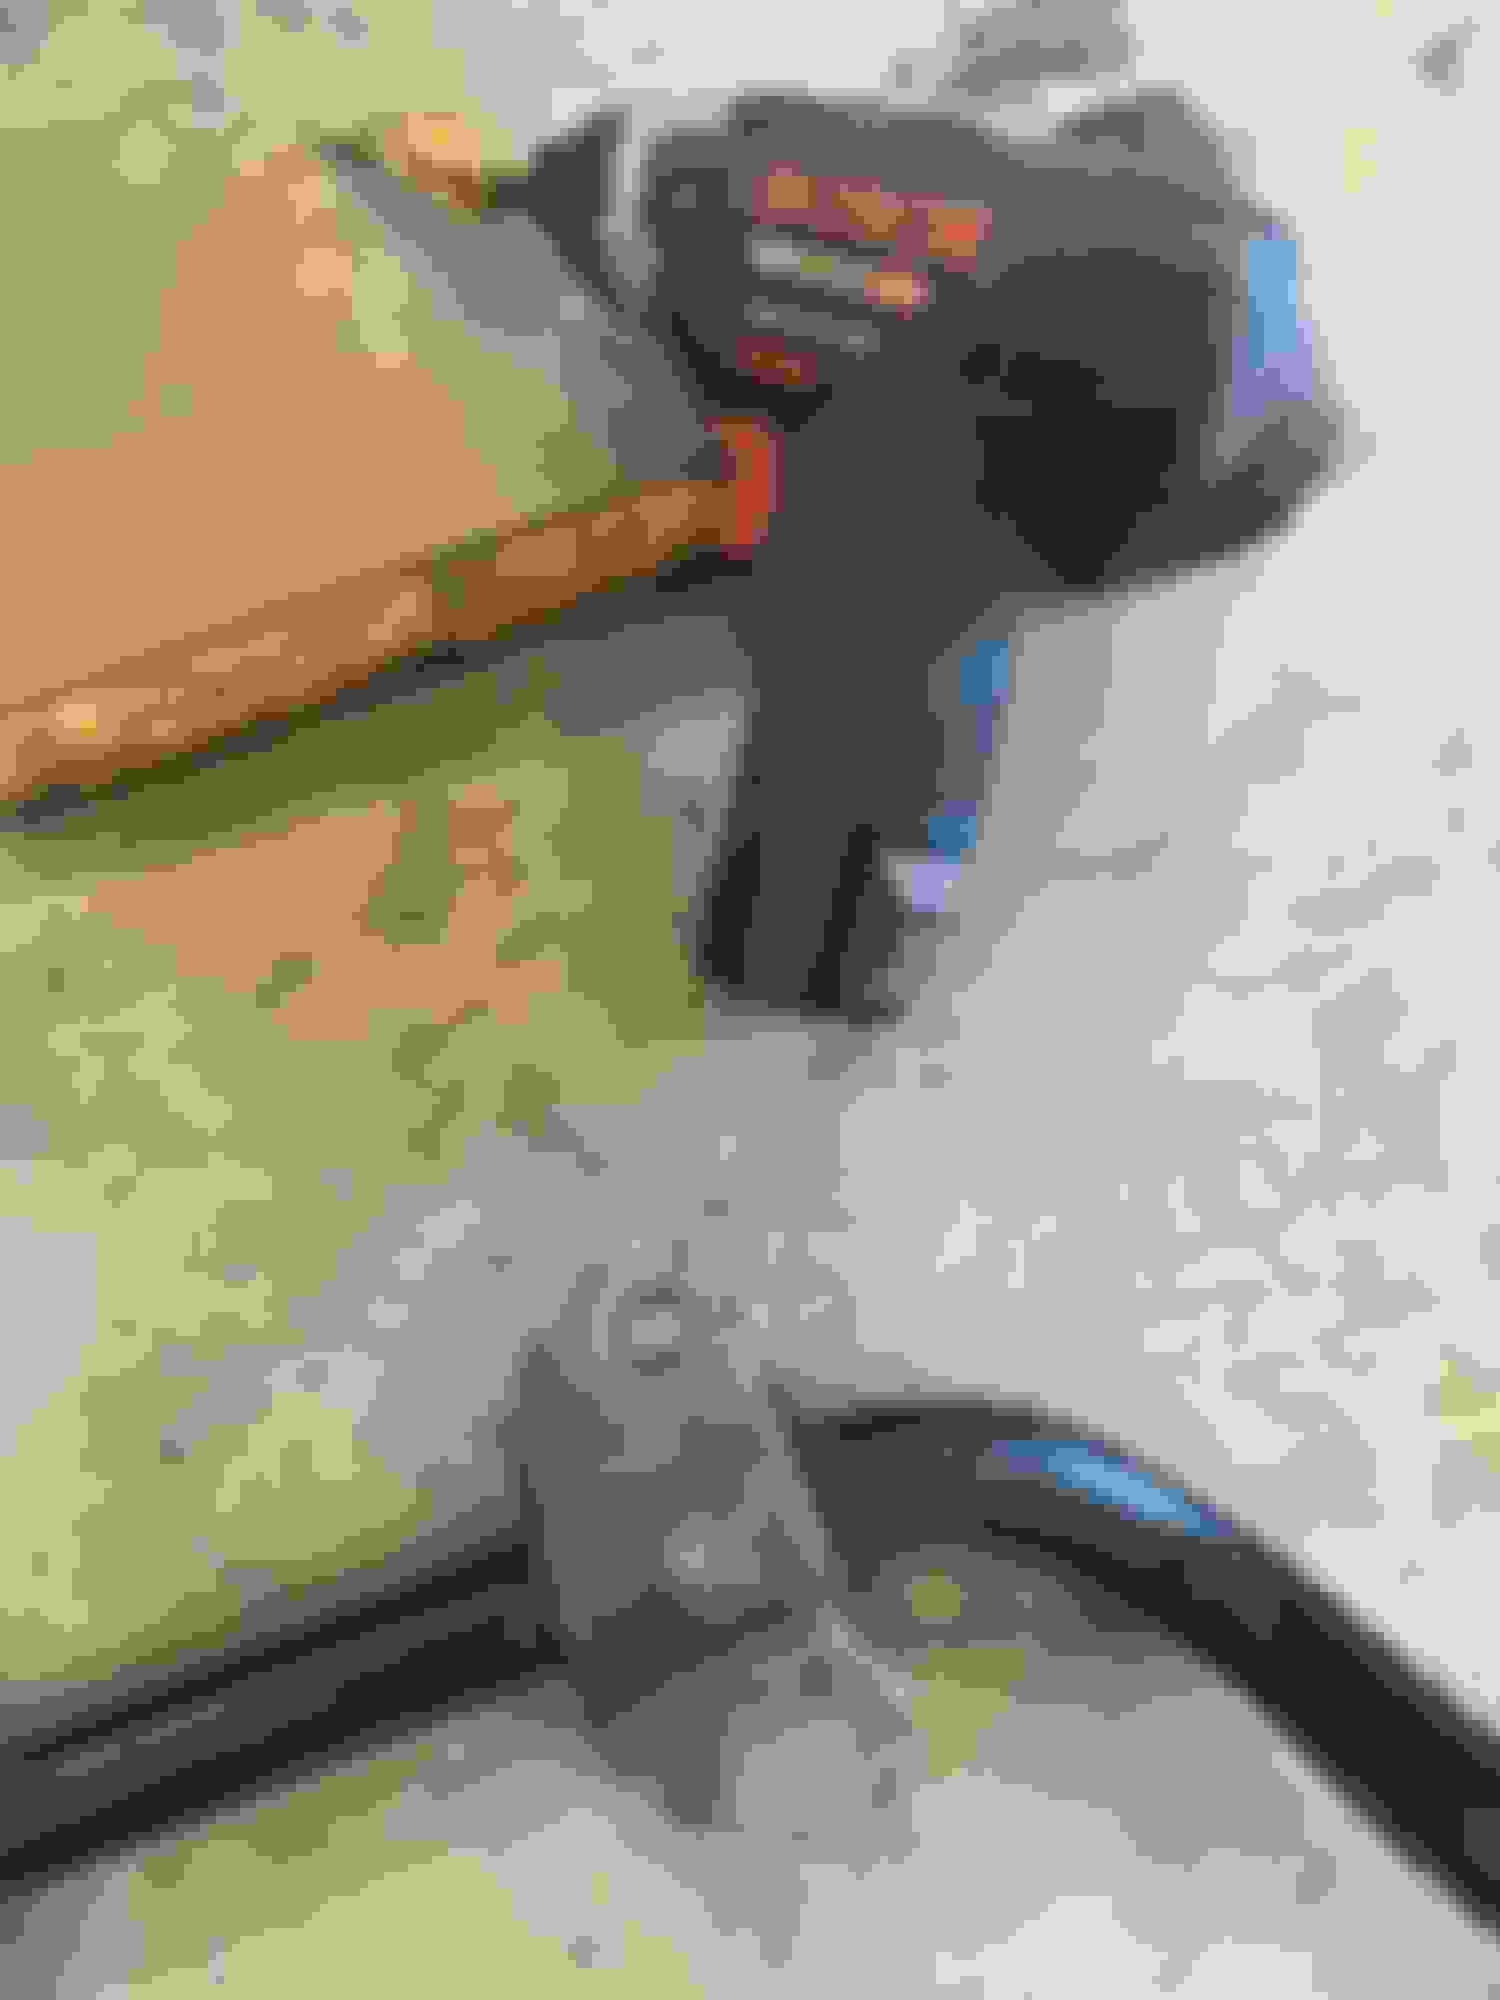
4. With that plate removed and the rack supported, you can now remove the sway bar brackets with the E12 and 13mm wrench. They come off easily. Oh and check to see if you have the following headlight leveler sensor thing. Mine did so it came off with an 8mm socket. Remove the u-bolt and let it hang.
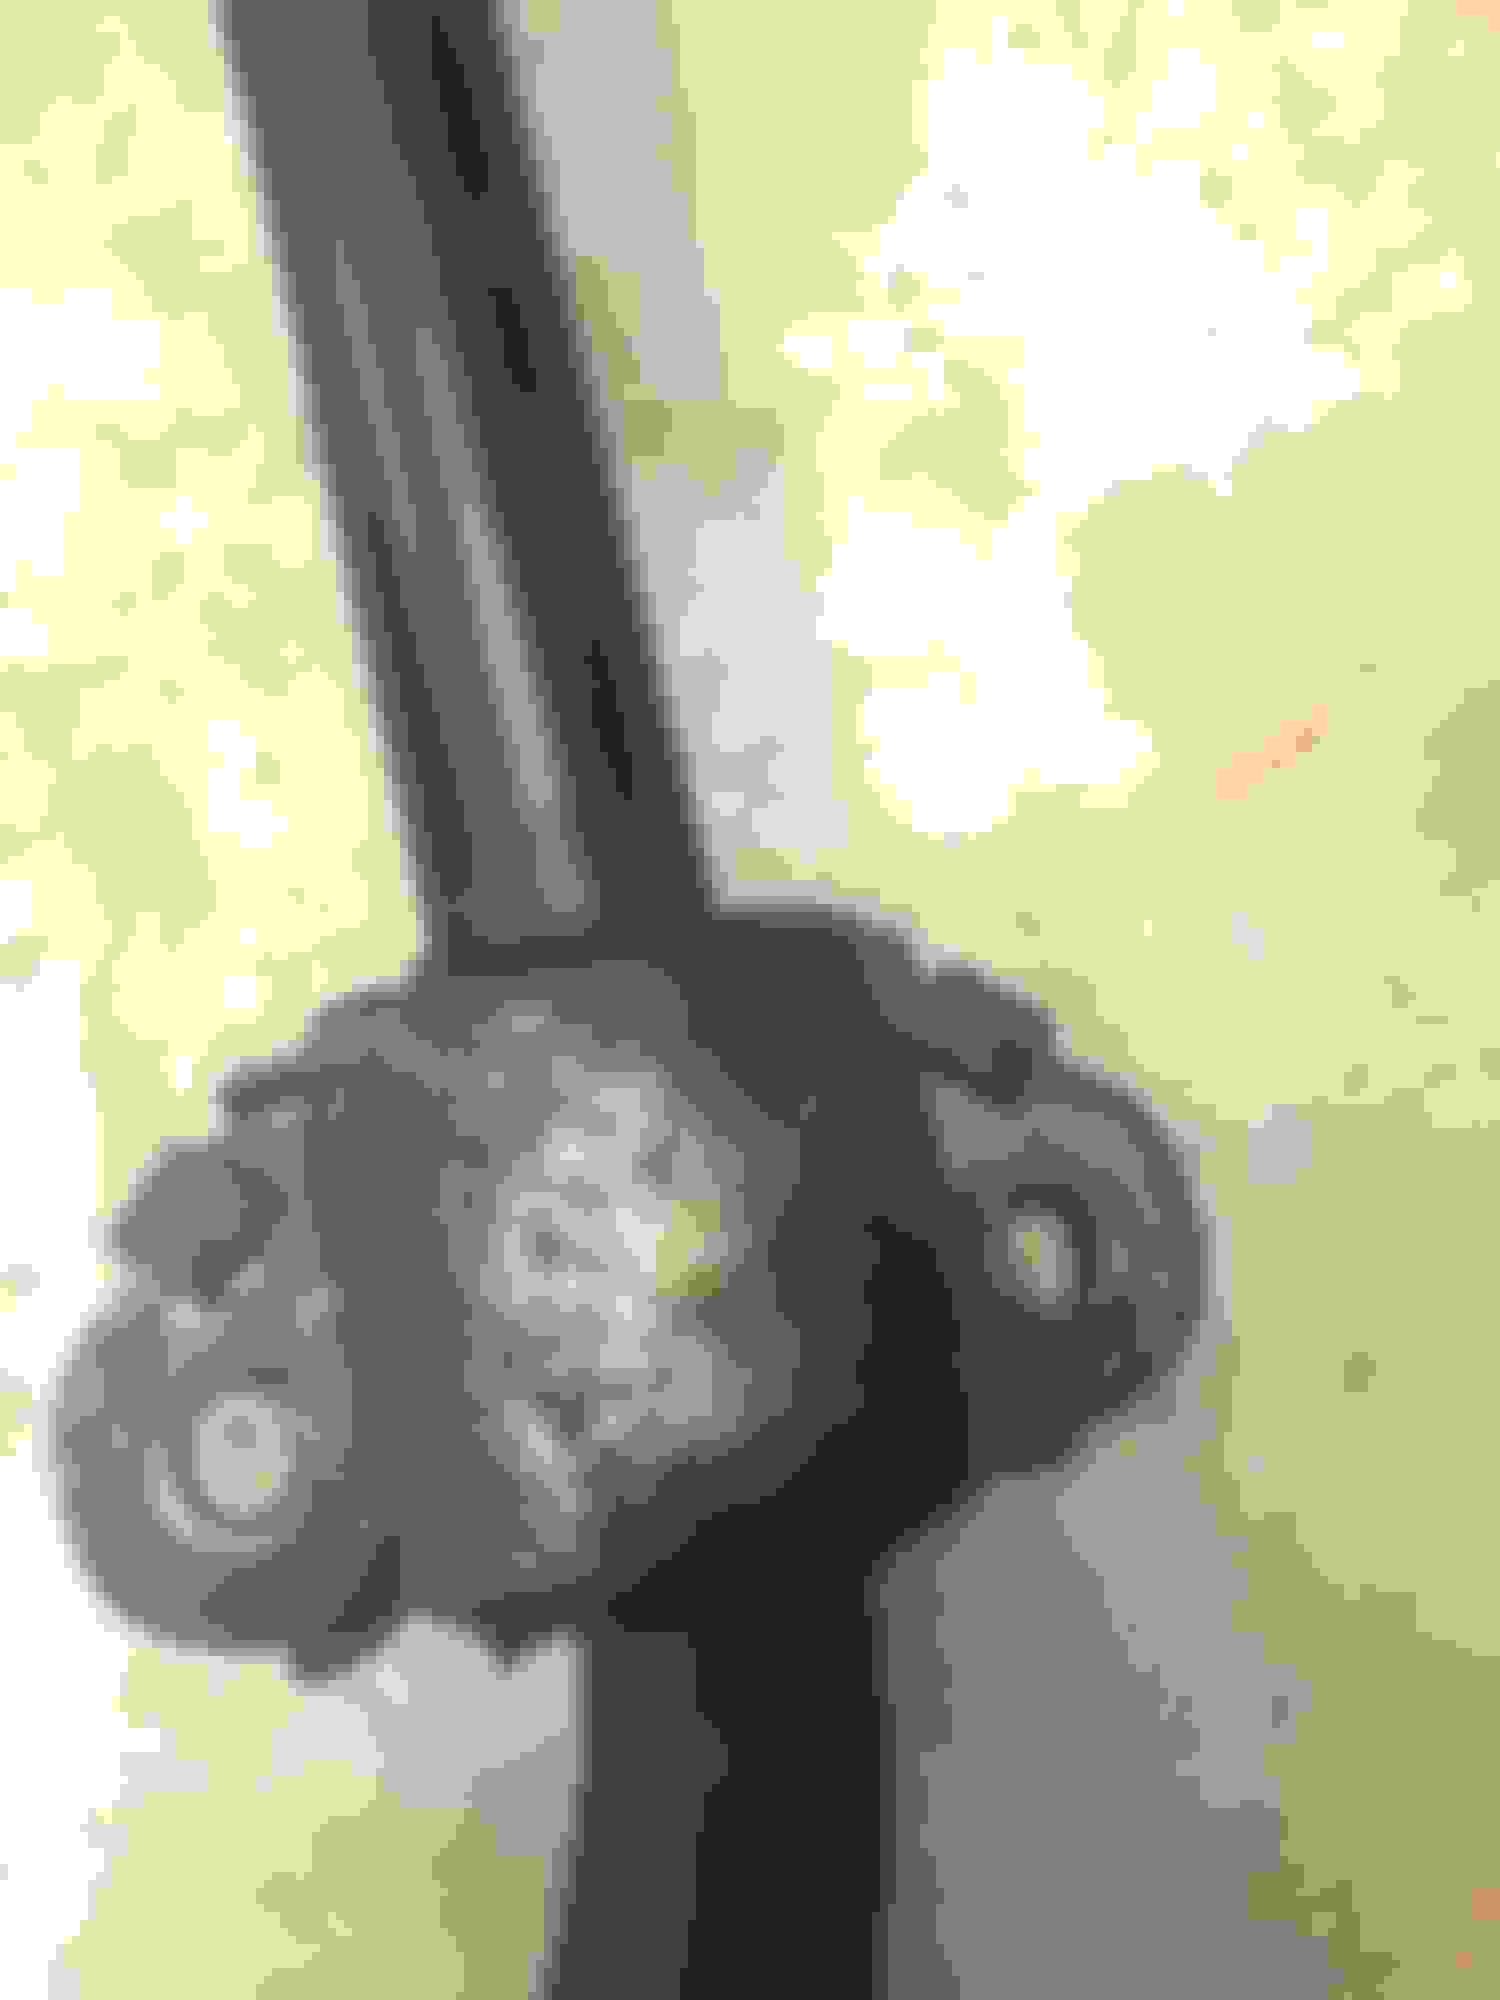
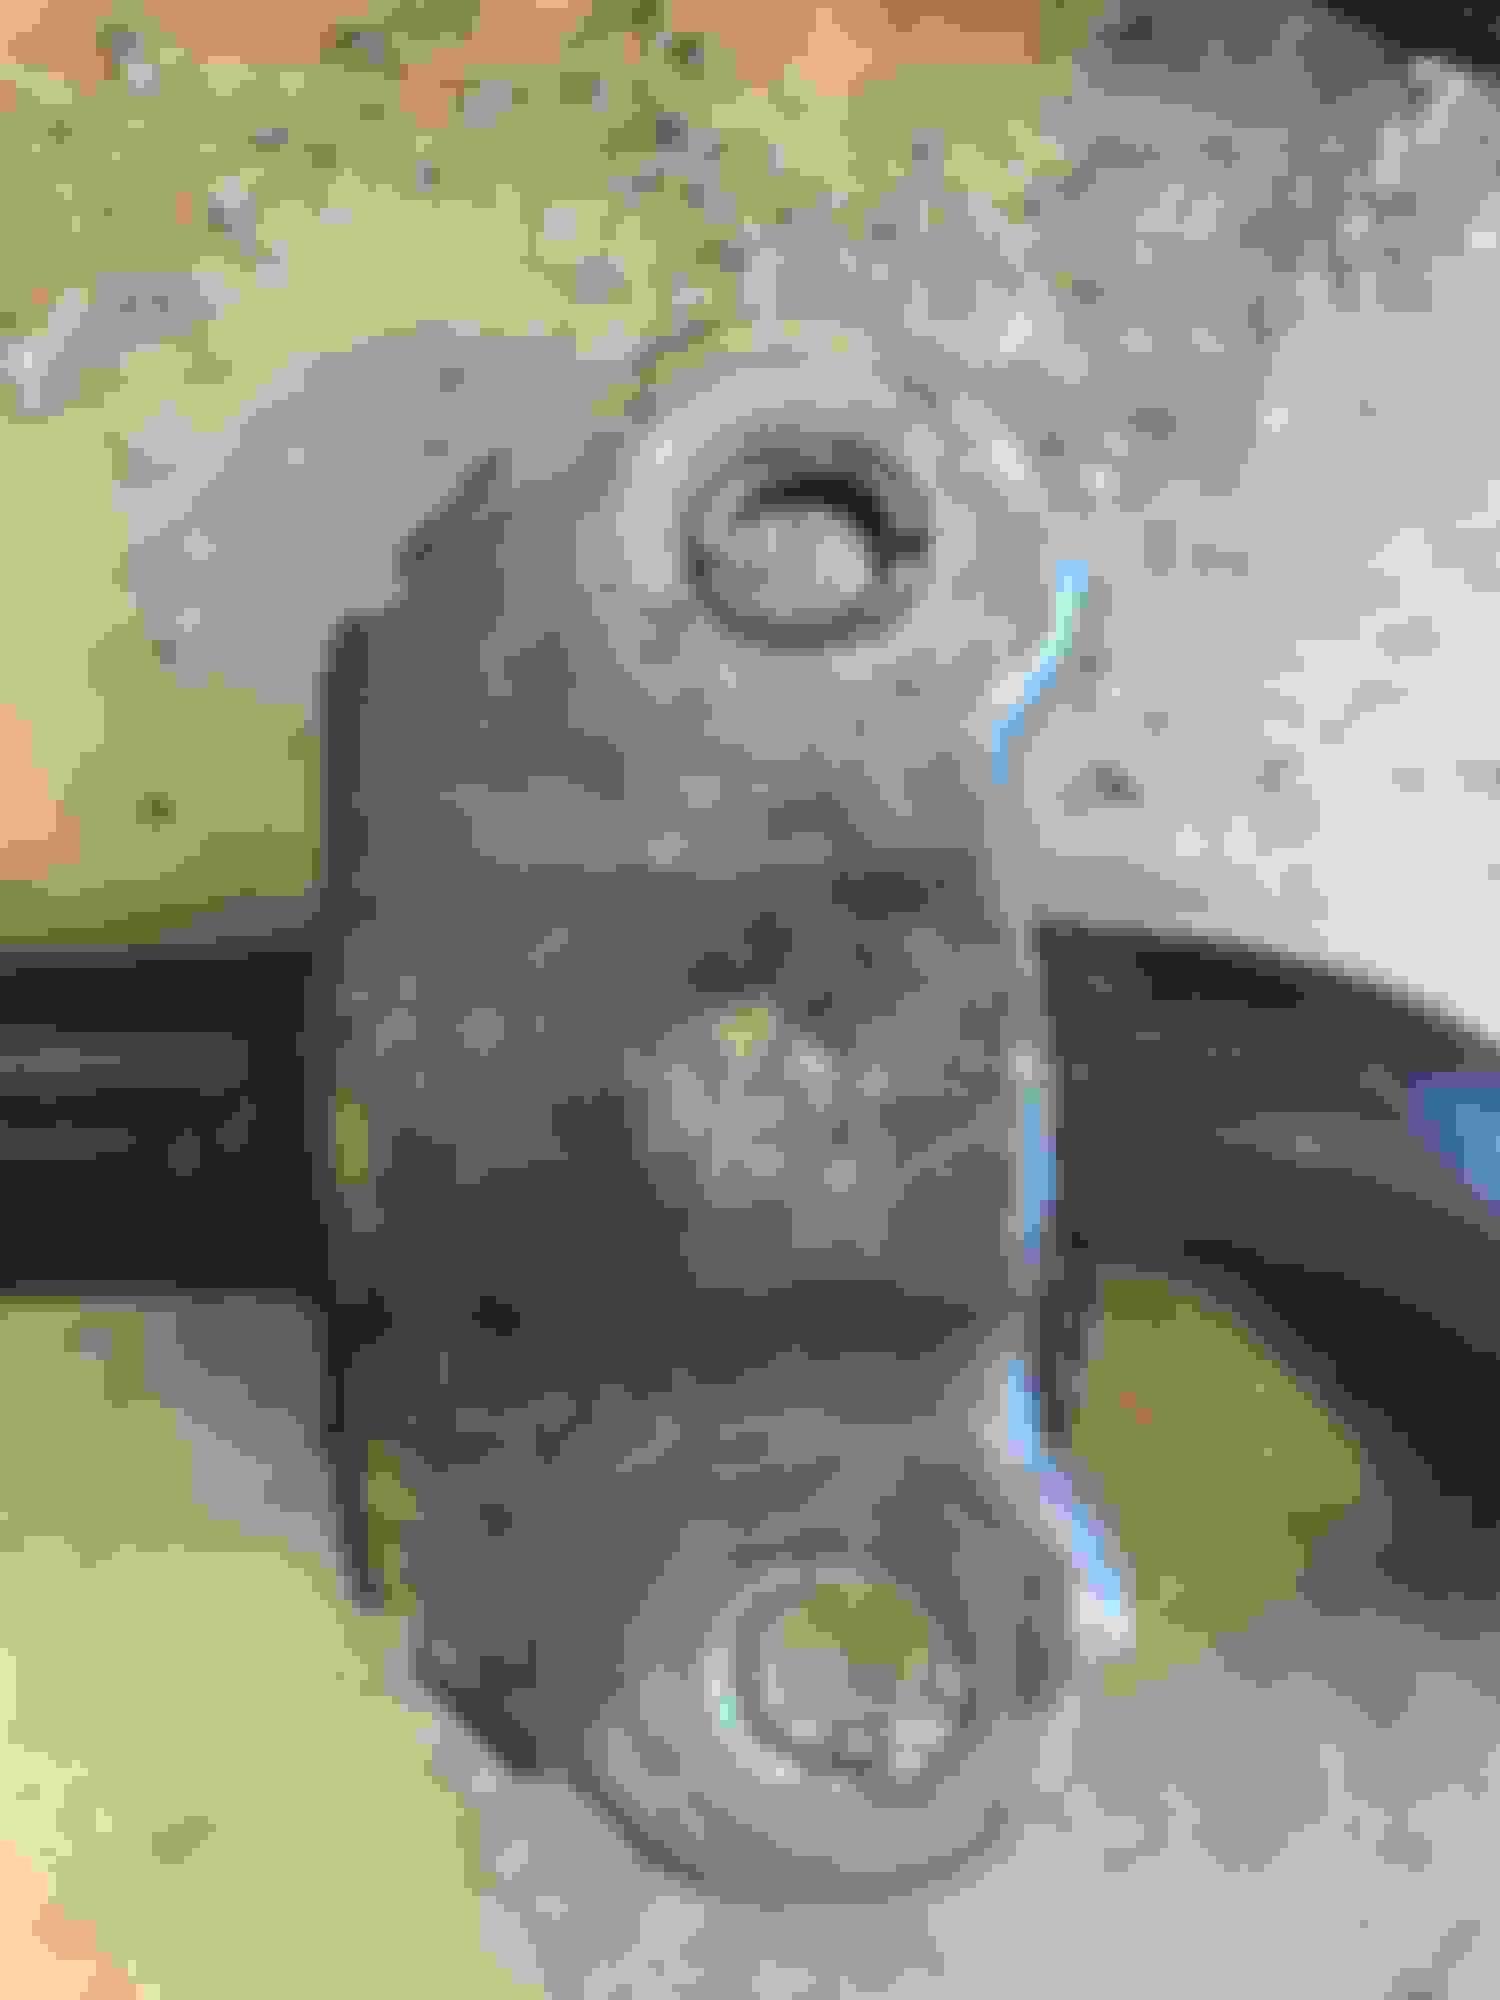
5. Now you can just drop the bar out and take a break...it's drillin' time. You'll find two rubber/metallic "covers" on the tops of each bracket. Snap those off and set aside and clean. Grab a wire brush so you can get a sense of where to drill I drilled where I could see the flanges from the rivets in each of the four locations on the brackets. Drill just enough till it looks like you got it all and then take a large pry tool such as a big ol' flathead screwdriver and see of you can break it apart. If not, drill em a little more. You'll know when you got it all.
From there, keep track of their orientation. After you've got the rivet material out, you'll be able to use a rubber mallet to whack the brackets to get them to slide apart. They are kept together by those two bended "ears" shown in the top photo. Before I figured out what was meant in other discussions by "hollow rivets" I thought I had to cut those tabs to get the brackets apart but that's not the case. After you get them apart, you're just transferring over to the new bar. Got lazy and no pics. But I read somewhere about a trick to use teflon tape and lots of lube on the bar before installing the poly bushings to cut down on creaking. So I did that, then realigned the now two-piece brackets and did my best to squish them back together and then reinstall those snap on covers. It will be a little tough to get them perfectly aligned but you just need to get the ears partially seated and then re-bolting them back on will bring them back together.
6. Re-install new bar in reverse. If you're doing this solo, the trick I used was to get under the car with the bar and then get one endlink in and the bolt started while the other end of the swaybar was supported by anything. Then I switched sides and got the other endlink started so the bar could hang. With the bar supported, get those brackets lined up and bolted on. Torque to spec which is 30 ft.lbs I believe.
7. Back to the swaybar endlinks. You already may have started the nuts. Get them on using the same procedure with the t40 torx and torque em down harrrd.
8. Now the bar is technically done! But you gotta get the steering rack back together. This part alone took me one full hour just to get the rack oriented and all six bolts in and torqued. I was alone doing it so it was tricky but start to raise the rack so you can see how to align the holes in the rack with the two corresponding holes in the subframe. You can then use the bolts like alignment pins and just manipulate the rack into the aligned position so the bolts will go all the way up. It took me a lot of messing with it and I think the rack had to be sort of tilted at an angle to get em lined up. I think I got one or two bolts started that were easy to reach as well. Then got all the bolts and nuts on using my hand, and made sure everything was aligned and bolts and nuts weren't cross-threaded.
9. Ok you did it. You're sore, your wife is mad at you, but hey the C63 got a new piece of hardware and it didn't cost too much. Put those undertrays back on and enjoy!
Mercedes SLR McLaren 722 S Is Extremely Rare Example Modified by McLaren
Slideshow: A one-of-one U.S.-spec Mercedes-Benz SLR McLaren Roadster became even rarer after a factory-backed transformation at McLaren's headquarters.