When you click on links to various merchants on this site and make a purchase, this can result in this site earning a commission. Affiliate programs and affiliations include, but are not limited to, the eBay Partner Network.
DIY: Carbon Rear Diffuser Install on Facelift Sedan
So I bought a carbon rear diffuser for my 2012 Facelift sedan. I looked everywhere online, from several forums, to Youtube to Facebook, and never really found much that covered the installation procedure for a Facelift model. Also, I went with one of the Chinese diffusers with the metal bendy tabs (this one is the JBSpeed diffuser), which adds a different layer of complexity, but in some ways might actually be easier to install. I'm not going to go into everything, but suffice to say that removing the bumper is required if you want to make your life easy. It's actually a piece of cake, and you can find tons of guide online.
Basically you do this:
-Open the trunk and remove the rear plastic trim by loosening some plastic nuts near the spare tire well, and pry it straight up with a panel removal tool.
-Then there are 2 10mm nuts that bolt the bumper to the chassis. They are on these super long guide studs, and you will need a very deep 10mm socekt for this. I actually had to buy a specialty ultra deep socket for this. You can see the guide studs on the bumper in the second picture. TIP: after removing these two nuts, put them back on by just a couple threads. This way when you pull the bumper off, they'll actually catch as the bumper clips release so you don't drop the bumper on the floor.
-Next, go under the car and remove 2 10mm bolts that connect the diffuser brace to the body. You can see this brace in the second photo.
-There are also 2 T25 Torx screws on each side that hold the bumper to the heat shields. Remove them.
-Move to the wheel wells, and remove two pop-clips on each side that hold the fender liner to the bumper, and remove 1 10mm at the top of the bumper, behind the fender liner that bolts the bumper to the rear fender.
-You're done with all fasteners. Pop each side of the bumper out by pulling it out from the rear fender, then pop each side of the bumper under the taillights straight back. If you followed my tip, this is were the 10mm nuts will keep you and the bumper from flying backwards and to the ground. Now remove each nut and gently place the bumper on something soft like a blanket.
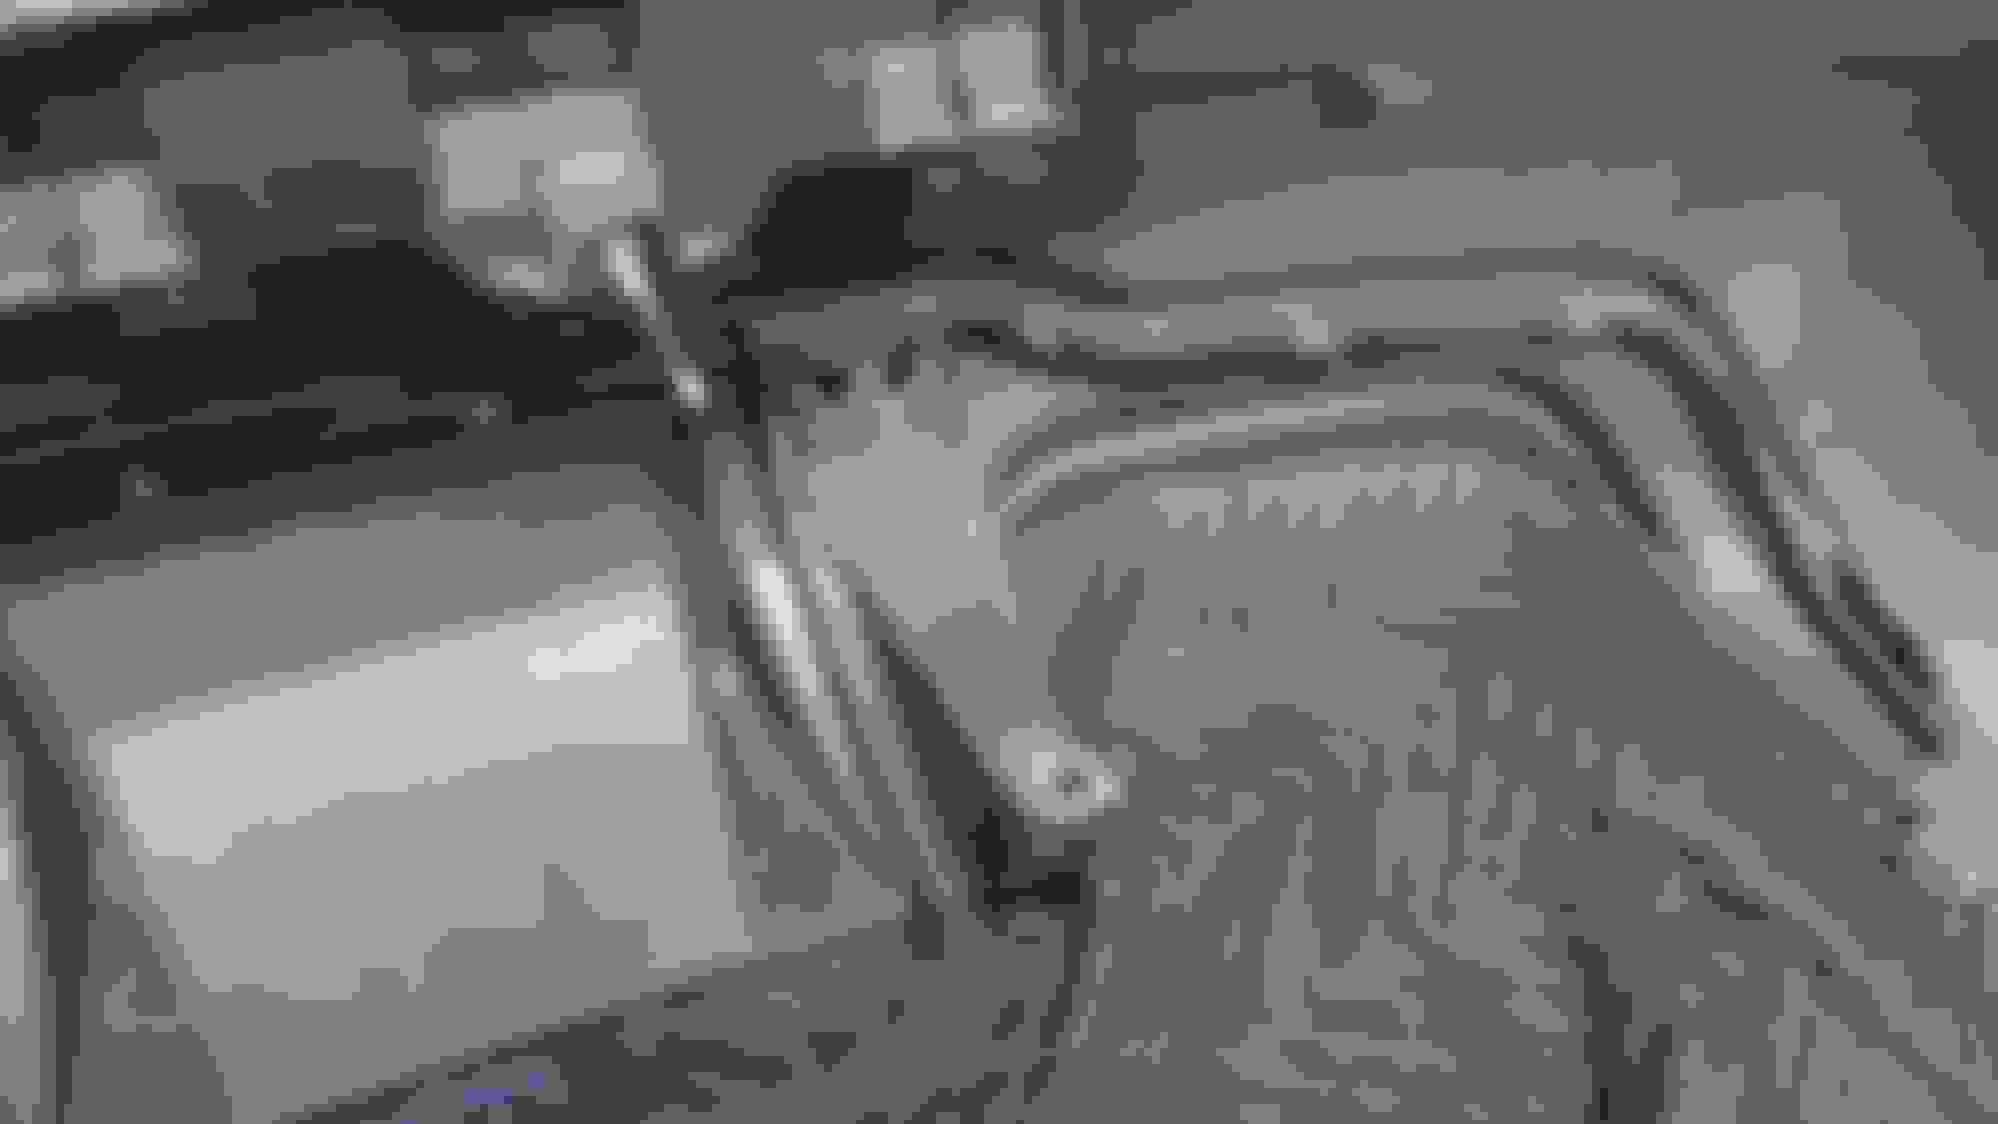
Here is the bumper removed:
Here is a close up of one of the diffuser brackets. Notice how its clipped at both the top an bottom. Gently pry the clips to remove. Easy ****. Also, you can see all the clips holding the diffuser to the bumper. I just unclipped them one by one using a plastic panel removal tool, but do so only after the next step where you drill out 2 rivets.
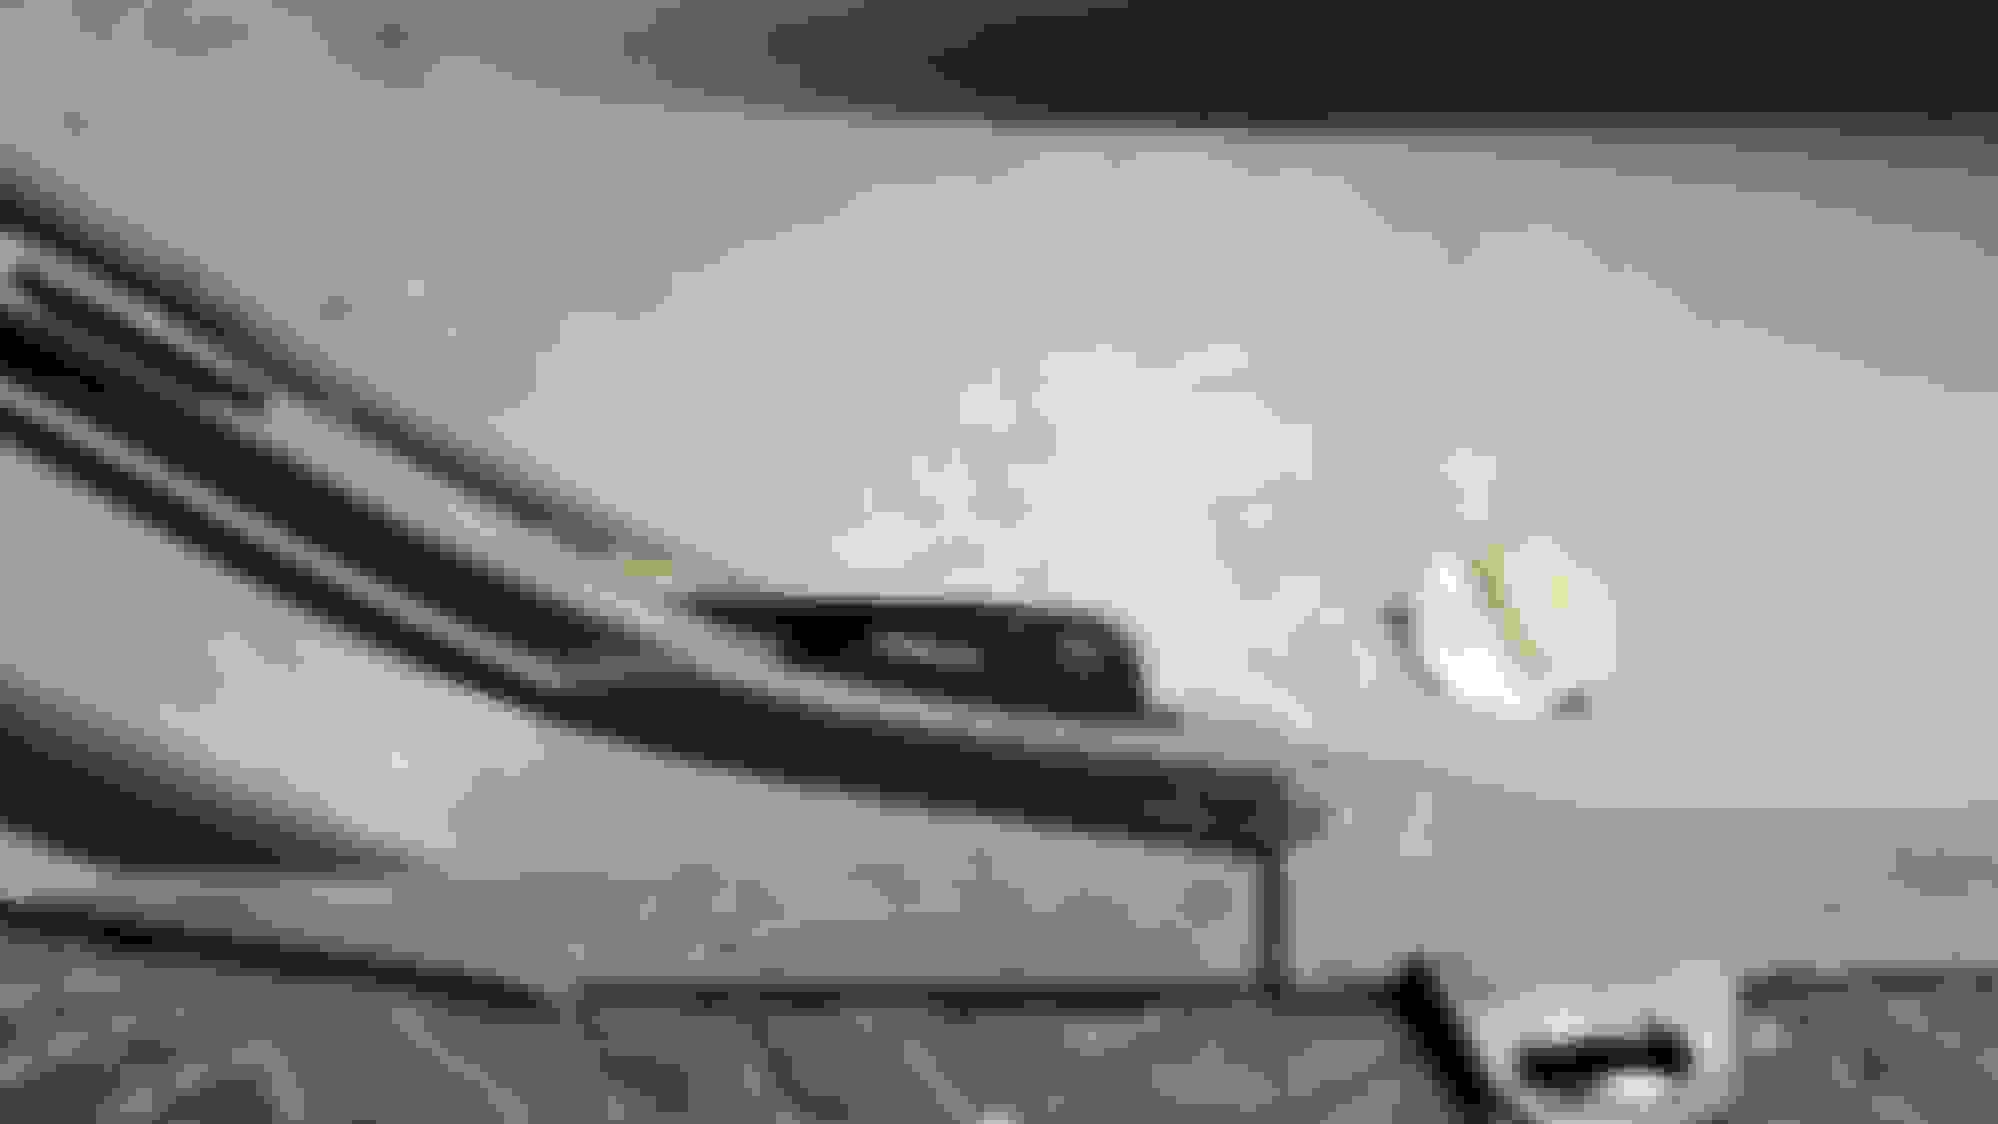
I remember a lot of people mentioning the the Facelift models have a rivet instead of a screw on each side. Well, here its is. Simply drill it out by stepping to progressive larger drill bits. Take your time and let the drill do the work. Don't apply too much pressure and plunge you drill bit straight through your bumper like a dumb ***.
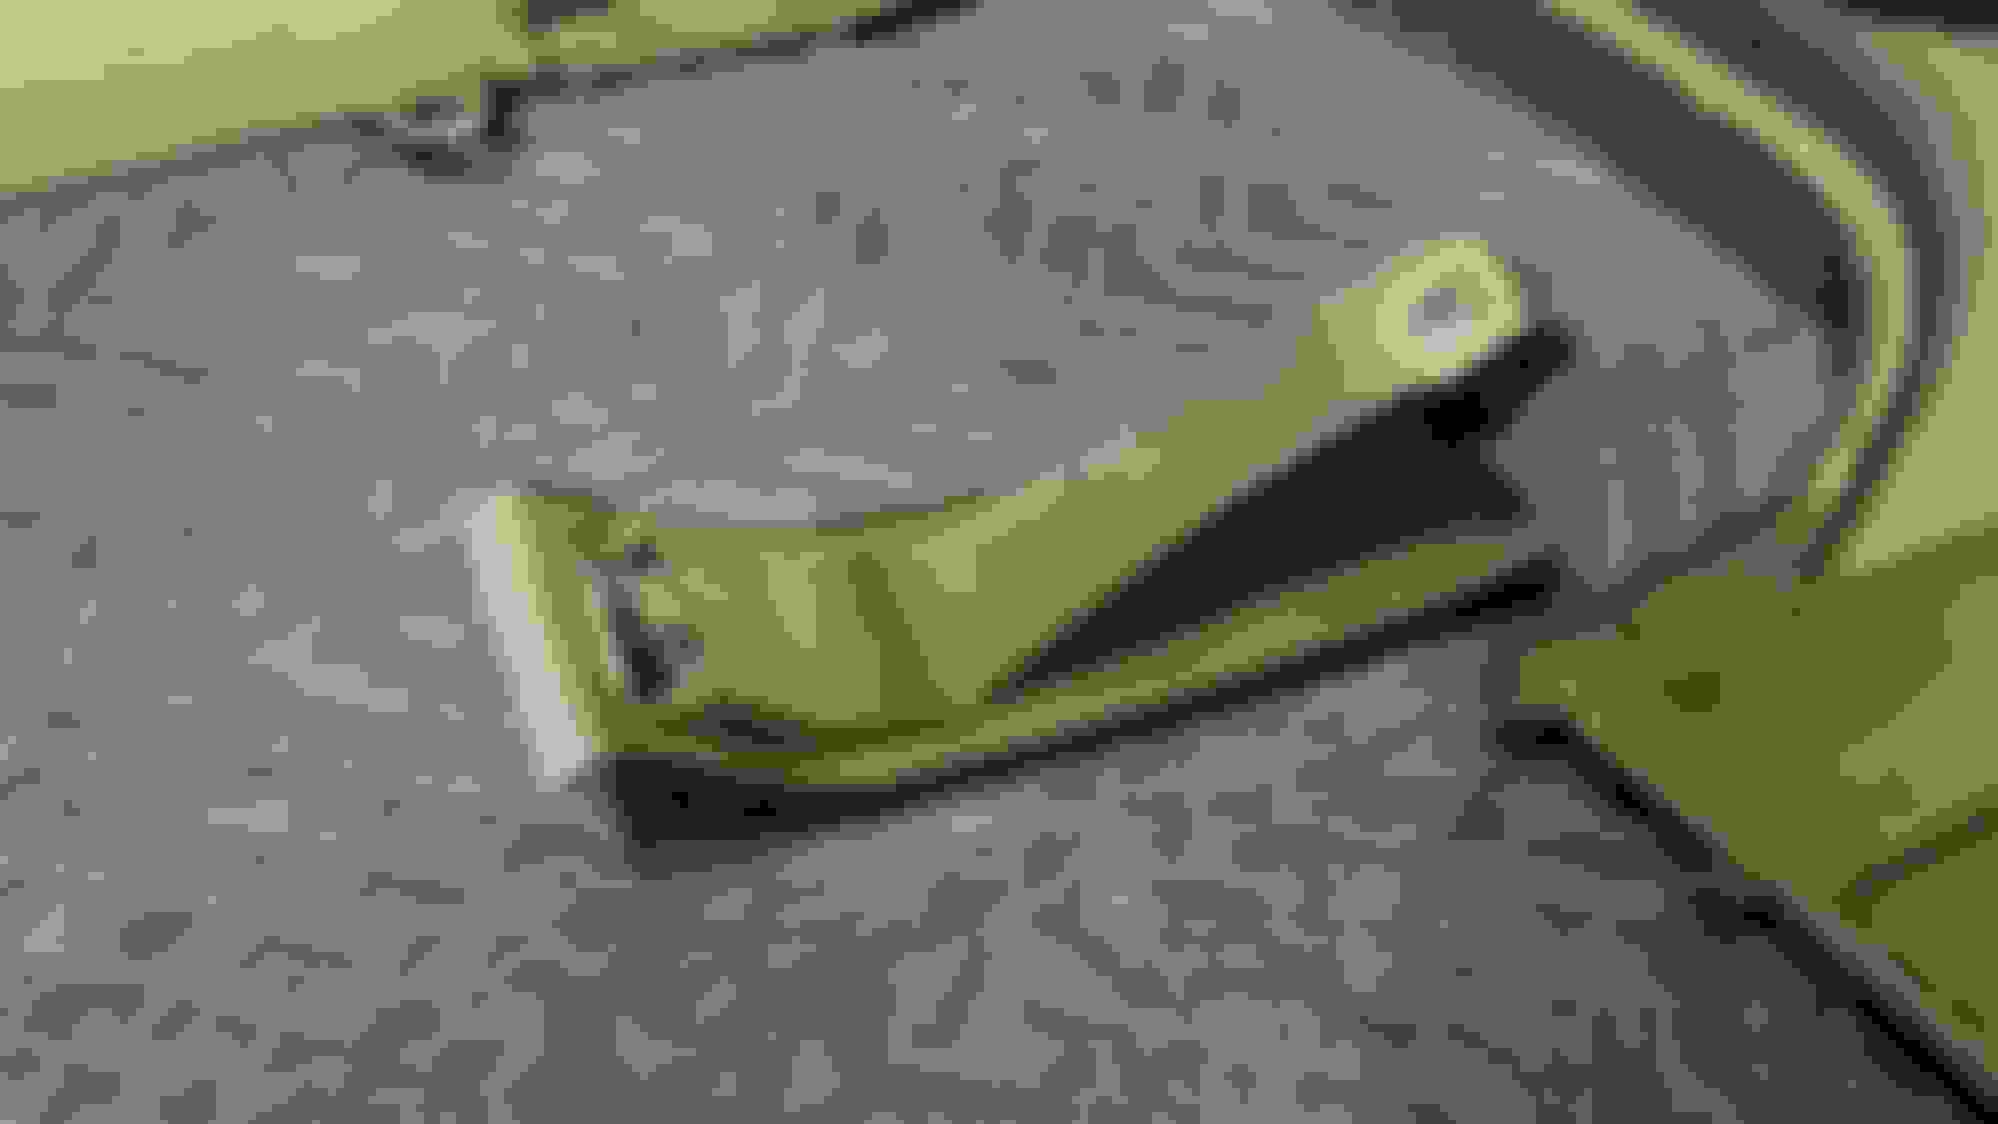
Here is what the removed diffuser bracket looks like.
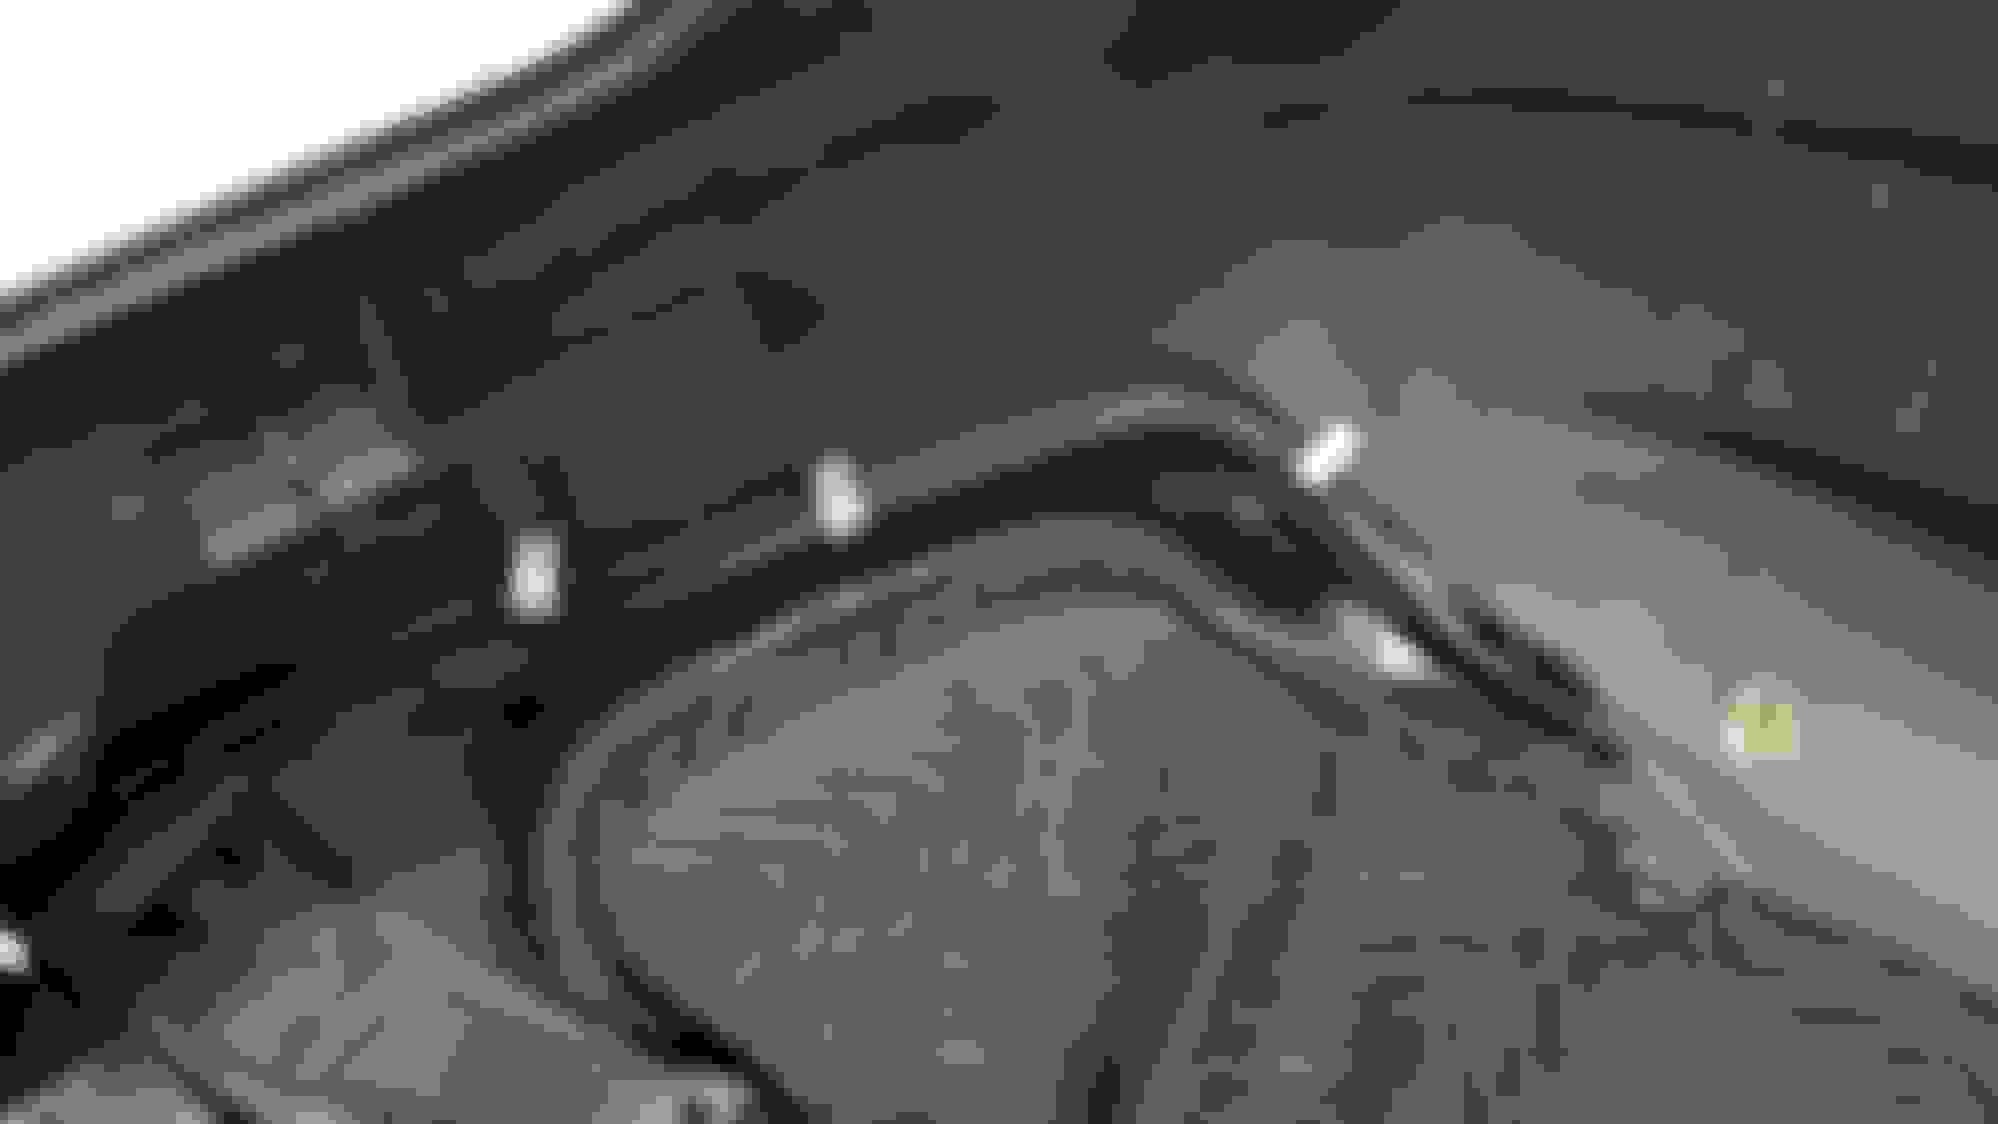
Here is the JBSpeed diffuser assembled to the bumper. You can see the metal tabs that you have to bend to secure them on. Honestly, this might be easier that all the forcing, shaving and trimming I heard others had to do for ones with plastic tabs. This design however has two drawbacks:
1) The tabs are quite thin so they don't fill the thickness of the slots in the bumper. As a result it sags slightly, and doesn't hold as tight up against the upper contour of the bumper. You won't notice this from any normal viewing distance though
2) You have to be super careful when your guiding them into the slots from the outside of the bumper. If you look, they are thin metal, and they didn't even round the corners. There are therefore two sharp edges on each clip, just waiting to gouge your paint if you're not careful. What were they thinking? I got it on fine, but this part had me nervous and I was working very carefully.
Also notice that it doesn't use every slot. Not an issue in and of itself, until we get to the diffuser brackets later.
Well this picture came out like ****. Anyway, you can kind of make out the metal post at the end of the diffuser that engages a hole in the bumper. This should hold it just fine, and I wouldn't worry that there is no place to reattach a screw where the old rivet was.
So here's the bracket. I see this and I'm like WTF? How is this gonna work?
Then I looked at the top, and whaddaya know, this is one of the spots they chose to not include a metal tab. At this point, I figure I have to improvise, as I want the brackets back on, or else this diffuser is gonna be a massive air brake on the highway.
Well, that sorta worked out. It turns out the metal tabs just barely fit through the slot. I can live with that. Note, that I didn't bend it up right away to give me some slack to make adjustments when bolting the bumper back on.
And for the top, what do you do if you have no tabs? Zip ties *****es. I did two on each so I could adjust and center them in the bumper slot.
It ain't pretty, but it's solid and no one will see. Obviously, I trimmed the excess. Repeat on both brackets, the you're ready to reattach the bumper. Just as I did for removal, I loosely attached the bumper, then partially threaded the nuts on the guide studs in the trunk to hold things in place as I realigned and snapped the bumper into place. Make sure that the diffuser brackets are on the right spot on the body before you force the bumper clips back in.
Reattach all the hardware. You can see the diffuser bracket bolted in place, with the metal tab that I did not bend from earlier. This gave me wiggle room to center the bracket in the OEM bolt hole/speed clip.
Once the hardware is tight, go ahead and bend the tab over to lock it in place. Then reattach all the Torx screws, 10mm bolts under the fender, as well as the 4 push pins. Also, tighten the 10mm bolts on the guide studs in the trunk (don't go gorilla tight, it's in plastic) and reattach all the plastics in the trunk.
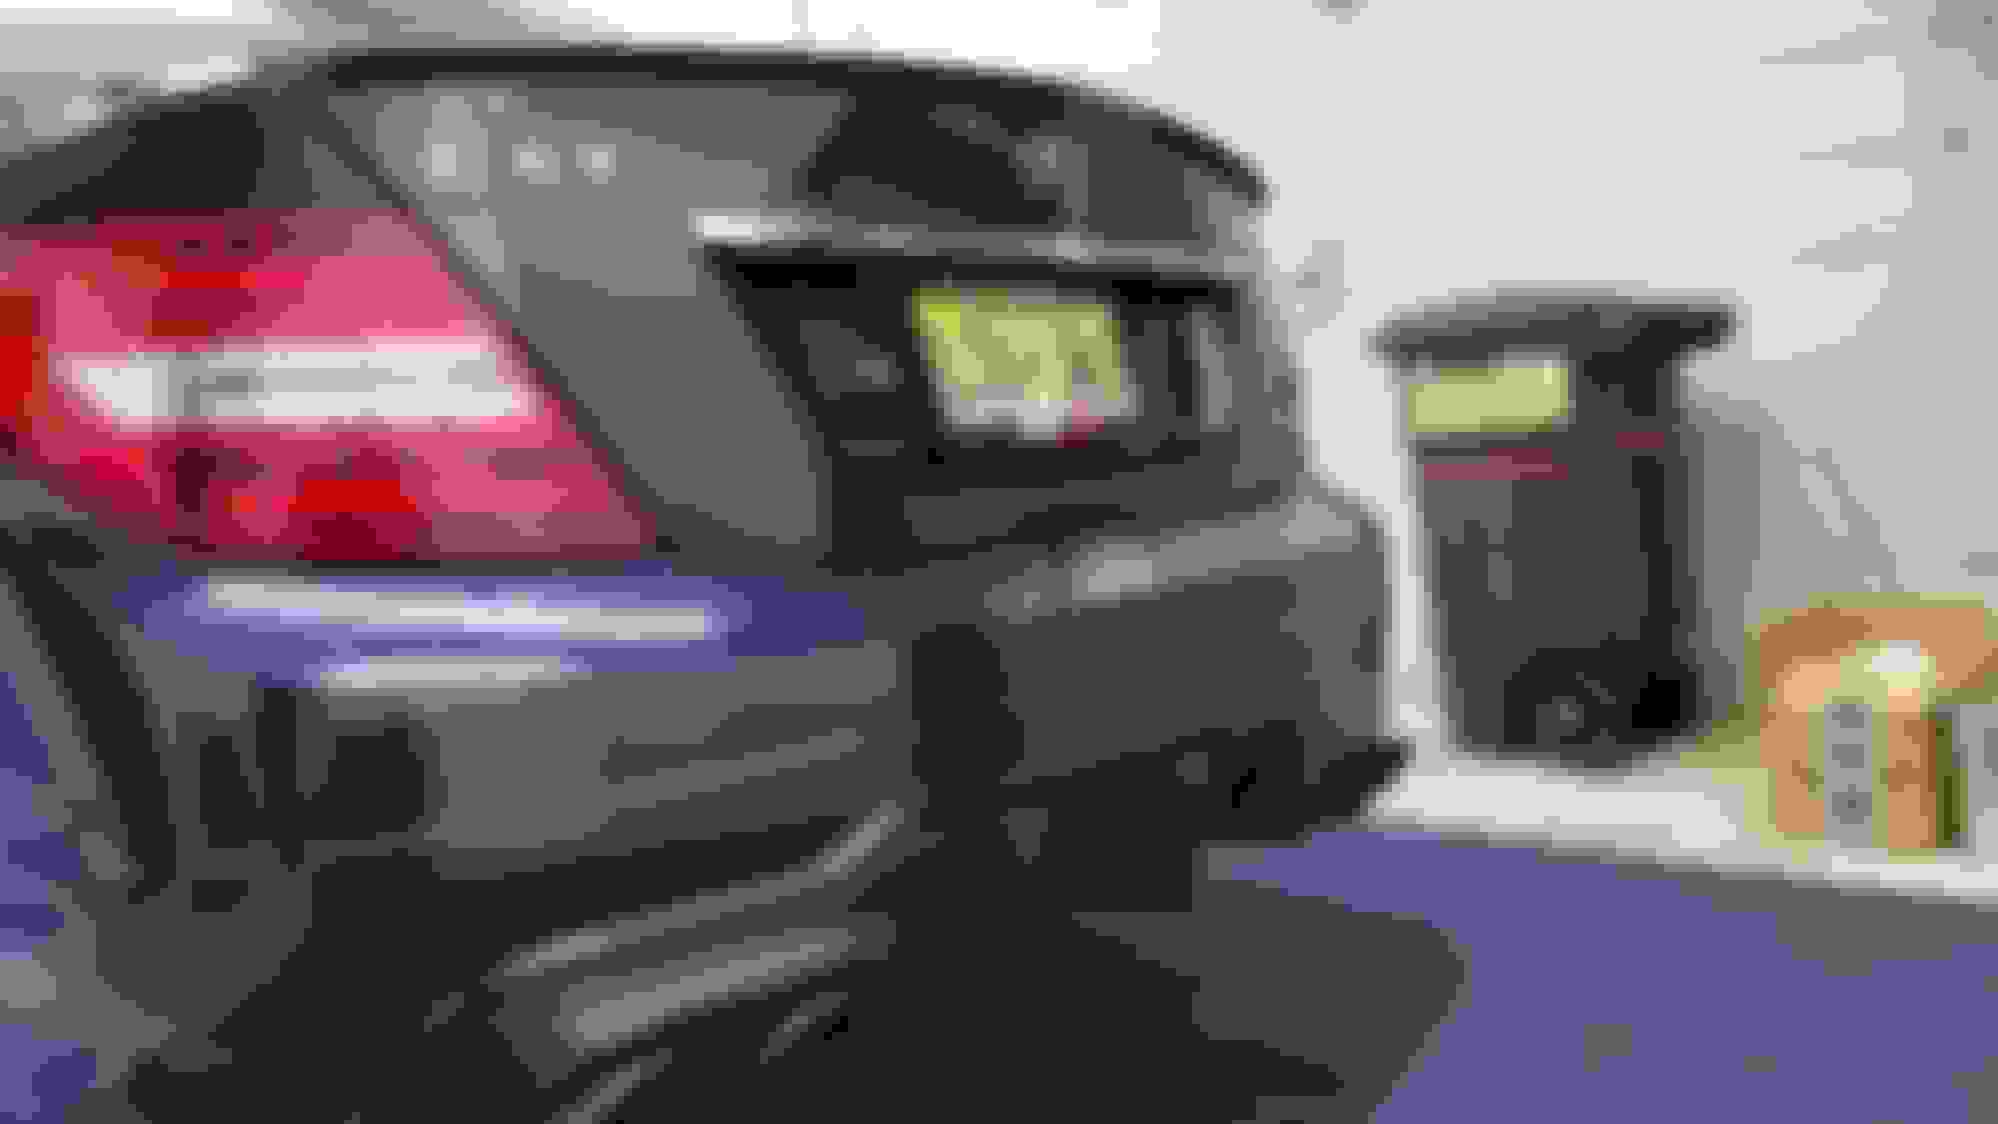
And you're done! The finished product. It took me about 2 hours in total, taking my time.
Thoughts on the final product:
The JBSpeed diffuser is pretty decent, minus the issues I mentioned above which you can work around. Fitment is just ok. It's definitely not OEM, but being a lower trim piece, you'd never notice the gaps without pointing them out. The part also had a little bit of a bow in it, but it mostly sorted itself out once I bolted the diffuser bracket in place. If you follow my suggestions, I think you'll be happy with the final product, and will also have the piece of mind of retaining the OEM brackets for rigidity. The other nice part is that nothing was modified on the car itself, so it's totally reversable. You can even re-rivet the stock diffuser to the bumper if that's you cup of tea.
Hope you guys find this helpful.
Last edited by BalanBro; 03-20-2021 at 02:05 PM.
Reason: Adding text
Great write up. I originally went with the version from another manufacturer without metal tabs and the fit was horrible. Then I went with jbspeed and it fit perfect. I installed mine without taking off the bumper. Same steps but I spent most of the time on my back.
I couldn't imaging doing it without removing the bumper. Maybe I'm just not a good contortionist, lol. I tried one of the hell of it, and I just couldn't get back there because the metal bumper support was blocking access of the front tabs. Bumper removal is so easy on these cars, thankfully. The toughest part is being careful not to damage the paint, both when moving the bumper around and when trying to align the diffuser tabs. The last part in theory would be easier with the bumper still mounted to the car.

 11-01-2019, 11:57 PM