When you click on links to various merchants on this site and make a purchase, this can result in this site earning a commission. Affiliate programs and affiliations include, but are not limited to, the eBay Partner Network.
RDO247 on the instructions on Page 3 there is an overview showing the MAP / Manifold Pressure Sensors hope that helps.
My bad, I haven't played with cars for a few years. I would definitely benefit from detailed step by step instructions. The feedback suggests others are in the same boat.
Right I have done some very basic drawings (don't Laugh) showing rough wiring layout.
once you have read the instructions it will make sense as to what sensors they are running to.
Im all installed, finished work and got straight into it.
Took me an hour and a half, ran and hid all wiring along the factory harness and inside factory harness casing where I could.
Tomorrow I will need to tidy up the excess wiring from engine to piggy back and find a more suitable place to mount it as I'm not happy with where it is atm (recommended position behind right side headlight - RHD).
First impression...
WOW!!!
Best AU$1300 I've ever spent.
Time to book a dyno run...
And better warn the wife.
For a discreet install I would mount it in the tray by the power connection.
Enjoy
I did want to mount under the tray, however on the RHD there's no space to mount it in this area. (LHD plenty of room)
In the recommended position the piggy back doesn't quite tuck away out of view.
There is a spot that it could sit it in a vertical position under the right cold air intake which I will try but may have to protect the harness plug wires as water may potentially sit in the wire holes.
Today I will finish of the by remounting the piggy back, hiding the excess harness & better hiding the ground and power wire.
I hope some of this info helps those are attempting self installing into a RHD C63S. (1.5 hours)
Lastly, if installed well you will never want to remove this from the car as the MAP & boost sensors were a pain to get to.
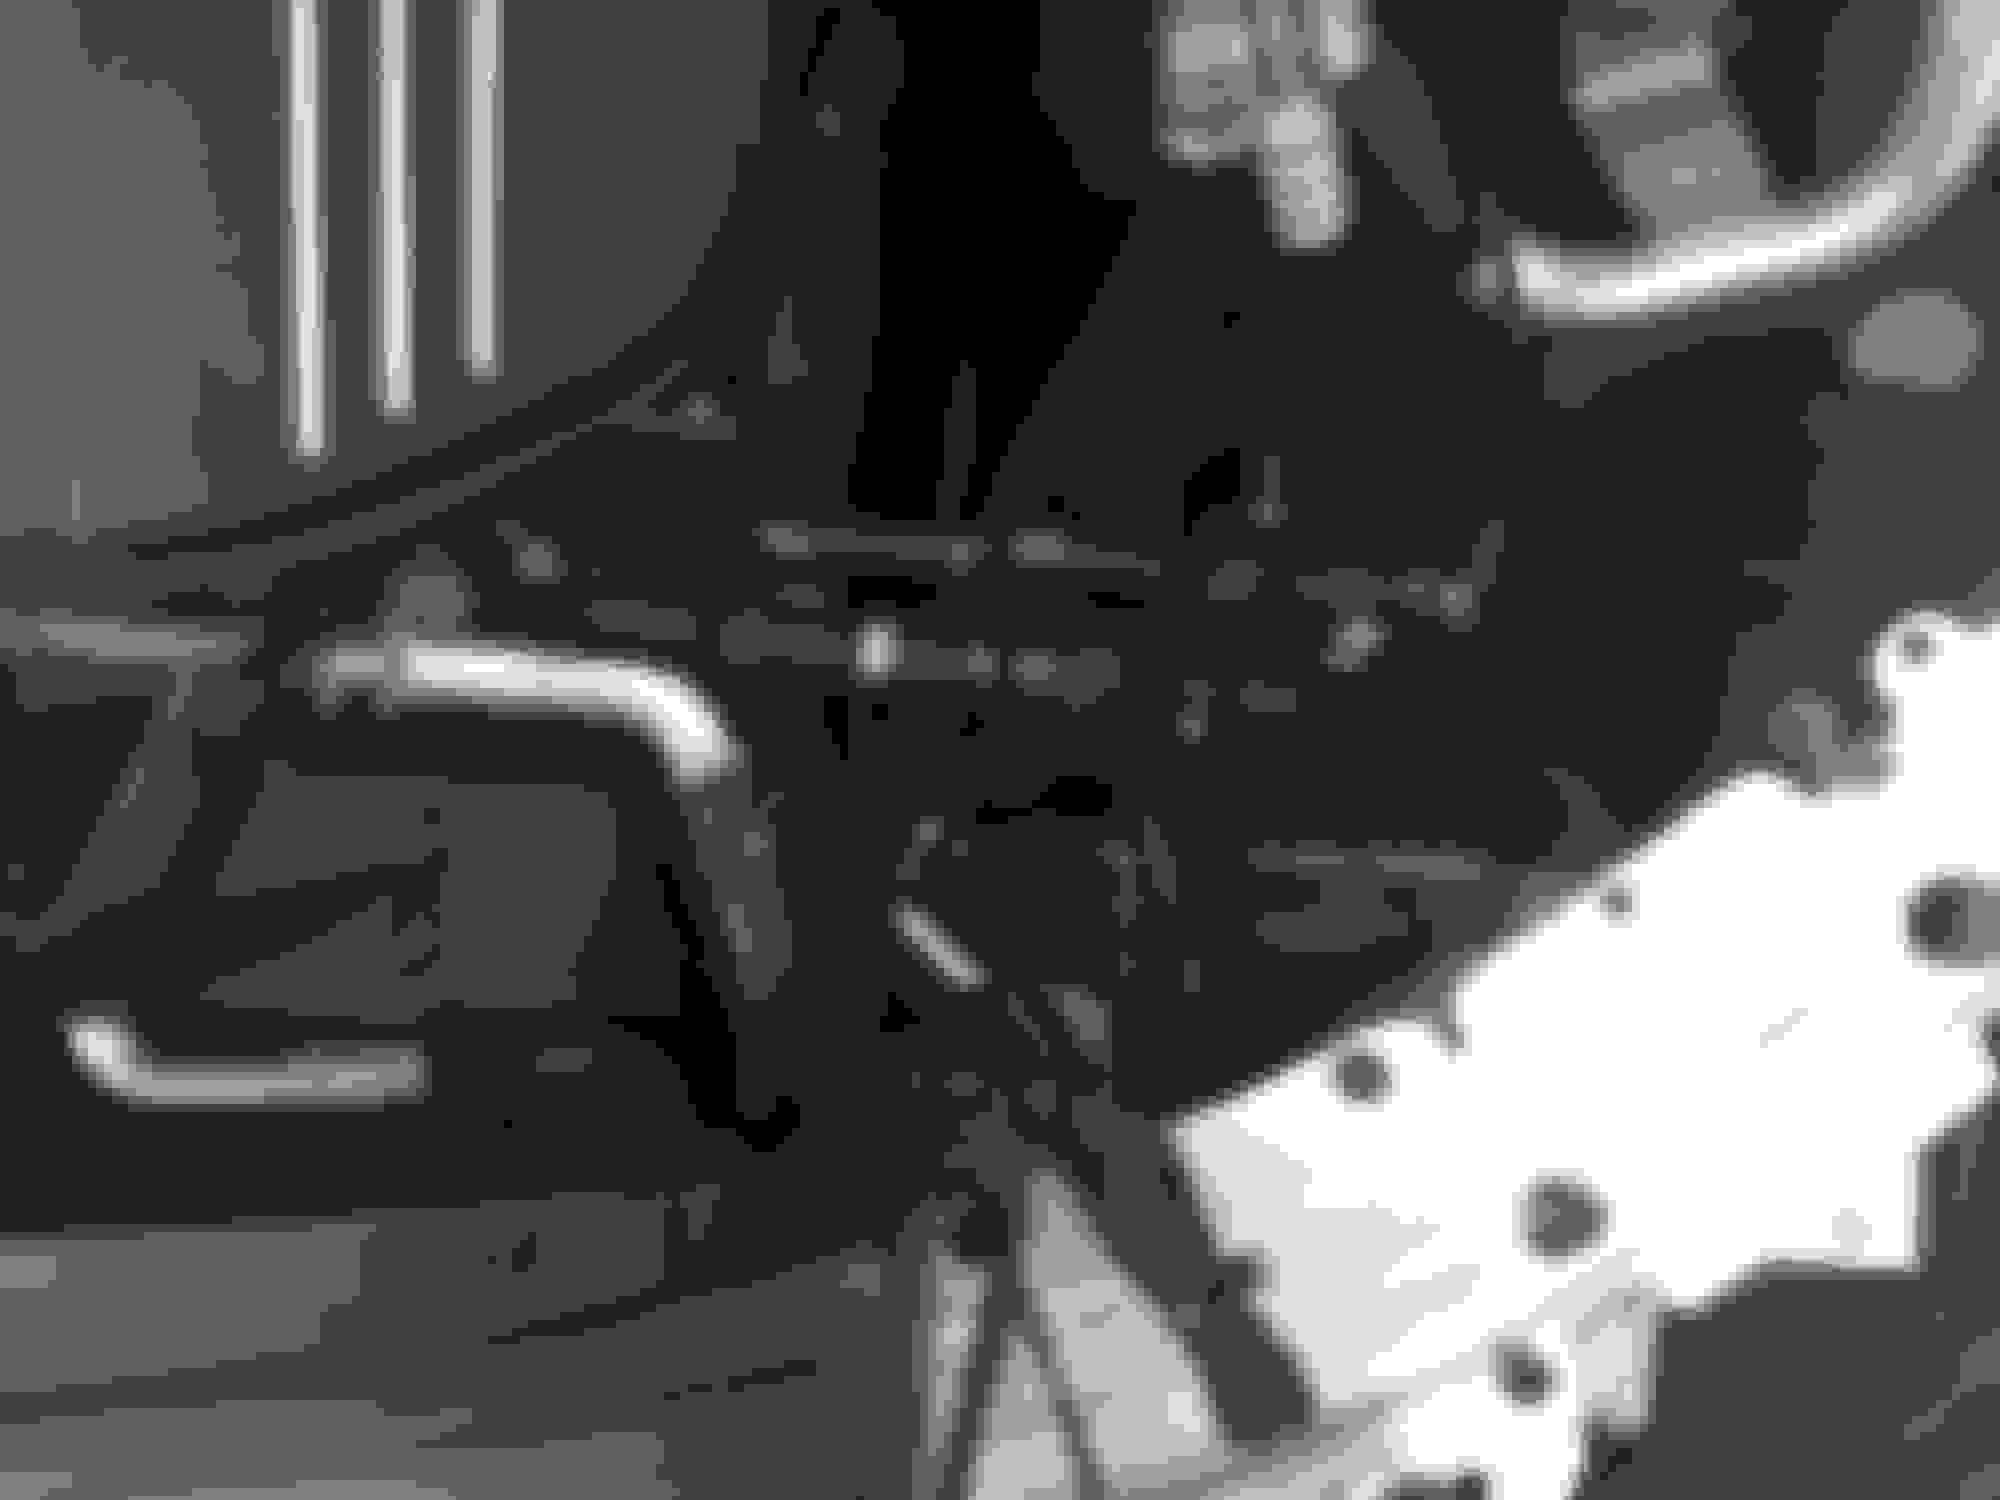
Harness wires crossing to the other side of the engine.
Grind and power wires.
Only position that the unit would sit securely in the recommended RHD location.
Had mine installed today with the filters. My mechanic absolutely hated it. Took him 2.5 hours. Piggy back came with NO instructions and some of the wiring were labeled incorrectly. After a test drive he could tell something was wrong and discovered it was a grounding issue. Once he fixed it everything ran smooth. Device was affixed behind the front left reservoir like many others with double sided tape and two zip ties. The wires are tucked and hidden very well. He did have to cut a 1 inch or so opening above the boost sensor 1 to secure it so I plan on purchasing some DEI tape to cover the hole. It's barely noticeable. I'll post more info once I take it for a spin.
thanks "RDO247" for the pics. Im attempting a DIY this weekend having received the unit. Im concerned about the "grounding issue" which "godrealm" mentioned (did anybody else have this issue?). thanks also to Team Rebellion for the wiring photo. The more photos / details / instructions - the better. Perhaps Team Rebellion can summarise all the feedback / comments here to produce a more detailed installation procedure
thanks "RDO247" for the pics. Im attempting a DIY this weekend having received the unit. Im concerned about the "grounding issue" which "godrealm" mentioned (did anybody else have this issue?). thanks also to Team Rebellion for the wiring photo. The more photos / details / instructions - the better. Perhaps Team Rebellion can summarise all the feedback / comments here to produce a more detailed installation procedure
Here are my thoughts.
first it would be nice to have a copy of the instructions printed and sent with the unit. or at least something to direct you to the website(maybe even a QR code). didn't seem like my last filter removal was really appreciated so i will keep this short. if you have any questions feel free to message me. this is all assuming you haven't done this already since its already the weekend in AUS(i think) haha.
First and most important make sure to take a good look at the clips themselves and see how they attach. so when your hands are in there blindly you can make the connection. when you take off the sensors on the air fliter(as noted in my earlier post) you will see that each clip has a white "lock" pin. these have to be slid back before you can pop the clip off. this has to be done on EVERY single connection.
There is really only 8 screws(filters) 2 screw clamps(turbo intakes), 2 pop clips(air scoop to bumper), and 2 pressure clamps(front of intake).
the rest of the filter air system pops and un-clips from the car.
now what you are left with are these damn covers. if it was not for this the install would actually take 15 minutes. I have attached a picture below of them. they not only go all the way across the front they wrap around the side so getting them to move is a challenge.
First as the directions say remove all 4 screws from this cover. what helped me was removing the 5th screw that i marked in green on the second image. that allowed that bundle of wires to move a bit more so i could squeeze my hand under(thank my mom for the skinny hands and fingers
Now removing these screws get you some room but you are still facing a very tight finger bending experience. Make sure to have a nice collection of various size flat blade screwdrivers at your disposal. on the second picture the red arrow points the the "viewing hole. the boost sensor is directly below this. you have to come in from where the green arrow to unclip it. first making sure to slide that white safety pin out and then pushing in to release the clip.
Once you get the clips unplugged the stock male end has slack in it where you can get it to where you have easy access to make the connection. The Female is another story. that is mounted and going nowhere, so you have to go in blind.
the worst one by far was the boost sensor on the right side. there is really not alot of space to work and that cover is very snug. so onec you get that one the rest are easy....ish
last tip. make sure that when reattaching make sure to listen for a CLICK. that will mean that it is in there good. if you font hear it come at it from a different angle and give it another shot.
anyway hope this rambling helped. its early and i am excited for my exhaust.
Interesting thread. I think I have been away too long. Does anyone have any new dyno numbers to report? I am interested in this setup but I don't know if I'm sold yet without some solid numbers.
There's multiple dyno sheets and quarter mile passes with timeslips posted all over this forum.. Rebellion's piggyback is probably the most common 'stage 1' tune folks are running in the C63 right now. Not sure what other 'solid numbers' you're looking for?
3.5 hours, one slightly skinned knuckle, one beer, quite a bit of cursing "WTF?"... piggyback and filters installed. Did it all solo in my driveway.. actually at my in-laws' driveway.
This thread was helpful; I'll add that the sixth torx bolt holding down a bundle of cables on the driver's side was removed to help move that f'ing plastic harness cover in front of the engine.
In order of difficulty: Boost 2, Boost 1, MAP 1, MAP 2. The pic that was posted of the engine block was helpful, but it'd have been nice to see it from the other side too. Took a bit of extrapolating to figure out the passenger side sensors. Crank sensor was.. ridiculously easy.. after the first four.
With the airbox in place, the only visible things are the piggyback itself (that purple lock kinda gives it away) and the ground snaking to the ground point. I've got a fairly friendly dealer, so I think if I swap the piggyback with the included blank, it should be fine.
So. With that said. HOLY CRAP. There's no question whether this thing adds power. It's ridiculous. Midrange punches are.. scary. I had a 550hp ported, pullied '03 SVT Cobra. This.. this would have destroyed it. I gladly slapped that #TeamRebellion sticker on my rear window, hah.
I do have the filters in. Sometime in the future, I'll probably install the blank, swap the stock fiilters in, and do some dynos.
thanks to Vivid for supplying the installation instructions as a PDF.
Thanks also to everyone who has posted tips on this thread, I'll be doing a DIY this weekend.
I install my piggy back .. and the boost is lost turbos you think it is normal.. And check engine light is on . like turbos is off
That's not good. Did it happen right away? May be a loose connection. Maybe try hooking up the override piece and see if you still get the CEL
You should NOT have a CEL
It should go back to stock that way. If you still have a CEL with this part plugged in you know you have an issue with the wires/connection. If it goes away then you might have an issue with the Tune box OR power/ground issue
Why would anyone want to run a piggy back and risk limp mode? You can get Weistec or Renntech reflashed ECU and gain larger numbers with no risk of limp mode or CEL.
Why would anyone want to run a piggy back and risk limp mode? You can get Weistec or Renntech reflashed ECU and gain larger numbers with no risk of limp mode or CEL.
Because people have had good results with the piggyback.
I have absolutely no issues with mine, if installed correctly there really should be no risk of a CEL. You could have the same issues with a tune. I have heard of a tune bricking an ECU complety.
Both tunes mentioned above are over 2k and require serious installaton(I thought dropping engine required but not 100% sure anymore). But either way you have to remove a ton of parts including ecu on a brand new car
You can resell a piggyback
You can remove it for service if you chose to.
I'm sure there are other reasons but I think I answered your question
And not sure what you mean by restricted and unreliable. If it was so restrictive the fasted c63 record would NOT be running it.
To each their own. I'd prefer a reflash versus piggyback, but I'm not comfortable with bench flashing and what's involved. I will switch to a handheld flasher as soon as one is available.
However, with that said, properly installed piggybacks like Rebellion's work just fine. I should stress the word properly.
Sounds like to me a boost pressure sensor or both weren't properly connected, or connected to a wrong sensor.


 04-20-2016, 09:39 AM