When you click on links to various merchants on this site and make a purchase, this can result in this site earning a commission. Affiliate programs and affiliations include, but are not limited to, the eBay Partner Network.
So I received my Modecarbon Front Grill and Rear diffusor on Sat and since I don't have the patience to wait to have them installed I went looking for a guide online which I could not find for the w205. After spending some time under the car and looking at the new piece's mounting tabs and holes I figured it out. so here is a step by step guide in case you want to try it on your own.
Tools needed. Torx bit T30, Drill and 1/8" drill bit, set of plastic panel removal tools (not necessary but helpful)
going to write steps but have added pictures on each part
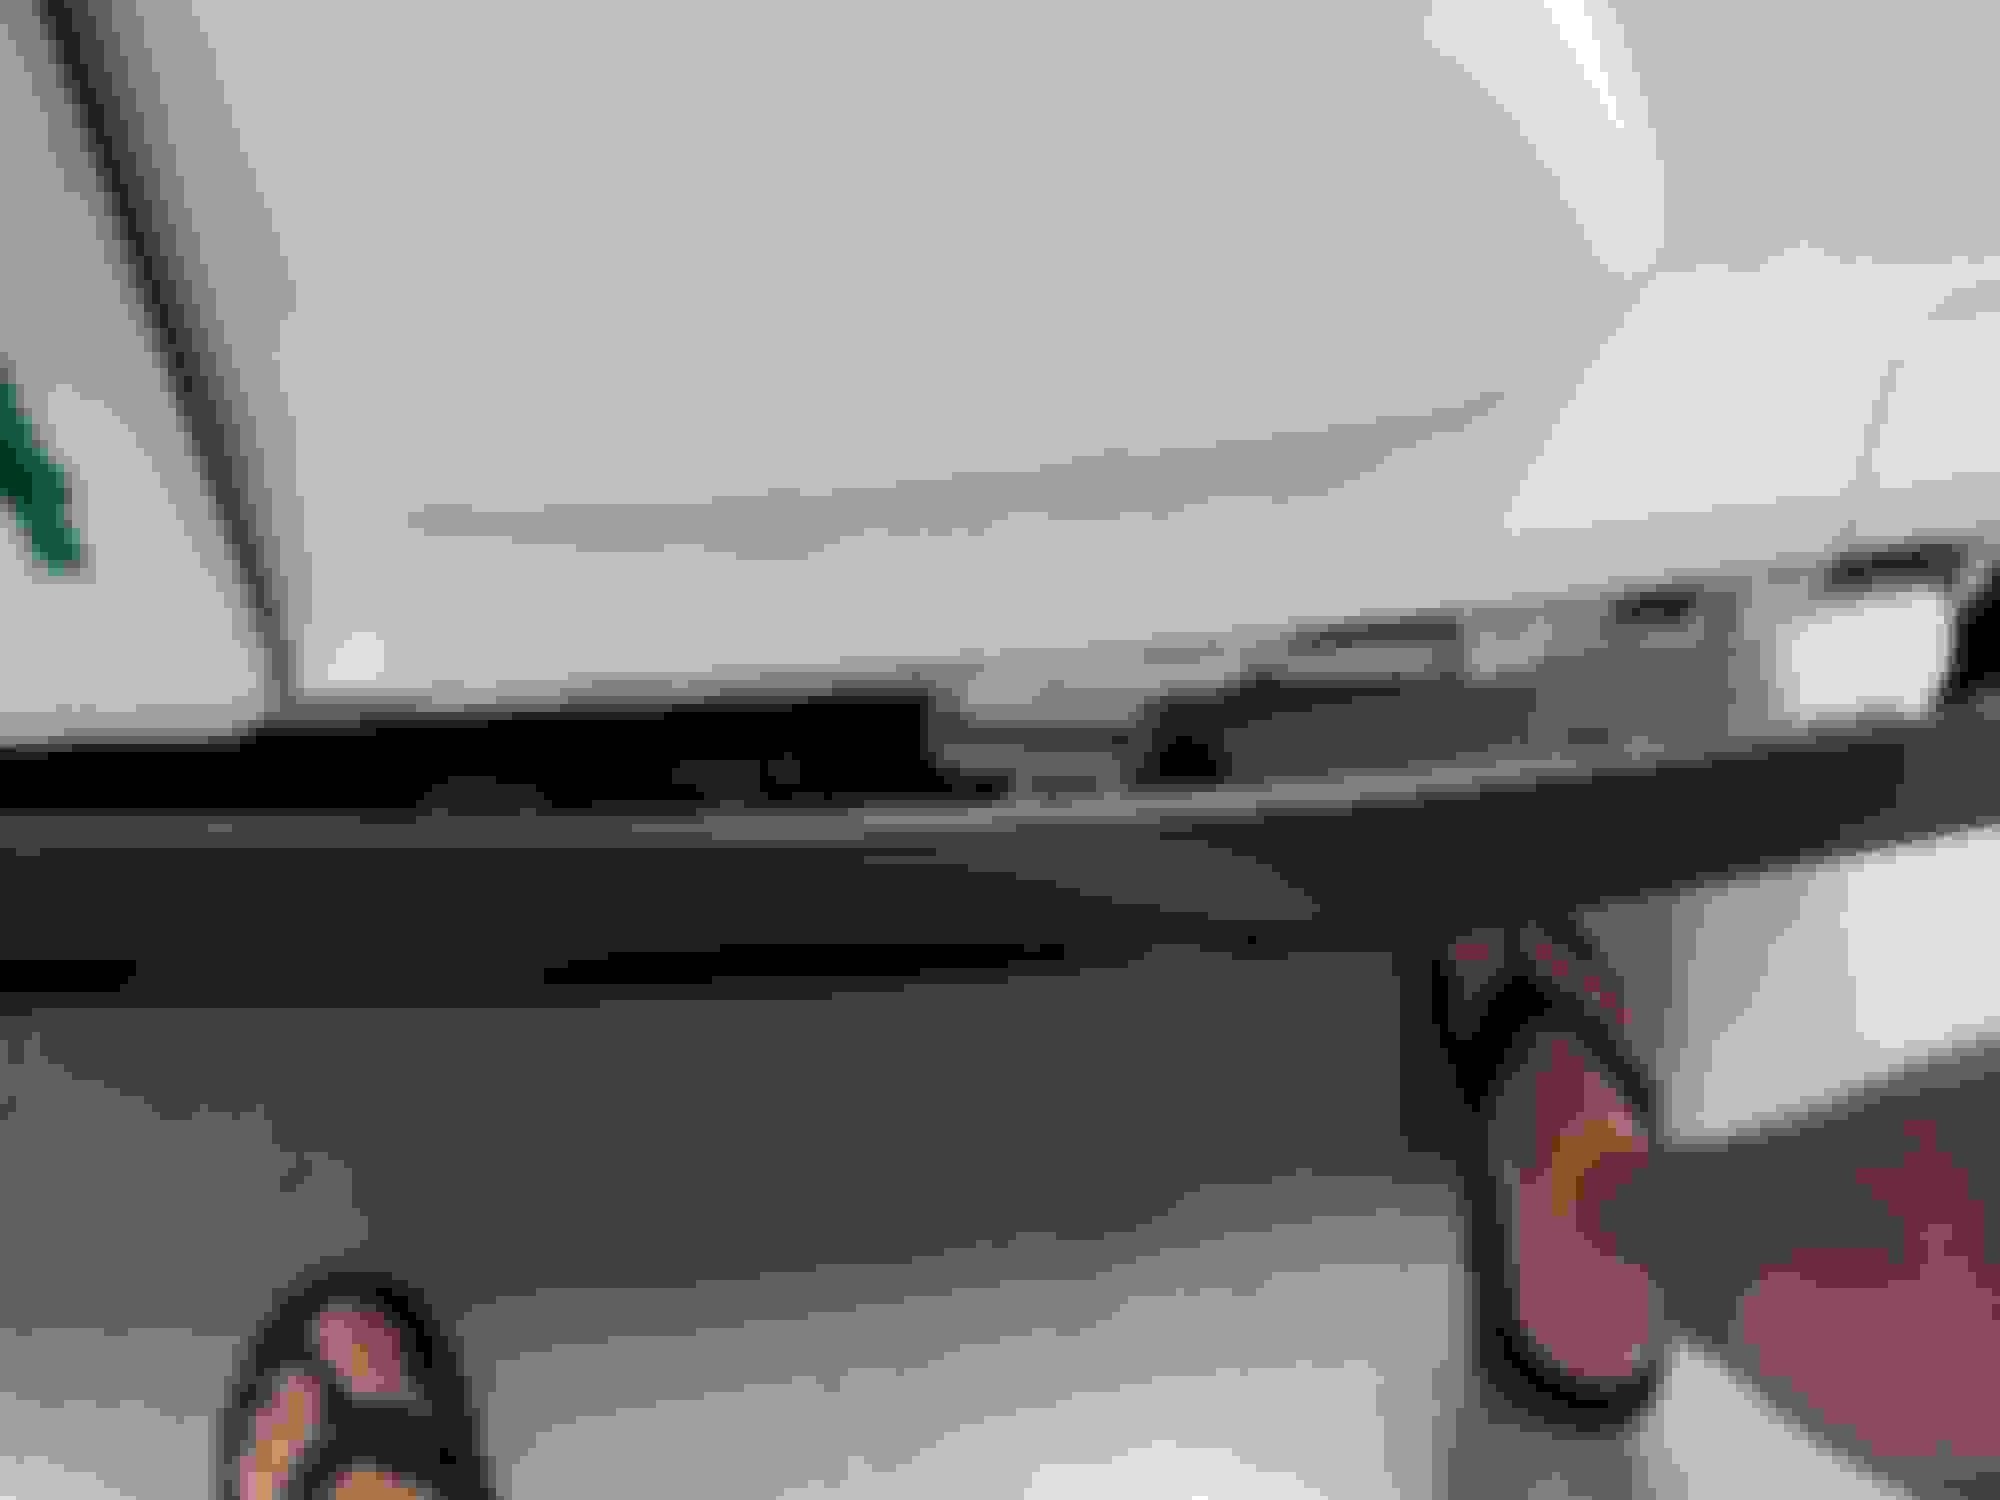
Step one: on each side you will find 2 T30 torx screws holding the exhaust tips in place. unscrews those and put them and the white plastic retainers they go into to the side.
Step 2: now that the tips are free you can push in towards the front of the car to free the tabs on the top of the tips(pay close attention to how those tabs are seated, its imperative that they go back exactly). then you can pull them out and put to the side. (I have a separate write up for these when I installed the Awe tips)
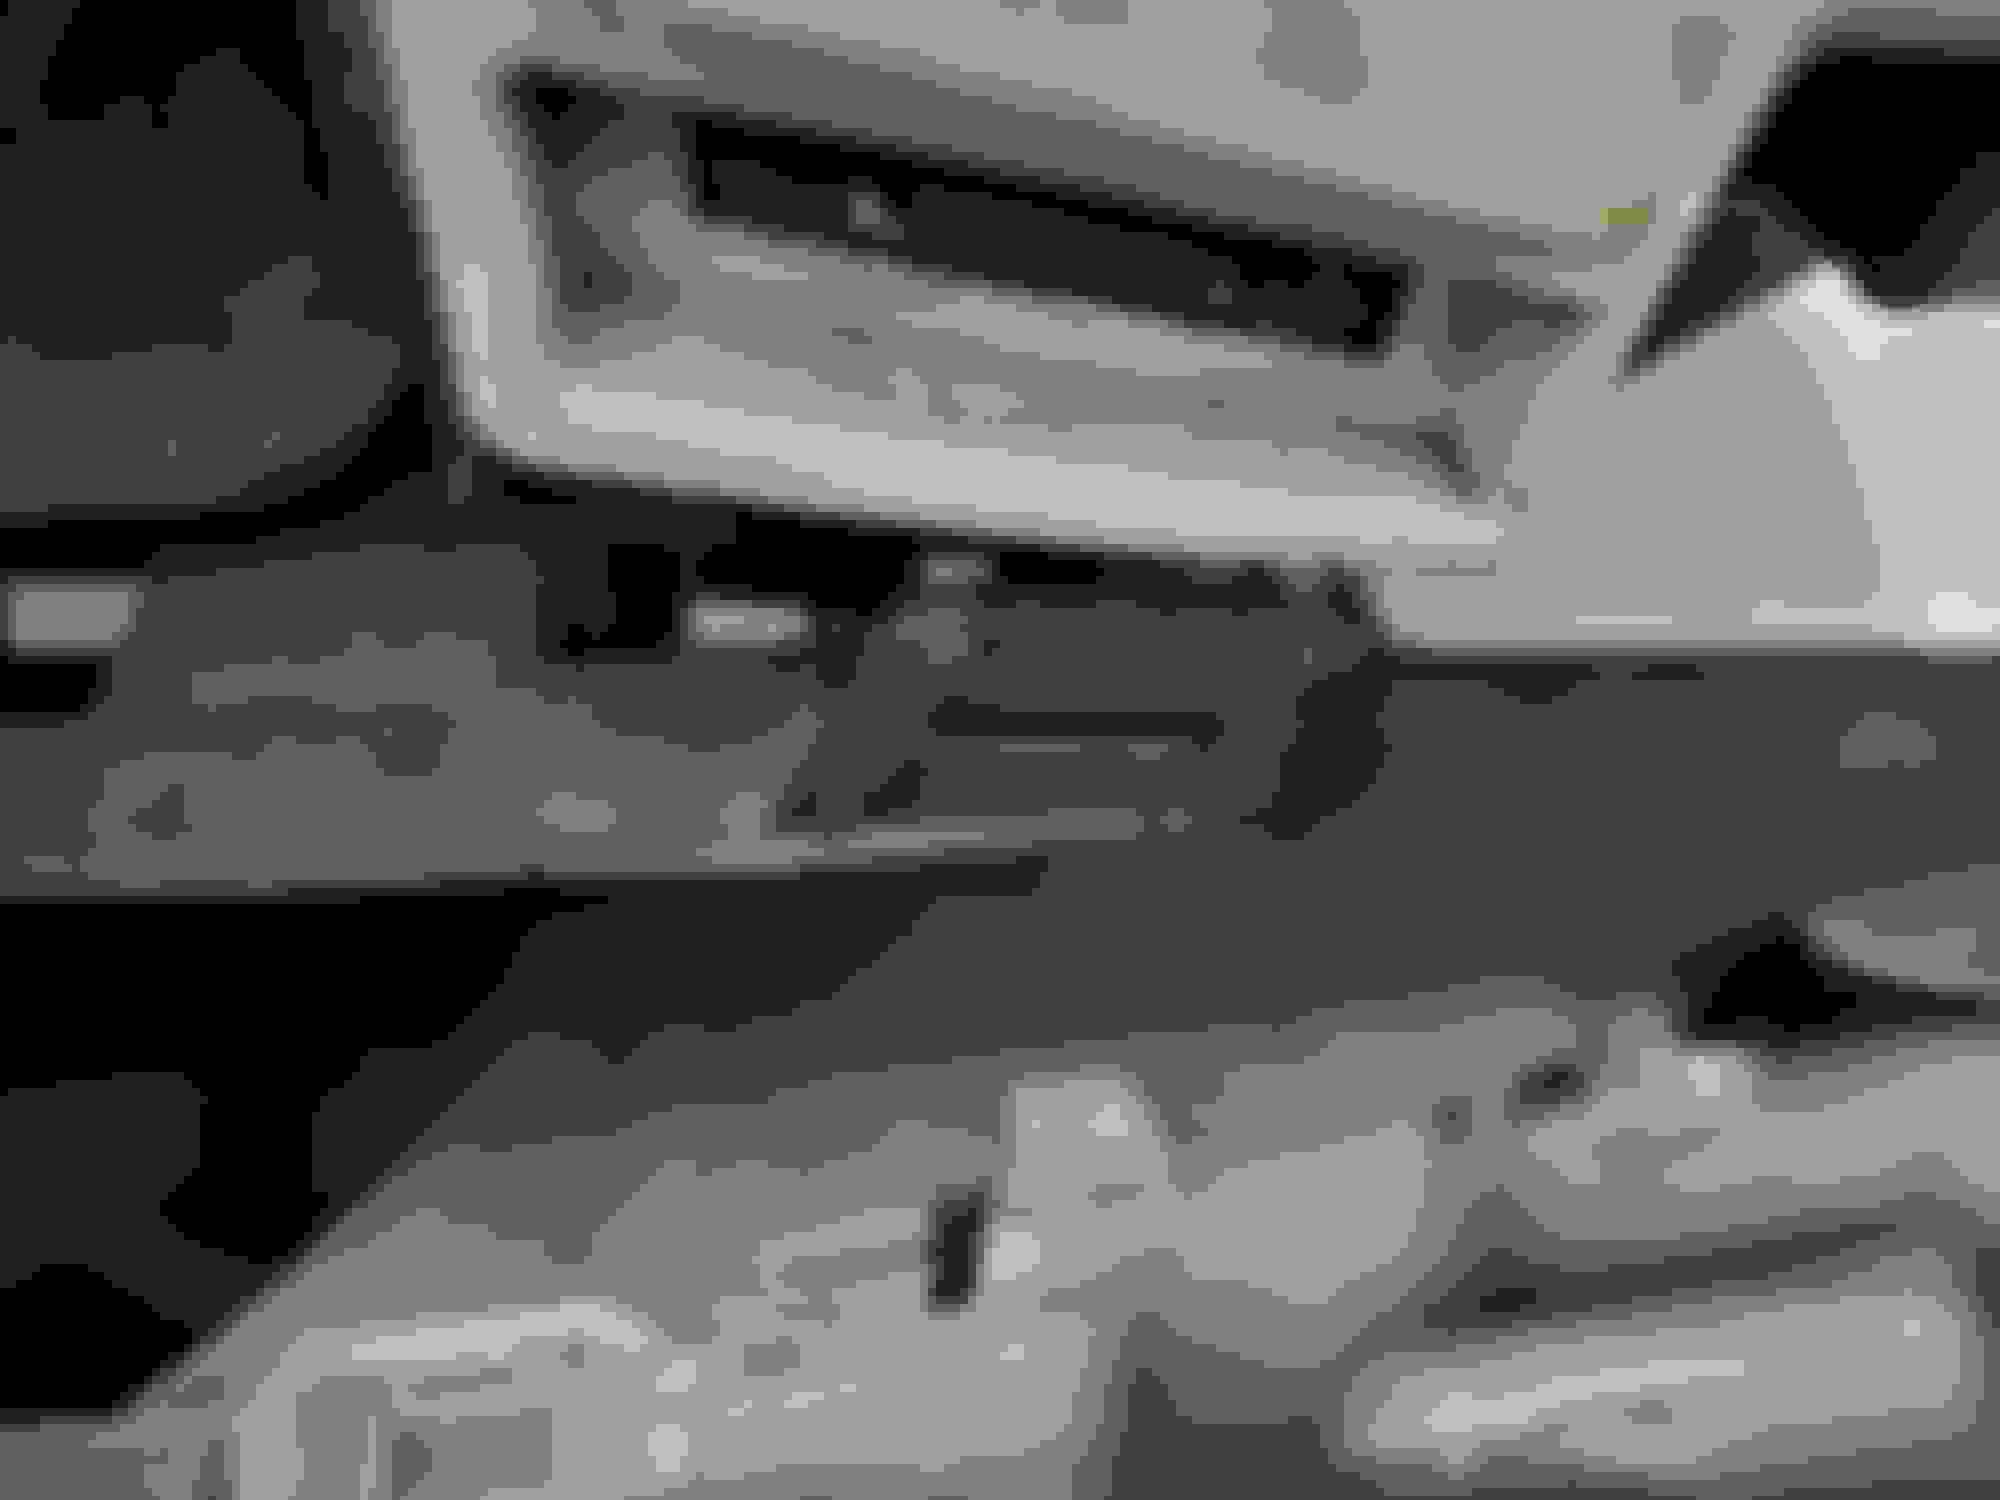
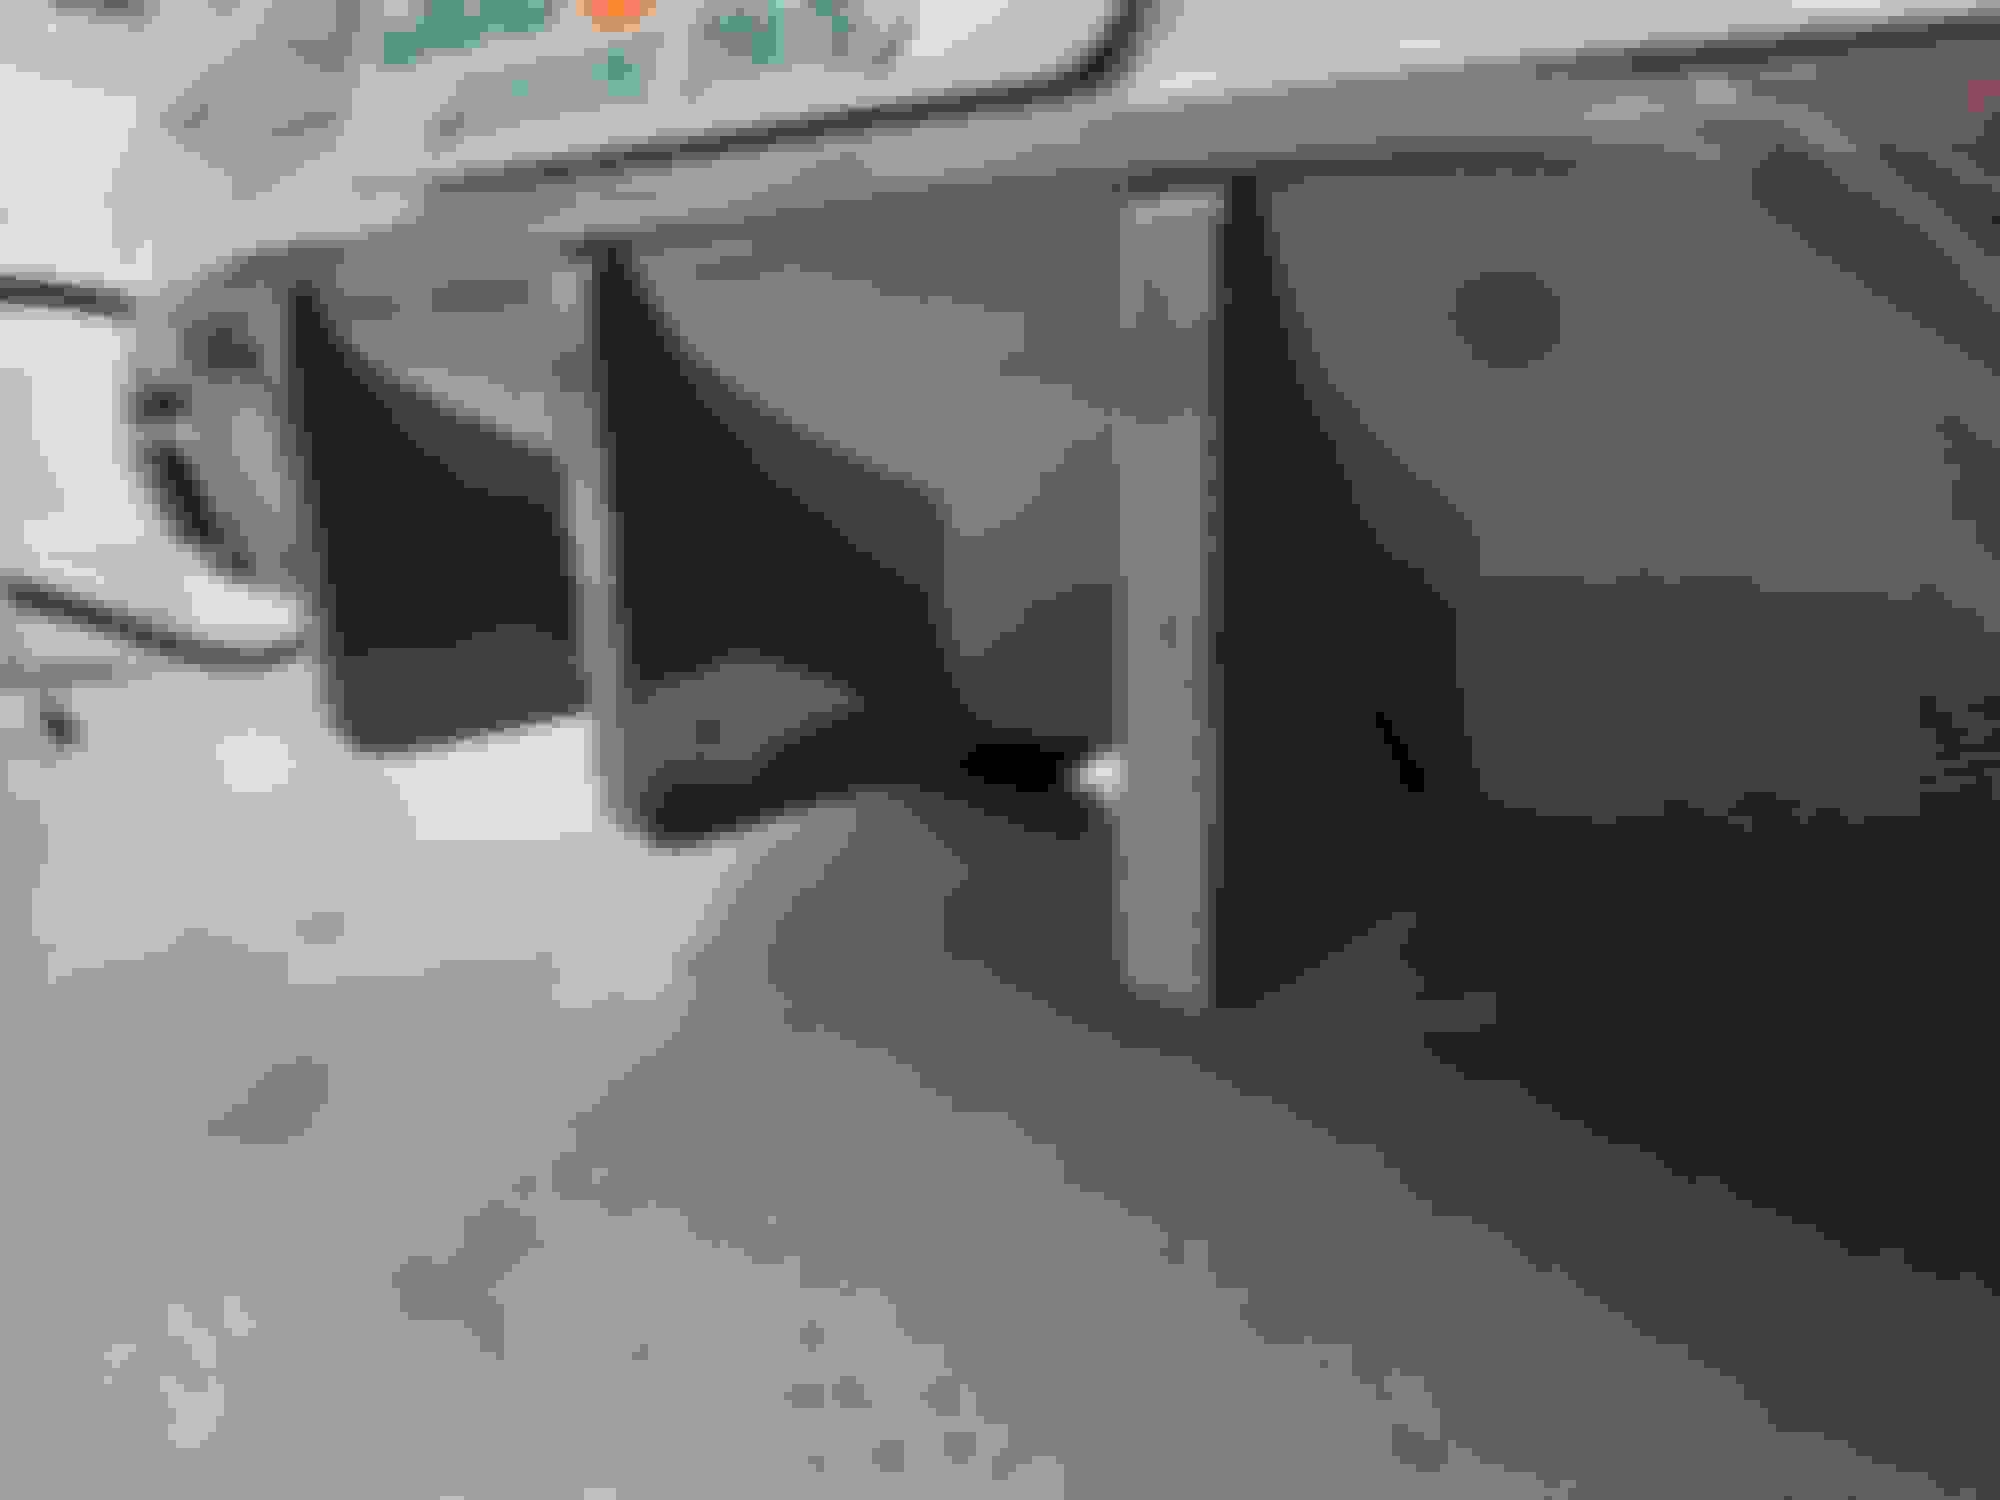
Step 3: Drill out the 4 rivets, two on each corner and 2 towards the center.
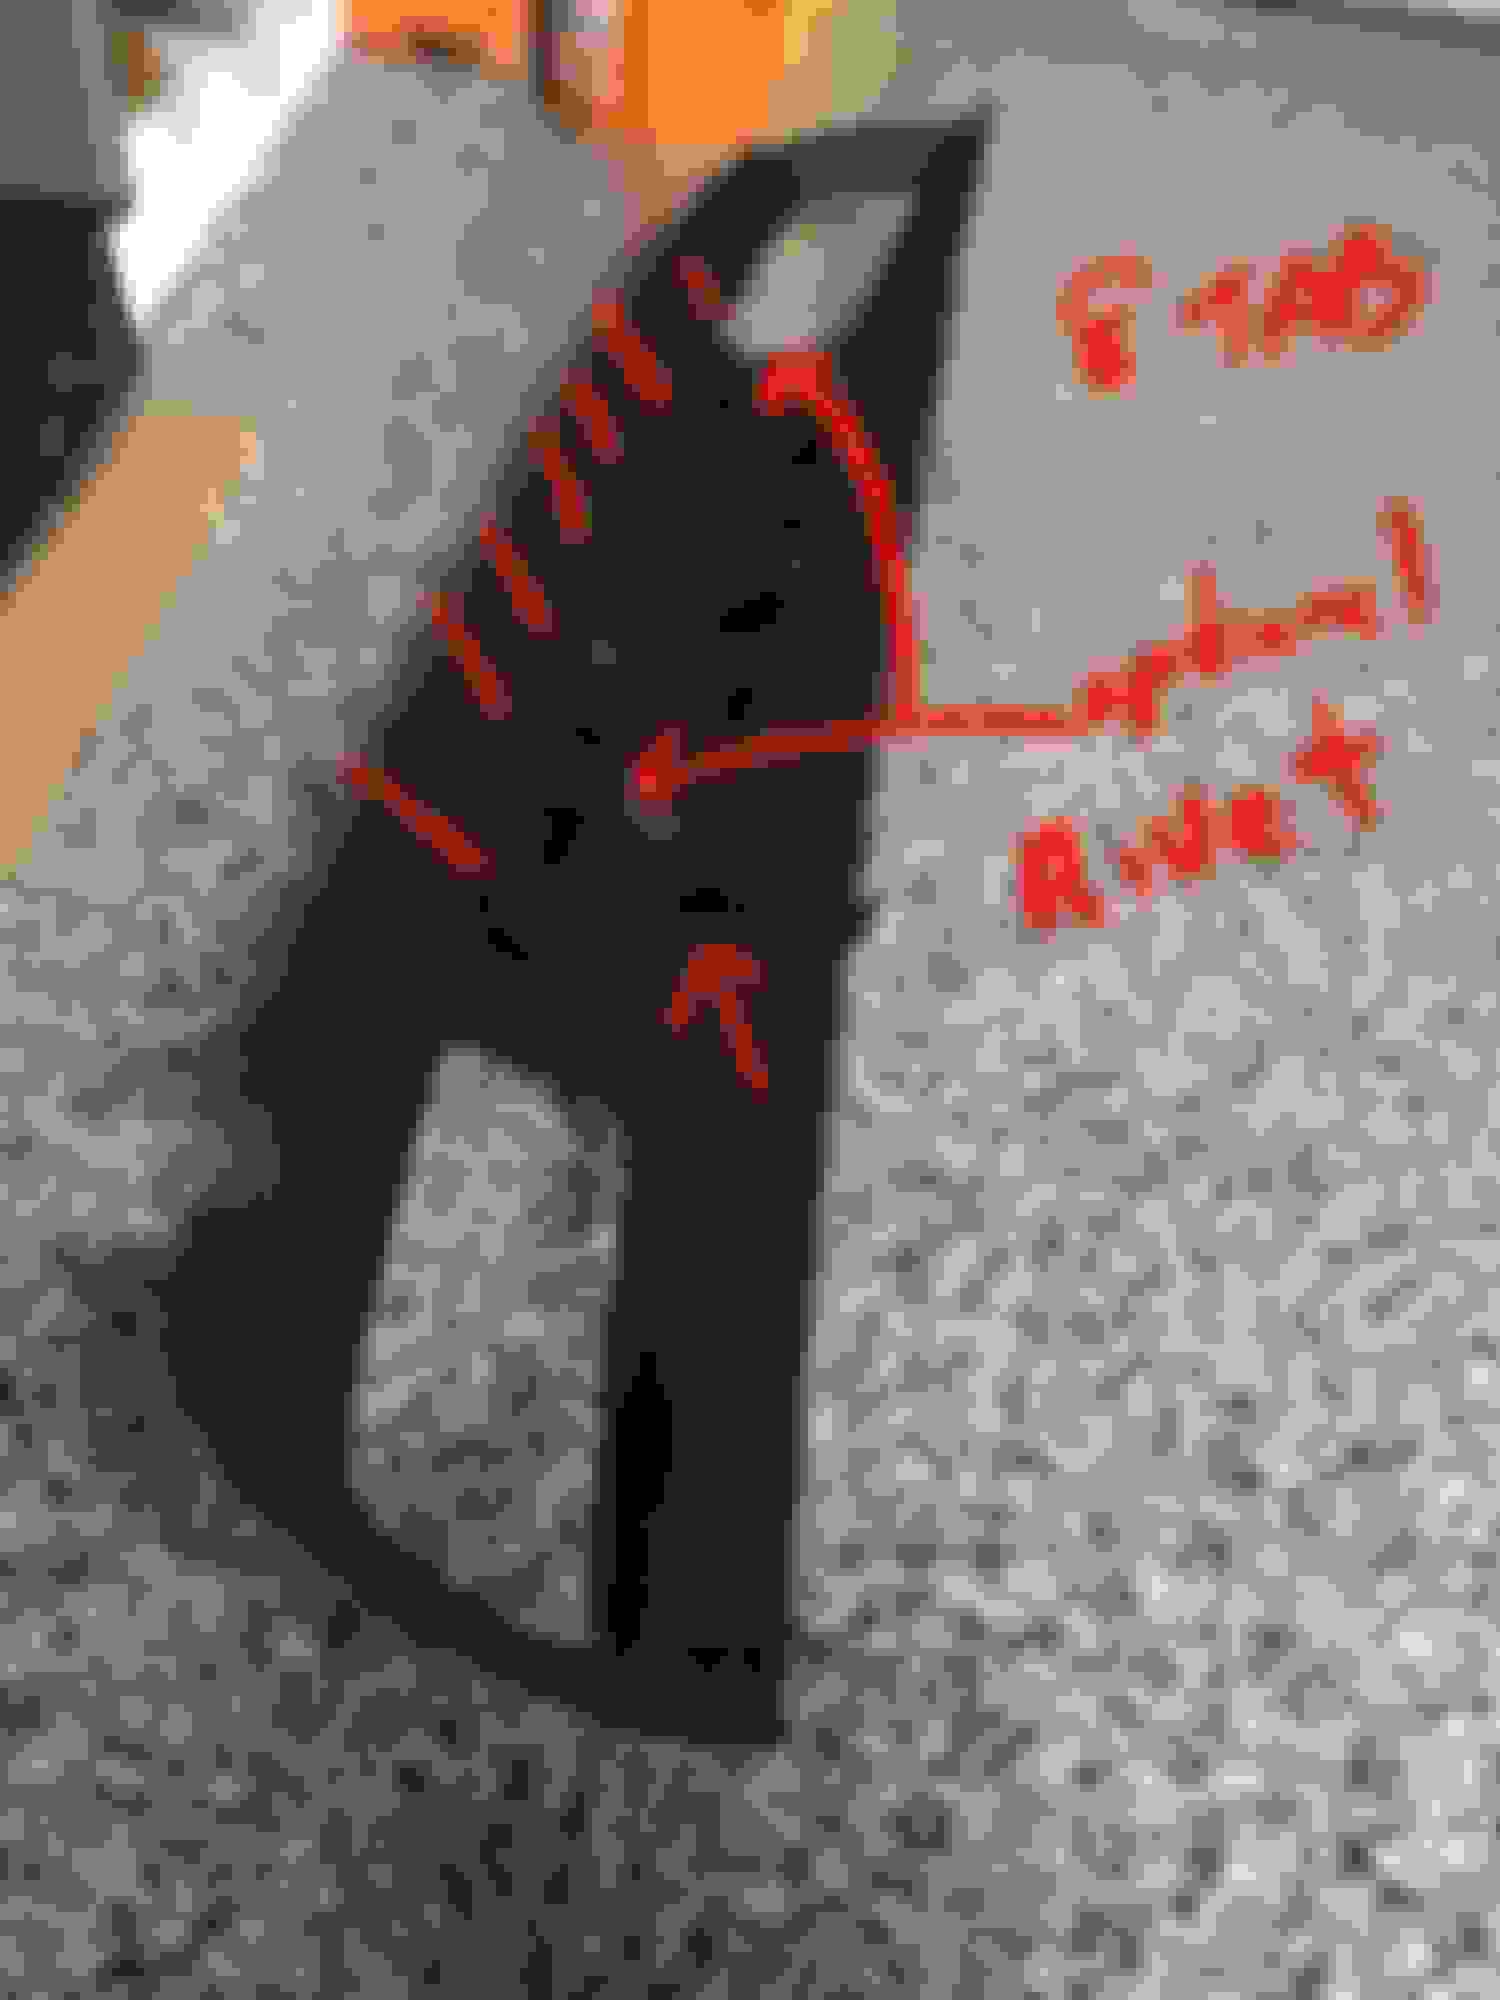
Step 4: Start on one side close to where the outside rivet was and start to pull the black away from the painted part. there are tabs every few inches but with a little bit of force they pop out one at a time.
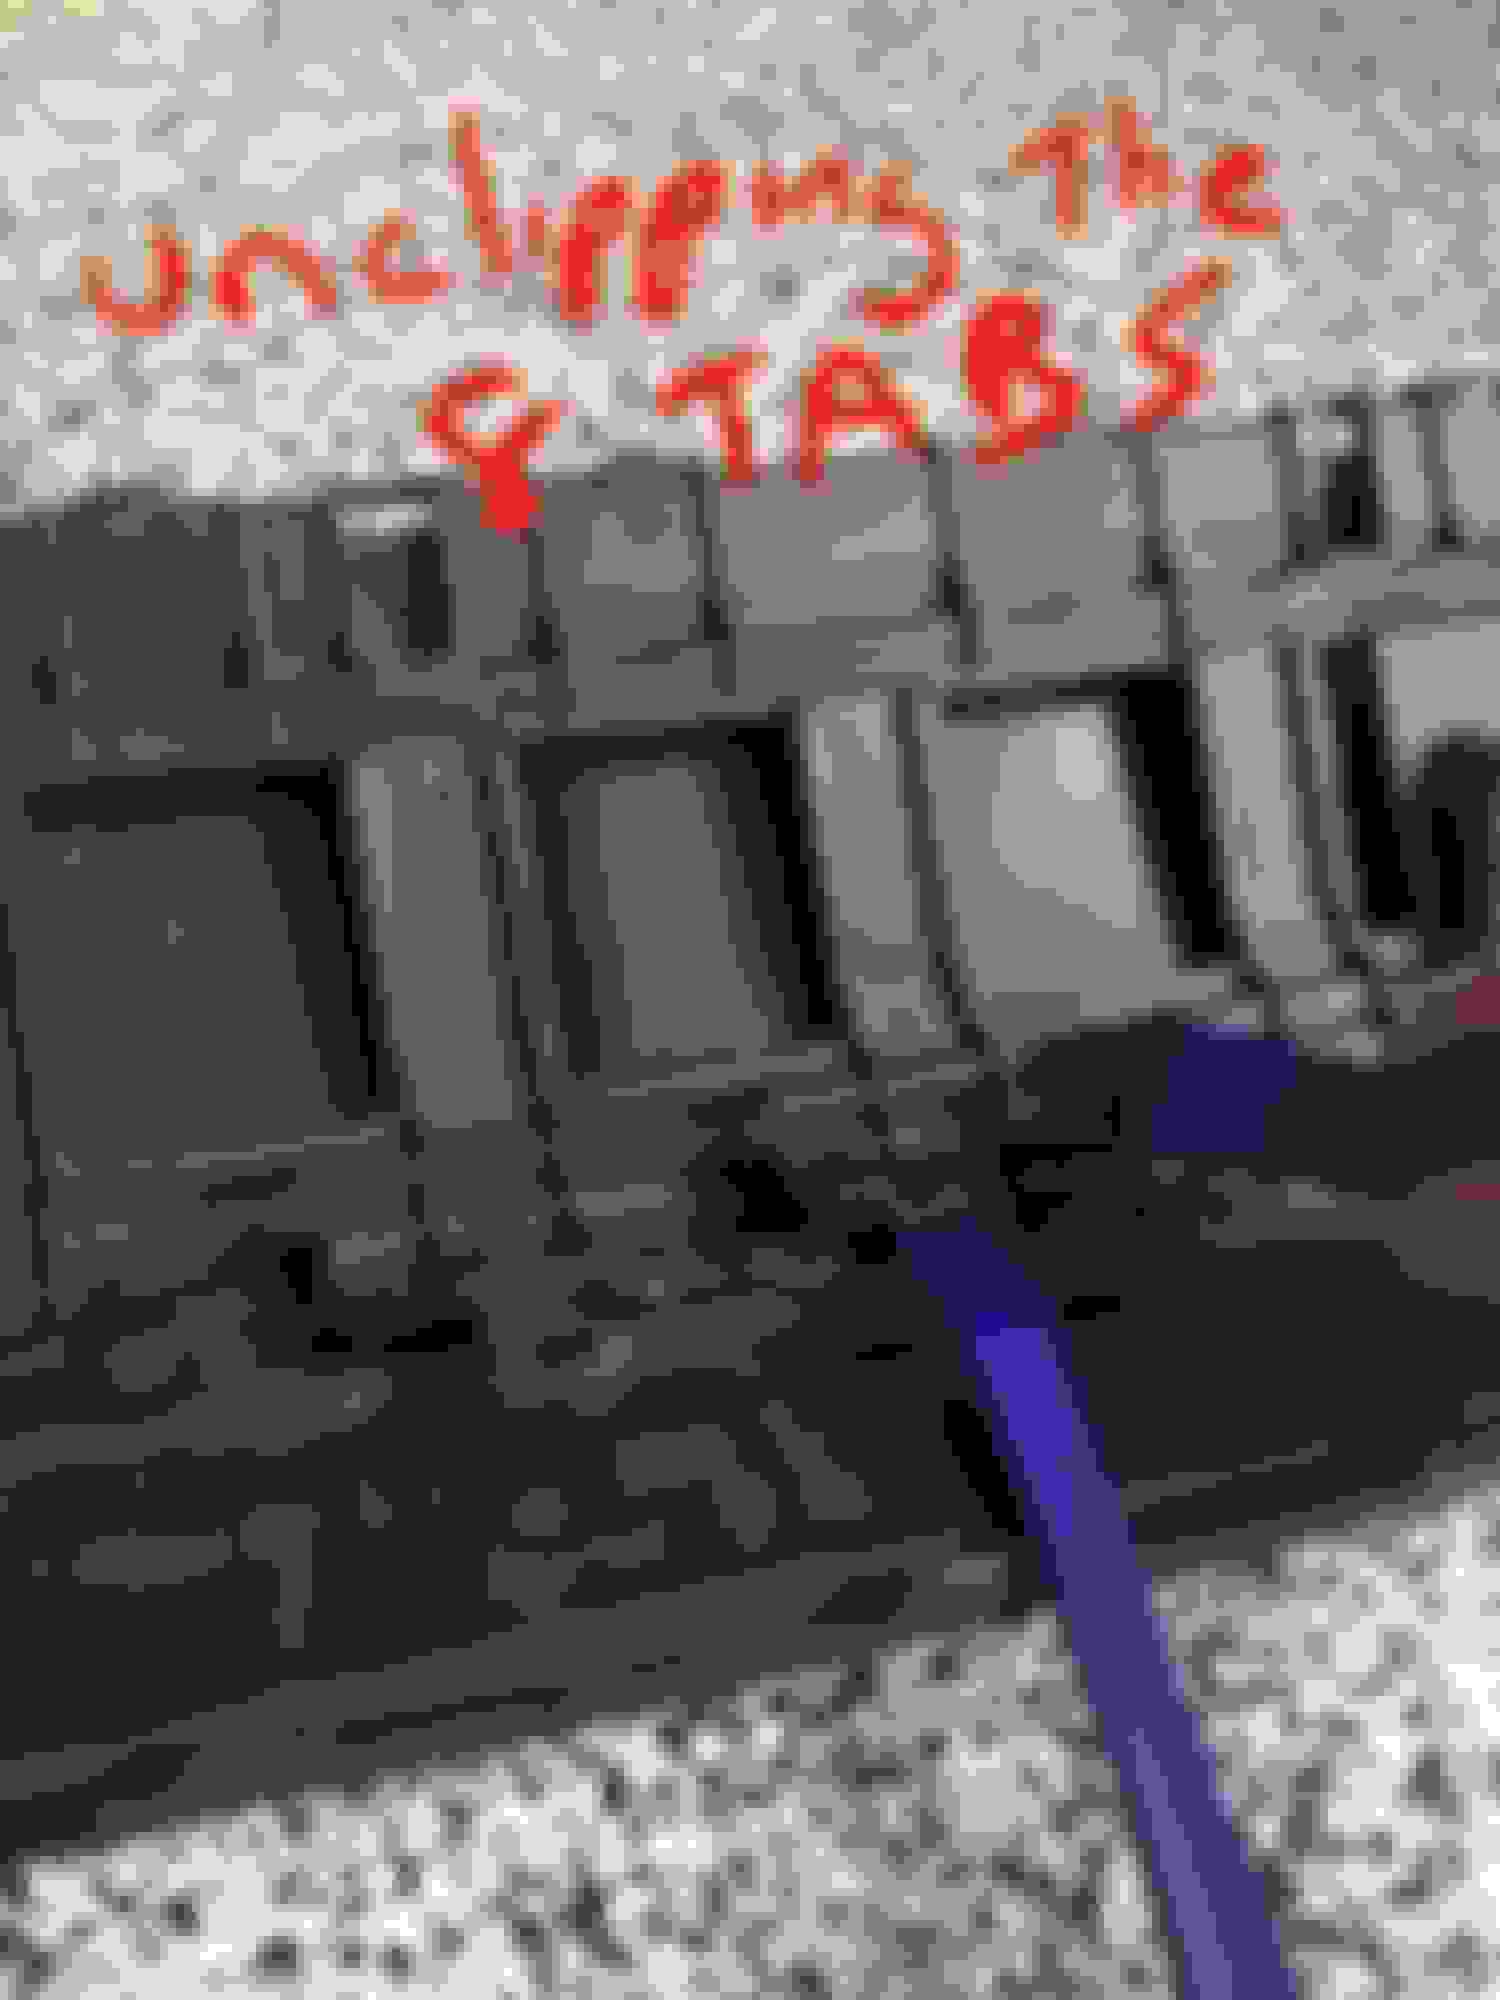
Step 5: once these are all popped out you can putt it away enough to look inside and see there are 8 tabs. at this time you should also be able to see the reverse sensor wires and unclip them at this time. also you can unlip the wires in a few spot that are attached to the diffuser.
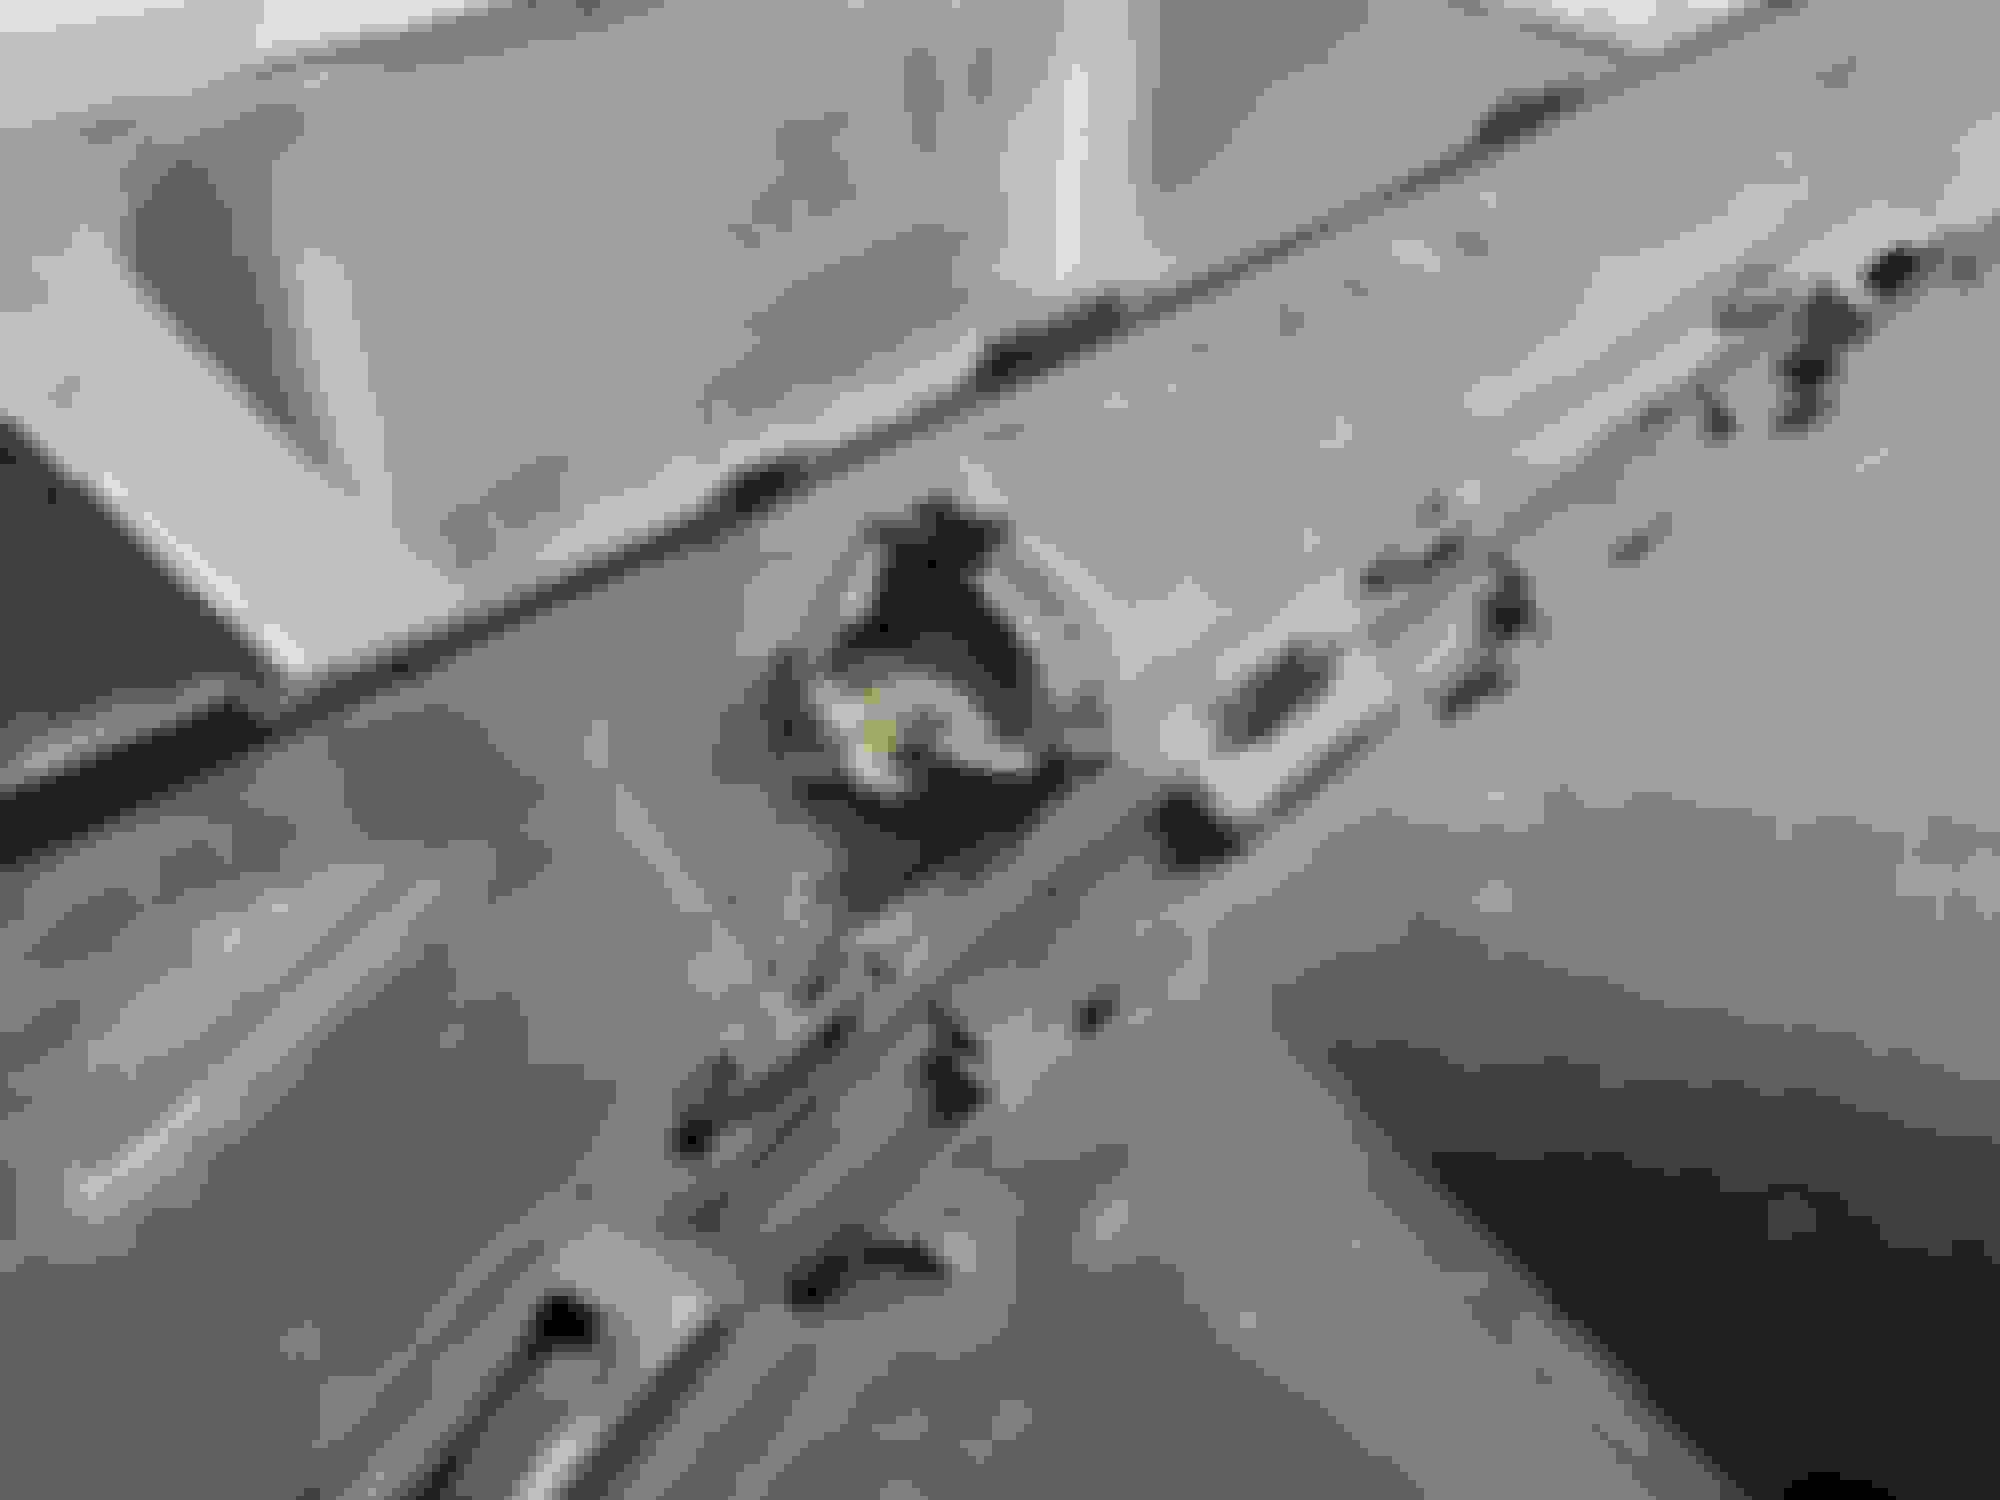
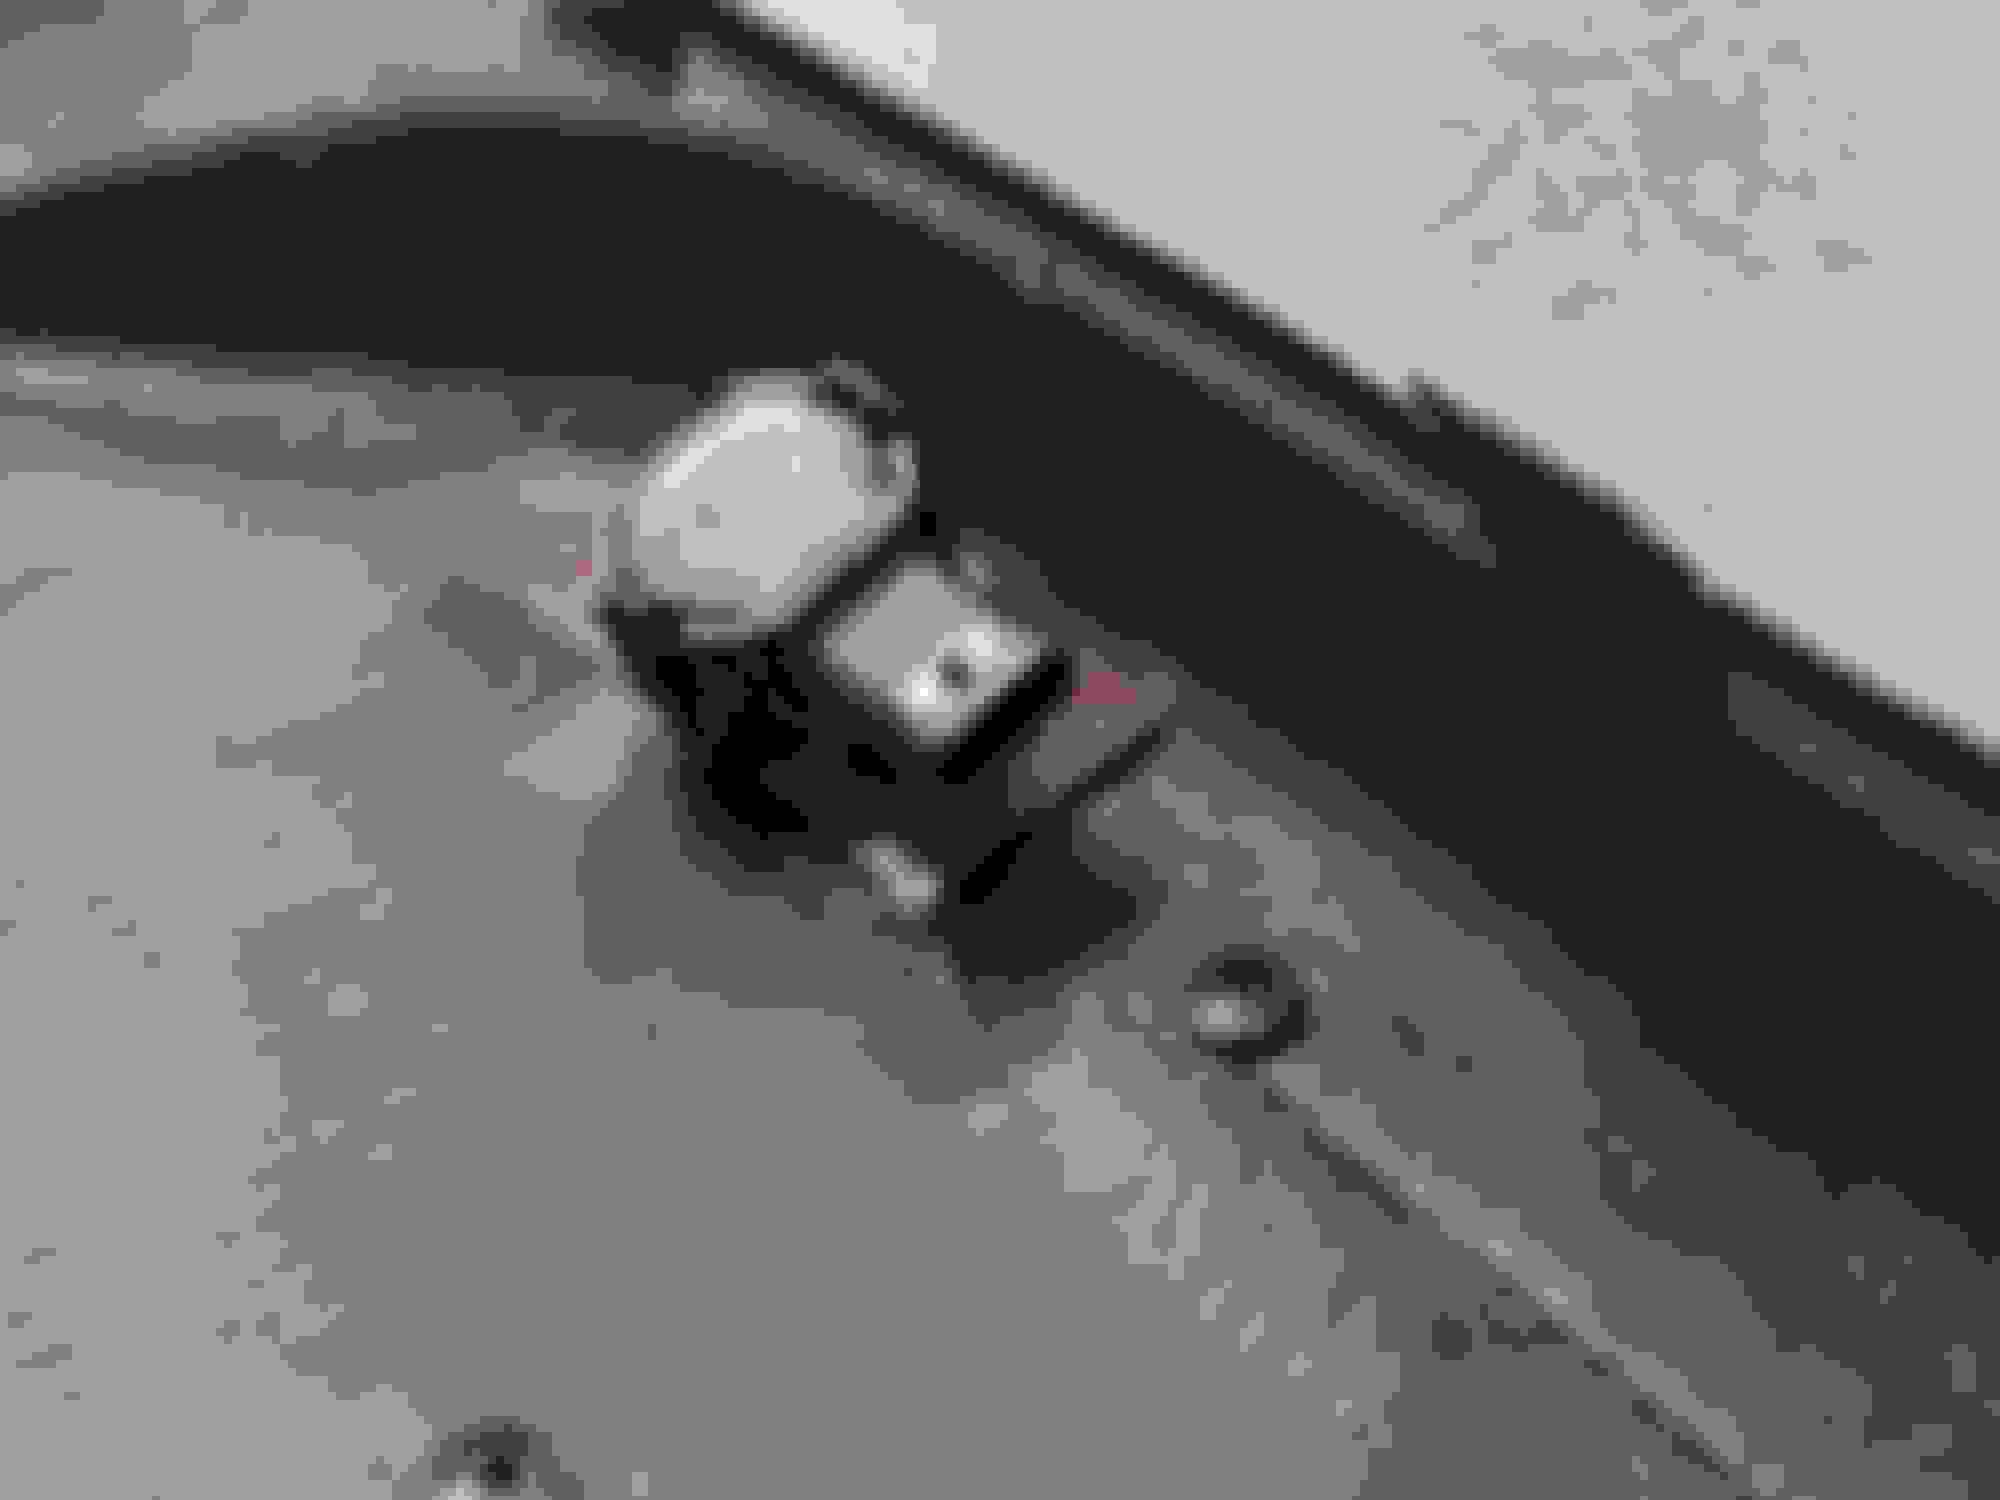
step 6: The 8 tabs mentioned above. I used my trim removal tools to pry and at the same time unlatch these. I have taken a picture of how I used the tools to do each one
Step 6: once you got the last tab the whole thing should just unfold down away from the car.
Step 7: at this point you have 2 options. you can separate the two parts of the diffuser or you can snip off the two rivets holding the whole assembly. I snipped the rivets since that parts seemed pointless and figure it could cause rattles and served no purpose anymore.
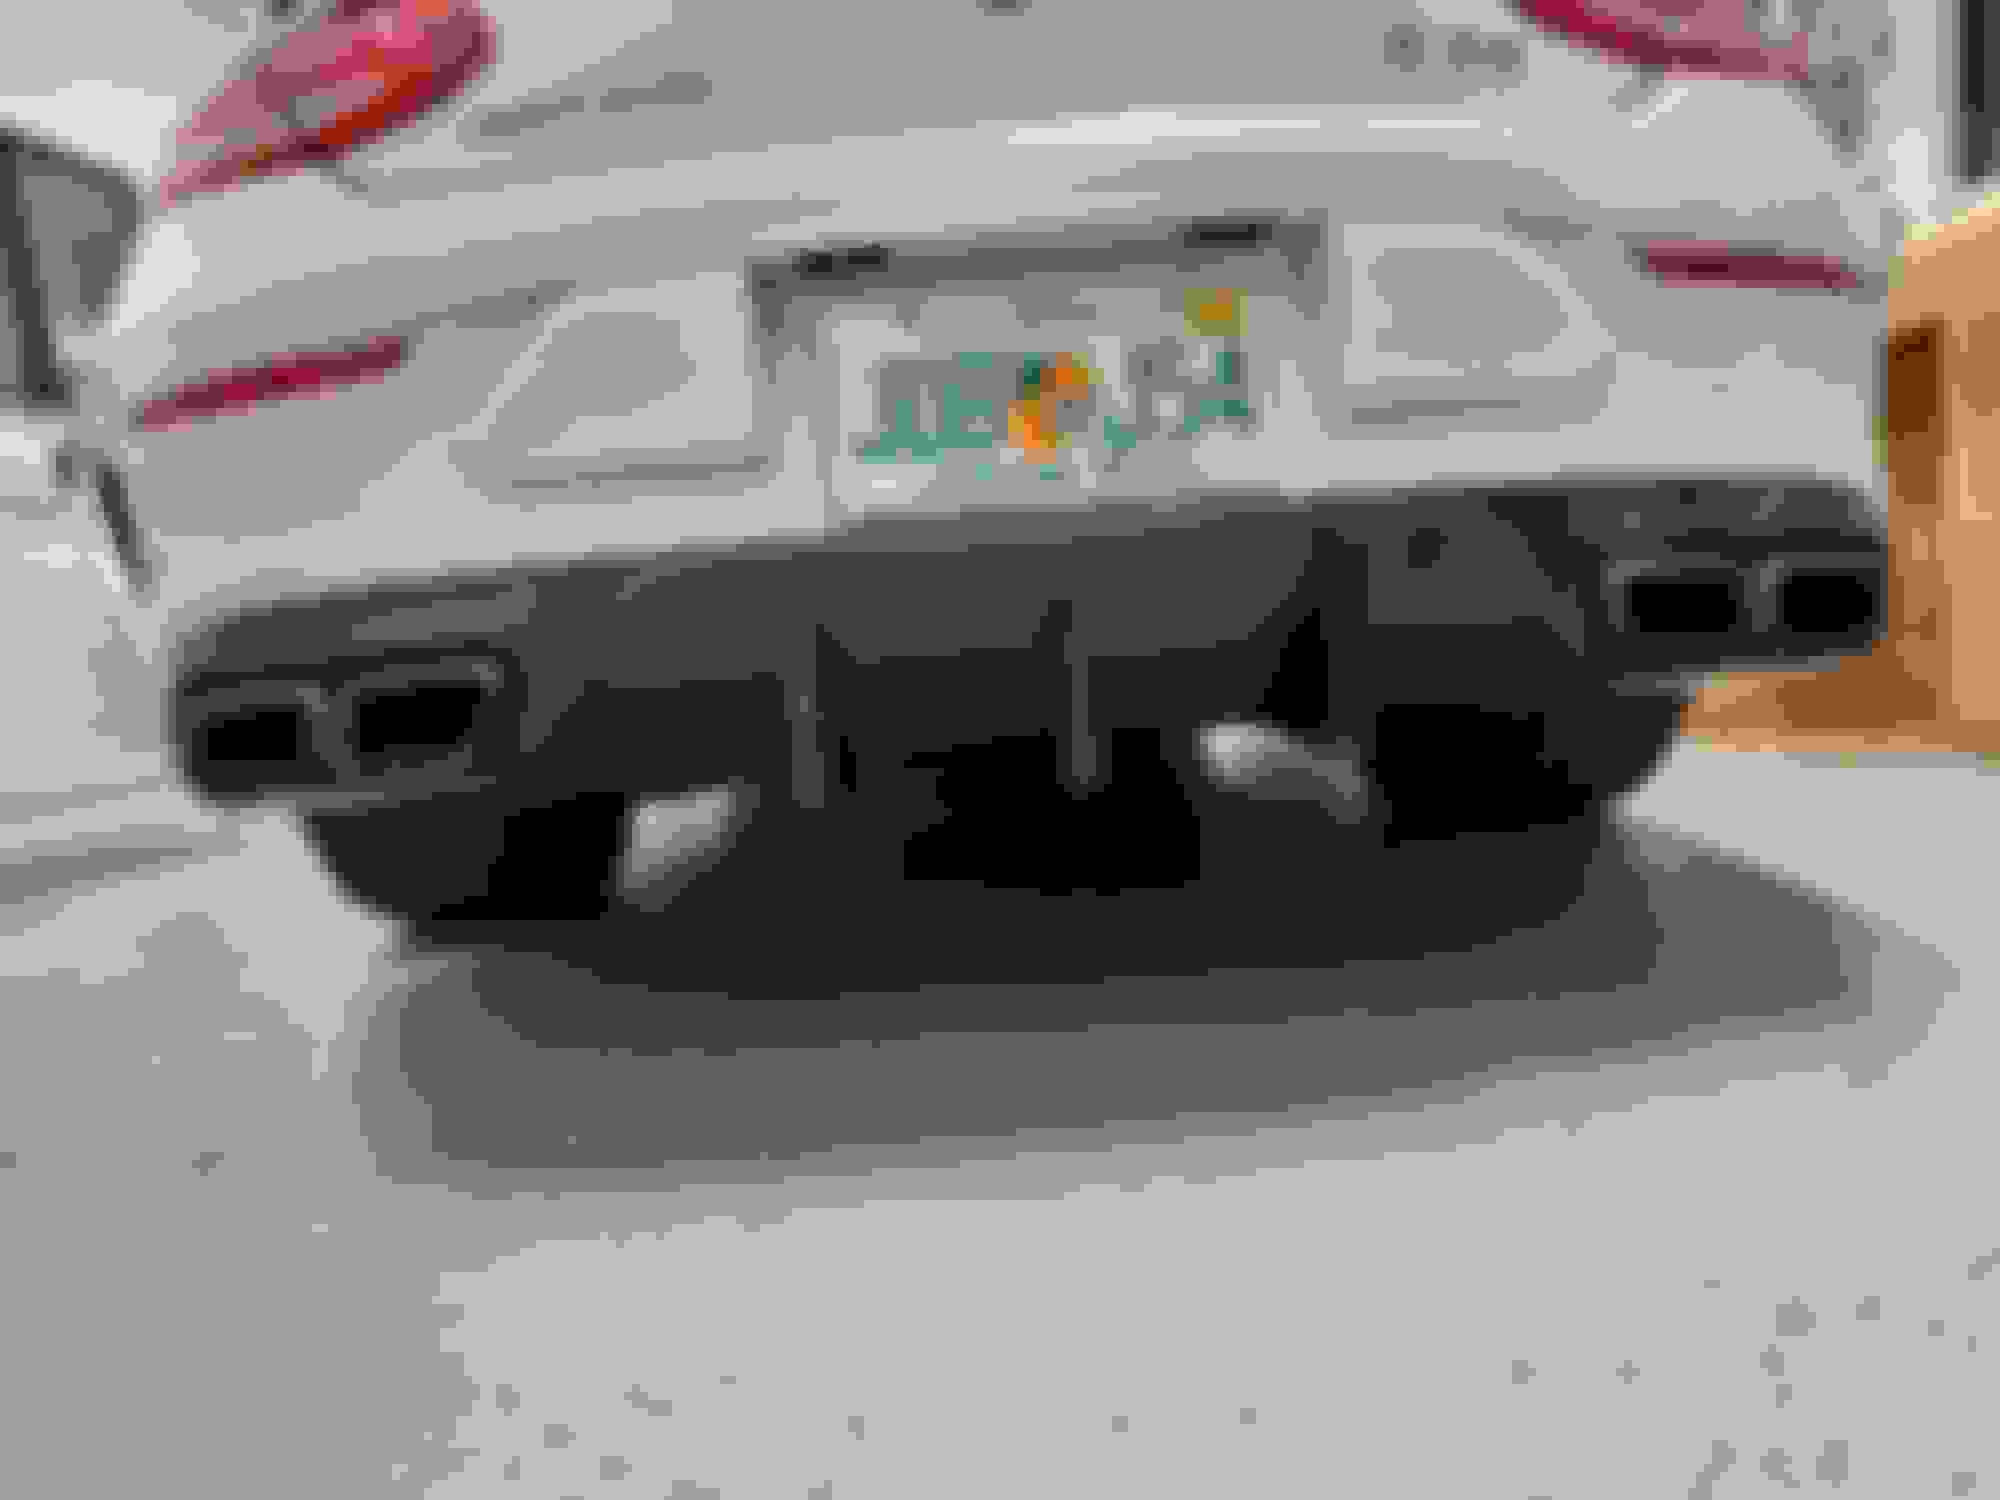
Step 8: at this point you should have what I show in picture below. at this time its best to reinstall the exhaust tips with the 4 Torx screws and white retainers. Make sure tabs are back in place properly.
Step 8: Now its time to install the new piece. Start with the tabs on the outside edge where the rivets go. press the tabs along the top into their slots. once everything is seated properly you can re rivet the 4 spot and you are done.
that one is tough. and i ended up breaking a few of the tabs on the stock one. the star comes out by twisting it counter clockwise and then you can access 4 of the tabs that hold that section in place. After that ir was just getting my arms far enough in to access the farthest side and undoing one tab at a time while you pull forward. as i pulled i stuck a rag between it and the grill to keep it from re attaching itself. Other then that it was just playing around with it.
the install was just lining it up and pushing in. The fit was right on for so everything slid into place. the only issue i had was the bottom outside edges. you will see a narrow tab with a hole in it. that area seemed to not want to stay in place. that was fixed by butting a short screw through that hole and it snugged it up nicely. ill see if i can get a picture when i run out for lunch
Last edited by bgm130; May 23, 2017 at 11:56 AM.
Reason: Add pic
@bmg130 I understand for your new rear diffuser you probably had to remove the whole stock diffuser, but could you have just removed the bottom part with the fins instead of the whole thing? I ask cause it looks like the edition 1 diffuser utilizes the top part and 2 new lower sections are added.
@bmg130 I understand for your new rear diffuser you probably had to remove the whole stock diffuser, but could you have just removed the bottom part with the fins instead of the whole thing? I ask cause it looks like the edition 1 diffuser utilizes the top part and 2 new lower sections are added.
No the stock unit is one large piece. The aftermarkets ones like PSM or RW carbon (GTX version) must install over the stock piece. Only part you can remove is the silver 3 piece trim. other then that it is solid.
Originally Posted by Mikey_boy
How did the cover to the tow hook go for you? Mine doesn't quite line up
It pretty close to perfect. in the picture above i had actually left the carbon piece at the shop so at that point the stock black part was just wrapped in 3m carbon fiber wrap. that is why it looks a bit off there
i have popped the top clips off from the bumper, but I don�t understand where are the 8 clips you are showing. Do I look from top down to find them through the gap between the top clips and the bumper? Or do I find them under the car looking up?
I see 7 lines in your picture, where is the 8th?
From top down which way do I push to unhook?
For those of you who have installed an aftermarket carbon fiber diffuser, how did you affix the parking sensors to it? I finally got around to installing one that I picked up a while back and while the parking sensor holes are in the new diffuser, there are no provisions on it to attach them. My first attempt at securing them with some RTV gasket maker that I had in the garage was unsuccessful. I have now removed the brackets from the stock bumper and JB welded them to the CF diffuser, but I am not sure that it is going to work out since the sensors are not flush in the hole as the profile of the OEM bracket does not match the contour of the CF diffuser. I even inverted the brackets and switched their sides (passenger side to the driver's side, and vice versa) which helped, but is not perfect. My concern is that this will cause the parking sensors to encounter interference from the diffuser itself.
For those of you who have installed an aftermarket carbon fiber diffuser, how did you affix the parking sensors to it? I finally got around to installing one that I picked up a while back and while the parking sensor holes are in the new diffuser, there are no provisions on it to attach them. My first attempt at securing them with some RTV gasket maker that I had in the garage was unsuccessful. I have now removed the brackets from the stock bumper and JB welded them to the CF diffuser, but I am not sure that it is going to work out since the sensors are not flush in the hole as the profile of the OEM bracket does not match the contour of the CF diffuser. I even inverted the brackets and switched their sides (passenger side to the driver's side, and vice versa) which helped, but is not perfect. My concern is that this will cause the parking sensors to encounter interference from the diffuser itself.
Any tips/tricks would be greatly appreciated.
my RWCarbon diffuser didnt come with proper slots for the sensors so I plugged them in, placed it on something off the ground, superglued them into the diffuser and carefully attached the diffuser to the bumper.
I want to thank the OP for the write up, it was very helpful. For anyone wanting to do this in the future, I figured I'd add a couple helpful pointers.
Once you get the stock diffuser unclipped from the perimeter clips, it'll still be attached by some internal clips that the OP marked with the 7 red markings on his picture. You get at them by pulling the stock piece out and you'll see the clips from the top. Use a wide, pronged trim removal tool and rock it from left to right or right to left. They'll come right off.
Next, the carbon fiber diffuser did not have a way to affix the parking sensors. It only has holes cutout. I removed the clips for the parking sensors from the stock diffuser and inverted them and switched their sides so the electrical connector would still point where it needed to in order to plug it in. I used some JB Weld to attach them to the diffuser. Makes the piece removable if I ever need to and the parking sensors work fine with no interference.
So I received my Modecarbon Front Grill and Rear diffusor on Sat and since I don't have the patience to wait to have them installed I went looking for a guide online which I could not find for the w205. After spending some time under the car and looking at the new piece's mounting tabs and holes I figured it out. so here is a step by step guide in case you want to try it on your own.
Tools needed. Torx bit T30, Drill and 1/8" drill bit, set of plastic panel removal tools (not necessary but helpful)
going to write steps but have added pictures on each part
Step one: on each side you will find 2 T30 torx screws holding the exhaust tips in place. unscrews those and put them and the white plastic retainers they go into to the side.
Step 2: now that the tips are free you can push in towards the front of the car to free the tabs on the top of the tips(pay close attention to how those tabs are seated, its imperative that they go back exactly). then you can pull them out and put to the side. (I have a separate write up for these when I installed the Awe tips)
Step 3: Drill out the 4 rivets, two on each corner and 2 towards the center.
Step 4: Start on one side close to where the outside rivet was and start to pull the black away from the painted part. there are tabs every few inches but with a little bit of force they pop out one at a time.
Step 5: once these are all popped out you can putt it away enough to look inside and see there are 8 tabs. at this time you should also be able to see the reverse sensor wires and unclip them at this time. also you can unlip the wires in a few spot that are attached to the diffuser.
step 6: The 8 tabs mentioned above. I used my trim removal tools to pry and at the same time unlatch these. I have taken a picture of how I used the tools to do each one
Step 6: once you got the last tab the whole thing should just unfold down away from the car.
Step 7: at this point you have 2 options. you can separate the two parts of the diffuser or you can snip off the two rivets holding the whole assembly. I snipped the rivets since that parts seemed pointless and figure it could cause rattles and served no purpose anymore.
Step 8: at this point you should have what I show in picture below. at this time its best to reinstall the exhaust tips with the 4 Torx screws and white retainers. Make sure tabs are back in place properly.
Step 8: Now its time to install the new piece. Start with the tabs on the outside edge where the rivets go. press the tabs along the top into their slots. once everything is seated properly you can re rivet the 4 spot and you are done.
how did you put back all the sensors to the bracket ? My carbon diffuser has nothing they held the middle part
2000 c230 kompressor special edition, 2012 E550 coupe (sold), 2017 C63 sedan (sold), 2018 C63S Coupe
Originally Posted by SJGetsome
I want to thank the OP for the write up, it was very helpful. For anyone wanting to do this in the future, I figured I'd add a couple helpful pointers.
Once you get the stock diffuser unclipped from the perimeter clips, it'll still be attached by some internal clips that the OP marked with the 7 red markings on his picture. You get at them by pulling the stock piece out and you'll see the clips from the top. Use a wide, pronged trim removal tool and rock it from left to right or right to left. They'll come right off.
Thank you for the additional insight! Installed an OEM carbon diffuser today and this made it so much easier than pulling off/reattaching that whole bracket type thing!
Mercedes SLR McLaren 722 S Is Extremely Rare Example Modified by McLaren
Slideshow: A one-of-one U.S.-spec Mercedes-Benz SLR McLaren Roadster became even rarer after a factory-backed transformation at McLaren's headquarters.