When you click on links to various merchants on this site and make a purchase, this can result in this site earning a commission. Affiliate programs and affiliations include, but are not limited to, the eBay Partner Network.
Just figured I'd post a quick how-to on replacing the radiator fan blades themselves in our vehicles, since my Crank pulley decided to heavily damage mine as penance for lack of Preventative Maintenance. This is an order of magnitude easier than replacing the whole assembly.
The parts/tools list is quite short:
torx bit (unsure of size)
adapter for torx bit to attach to 1/4 or 3/8 drive ratchet
replacement fan blades
~1" putty knife
The most difficulty I has was with removing the old fan blades after removing the four (4) torx screws, which are located in the hub section of the fan. The amount force with which my blades were suck to the motor hub made me wonder if there was a press fit involved (there wasn't).
I had my supercharger belt removed to do this (not sure if required but it does give you more working room).
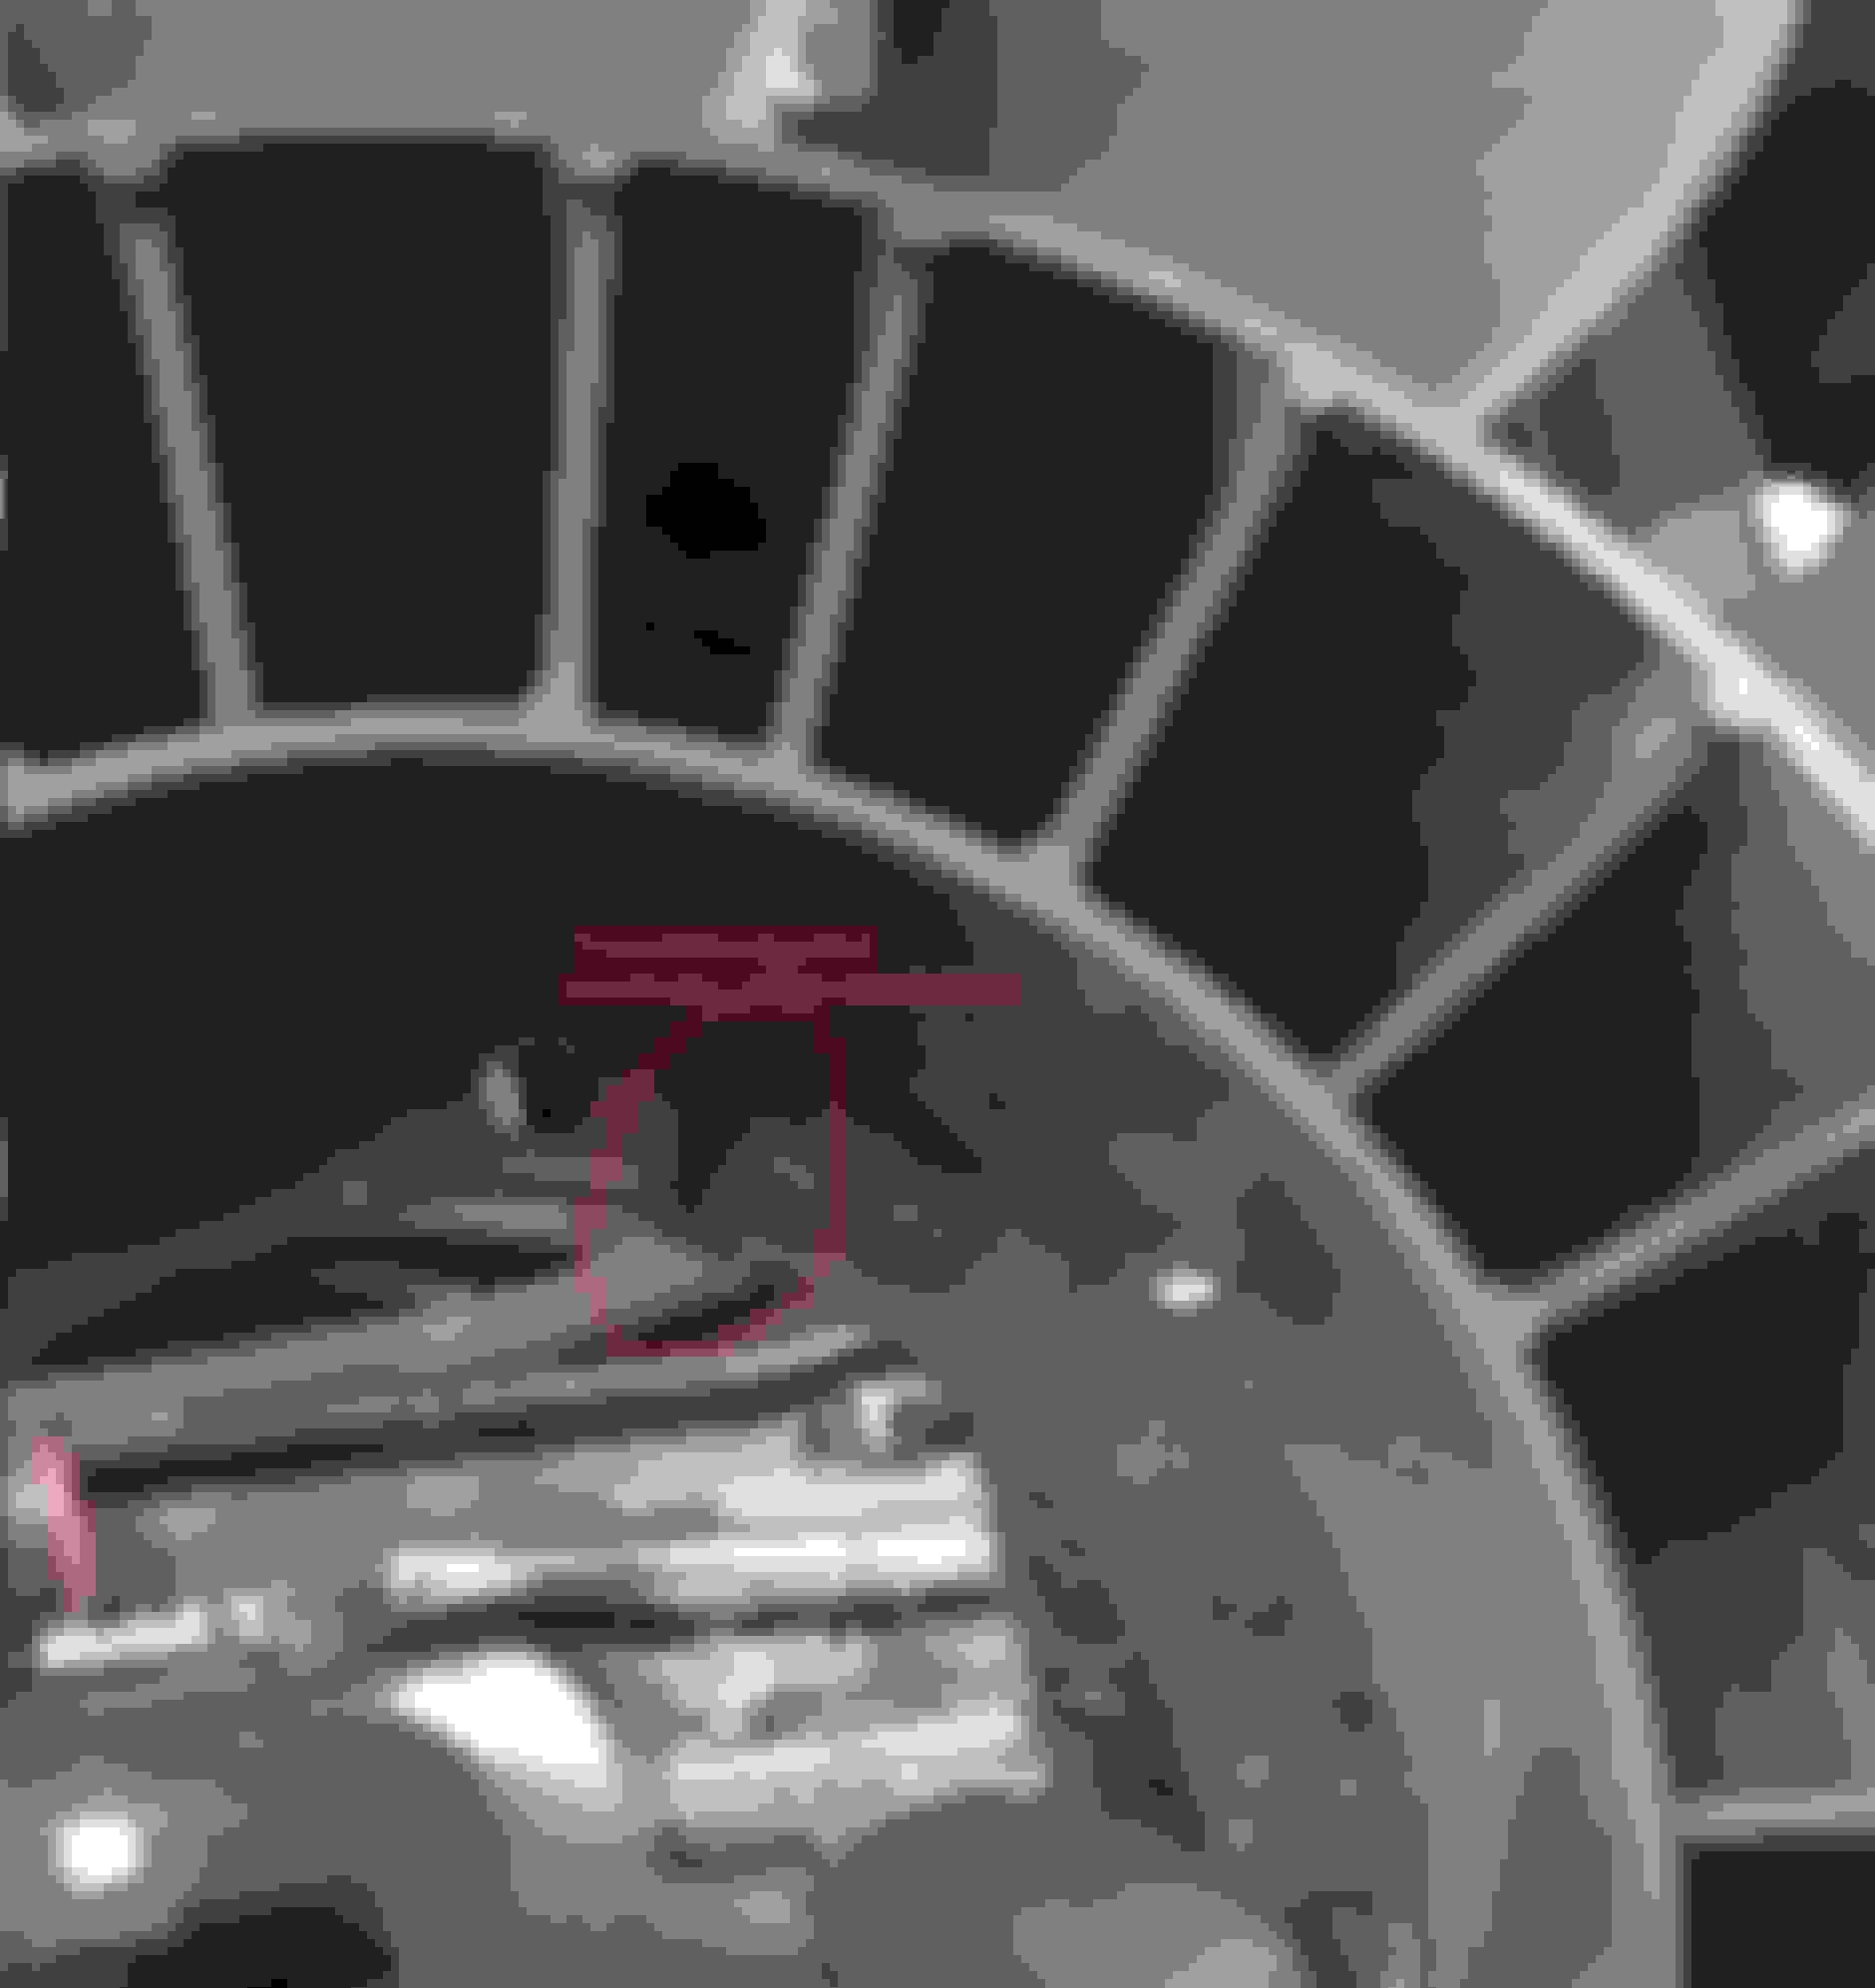
I ended up getting the blades loose by holding and pulling the left side of the fan blades up with my left hand (clockwise rotation if you have x-ray vision from the front of the car) while jamming the corner of the putty knife into one of the transitional areas where the plastic around the screw holes goes from a slight depression in the plastic, back to average height... To expand on this, I pushed the putty knife more or less vertically down with my right hand, while a corner of it was resting on the metal of the fan hub, and touching the plastic of the fan blade assembly in the small (~2") section in the center of the fan plastic assembly where the metal of the hub is exposed.
Attached image 1 shows new/old fan blades, 2 and 3 (reversed order) are of putty blade initial location and after rotation (already off the motor hub), 4 shows "transitional area" I targeted with the corner of the putty blade. old vs "new" fan blades putty blade after rotating blades and pushing down on putty blade putty blade initial location "transitional area" backside (hub facing side)
With enough force, the blades will rotate, and the putty blade will force itself between the metal of the hub and plastic of the fan blade hub mount. I repeat this process a total of 4 times, starting the putty blade at the same transitional point every 90 degrees of fan rotation.
Everything else is pretty simple, be sure to angle the fan going back in, and move coolant lines appropriately, or you may encounter resistance that makes the replacement fan blades seem like they won't fit.
For torque on the screws, I tightened as much as I could with my hand very close to the head of the ratchet, to avoid overtightening.
Mercedes SLR McLaren 722 S Is Extremely Rare Example Modified by McLaren
Slideshow: A one-of-one U.S.-spec Mercedes-Benz SLR McLaren Roadster became even rarer after a factory-backed transformation at McLaren's headquarters.