When you click on links to various merchants on this site and make a purchase, this can result in this site earning a commission. Affiliate programs and affiliations include, but are not limited to, the eBay Partner Network.
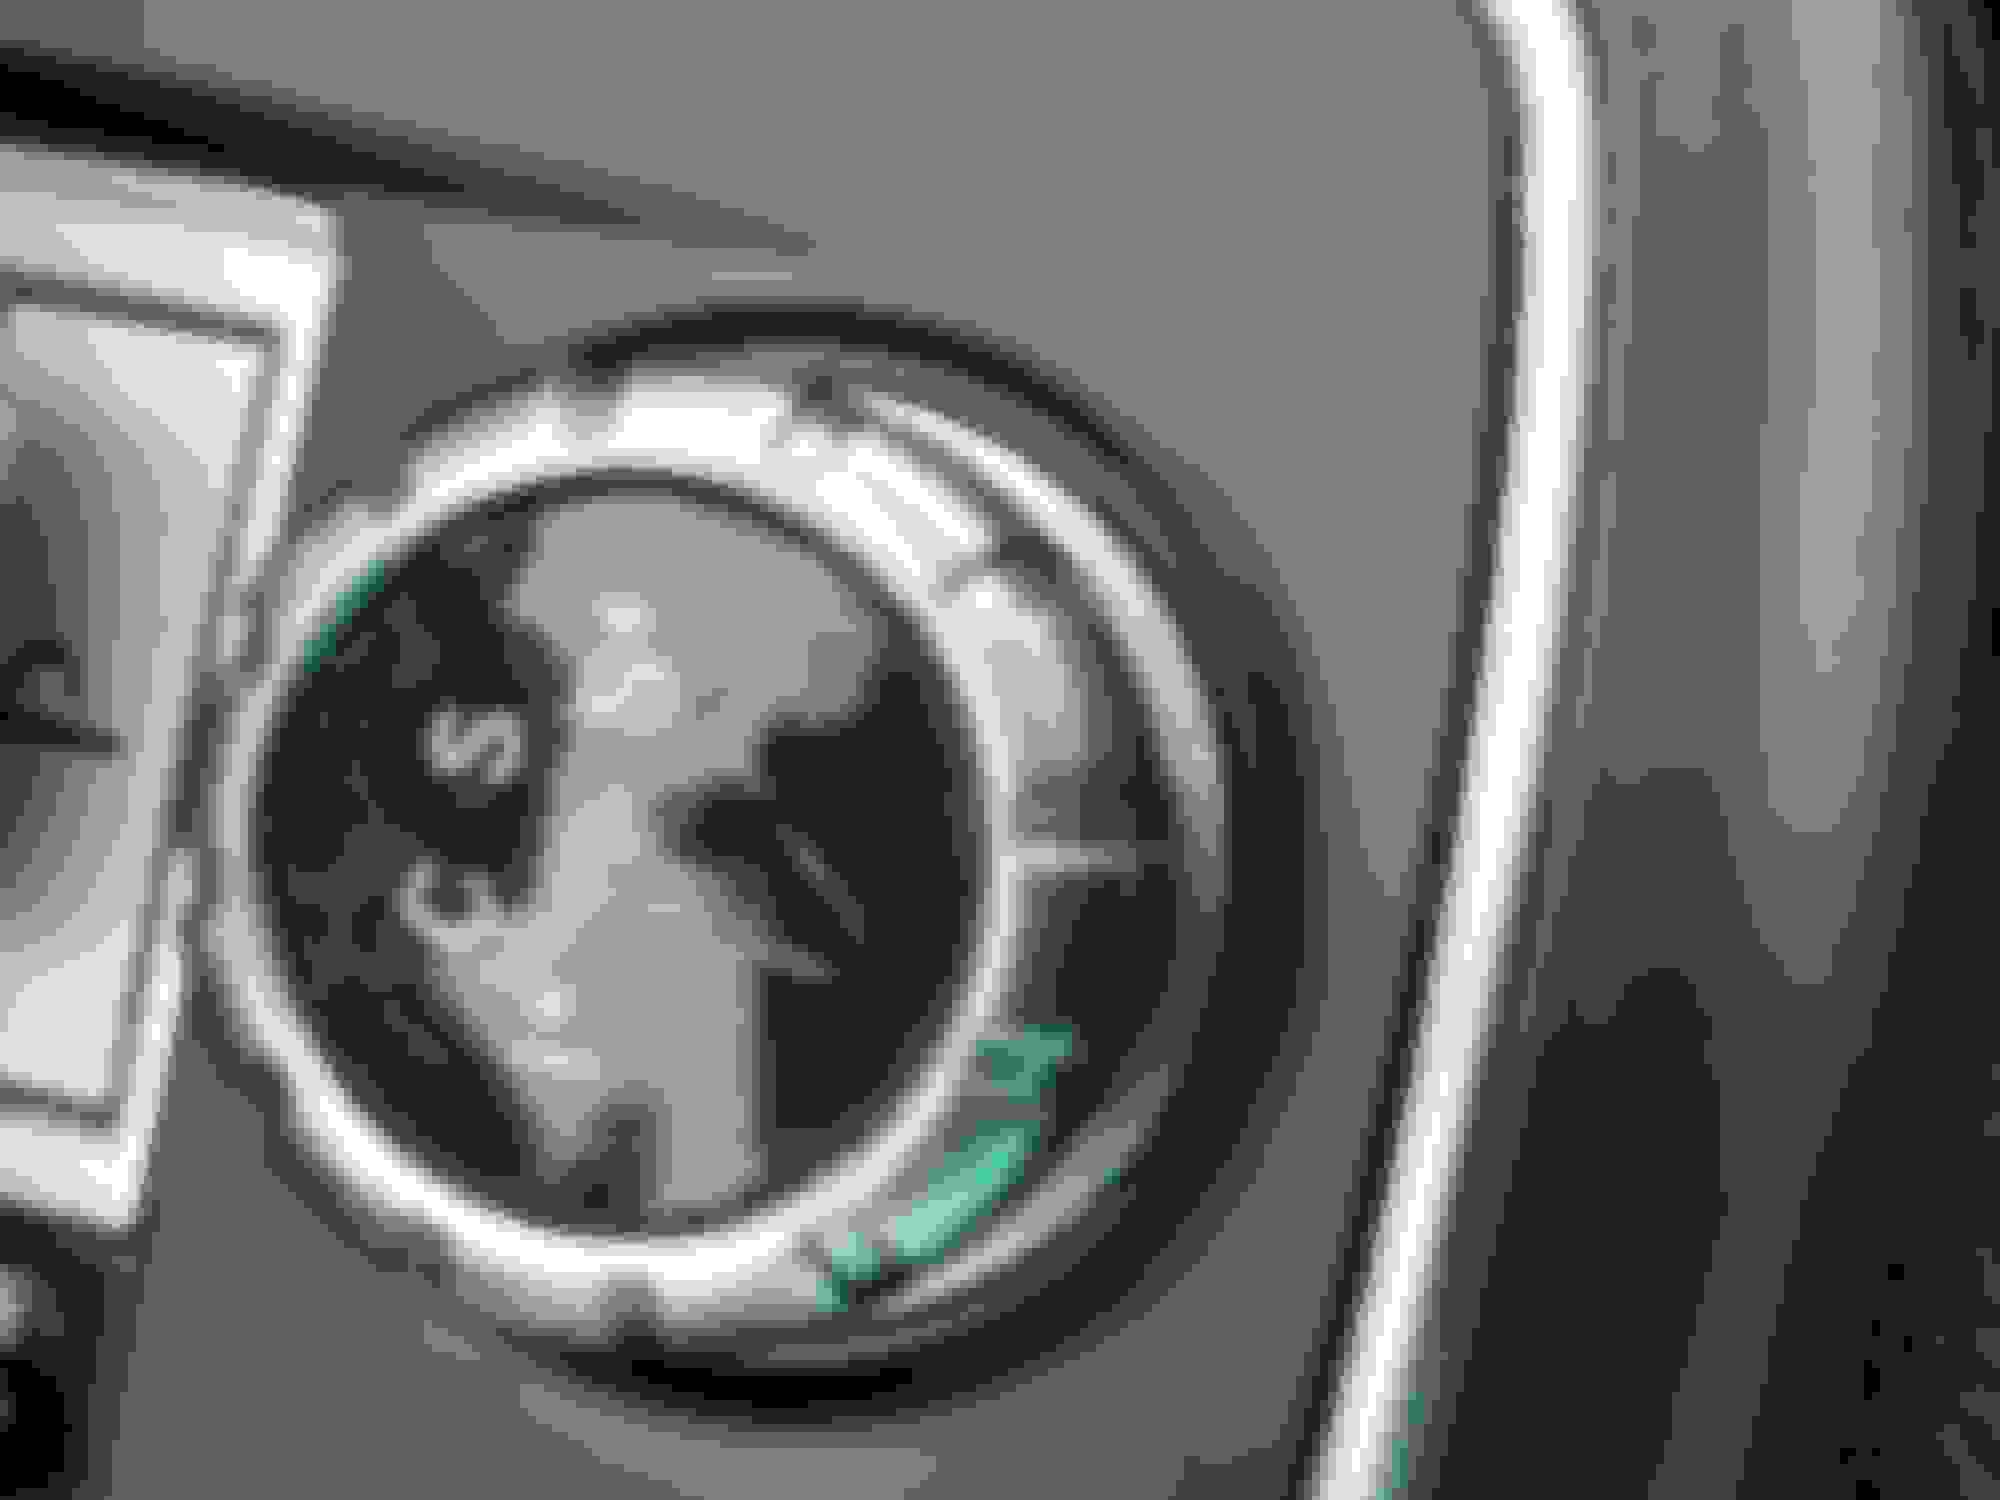
I bought my toy with this knob having ugly scratches (I thought they were scratches). Then I learned that they were cracks, and deep ones.
It looked horrible, but as I was about to spend a lot of money in the engine and some in customizing the car, I left the replacement for the future.
In fact, I soon started a process of restoration, with bitter results at the beginning, but very good results at the end.
First (when I thought they were scratches), I started to sand the acrylic surface. It went from shiny to opaque/scratched, but the cracks remained.
Then I tried to fill the cracks with ALL THE AVAILABLE PRODUCTS in the market that claim forming a layer of shiny material on cell phone�s screen. TRIED SOME 7!
No way. The scratches remained there.
It was then when I had my genius share of the week, and figured that an acrylic paste would do the trick. For that I remembered that when I was younger, I repaired acrylic things with sanded acrylic powder, melt with acetone. Well couldn�t get acetone in my vecinity...
Well, it worked like a charm. It was necessary to put a few layers, so as to get it even, and also PLEASE TAKE INTO CONSIDERATION that once applied, for the first 30 minutes I was rotating the knob every 3-4 minutes, so as to avoid it to get stuck. This product cures sooner and harder with the application of an UV light (cheap bulb did the trick).
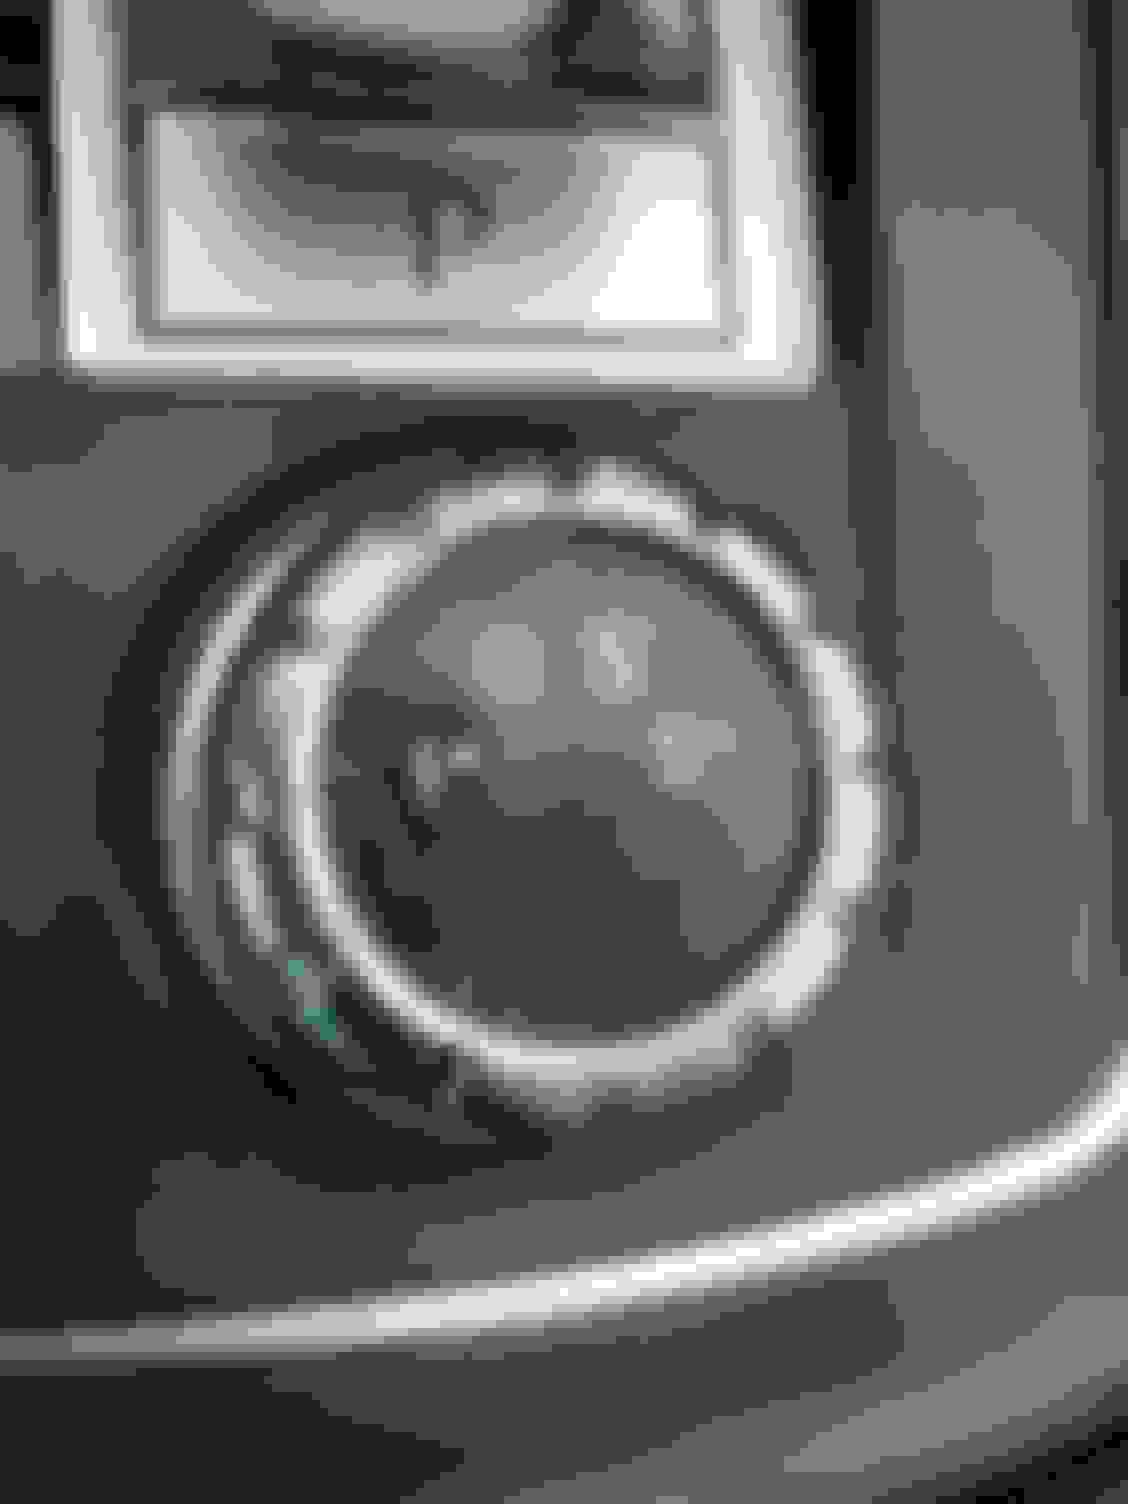
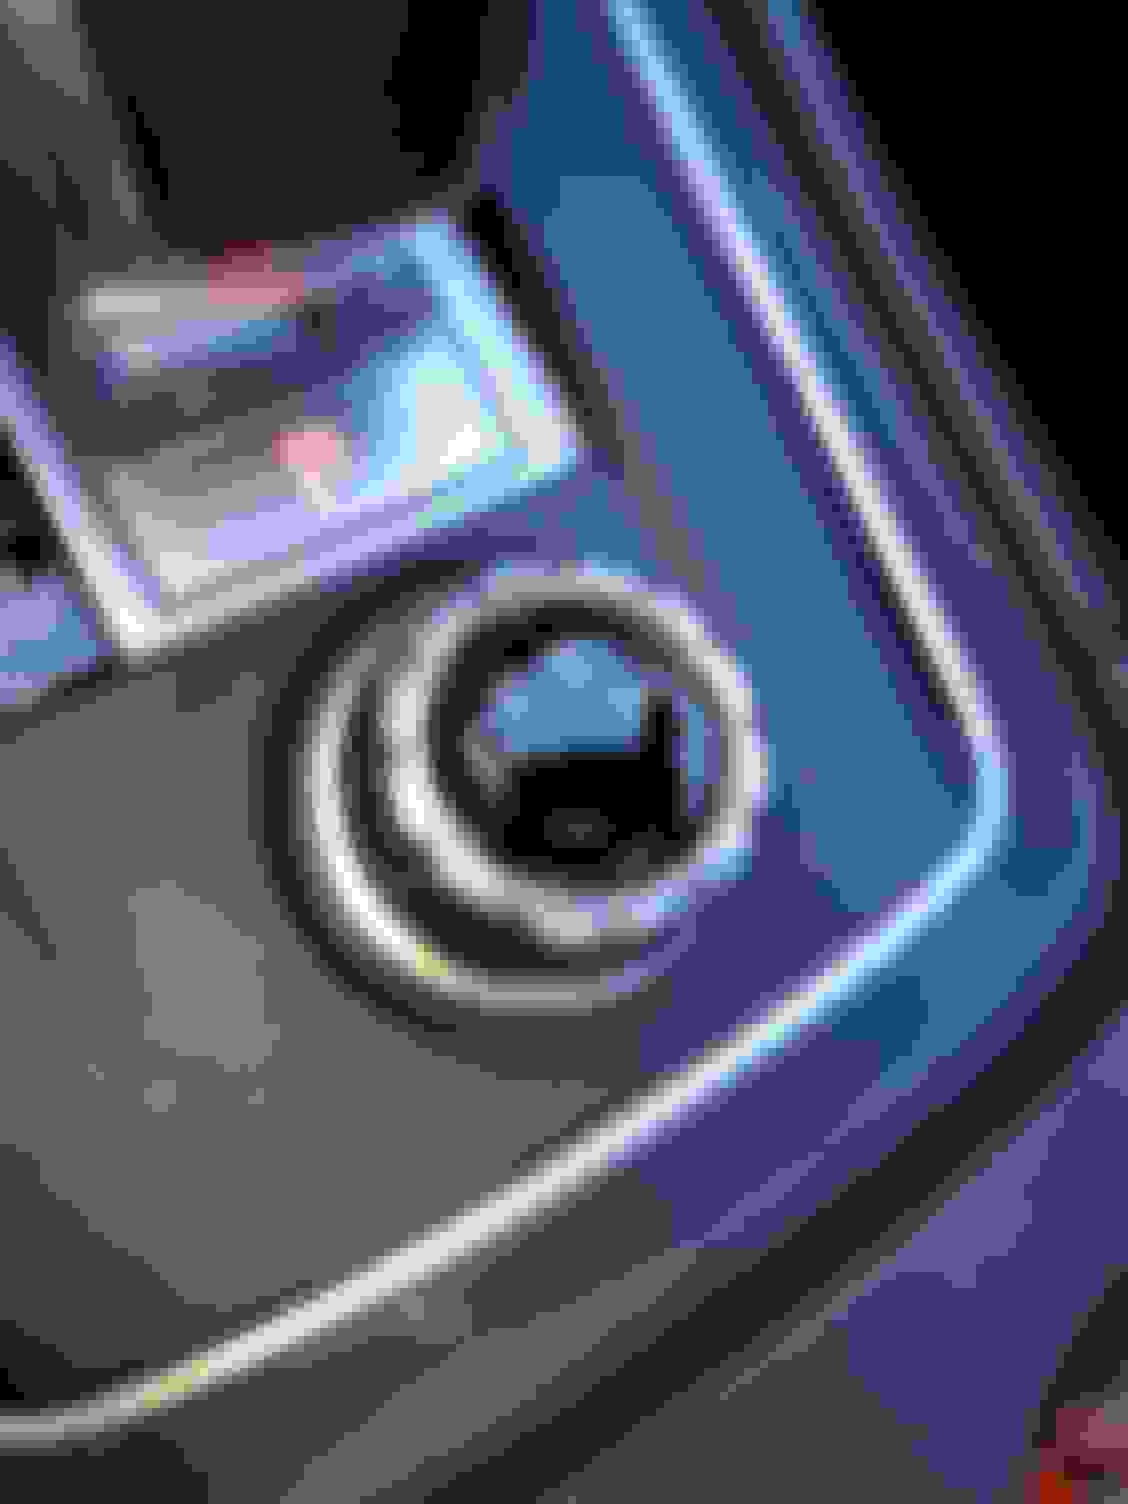
Finally, I ended with my knob ALMOST perfect, with low investment, and most important of all, for me at least, with the satisfaction of resolving the issues myself rather than paying and hiring.
Below you can see pictures of the before and after. The final picture was a week ago. Today I achieved to perfect a little more the border, but didn�t take that picture.
 10-26-2021, 11:30 AM