When you click on links to various merchants on this site and make a purchase, this can result in this site earning a commission. Affiliate programs and affiliations include, but are not limited to, the eBay Partner Network.
Even if you are working on just one side, it’s a good idea to remove both sides of the surround to provide a template for putting it all back together again.
It’s also a good idea to unbolt the top 17mm bolt of the seat belt to give a bit more room.
Step 2. Remove the 2x13mm nuts which are on spindles at the bottom of the mechanism in the “abyss”. It would be much easier to use a flat ratchet spanner if you have one. Using pliers or 4 or 5mm socket you can remove these spindles. It’s much easier to remove/replace these spindles on their way up/down out, than removing them when they are in the “abyss”. Take photos so you can see how far to put them back later on. Use a small torch to illuminate what you’re doing.
Step 3. Remove 13mm bolt for spindle no 3. Use a 4mm allen key to completely unscrew the spindle. Let it drop and retrieve from the “abyss”
Step 4. With the window fully lowered remove the rubber trim (which just pulls off) and the top bar. 2x10mm nuts, 2x10mm bolts and 1x30 torx hex screw. There is also a bit of rubber clipped to the top bar. The top bar is made from thin steel which is easy to warp, so be Step 2. With the window fully lowered remove the rubber trim (which just pulls off) and the top bar. 2x10mm nuts, 2x10mm bolts and 1x30 torx hex screw. There is also a bit of rubber clipped to the top bar. The top bar is made from thin steel which is easy to warp, so be VERY gentle
If you are only replacing the window glass, then don’t remove the spindles. Screw in the No 3 Spindle with a 4mm allen key as far as it will go.
Step 5. Raise the window as far as it will go and carefully lift the entire mechanism from the car. Having first unclipped the power cable.
Step 6. With the entire mechanism removed from the car, screw the number 3 spindle back into the frame as far as it will go.
Step 7. Carefully slide the replacement mechanism back into the car. The Number 3 spindle will cause a lot of resistance but it can be worked down. When the mechanism is down low enough that you can see where spindles 1 and 2 go into the frame. screw them back in using the photos you took earlier as guidance. Also put back the 13mm nuts onto these spindles, leaving a gap so that they can lowered into their homes in the “Abyss”.
Step 8. Continue guiding the mechanism down into the “Abyss” so that spindles 1 and 2 drop down into their u-shaped homes. Spindle 3 will pop into place. Leave these loose for now.
Step 9. Using the electrics, lower the window as far as it will go and replace the rubbers and top bar. When this is done, tighten up spindle 3 , and this can be unscrewed with the Allen key so that it holds the mechanism in place. When everything looks OK, the 3x13mm bolts can be screwed in tight and the electrics clipped back together.
Step 10. Before you put back the seat and stuff, test the window. You may need to adjust the spindles to get it to work properly. Test the window when the hood is down.
Hopefully, you find this useful. I’m a complete amateur and this job took about a gazillion hours to complete without any documentation to help.
GOOD LUCK AND HAVE FUN!!!
Last edited by Mercnotworking; 03-13-2019 at 02:40 PM.
RE: Step 2. For spindle nuts 1&2, how exactly do you remove them? I've used a fair amount of force trying to turn them both directions (tried clockwise too because counter clockwise wasn't getting me anywhere) and it seems they won't budge. It seems incredible it would take that much force to turn them, especially since they're located in such a tight space - is there a trick to it? There's something about taking them off that I am not understanding.
They are ordinary nuts which are removed in the normal way. Because it's such a tight space, it's hard to get in there to apply enough force, but keep persevering. You could try heating it up with a hair drier first to slack off.
Are you replacing the whole rear window and frame or just the window?
I've been reluctant to apply more force to the nuts because the entire bracket from below seems to be twisting as I apply pressure. I hit it with penetrating oil a couple times, didn't do anything. The great abyss royally sucks.
That white plastic piece that moves up and down is broken. Unfortunately the top cable broke completely free from it and is probably by the uppermost pulley. Without seeing the entire regulator and how damaged it may be, I'm hoping I just need to replace/repair the plastic piece and reattach the loose cable.
At this point I'm thinking I might as well just remove the upper rubber and trim, possibly take out the glass, and find out if I can see the upper cable and somehow fish it down to the bottom for reattachment.
EDIT: was finally able to get those nuts off. Having some trouble removing everything from the top but will try again tomorrow. Unfortunately this car's top isn't working properly - don't know if I can wriggle everything out without figuring out how to manually lower it.
Step 4. With the window fully lowered remove the rubber trim (which just pulls off) and the top bar. 2x10mm nuts, 2x10mm bolts and 1x30 torx hex screw. There is also a bit of rubber clipped to the top bar. The top bar is made from thin steel which is easy to warp, so be Step 2. With the window fully lowered remove the rubber trim (which just pulls off) and the top bar. 2x10mm nuts, 2x10mm bolts and 1x30 torx hex screw. There is also a bit of rubber clipped to the top bar. The top bar is made from thin steel which is easy to warp, so be VERY gentle
If you are only replacing the window glass, then don�t remove the spindles. Screw in the No 3 Spindle with a 4mm allen key as far as it will go.
Step 5. Raise the window as far as it will go and carefully lift the entire mechanism from the car. Having first unclipped the power cable.
Spindle 3 should be fully removed before taking entire mechanism out right?
Well done on getting 1 & 2 off. They are very fiddly.
You don't need to remove spindle 3 completely, you can screw it all the way in with your allen key and the frame will pull out with a bit of jiggling. You DEFINiTELY need to screw it completely into the frame to put it back.
Be VERY gentle with the soft bit of metal with 4 x 10mm bolts and the 30 hex bolt. I warped it and that caused me about 20 hours work and i still need to replace it..
Here's the guide to manually opening the soft top. All of Klaus's videos are fantastic, so it's worth watching all of them.
When you get the window and frame out and your want to remove the glass from the frame, then mark round the 4 bolts that hold the glass to the frame before removal. It's also much easier to remove the glass, if the glass is not at the highest point on the frame. i.e. as if the window was completely closed in the car.
I love my A208 and have enjoyed every minute of the hundreds of hours I spent on getting it going, but it's a pig to work on,
I already removed spindle #3 but I'll make sure to put it in before re-installation. After I called it quits in my last session I realized I removed a random bolt instead of the 30 - I remembered it as 13 and there was a 13mm bolt nearby. Does the top need to be down to see 30? I'll take a closer look next time. Did the top bar warp from bending it too much? I pushed it to the side at one point to get clearance I guess because the 30 was still keeping it in place at the end close to the back. It re-positioned back to normal fairly well, but I'll refrain from doing that again. I was extending the window all the way which made everything more snug - I'll definitely try lowering it while pulling everything out.
You're a lifesaver! Without your guide and tips I'd be totally lost. Thank you.
It's my mom's 1999 320 and she's had it since it was new. It hasn't been driven that much the last 5 years or so. I'm in the Los Angeles area. I was planning on tackling the convertible top issue(s) for her at some point then this back window issue happened, which is a higher priority.
In case you're interested, mine is a 1999 CLK 230 that I bought 2 years ago for virtually nothing. I've spent hundreds of hours and quite a lot of money on it and it's worth much less than I paid for it. We live in cold wet rainy Scotland and rust is the biggest issue. I love it to bits despite the faults (and there are many).
Wasn't clear about what actually needed to repaired here, but when a window won't go up, down or partially, the glass pane is loose etc., you may not have to pay for and replace the entire window regulator assembly.
The culprit is frequently just that the plastic block that holds the cable ends has broken and MB dealers don't sell this part individually.
Here's a video, that one of our forum's contributors, Marko69 made that explains how to repair the malfunctioning window regulator, for less than $10.
Serndipity - Good idea for future reference to add that video. I already watched it before coming to this post and was hoping that was the extent of my problems. The plastic part mentioned in the video was broken but in addition to that, one end of my top wire was stuck on the upper pulley and was jammed inside the motor wheel on the other end.
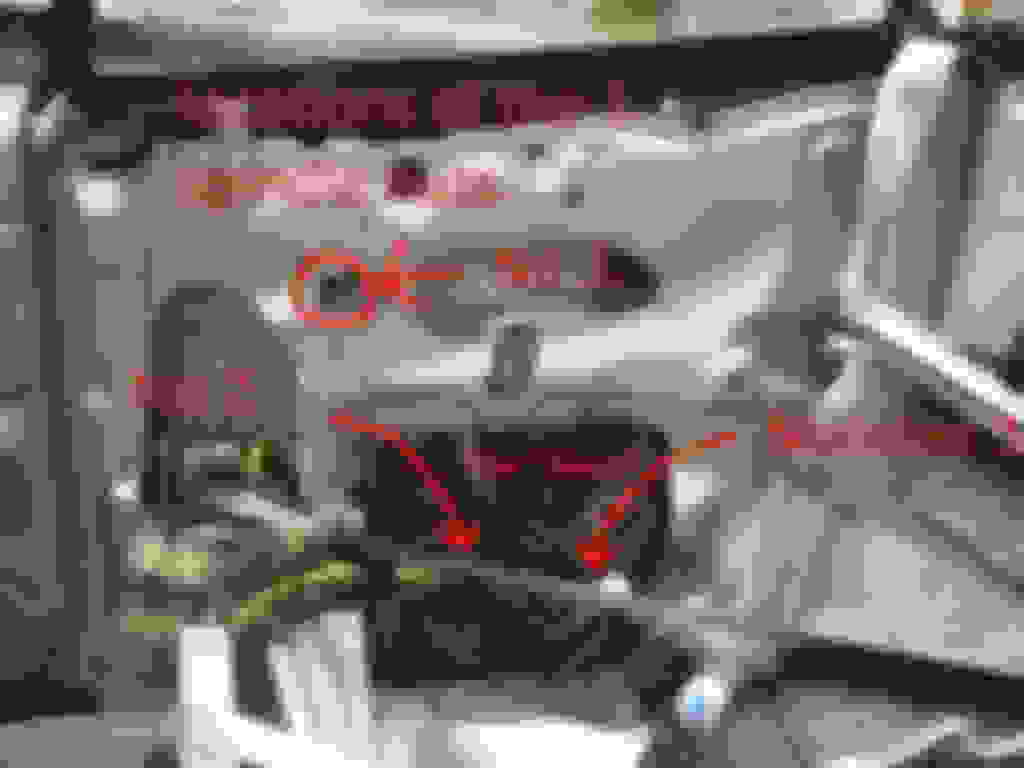
I extracted the entire regulator and motor from the car to get a better look at everything. Once removed, I reattached the motor assembly and tried operating the system but it was still as jammed as before. I then took the motor off the frame and unscrewed 5 size 25 torx screws that connect the back plate to the motor assembly, which revealed the spool/wheel the wires are attached to.
It looks like this:
I then removed the yellow wheel from the assembly, which was slightly jammed in - it pulls straight out, you can use needle nose pliers to grasp the inner empty holes and pull out. The wheel can twist slightly because it's wedged into place with the assistance of 3 little rubber pieces on the other side of the yellow wheel. You don't need to twist it but it may help if everything is stuck.
I removed the battered wires, stuck the wheel back in, screwed in the back plate and tested the motor with power to see if it could move without the wire mess or if it was burned out. Fortunately it was now spinning fine.
I measured the wires. The top wire is obviously longer than the bottom wire. My best estimate for the top wire was 3 foot 1.5 inches and bottom wire 2 foot 7 inches. I added on a couple inches to each for wiggle room and for fixing the ends which required some wire bending. If I were to do it again I'd probably add a good 4-5 inches to each piece to make easier and cleaner bends. I remembered the orientation - for mine the wire going up out of the assembly was coming out of the under side of the wheel and the wire coming out of the bottom part of the assembly originated out of the top side of the wheel.
I went to a hardware store and bought what looks like an identical stainless steel wire rope (I think it was 1/16 inches) - being new it's a tad thinner. The next size up looked slightly too big. The wire only cost $1. I also bought some small washers and nuts that fit the wire and would work as my new anchors in the plastic piece mentioned in the above video. That was another couple bucks. I would have just cut off the ends of the old wire and soldered them to the new one but I didn't think that would work out well on stainless steel and didn't want to go with a different material for the wire.
I took a nail file and ran it in between the tracks on the wheel - some of them seemed a bit smashed down in certain areas. I didn't make everything perfect, but it was definitely improved.
On attaching the wires to the wheel - which should be done first - even the small washers were a bit too clunky to serve as anchors because the anchor point is a very small space that is shared with the other side of the wheel - so I bent up the ends to my liking, stuffed them in and tested them until they wouldn't budge. I also put in a small wad of aluminum on top, which I really don't think was necessary but whatever. The anchor points in the wheel don't get as much tension as the point of contact right at the first bend to the outer track of the wheel. Regardless - wires should stick into the anchor points fairly well. I would have liked a more elegant solution but it seemed to hold under way more tension than anything it will experience under routine load so I'll live with it.
Both wires wrap around the wheel about two times then come out of the motor assembly from mid point on the wheel.
Before doing the final wrap and placement I liberally applied synthetic grease all over the wheel and where the wires exit the mechanism. Anchor, anchor, wind, wind, make sure the rubber bits on the bottom are in place, position the wheel in, slap the plate back on and tighten everything up.
For the other end of the wire, I re-used the springs from the old wire, put a small washer/nut on top to serve as the anchor, bent a wire around the top most part and put some epoxy on it. Obviously you want to line everything up so you know both wires at full extension will be the right size. For the epoxy application I moved the spring away, had the wire and nut hanging from the rail, smothered the epoxy and applied a little pressure. When everything had dried bend the end slightly so it was perpendicular to the wire. Lined the springs up and tested everything with the old broken plastic piece (the one in the video) zip tied up and it worked!
I contemplated throwing some epoxy on the broken plastic piece or melting some plastic on it, but opted to have a bit of patience and order a new one from the ebayer linked in the video above for $10. That part takes a lot of abuse and the one I'm working with is already so old, I don't want to have to open this thing up again in a few hours, days or week because it took its final crumble.
EDIT: As an afterthought, I guess I could have tried crimping a stop on the wire where it attaches to the motor wheel. I still could since I need to wait for the plastic. Grrr...don't really care to open that motor up again. lol. A standard stop wouldn't cover enough surface area or be strong enough for the end that attaches to the plastic piece though.

 01-27-2019 | 06:13 PM