When you click on links to various merchants on this site and make a purchase, this can result in this site earning a commission. Affiliate programs and affiliations include, but are not limited to, the eBay Partner Network.
Black 2004 CLK (w209) 320 Cabrio auto transm. "Elegance" trim; <br /> 2014 A180 black man.
Easy fix (reasonably) for the failing soft top seam #easy #softtop #seam #fix
I am proposing this writeup for a method to fix a weakened or failing soft top seam using glue, without disassembling the canvas.
Background
As fellow Patton001 wrote in his related post, this seams (pun intended) to be a common problem with our tops. After several years, the factory glue gets worn-out by the various aggressions it is subject to. Mine is 15 years old. Very good overall condition. Considering the exposure, it is already impressive that a glued seam holds for so long. Some time ago I noticed a beginning of separation of about 10cm (4in) on the left side. Nothing dramatic. I could gently lift the “lip” of the seam and after careful examination, I noticed that in two locations I could see the inner part through a very small gap.
Common solutions
After surfing numerous forums, I realized thanks to Rudeney-the-wise that I might be contemplating a full replacement. And I discovered the wonderfully sexy WIS disassembly guide (**** me if I’ll try that!). I said to myself that it might be good to prevent the failure of the seam altogether and find a way to avoid even partial disassembly by somehow clamping the seam.
It’s wonderful to have wonderful friends
I friend of mine, plastic surgeon (yeah, I know amazing people lol) had a look at it out of morbid curiosity. He owns a brand new 2-seater from the competition and has a soft top as well. His is sewed. I exposed the challenge of removing the canvas to either sew or glue the seam. After a few drinks, his answer was: “botox it!”. Me: wtf?????. Him: “why? rejuvenate the glue!”. His suggestion was to simply inject glue in the seam. Before it really fails.
The rationale
New glue will strengthen an aging seam and prevent failure. Where fail has started, new glue will secure the seam and prevent further aggravation.
Glue injection
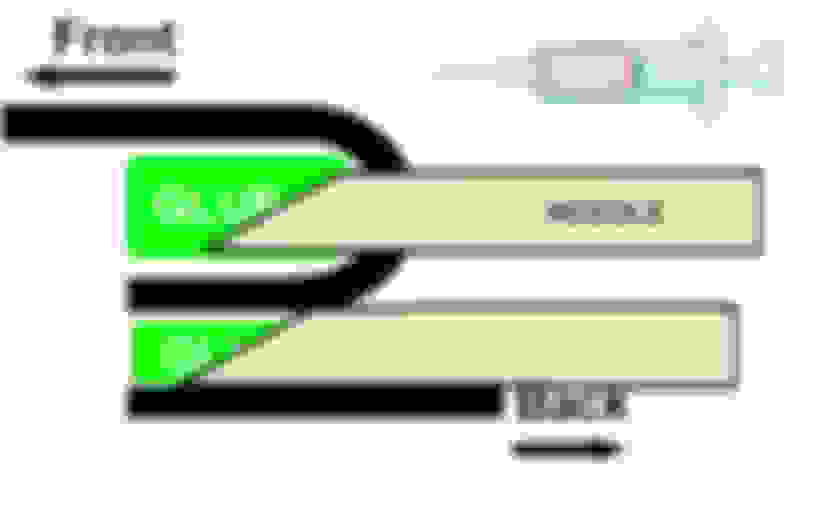
The proposed method is to inject a tiny bit of sealing glue in the seam in two passes. First pass inject every 15mm (0.6in) so as not to overly stress the already weakened seam. Let it cure. And for the second pass, inject between the previously injected points. You will end with new-glue strongpoints every 5mm (0.2in). This could help secure the seam for a few more years. Both top and bottom seam can (should) be injected to ensure overall stability.
Original picture courtesy of Rudeney
Showing my seam after 15 years. till in good shape but begginning to fail in few areas.
Clamping the seam
I was trying to imagine a way of clamping the seam while the glue is curing. I saw a post of someone using large paper clips on the folded canvas while the top is vertical. The answer came from a buddy scientist at the nearby CERN (those nerds play with baby black holes all day…). He suggested magnetic clamping. Two magnets will “clamp” through the canvas. He showed me what he meant and offered to lend me some magnets. But his magnets would extract iron from your bloodstream. Or clamp my CLK to the ceiling of the garage. I went on to look for more manageable industrial magnets.
Hardware
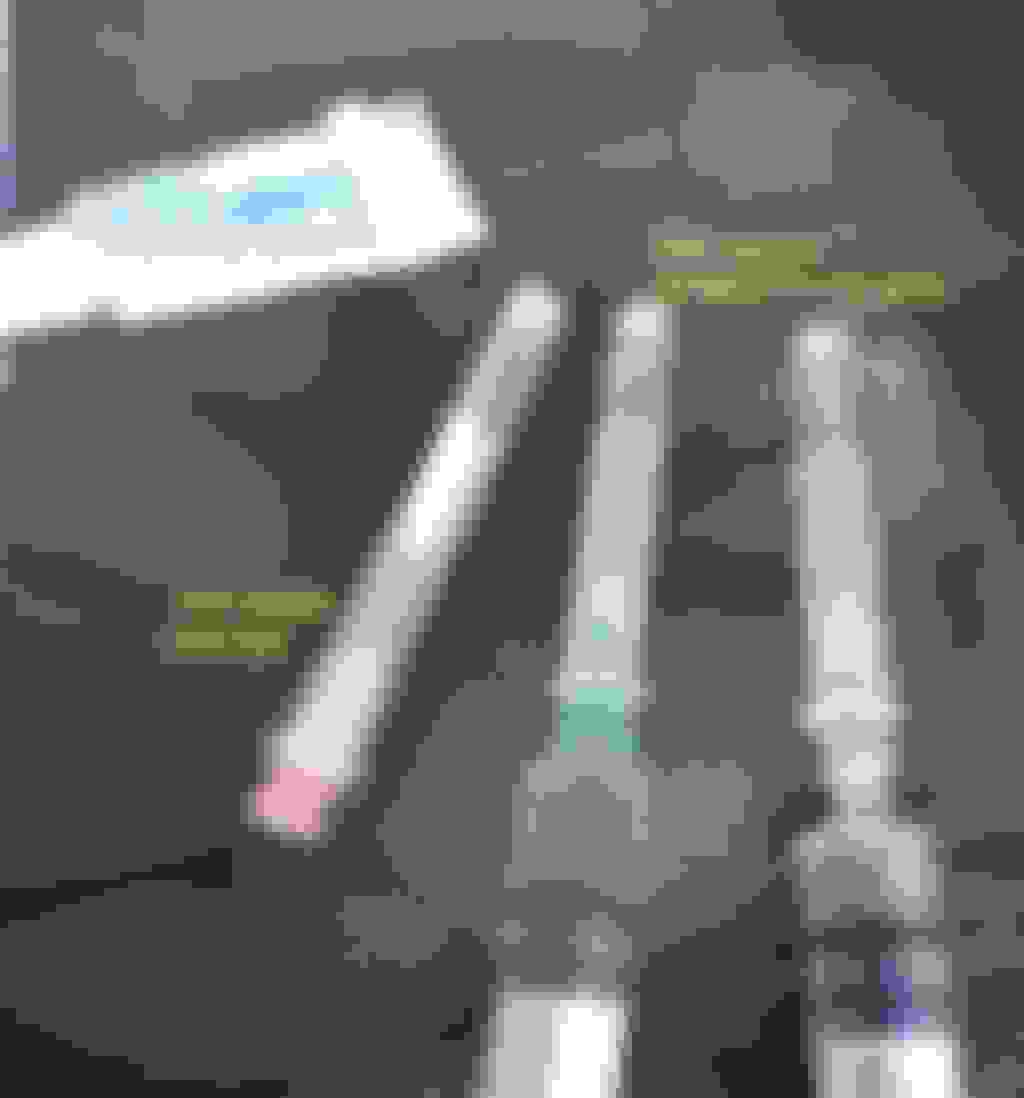
Your neighborhood junkie should be able to help in this. You will need 22G or 21G injection needles, syringes and of course glue. The glue should be fluid enough to flow through a needle. I selected Stormsure glue and it worked really well. Other brands might do as well. After experimenting with various size needles, I found out that 22G and 21G needles work best. 23G is still workable but the flow is really slow and a pain to apply if you treat the entire length of the seam. 18G, 19G are too big and the flow is too difficult to control. I used 1ml syringes. It’s more than enough. Magnets: I sourced 100mmx10x15 N50 magnets from Aliexpress. More on that later.
A word of warning about industrial magnets: be extra careful! These are not your home fridge magnets. These N50 beasts can be dangerous. Keep them well apart of each other. They can “smell” each other at a distance and will “mate” violently. If your finger is in the middle, you will scream, trust me I did. Two N50 magnets clamped together are very difficult to separate. Handle gently. Magnetic material is brittle. In addition, of course, keep away anything sensitive to magnetic field: credit cards and devices with chips such as car keys etc. If you carry a cardiac support device, seek advice before manipulating industrial strength magnets. You are warned.
Note that this method does not prevent you from driving the car while glue is curing. However, rear of the top will remain unlatched, which will prevent using the trunk for a few hours.
Procedure:
Filling a syringe:
Drop your tube of glue in very hot water to fluidize it, remove the plunger of the syringe, attach solidly the needle to its hub and loosen the protective cap (without removing it), verify again that the needle is solidly attached and keeping the syringe slightly tilted fill it partially with some warm glue (try not to pour any outside). Install the plunger, tilt the syringe needle upwards, slowly expel the air. Do it in that order, trust my advice.
Quantity to inject
At this point, you should experiment to figure out how the glue flows through your needle. You will need to inject a drop of glue about half the size of a grain of rice. Experiment how much pressure and time you need to form such a drop. Remember, you will be injecting multiple points and try not to break the seam apart.
Positioning the soft top
You will need to reduce the tension on the canvas. For most of this procedure, you need to only unlatch the rear part. You will notice there is no more longitudinal tension. At some point, for the clamping, you will need to open the top to its vertical position. More on that later.
Injecting
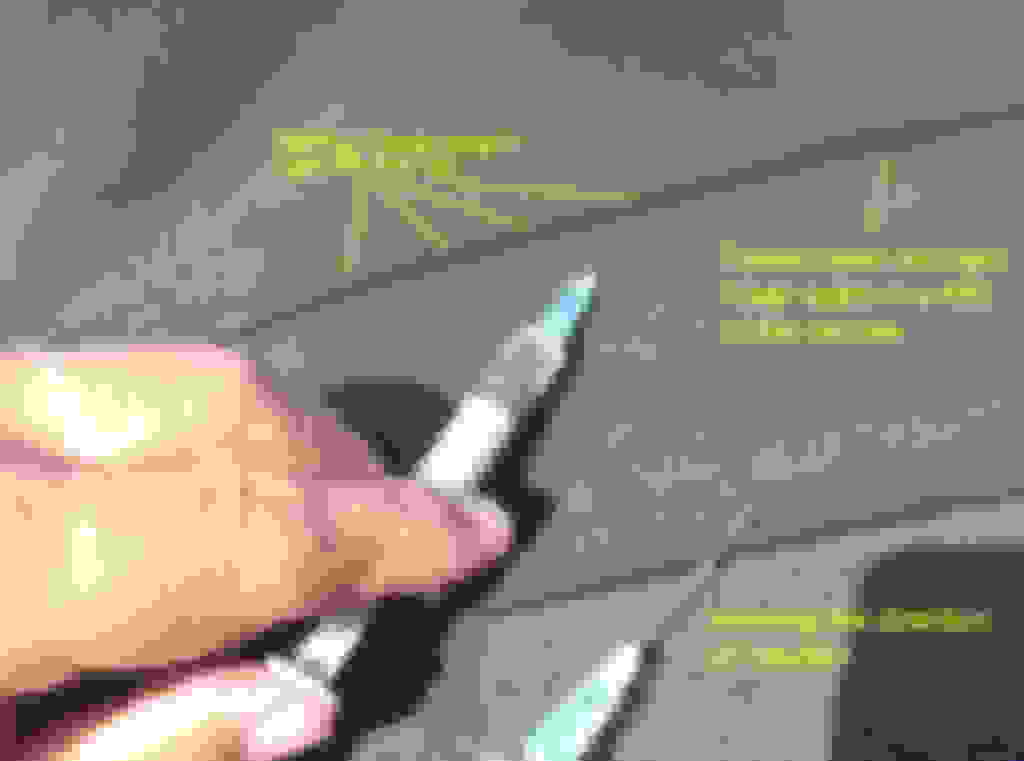
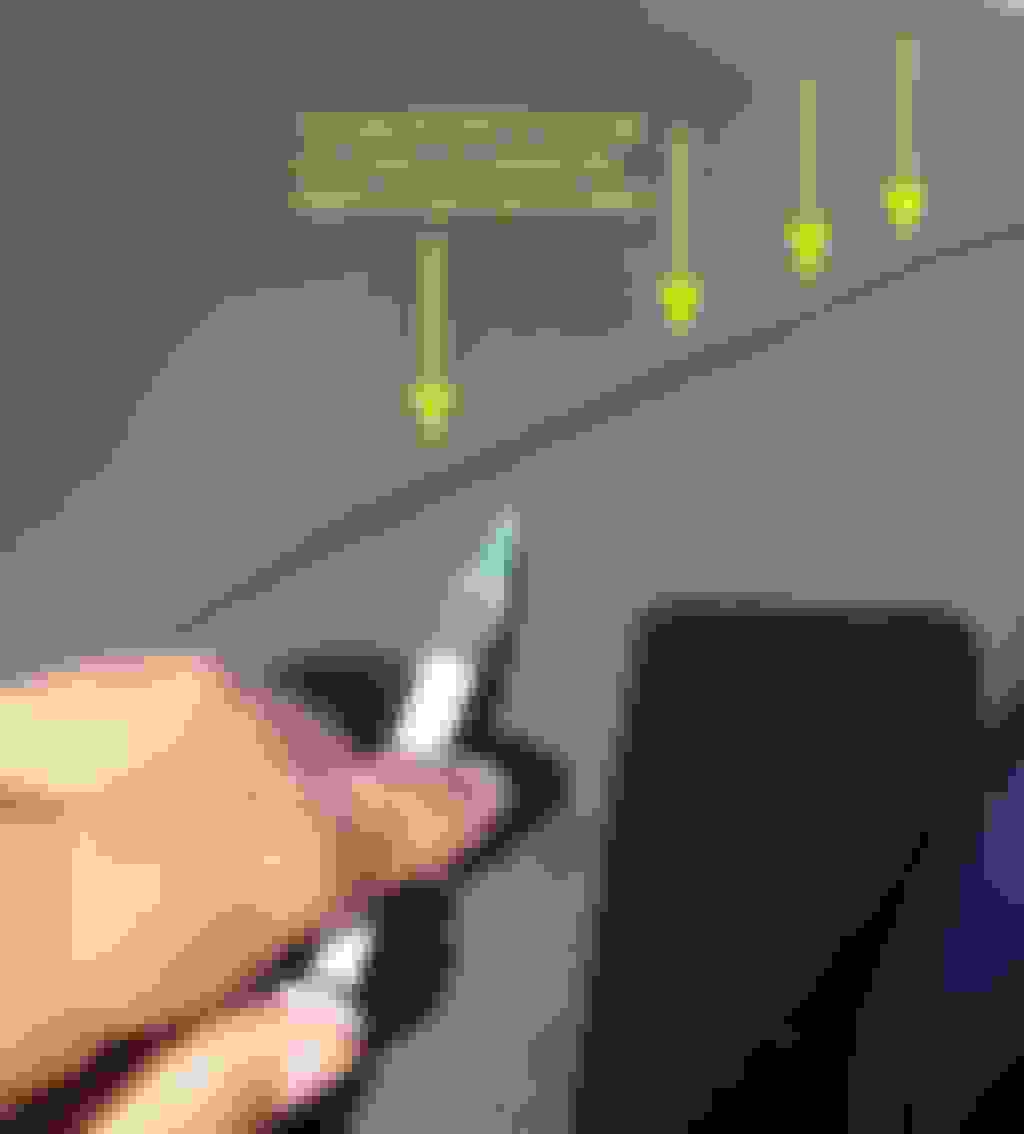
Inject a drop of glue in the upper or lower seam. Every 15mm/0.6in, to a depth of ca. 2.5mm/0.1in. Alternate the injection points if you treat both top and bottom seam at the same time. That is, do not inject both top and bottom seam at the same point. It will form an ugly “bump”. Wipe the needle with a kitchen paper to keep it clean. Spilling glue outside of the fold will look ugly.
Why the depth 2.5mm/0.1in? Because I realized that, the lower seam is not very deep. It is about 5-6mm only in my top. Beyond that depth, you will be injecting glue into the liner. Hence trying to inject in the middle of the seam seams wise (lol). Perhaps your top may have a different construction. Adjust depth accordingly.
In my case, I injected sidewise in the lower seam. Why sidewise? I figured it might be beneficial to treat a maximum of old glued surface however without causing the seam to break up and separate. A slanted path covers more length than a straight path. Simple geometry. Then straight in the upper seam. Why straight in the upper seam? The upper seam is a closed fold of canvas whereas the lower seam is an open lip. I couldn’t get to insert the needle sidewise properly through the fibers in the upper fold. I was damaging the fibers of the canvas. So I injected straight. You might have more dexterity. Injection points and direction
My Stormsure glue has a curing time of 10 hours. No hurry. I treated the entire length of canvas, both upper and lower seam. And had a few beers during the process. Be patient. Work cleanly. Sealing glue is nearly impossible to wipe.
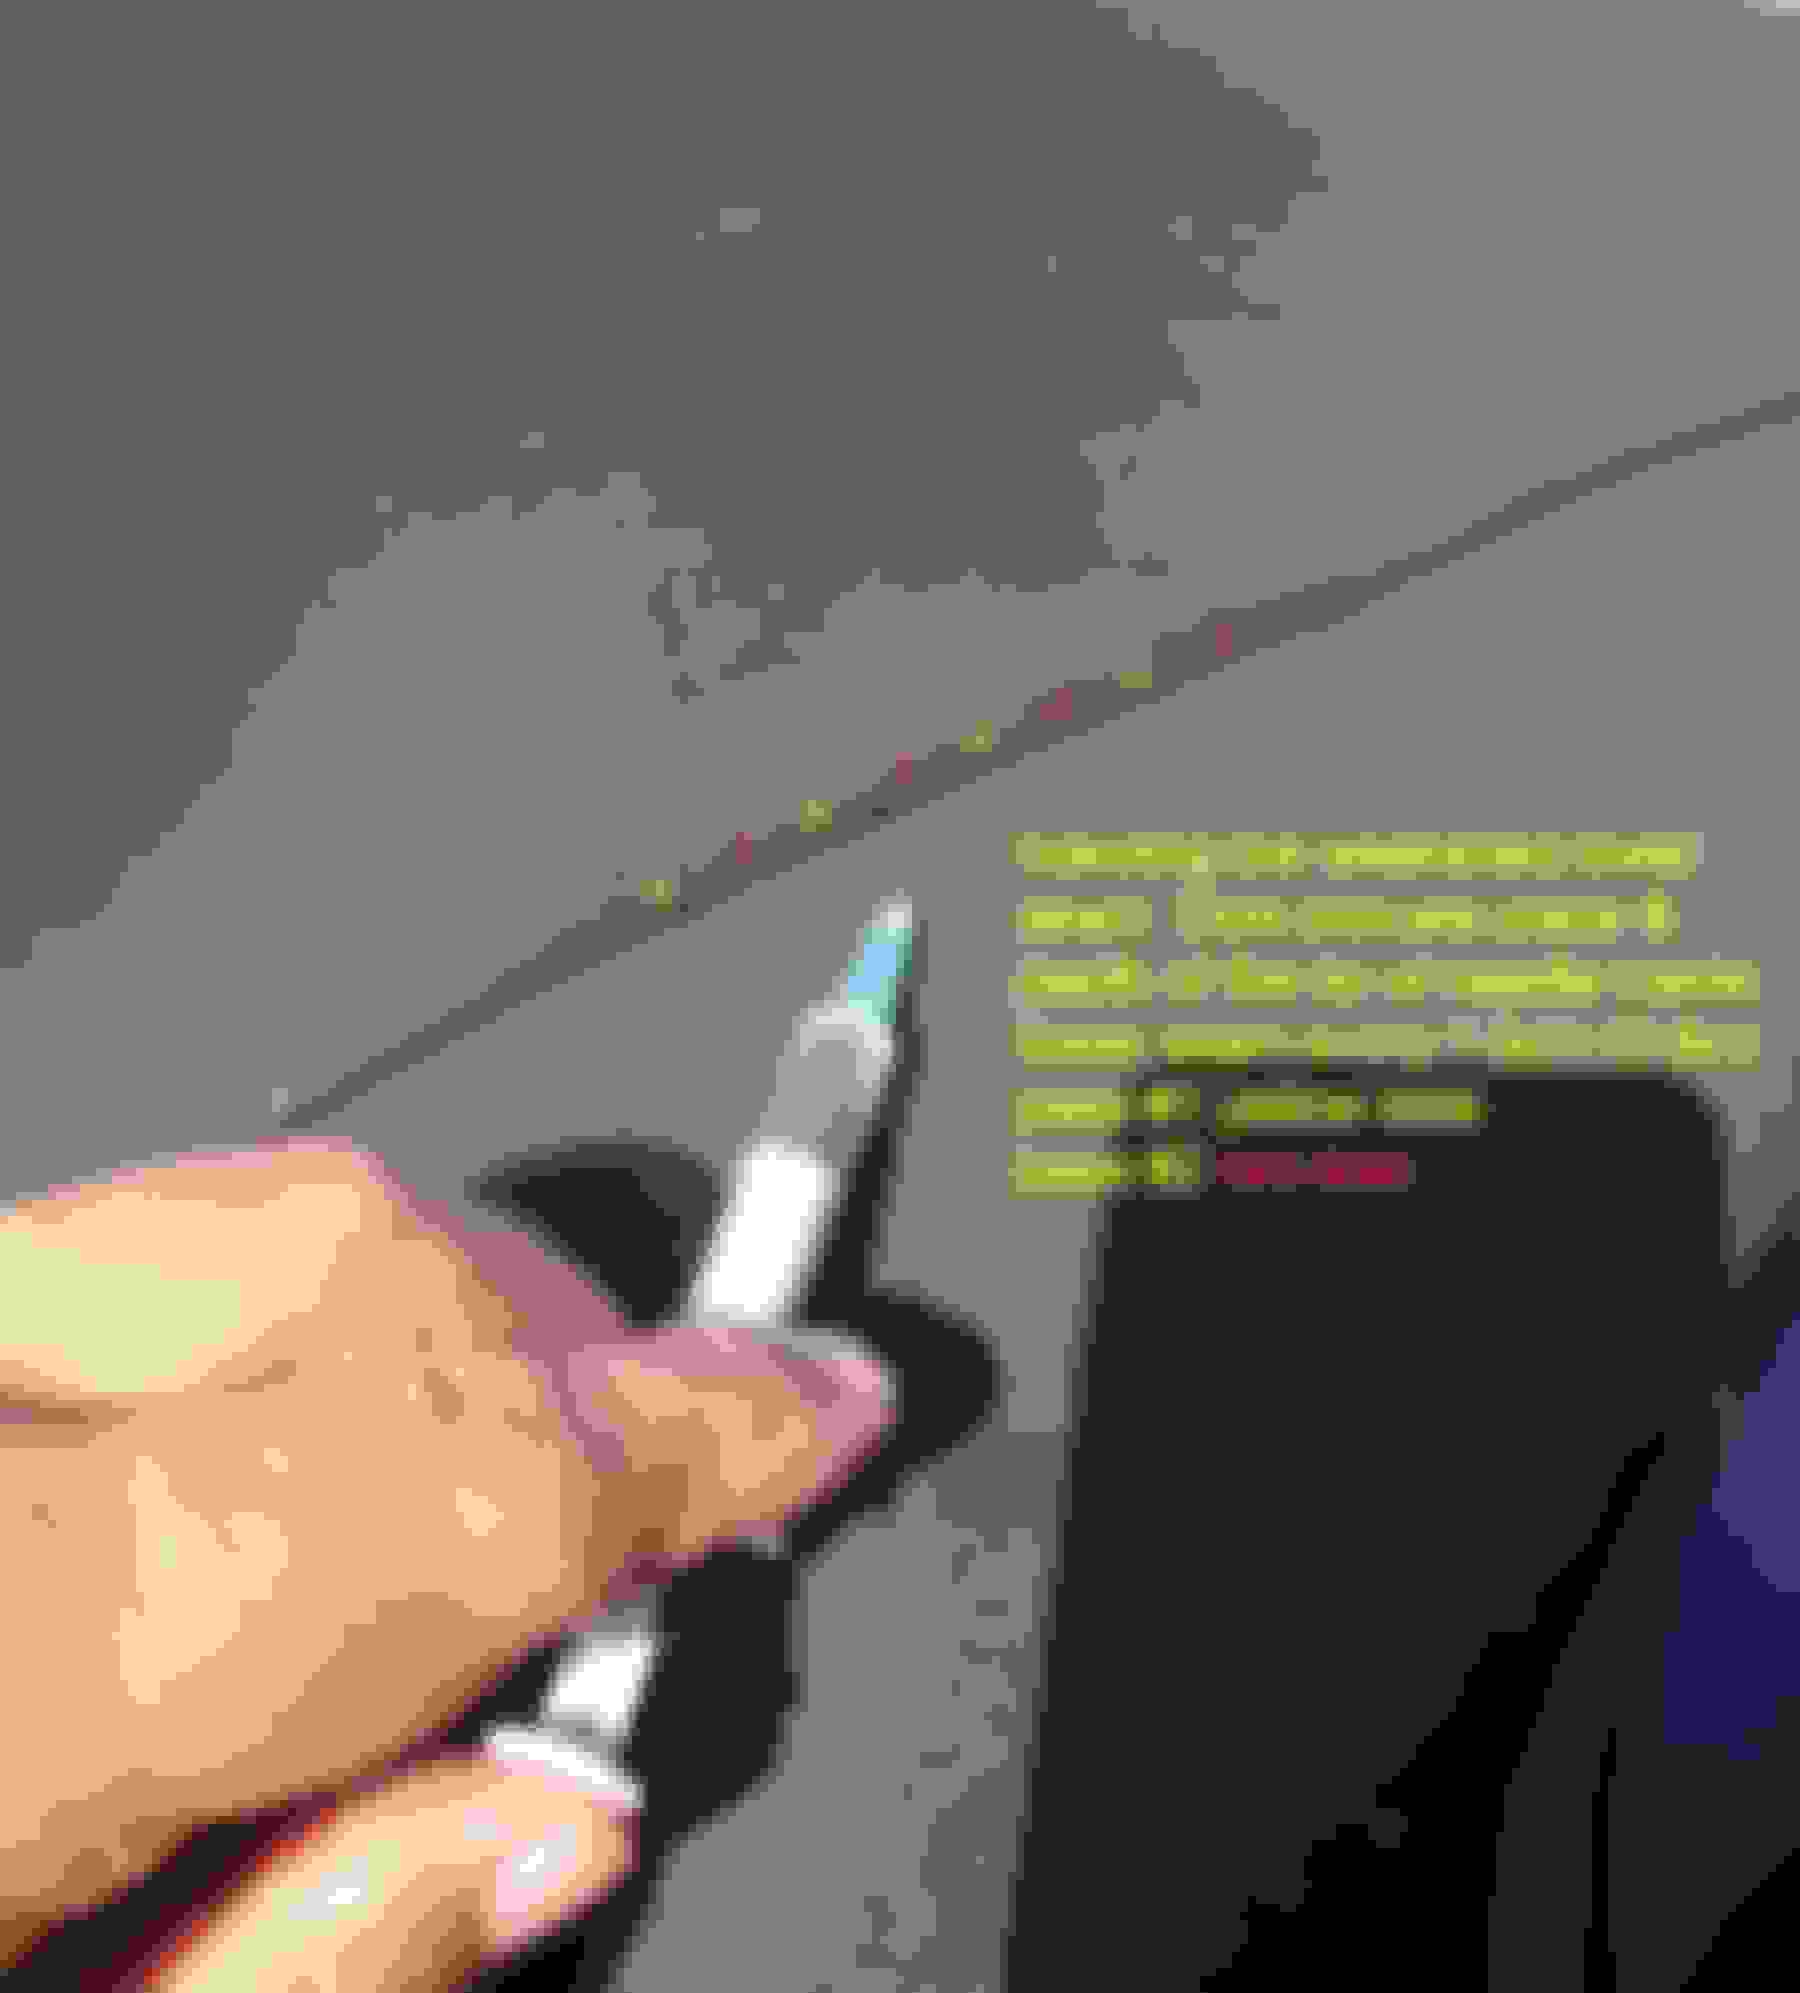
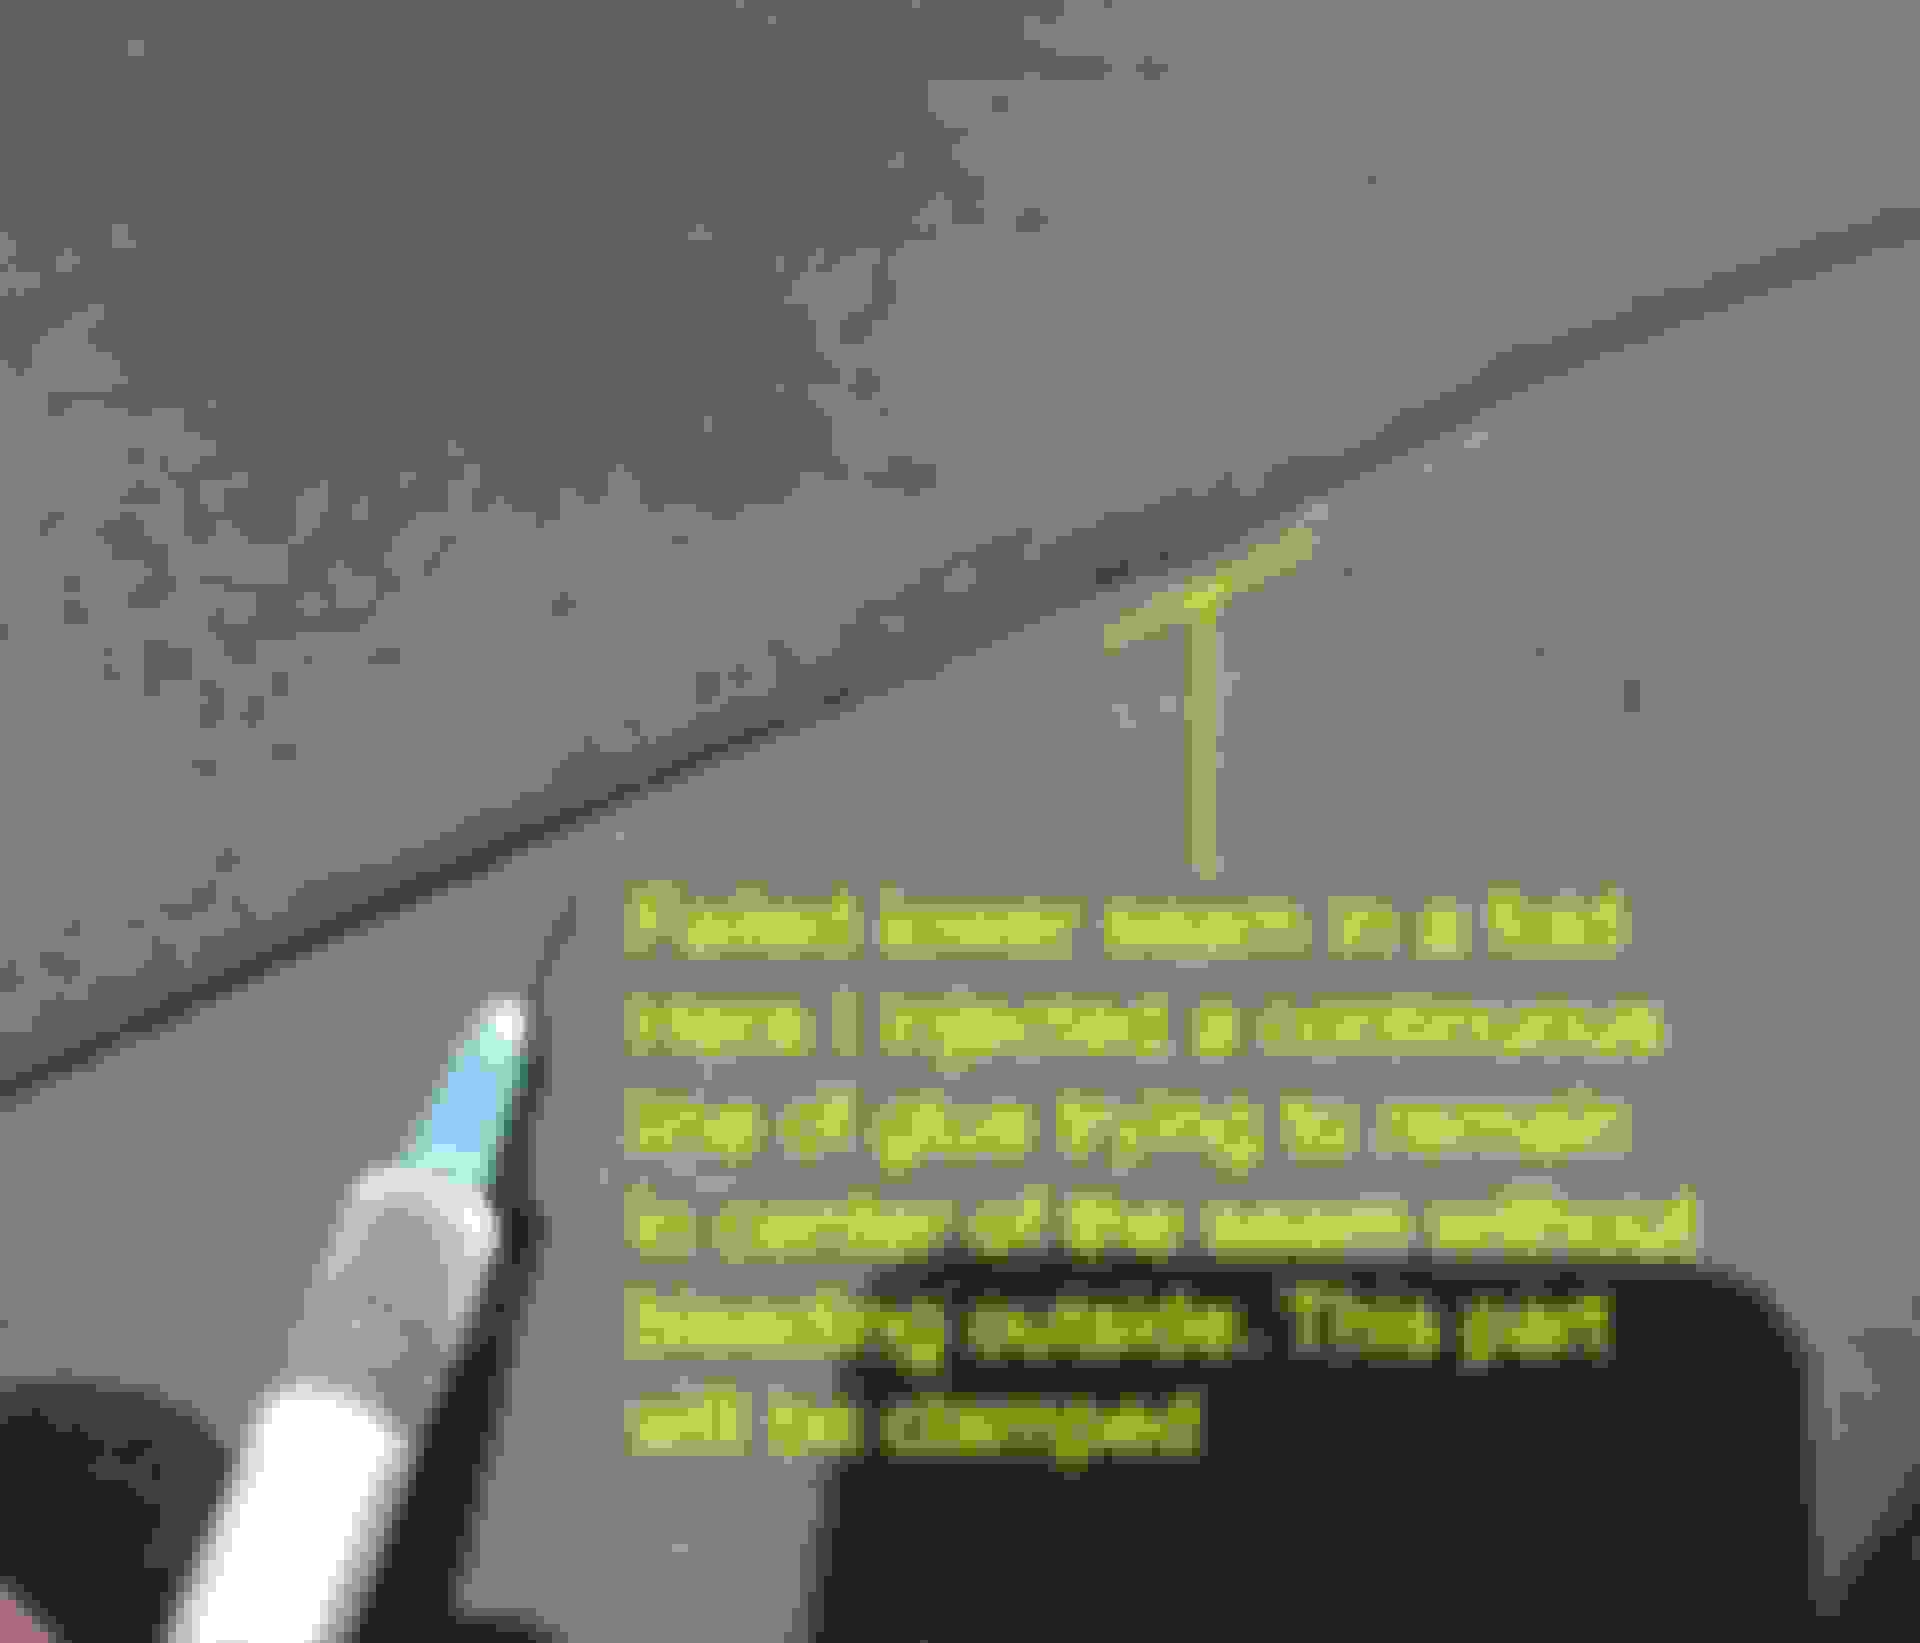
In the second step of injections, where the seam begins to separate noticeably, I also patiently injected a thin line of glue along the length of lip in order to seal the separating area, being careful not to “bleed” the glue outside of the seam.
Magnetic clamping
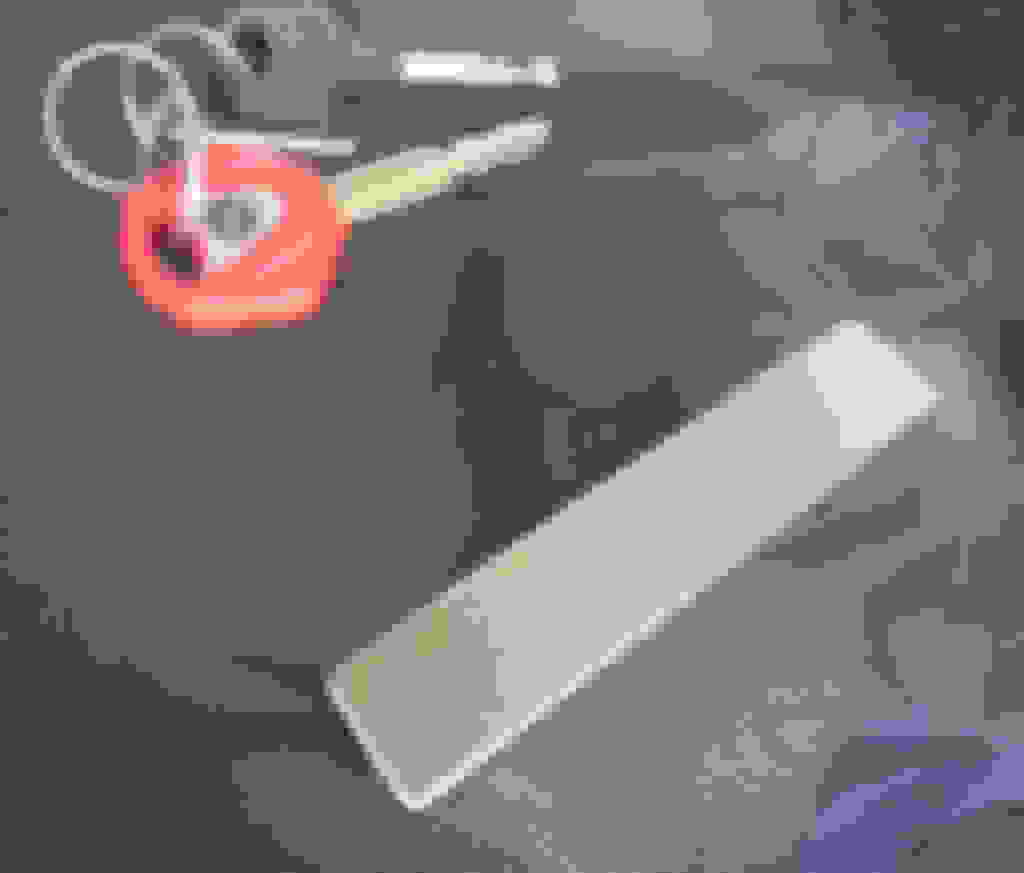
I let everything cure a good 2 hour before clamping. Clamping earlier might force glue out of the seam and make a mess. You will need to position one magnet inside the liner as close as possible to the canvas, right under the seam, and another magnet on top. And clamp them together. Don’t worry, you can make small adjustments. For this, you will need to open the top to it’s near vertical position in order to allow access to the liner through the side opening. CHARITABLE WARNING: you will be working with your arm/wrist/fingers inside the scissor mechanism. Have a trustable buddy hold and secure the top. When hydraulic pressure drops, the top will fold. The scissor mechanism might snap a finger, wrist or arm. I assume no responsibility in this. Don’t be a fool, secure your ***** appropriately.
I only clamped the most weakened areas where I wanted to make sure the seam is totally sealed. I let the rest of the seam that was in good shape cure without clamping. You might choose to clamp the entire length. Proceed by steps. No need to buy 40 magnets. Treat the most weakened or exposed areas first. Then proceed with the rest.
View of the magnet bellow the seam, and its countermgnet outside. Note, my magnets broke. But I realized shorter magnets are a bit easier to manage and position correctly
Once the magnets in place, you may let the top move and rest in its forward position. Do not fold it open in the trunk. If you want to drive, you will need to lock only the front.But don't operate until full closure. Leave the rear low but unlatched. I drove mine like this without any problem (with an occasional buzz reminder that the top is not locked).
Notes:
You might want to keep hot water around to reheat the syringe and needle to keep the glue fluid. Don’t worry, the glue is waterproof.
After a while, the glue will cure in the needle. Don’t try to “flush” it. It is impossible. Replacing the needle is not a good idea either. The glue will “lubricate” the hub causing the new needle to pop out when you pressure the syringe. And you will make a mess on the canvas. Dump the syringe and needle, they are cheap. Just prepare a new fresh set. I used 5 sets in the process. Hence, no need to fill too much glue in the syringe.
I purchased 100mmx10x15 N50 magnets. However experience showed that shorter magnets, say 50mm, are more usable in the curvy part of the canvas. In straight areas, 100mm is fine.
Industrial magnets are difficult to manipulate side by side. It has to do with polarity. Some sides will attract each other, other sides will push away.
In large failed areas, you might want to proceed by smaller steps. Reduce the tear starting by the sides. Make sure seam is aligned, clamp and let cure. Proceed further until entire tear is shut off.
I hope this experience will be of help. Feel free to add improvements! I will be posting pictures of the seam after a few days
Last edited by SwissKiss; Jul 9, 2019 at 04:17 AM.
Black 2004 CLK (w209) 320 Cabrio auto transm. "Elegance" trim; <br /> 2014 A180 black man.
Upper left side Right side Upper left "corner" Upper right corner Upper right side
A few pictures, 3 days after injections, clamping and let cure. Entire seam is shut solid. Cannot lift the lip anymore. As you can see, glue doesn't form lumps or bumps. Where the seam gave up, I clamped the area. You can see how clamped area is "flatter" than other parts. Hardly any bleeding. You can notice some parts where glue reflects the light. There the lip was opening seriously. I injected a bead of glue along the seam to seal it.
As I am new to convertibles can anyone tell me if its ok to stop the roof halfway during the open/close sequence and leave the car for a day for the glue to dry ? will it just carry on where it left off ? I have only had the car a few weeks and I dont want to break it ....
Ian, open the roof part way and then place a rolled up bath towel under the rear of the top/trunk area. Towel will hold top partially open to allow slack so you can sew/glue the top seam. I had top seam sewn by an auto upholstery shop, took about 4 hours and cost about $350.00. Upholsterer hand sewed the seam. If I had to do it again, I would find a larger repair shop that has power sewing machines for this purpose. Upholster should unzip the top from the inside to expose the seam to be sewn.
Also, I asked for seam to be a little loose cause tension is contributing to the seam failure. Result was factory glue line was visible. I used permanent marker on the glue line and about 5 layers of Sc*tchgard Heavy Duty Water Shield. After about 18 months, glue line is barely visible but top is holding up.
Black 2004 CLK (w209) 320 Cabrio auto transm. "Elegance" trim; <br /> 2014 A180 black man.
Originally Posted by Ian Pollard
My 2004 has the same problem I have a small opening in the seam , this looks like a good option , can you tell me if the repair is still holding up ?
Hi, yup the repair holding very well. Sorry for not responding earlier. I had to go have a look at the car where it is stored for winter. I believe the glued places will survive the overall softtop
Black 2004 CLK (w209) 320 Cabrio auto transm. "Elegance" trim; <br /> 2014 A180 black man.
Originally Posted by Ian Pollard
As I am new to convertibles can anyone tell me if its ok to stop the roof halfway during the open/close sequence and leave the car for a day for the glue to dry ? will it just carry on where it left off ? I have only had the car a few weeks and I dont want to break it ....
Sure, actually that how I did it partially to relieve the tension on the fabric for clamping. Make sure your use something to hold the roof in the "up" position. #1 The hydraulic pressure drops after about 15 minutes and the top gently closes one way or the other and #2 if your fingers or arm are in the scissor mechanism, off they go ... you are warned
Black 2004 CLK (w209) 320 Cabrio auto transm. "Elegance" trim; <br /> 2014 A180 black man.
Originally Posted by 0zranvest
Ian, open the roof part way and then place a rolled up bath towel under the rear of the top/trunk area. Towel will hold top partially open to allow slack so you can sew/glue the top seam. I had top seam sewn by an auto upholstery shop, took about 4 hours and cost about $350.00. Upholsterer hand sewed the seam. If I had to do it again, I would find a larger repair shop that has power sewing machines for this purpose. Upholster should unzip the top from the inside to expose the seam to be sewn.
Also, I asked for seam to be a little loose cause tension is contributing to the seam failure. Result was factory glue line was visible. I used permanent marker on the glue line and about 5 layers of Sc*tchgard Heavy Duty Water Shield. After about 18 months, glue line is barely visible but top is holding up.
Given the difficulty of the job, 350$ is peanuts. Good finding )
Ian, open the roof part way and then place a rolled up bath towel under the rear of the top/trunk area. Towel will hold top partially open to allow slack so you can sew/glue the top seam. I had top seam sewn by an auto upholstery shop, took about 4 hours and cost about $350.00. Upholsterer hand sewed the seam. If I had to do it again, I would find a larger repair shop that has power sewing machines for this purpose. Upholster should unzip the top from the inside to expose the seam to be sewn.
Also, I asked for seam to be a little loose cause tension is contributing to the seam failure. Result was factory glue line was visible. I used permanent marker on the glue line and about 5 layers of Sc*tchgard Heavy Duty Water Shield. After about 18 months, glue line is barely visible but top is holding up.
Thanks for the reply , I am in Australia we have a lockdown at the moment so it is not the time to be driving round looking for upholsterers , I gave the glue injection a shot on the open seam , it looks good and seems solid . I will look at getting the seam stitched when all this madness is over . thanks for the info.
Mercedes SLR McLaren 722 S Is Extremely Rare Example Modified by McLaren
Slideshow: A one-of-one U.S.-spec Mercedes-Benz SLR McLaren Roadster became even rarer after a factory-backed transformation at McLaren's headquarters.


 now your seals will survive the car


