When you click on links to various merchants on this site and make a purchase, this can result in this site earning a commission. Affiliate programs and affiliations include, but are not limited to, the eBay Partner Network.
The following repair instructions are for xenon modules with part number 1 307 329 072 01. This is for all D2S/D2R/D1S/D1R bulbs. I know lots of MB vehicles with xenon headlamps use this module as well as some BMW's and Mini vehicles.
My condition, I have a recently purchased 2005 CLK55 AMG with a flickering headlamp. ENSURE PROPER DIAGNOSIS BEFORE DOING REPAIR! The most common failure is the main xenon gas filled bulb itself. To start, swap the xenon bulbs from the left side to the right side headlamp and see if problem follows the bulb. Did the problem follow the bulb? If YES replace the bulb. If no continue reading.
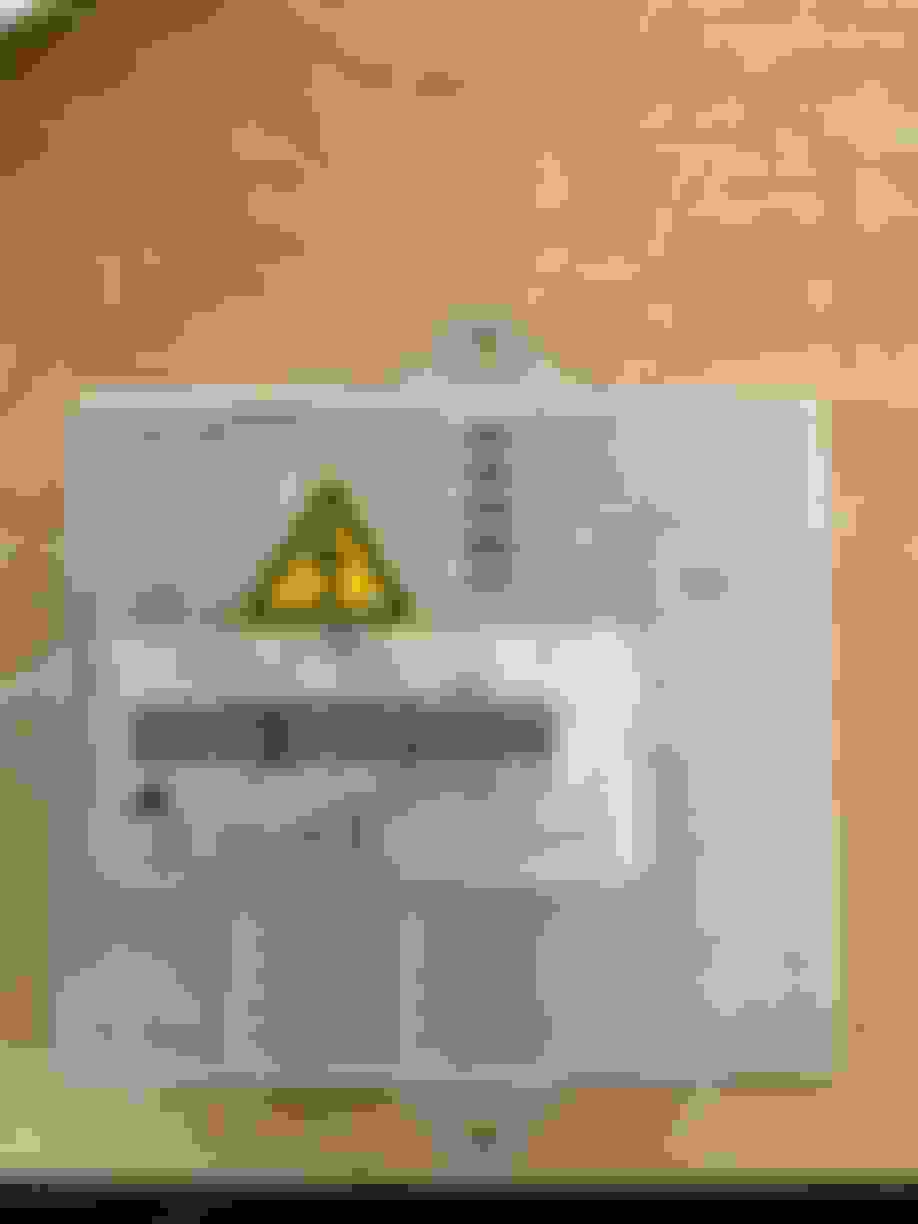
The other likely failure is the xenon module itself which is located under the headlamp assembly. The xenon module failure is most common to countries with day time running lamps. Vehicles with day time running lamps will have the main xenon headlamp on at all times regardless time of day. Due to the headlamps being on 100% of driving time two out of the four transistors inside the module overheat and BEGIN to fail (hense the FLICKERING headlamp condition.
First step is to remove the front bumper. I must stress it is possible to remove the headlamp assembly without removing the front bumper. If you are experienced you can just remove the corner of the front bumper, if this is your first time doing this repair I strongly suggest you remove the front bumper assembly to avoid damage.
There will be 3 - 8mm bolts holding in the headlamp unit in, one closest to the grill, one on top holding top of headlamp bracket to radiator support and one behind bumper cover which will have a thumb wheel attached to it. Remove bolts. Unplug all electrical connectors on rear of headlamp.
Now remove the 3 torx bolts holding the xenon module to the headlamp.
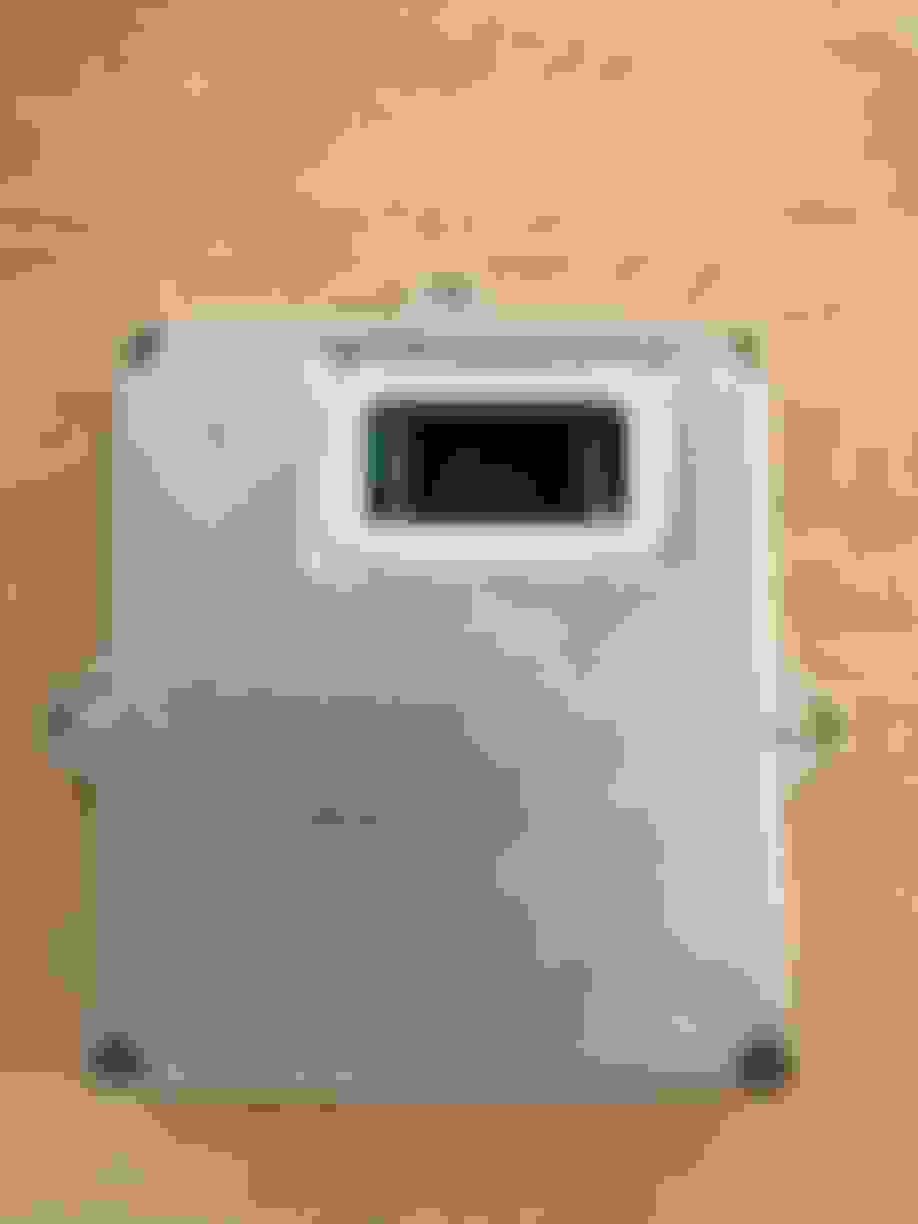
Set headlamp assembly asside and remove 4 torx head bits from xenon module. Using a small flat head screw driver pry the cases apart.
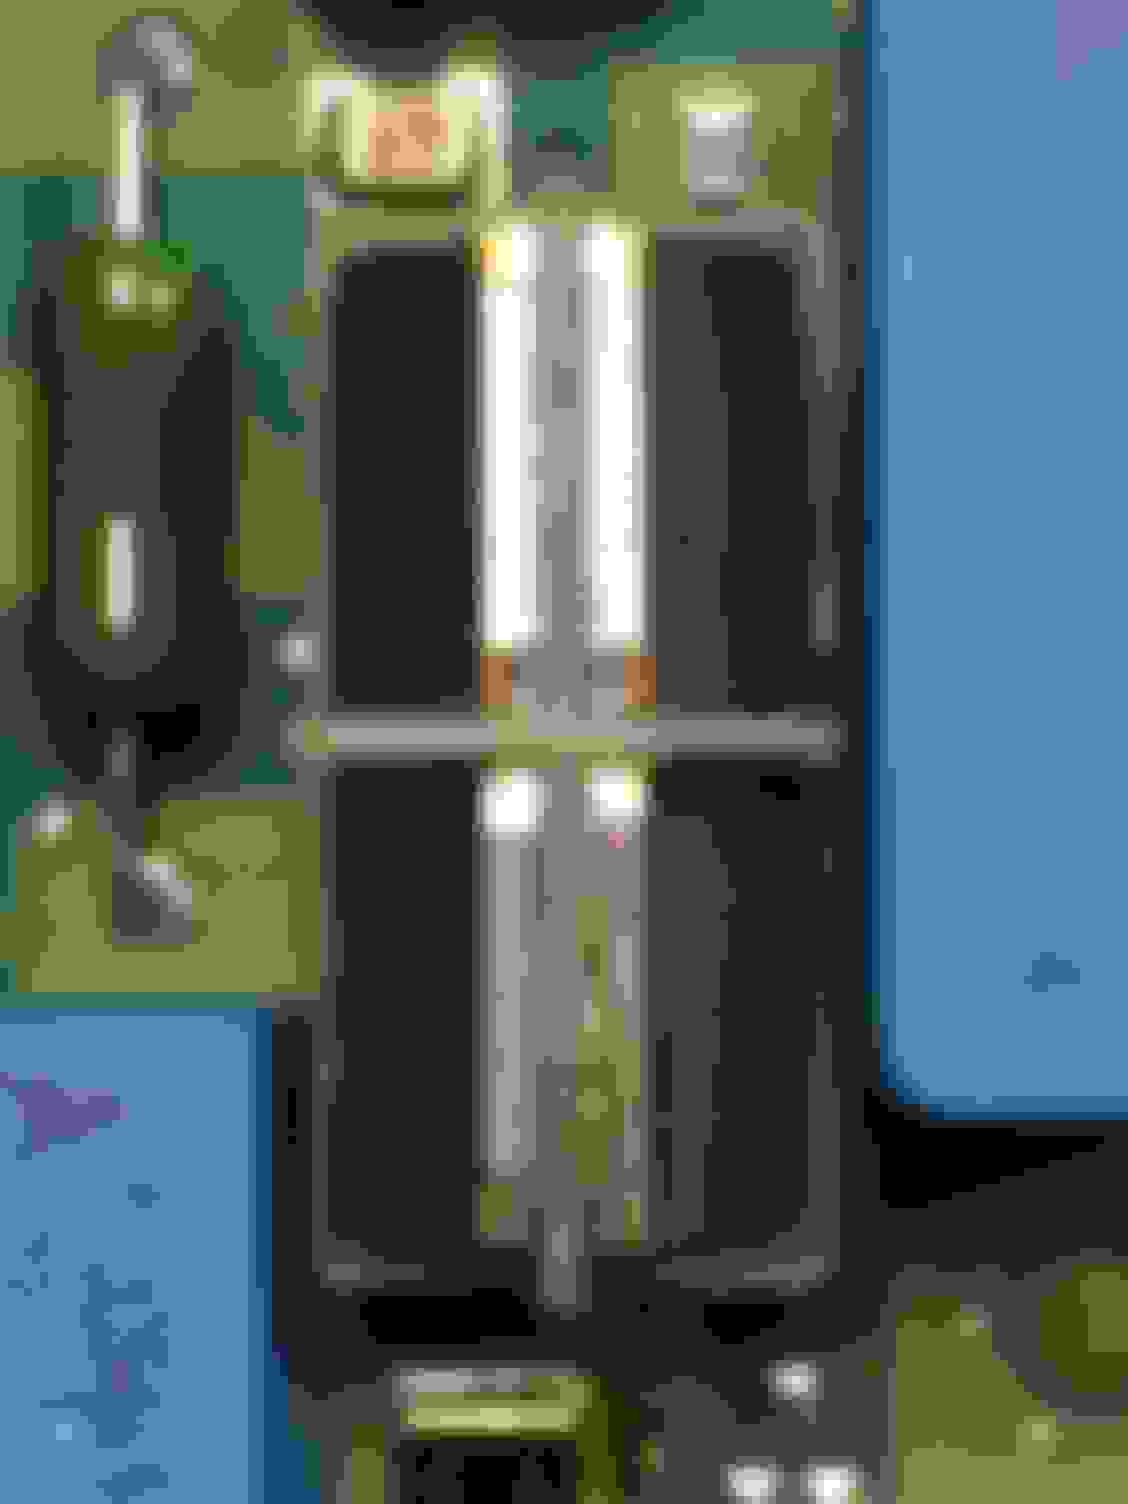
Next remove the circut board from casing and inspect all solder joints for cracking. This will cause a intermittant contact and cause problems or future problems for the xenon module.
Once you have inspected all solder joints look at the 4 black transistors on the board. 90% of the time this is the cause of a failed xenon module. As you can see from the photo two have overheated causing the surrounding plastic to melt and discoloration on one of the transistors.
Next you will have to cut around the melted plastic housing to remove the transistor. Once this has been done flip the board over and de-solder 3 of the legs these will be easily identified once located. Remove bad transistors.
You will have to locate new transistors. Check local small electronics shops. I got these off of eBay. For 10 of them they cost me $15 The part number is FSL11N50A.
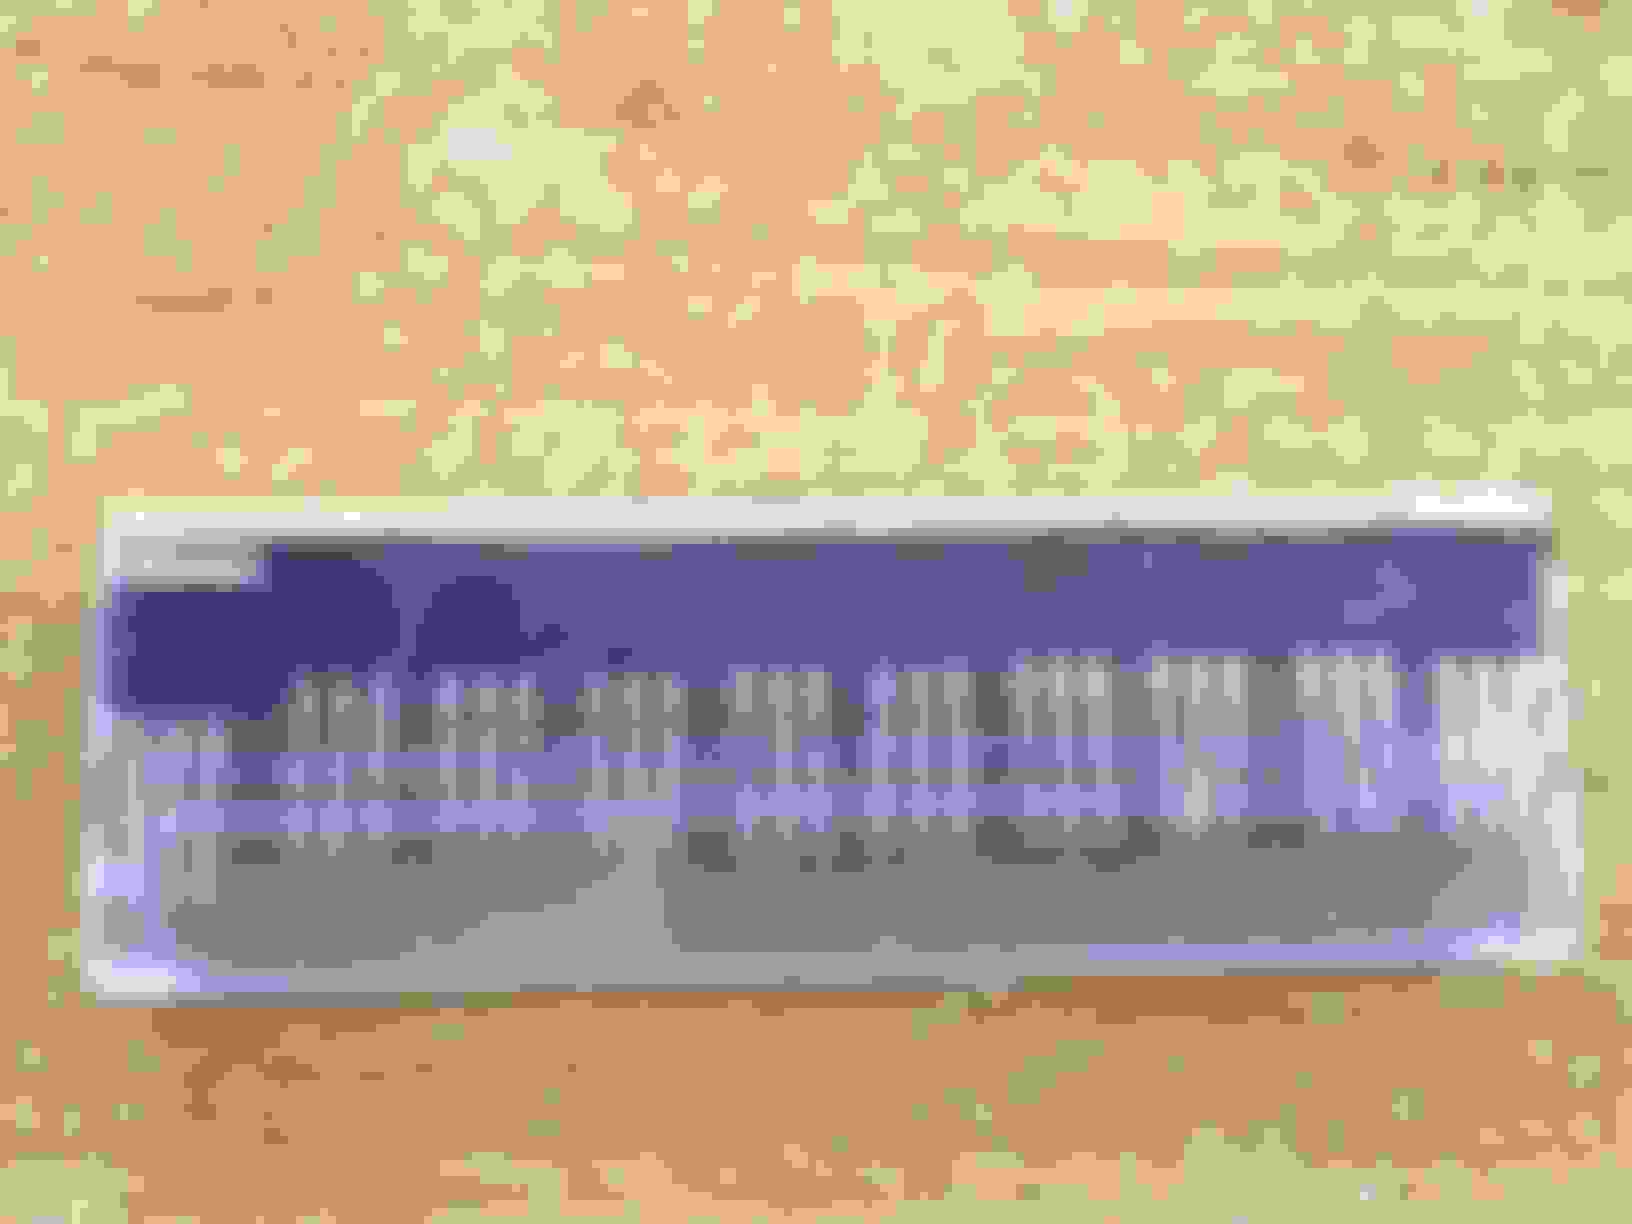
Install new transistors into mounting holes and solder the legs of the transistor back in place. Cut the legs as necessary.
Re-install is just reverse procedure.
Last edited by number_one_c55; Sep 28, 2014 at 05:13 PM.
Glad I stumbled on this. Will have a look at mine as from time to time, one or the other likes to do the winking eyes at night. Probably similar issue as I did swap the bulbs from one to the other side and the fault did not follow in my case. Thanks once again
Mercedes SLR McLaren 722 S Is Extremely Rare Example Modified by McLaren
Slideshow: A one-of-one U.S.-spec Mercedes-Benz SLR McLaren Roadster became even rarer after a factory-backed transformation at McLaren's headquarters.