


Engine Detail???
Thread Starter
MBWorld Fanatic!
Joined: Jun 2006
Posts: 2,140
Likes: 1
From: Long Island, NY
C3Twon AWD Jumpofffff
Engine Detail???
Has anyone had their engine cleaned??? Mine hasnt been cleaned since i bought my car last year and i figure it is time to clean it but i dont wanna mess with it just because i dont wanna get water in certain places. I know you can cover up certain parts with aluminum foil etc and bags but i would much rather leave it to the pros if it isnt too expensive. If anyone has any info let me know. Price? Place?
Thanx
Thanx

Banned
Joined: Sep 2006
Posts: 1,164
Likes: 2
From: NY
I'm not sure about who does quality work in your area. Detailing your engine can seem a little intimidating at first but really it's not too bad. I think after doing it once or twice most people find it to be relatively easy and safe if you follow some simple guidelines. Most of the modern engines have so much covered up or encased so you don't have too much to worry about. Here is my engine detailing process if you care to try it yourself.
1. When doing an engine detail we recommend the engine be a little warm, so turn on the engine for about 1 � 2 minutes and then turn it off. If the vehicle has been driven or is hot from previous driving it may be too warm for an engine detail.
2. When the engine is at a safe temperature you can start the process. Cover any exposed electrical components (usually there are a few electrical plugs you can cover at most) and anything else you do not want water in with aluminum foil, saran wrap or something similar. Cover any exposed air filters and intakes so they don�t flood with water.
3. Spray the engine with a light mist of water. Spray degreaser over areas with grease build-ups and other heavy deposits. Avoid spraying metals and other mechanical pieces. We recommend a 3:1 dilution of Poorboy's World Bio APC. Start spraying it low or deep in the engine and work your way up towards more easily accessible areas. Let it sit for approximately 1 - 2 minutes. If you use a stronger degreaser you may want to rinse it sooner.
4. Spray down everything to remove all the degreaser and dirt and grime with a light mist from a hose. You don't want to use high-pressure water or tons of water if avoidable. Some areas may need to be wiped down with a rag or with a brush to break up heavy deposits. The debris should be loose now and fall off easily, don't rely on pressure from the hose to break up the debris.
5. Now I spot treat any areas that didn't get clean and the metals. I'll use an old rag and spray some degreaser on it and clean up any areas I see that need a light touch up. Don't forget to clean the hood that has been flipped up.
6. Make sure you have removed the tin foil or saran wrap and all other products used in the detail from the engine bay. Start the engine and let is run for at least 1 � 2 minutes to help dry some of the water. Be careful touching the vehicle after because it can get hot fast. Then finish drying anything that may need it.
7. Now I recommend treating all the (non-mechanical) vinyl, plastic and rubber pieces with a protectant such as the 303 Aerospace Protectant. Apply this to a cloth and wipe down anything that�s rubber, vinyl and plastic that�s non-mechanical. This will help prevent premature fading and keep the surface looking great. The 303 Protectant has a low gloss matte finish that looks great and helps prevent dust build up. Additionally if you have any exposed metal you can polish them now. We really like the deep polishing power of the P21S Finish Restorer. You can also apply a sealant to any painted areas in the engine bay or the under side of the hood.
8. Step back and admire a clean and sharp looking engine bay.
Please let me know if you have any questions about this process.
Super Member
Joined: Aug 2005
Posts: 591
Likes: 9
From: Covington, WA
'96 SL600, '05 S55 AMG, '06 C230
Greg@DI - Your outline above is excellent. Question... Other than the obvious (not forcing water into electrical connections, etc.) is there any other reason for not using high-pressure water spray in the engine compartment?
I use a power washer every six months on my cars. However, I do turn the RPM's down on the pressure washer motor to reduce the exiting water pressure. I do not know the washer's engine speed or final water pressure, but it is definetly not a dypical power washer 'blast' but certainly much more than a water hose nozzle would provide. Never had a problem with Mercedes, Honda Prelude or Dodge Neon. After spraying, I let the engine sit with the hood open in the sunlight for about 15 minutes before starting the engine. They fire right up, without a hic-up.
By spraying down the engine compartment every six months, the amount of 'stuff' removed each time is obviously much reduced. So I'm not in the engine bay very long. Thus, the job is fairly simple and easy. Of course the main purpose is to make it easier to look for leaks, etc. While I should detail the engine each time, I do get lazy now and again.
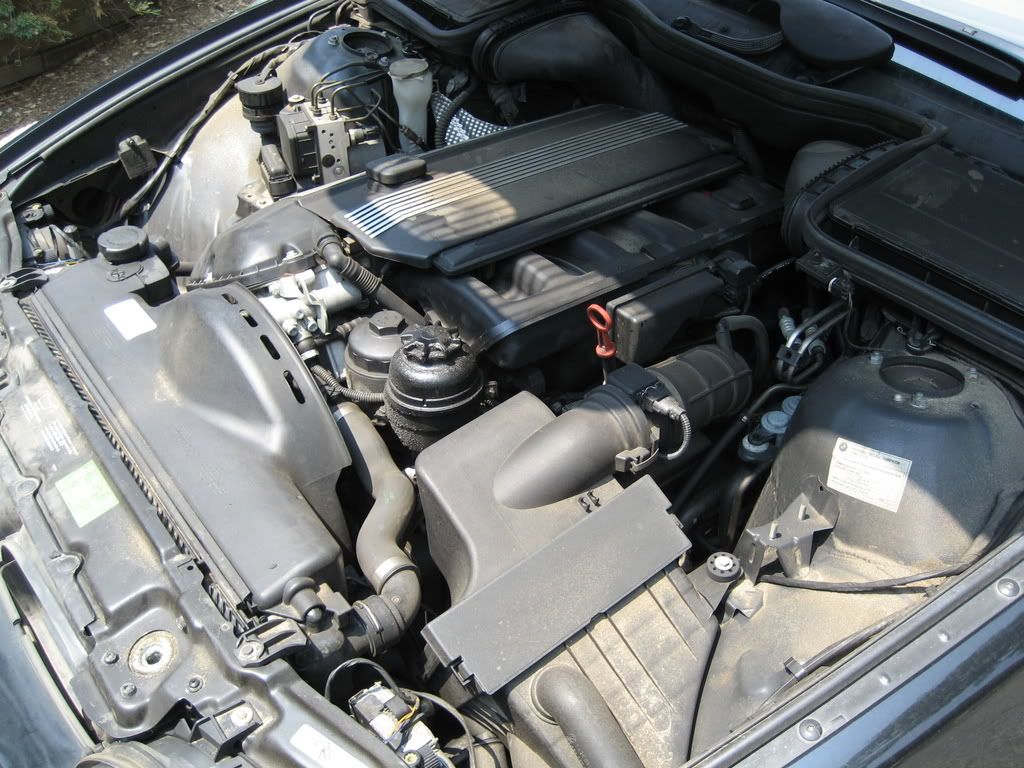
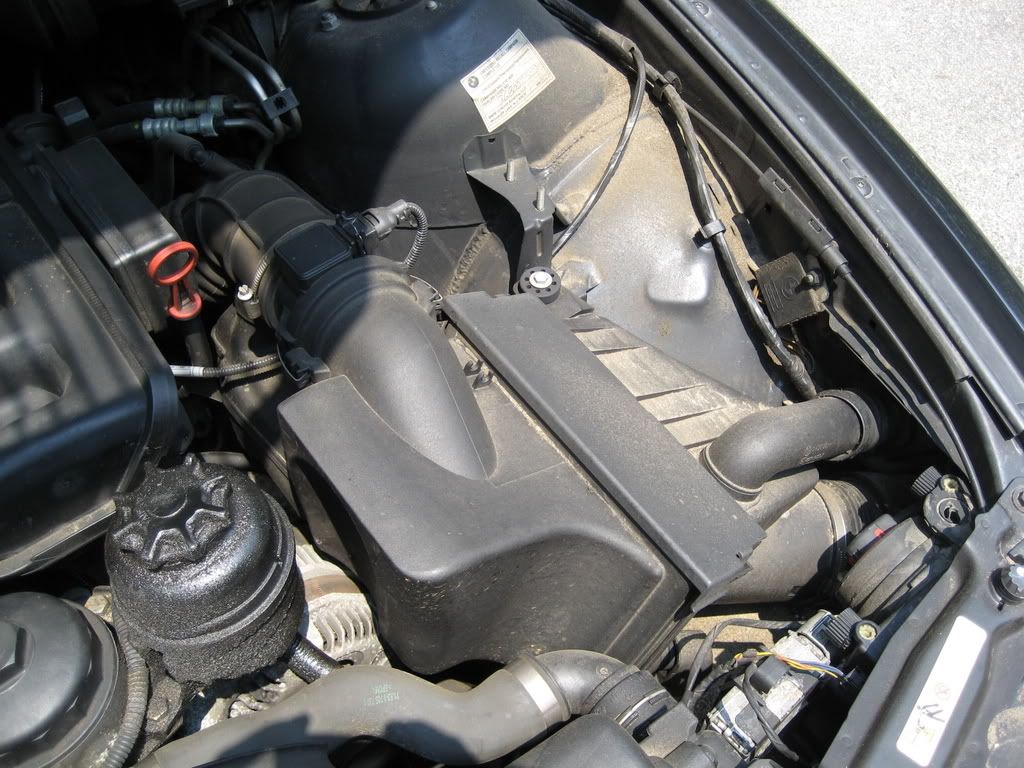
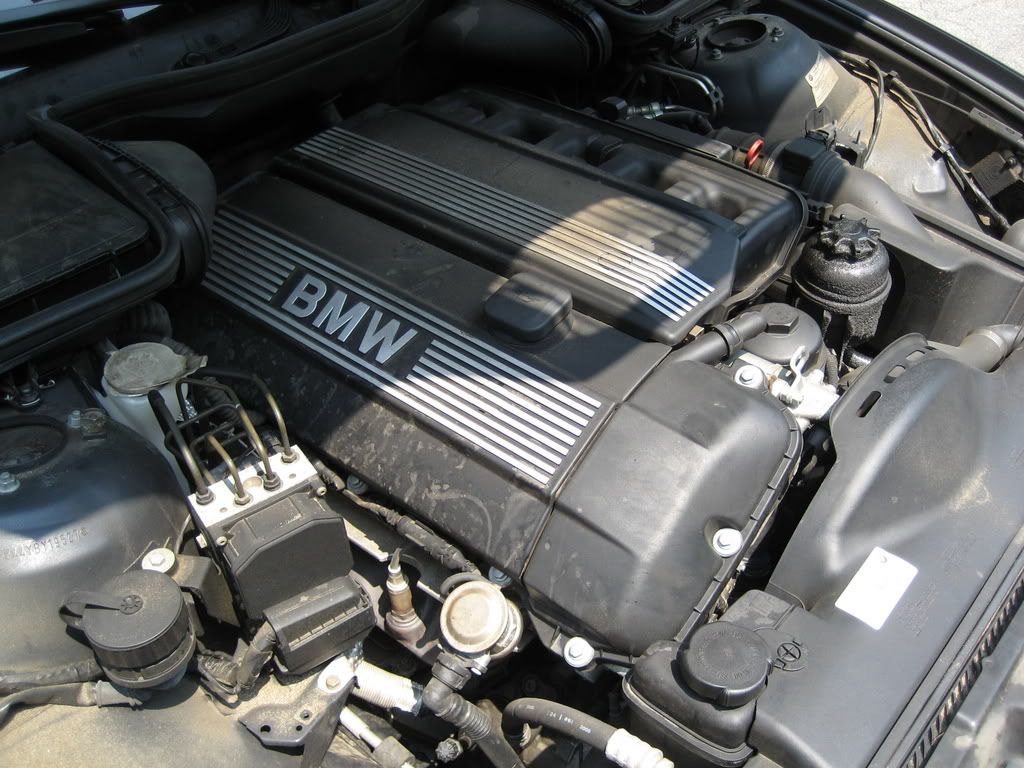
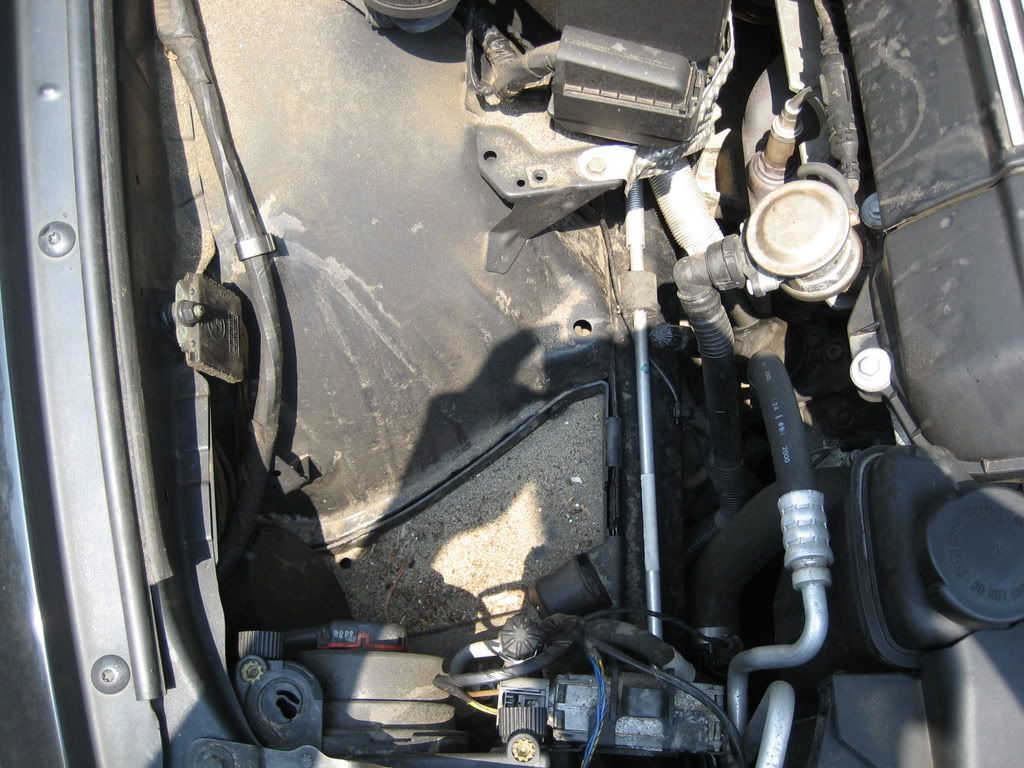
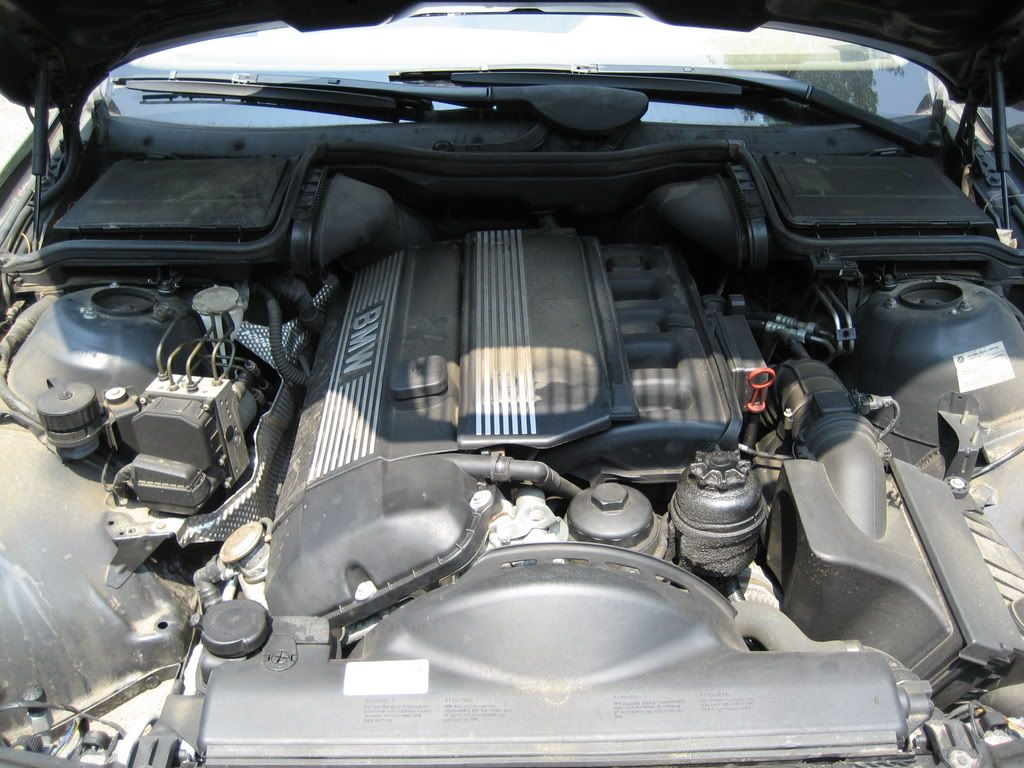
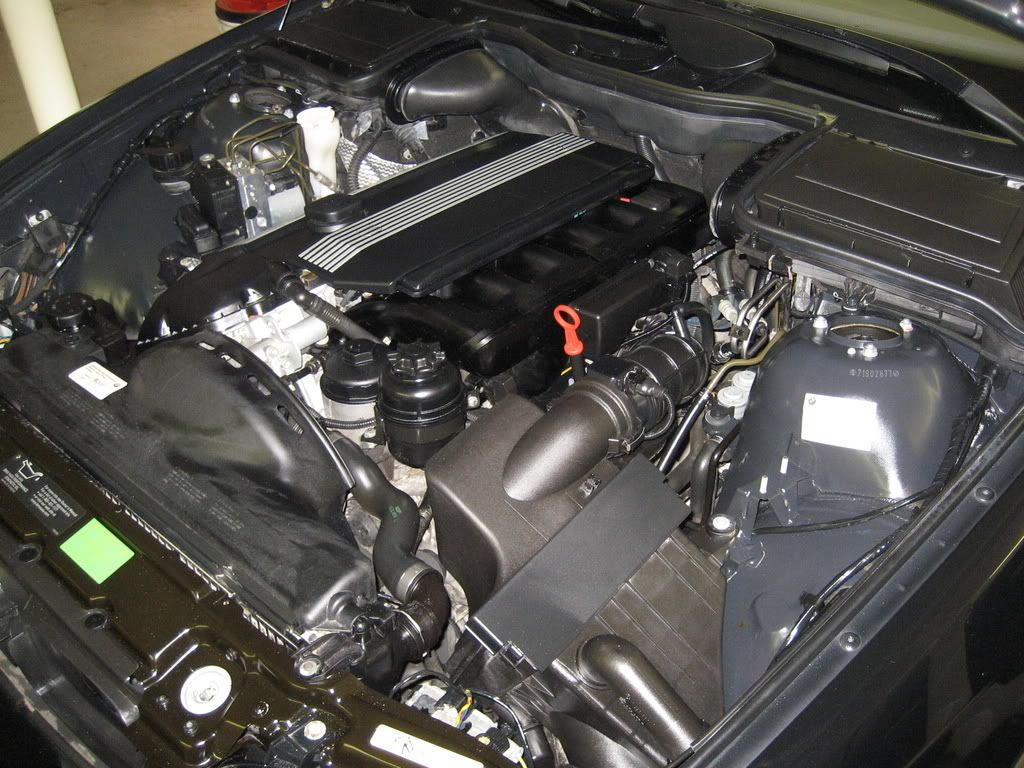
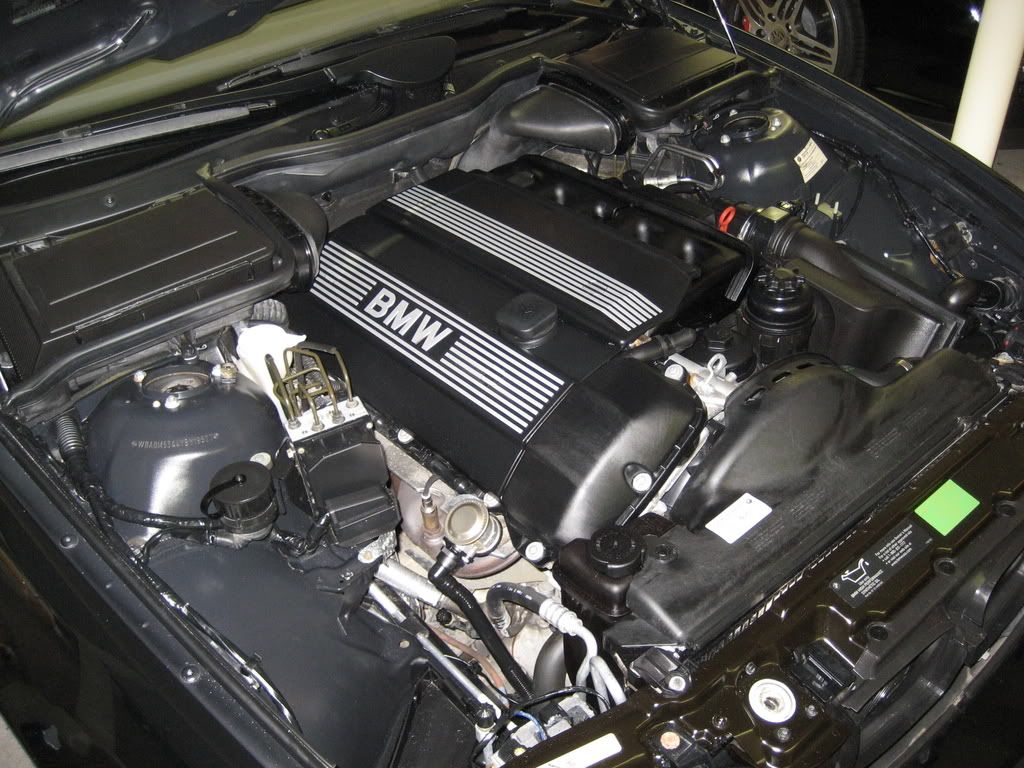
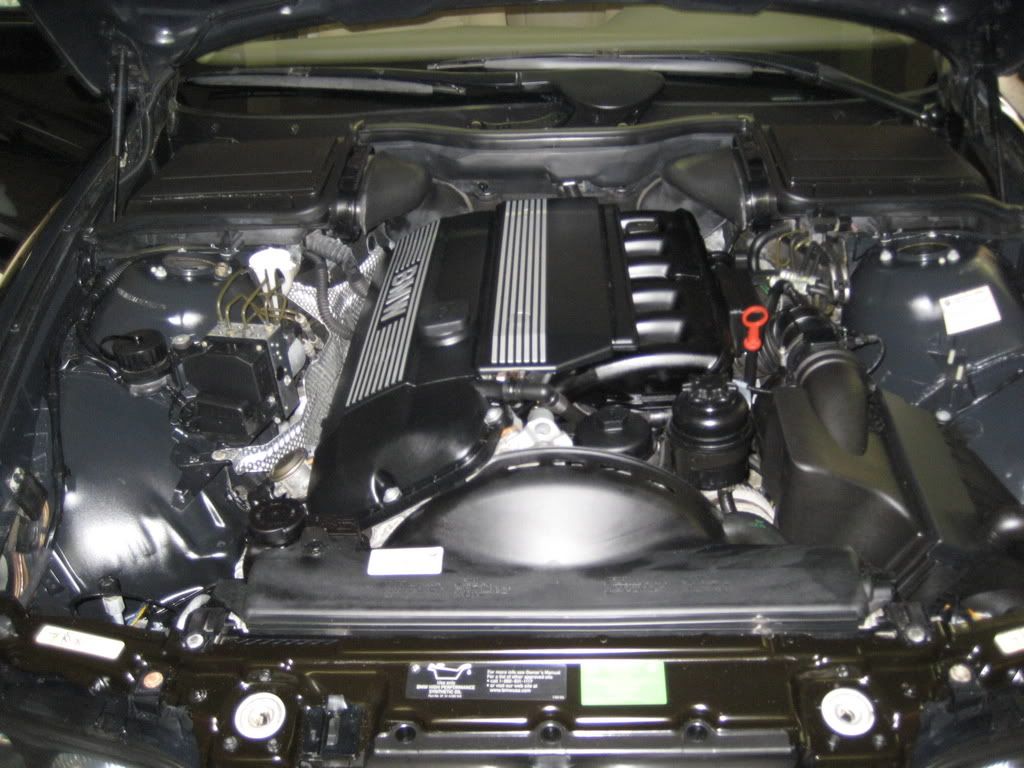
pyiu2 - Great job on the Beemer! You are an inspiration for me to do my SL600 this week.
I use a power washer every six months on my cars. However, I do turn the RPM's down on the pressure washer motor to reduce the exiting water pressure. I do not know the washer's engine speed or final water pressure, but it is definetly not a dypical power washer 'blast' but certainly much more than a water hose nozzle would provide. Never had a problem with Mercedes, Honda Prelude or Dodge Neon. After spraying, I let the engine sit with the hood open in the sunlight for about 15 minutes before starting the engine. They fire right up, without a hic-up.
By spraying down the engine compartment every six months, the amount of 'stuff' removed each time is obviously much reduced. So I'm not in the engine bay very long. Thus, the job is fairly simple and easy. Of course the main purpose is to make it easier to look for leaks, etc. While I should detail the engine each time, I do get lazy now and again.
pyiu2 - Great job on the Beemer! You are an inspiration for me to do my SL600 this week.
Banned
Joined: Sep 2006
Posts: 1,164
Likes: 2
From: NY
Using a pressure washer at a low speed while being careful is fairly safe in my opinion. Some of the notable significant risks are like you stated forcing water in an electrical component or air intake. The other potential problem I see is the force of the water harming a mechanical part of the engine. Some hoses and tubes are held together with ties and adhesives that you don't want to loosen. I don't think either is too likely to happen, especial with all the precautions of a modern engine bay. However I prefer to just minimize the risk and clean without a pressure washer. I typically can do a full engine detail in 30 minutes, (assuming it's not horrendous) so I don't mind not using a pressure washer and taking a few extra minutes.
Greg @ Detailed Image
Greg @ Detailed Image
Trending Topics
Super Member
Joined: Aug 2005
Posts: 591
Likes: 9
From: Covington, WA
'96 SL600, '05 S55 AMG, '06 C230
Thanks Greg for the opinion. Your point is well taken about adhesives - which also include labels and such. Some labels are fairly small and once (oops) sprayed away, can be be tough to determine what was there originally.
MB World Stories
The Best of Mercedes & AMG

Manual Mercedes? 6 Times Sindelfingen Let Drivers Have All The Fun
Verdad Gallardo
Mercedes SLR McLaren 722 S Is Extremely Rare Example Modified by McLaren
Verdad Gallardo
8 Classic Boxy Mercedes Designs That Have Aged Like Fine Wine
Verdad Gallardo
Flawlessly Restored Mercedes 190E Evo II Heads to Auction
Verdad Gallardo
Electric Mercedes C-Class Unveiled: 11 Things You Need to Know
Verdad Gallardo
Mercedes EQS Gets A Major Update: Everything You Need to Know
Verdad Gallardo
5 Underrated Mercedes-Benz Models That Don't Get the Love They Deserve
Verdad Gallardo
Mercedes 300D Has Pushed Well Past 1 Million Miles and It Ain't Stopping
Verdad Gallardo


