
How To Do a Test Spot
 05-14-2012, 01:28 PM
#1
Junior Member
Thread Starter

Join Date: Jul 2004
Posts: 23
Likes: 0
Received 0 Likes
on
0 Posts
How To Do a Test Spot
How To Do a Test Spot
A Test Spot is where you take the products, pads, tools and your best technique and buff one small section, usually on a horizontal panel, to test out these things to see if they'll create the results you want, hope for and dream about in some cases.
If your choice of products, pads, tools and technique works to remove the defects and restore the finish to your expectations, then theoretically you should be able to duplicate the same process to the rest of the vehicle and create the same results.
If your choice of products, pads, tools and your technique doesn't create the results you want, hope for and dream about then you can come to the forum and post what you're seeing and we'll do our best to help you tweak your technique, substitute different products, pads and/or tools to see you through to success.
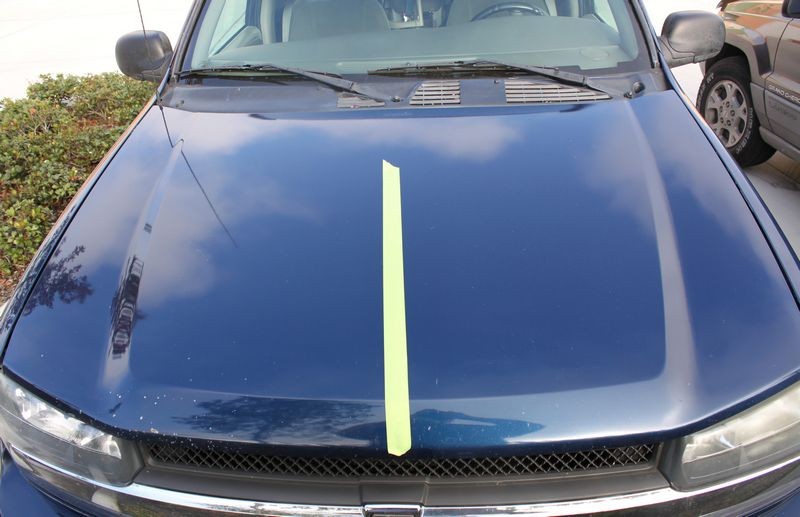
Tape Line
It helps to place a piece of painter's tape on a horizontal surface, usually the hood or trunk lid but if you want to be more discreet you can use the roof. Then only work on one side of the tape line as this will make it very easy for you to see visual changes due to the distinct demarcation line between before and after results.
Tape-line using 3M Green Painter's Tape
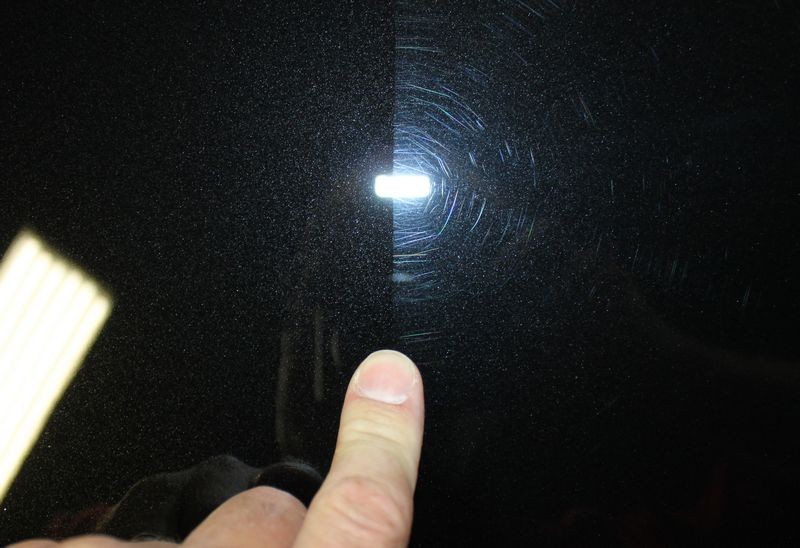
Before and after results along the demarcation line
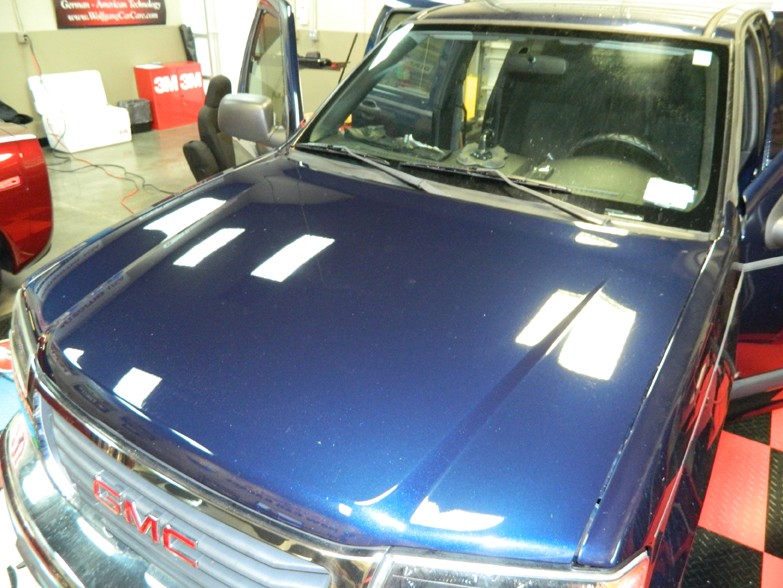
Test Spot performed by Nick Rutter @ Autogeek on a severely oxidized 2006 GMC Canyon
Here's a series of pictures taken by my co-worker Nick from a severely neglected truck he helped another co-worker Jason to buff out. For this project Nicked performed a Test Spot and the pictures really tell the story of what a Test Spot would look like that I've created this article using these pictures and Nick's permission.
The project vehicle is a severely neglected 2006 GMC Canyon with a heavily oxidized clear coat finish. In this case Nick used a one-step cleaner/wax applied by machine but you would buff the paint in the same way with whatever "system" you were planning on using.
If using a multiple step approach then you would use all the products and do all the steps to your Test Spot because this would be what you would do to the entire vehicle if the results from your Test Spot are good and you want to see what the true end-results are going to be. You can if you want skip applying the LSP or Last Step Product if you're happy with the last prep step as in most cases the application of your LSP will simply either make the paint look even better or maintain the results you've created.
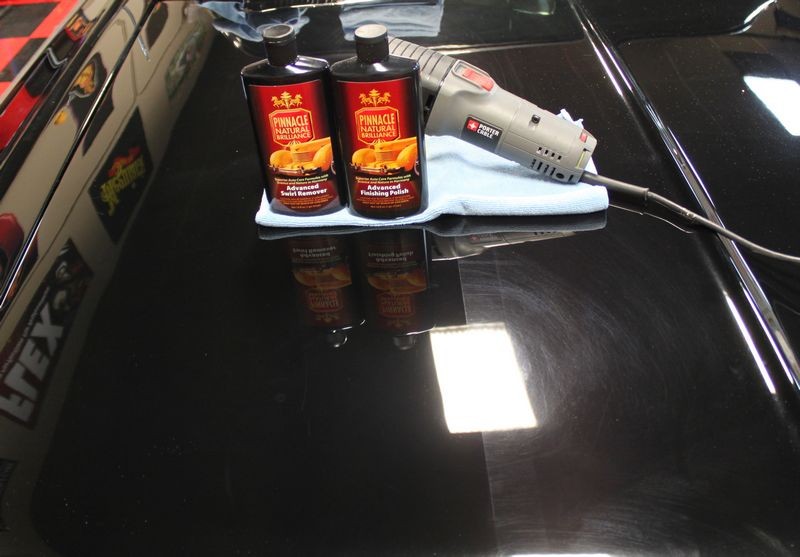
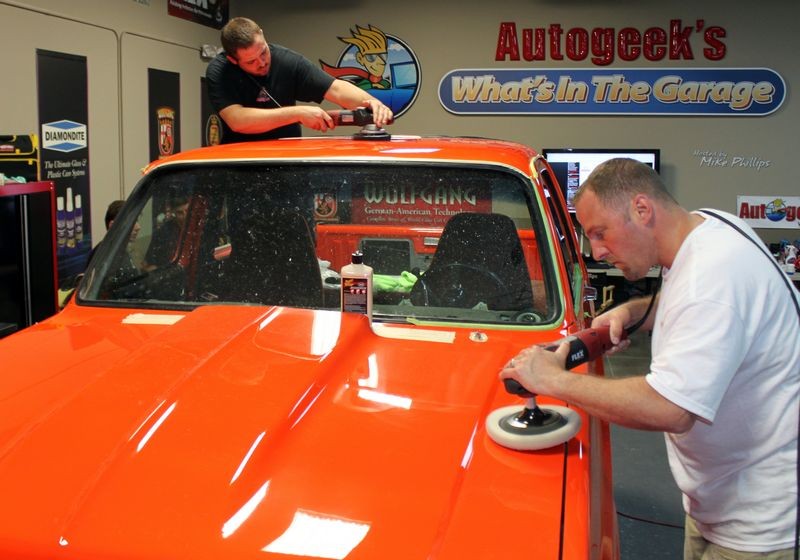
Test Spot

Hood Competed
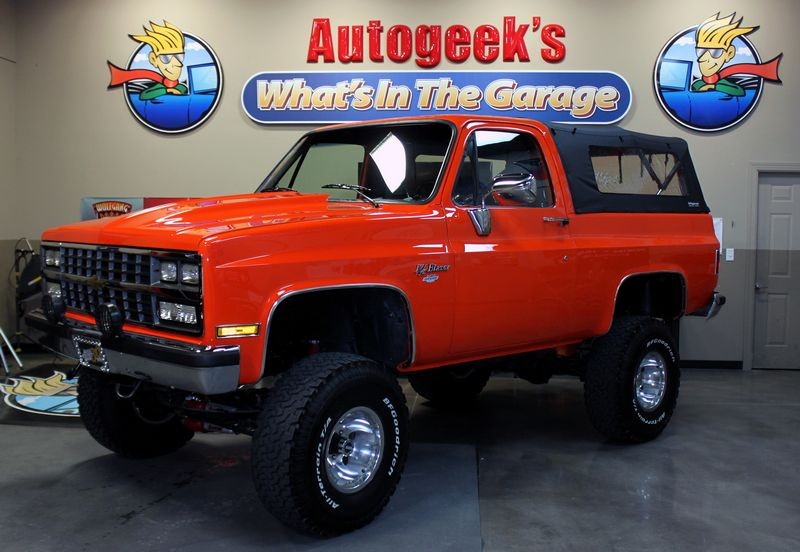
Truck completed


See the original write-up for this project here,
How To: Maximize Time with a Cleaner Wax/AIO
Test every detailing project that's new to you
If you've never worked on the paint on the project you're currently detailing, the before you buff out the entire car, take a moment to do a Test Spot.
I do a Test Spot on ever car I work on as this give me an idea of,
Here's the results from some of the Test Spots we've done to some of the recent projects cars here at AGO
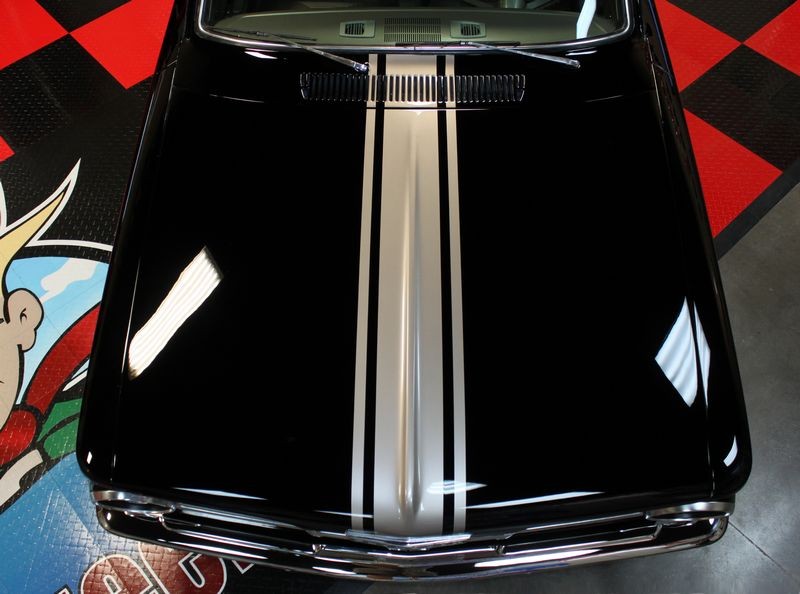
1959 Chevrolet El Camino - Extreme Makeover - Modeled by Christina

Live Broadcast Video - 1965 Plymouth Valiant - Extreme Makeover
Before

Test Spot

After
Wetsanding Test Spot
Even if you're going to wetsand or dampsand a vehicle it's just as important to do a Test Spot by sanding a section of paint and then testing to see what it's going to take to remove 100% of your sanding marks.
Test Spot

Hood compounded
After
Test, test, test...
Test out the products you're planning on using over the entire vehicle to one small area first. Make sure you're getting the results you want, hope for and dream about before buffing out the entire project.

A Test Spot

A Test Spot is where you take the products, pads, tools and your best technique and buff one small section, usually on a horizontal panel, to test out these things to see if they'll create the results you want, hope for and dream about in some cases.
If your choice of products, pads, tools and technique works to remove the defects and restore the finish to your expectations, then theoretically you should be able to duplicate the same process to the rest of the vehicle and create the same results.
If your choice of products, pads, tools and your technique doesn't create the results you want, hope for and dream about then you can come to the forum and post what you're seeing and we'll do our best to help you tweak your technique, substitute different products, pads and/or tools to see you through to success.
Tape Line
It helps to place a piece of painter's tape on a horizontal surface, usually the hood or trunk lid but if you want to be more discreet you can use the roof. Then only work on one side of the tape line as this will make it very easy for you to see visual changes due to the distinct demarcation line between before and after results.
Tape-line using 3M Green Painter's Tape
Before and after results along the demarcation line
Test Spot performed by Nick Rutter @ Autogeek on a severely oxidized 2006 GMC Canyon
Here's a series of pictures taken by my co-worker Nick from a severely neglected truck he helped another co-worker Jason to buff out. For this project Nicked performed a Test Spot and the pictures really tell the story of what a Test Spot would look like that I've created this article using these pictures and Nick's permission.
The project vehicle is a severely neglected 2006 GMC Canyon with a heavily oxidized clear coat finish. In this case Nick used a one-step cleaner/wax applied by machine but you would buff the paint in the same way with whatever "system" you were planning on using.
If using a multiple step approach then you would use all the products and do all the steps to your Test Spot because this would be what you would do to the entire vehicle if the results from your Test Spot are good and you want to see what the true end-results are going to be. You can if you want skip applying the LSP or Last Step Product if you're happy with the last prep step as in most cases the application of your LSP will simply either make the paint look even better or maintain the results you've created.
Test Spot
Hood Competed
Truck completed
See the original write-up for this project here,
How To: Maximize Time with a Cleaner Wax/AIO
Test every detailing project that's new to you
If you've never worked on the paint on the project you're currently detailing, the before you buff out the entire car, take a moment to do a Test Spot.
I do a Test Spot on ever car I work on as this give me an idea of,
- How the paint reacts to machine polishing
- How the products and pads are working on this specific type of paint
- A feel for if the paint is hard or soft or somewhere in-between
- A very good idea as to how the paint will and thus how the vehicle will look after the project is finished.
Here's the results from some of the Test Spots we've done to some of the recent projects cars here at AGO
1959 Chevrolet El Camino - Extreme Makeover - Modeled by Christina
Live Broadcast Video - 1965 Plymouth Valiant - Extreme Makeover
Before
Test Spot
After
Wetsanding Test Spot
Even if you're going to wetsand or dampsand a vehicle it's just as important to do a Test Spot by sanding a section of paint and then testing to see what it's going to take to remove 100% of your sanding marks.
Test Spot
Hood compounded
After
Test, test, test...
Test out the products you're planning on using over the entire vehicle to one small area first. Make sure you're getting the results you want, hope for and dream about before buffing out the entire project.


