
sl500 "clean up detail"


Thread Starter
Junior Member
Joined: Oct 2009
Posts: 26
Likes: 0
From: Orange County, CA
Nissan xterra
sl500 "clean up detail"
SL500 mercedes clean up
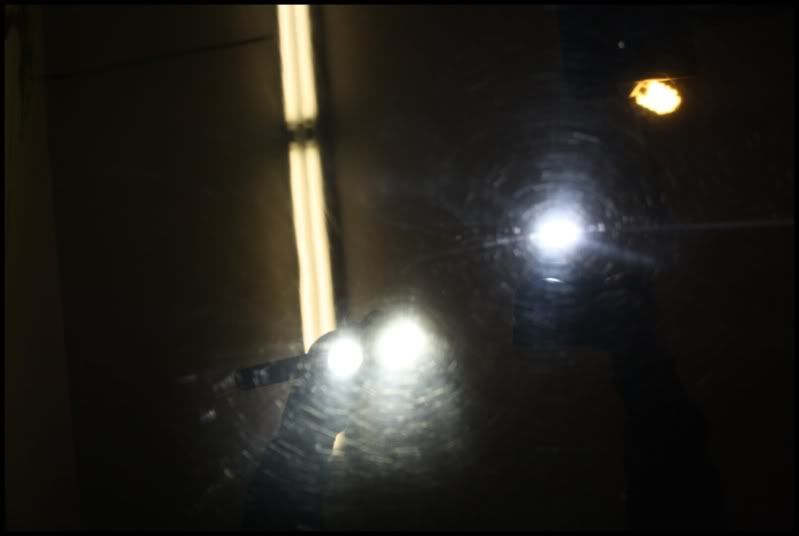
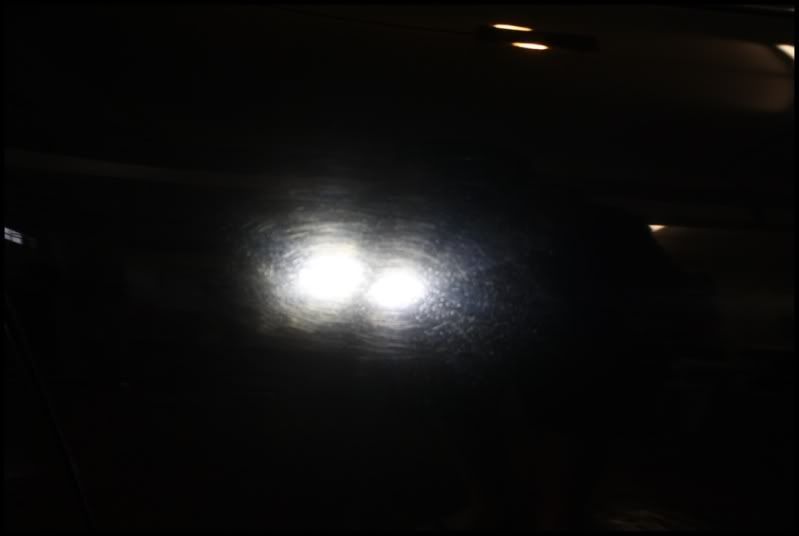
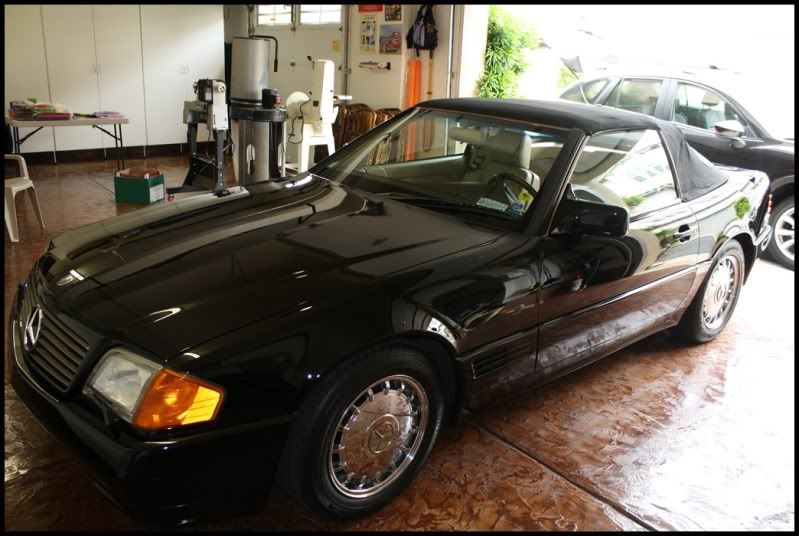
Upon first arrival, I could tell this car was in need of some help. There were tons of scratches, a grey-ish hue to the paint, and it was rough to the touch. All those indicators tells me its not going to be a quick and easy job. Adding in the fact the owner wants me to re-sand and polish the drivers door from a poor repaint to make it match better, yet not look so much better than the rest of the car (don�t do too good of a job), I had my work cut out for me. (how in the world was I supposed to do that?)
After waterless washing the car in the garage (dusty, not dirty), I was able to inspect the paint with the LED lights. Every single panel looked the same�
I talked to the owner about some options for the paint, and he wanted to just �clean it up��a one step process was agreed upon, price was agreed upon, and I was left alone in the garage to do my thing for the next 4 hours�or so I thought.
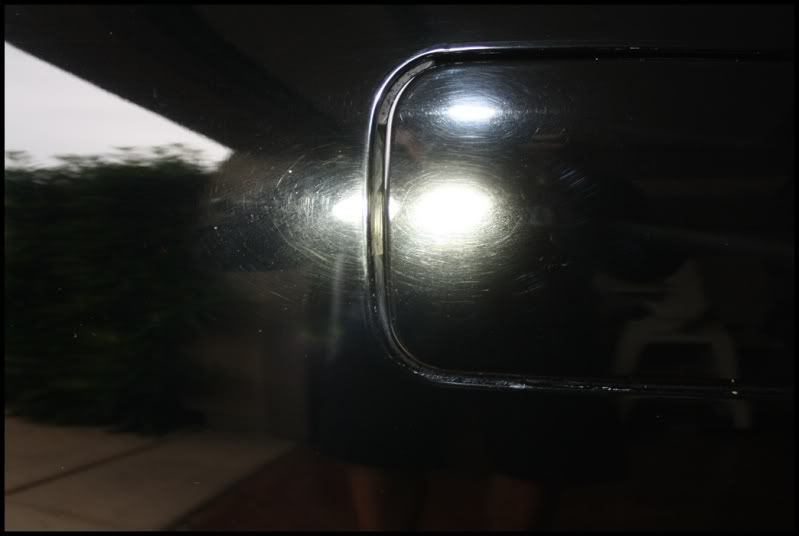
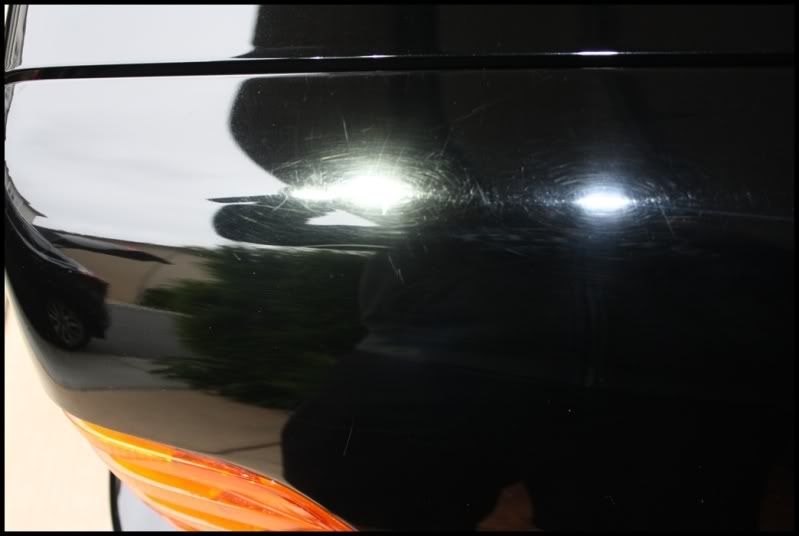
As I started working on the paint, I could tell I wasn�t going to be happy with the results from a one step polishing. This car had TONS of scratches, RIDS, swirl marks, slight oxidation�It needed a two step at least to make it much better IMO, so I did it. We called this the �friend hookup� as it was my good friends� boss.
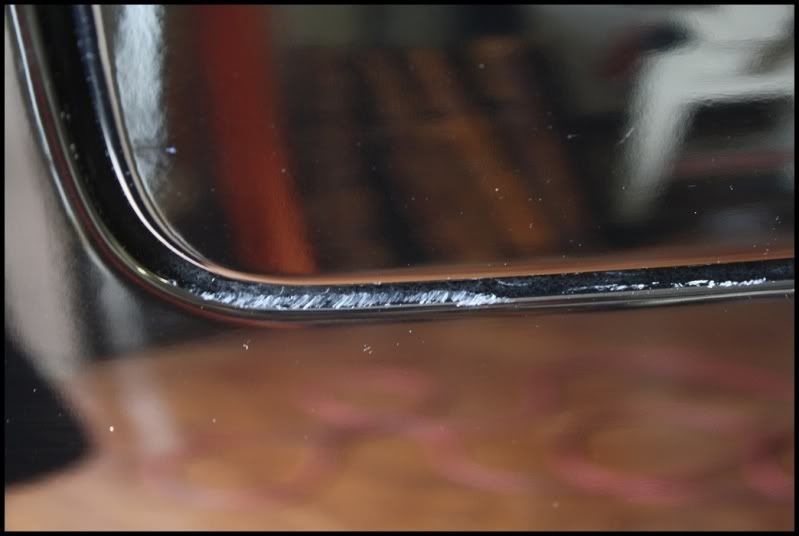
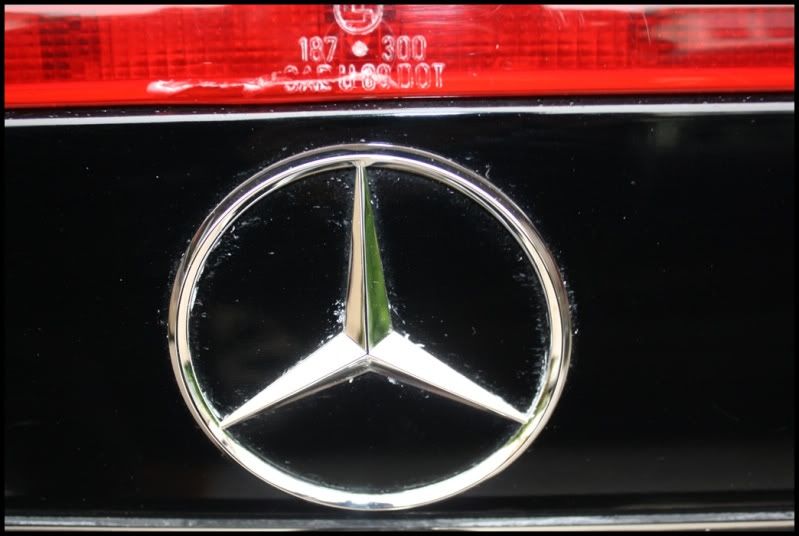
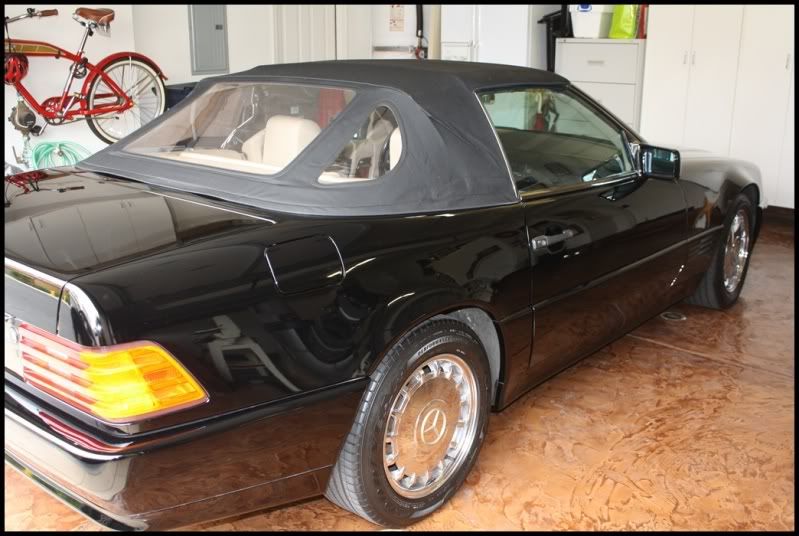
Here are some of the befores:
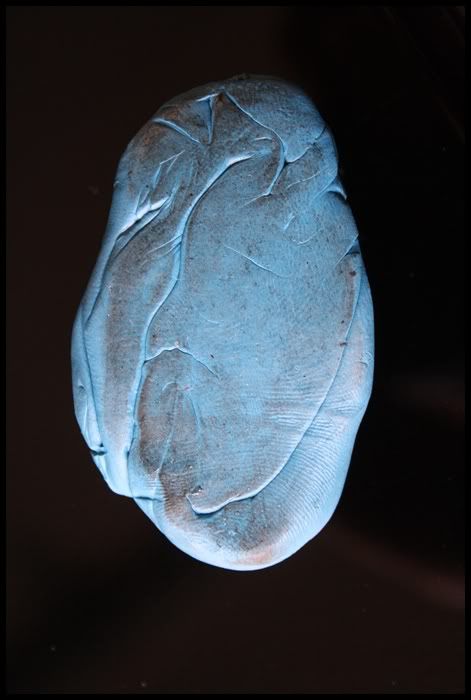
Claying after just half the trunk lid, �its been a while�
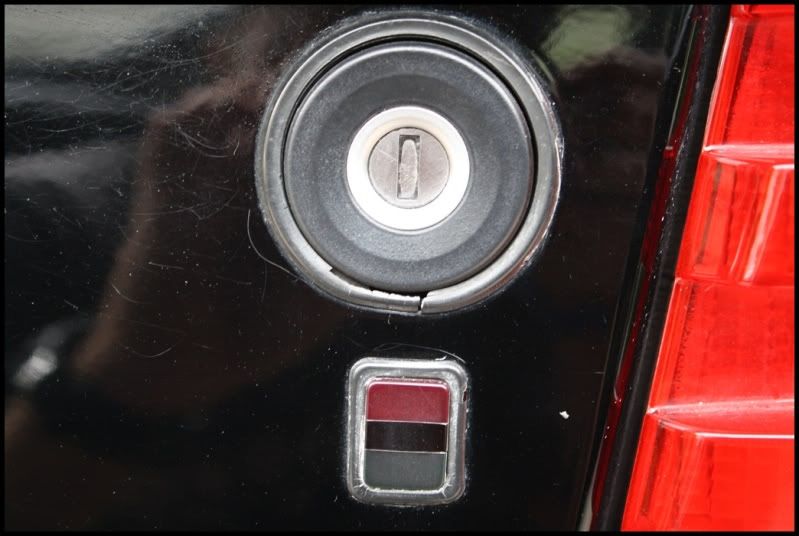
Wax and junk in the cracks�
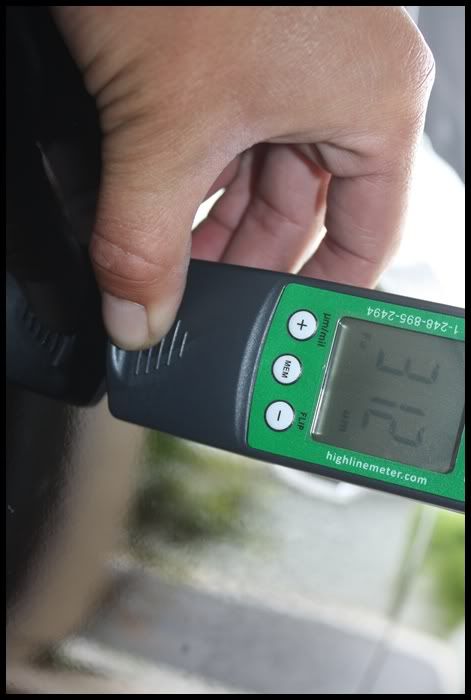
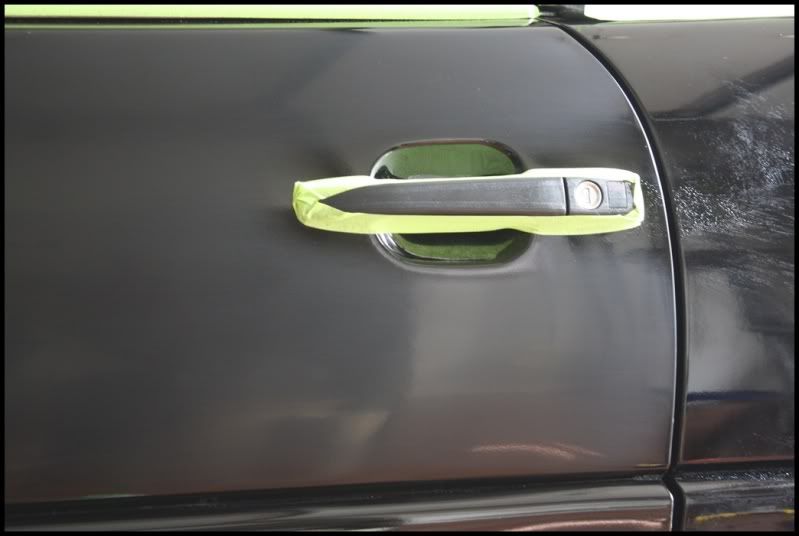
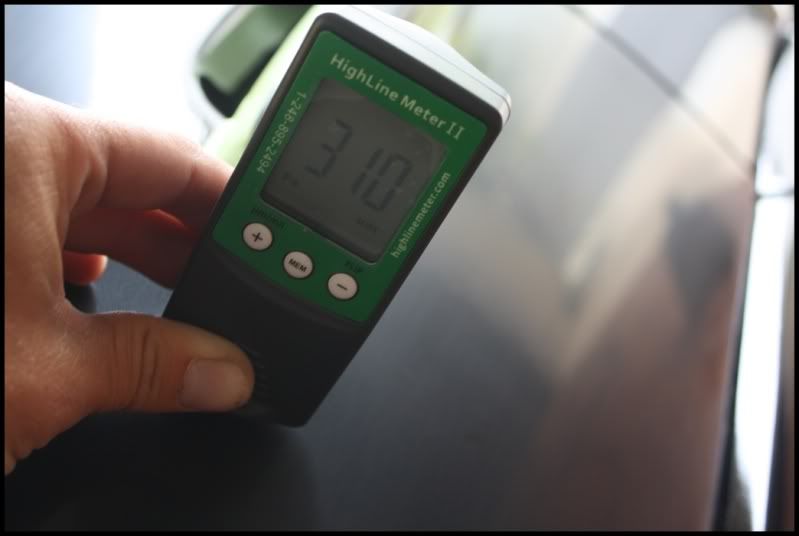
At this point in time, it was time to sand the door to make it blend and match more. I wasn�t going for a completely flat reflection as the rest of the car had moderate orange peel, I was going for �better�. I took some 2000 and 3000 paper to the car, then followed it up with 105 and two passes on the rotary to level the defects, and then a MF pad and D300, then a polishing pad and 85rd to finish things off. Through the sanding, I ended up going through 2 microns of clear and was left with more even orange peel to match the rest of the car.
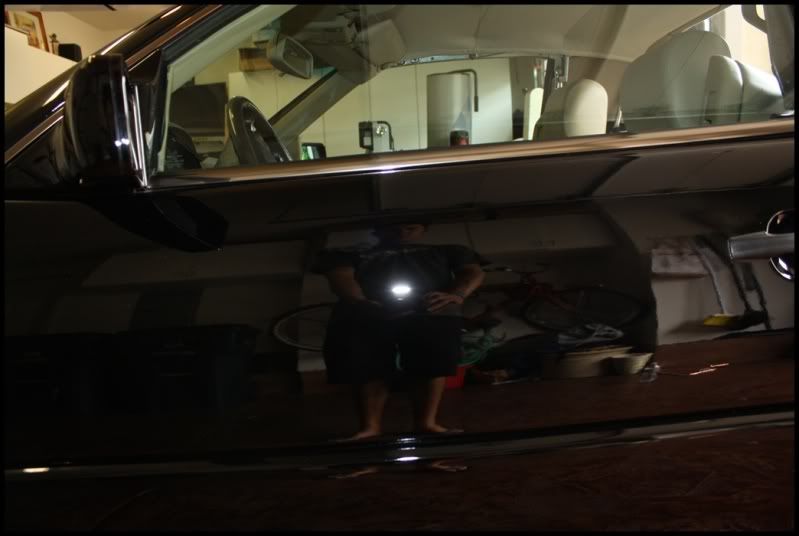
After I was all done with the whole car
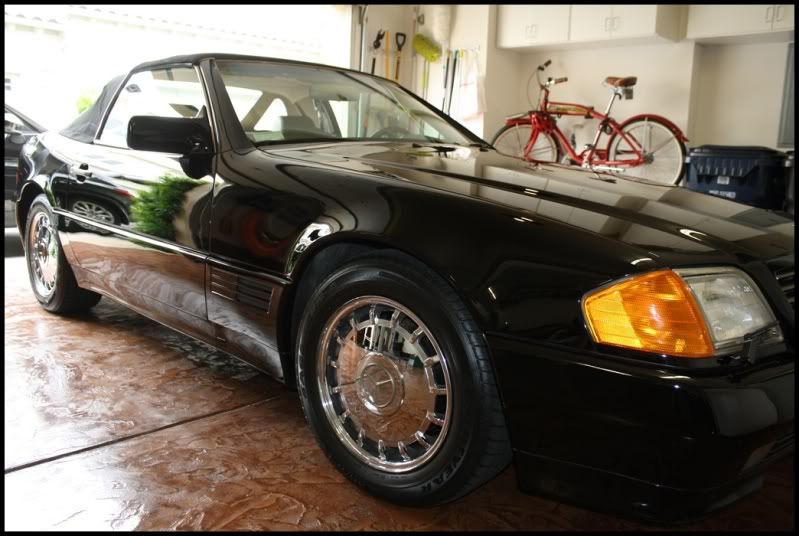
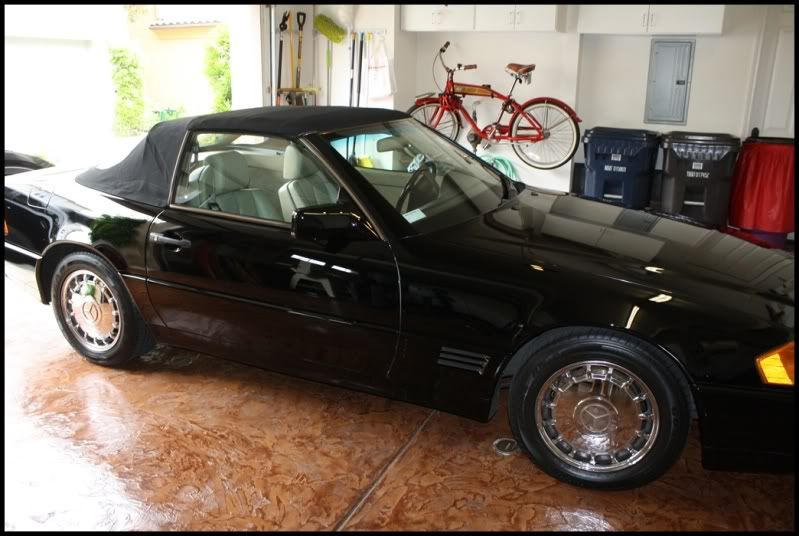
6 hours later I was finally driving away and the owner was left with a car �that looks so much better now�.


