
2012 Mercedes C63 AMG - 2 step paint correction & Opti-Coat by Mr. Sparkle Detailing

Thread Starter
Newbie
Joined: Nov 2012
Posts: 12
Likes: 0
From: Long Island, NY
Toyota Taco
2012 Mercedes C63 AMG - 2 step paint correction & Opti-Coat by Mr. Sparkle Detailing
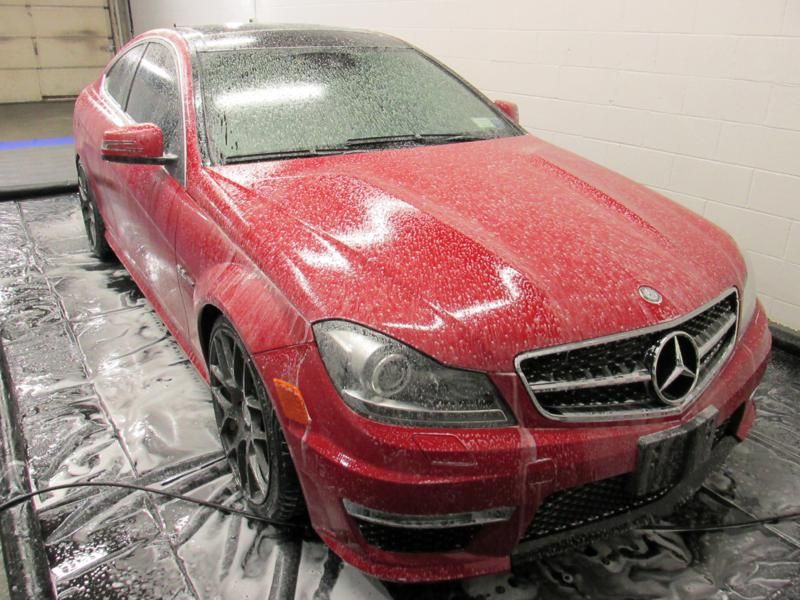
Client contacted me late last year about getting his new C series coupe protected with Opti-Coat. Once my shop was opened we settled on a date for a 1 step polish with Opti-Coat.
Upon arrival I learned that he was actually second owner, and the car was purchased with 6000 miles on the odometer. It must've been a hard 6000 miles because the paint was a bit swirled up, with a number of deep random scratches.
Started with a wash. Some foam gun action
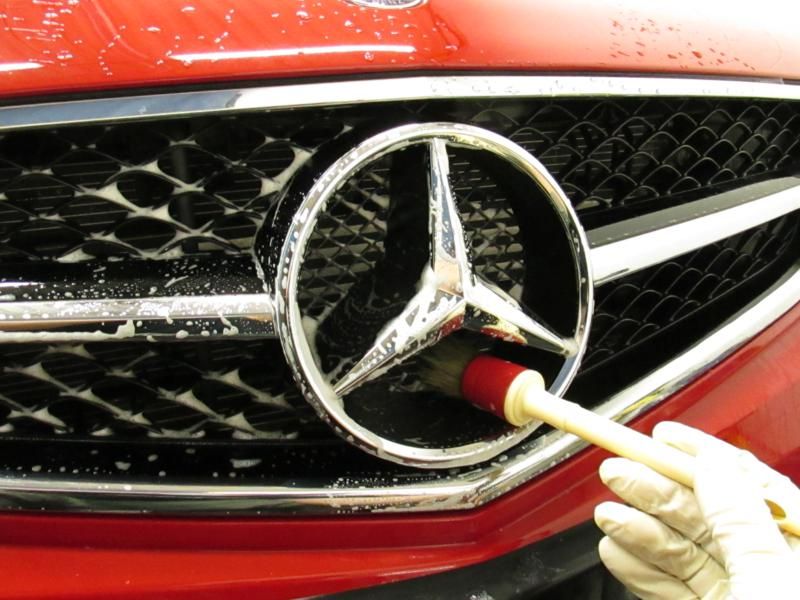
Getting all the hard to reach places
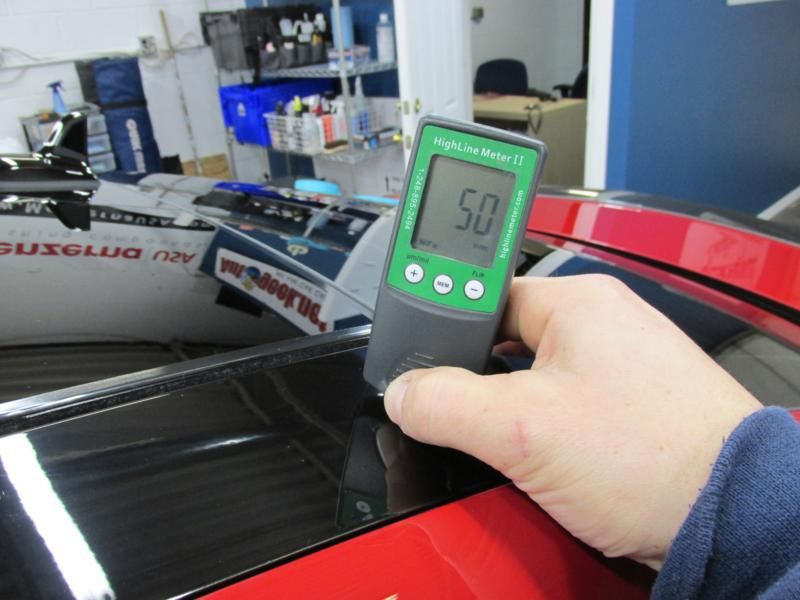
Took some paint measurements and most of the car was 90-120microns. This is referring to the red painted areas (95% of the car). There was a few inch wide sliver of the roof painted black that was dangerously thin. I would have to take special care on the black painted areas.
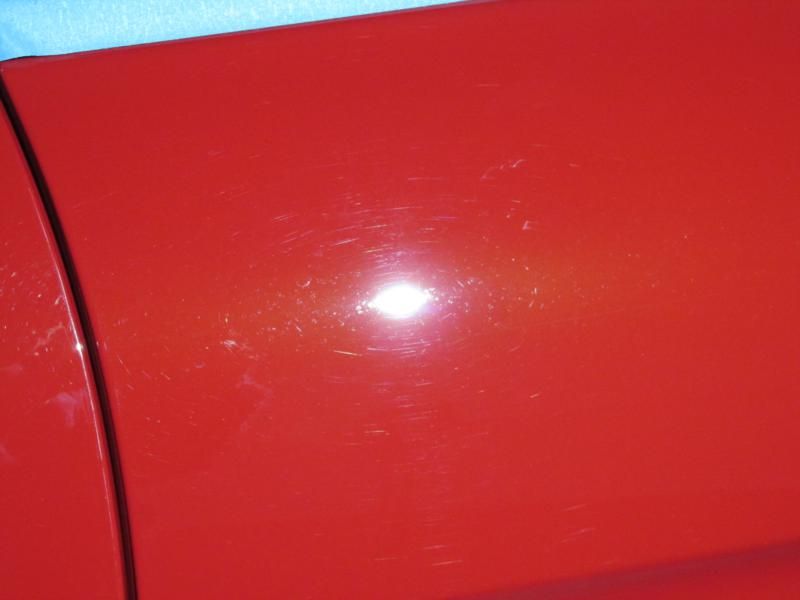
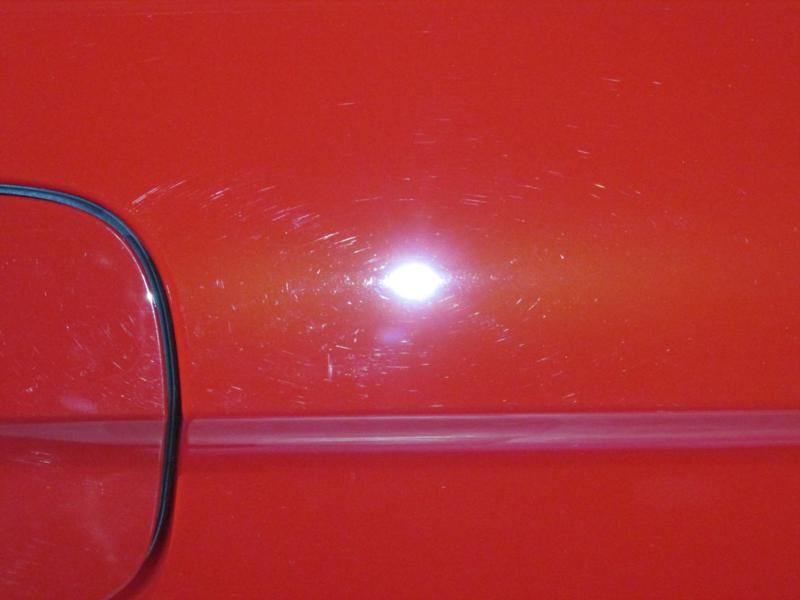
Here is what I was up against as far as swirls go
Started with some test spots and this paint was H A R D and just generally tough to work with. I threw the bag at it and found that this paint was tough to fully correct, and would haze up quite a bit with anything aggressive. Then the gloss was difficult to restore. Deeper scratches just laughed at me. I knew this was going to be a long day and I reached out to the client to discuss.
Probably should've been a 3 step polish with wet sanding to get it truly 'perfect'. But budget and time constraints dictated otherwise. Client wanted to see a significant improvement with long lasting protection. This was also a daily driven vehicle, not a garage queen, so the decision was made for a 2 step polish.
Still wasn't easy settling on a combo I was happy with. Ultimately I went with:
Flex 3401 + LC Cyan + Menz SIP
Griots + LC Tangerine + SF4000
This offered a fair amount of correction while anything heavier in the cutting step seemed to need a lot of work to bring back the gloss
Apologize for the lack of correction shots, but this was a battle. Not an easy day for me at all. A lot of areas were hit twice with the initial cutting step to try and get a little more out of it. Also the client lived closeby and was waiting to pickup
before
after
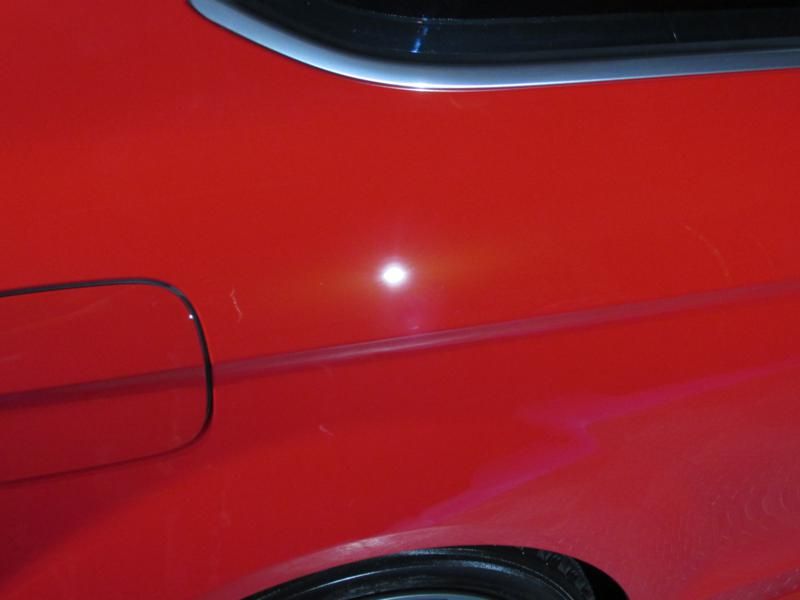
After the correction the car was washed again, wiped down with 'Eraser' then protected with Opti-Coat
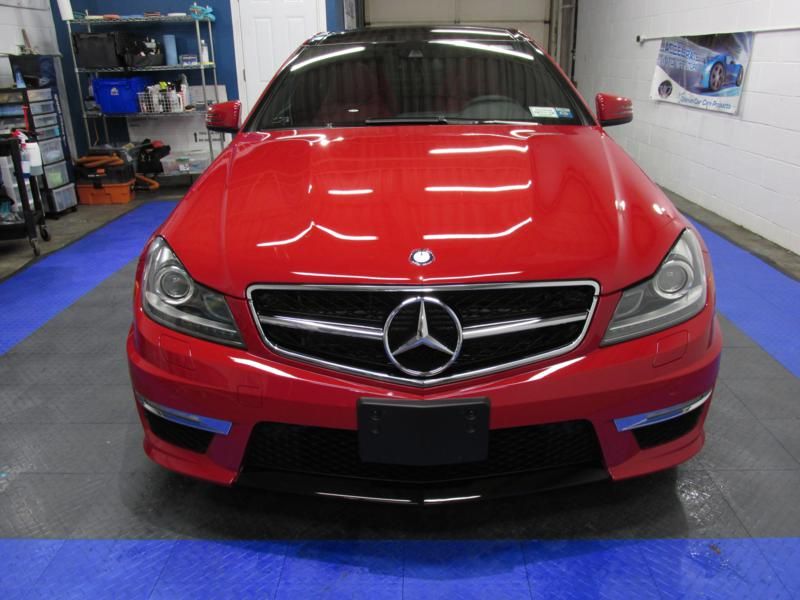
all finished up in the garage with owner on the way
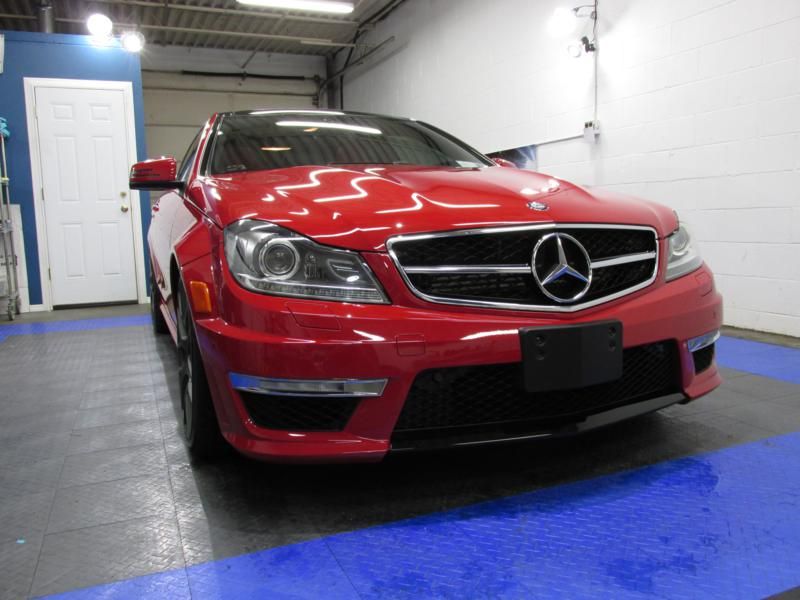


under LED lights only
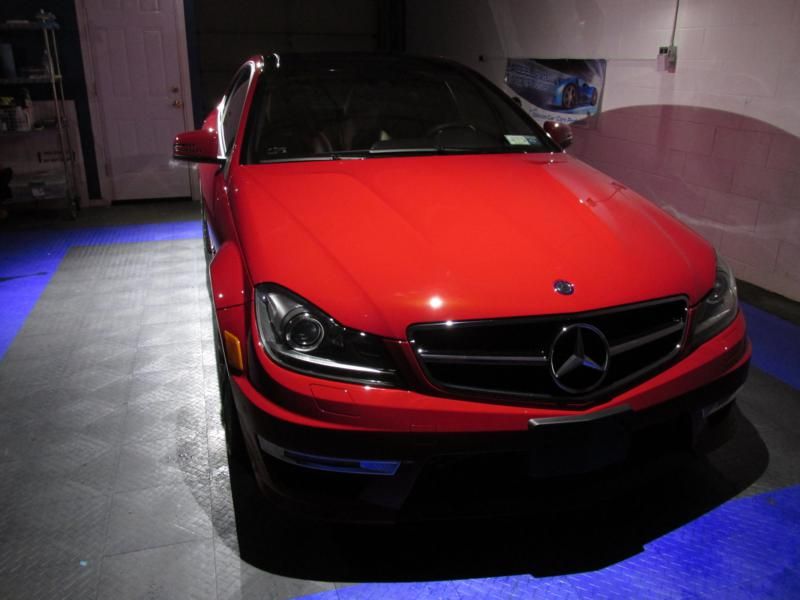
Client was very happy with the results and I finally took a moment to enjoy the fact that this was an amazing car with a 90+% perfect finish.
Upon arrival I learned that he was actually second owner, and the car was purchased with 6000 miles on the odometer. It must've been a hard 6000 miles because the paint was a bit swirled up, with a number of deep random scratches.
Started with a wash. Some foam gun action
Getting all the hard to reach places
Took some paint measurements and most of the car was 90-120microns. This is referring to the red painted areas (95% of the car). There was a few inch wide sliver of the roof painted black that was dangerously thin. I would have to take special care on the black painted areas.
Here is what I was up against as far as swirls go
Started with some test spots and this paint was H A R D and just generally tough to work with. I threw the bag at it and found that this paint was tough to fully correct, and would haze up quite a bit with anything aggressive. Then the gloss was difficult to restore. Deeper scratches just laughed at me. I knew this was going to be a long day and I reached out to the client to discuss.
Probably should've been a 3 step polish with wet sanding to get it truly 'perfect'. But budget and time constraints dictated otherwise. Client wanted to see a significant improvement with long lasting protection. This was also a daily driven vehicle, not a garage queen, so the decision was made for a 2 step polish.
Still wasn't easy settling on a combo I was happy with. Ultimately I went with:
Flex 3401 + LC Cyan + Menz SIP
Griots + LC Tangerine + SF4000
This offered a fair amount of correction while anything heavier in the cutting step seemed to need a lot of work to bring back the gloss
Apologize for the lack of correction shots, but this was a battle. Not an easy day for me at all. A lot of areas were hit twice with the initial cutting step to try and get a little more out of it. Also the client lived closeby and was waiting to pickup
before
after
After the correction the car was washed again, wiped down with 'Eraser' then protected with Opti-Coat
all finished up in the garage with owner on the way
under LED lights only
Client was very happy with the results and I finally took a moment to enjoy the fact that this was an amazing car with a 90+% perfect finish.

Thread Starter
Newbie
Joined: Nov 2012
Posts: 12
Likes: 0
From: Long Island, NY
Toyota Taco
Thanks for the comment
This may help you. Map of approved installers of Opti-Coat (search by your zip in top right)
http://batchgeo.com/map/232199a337c8...9c28a4d3b9c6e7
This may help you. Map of approved installers of Opti-Coat (search by your zip in top right)
http://batchgeo.com/map/232199a337c8...9c28a4d3b9c6e7


