
**Lamborghini Aventador - Heavy Correction by Oakes**


Thread Starter
Junior Member
Joined: Aug 2009
Posts: 49
Likes: 2
From: West Chester, PA
Whatever it is, it's probably dirty.
**Lamborghini Aventador - Heavy Correction by Oakes**
I've been a bit absent from the forums due to an incredibly busy schedule and moving to a much larger facility has taken time away from being active with you all on here! This will change though as I'm just about situated and ready to share the dozens upon dozens of exotics and other rare vehicles I have revived in recent months.
Starting of course, with this fantastic metallic blue Lamborghini Aventador! I was contacted to correct this Bull to remove some heavy defects from water blade use as well as your typical swirling and marring throughout. Over the course of approximately forty hours I labored to attend to all the defects, leaving it with a 98% corrected surface.
The process to correct Lamborghini paint is much more involved than most makes, and the various machines and pad/polish combos used is enough to warrant leaving proper correction on these vehicles to very experienced professionals. The pictures will now illustrate exactly what this batmobile needed!
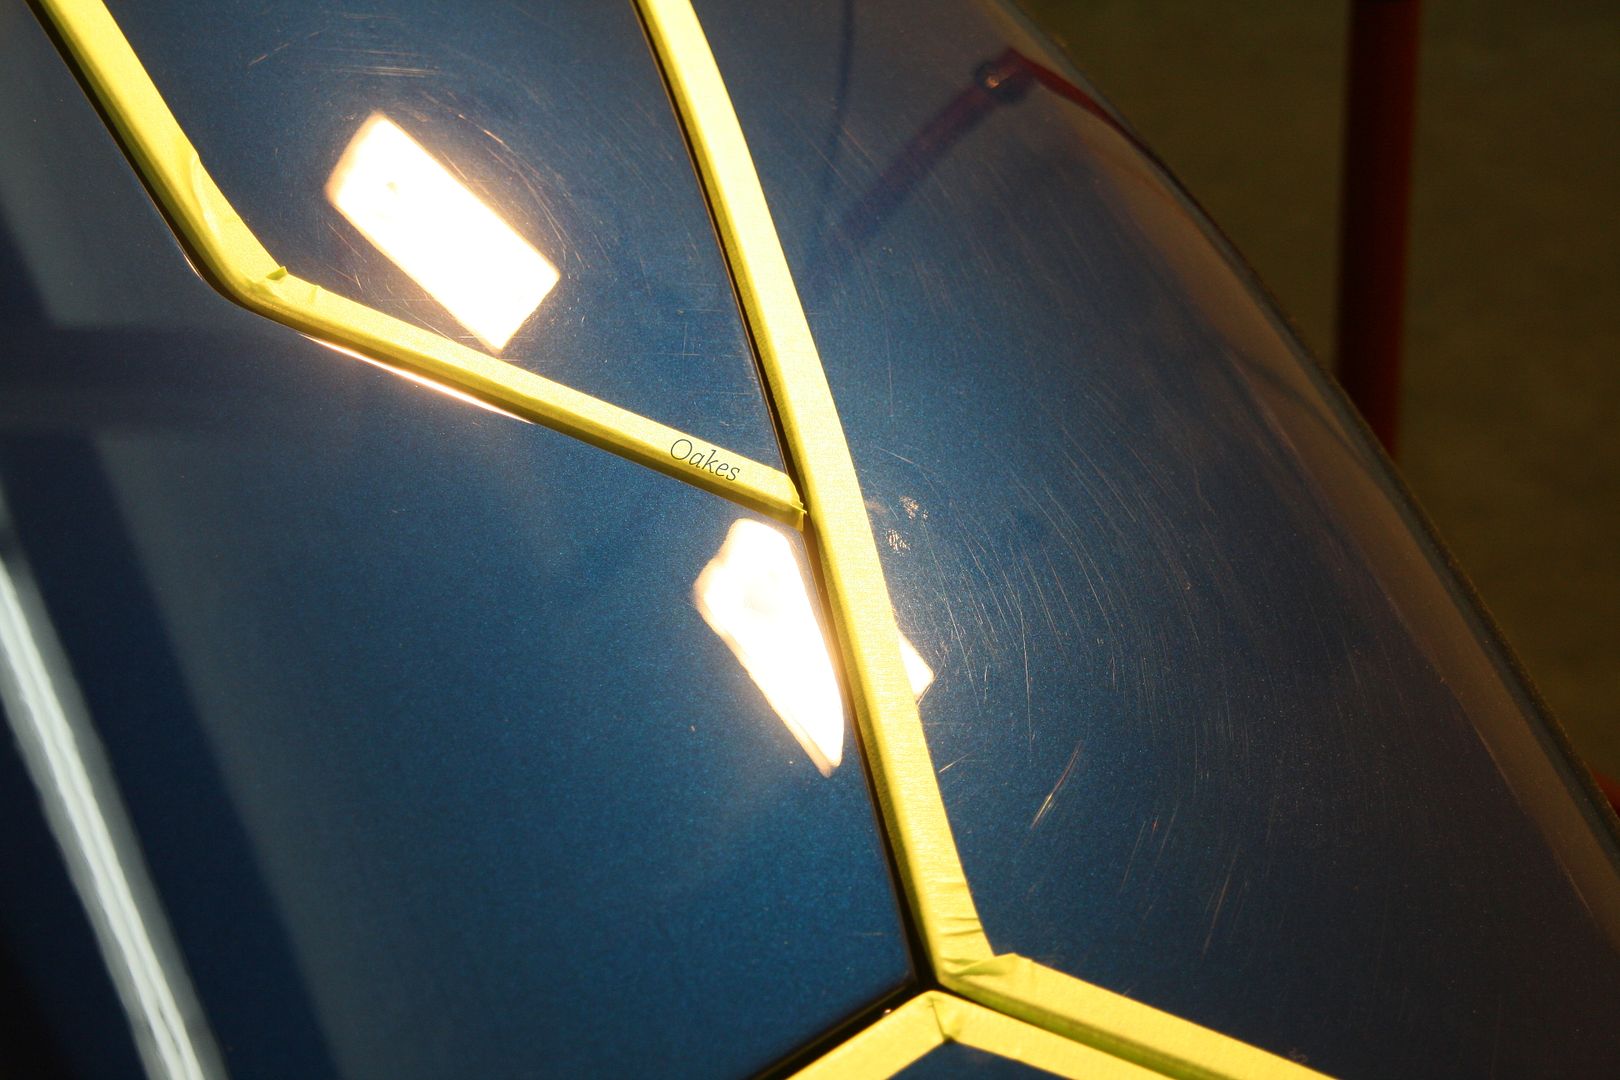
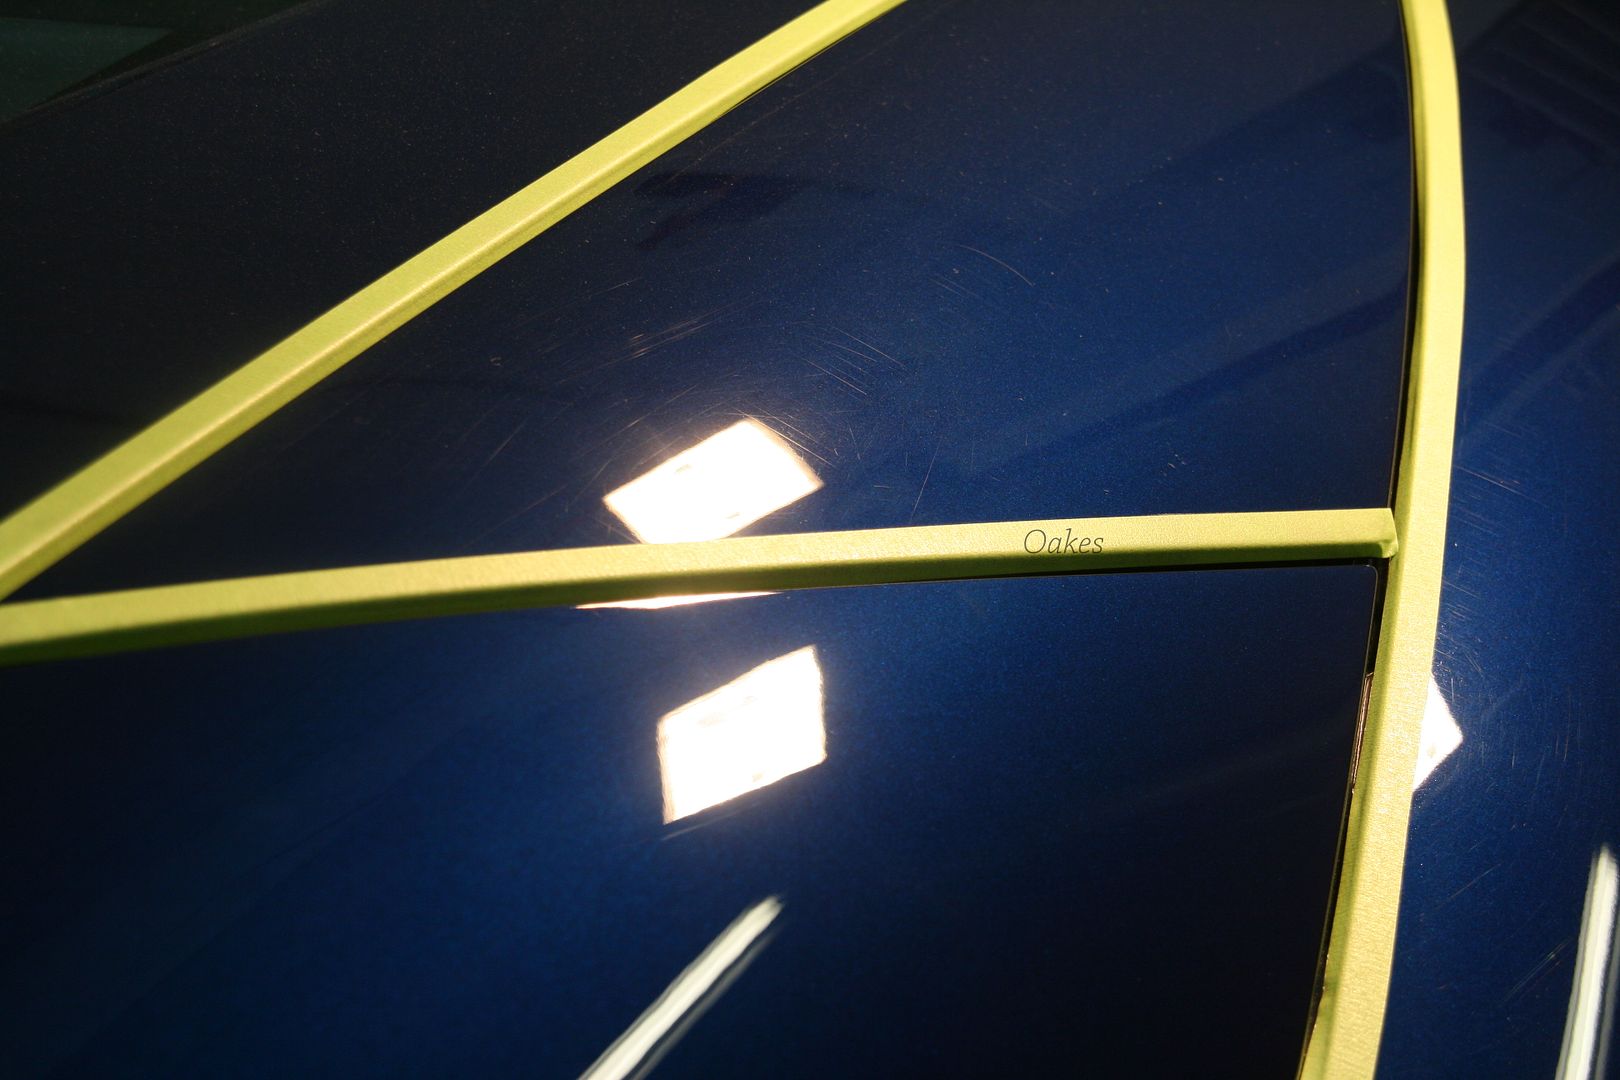
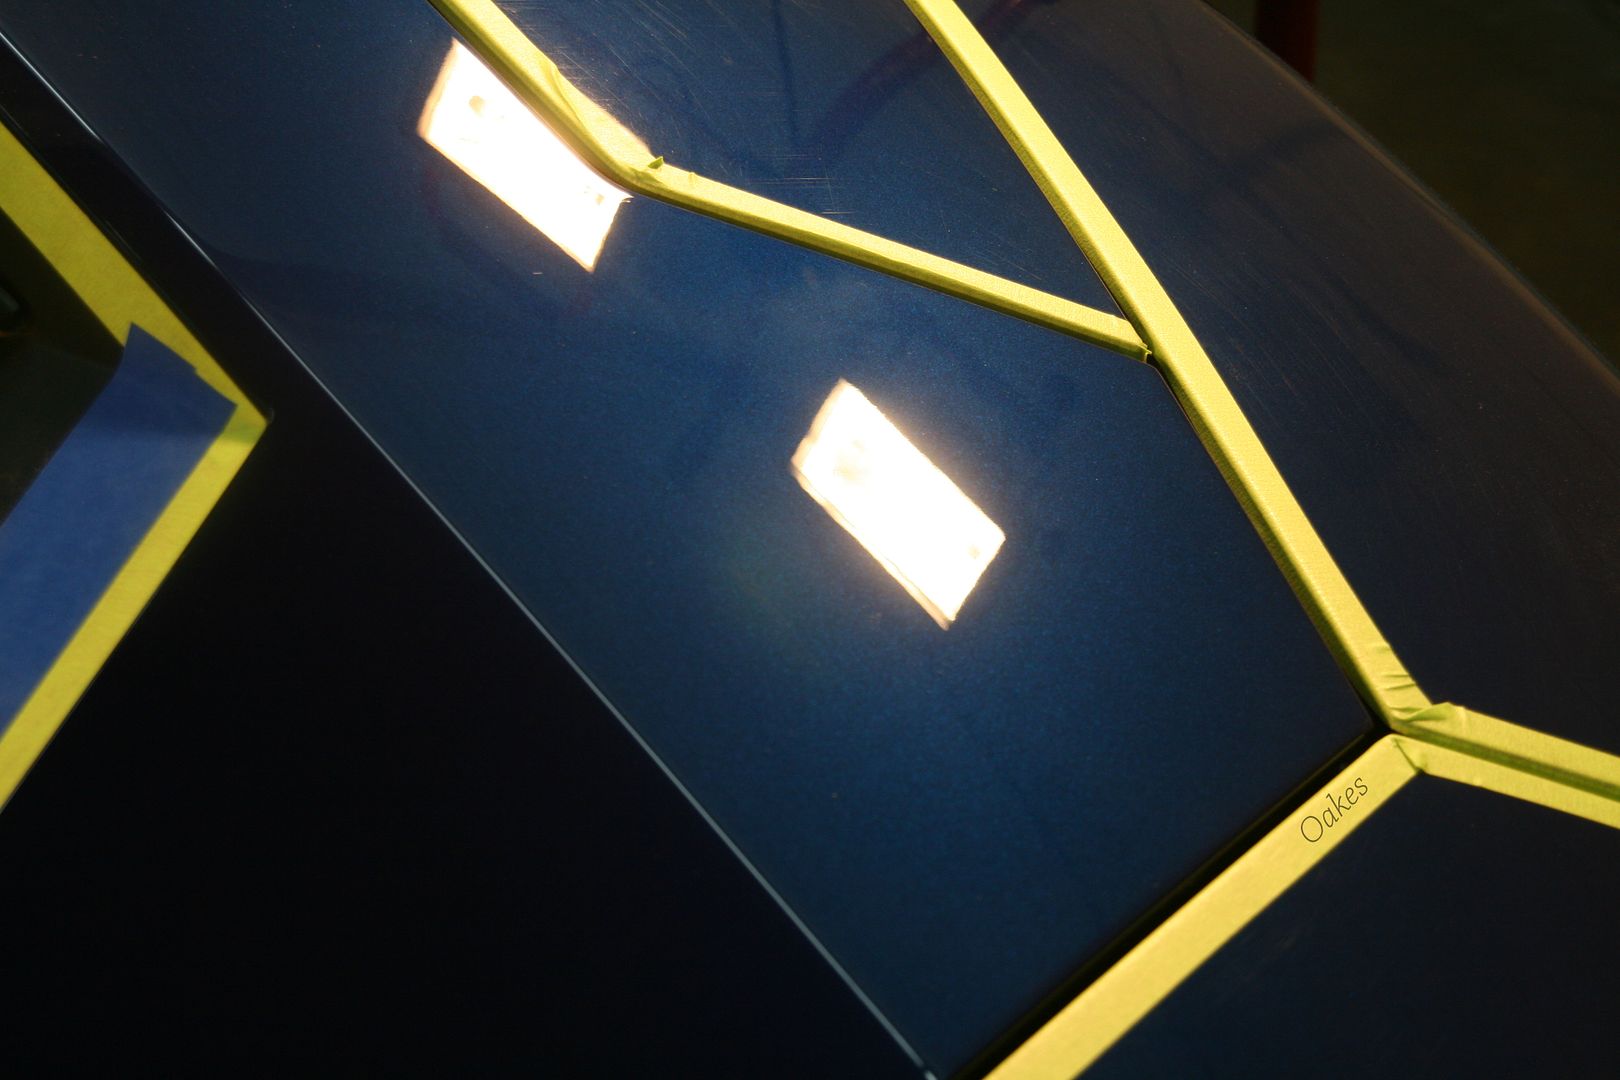
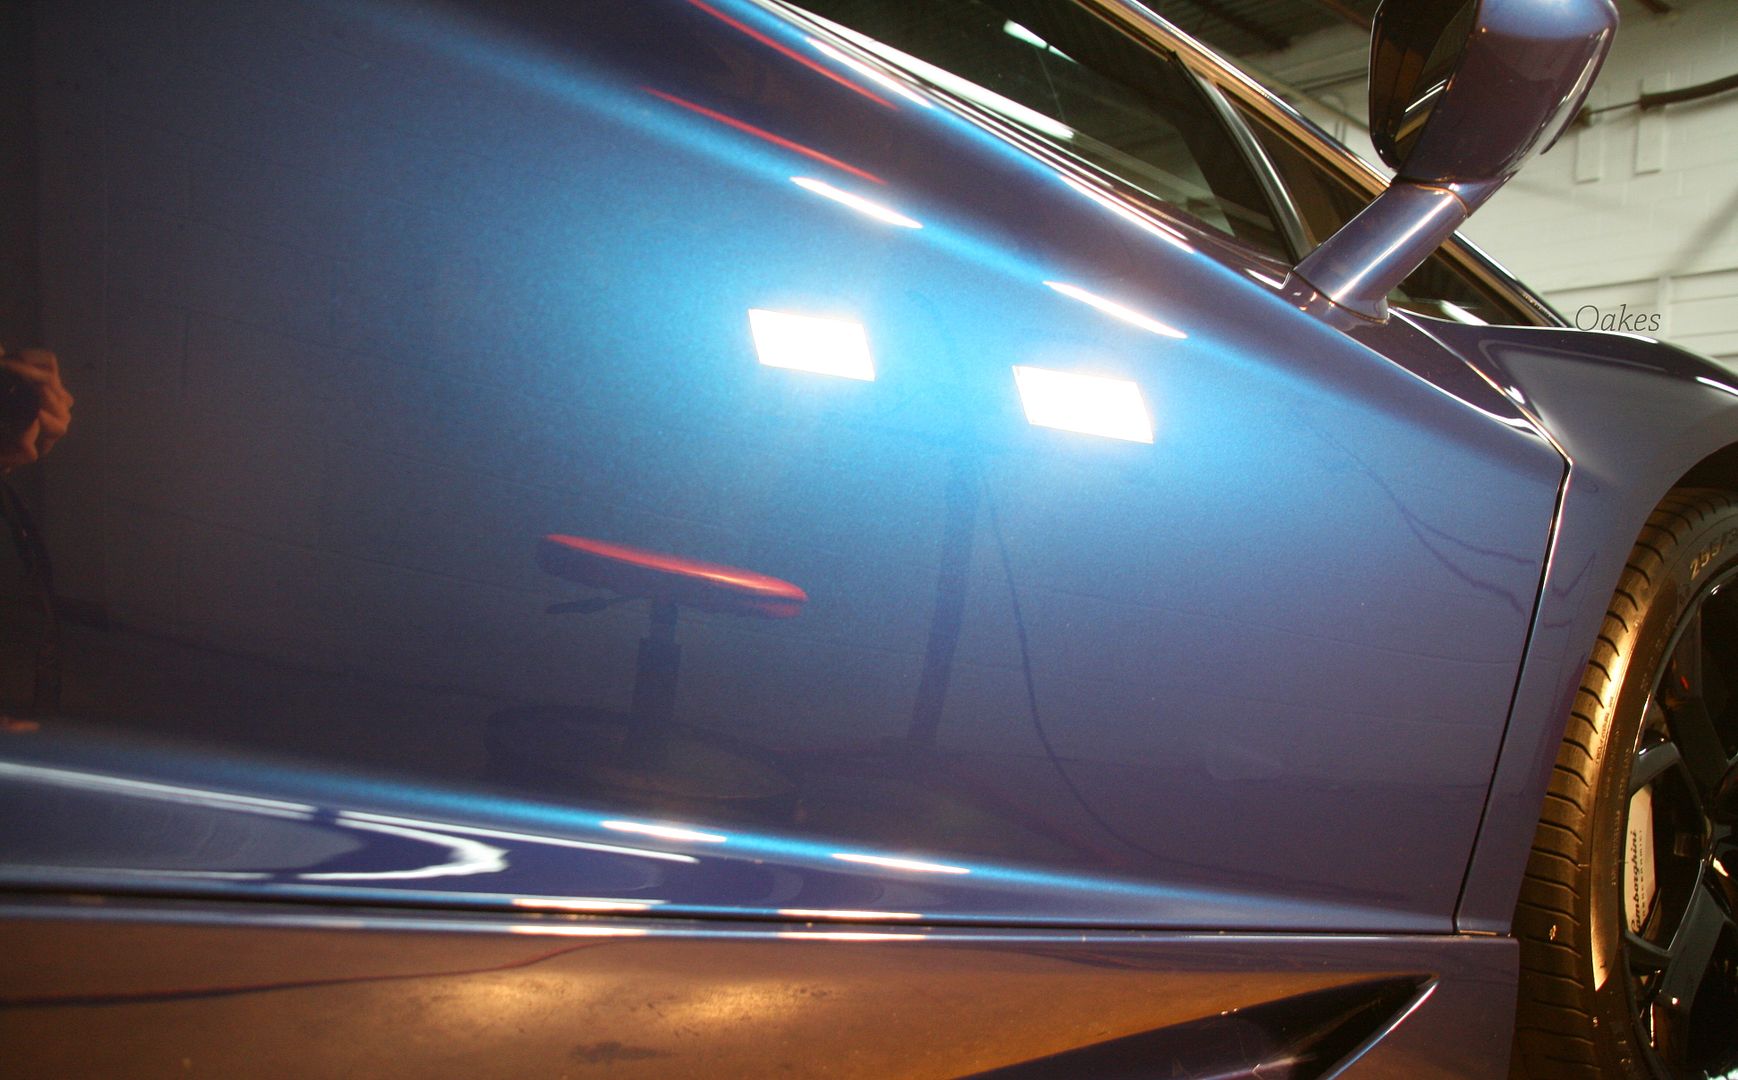
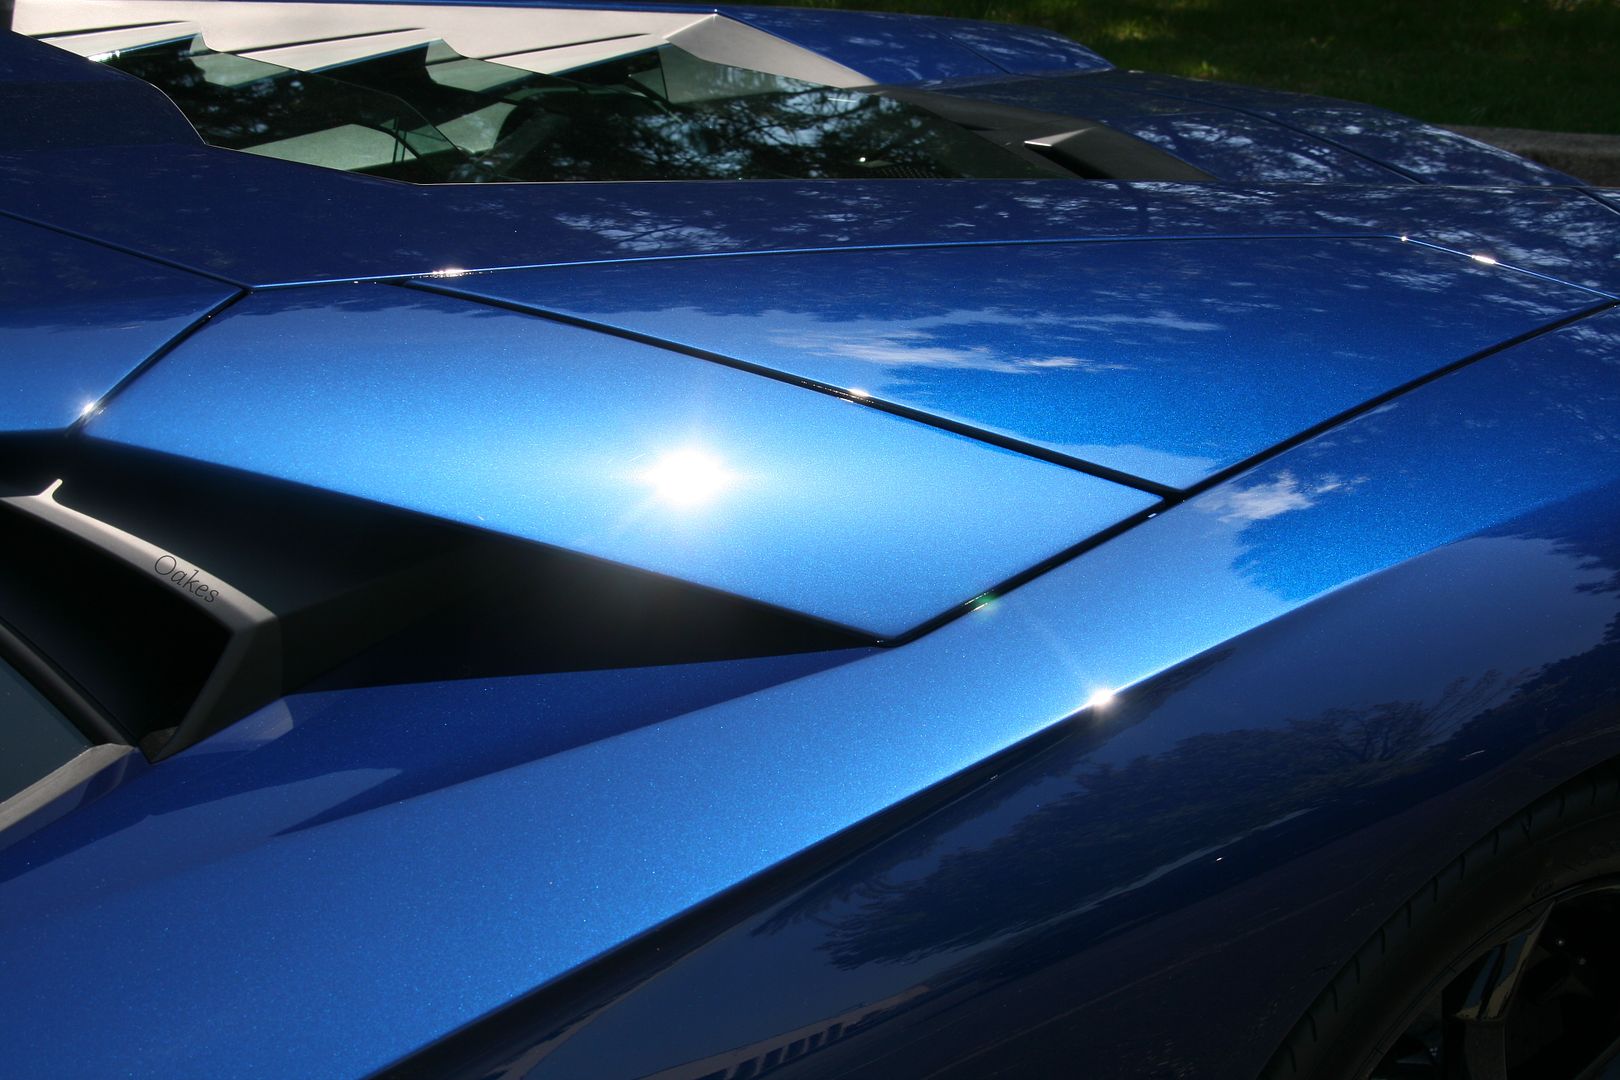
I snapped various before photos as well as before/after shots! Starting with some before shots of the roof
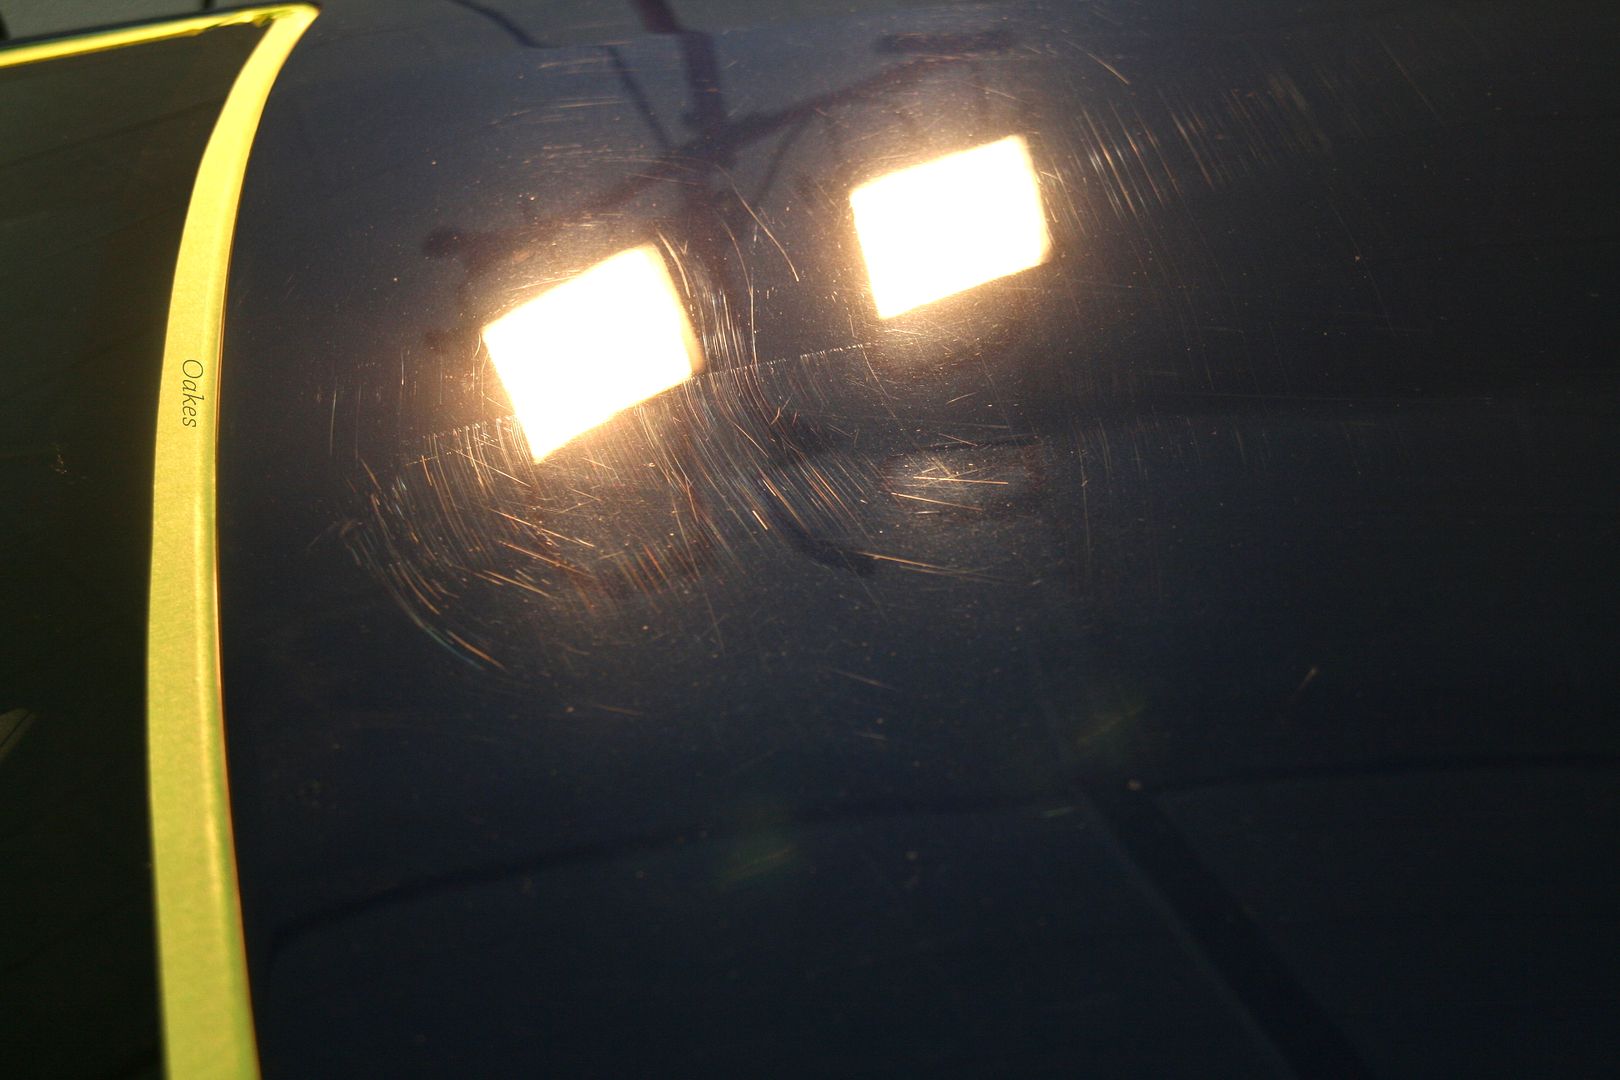
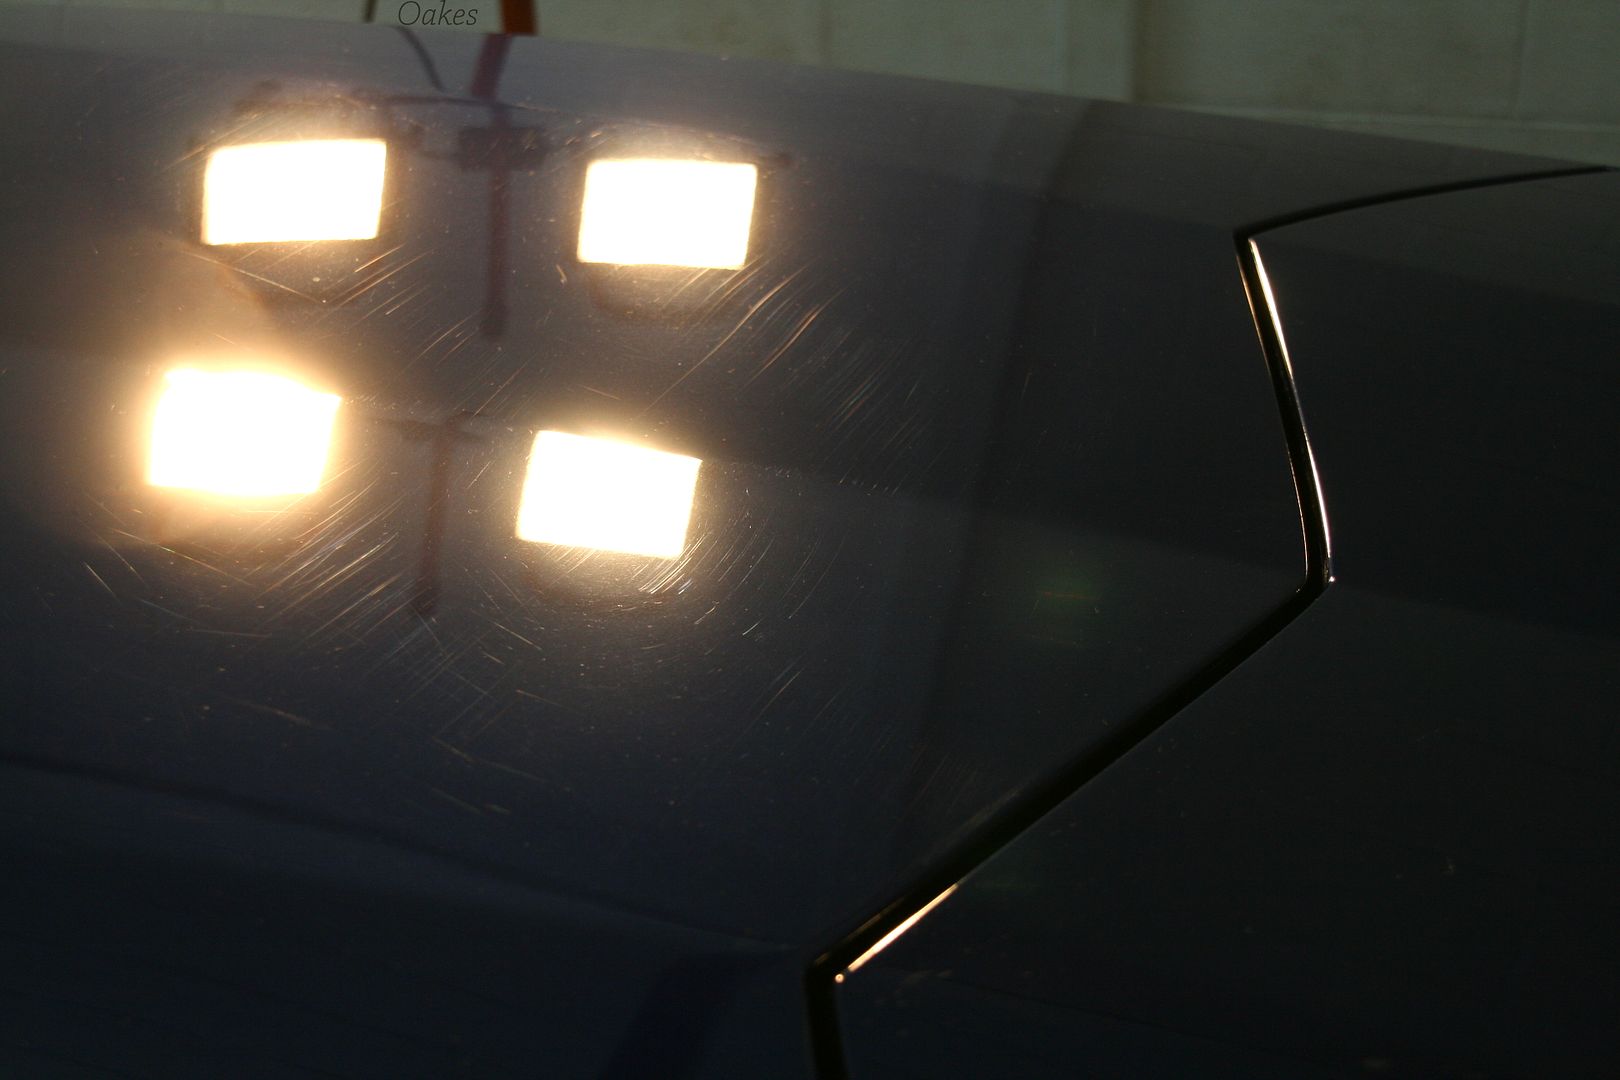

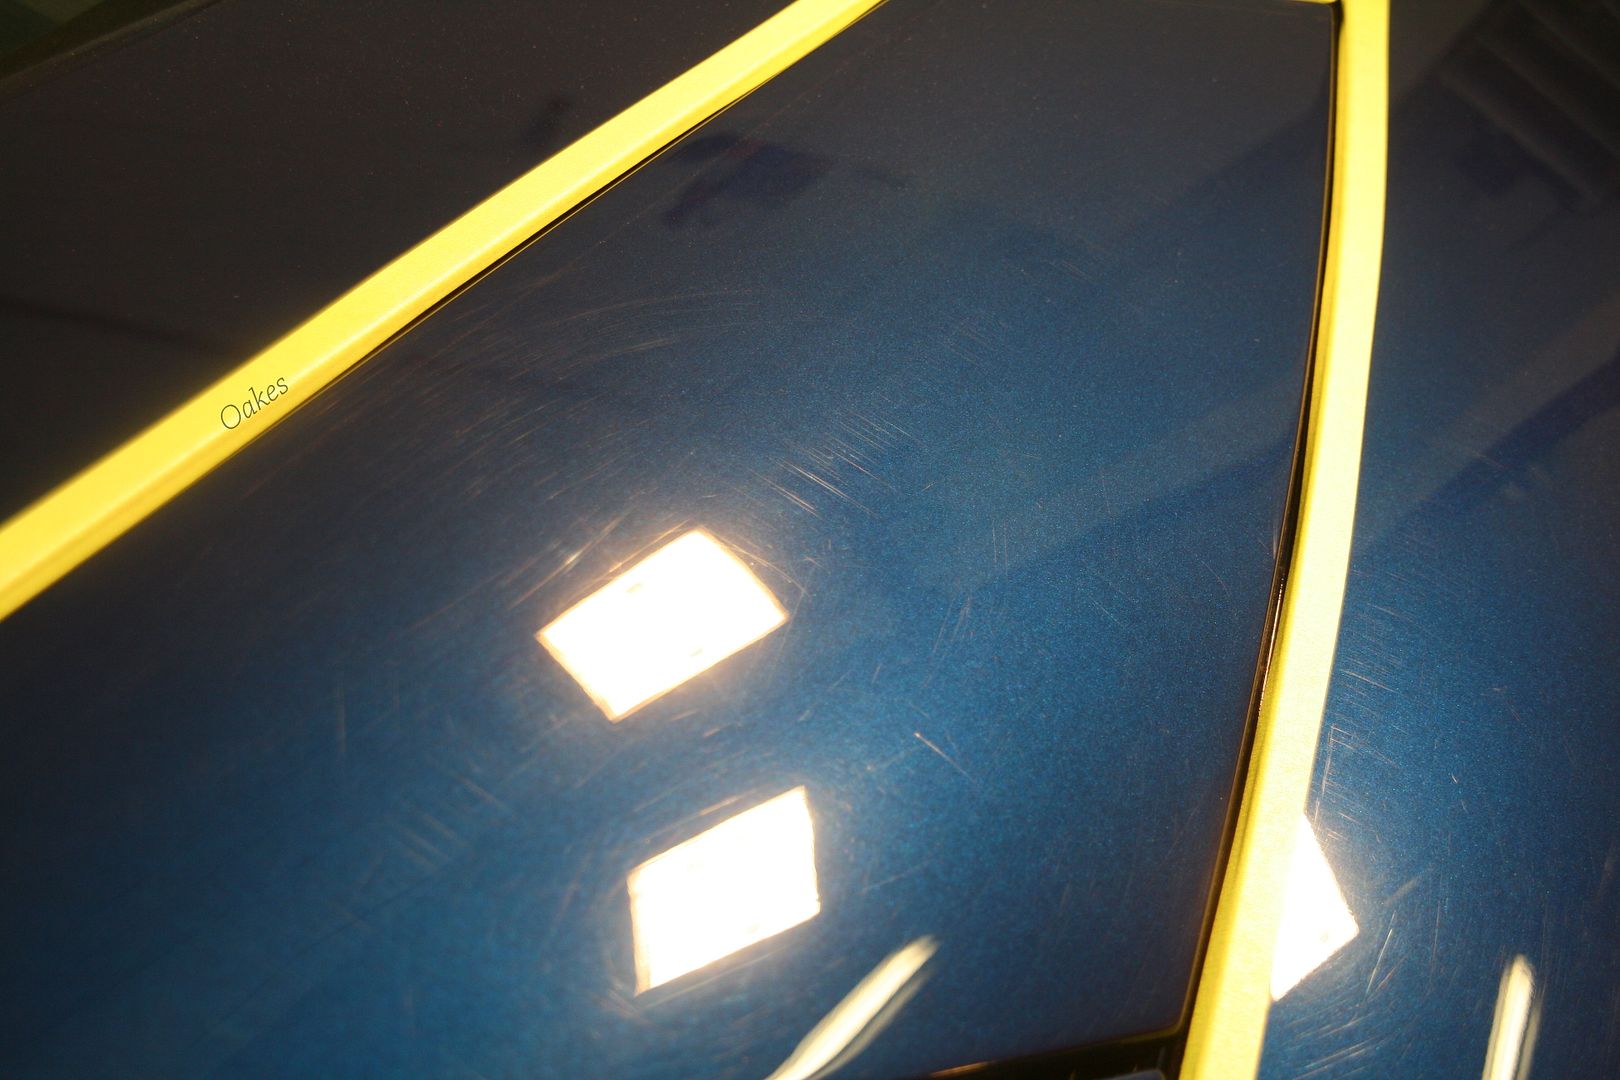
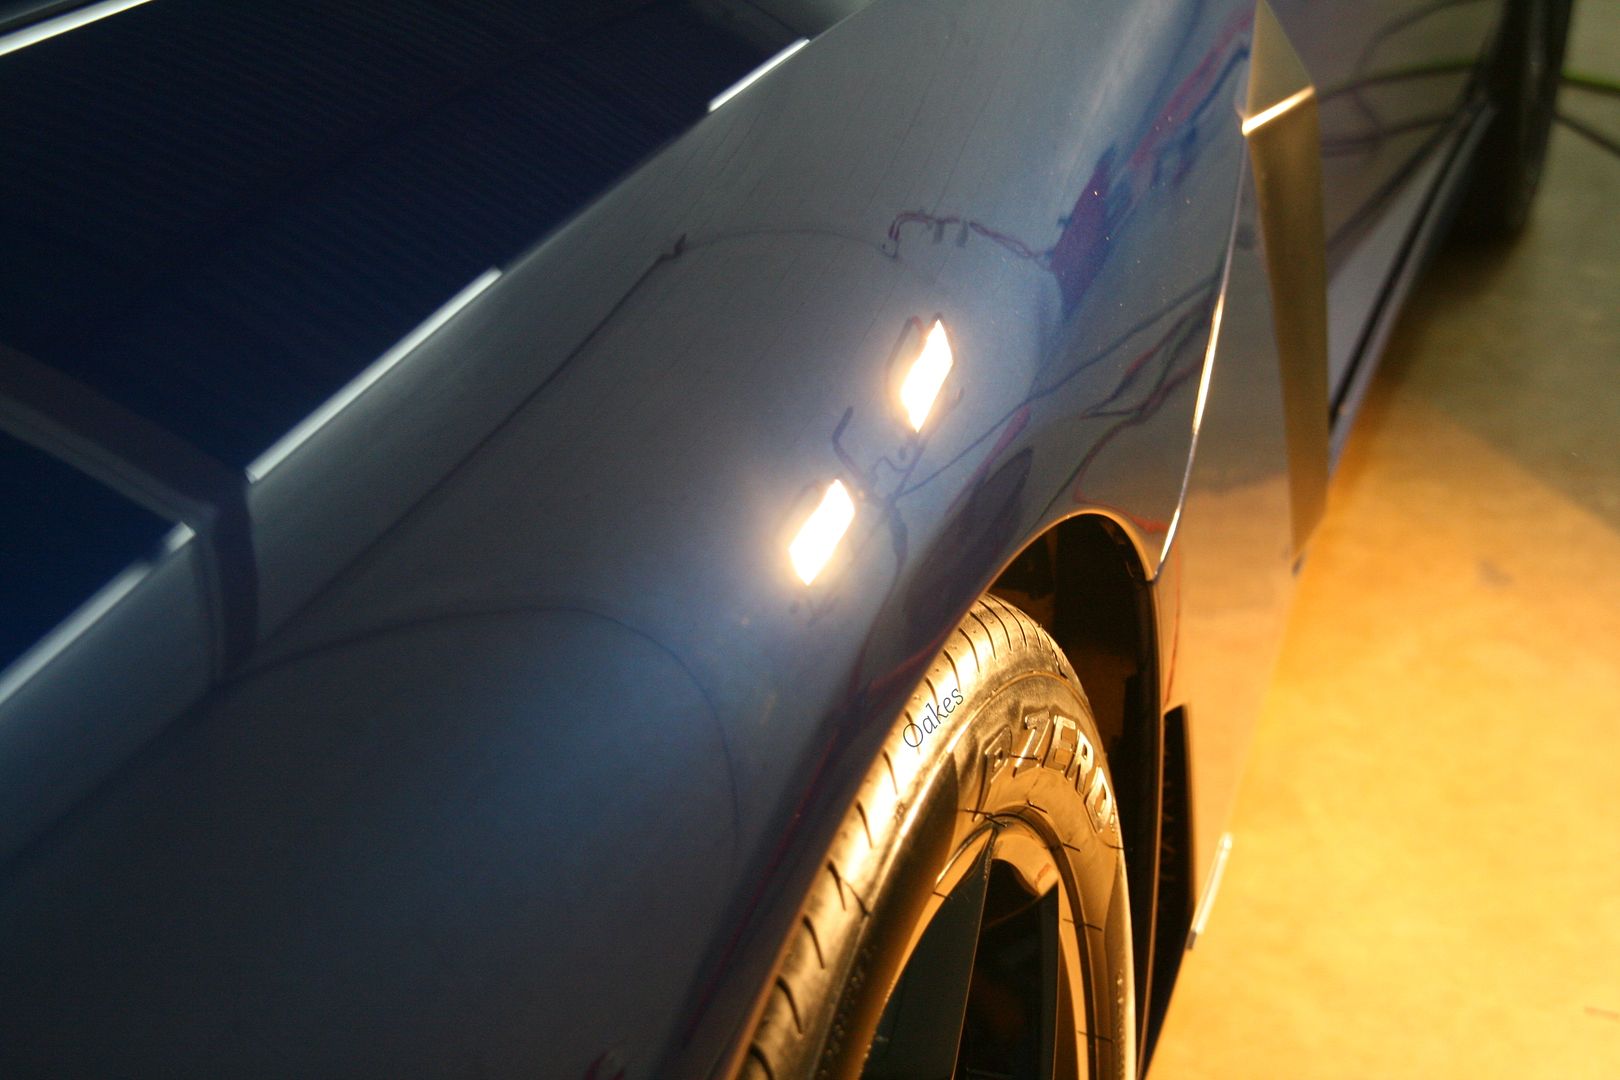
5.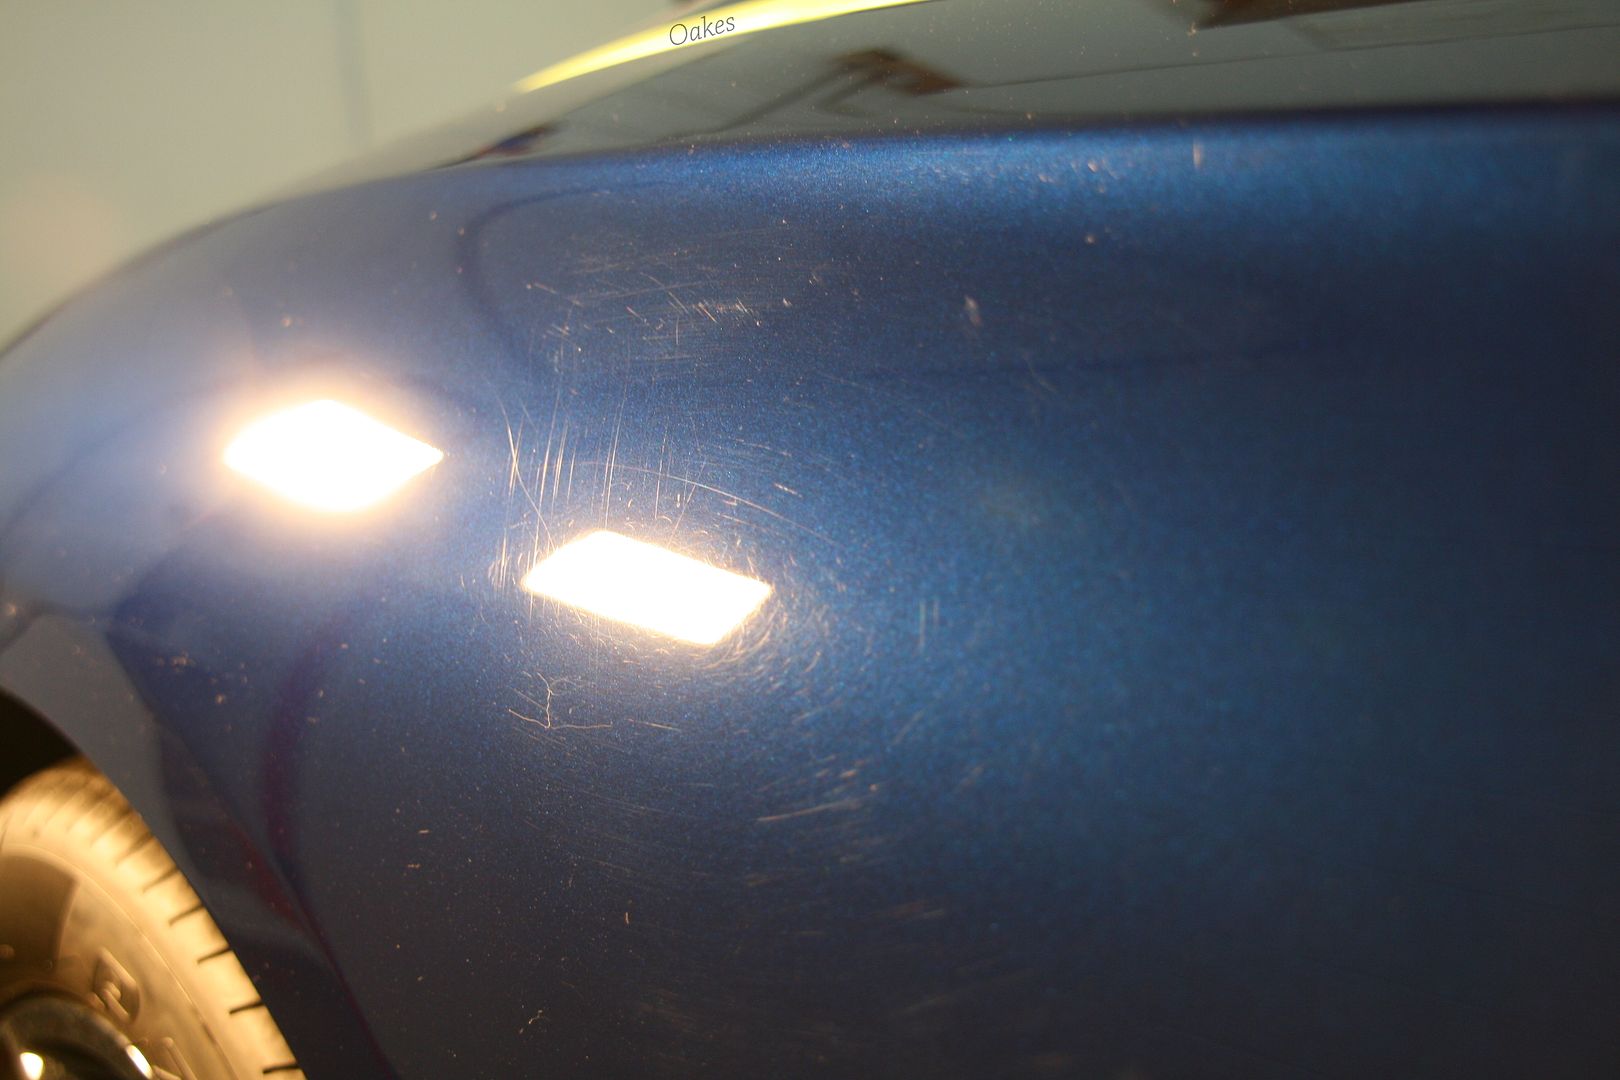
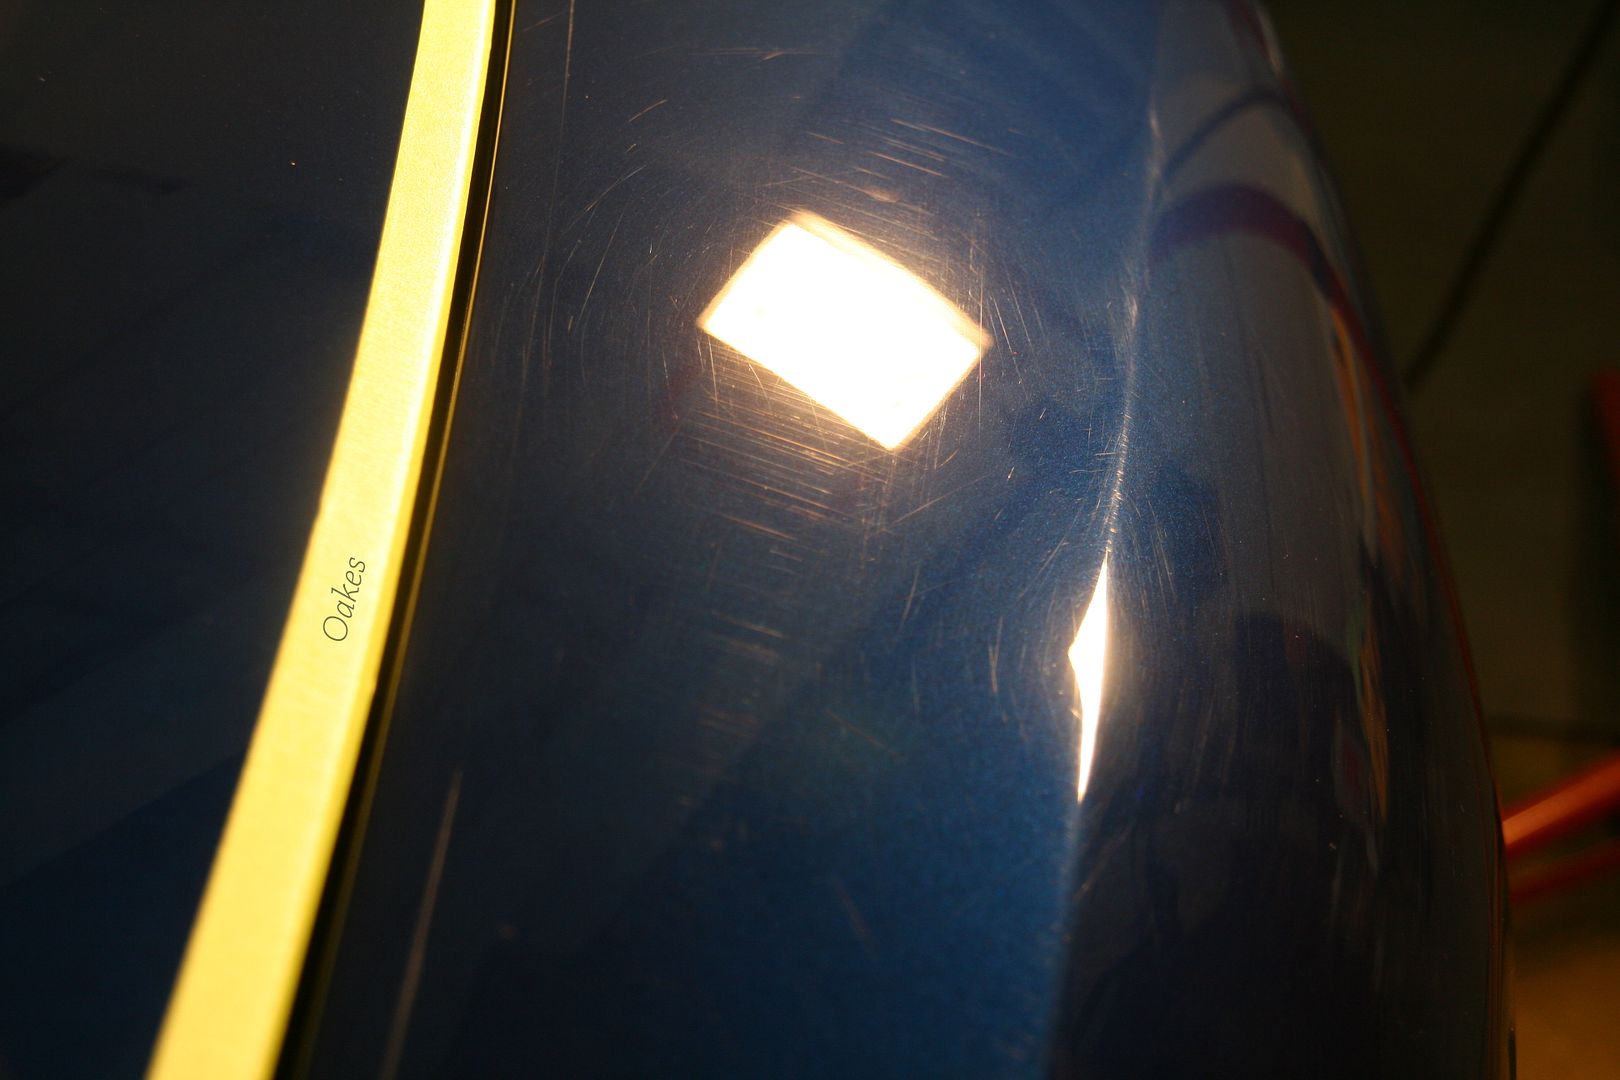
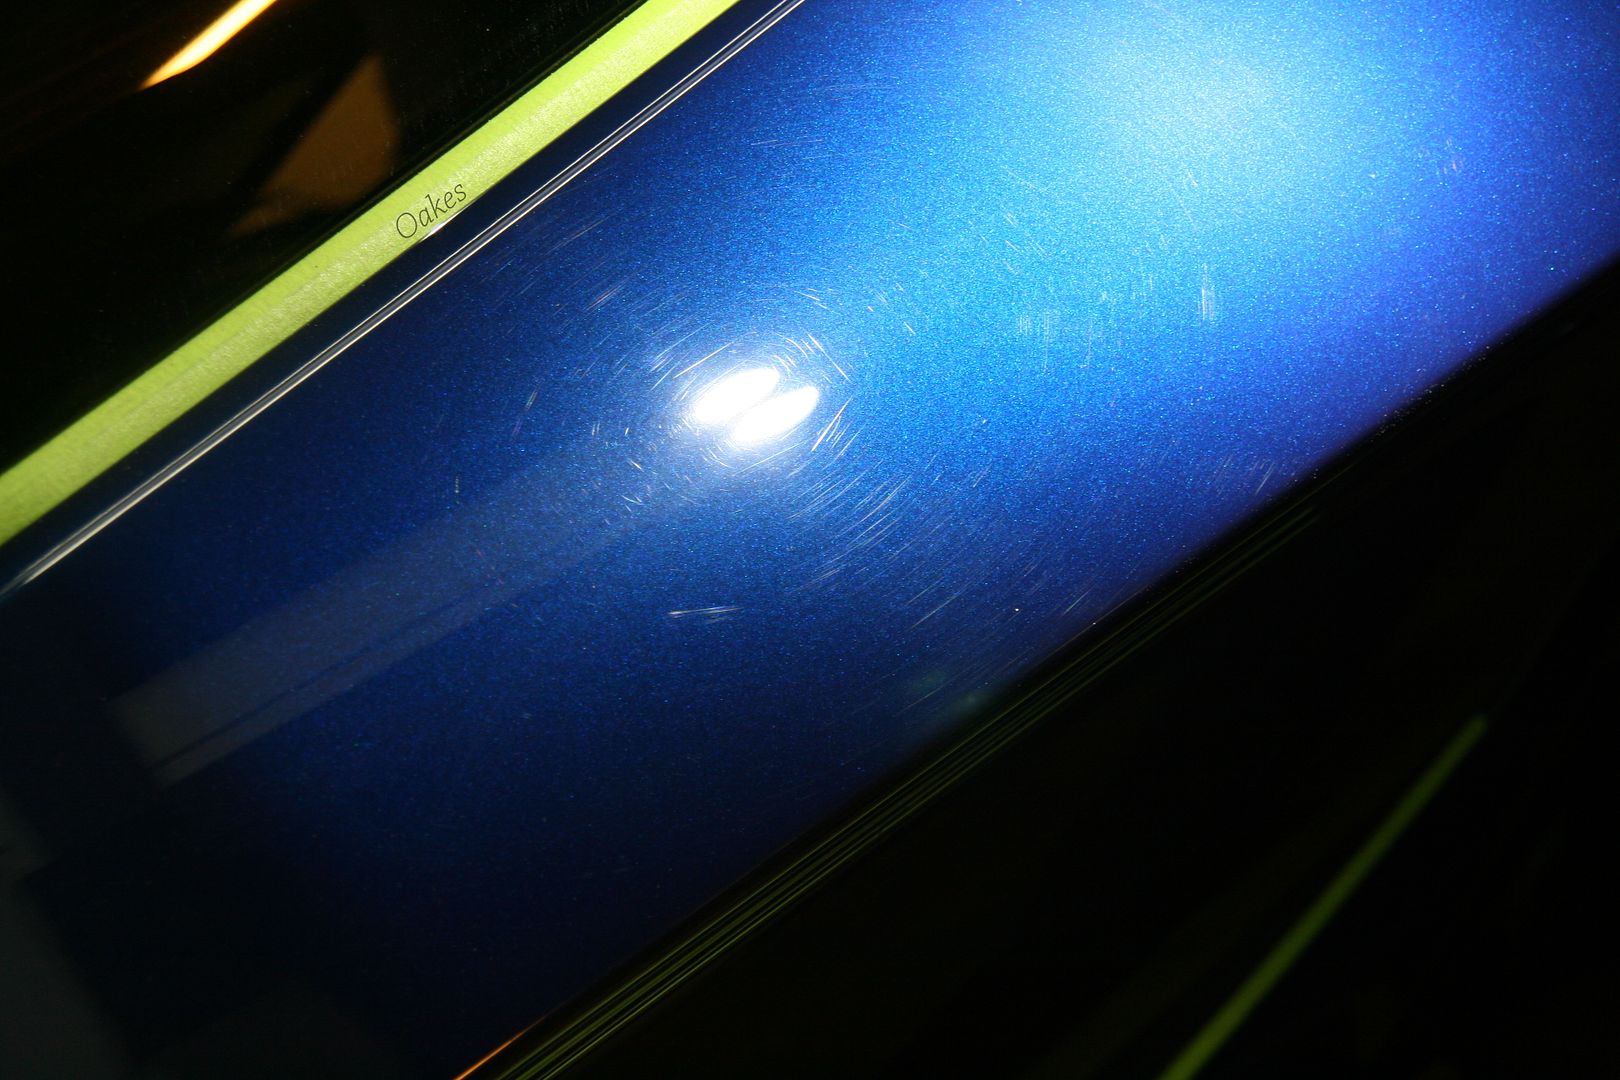

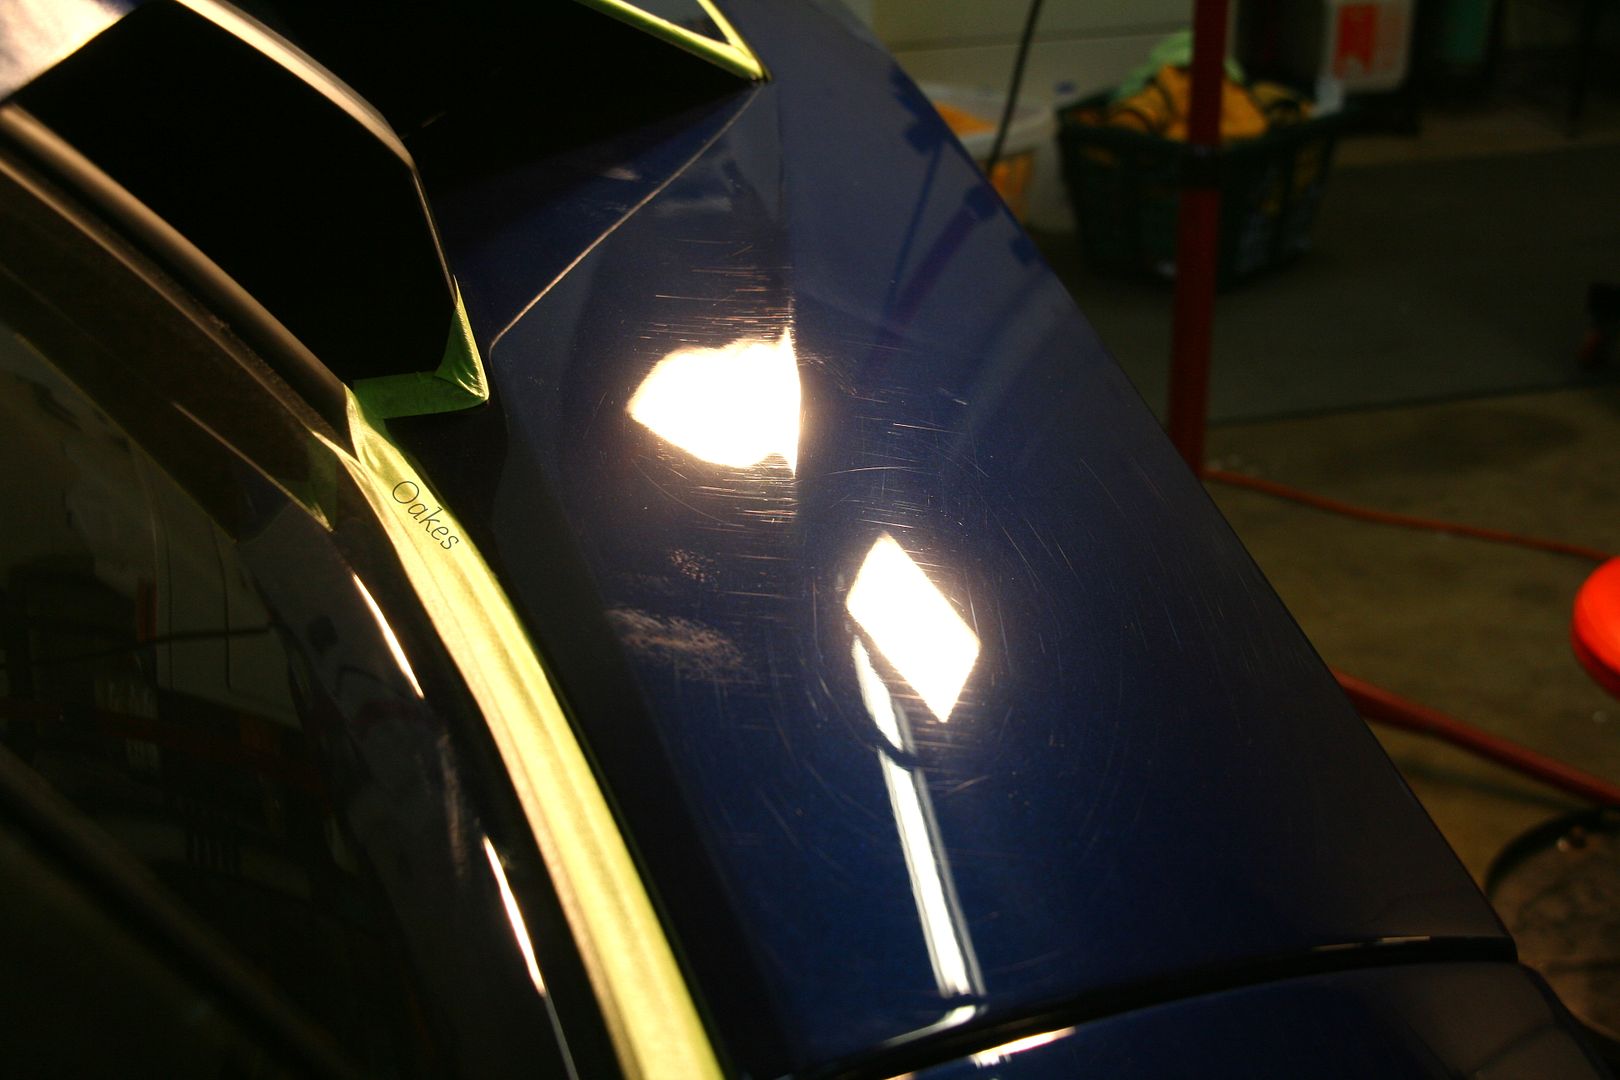
Some factory sanding defects left in the paint
10.
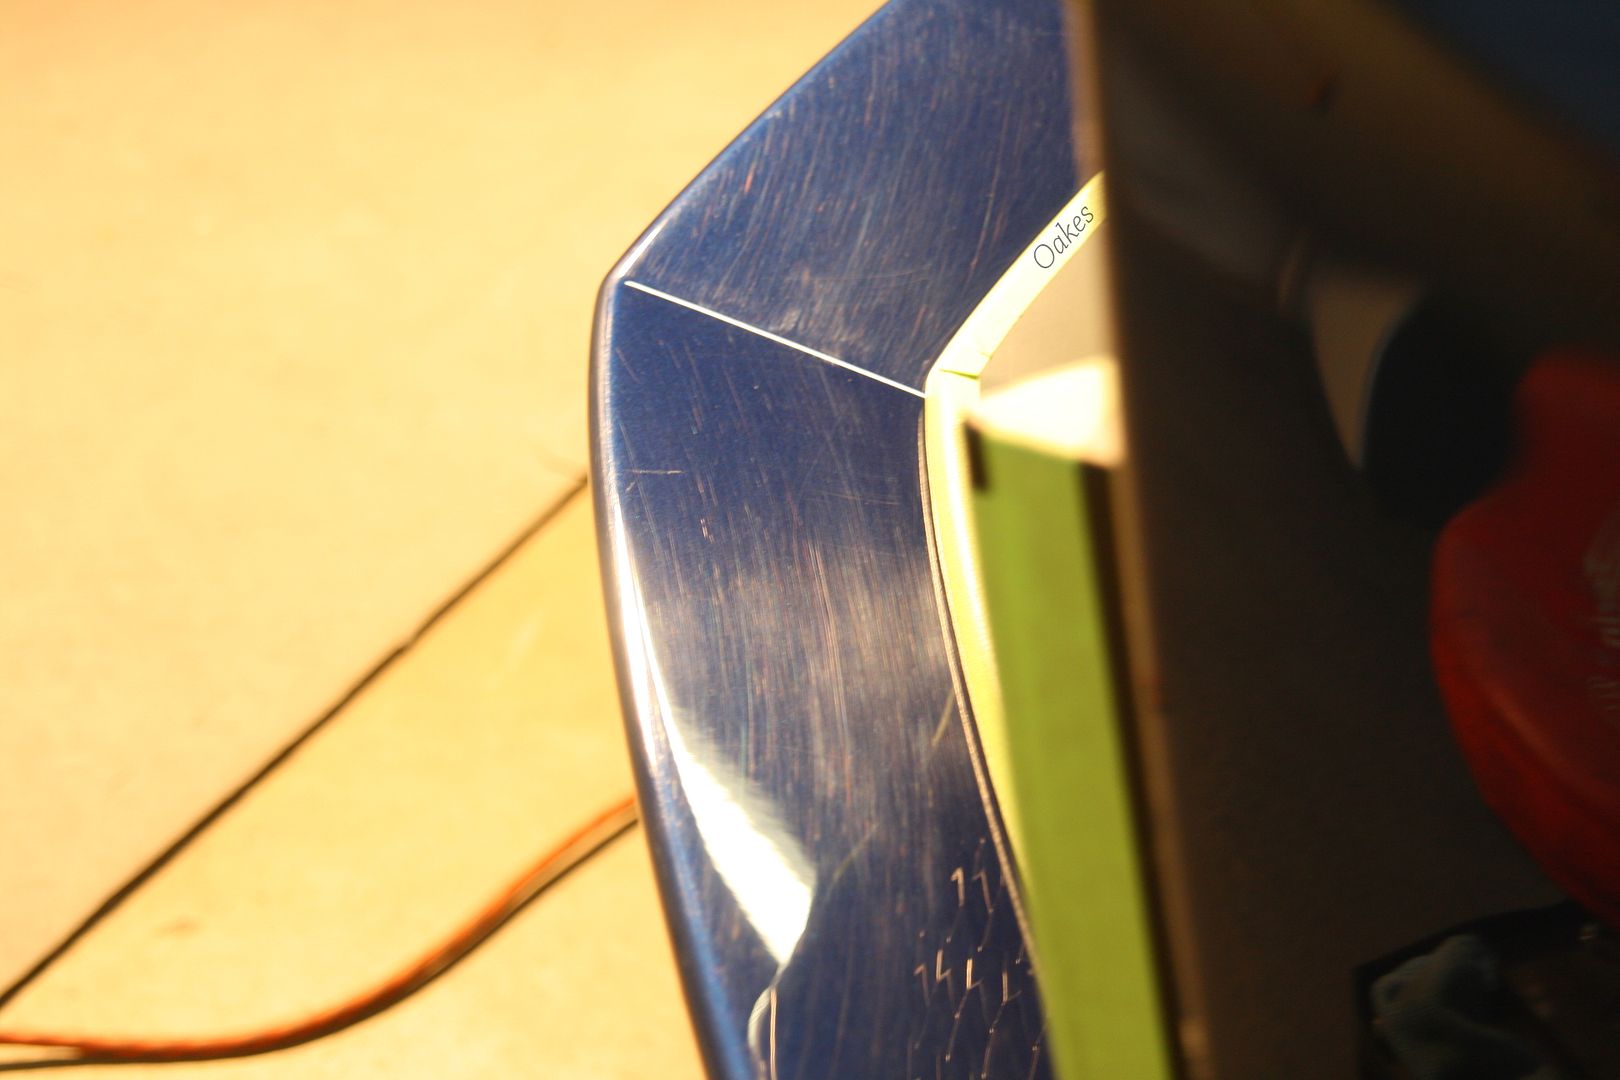
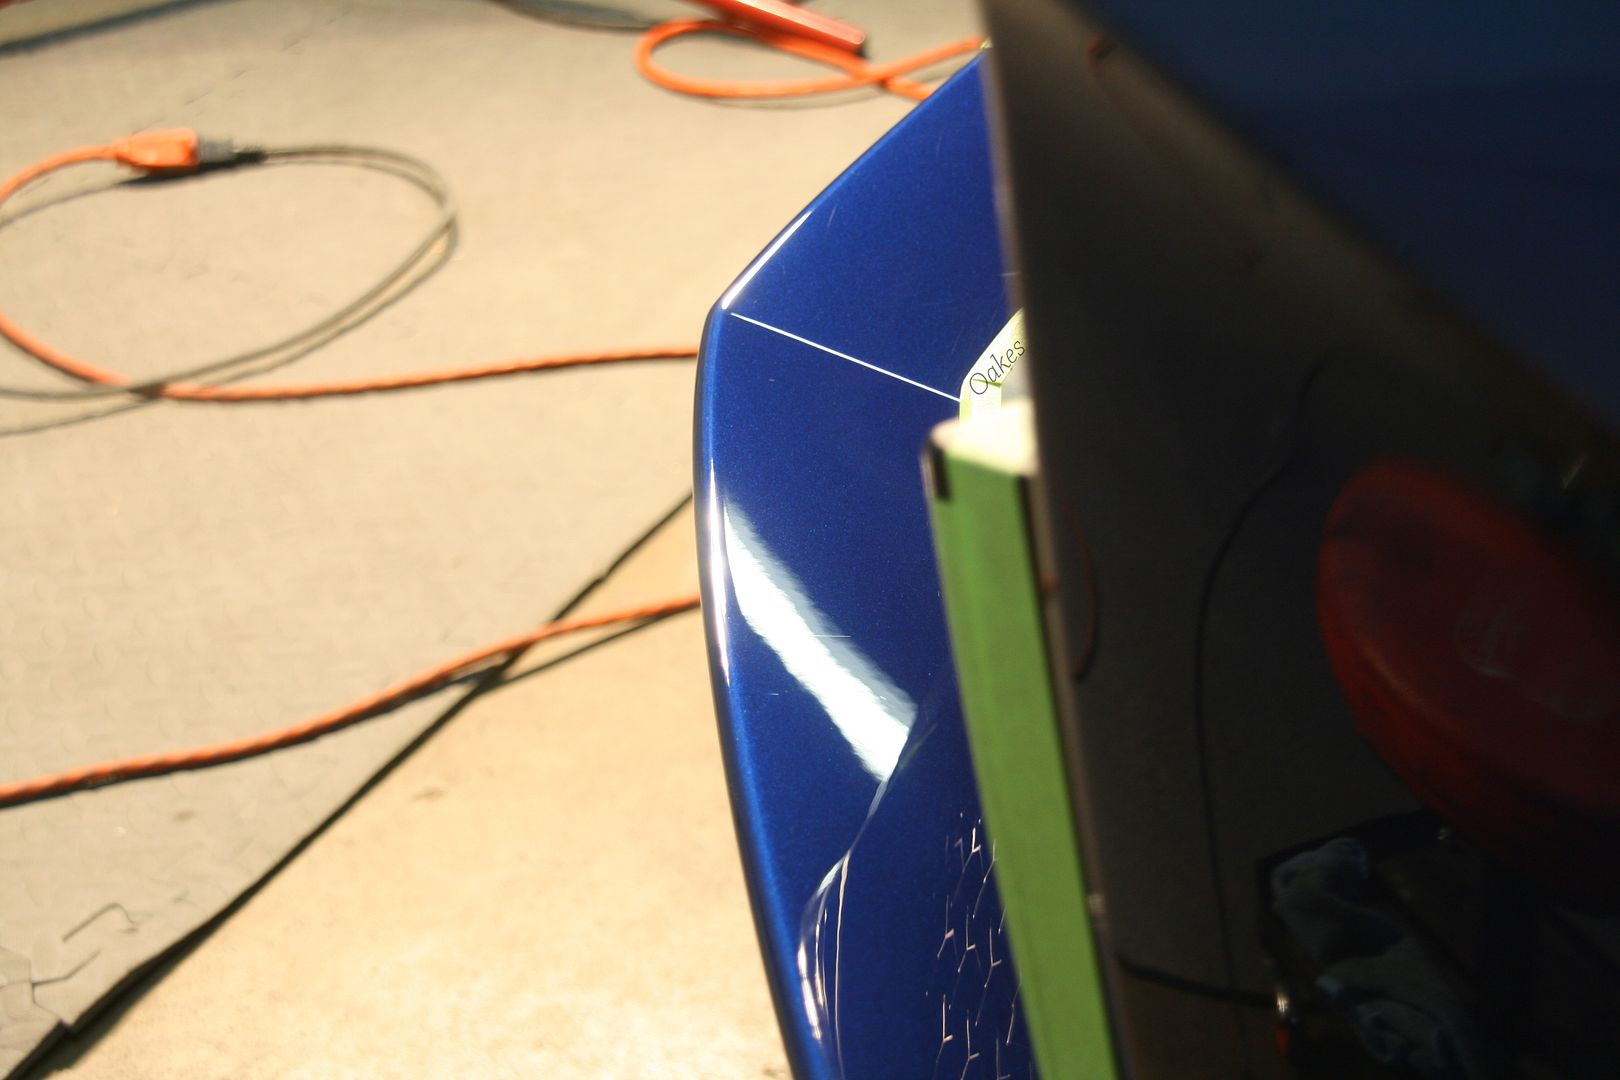
A before/after combo of the rear engine hatch against the side vent and passenger rear quarter
Before/After Combo of the passenger intake vent against the quarter and pre-vent panel
Before/After combo of engine cover and rear wing
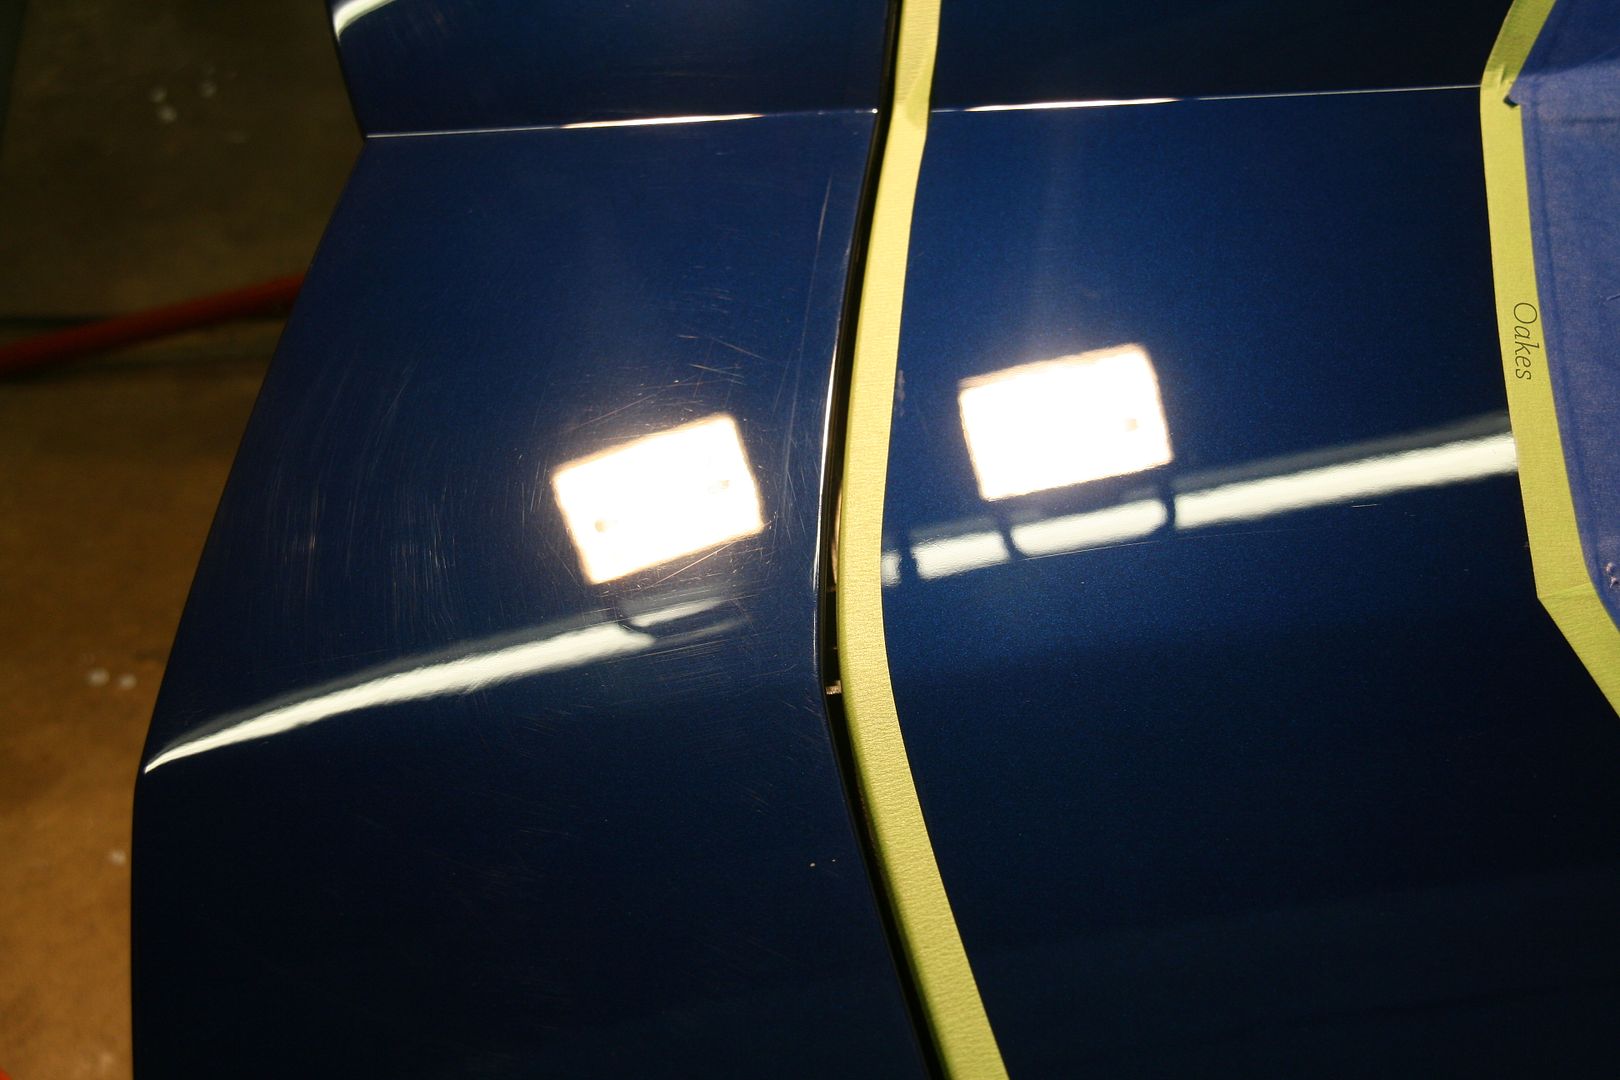
Before/After combo of rear bumper
15.
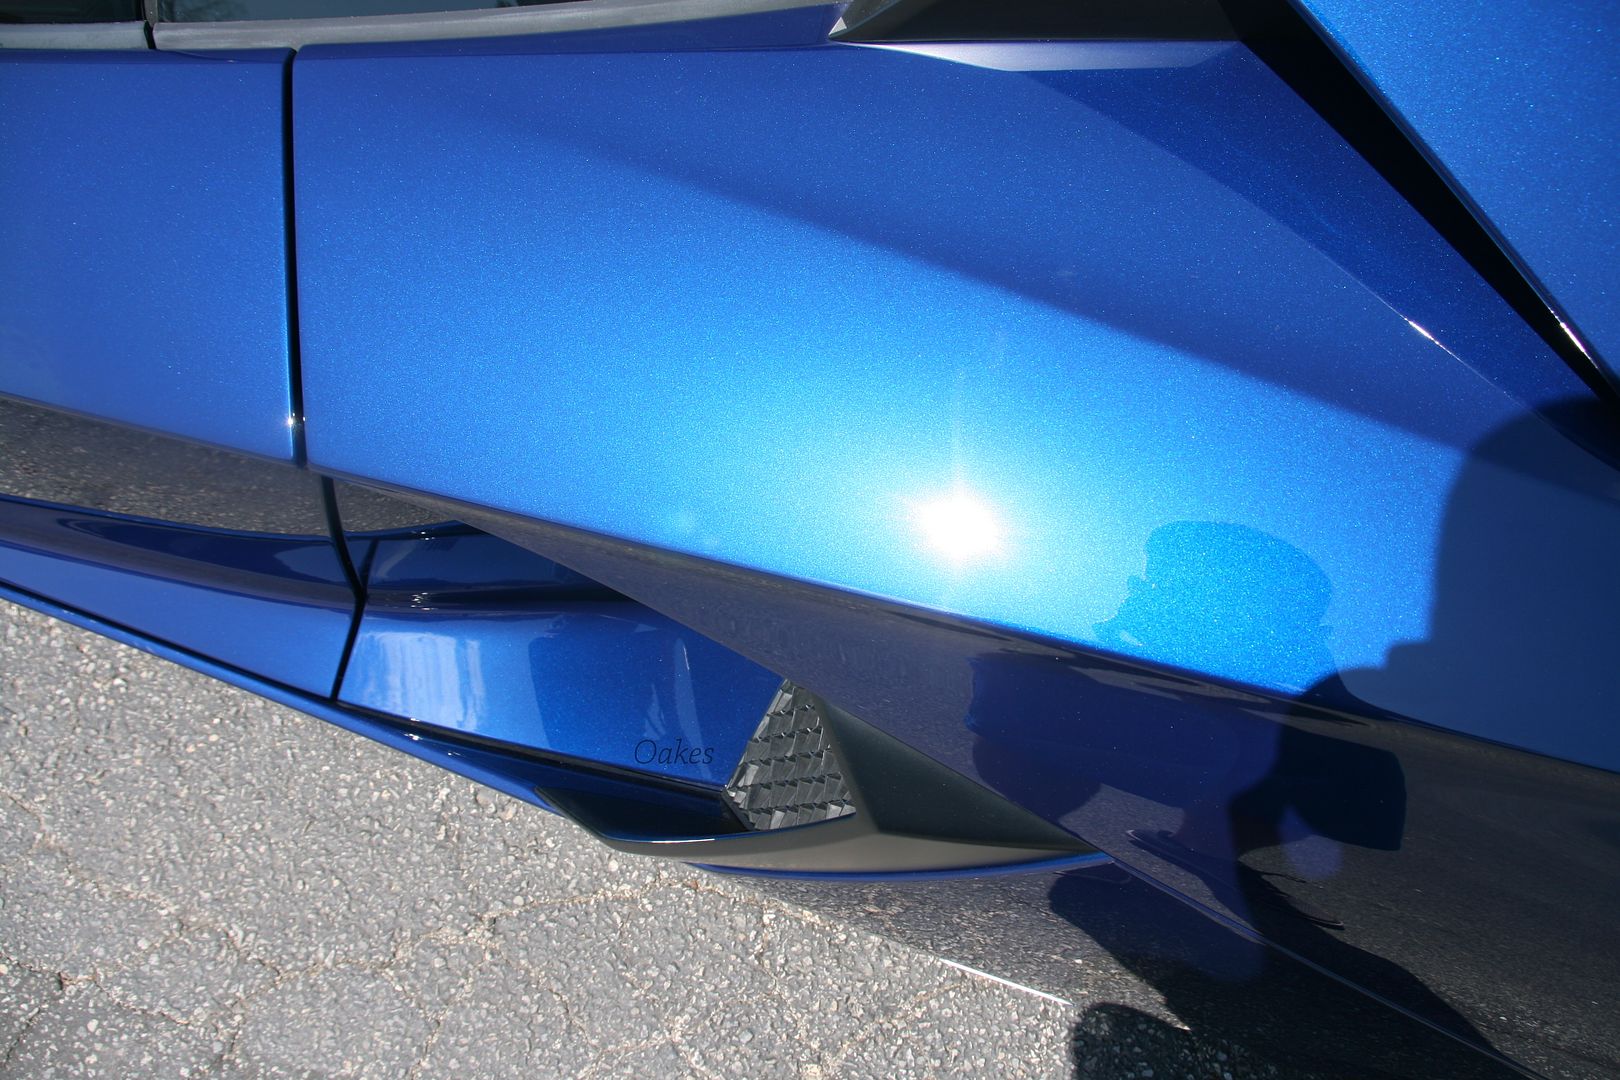
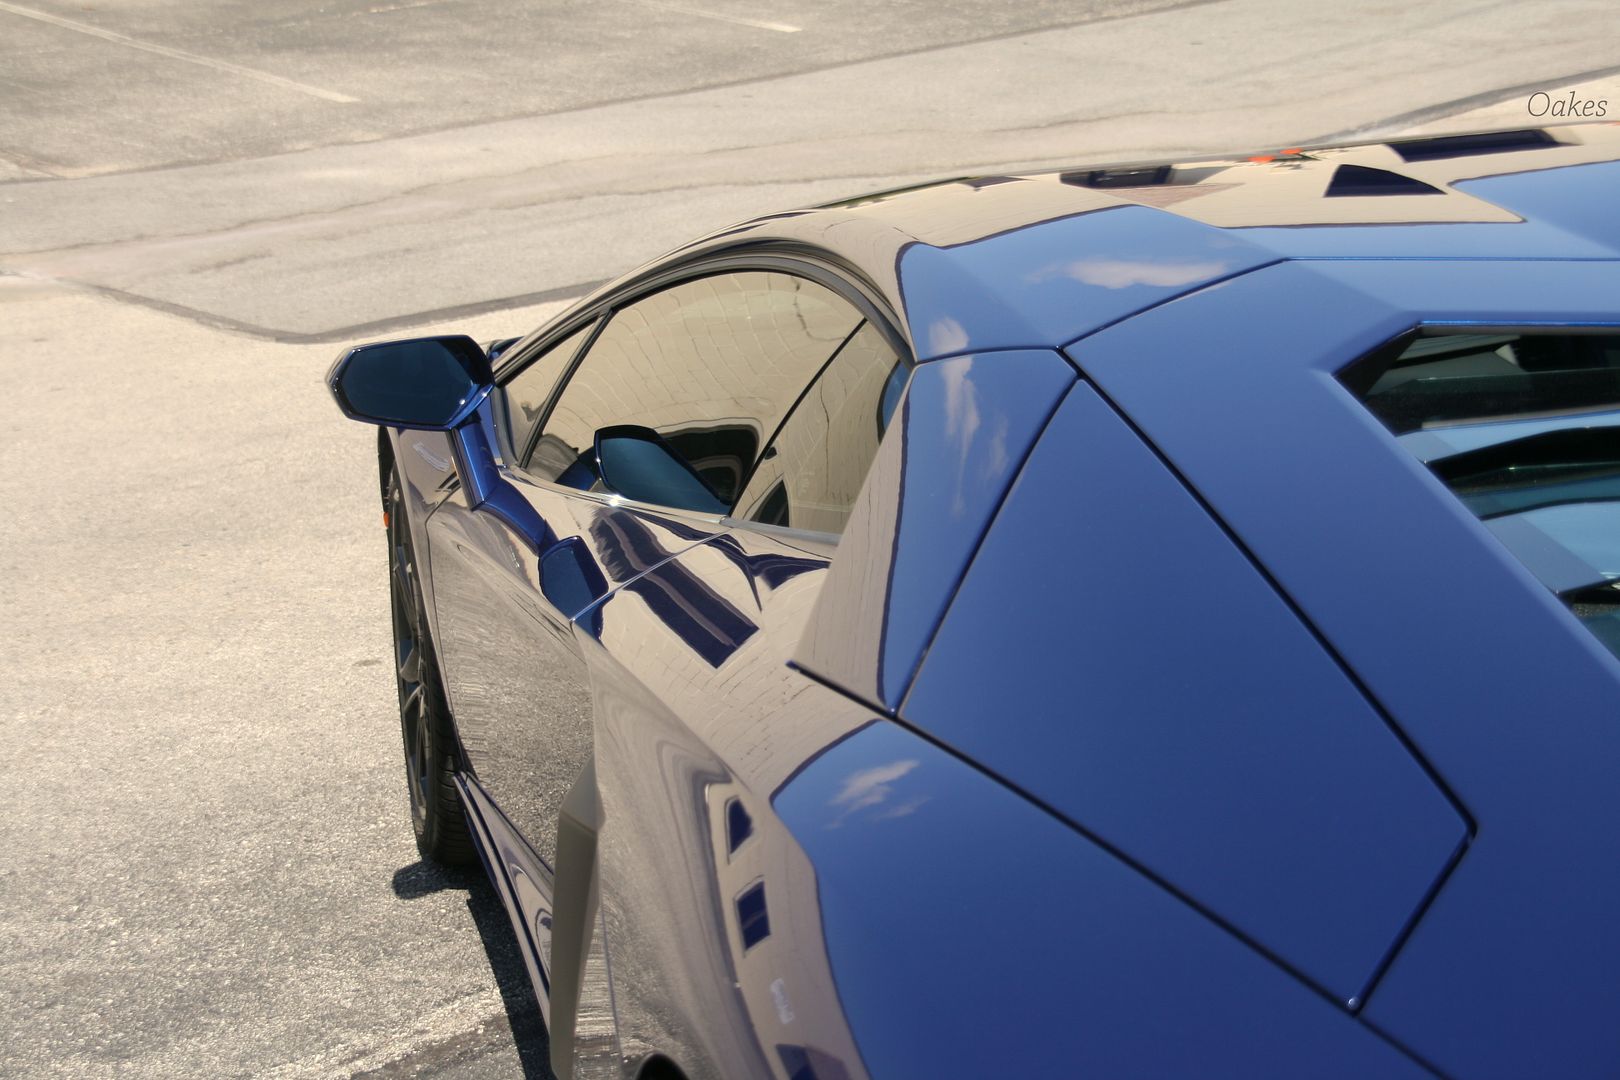
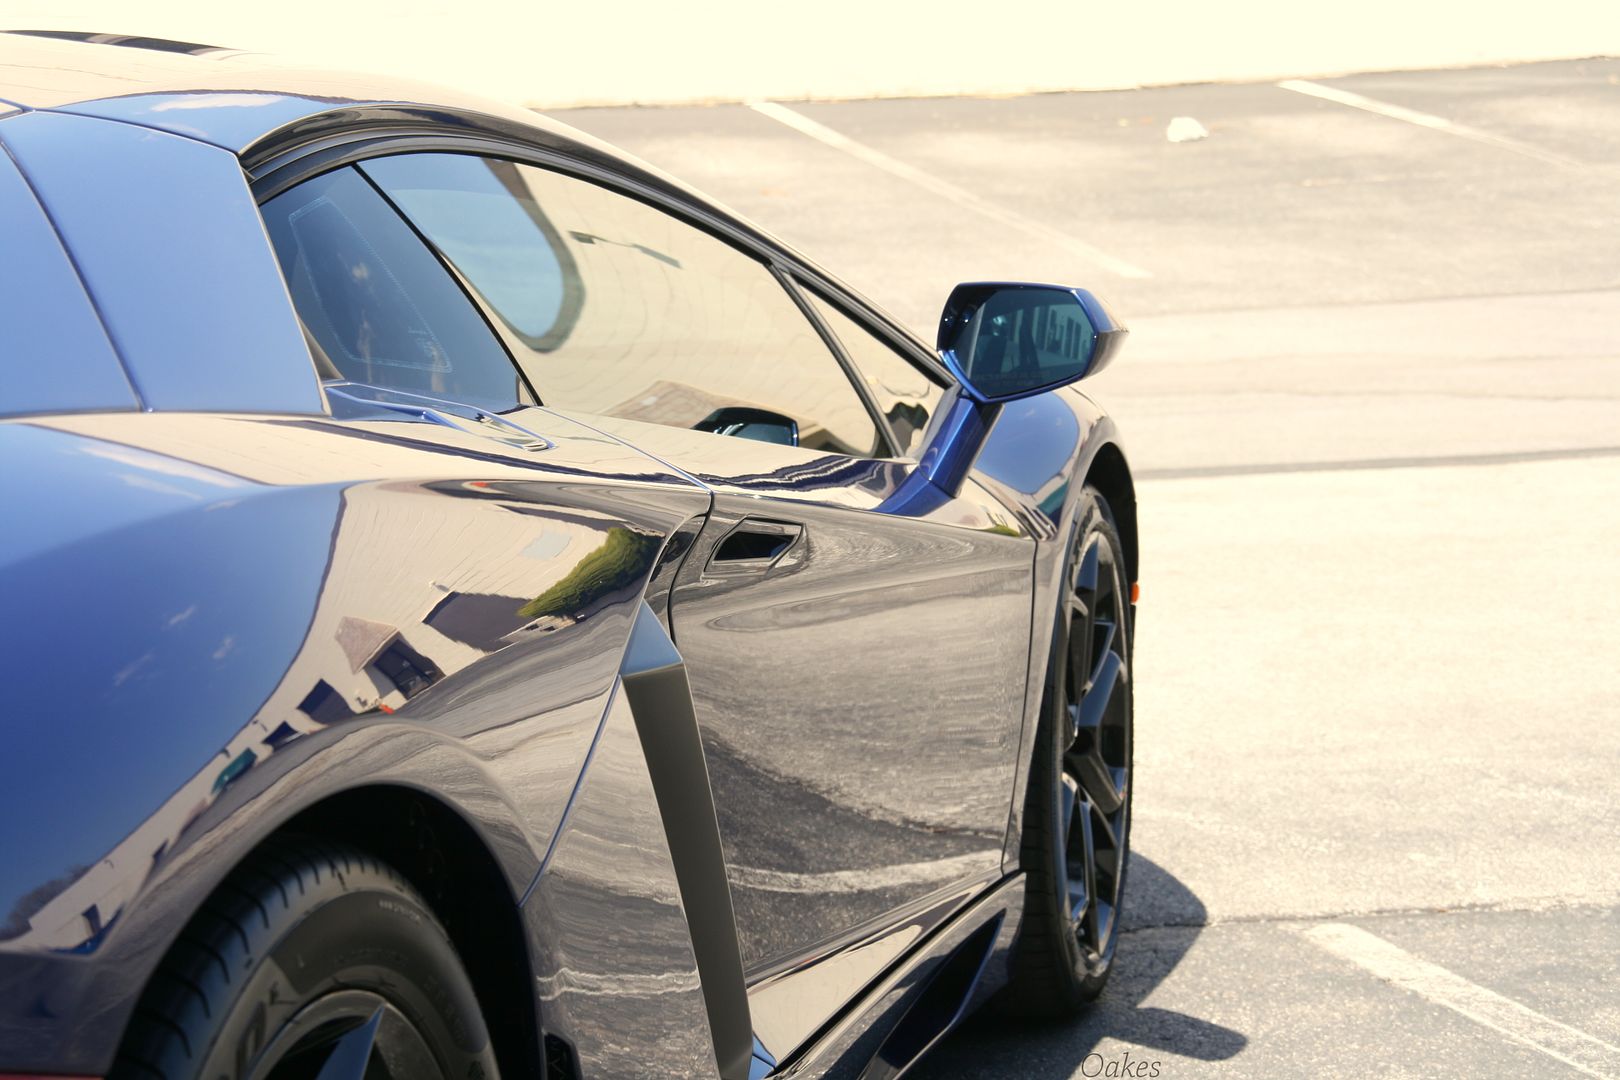
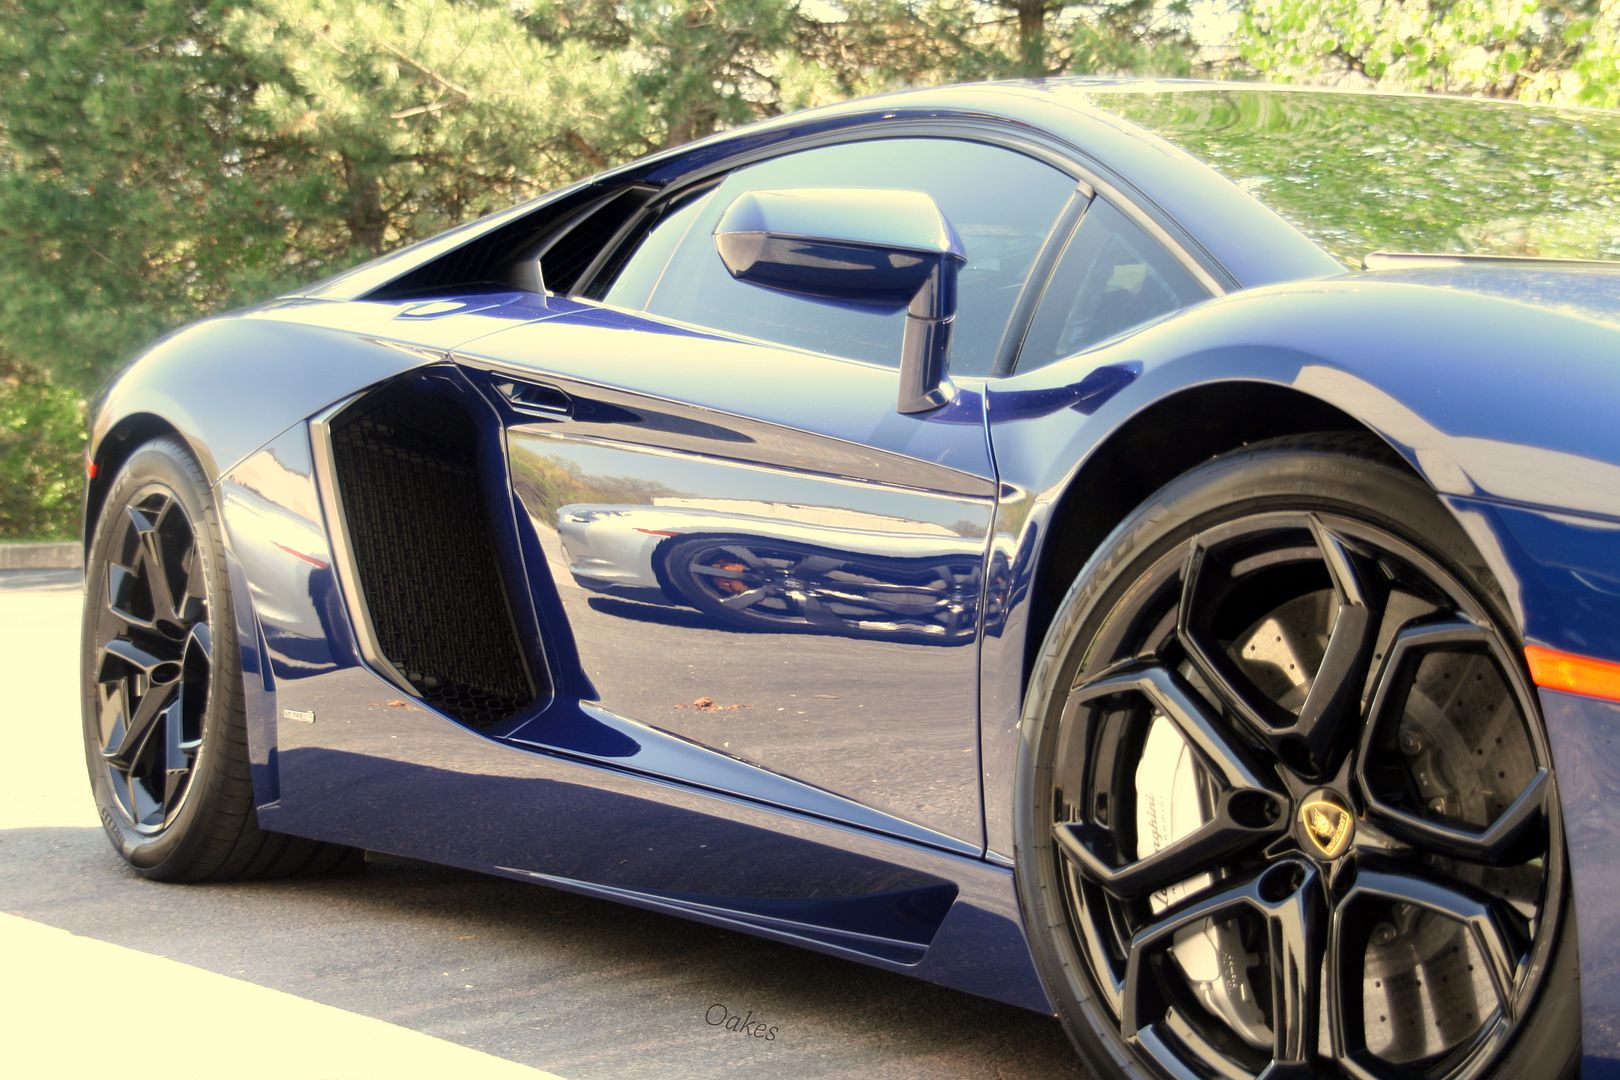
Some after snaps of the corrected paint
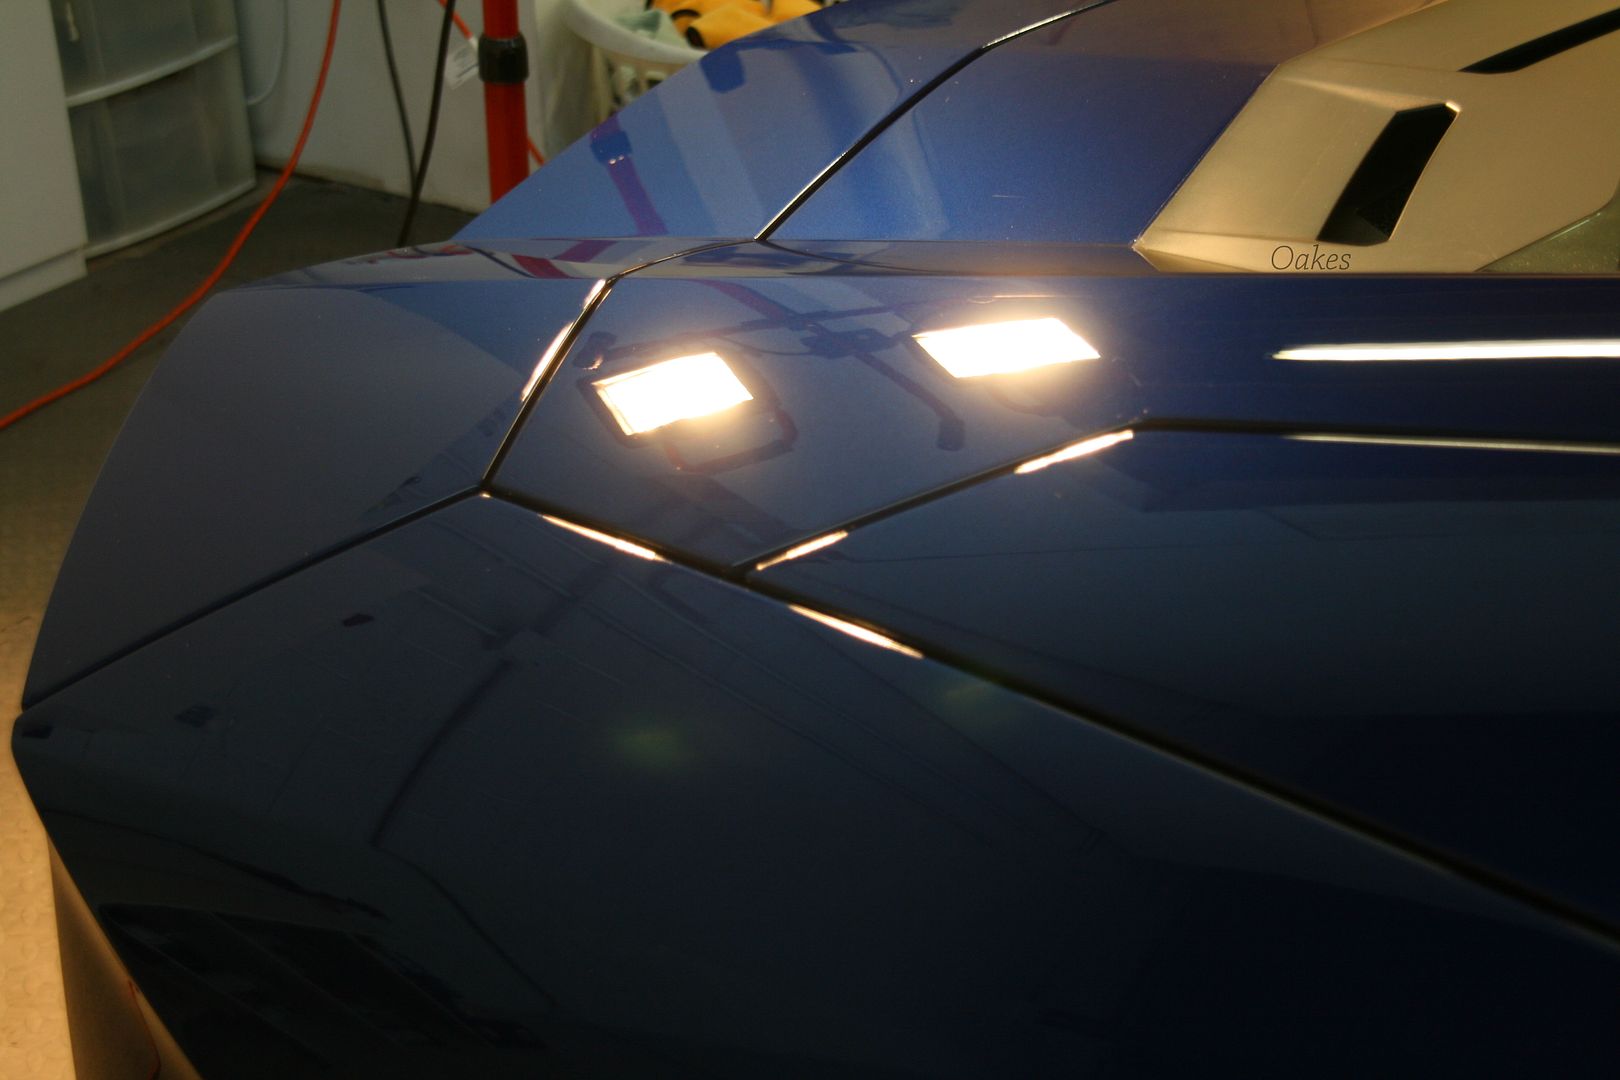
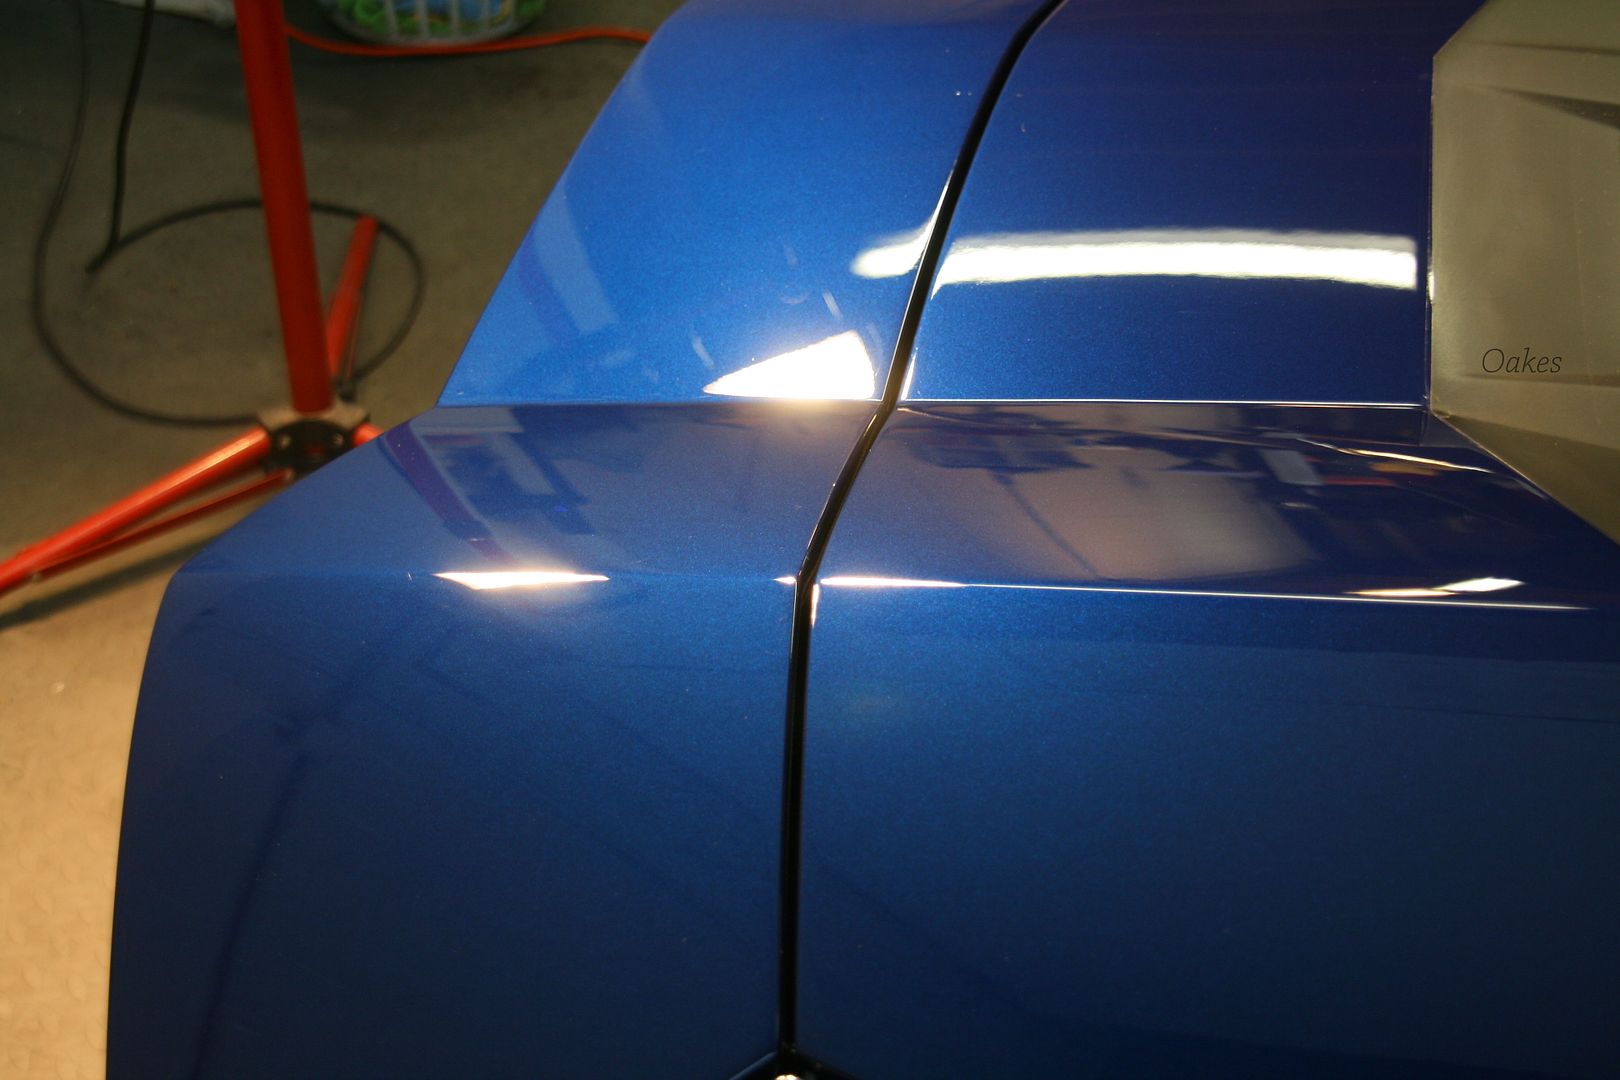
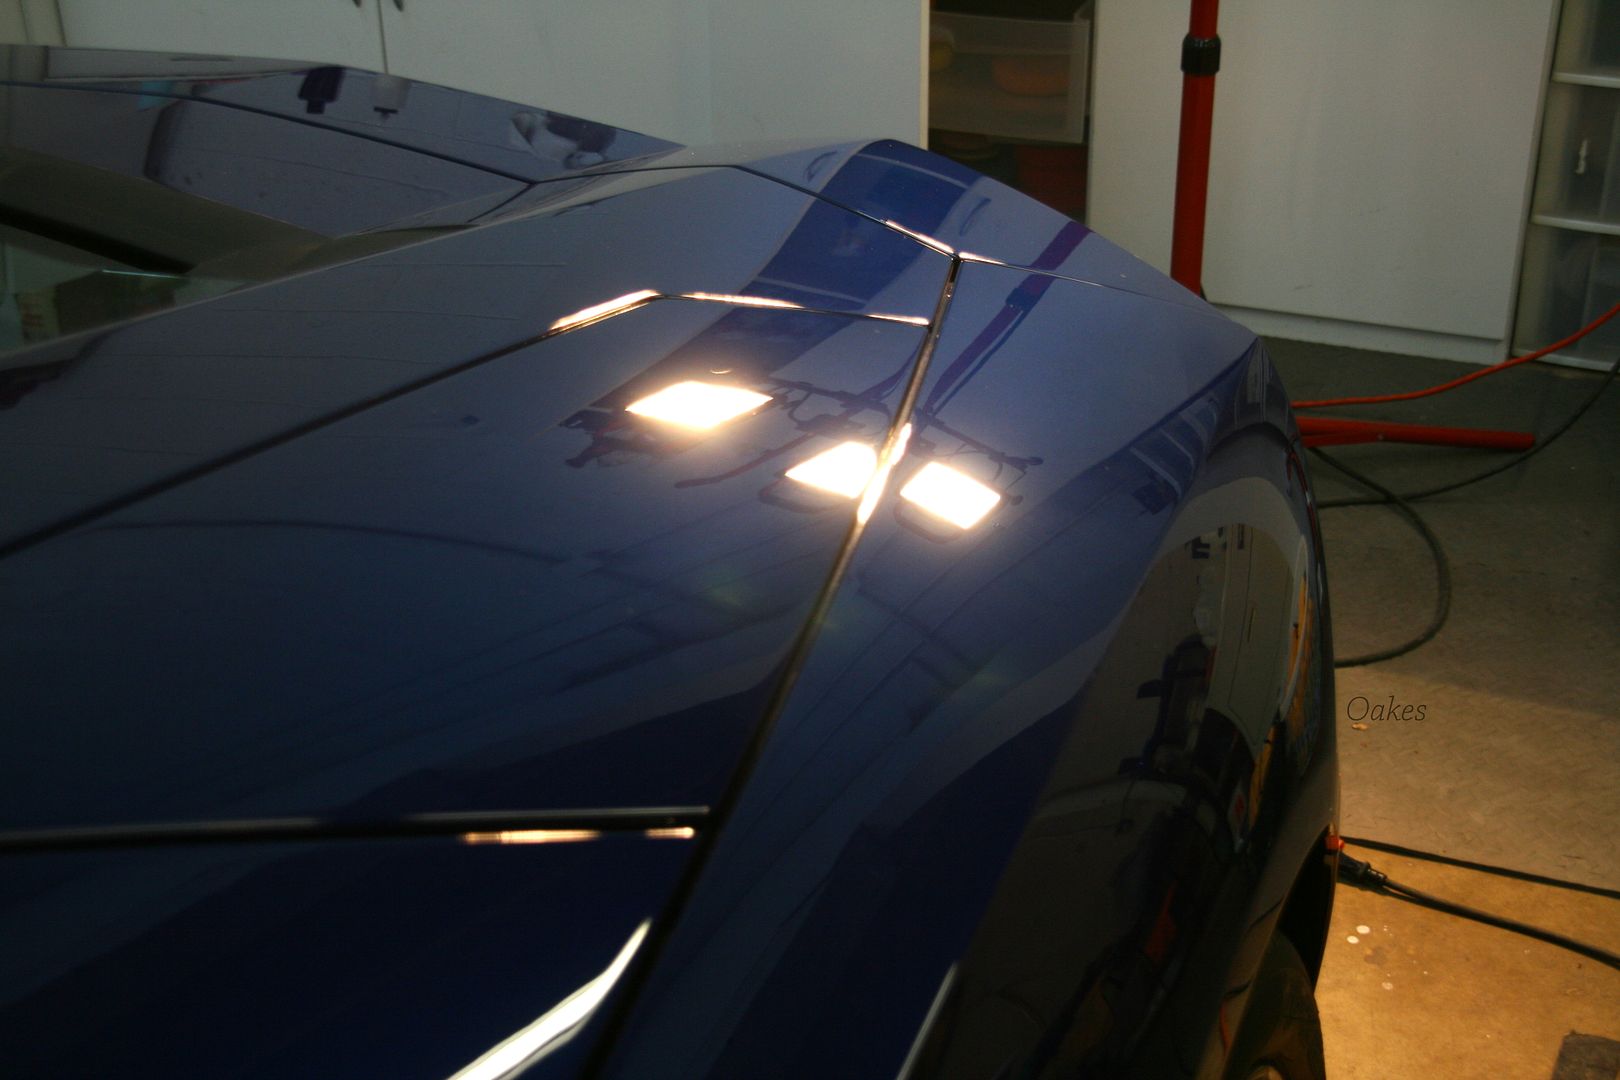
20.
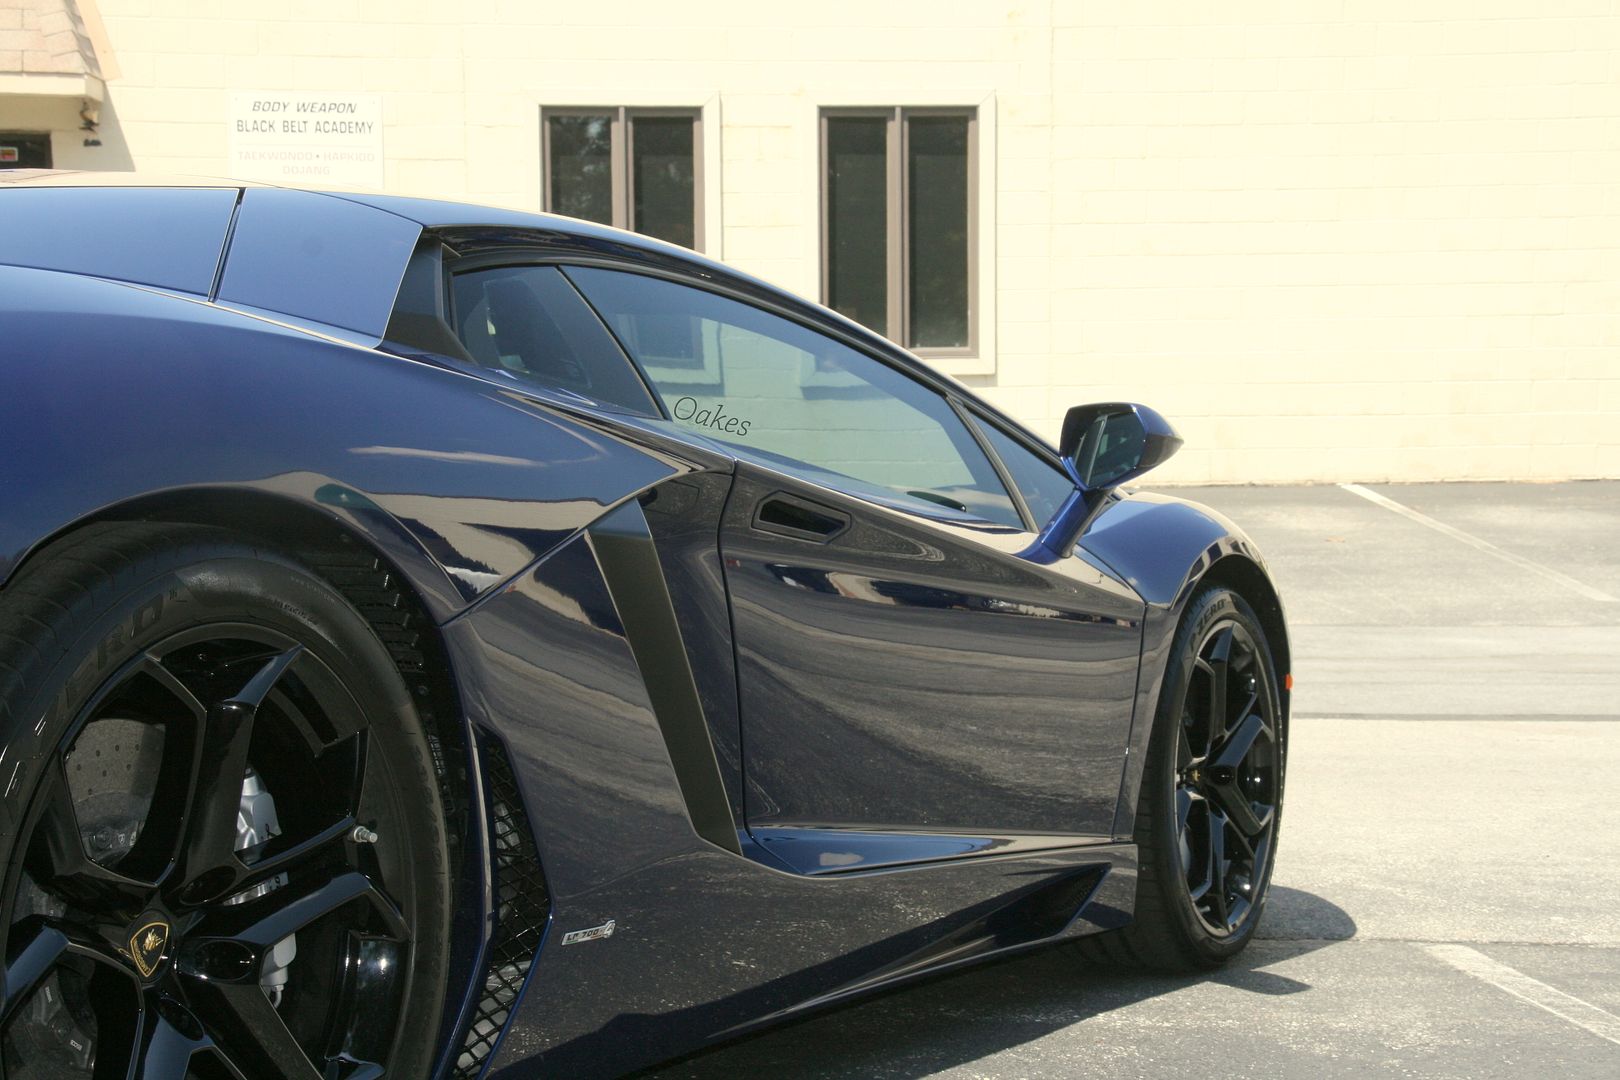
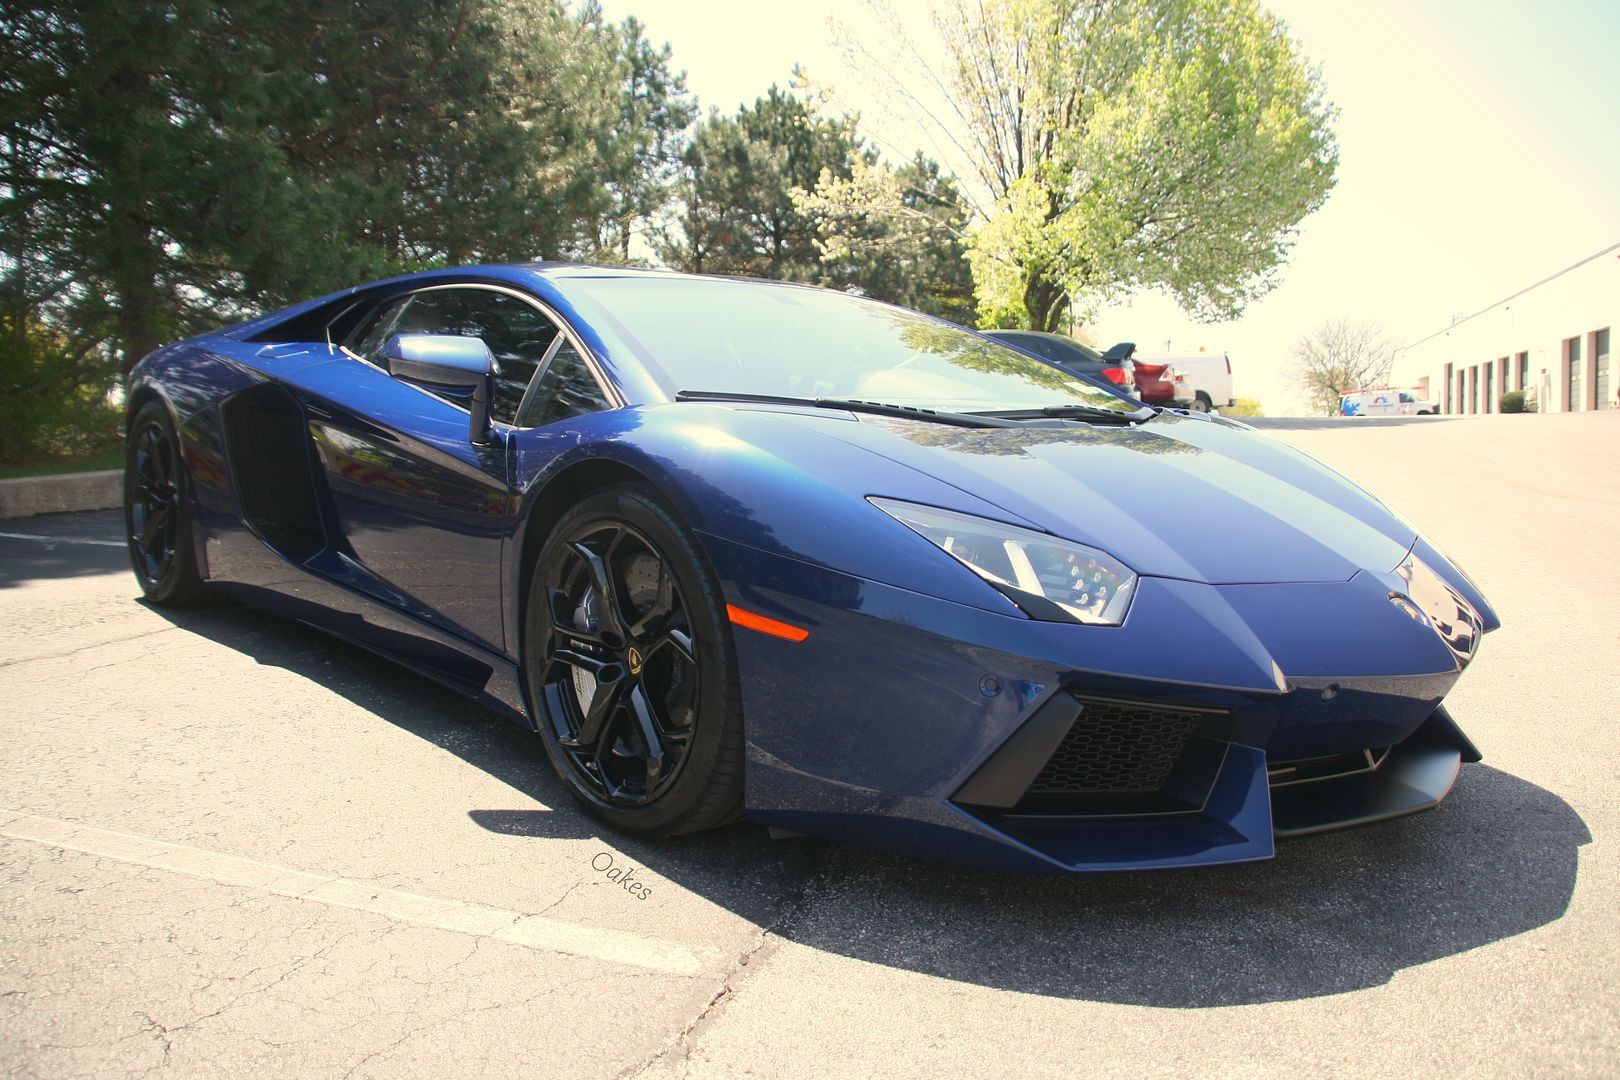
Outside in direct sunlight

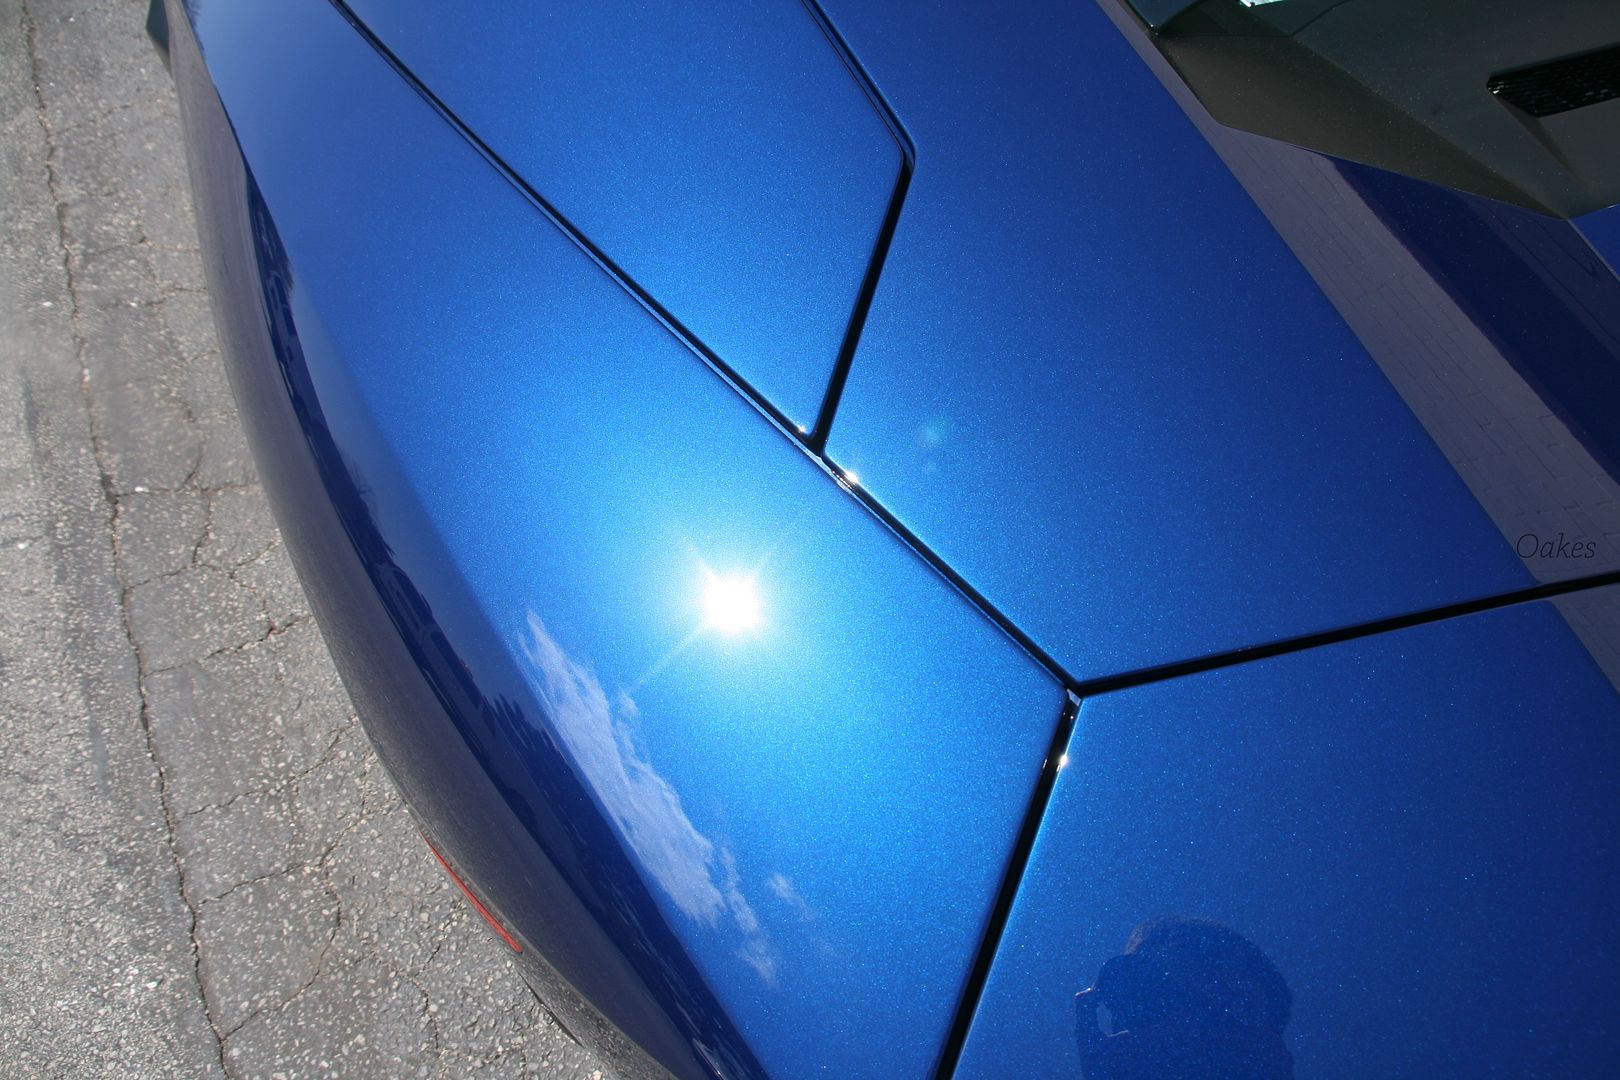
25.
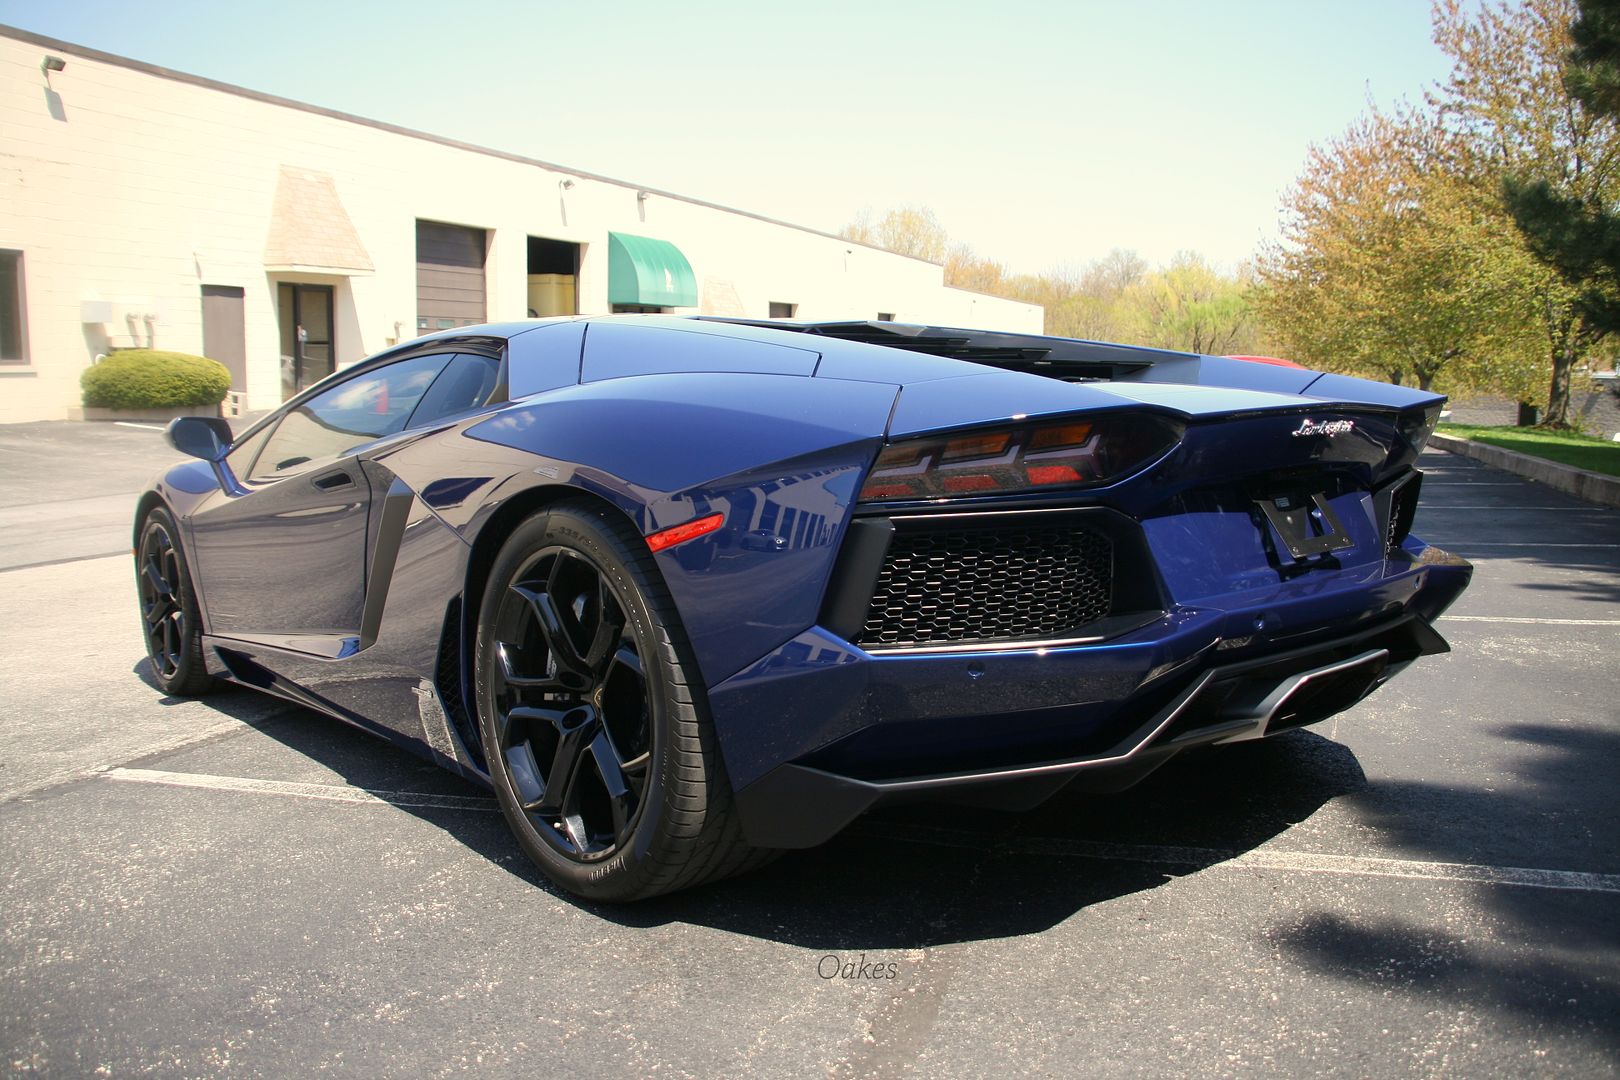
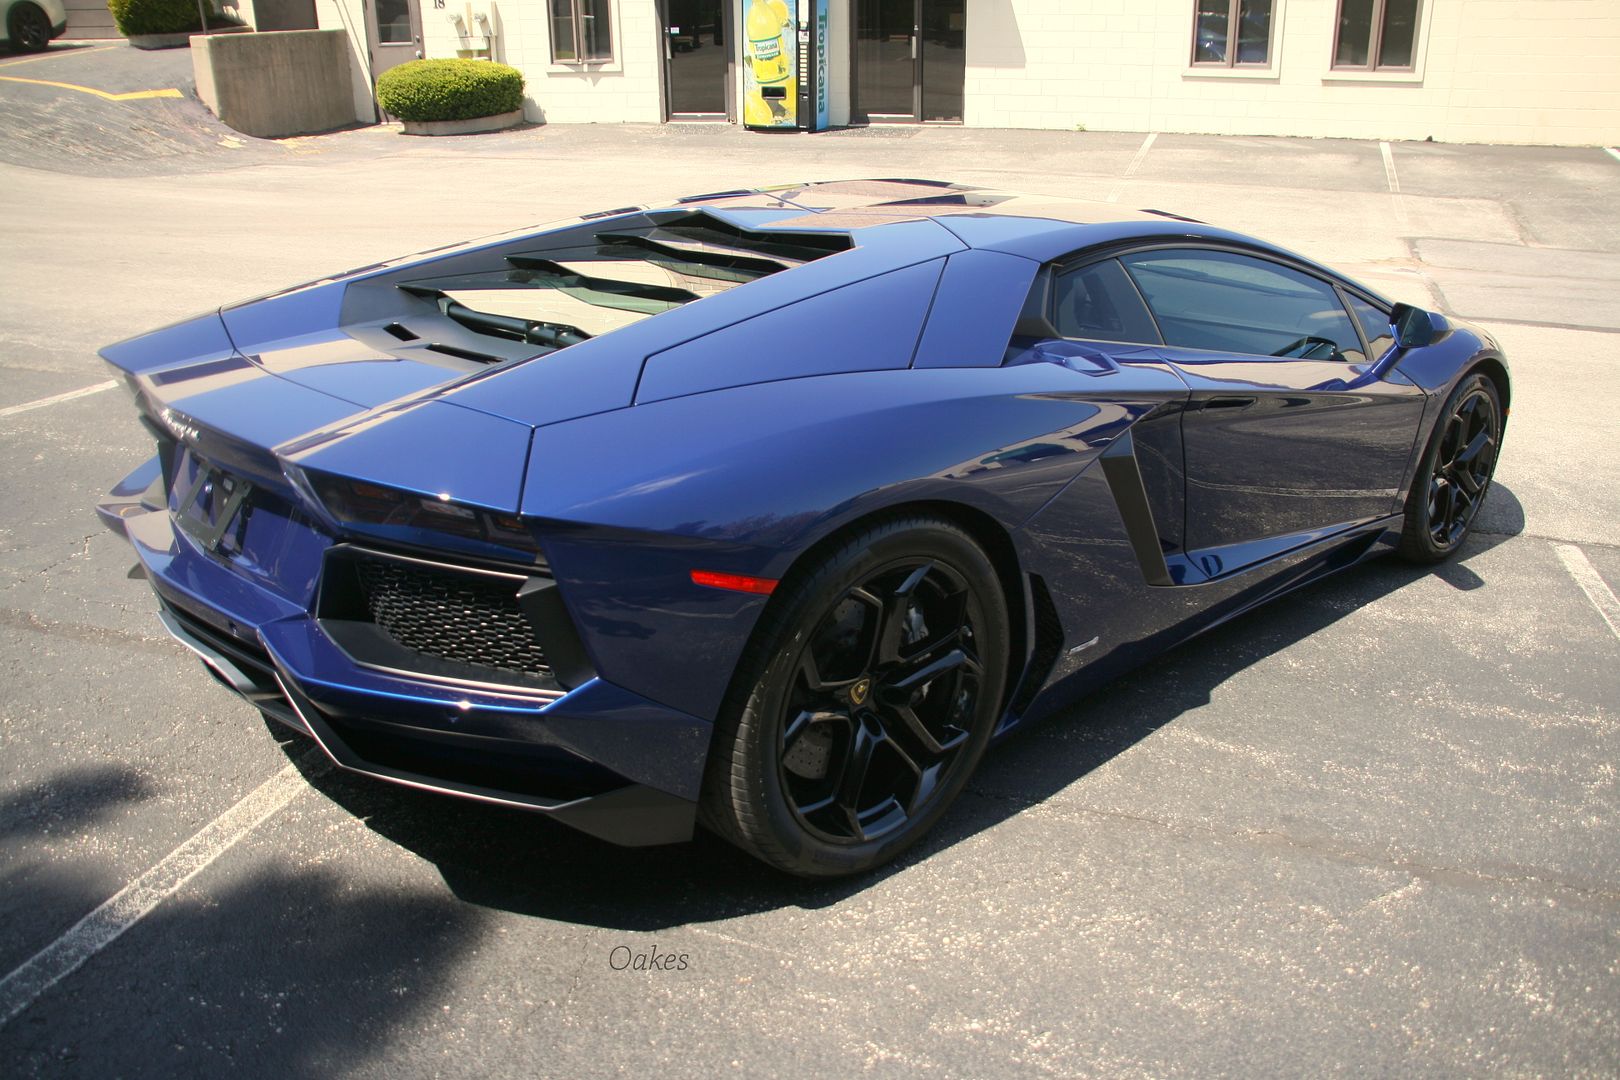
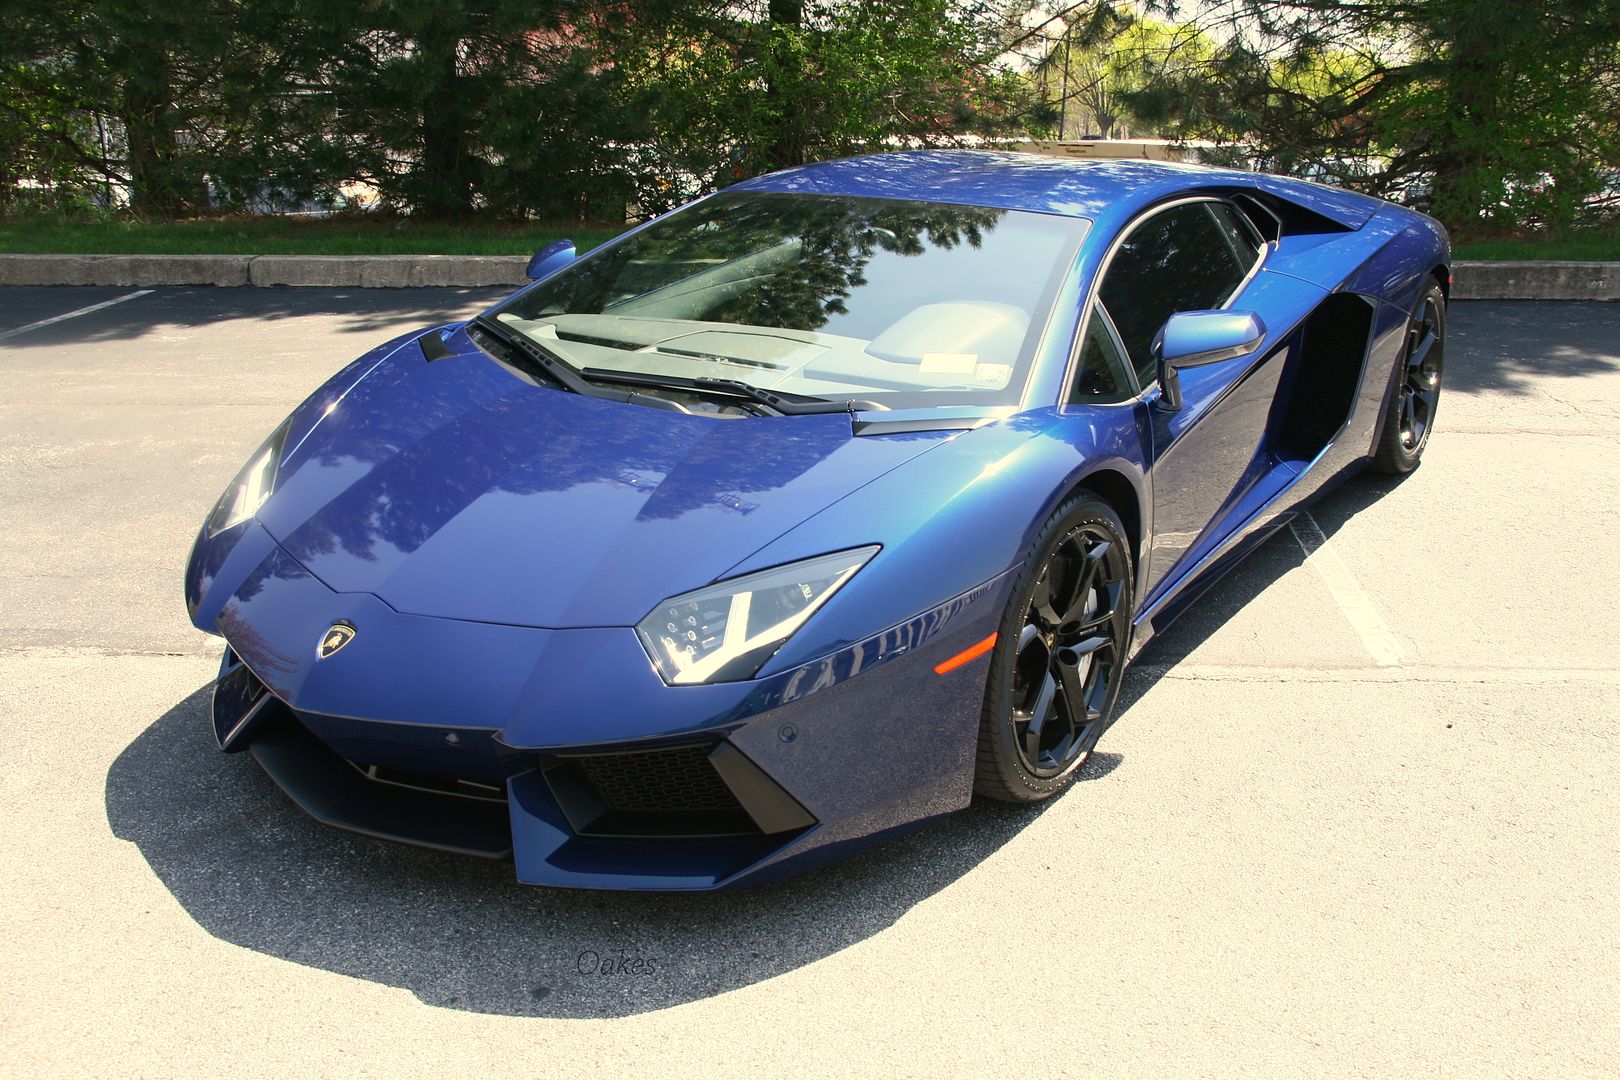
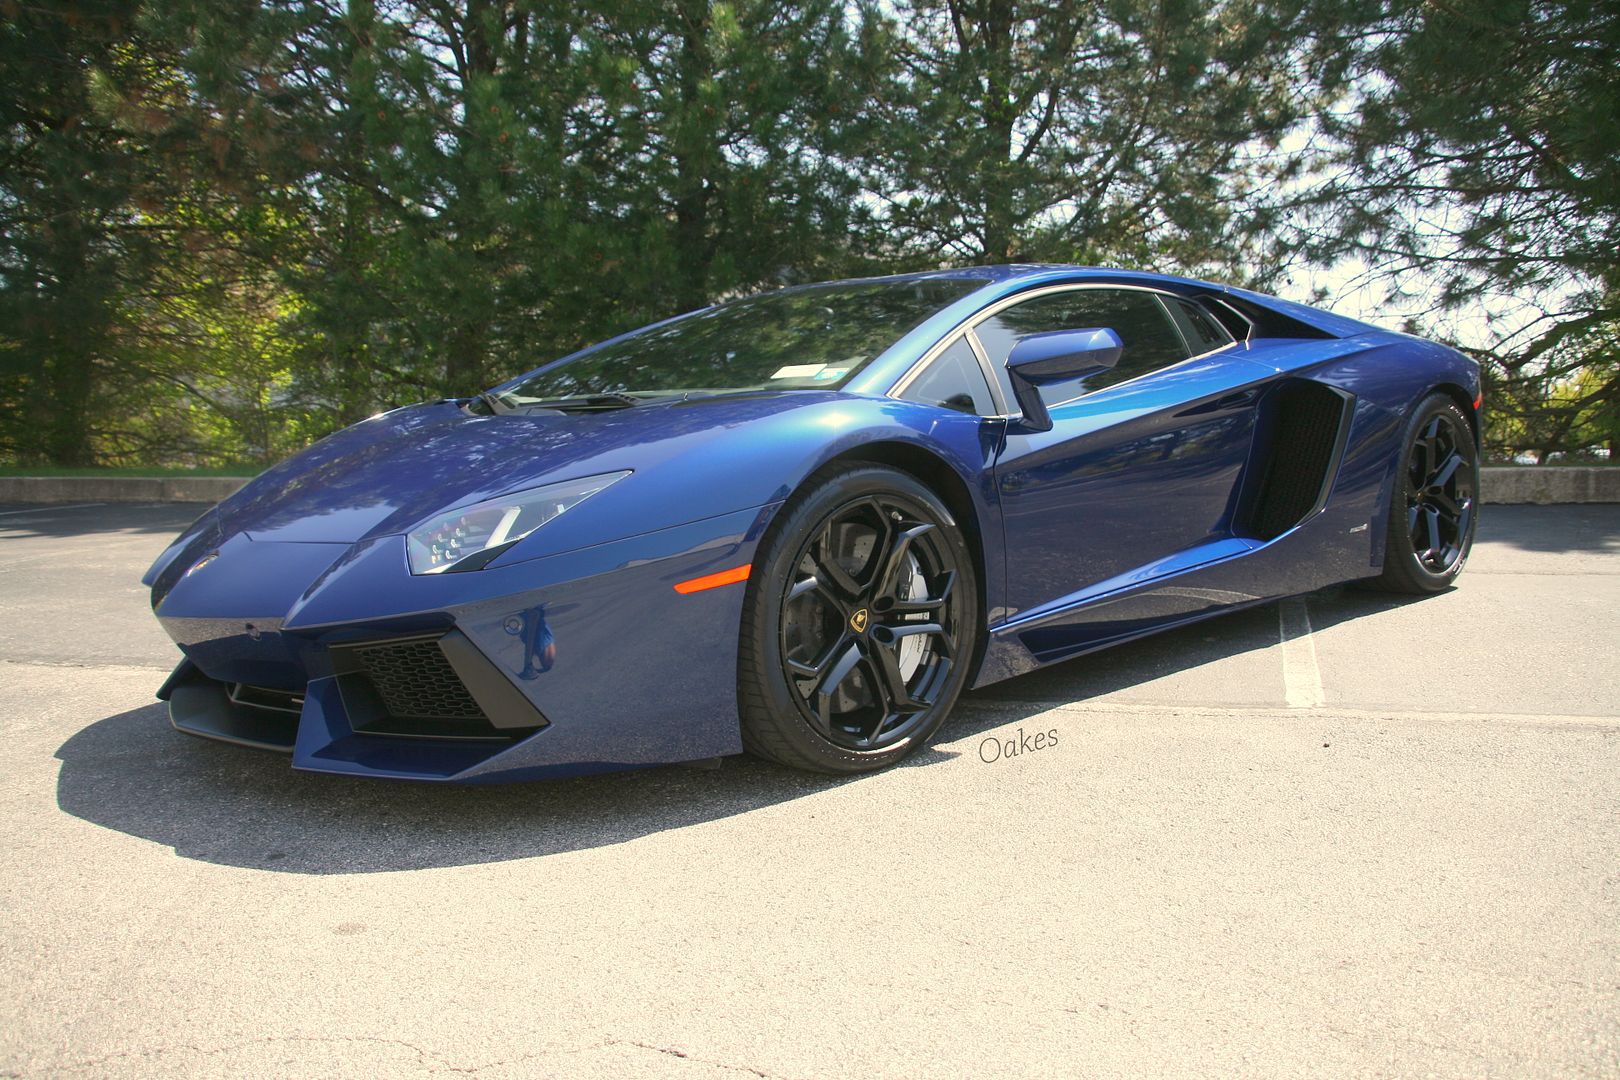
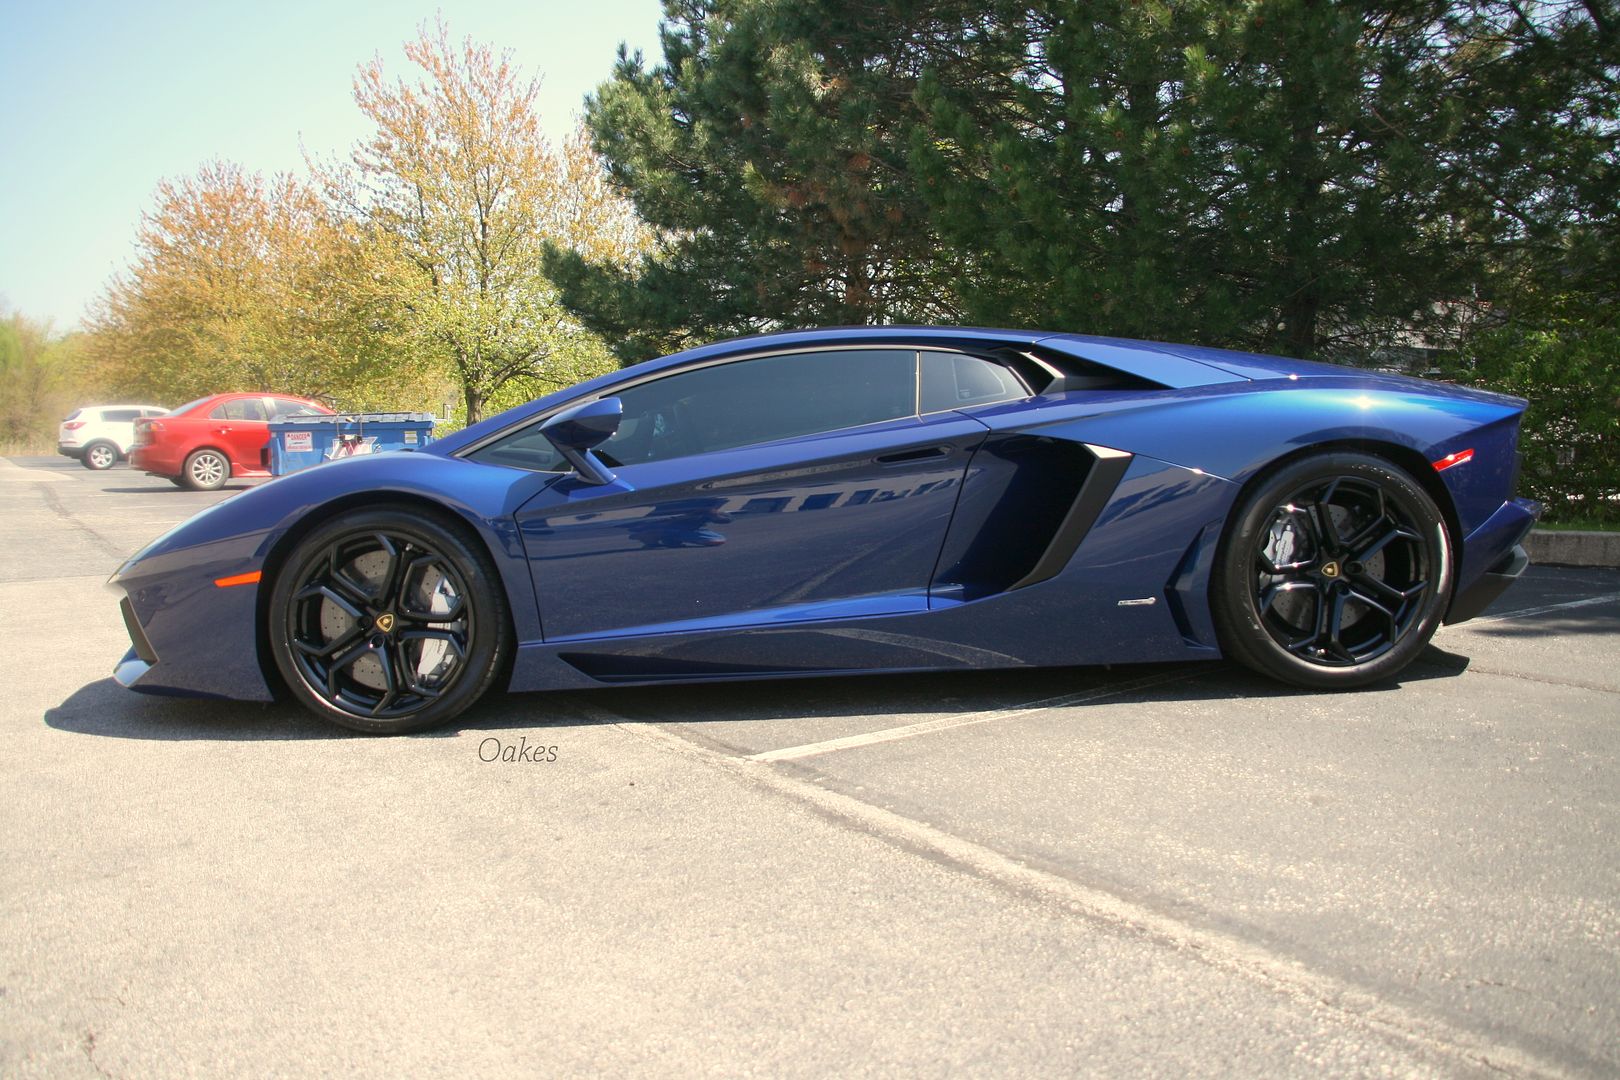
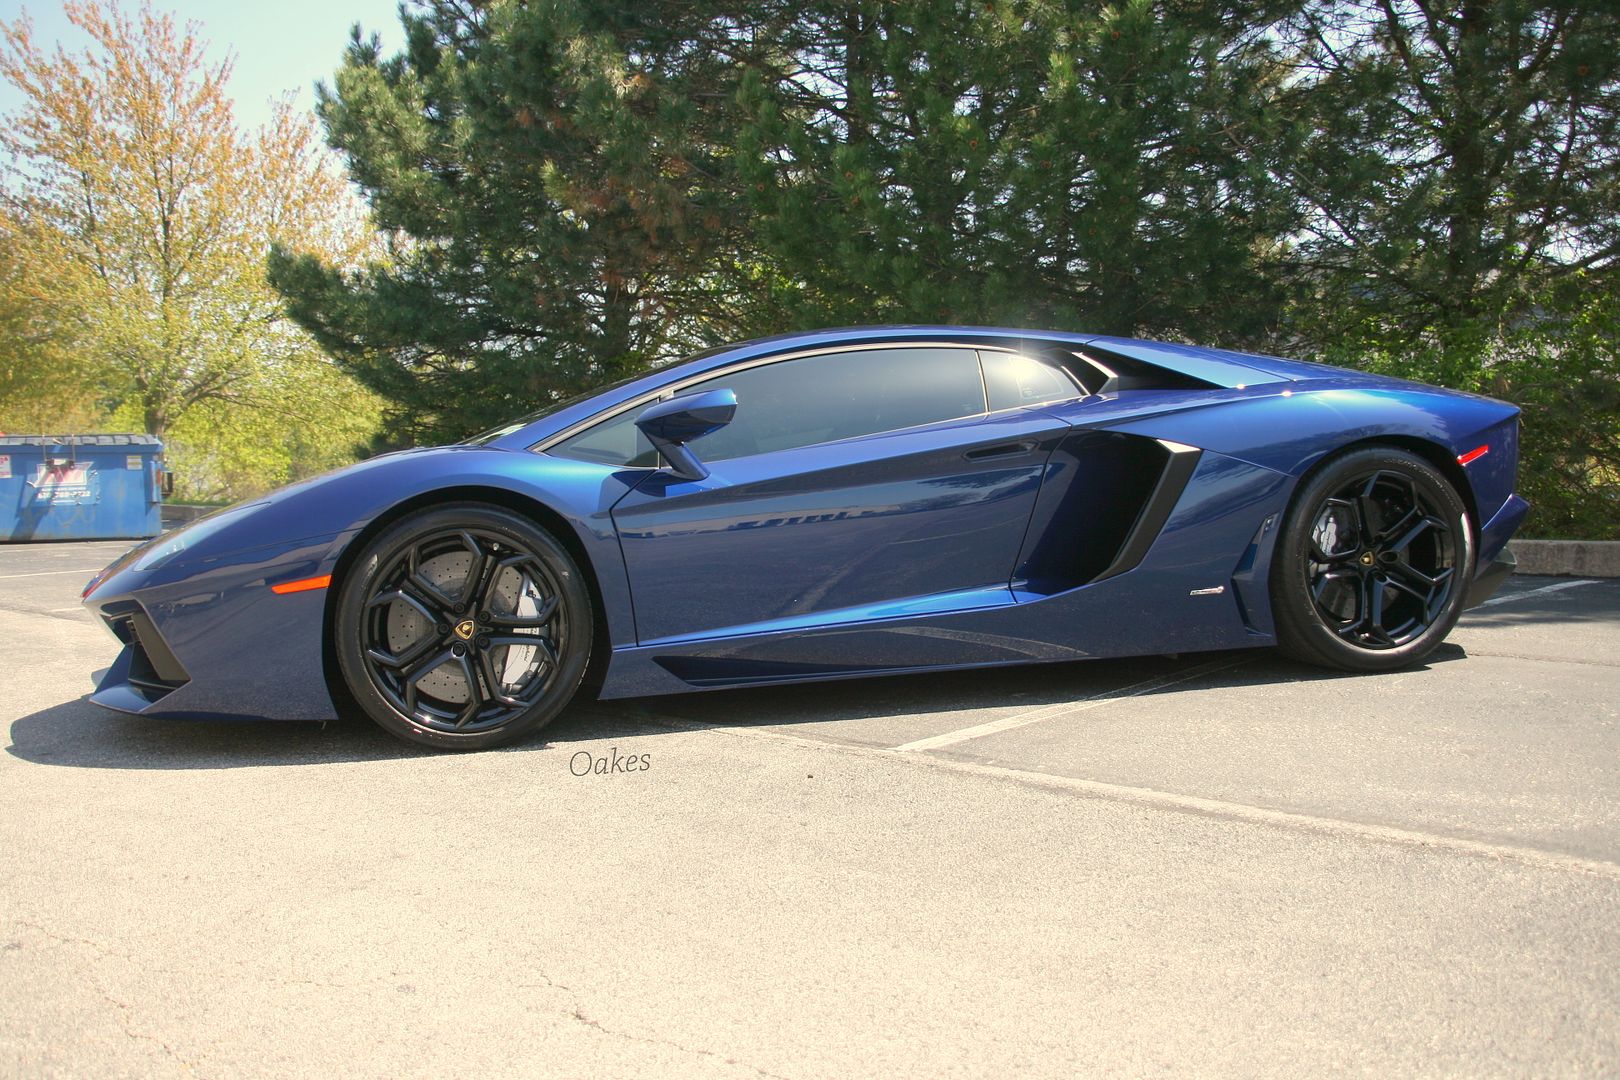
Now for the completed photos! Starting with the gloss shots and then some full profile pictures of the finished Aventador!
30.
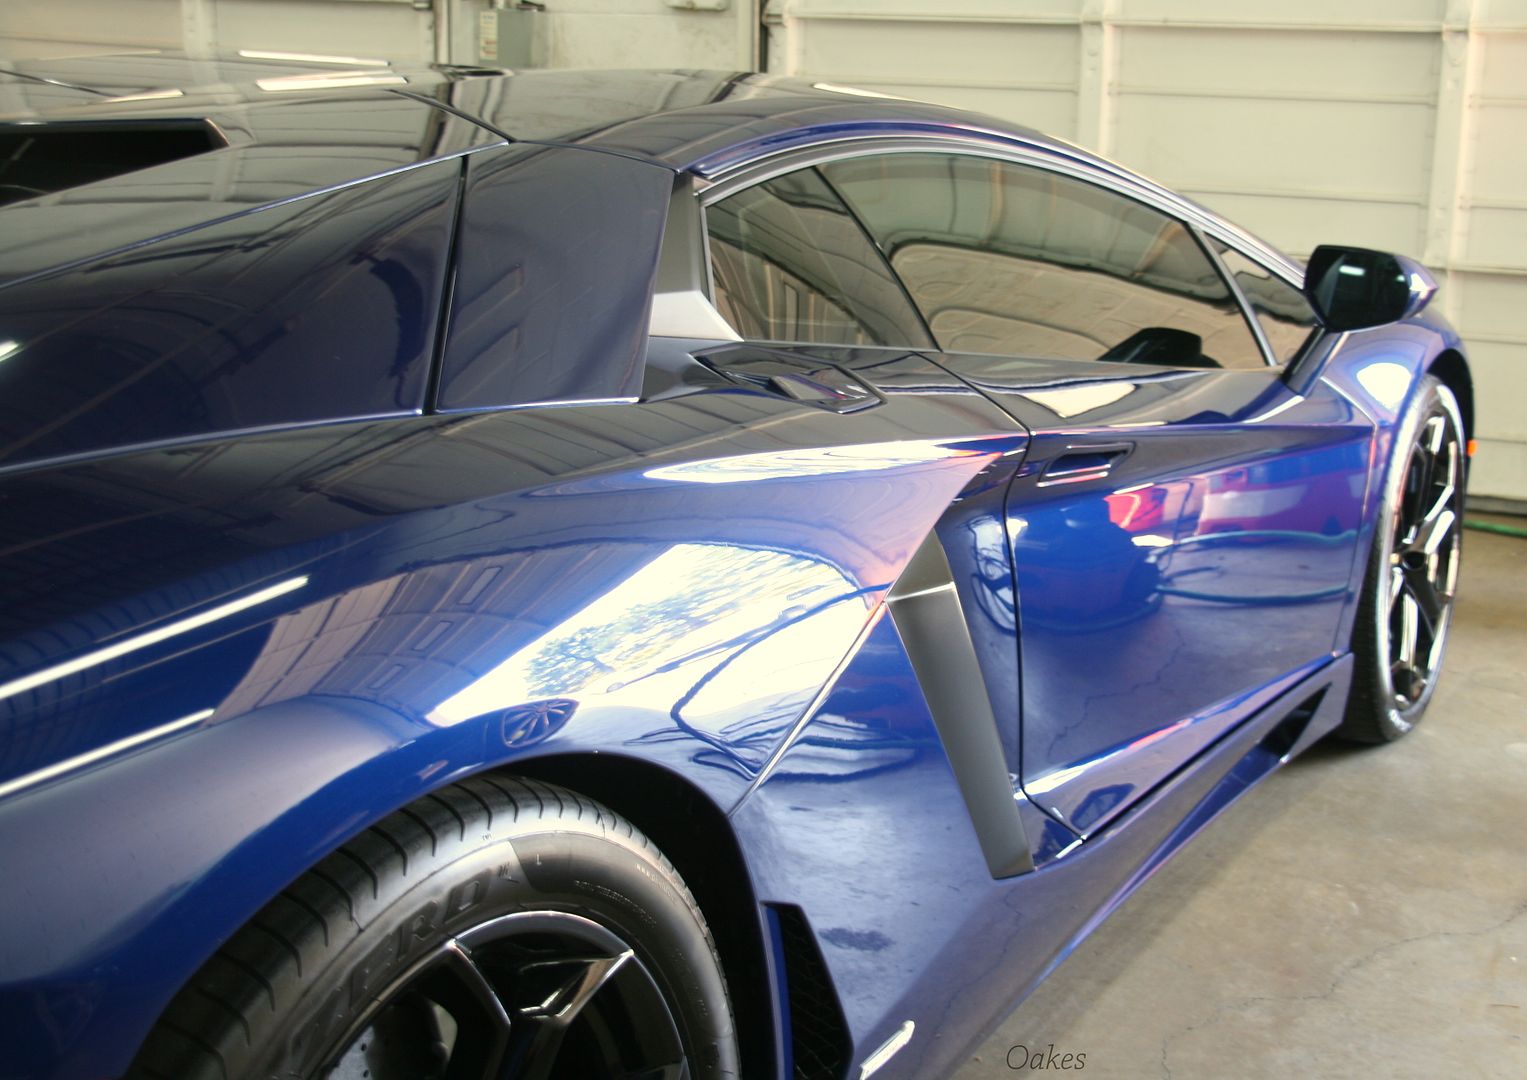
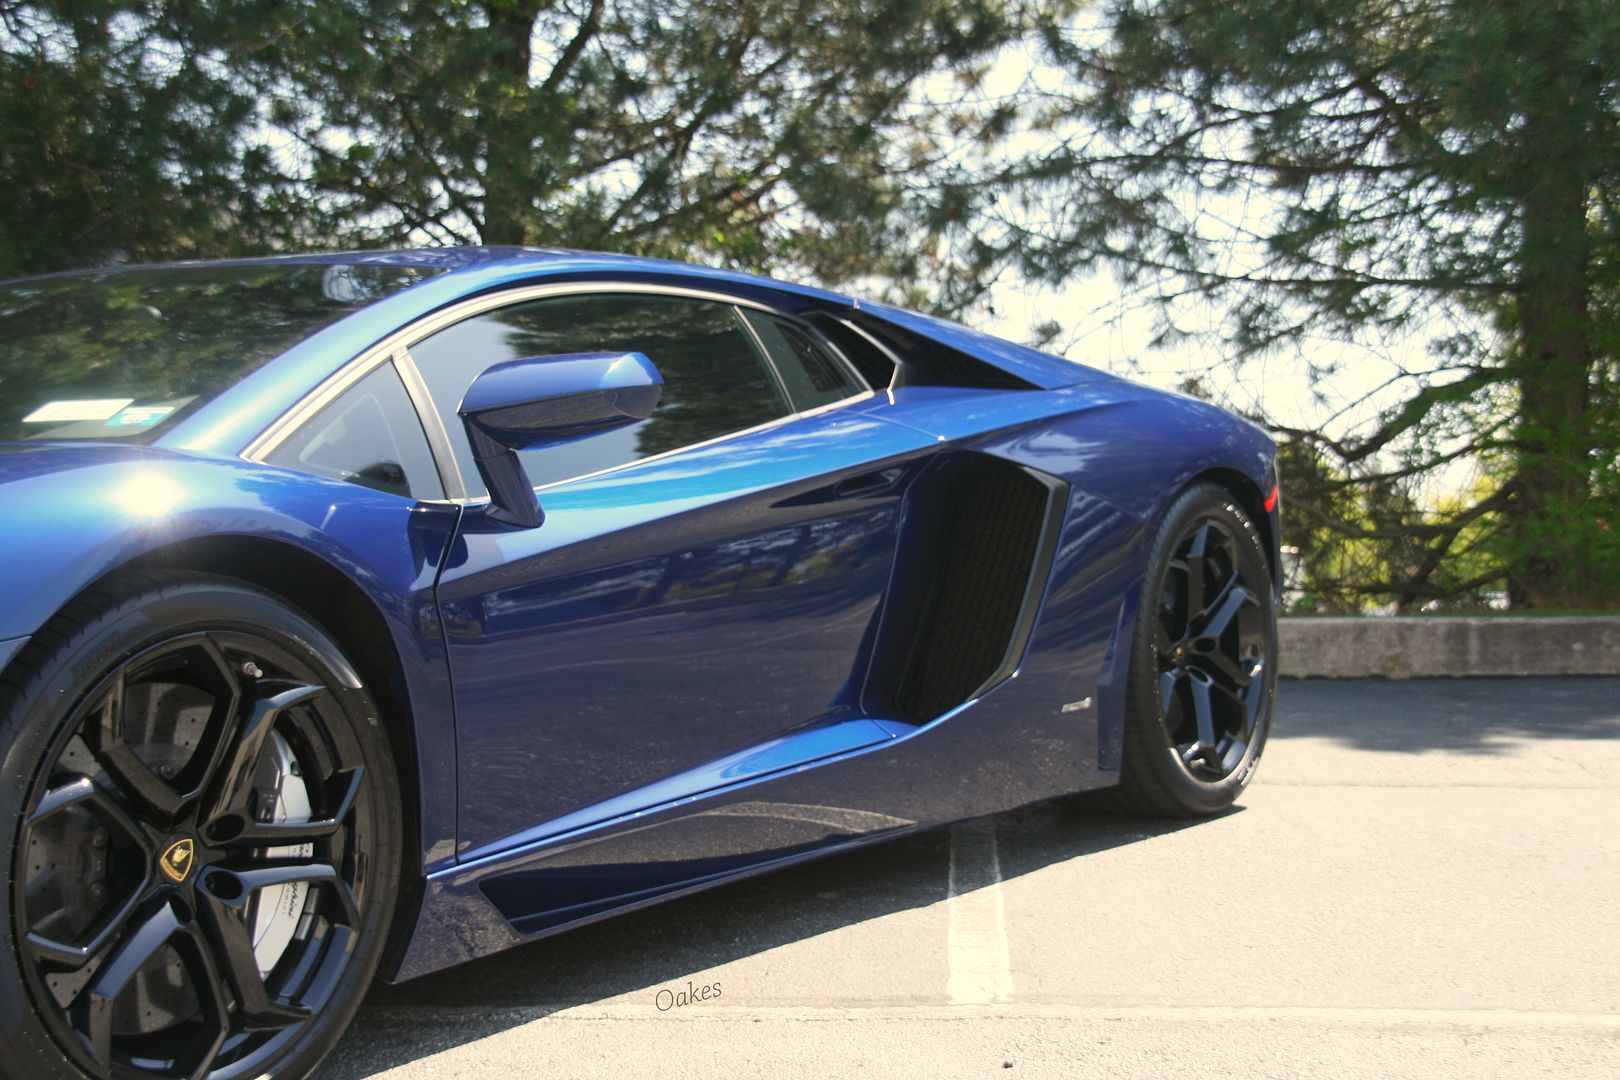
Full Profile Snaps
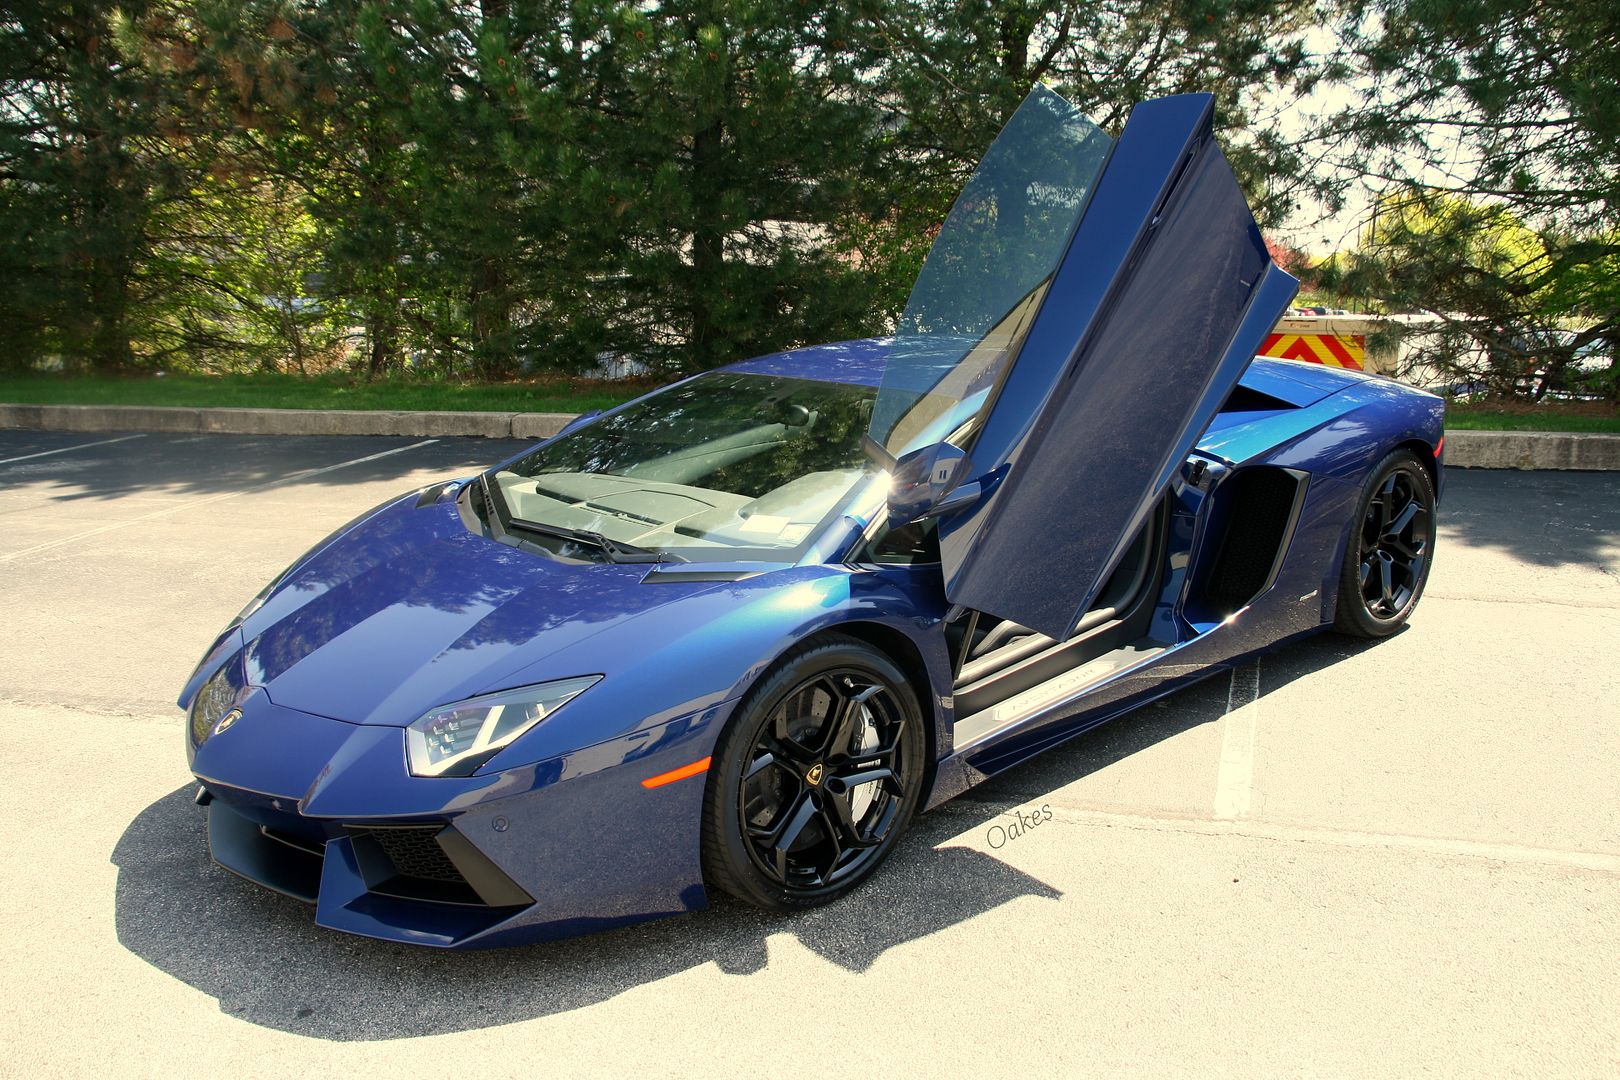
35.
Starting of course, with this fantastic metallic blue Lamborghini Aventador! I was contacted to correct this Bull to remove some heavy defects from water blade use as well as your typical swirling and marring throughout. Over the course of approximately forty hours I labored to attend to all the defects, leaving it with a 98% corrected surface.
The process to correct Lamborghini paint is much more involved than most makes, and the various machines and pad/polish combos used is enough to warrant leaving proper correction on these vehicles to very experienced professionals. The pictures will now illustrate exactly what this batmobile needed!
I snapped various before photos as well as before/after shots! Starting with some before shots of the roof


5.


Some factory sanding defects left in the paint
10.

A before/after combo of the rear engine hatch against the side vent and passenger rear quarter

Before/After Combo of the passenger intake vent against the quarter and pre-vent panel

Before/After combo of engine cover and rear wing

Before/After combo of rear bumper

15.

Some after snaps of the corrected paint


20.


Outside in direct sunlight


25.

Now for the completed photos! Starting with the gloss shots and then some full profile pictures of the finished Aventador!


30.


Full Profile Snaps


35.


Thread Starter
Junior Member
Joined: Aug 2009
Posts: 49
Likes: 2
From: West Chester, PA
Whatever it is, it's probably dirty.
40.

A shot of her inside with some of our other exotic projects behind it!

As always thanks for reading! Any and all feedback welcome and appreciated!
Nick Oakes


