When you click on links to various merchants on this site and make a purchase, this can result in this site earning a commission. Affiliate programs and affiliations include, but are not limited to, the eBay Partner Network.
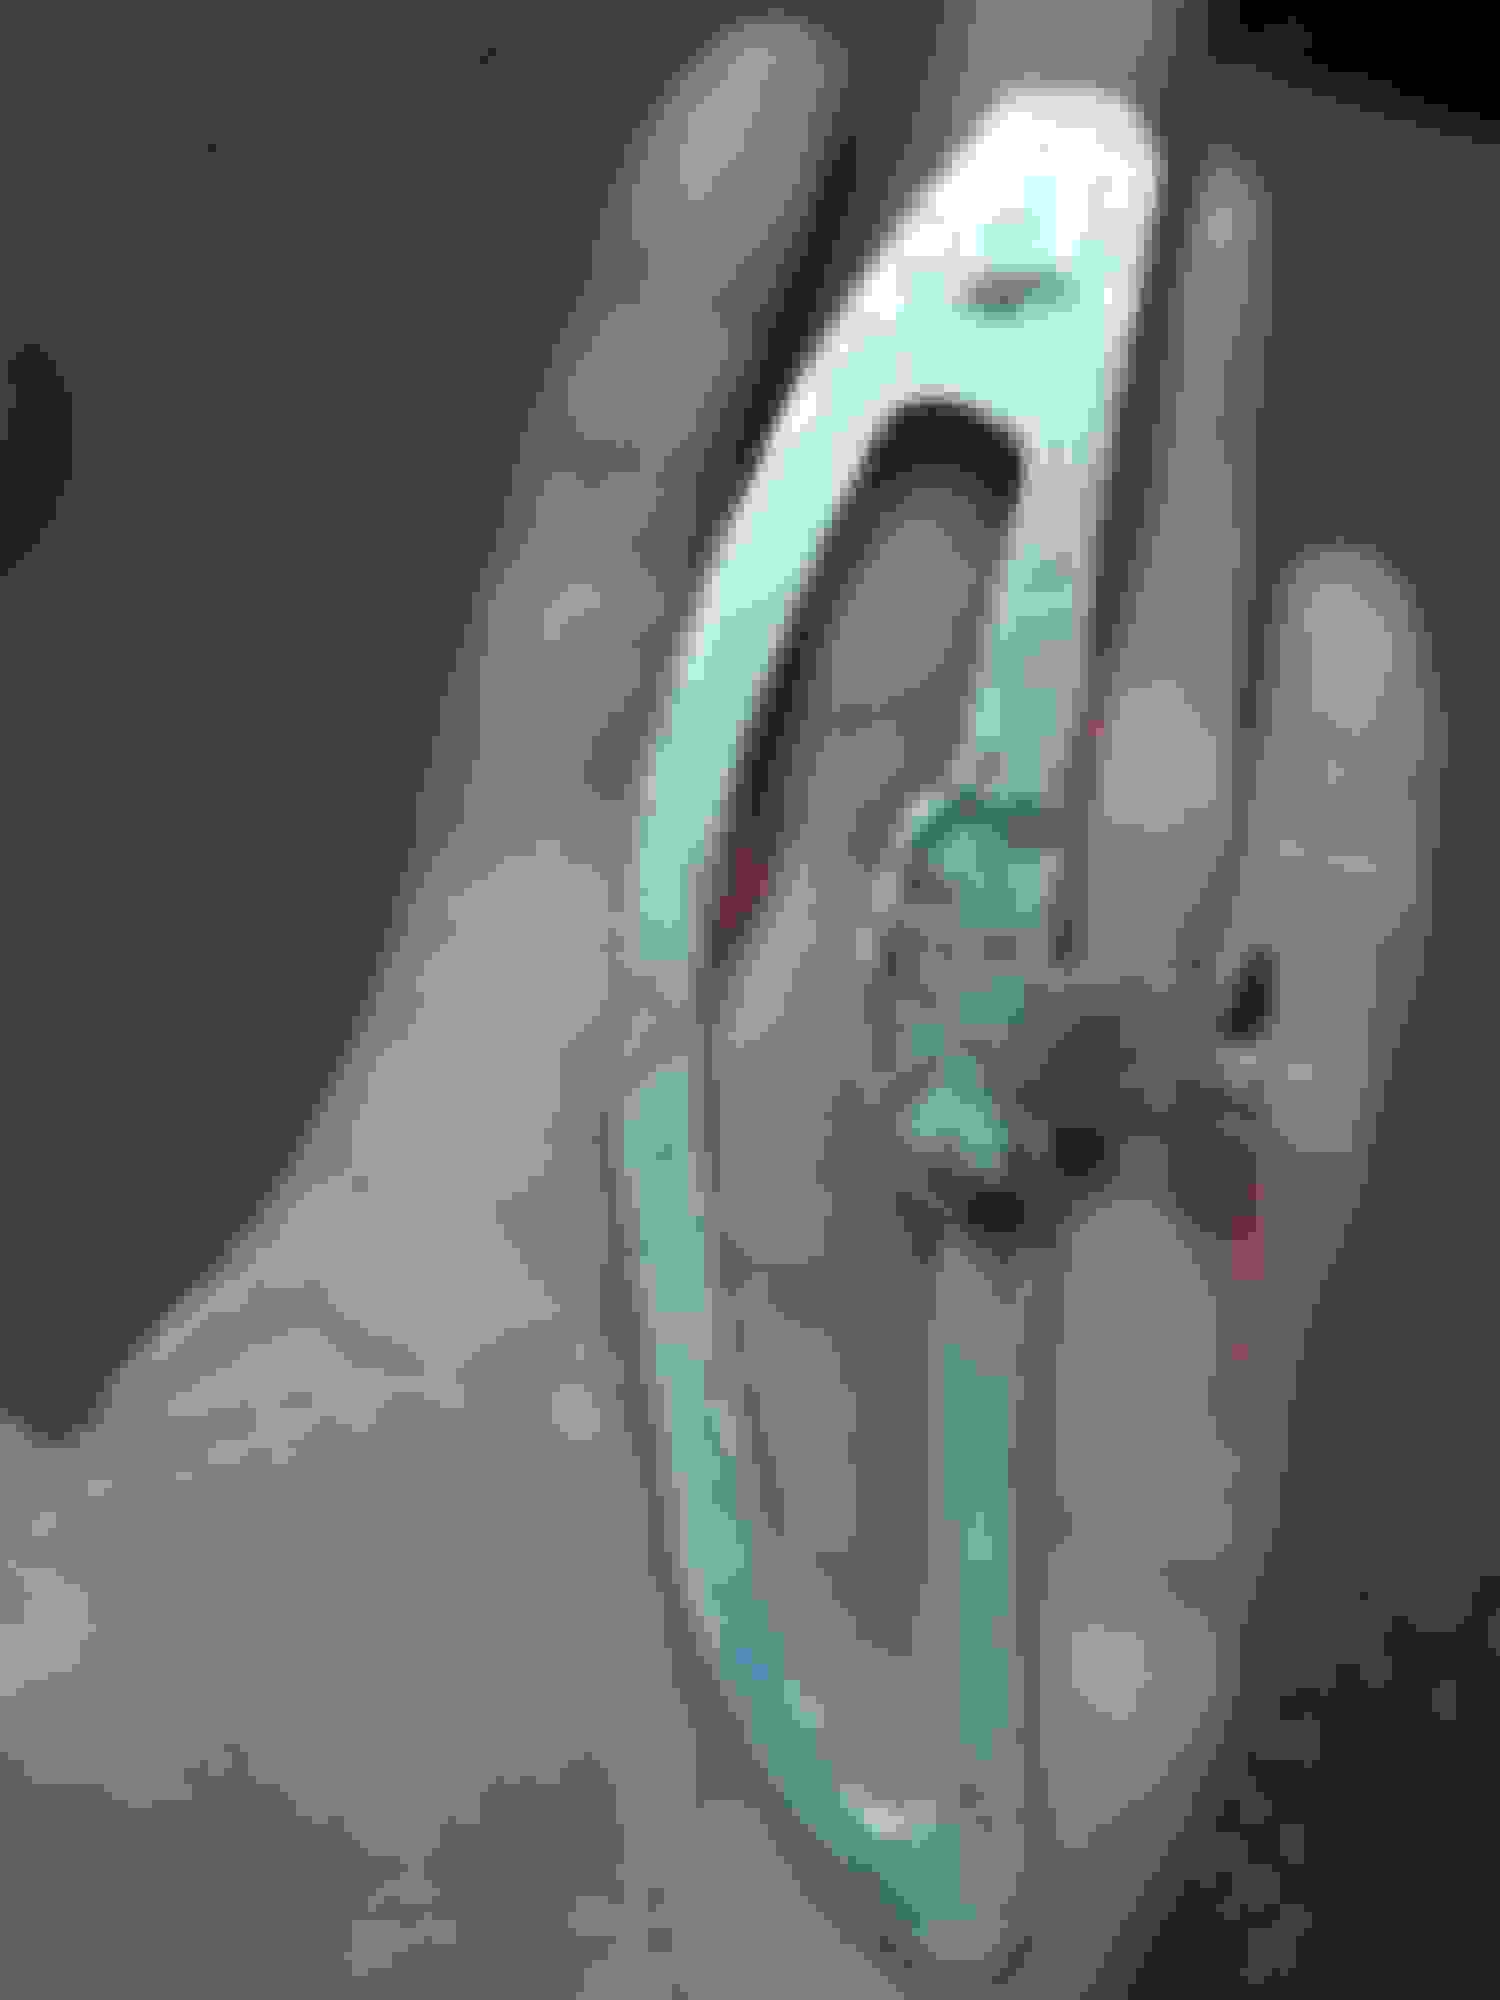
I bought second hand wheel from local scrapyard, just in case . . .
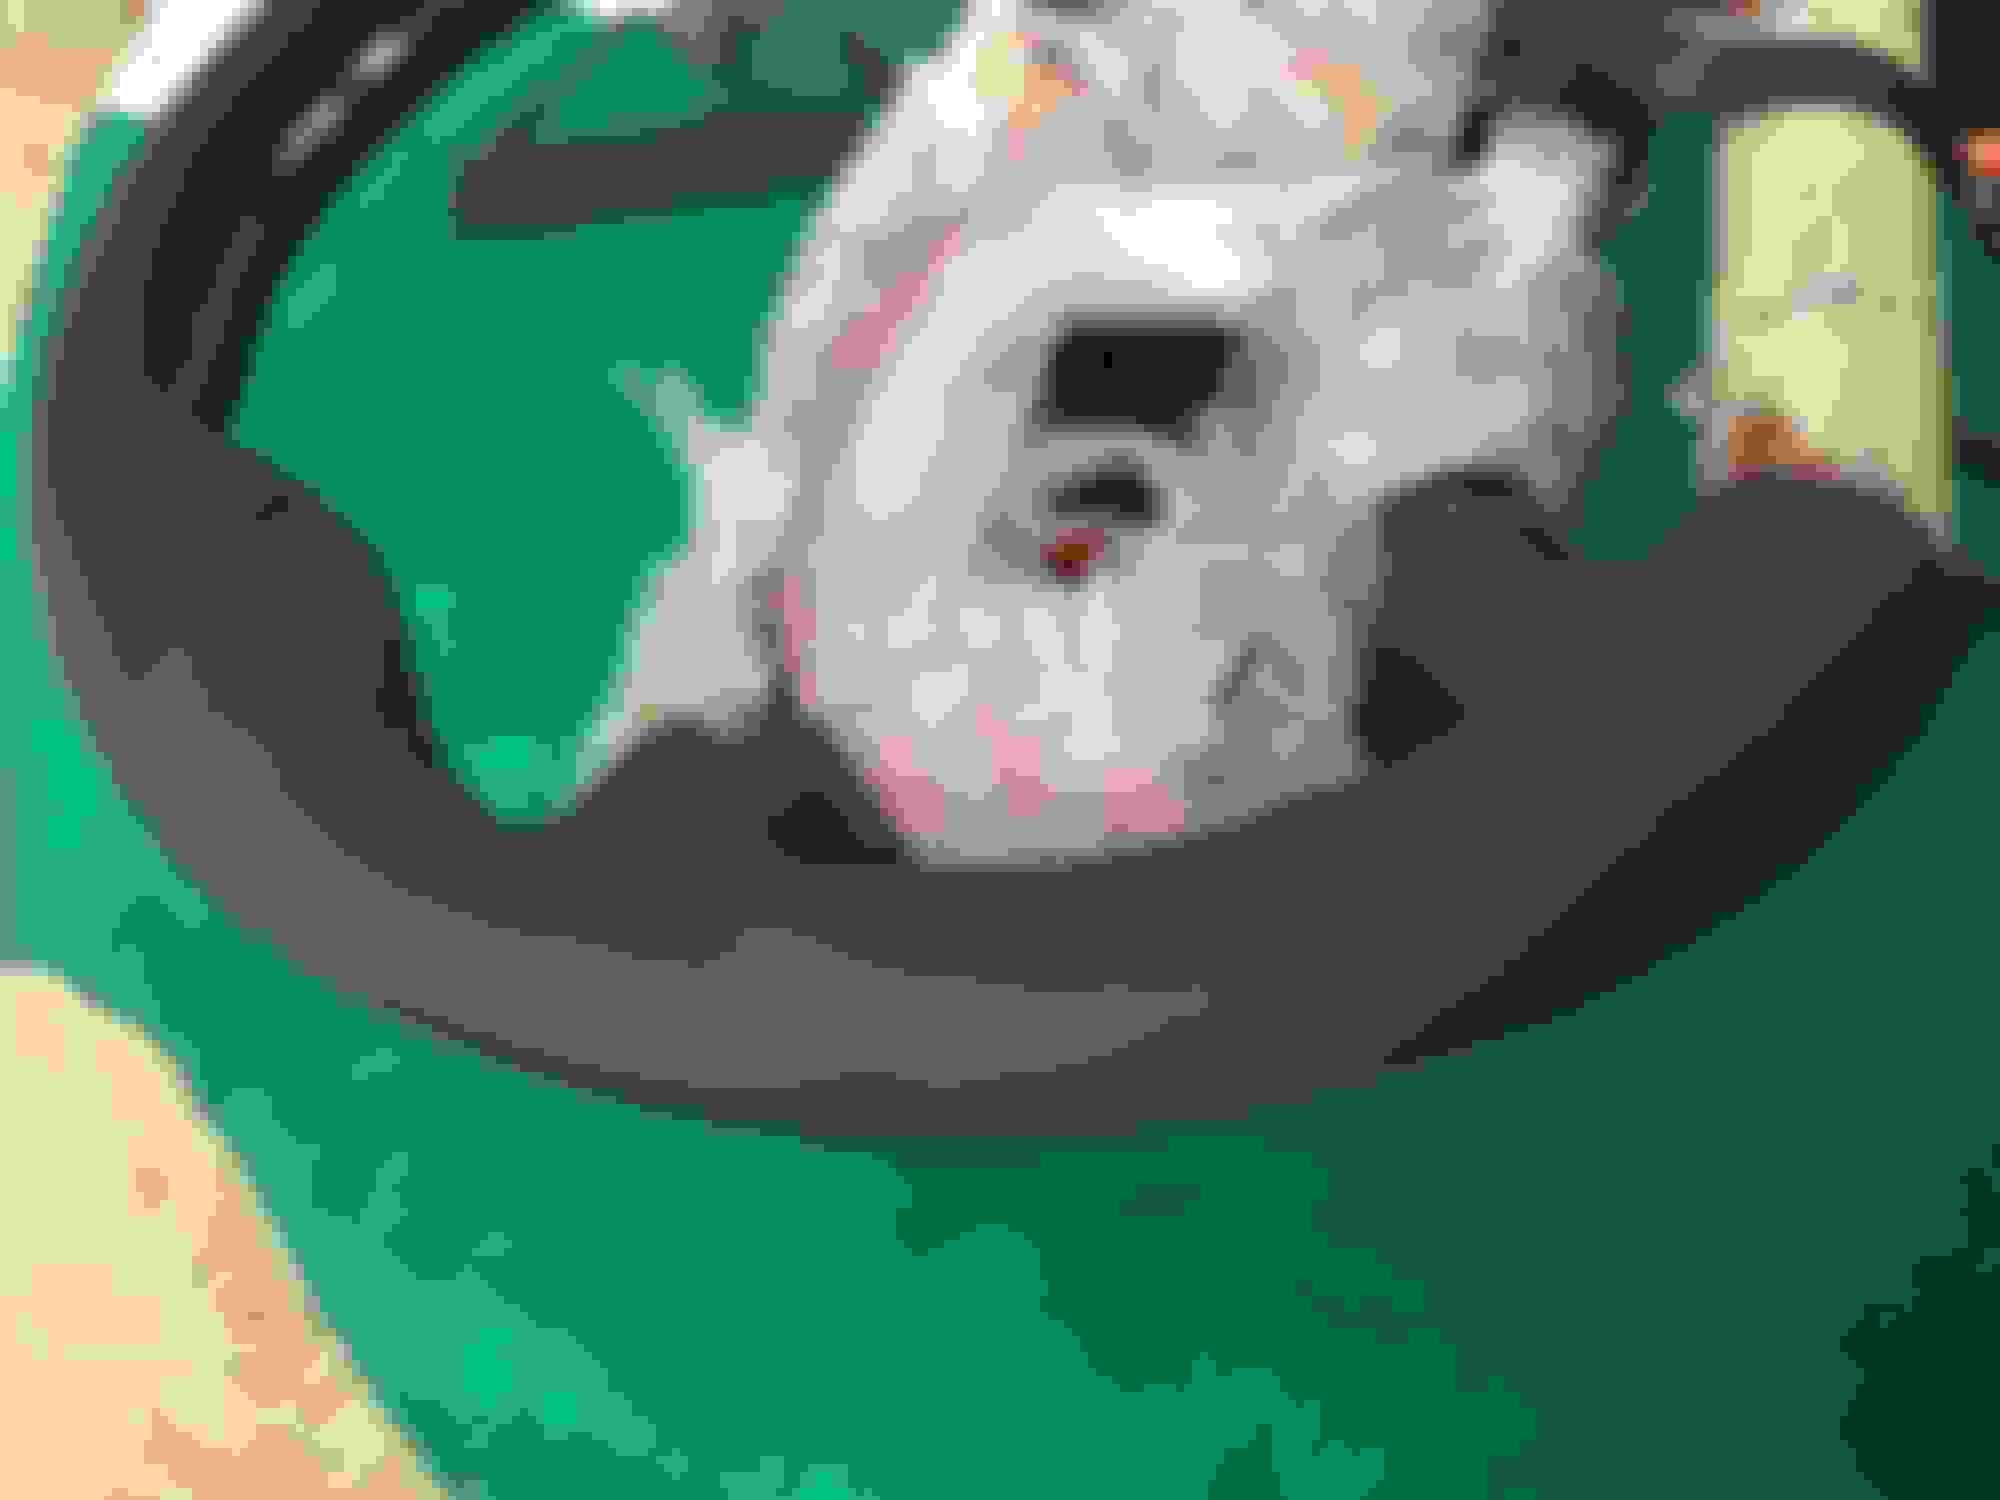
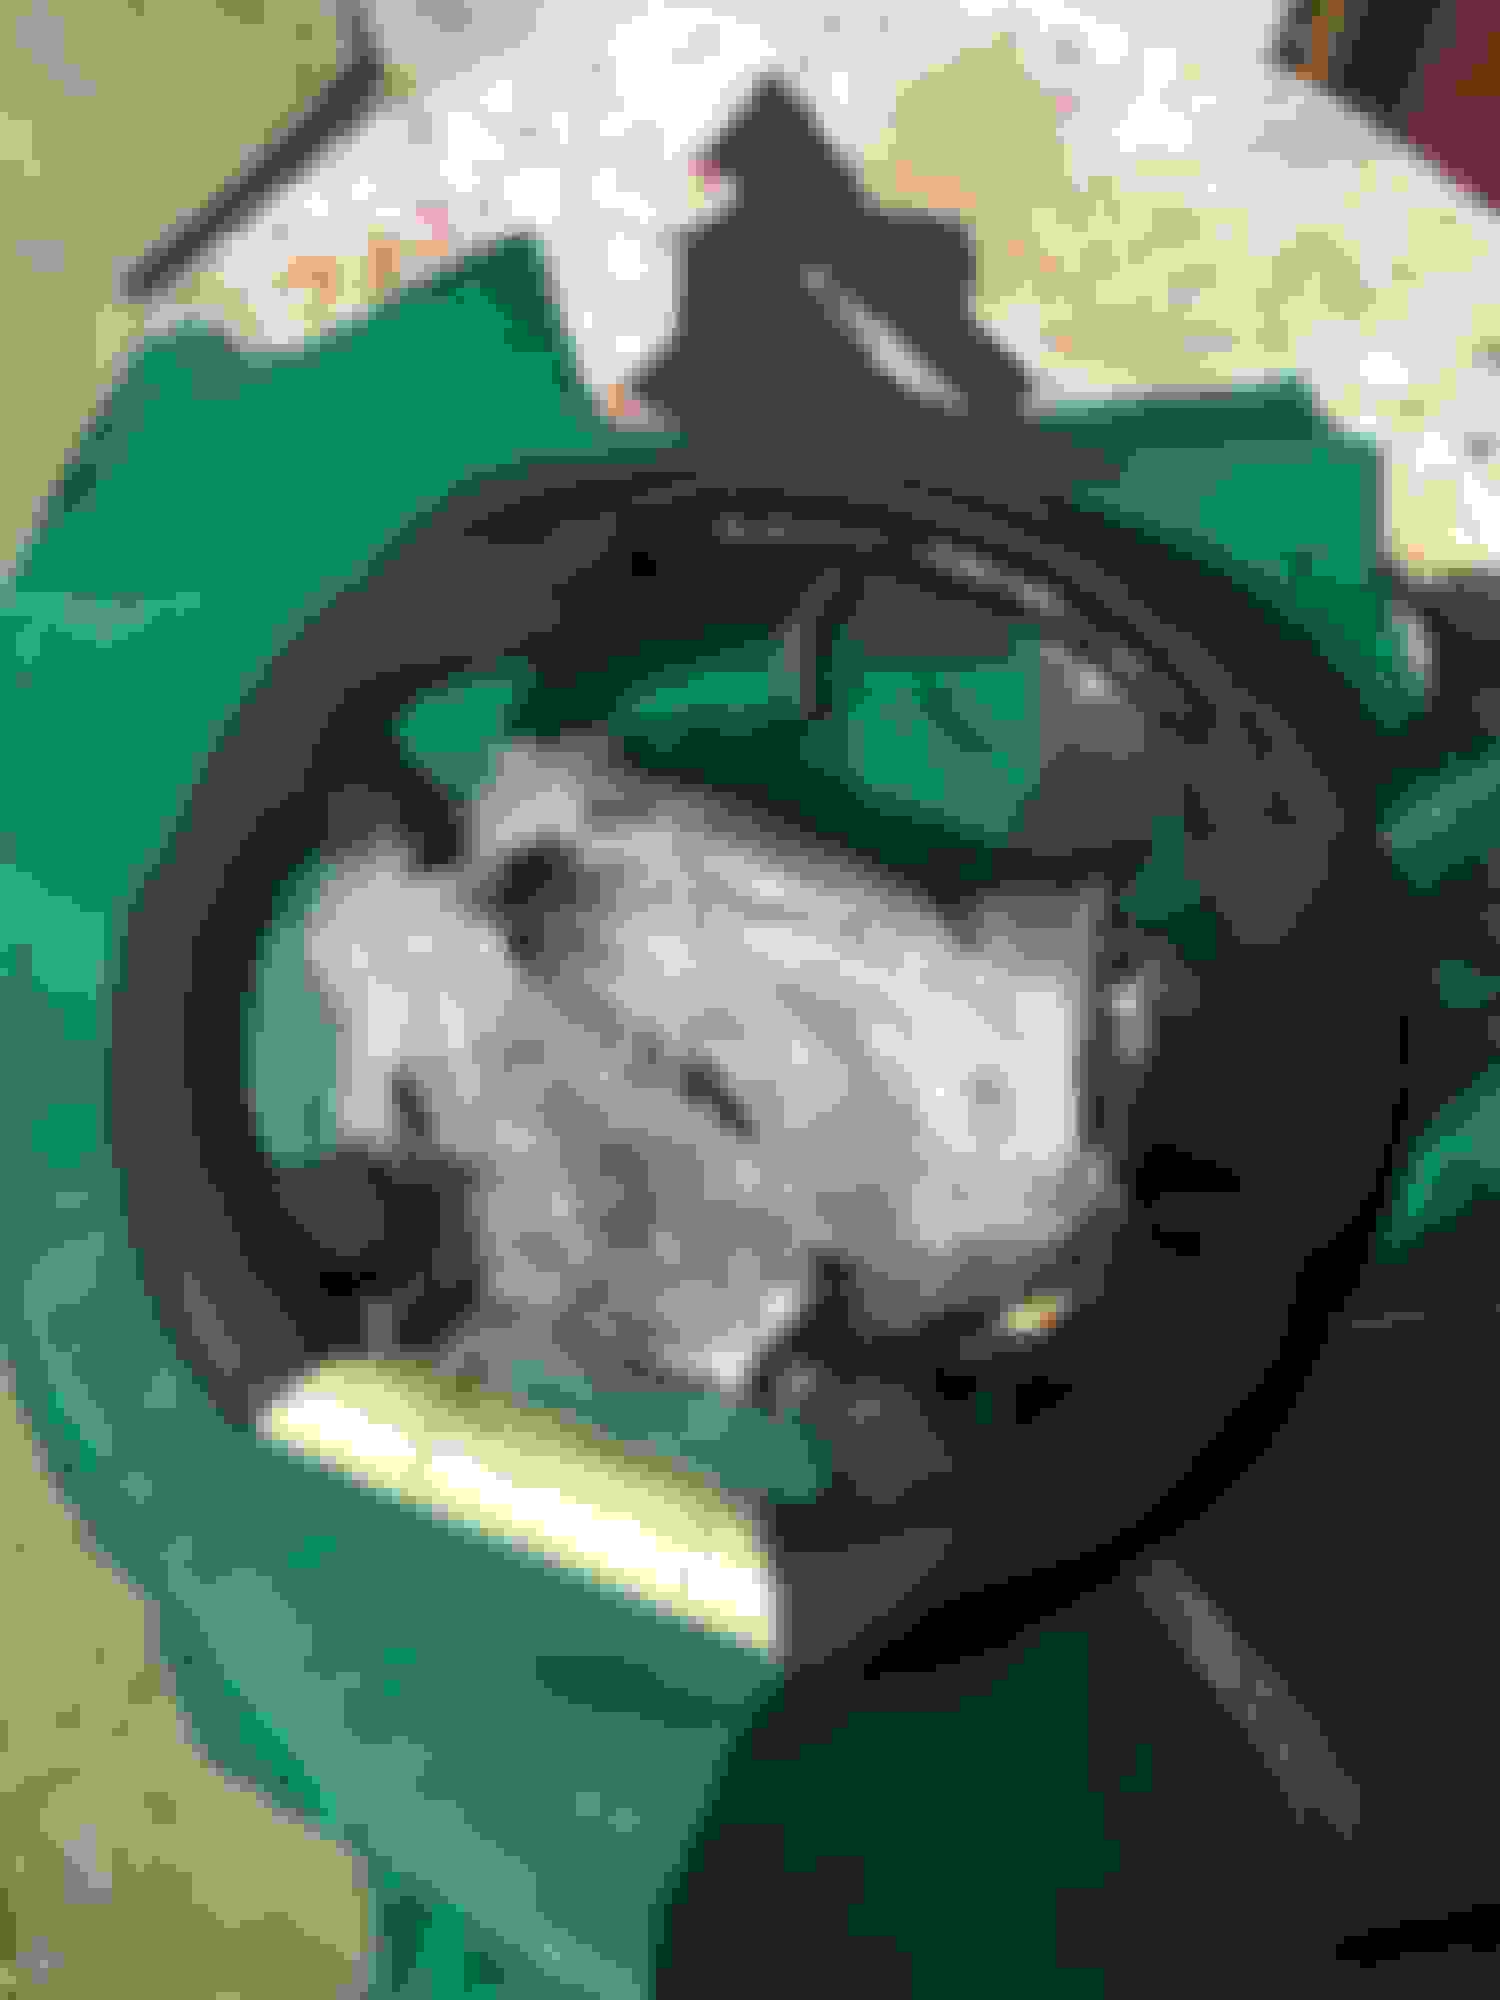
Strip it down to the frame
Bottom part is cutted and straighten then welded back to the place
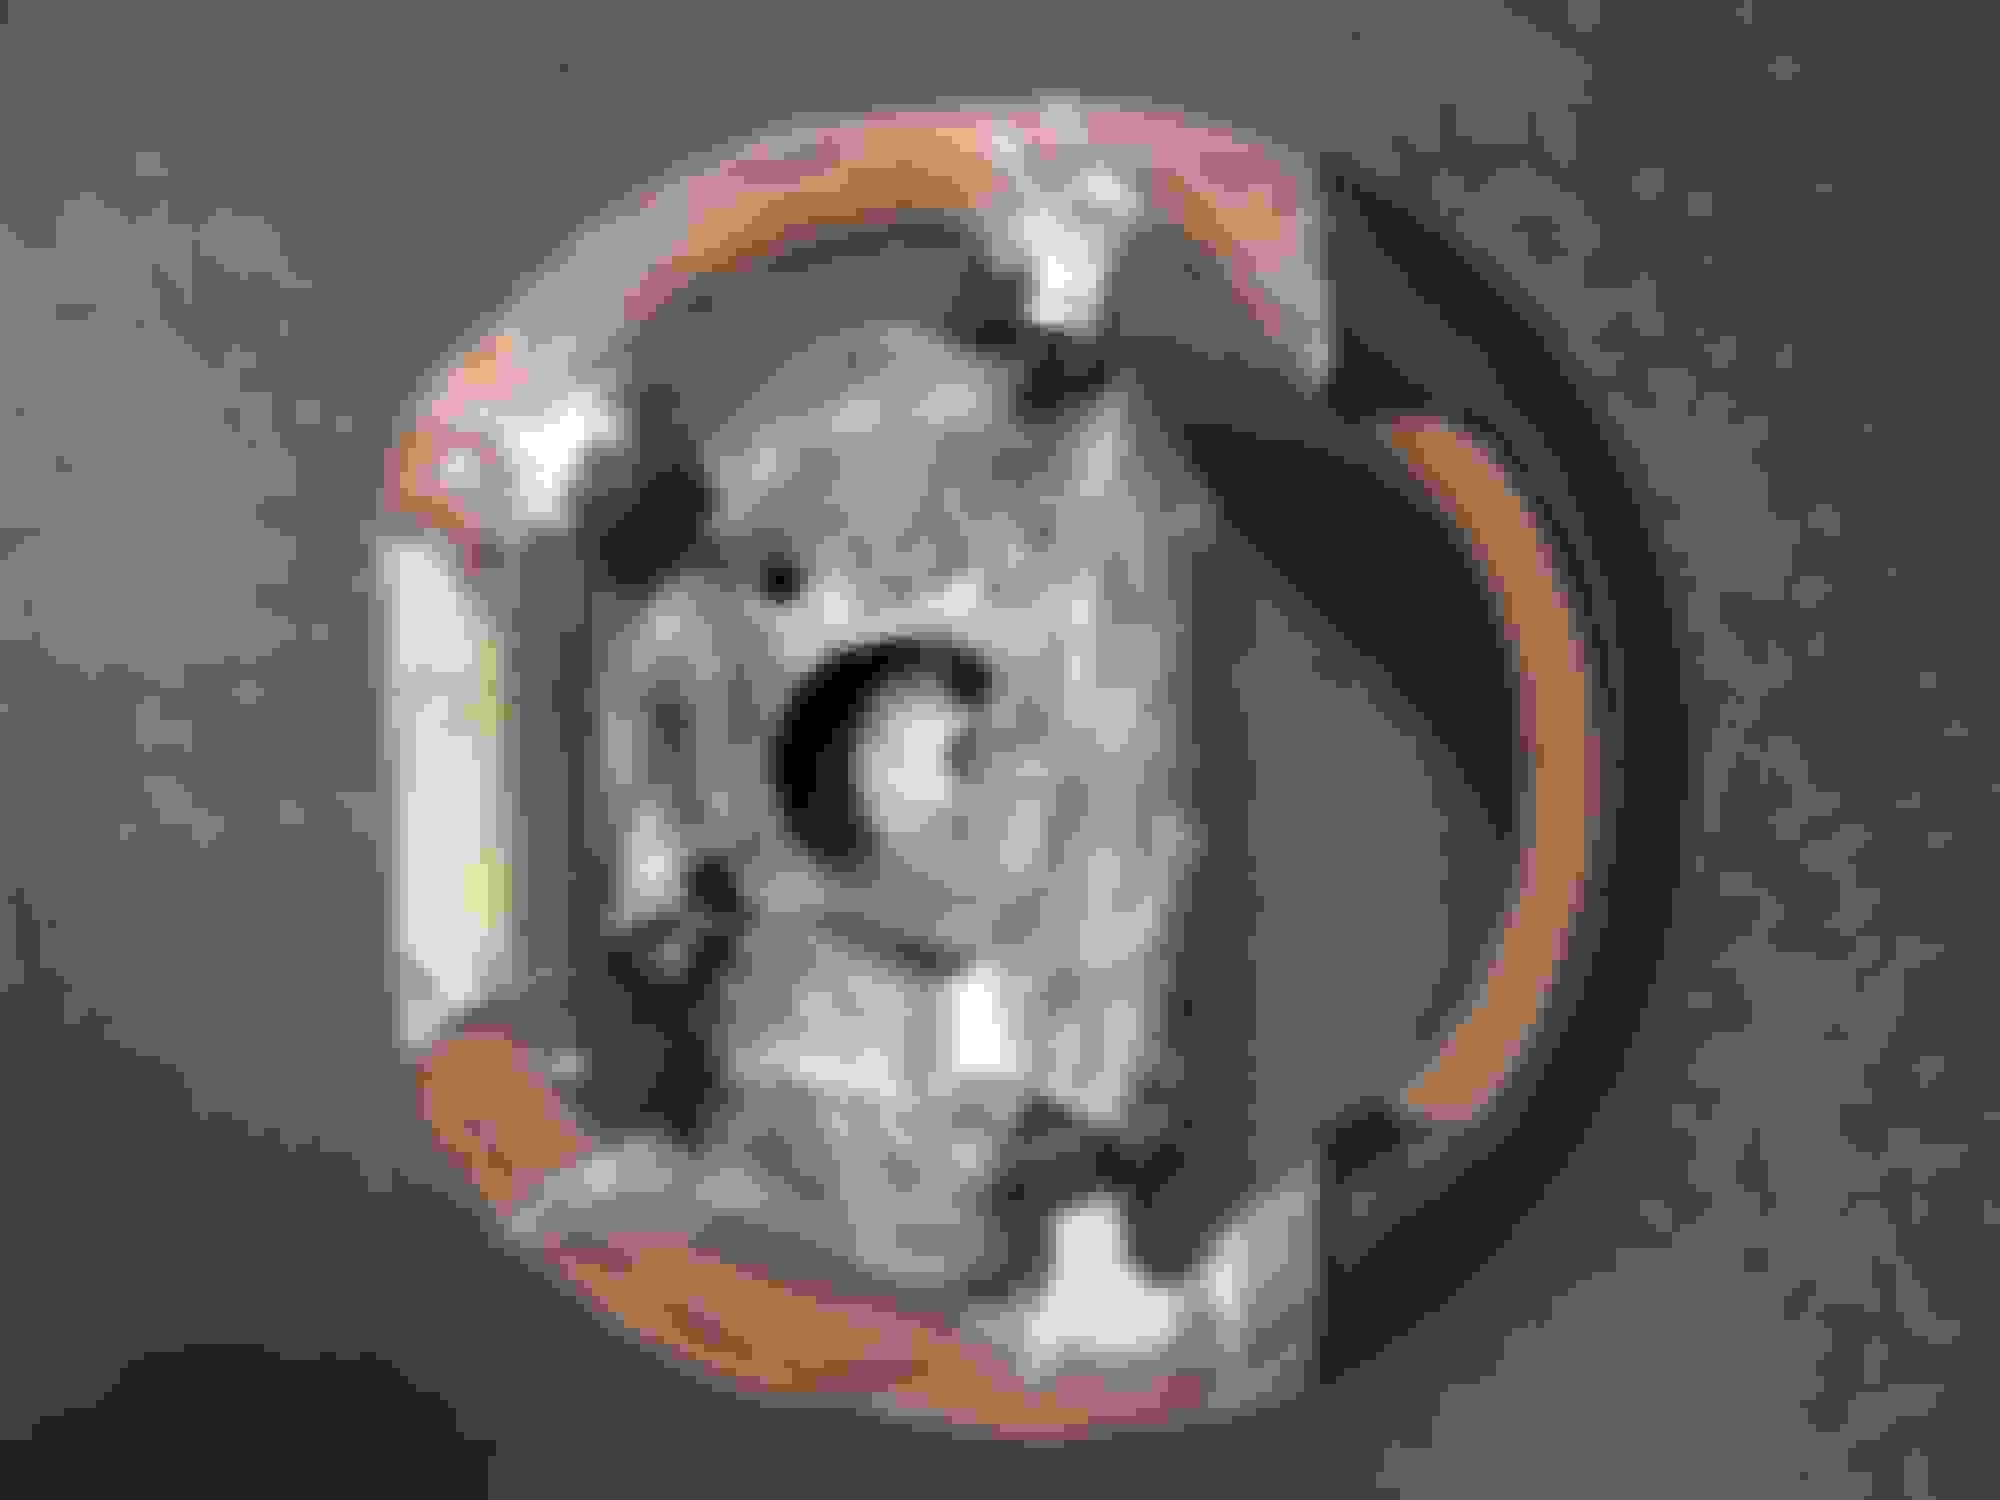
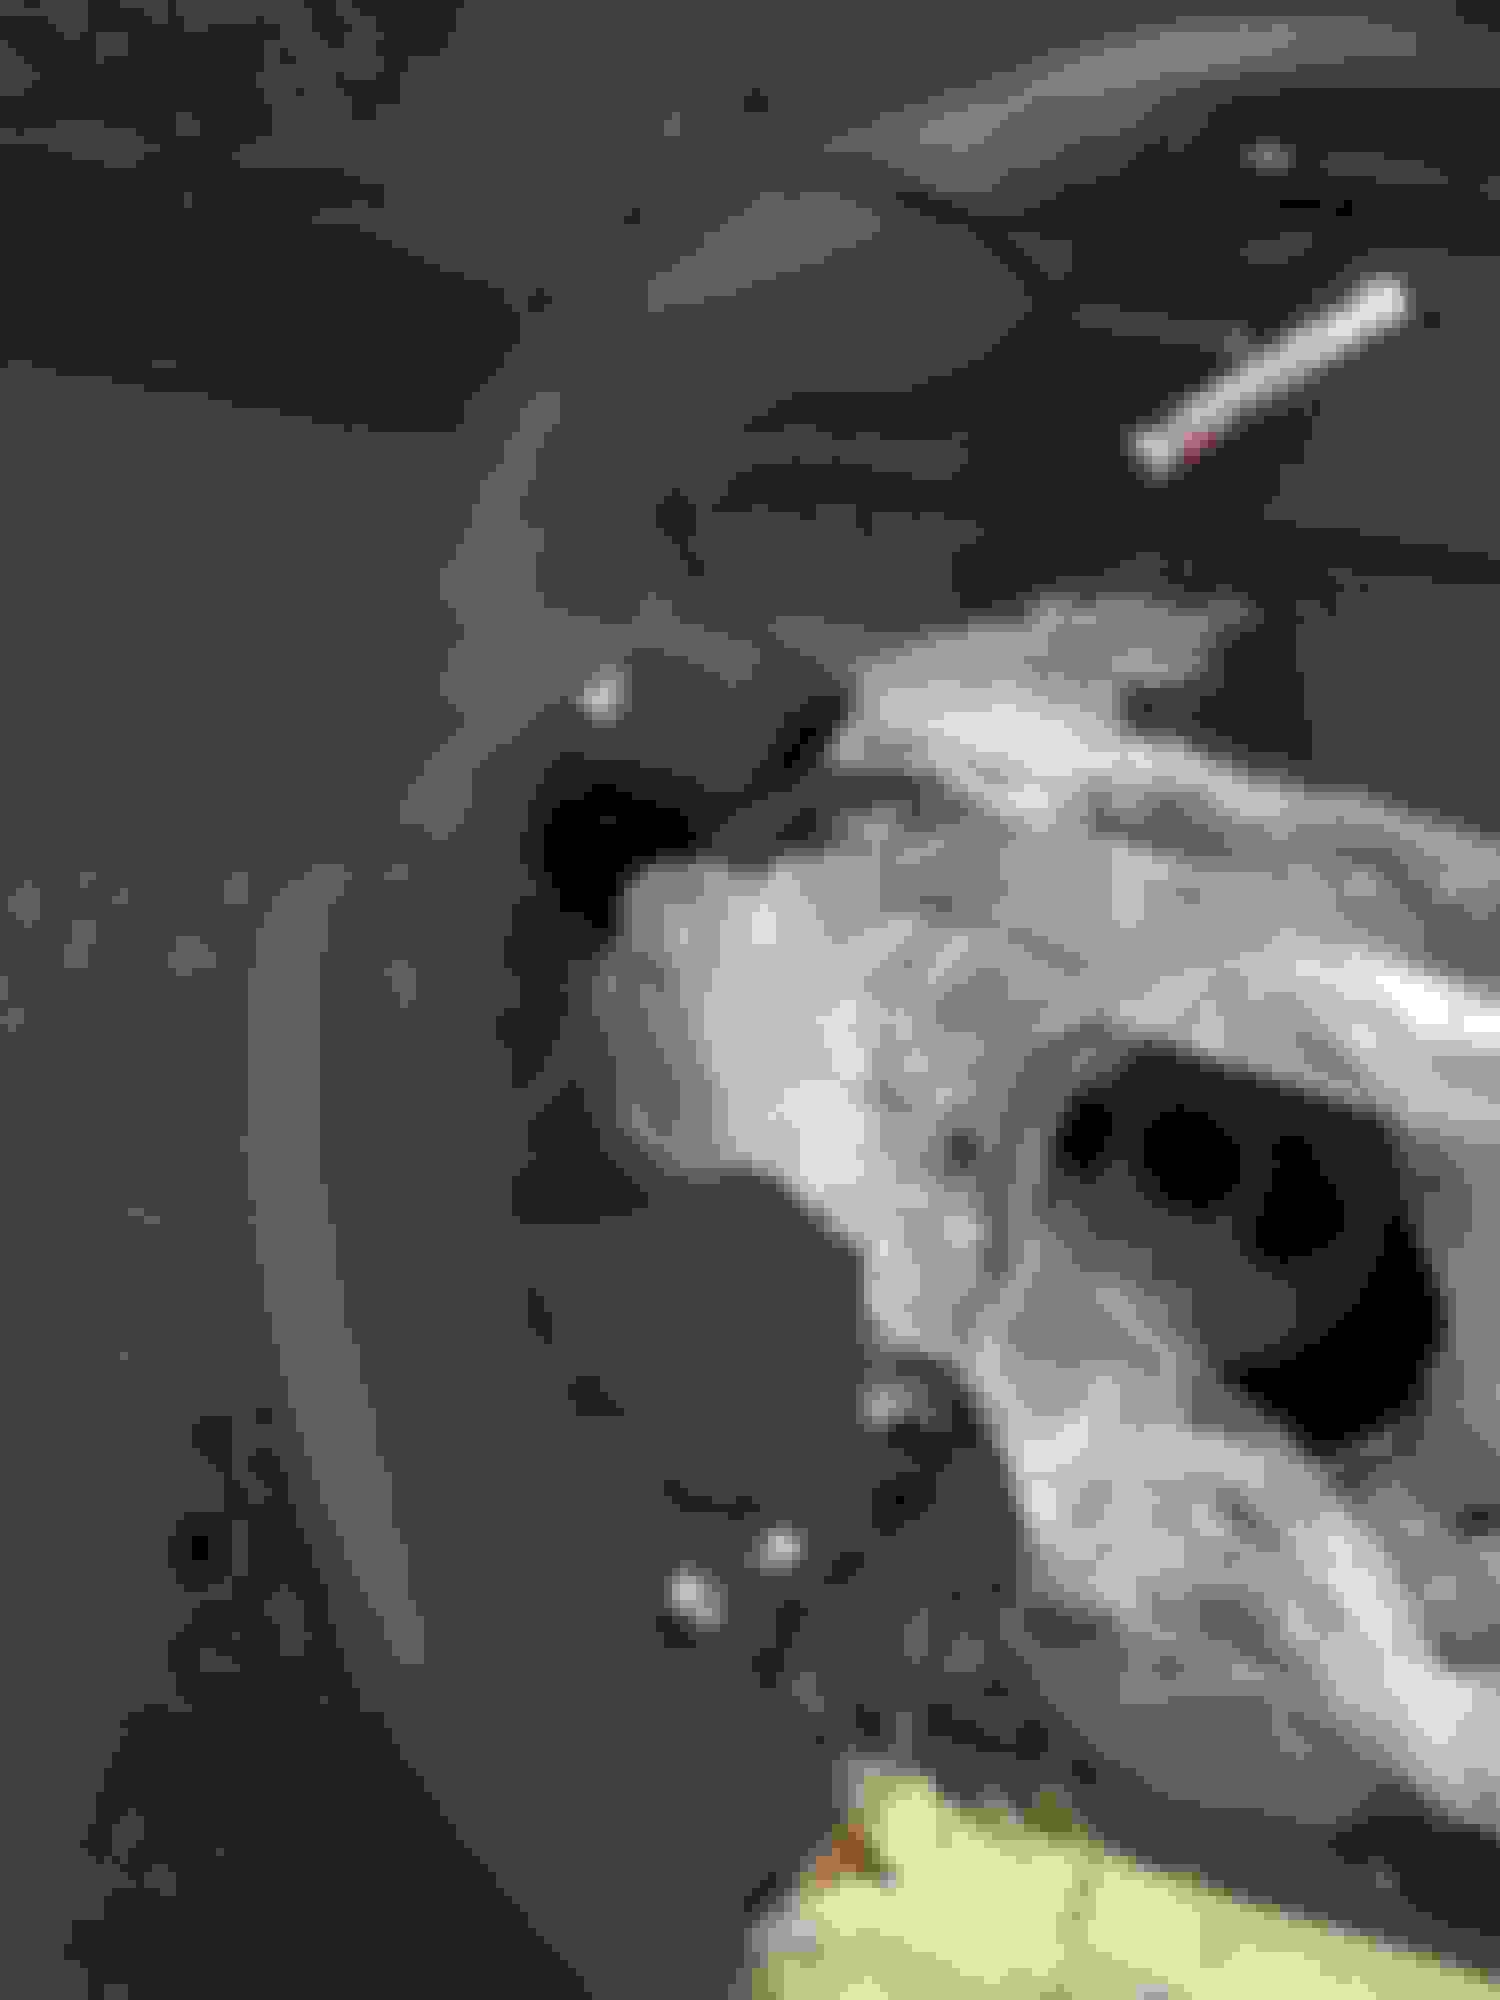
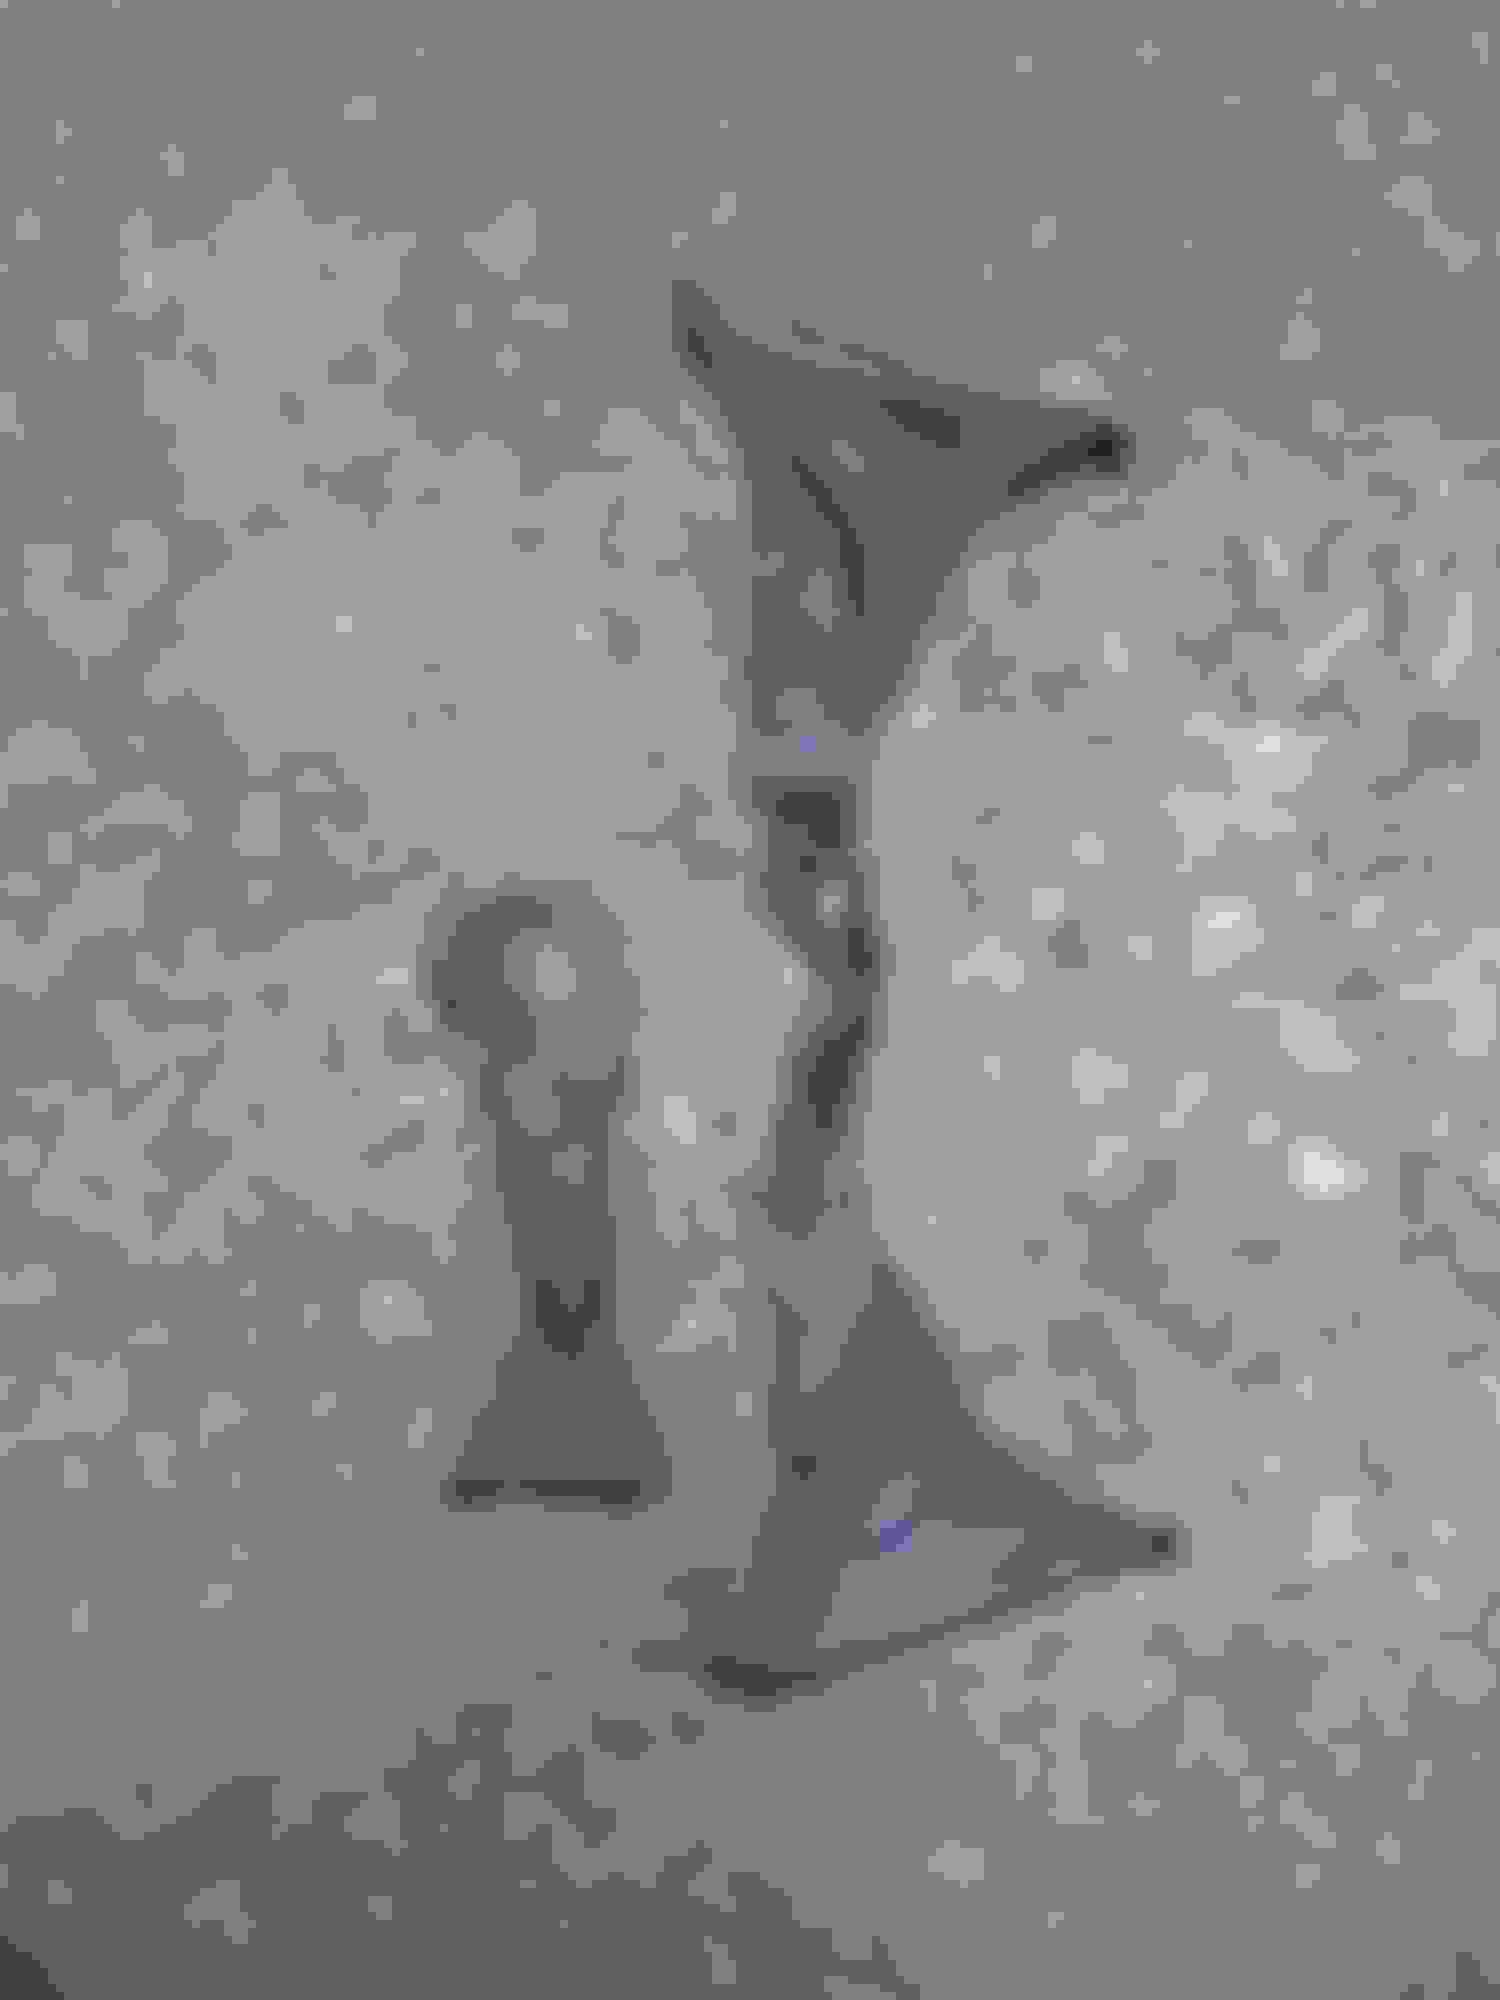
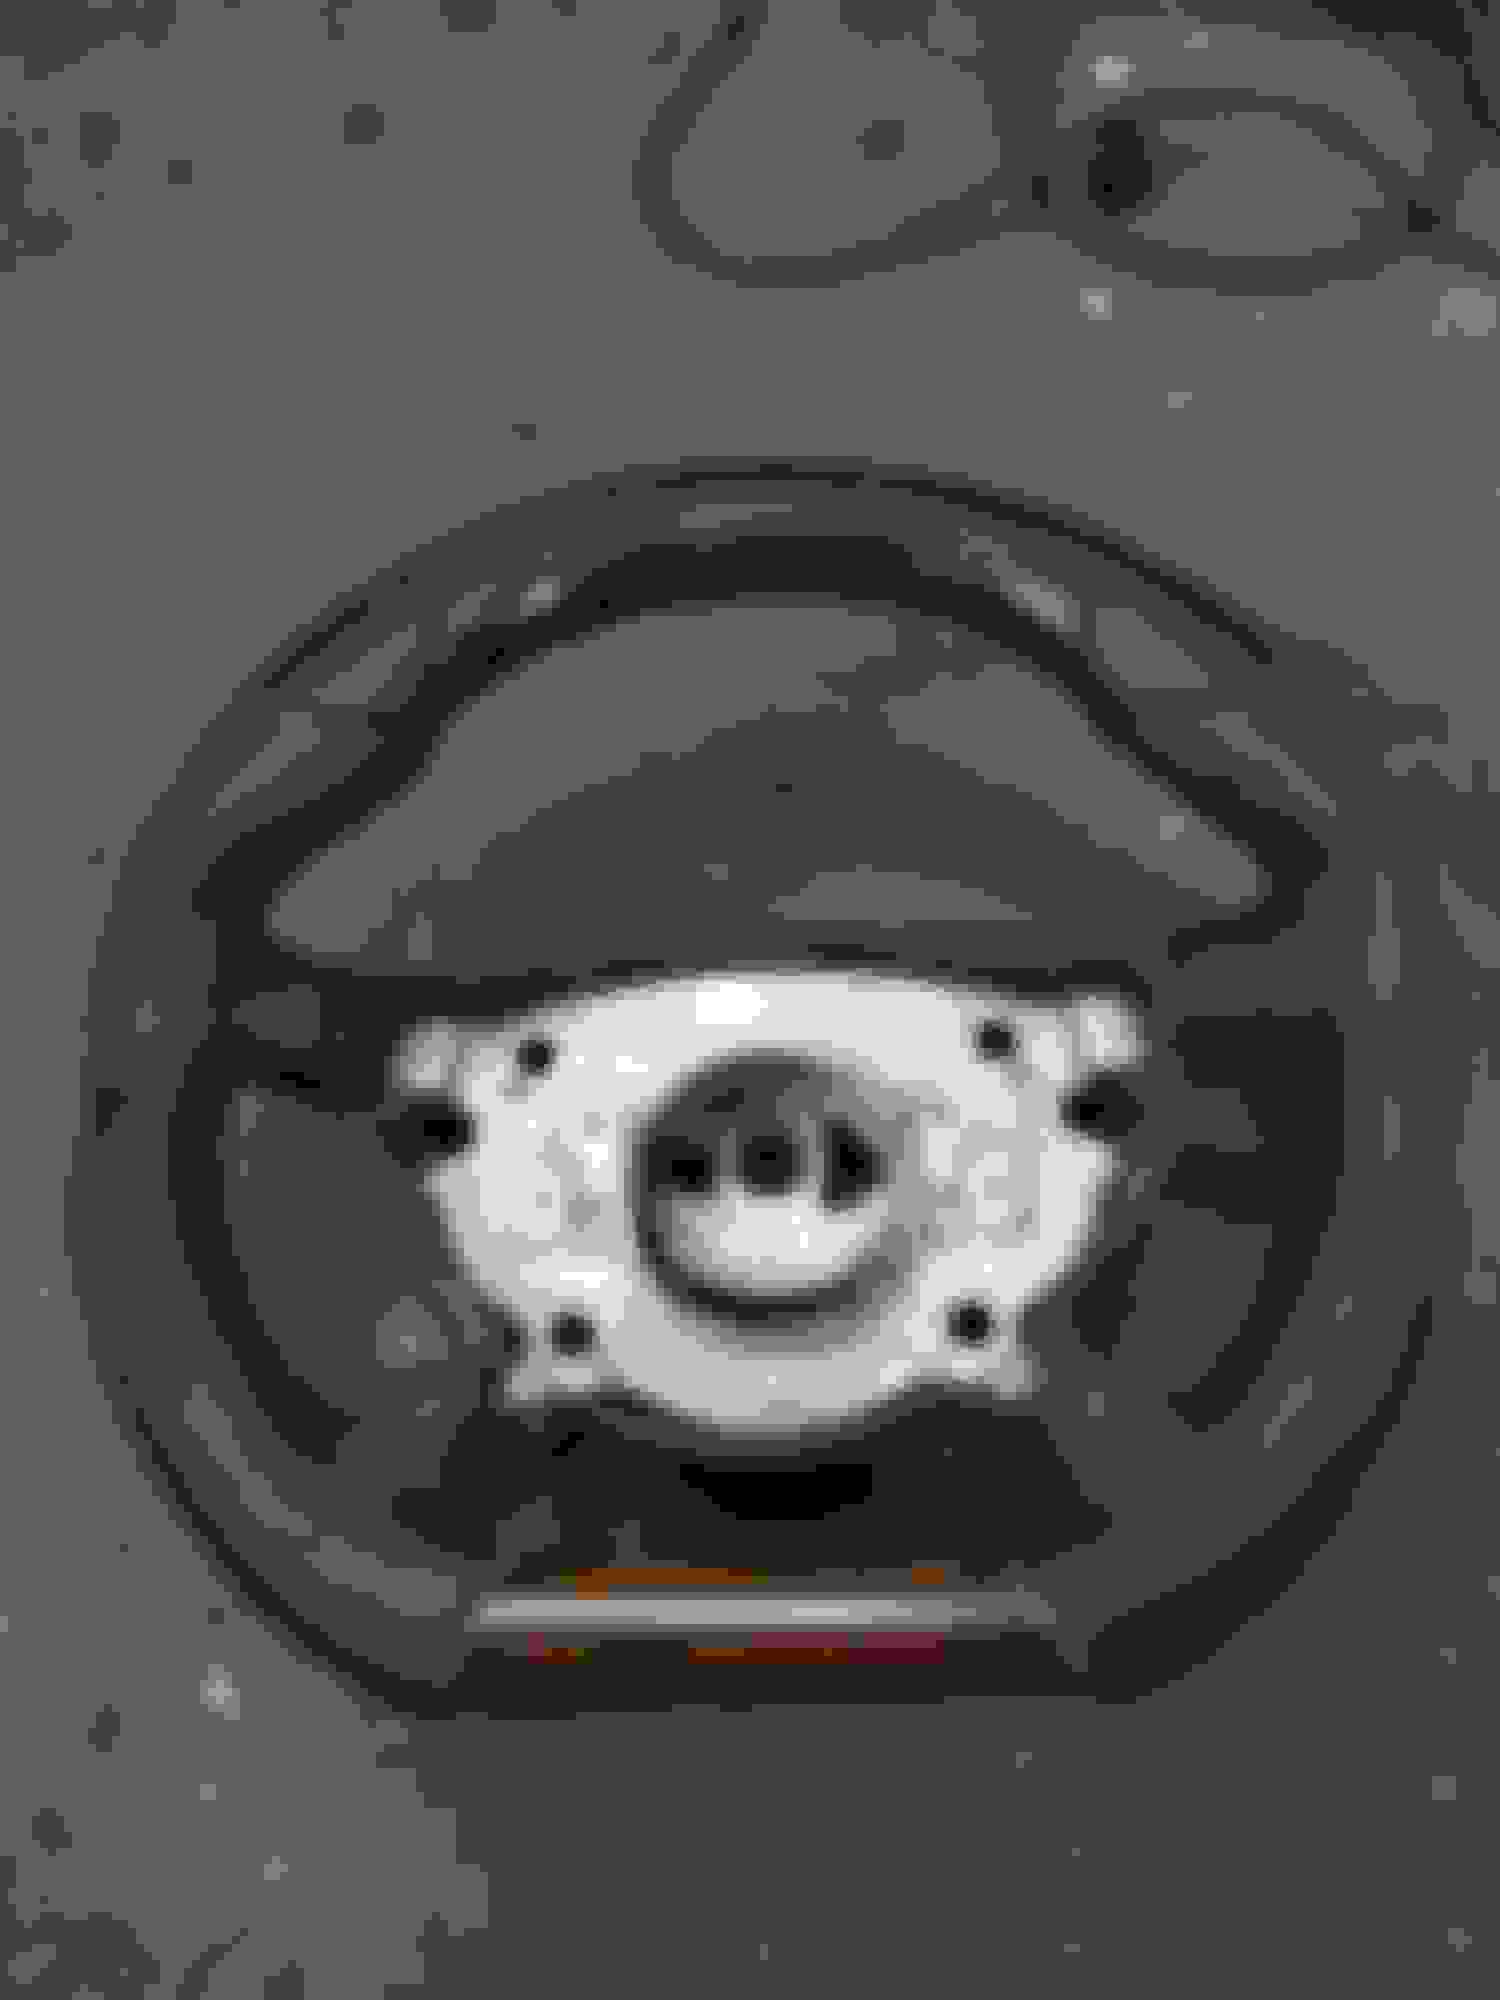
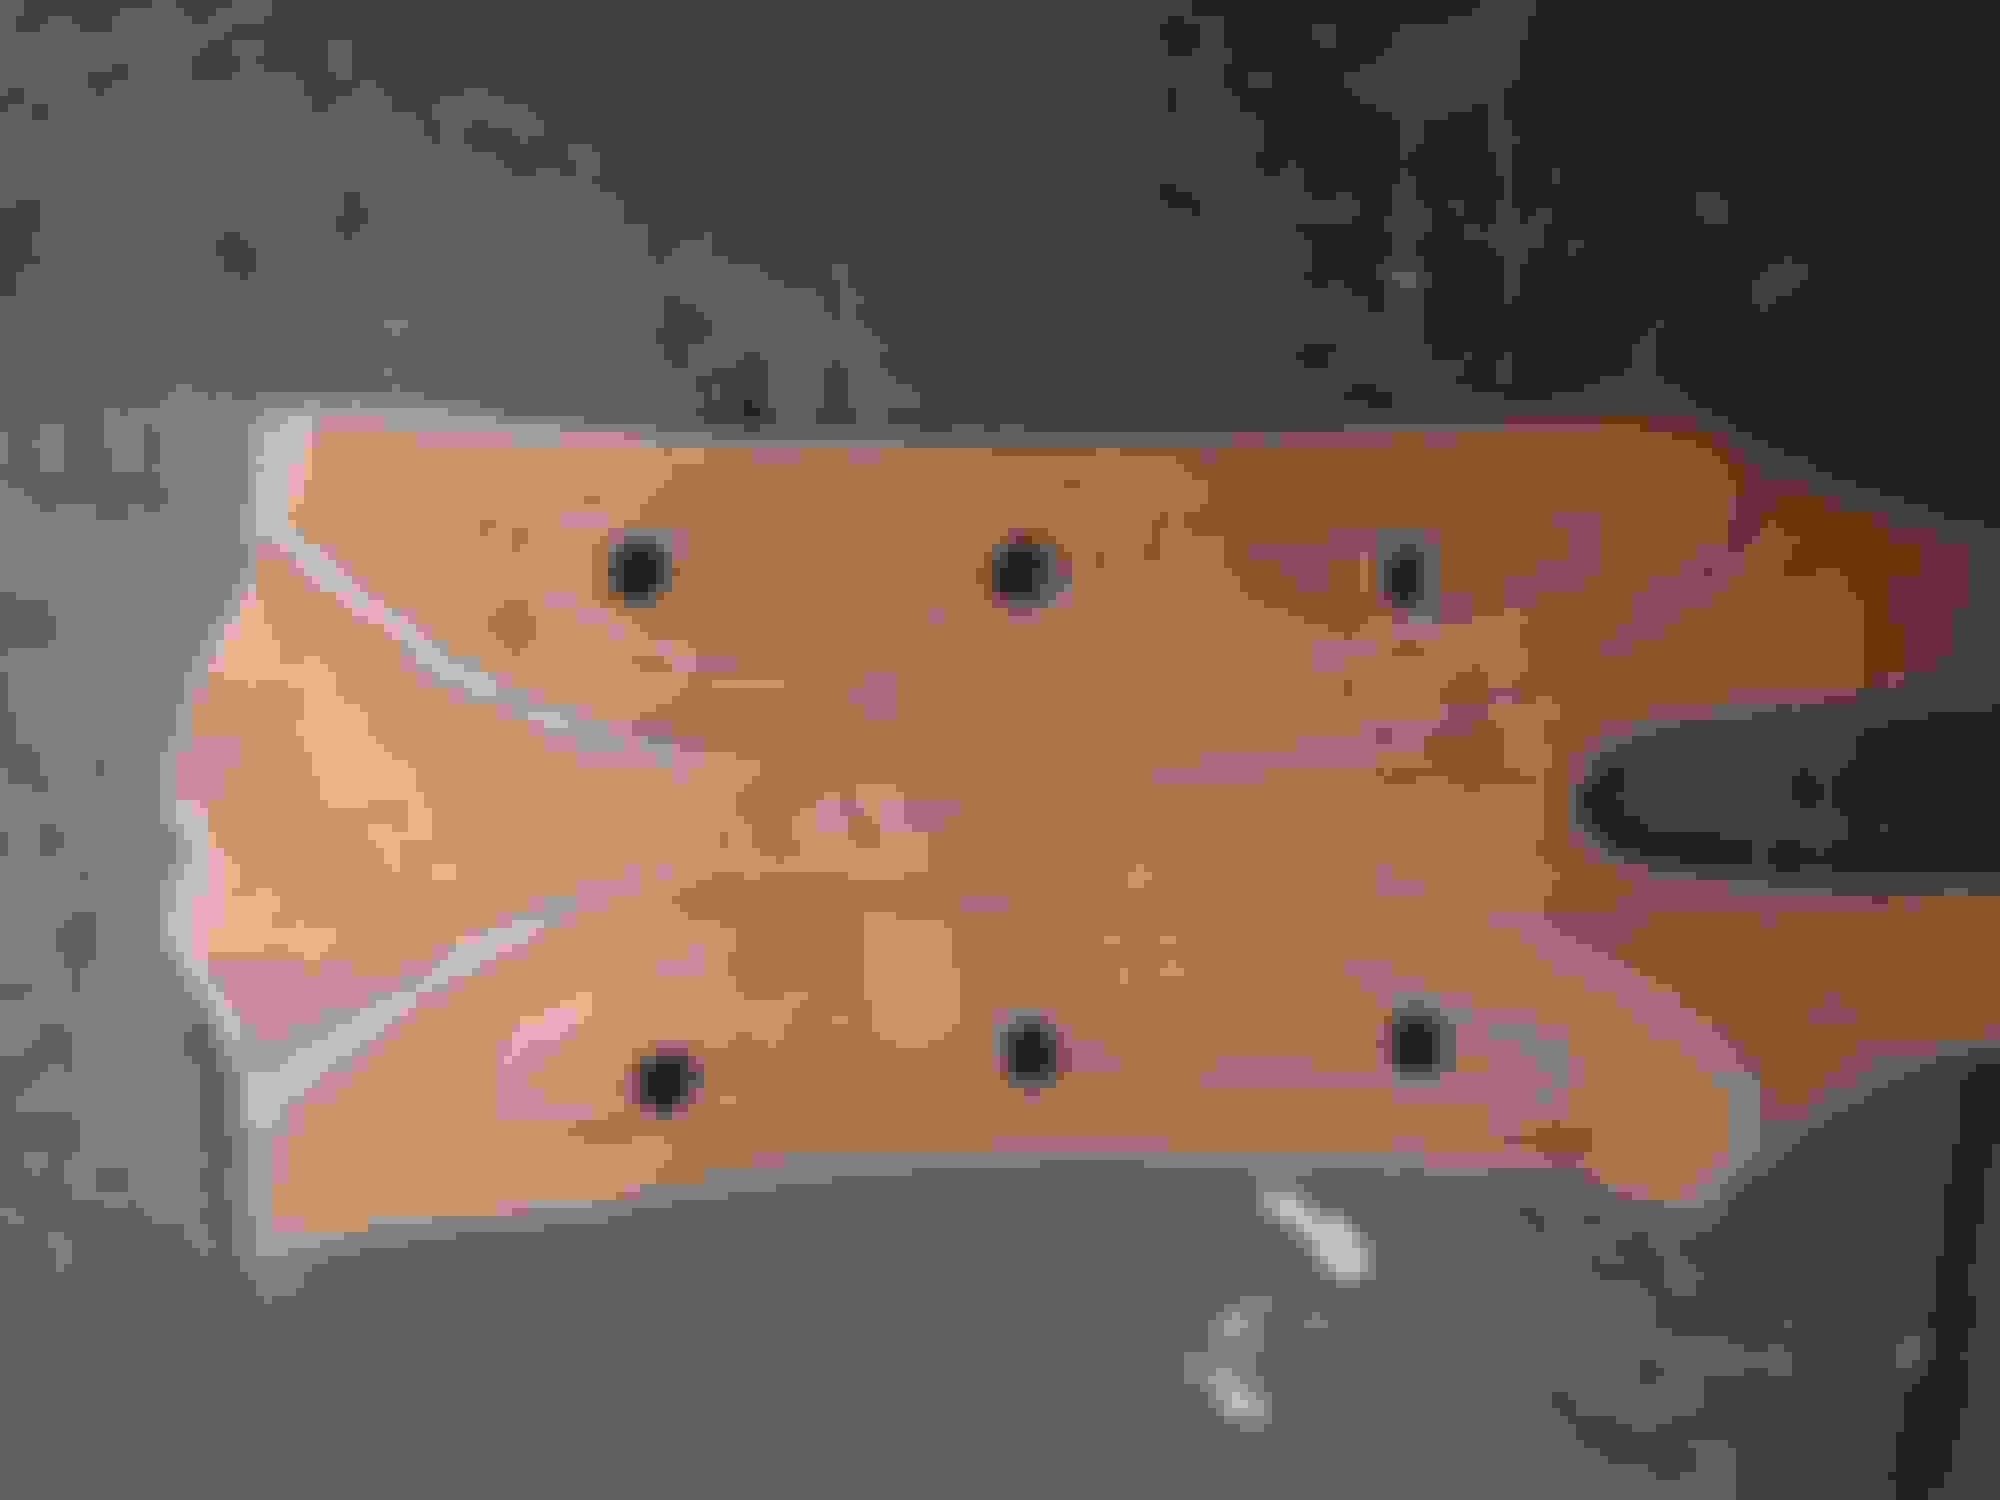
Now we will use brake rotor from old Yugo, few screws, some mahogany planks and lathe. This is how it looks like
Turning this bad boy was a bit scary, but results were worth it
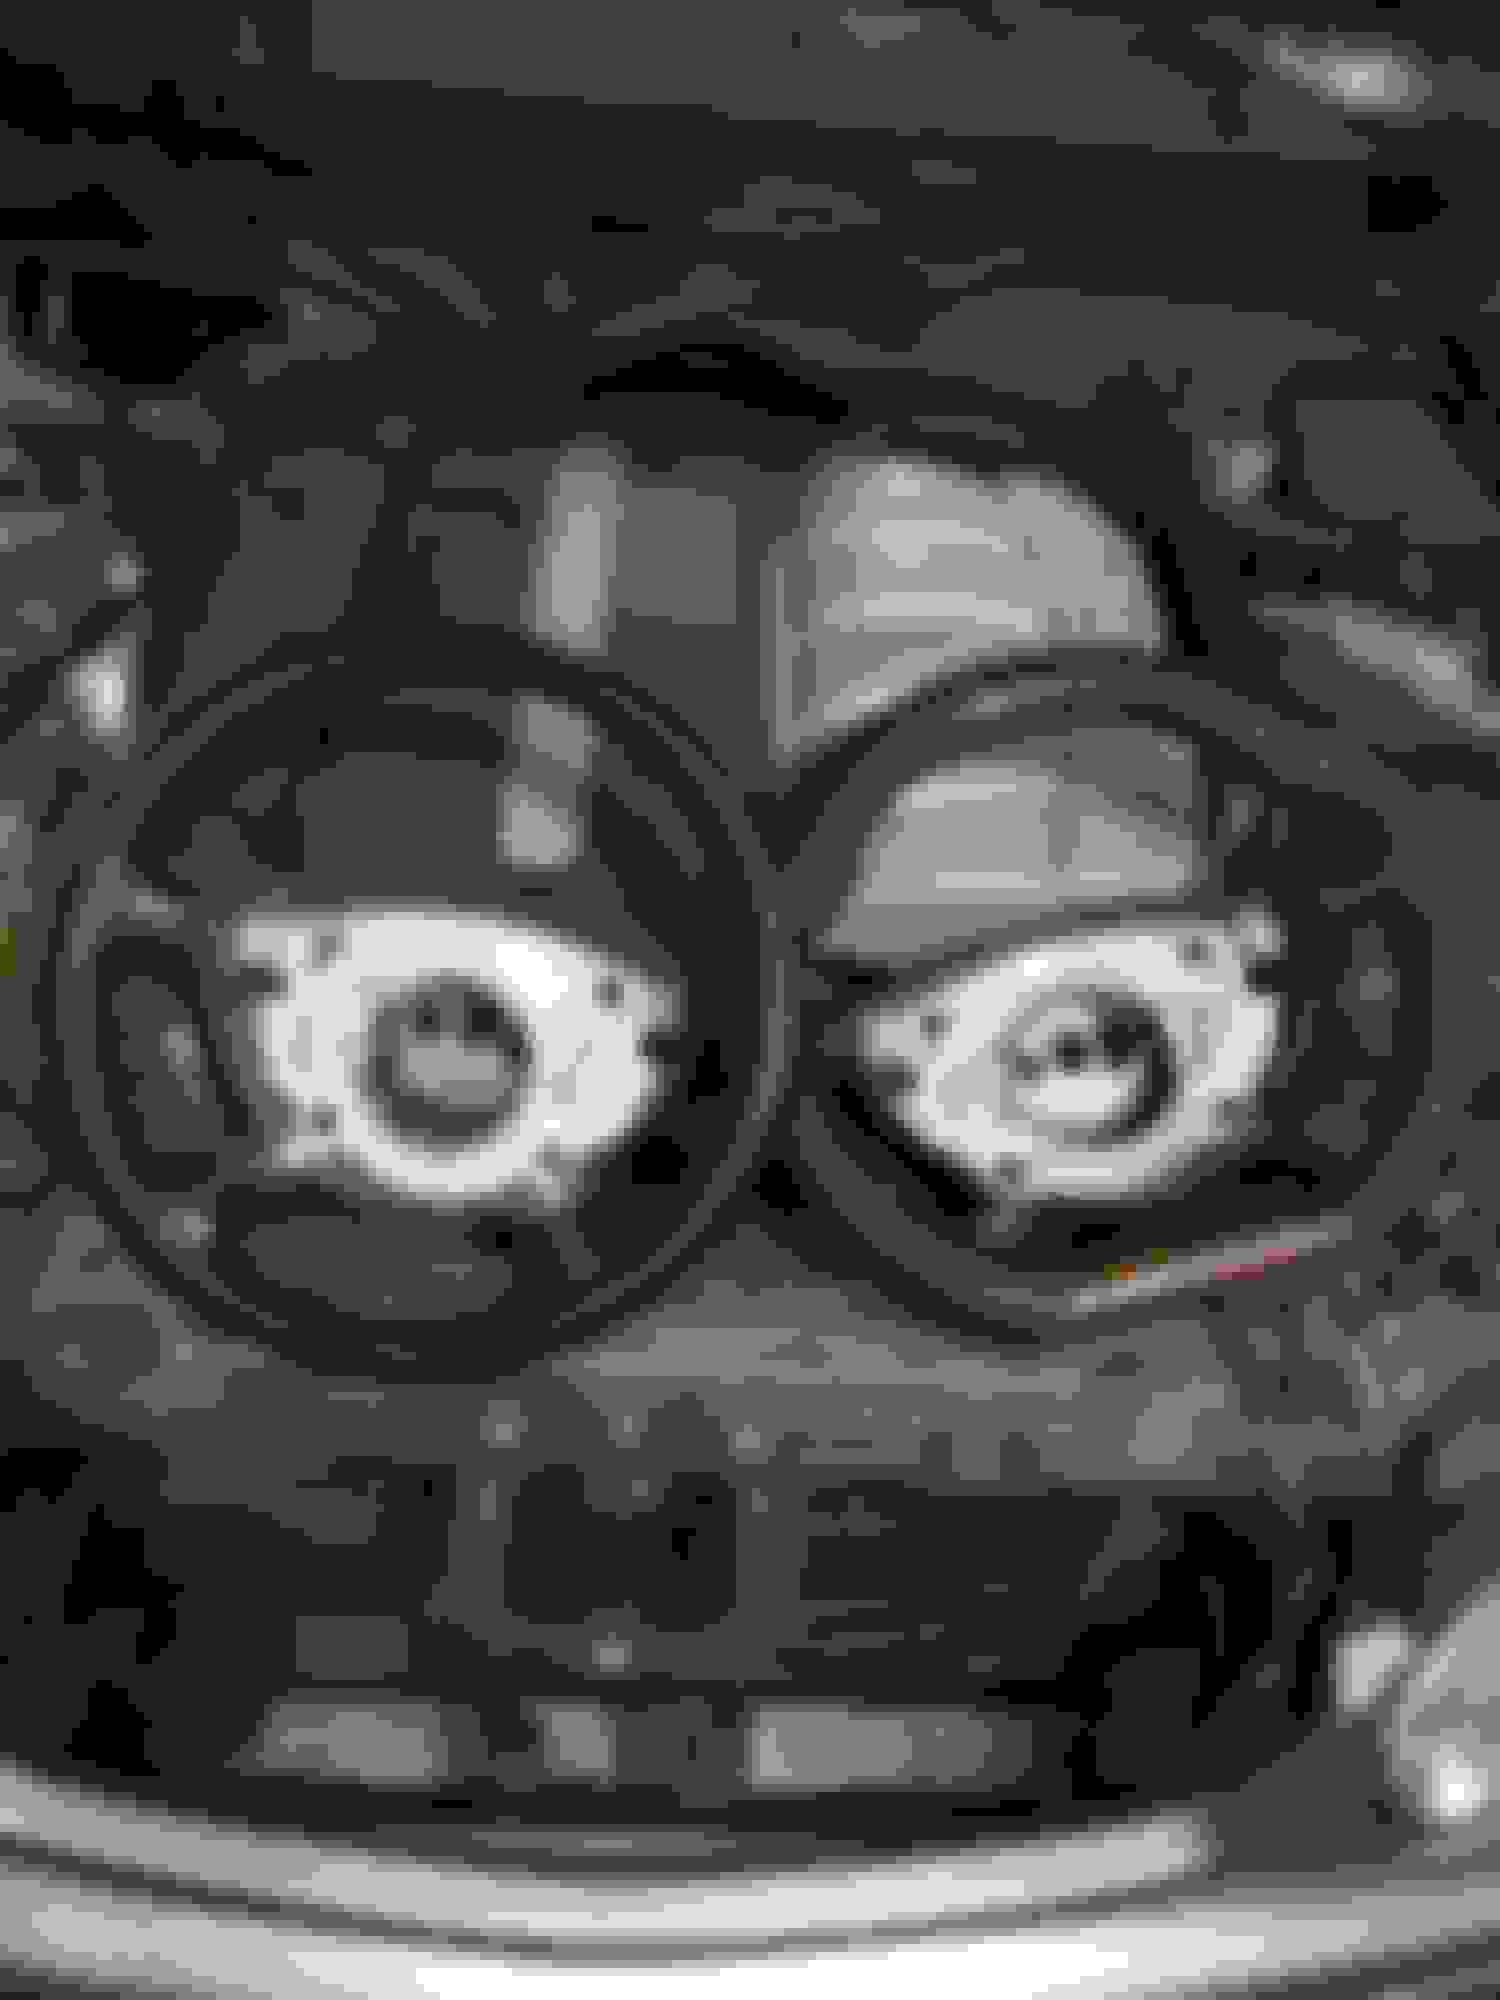
I made two sets of these.
Cutted and preshaped
That is for circular part of the wheel and heres for the bottom part.
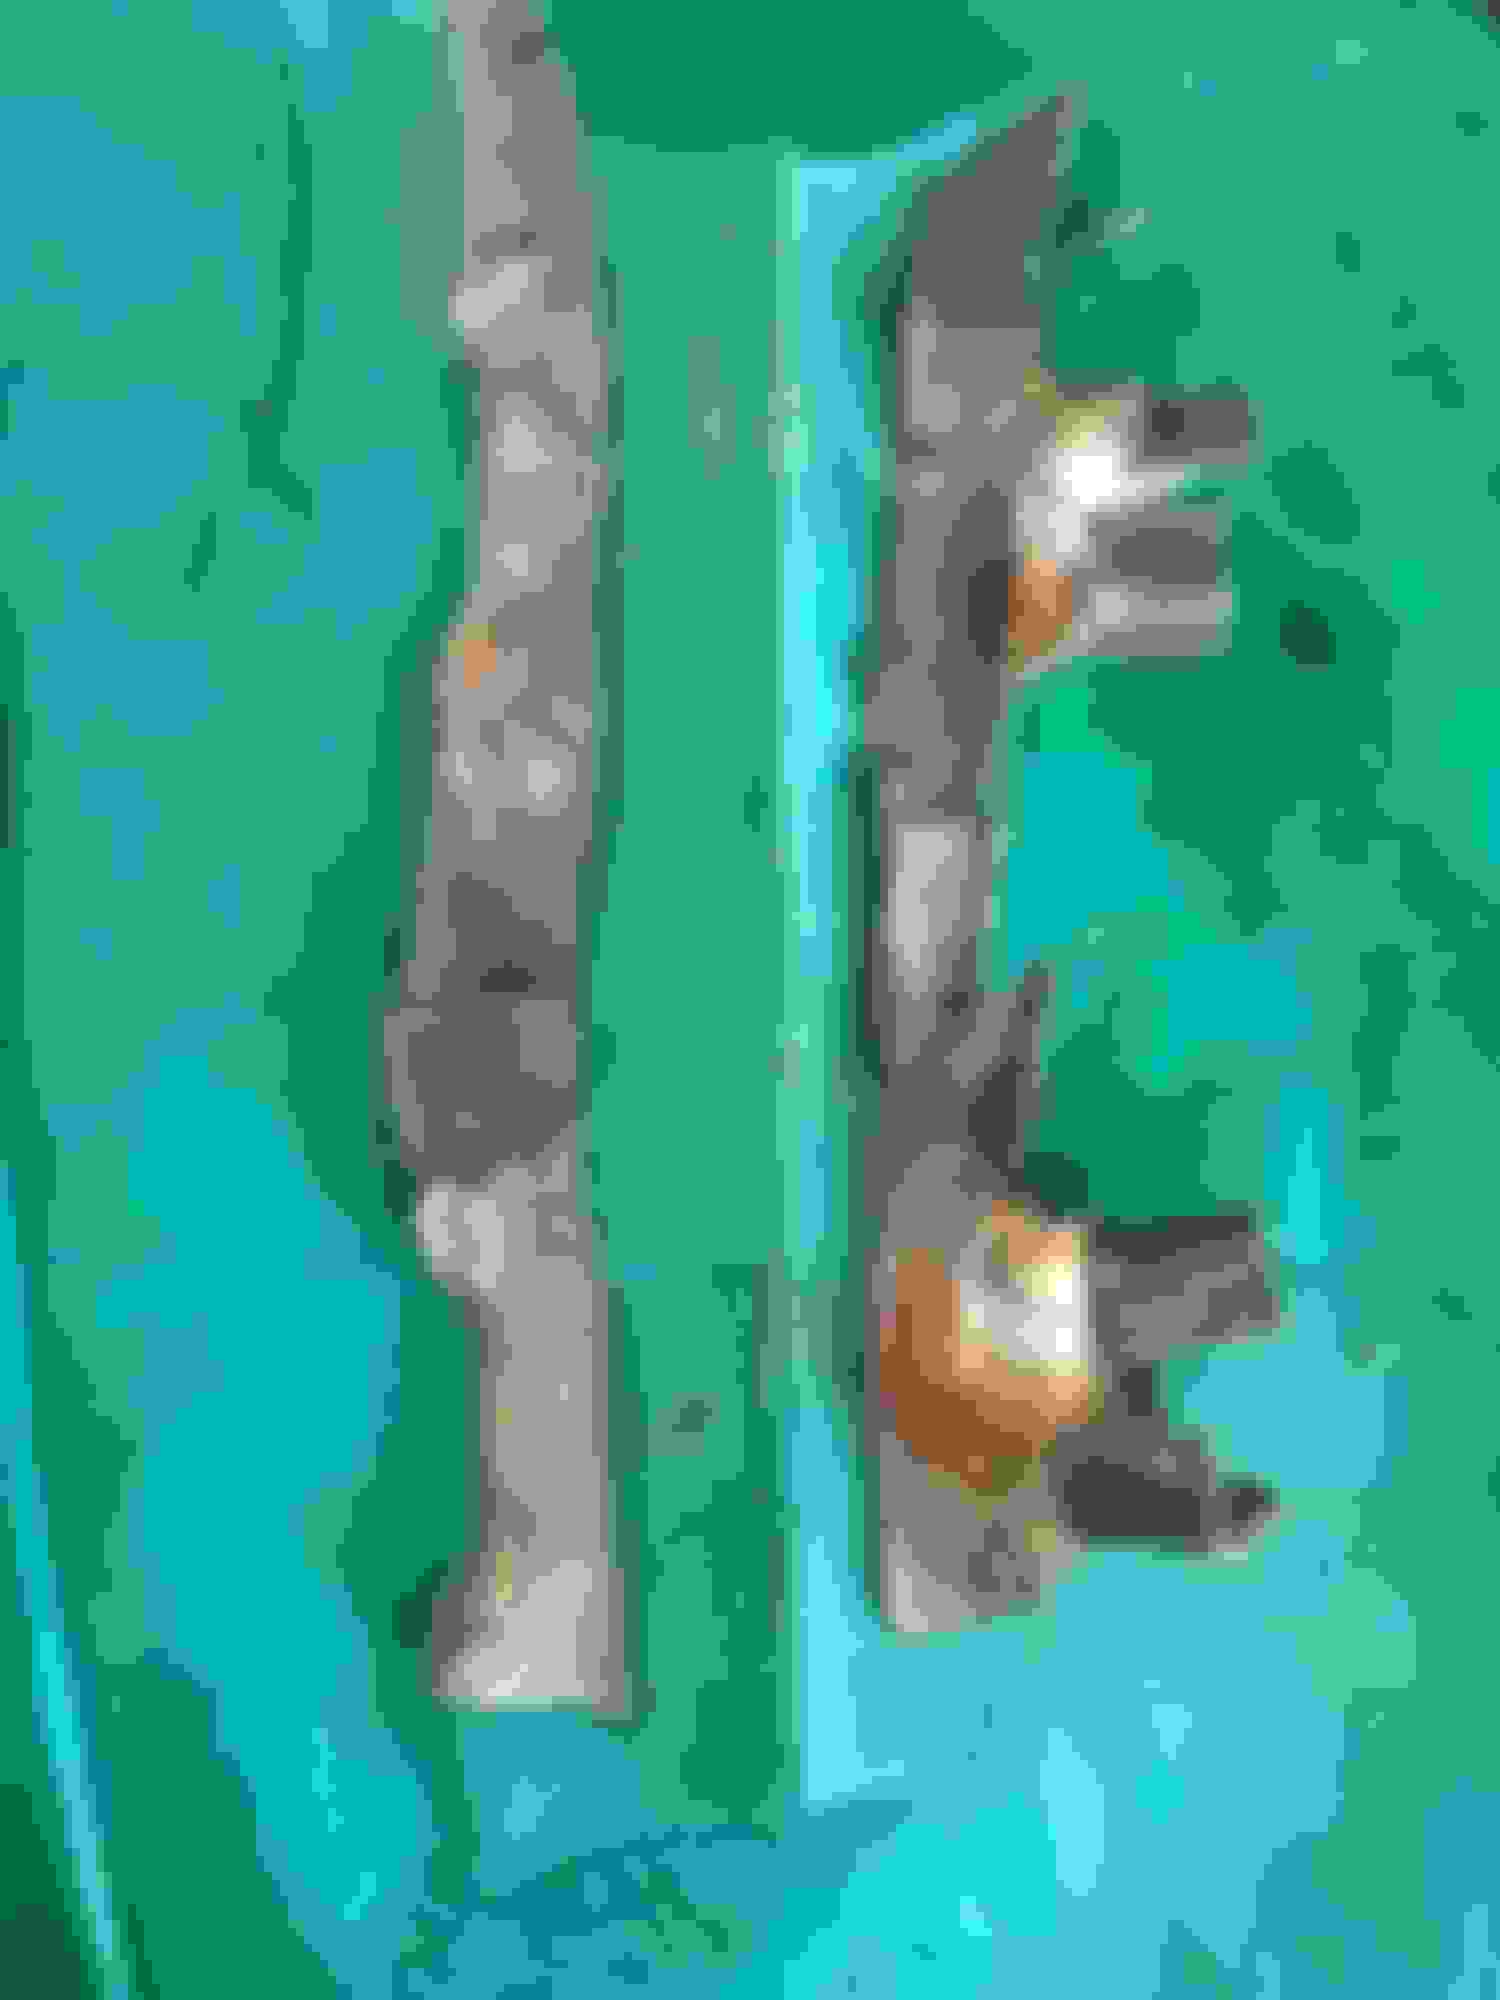
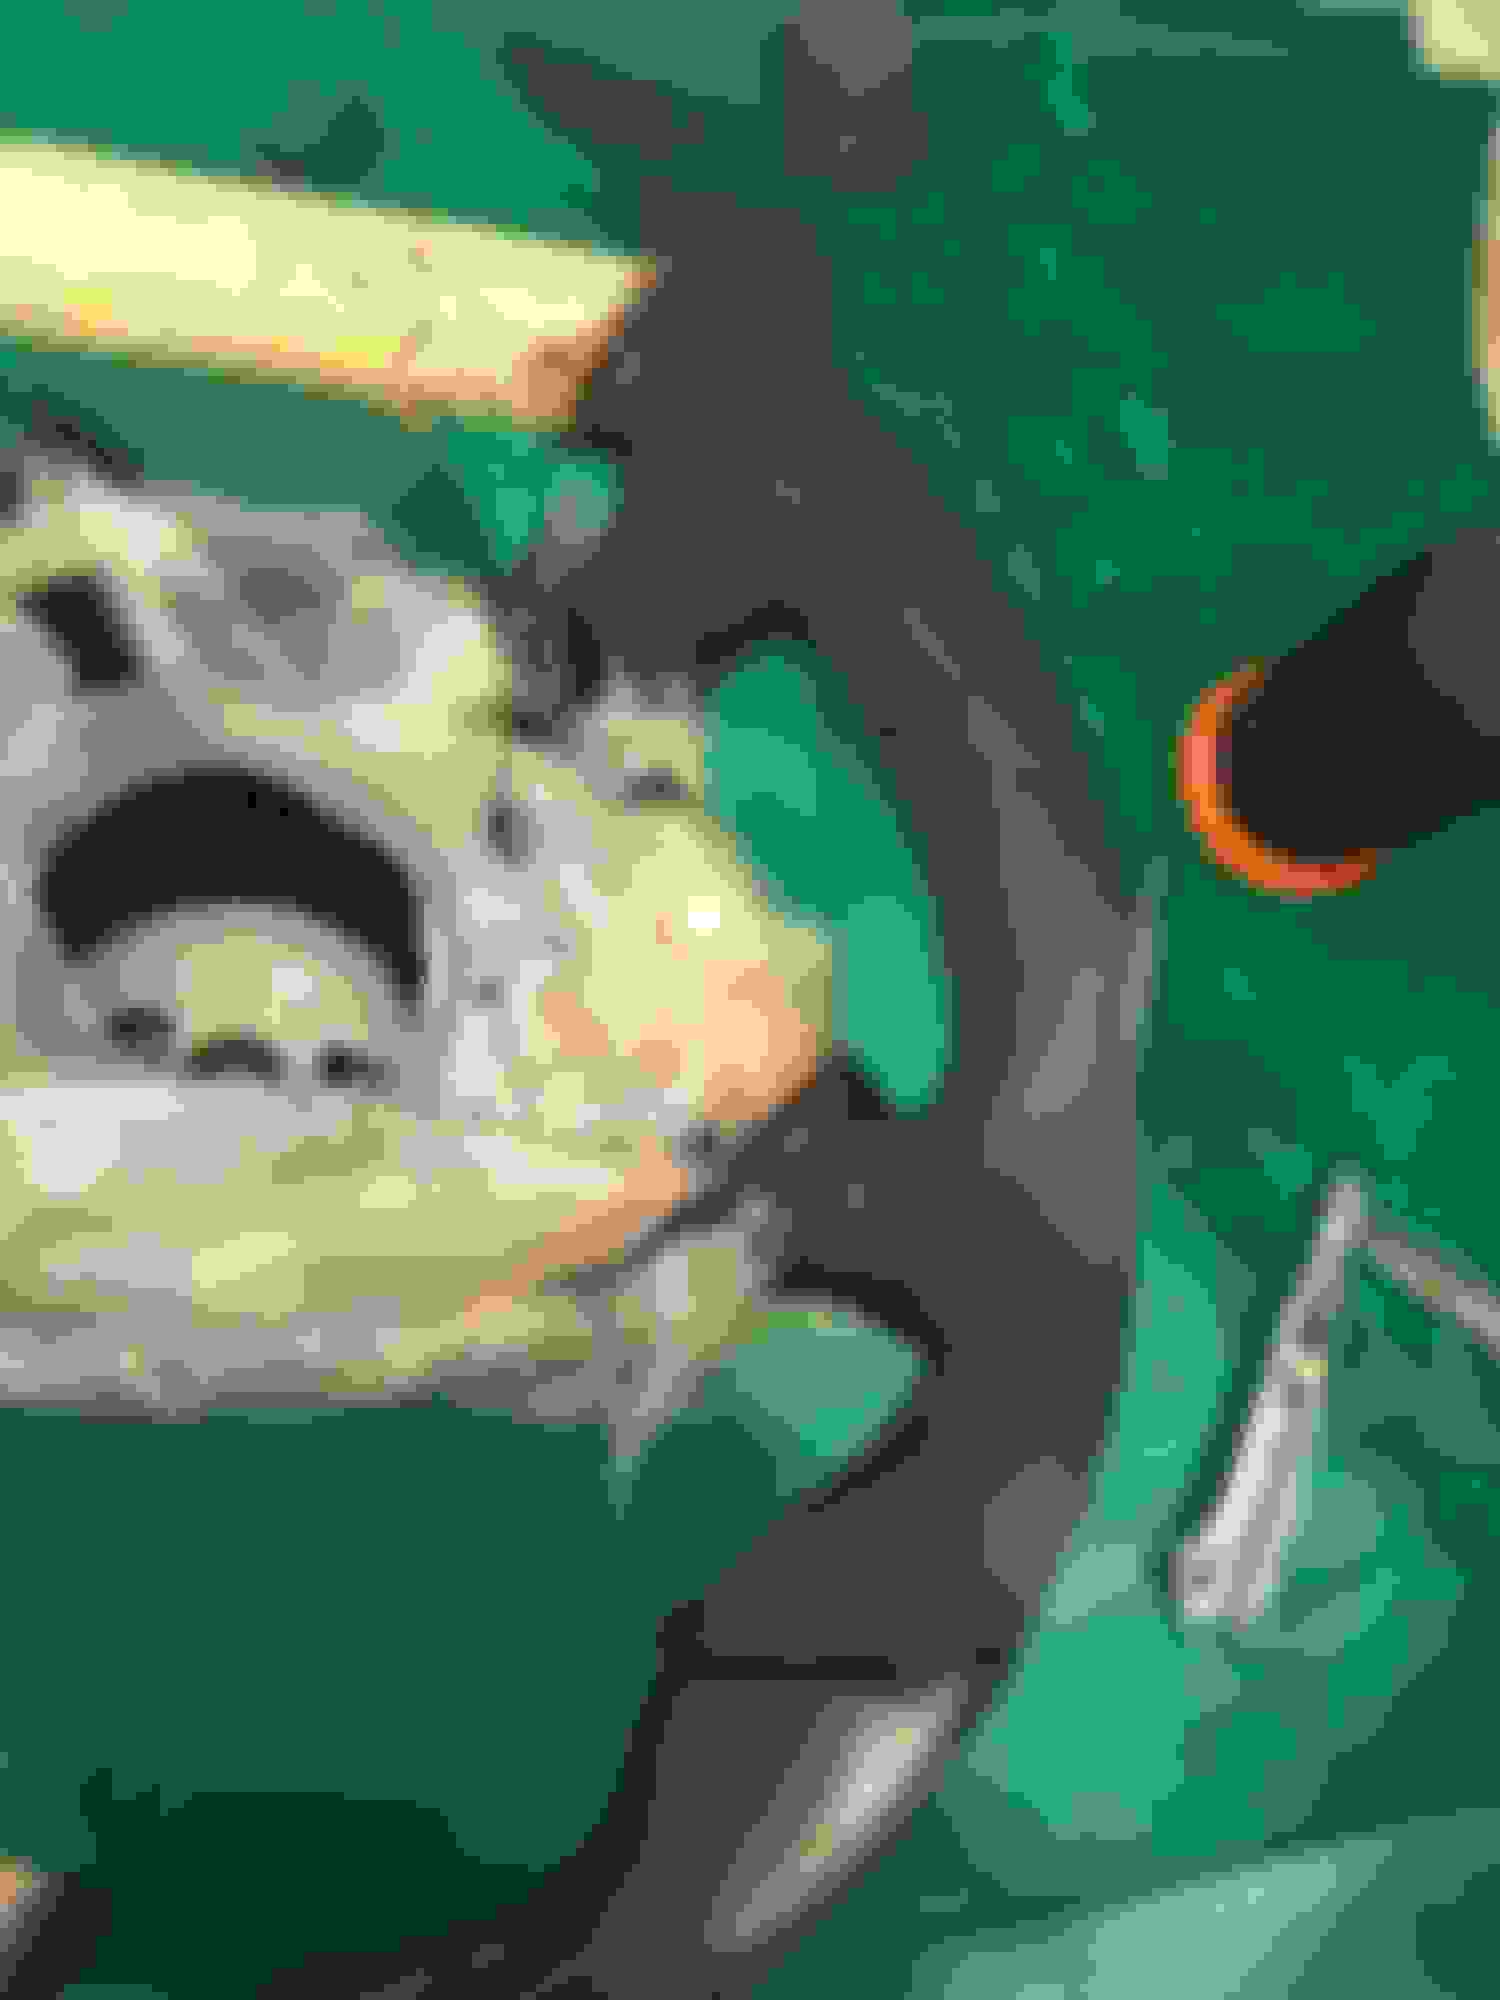
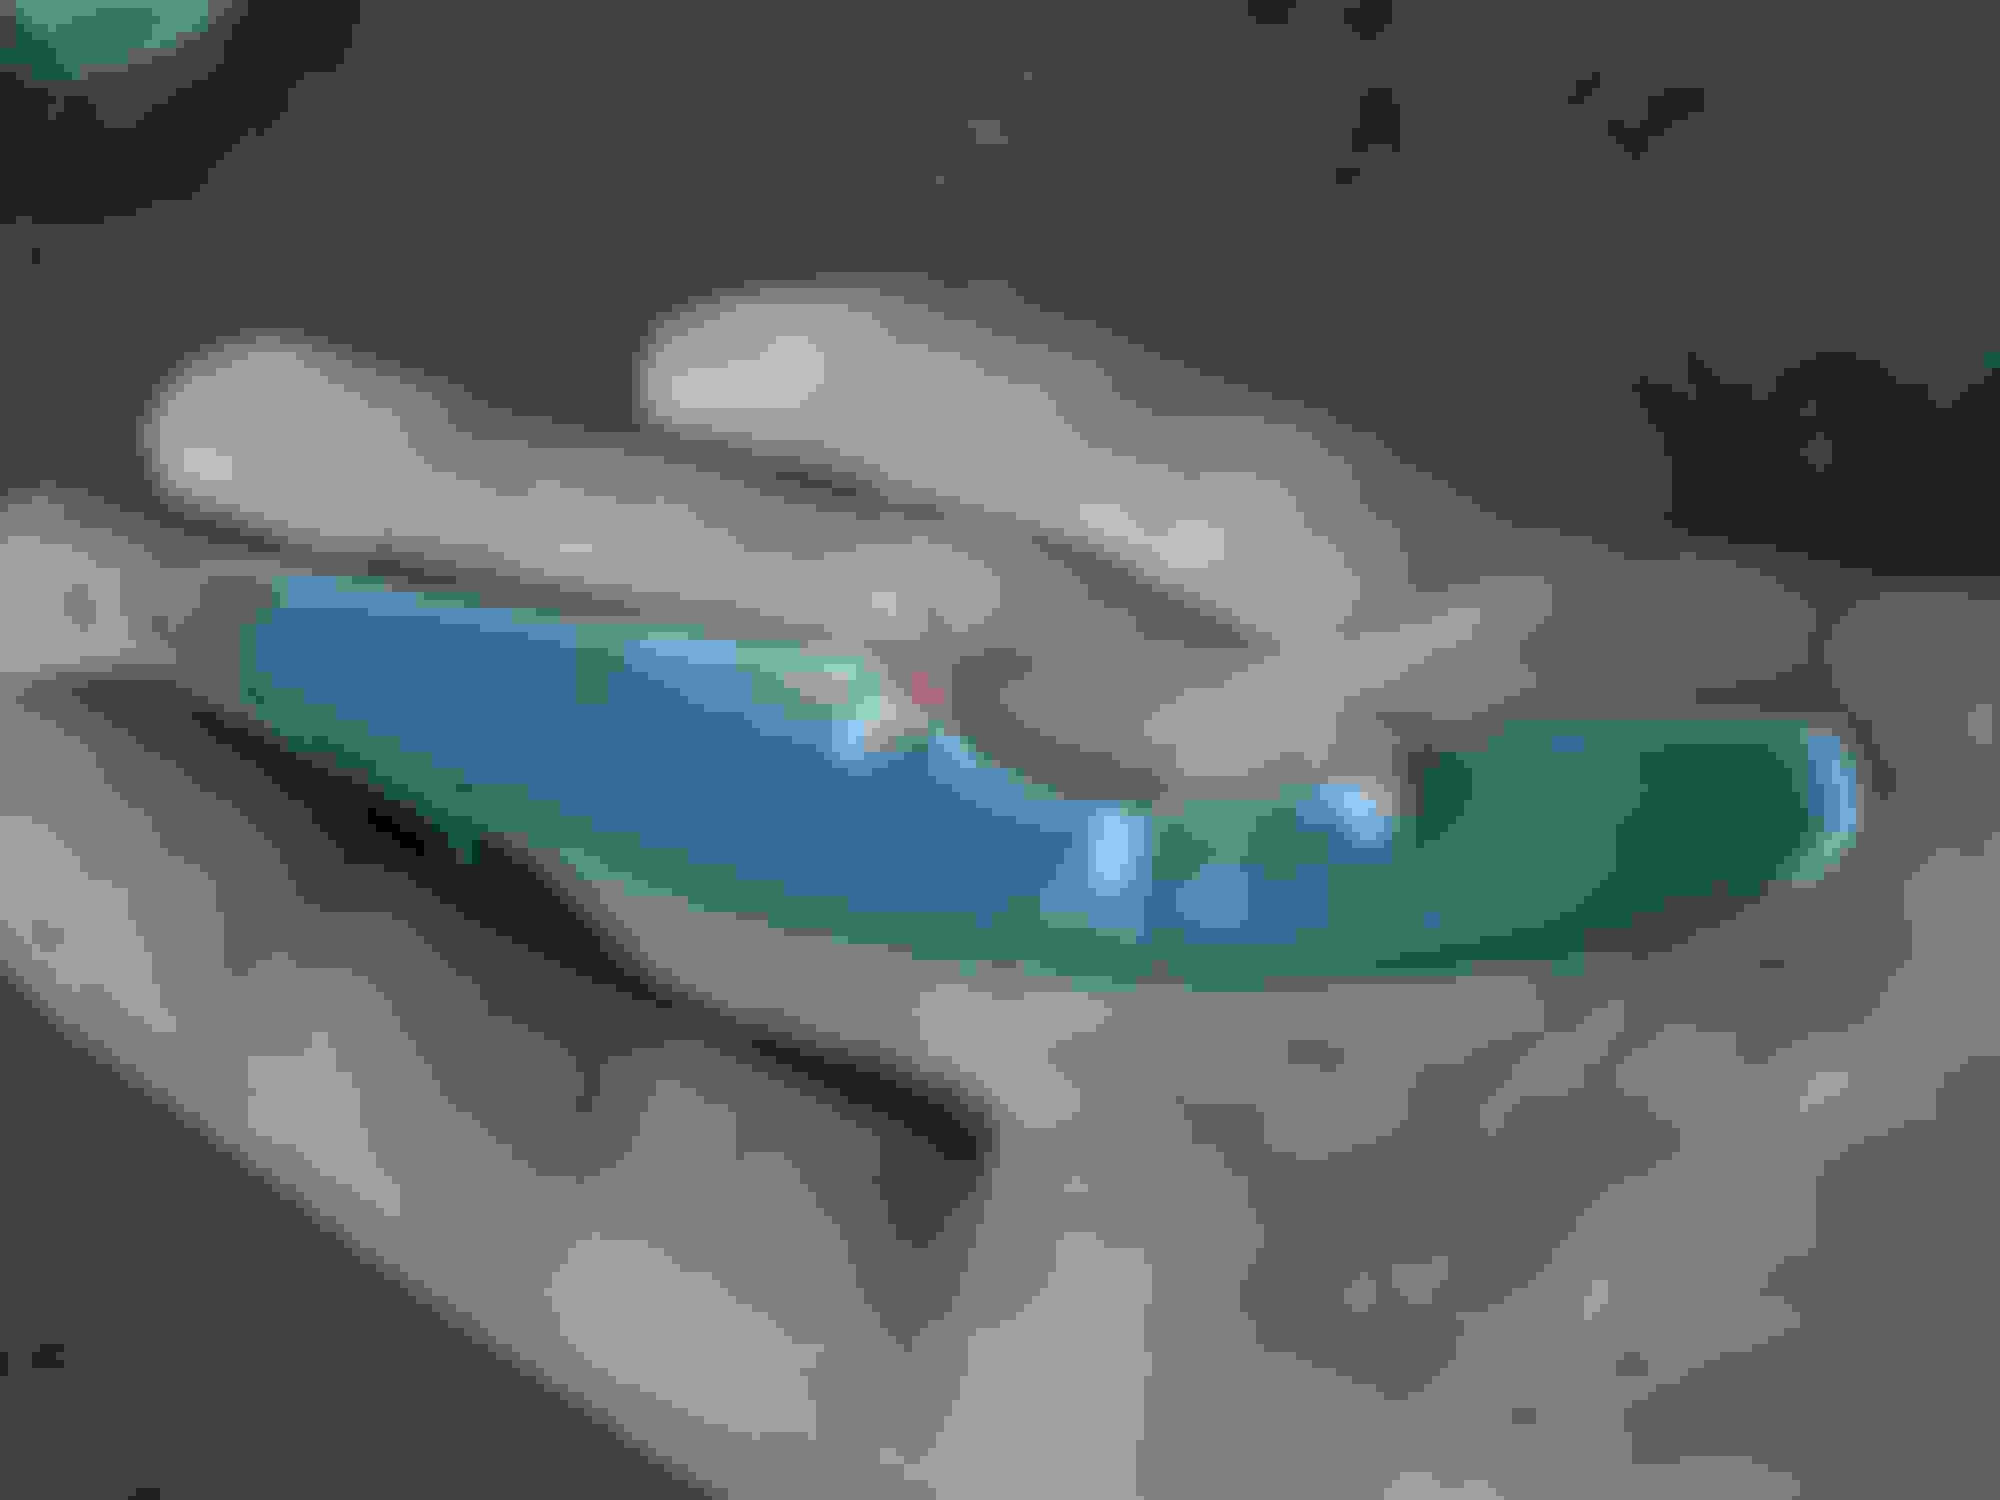
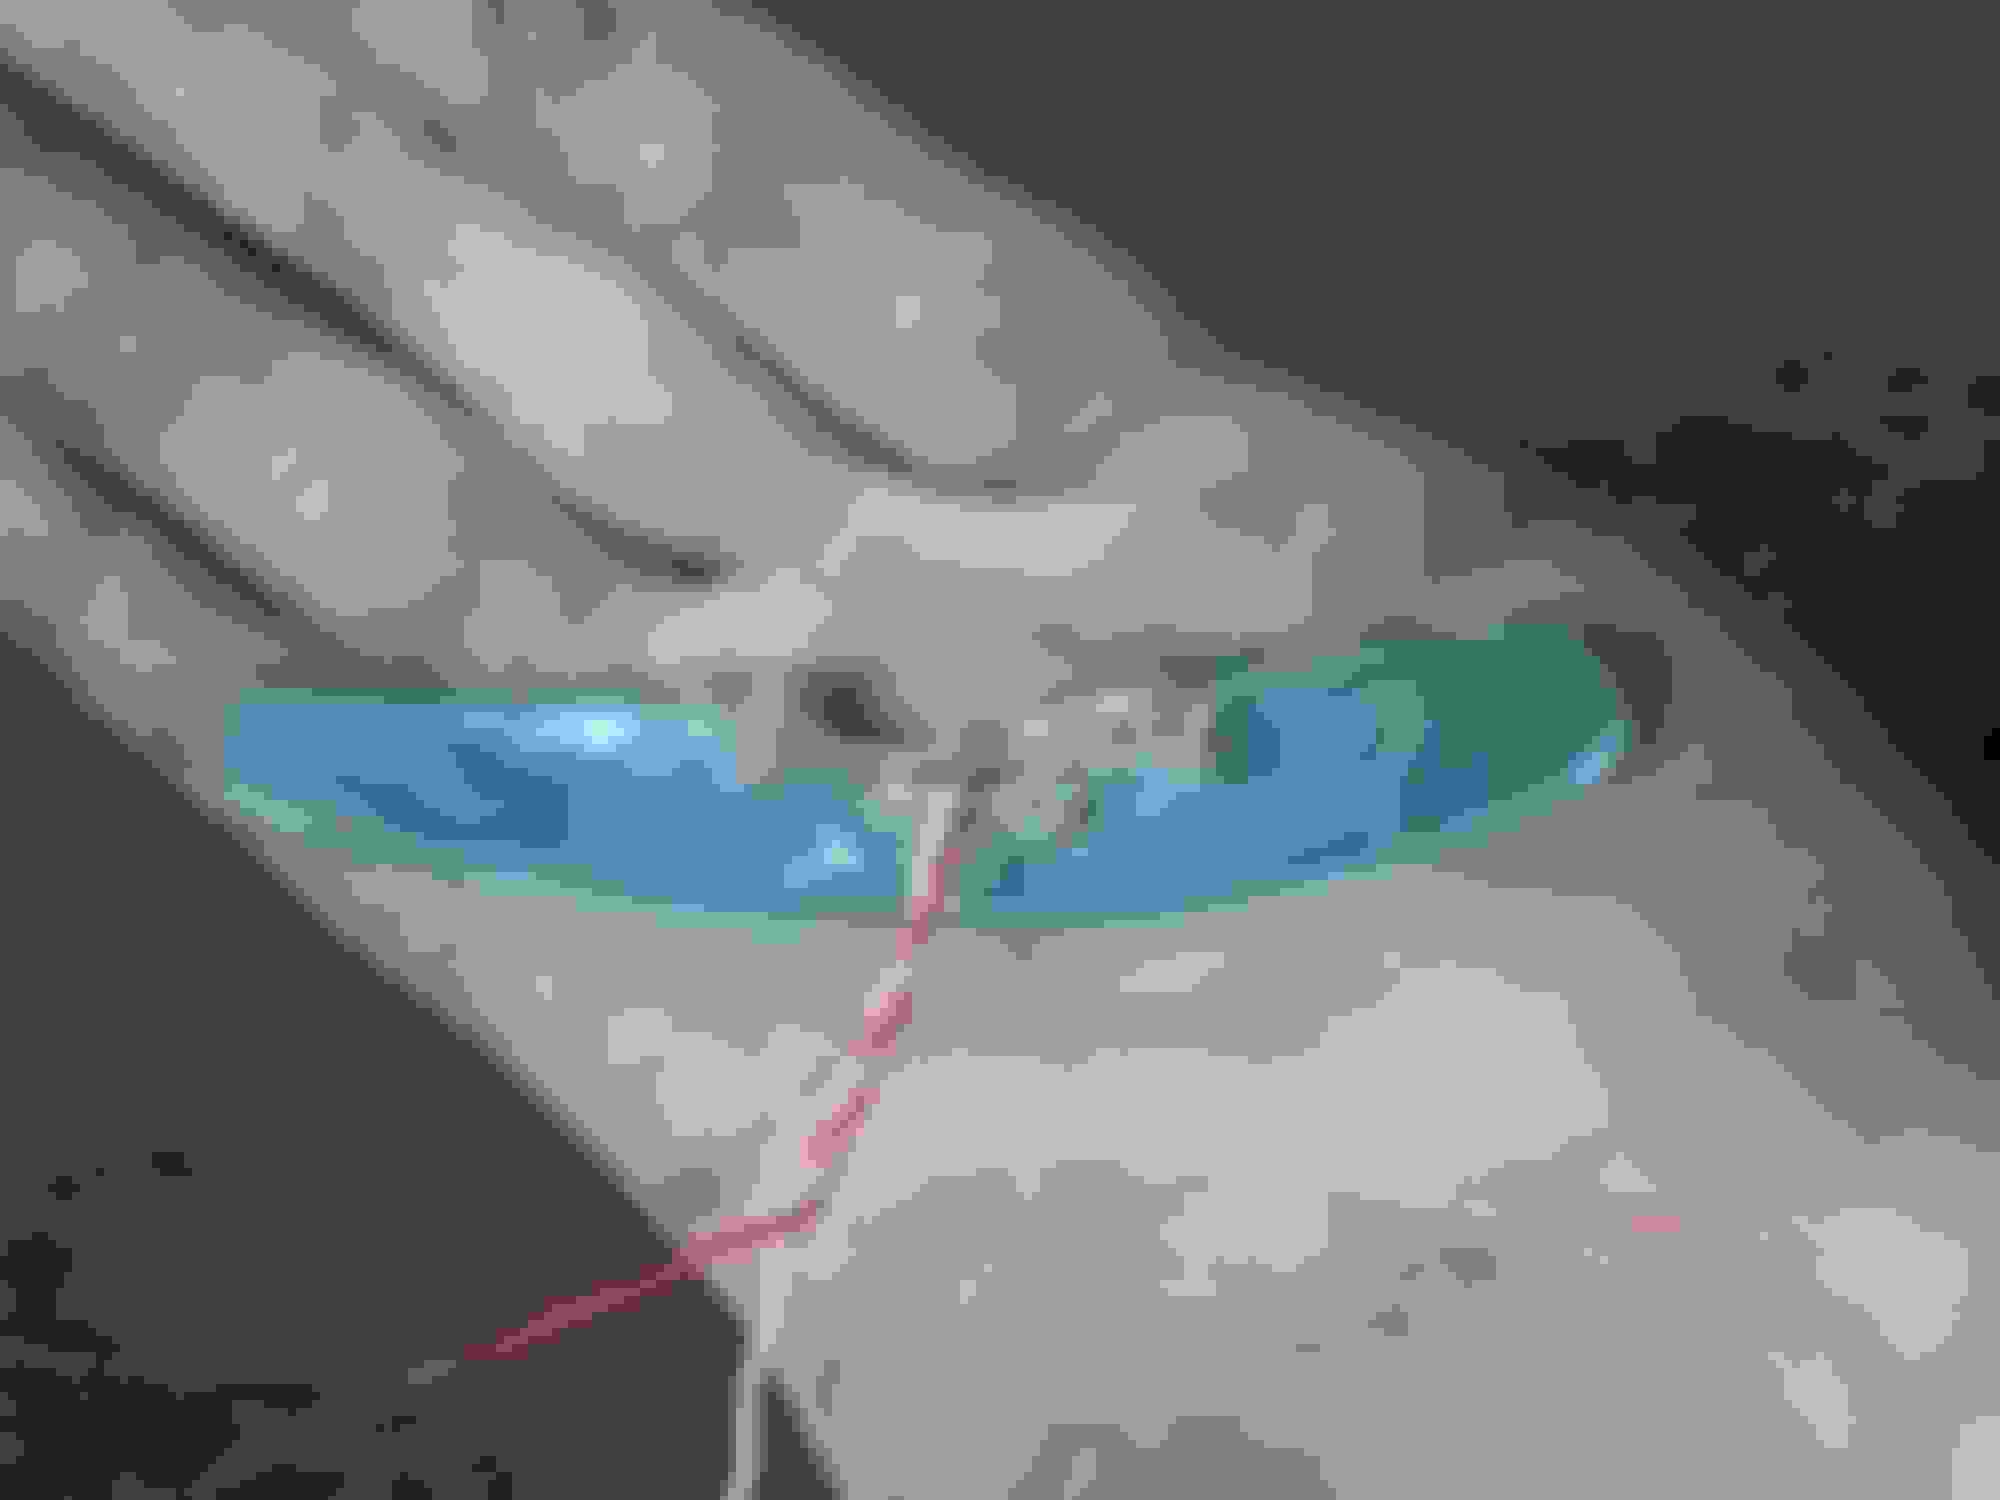
Here are two planks hold tighter with some wire and electrical tape.
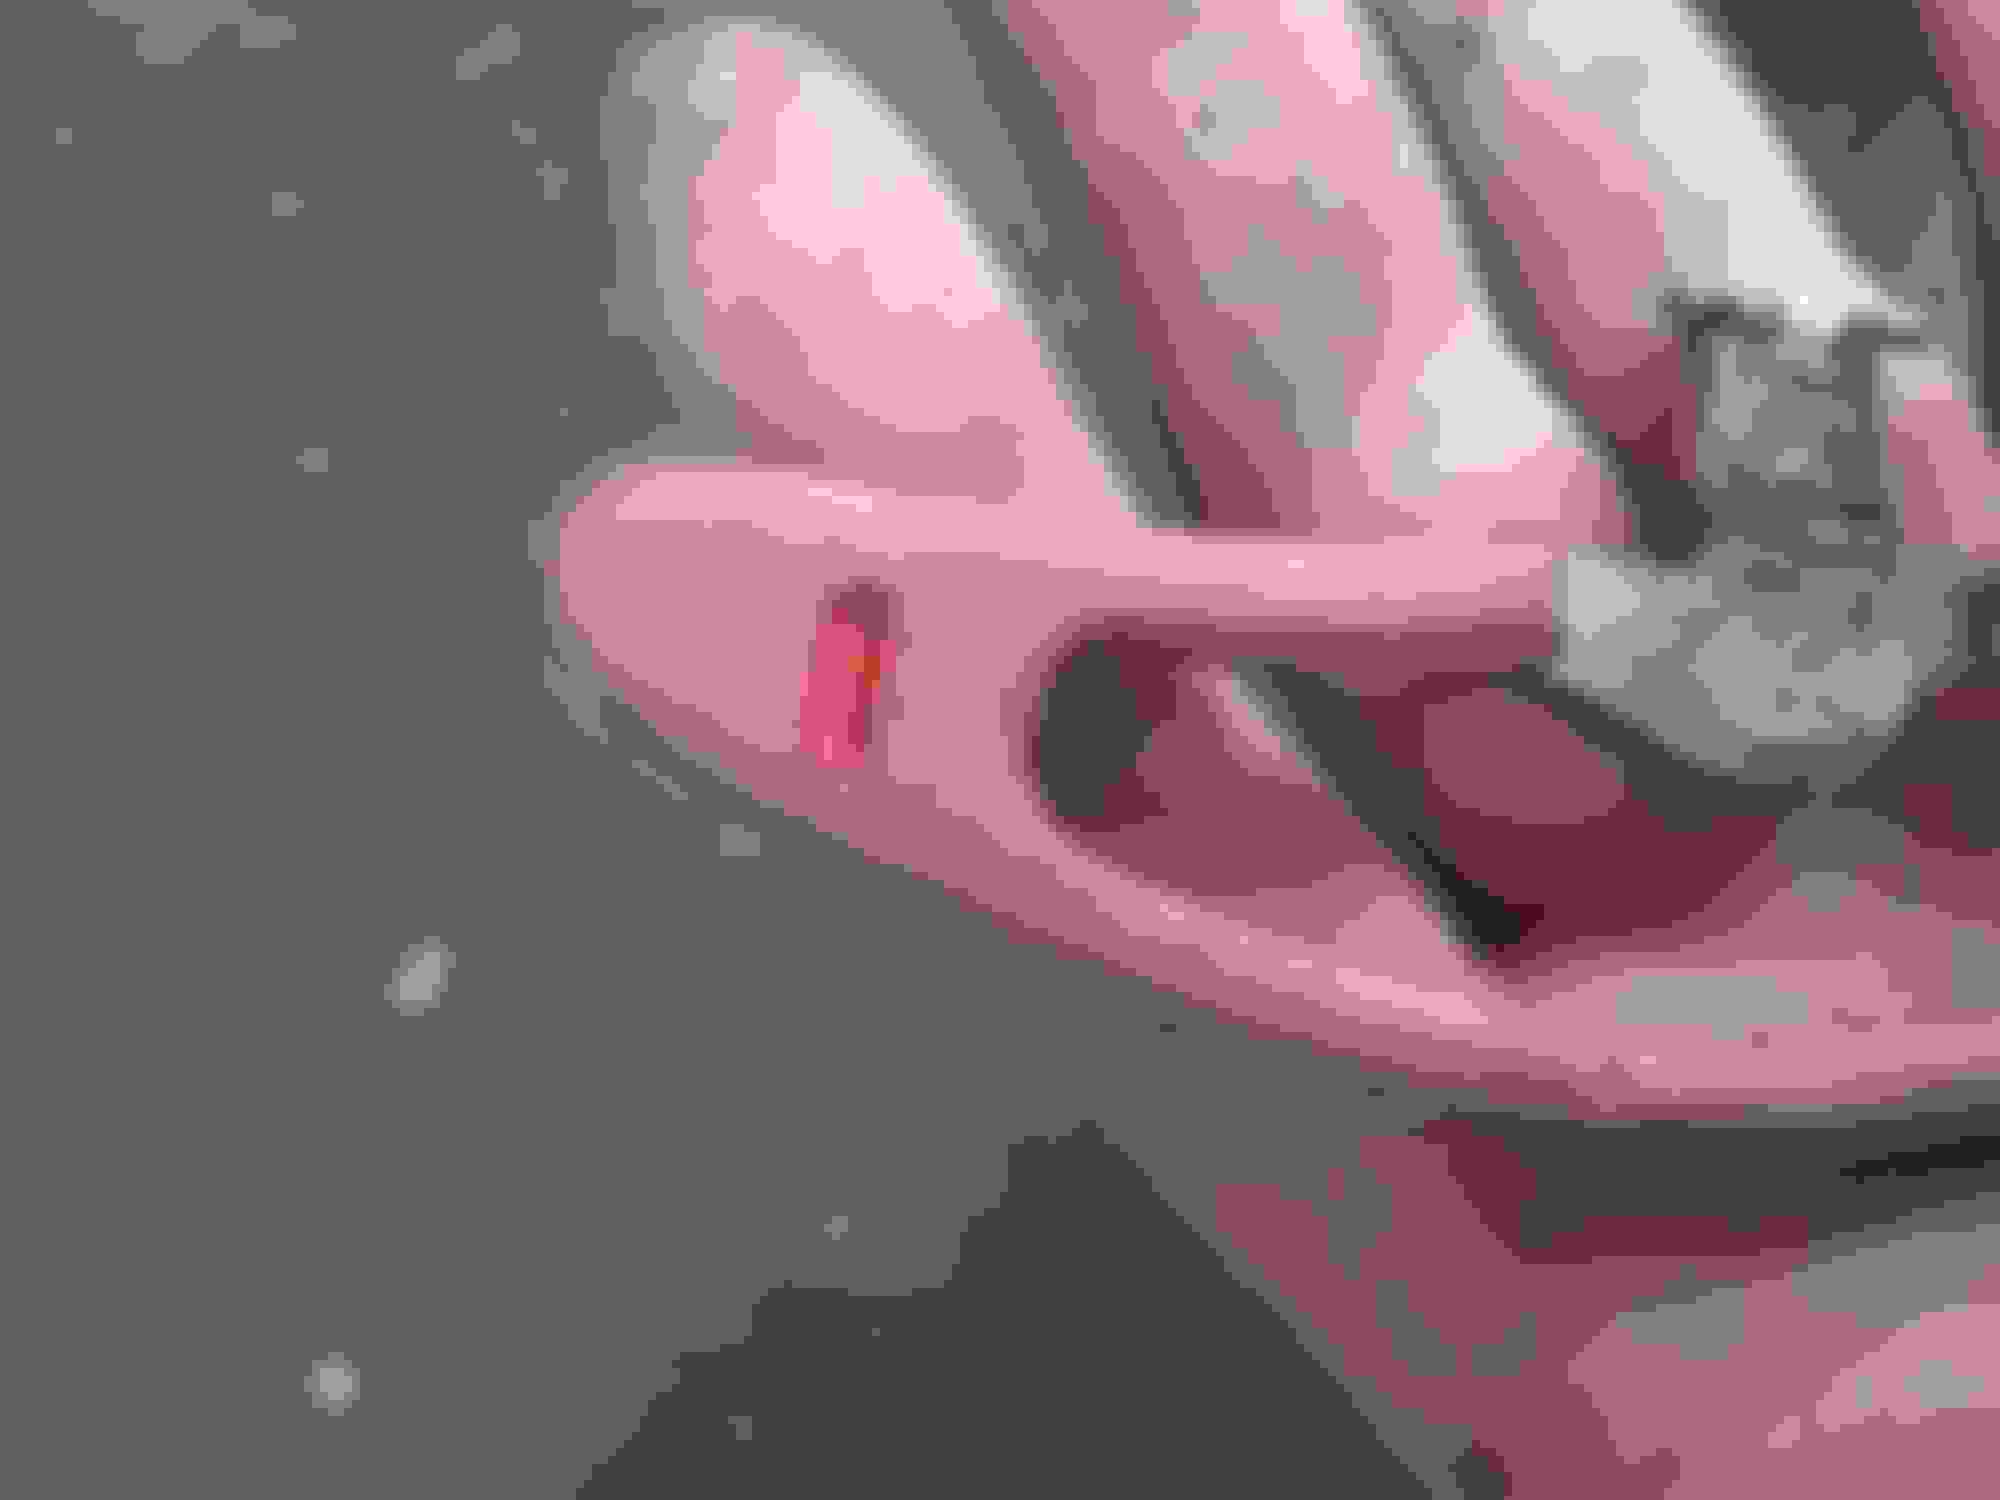
On inner sides is a channel cutted on vertical mill.
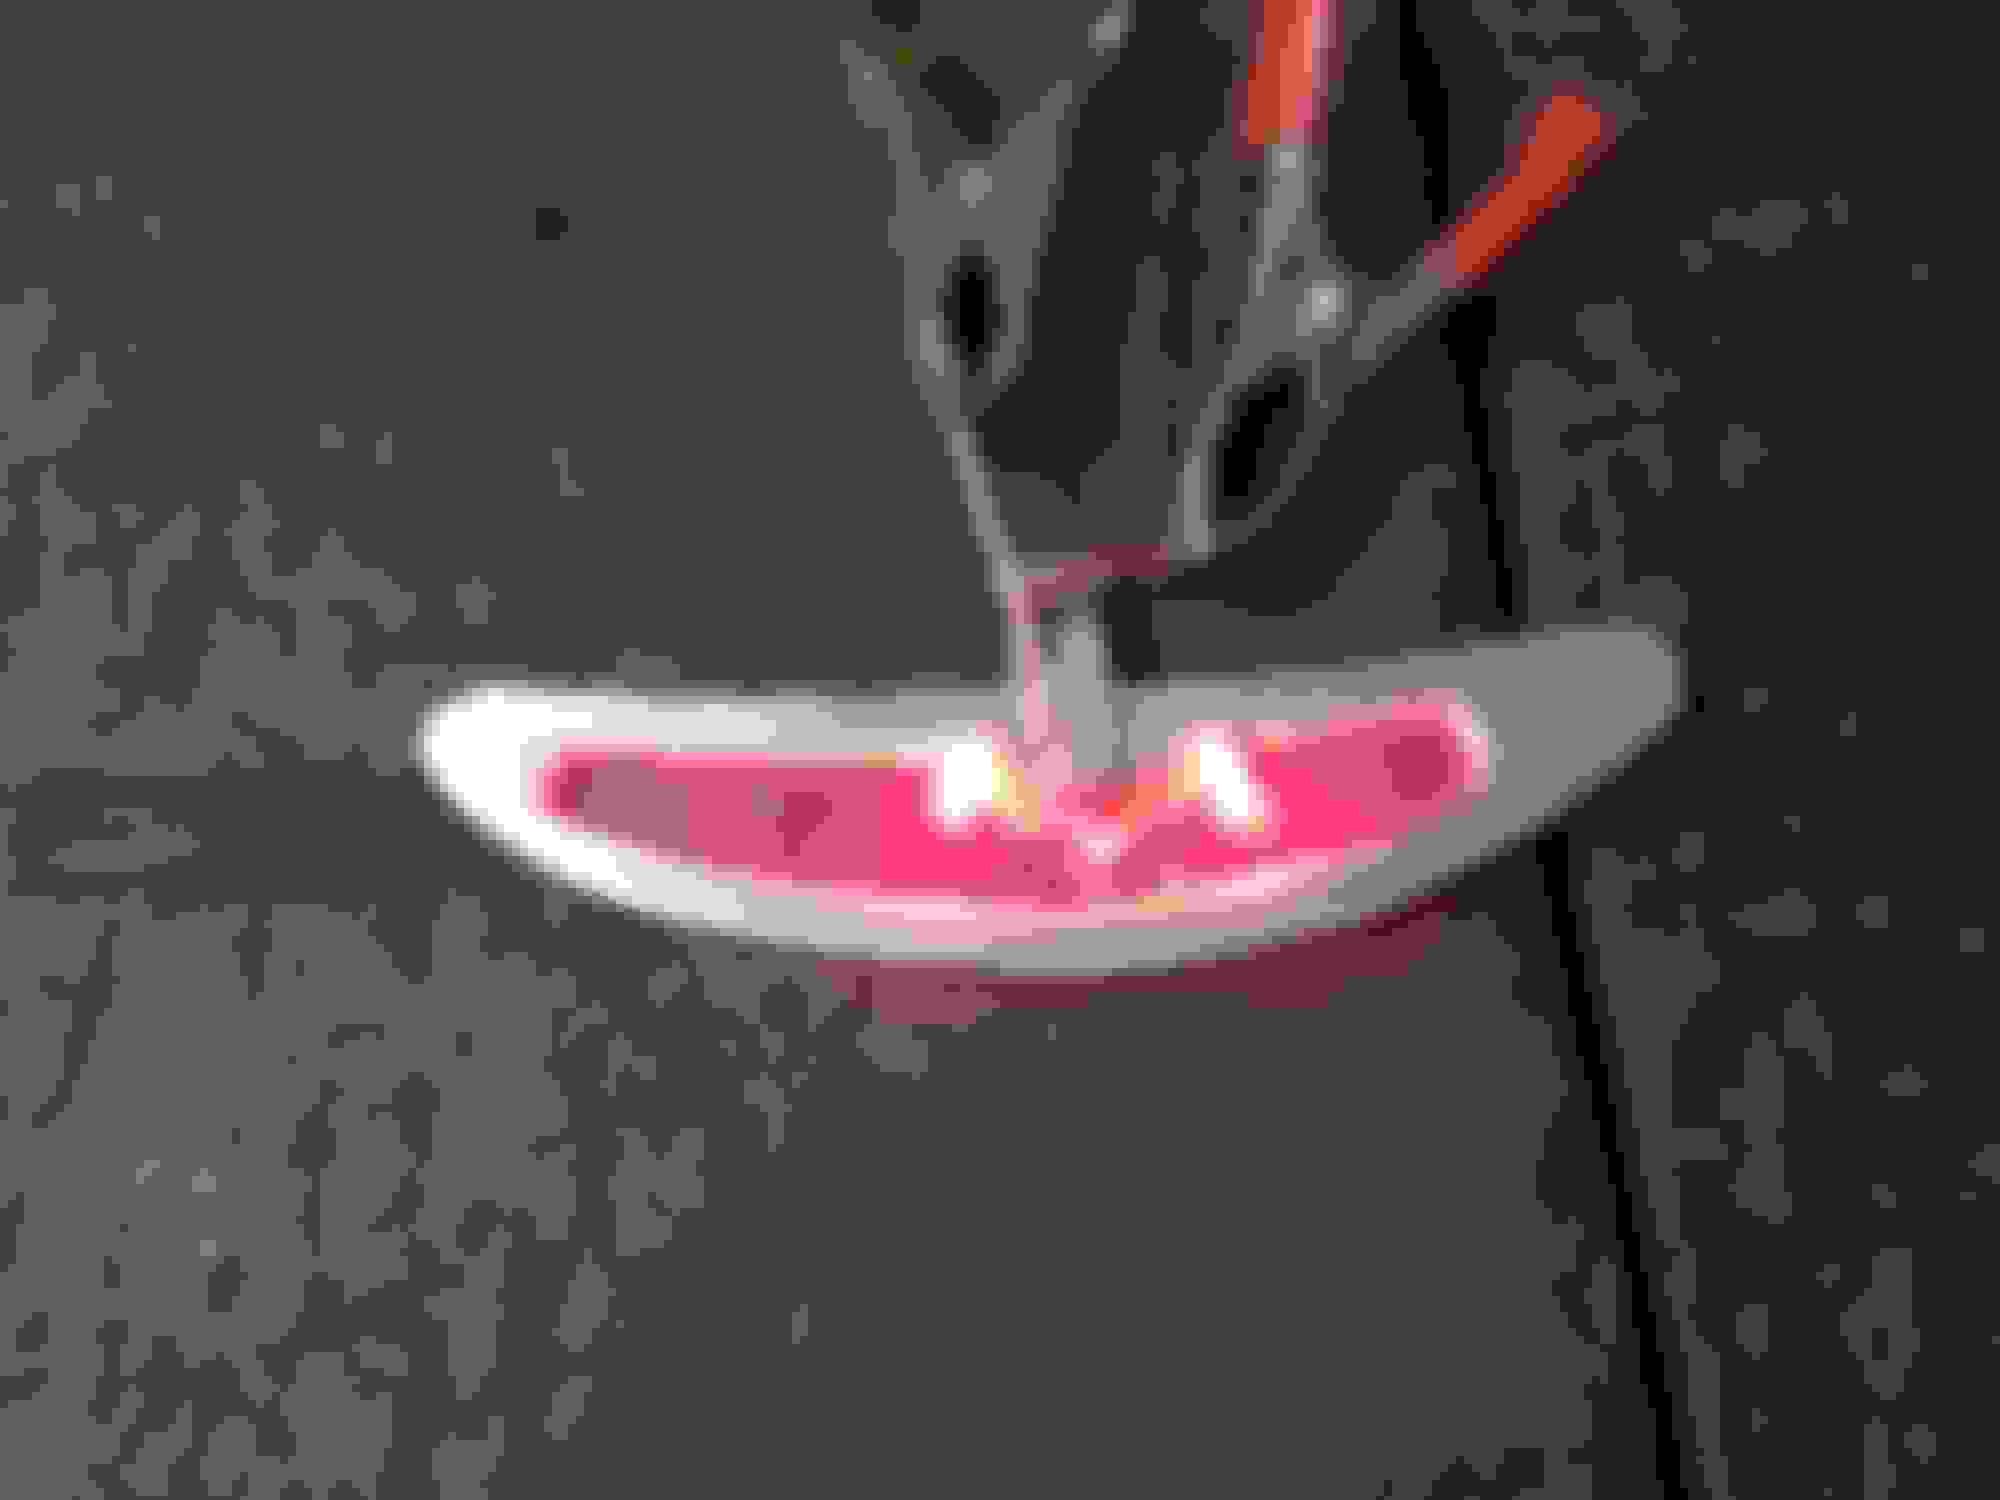
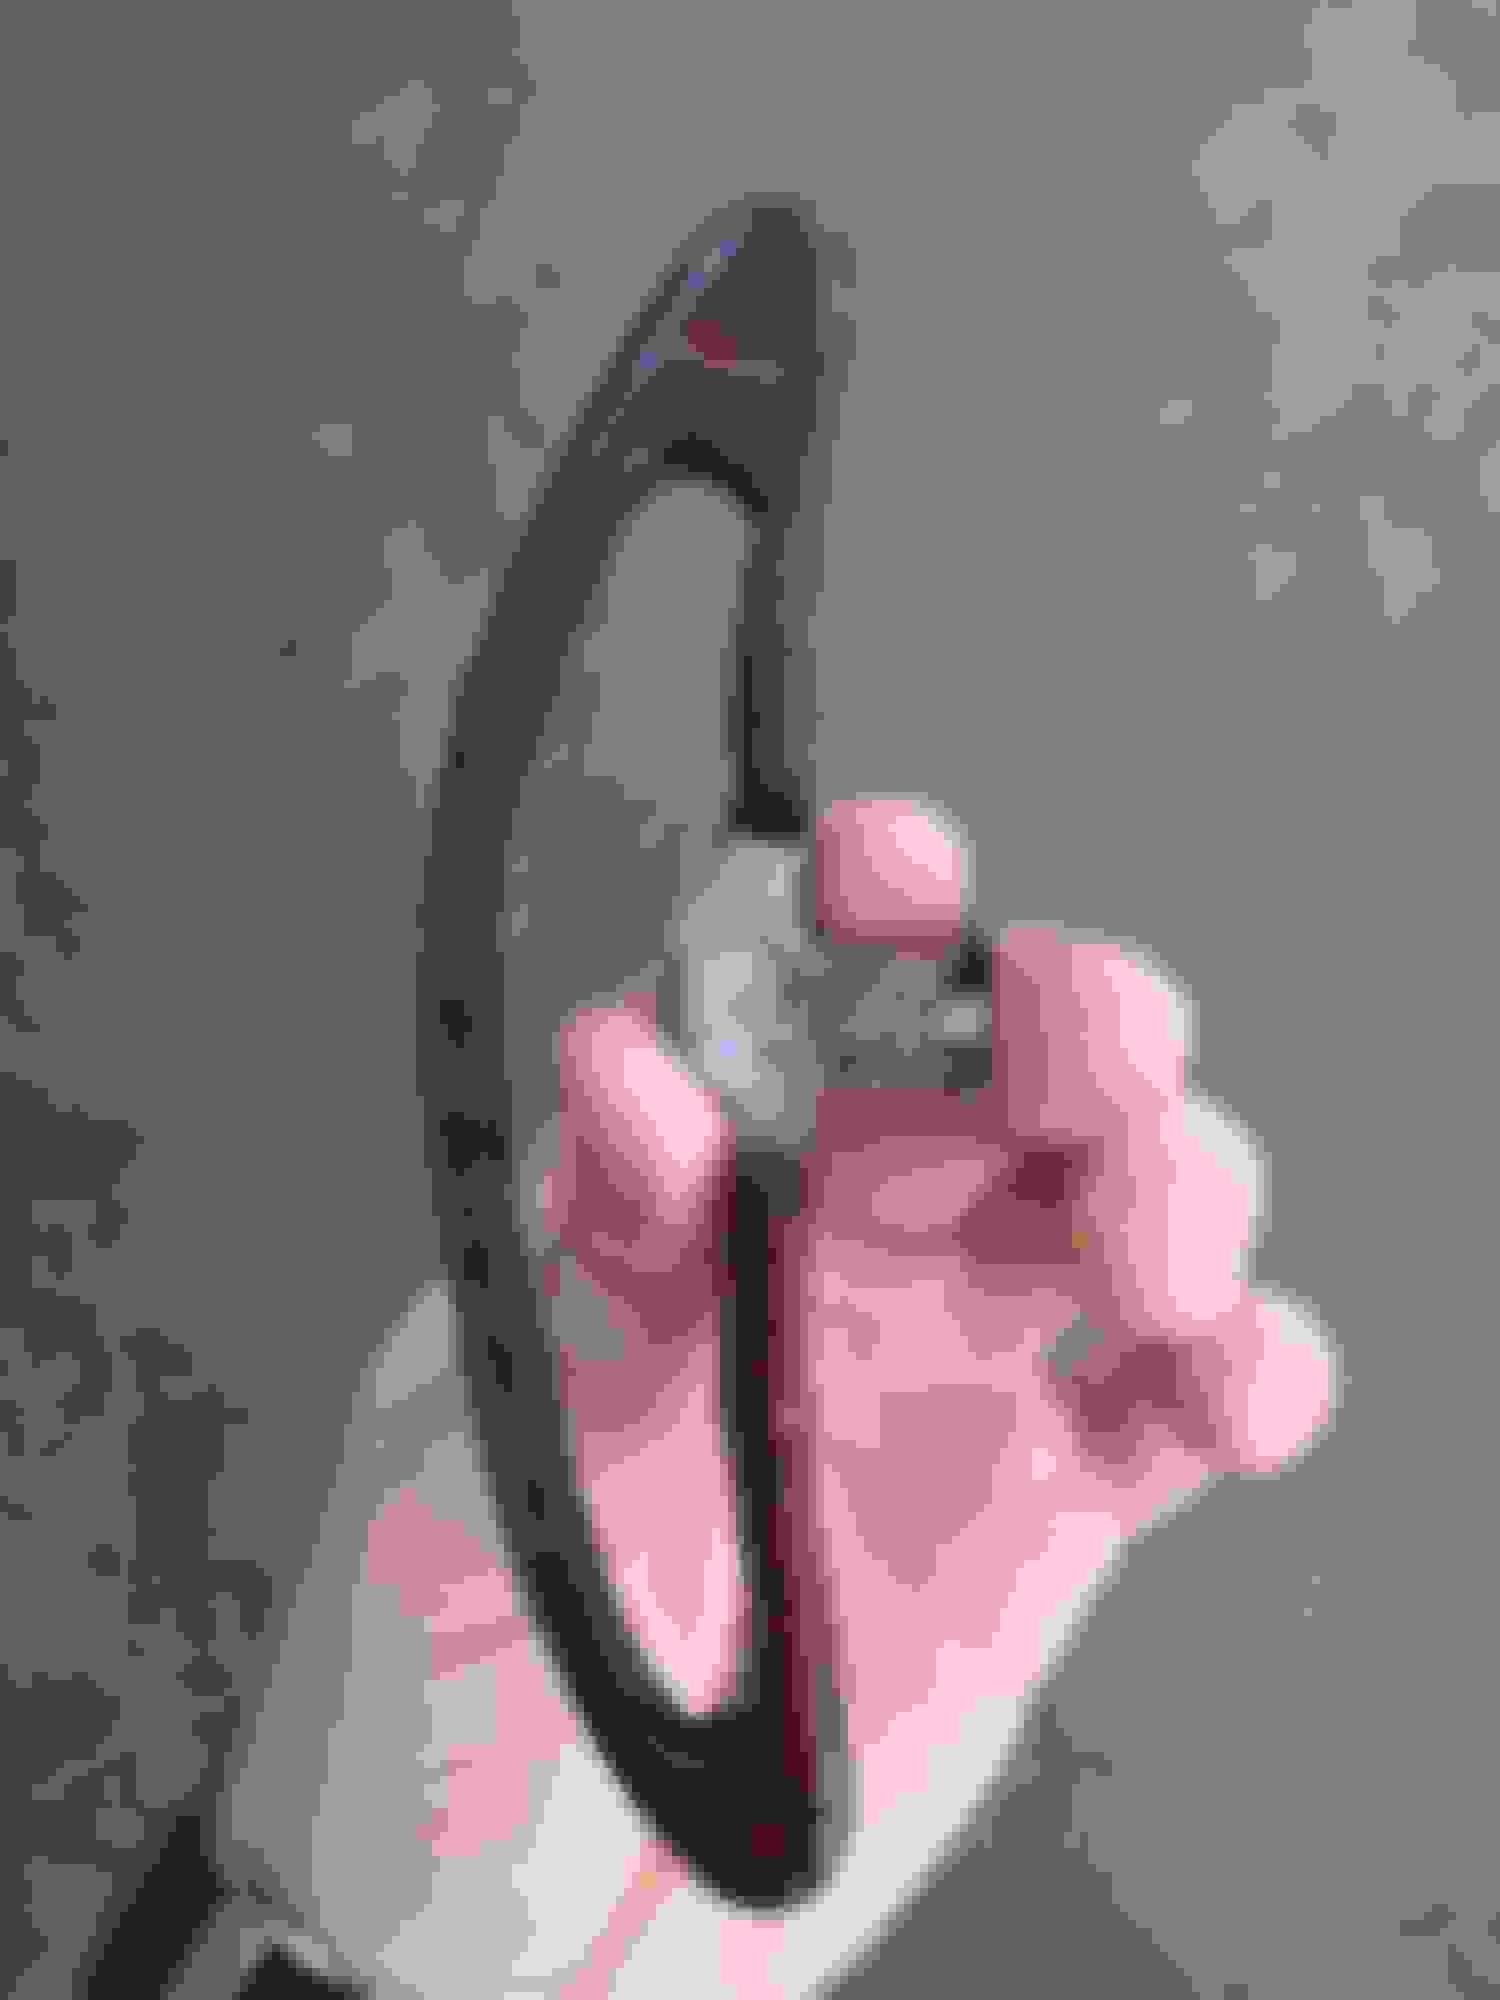
Here is how it looks on lathe.
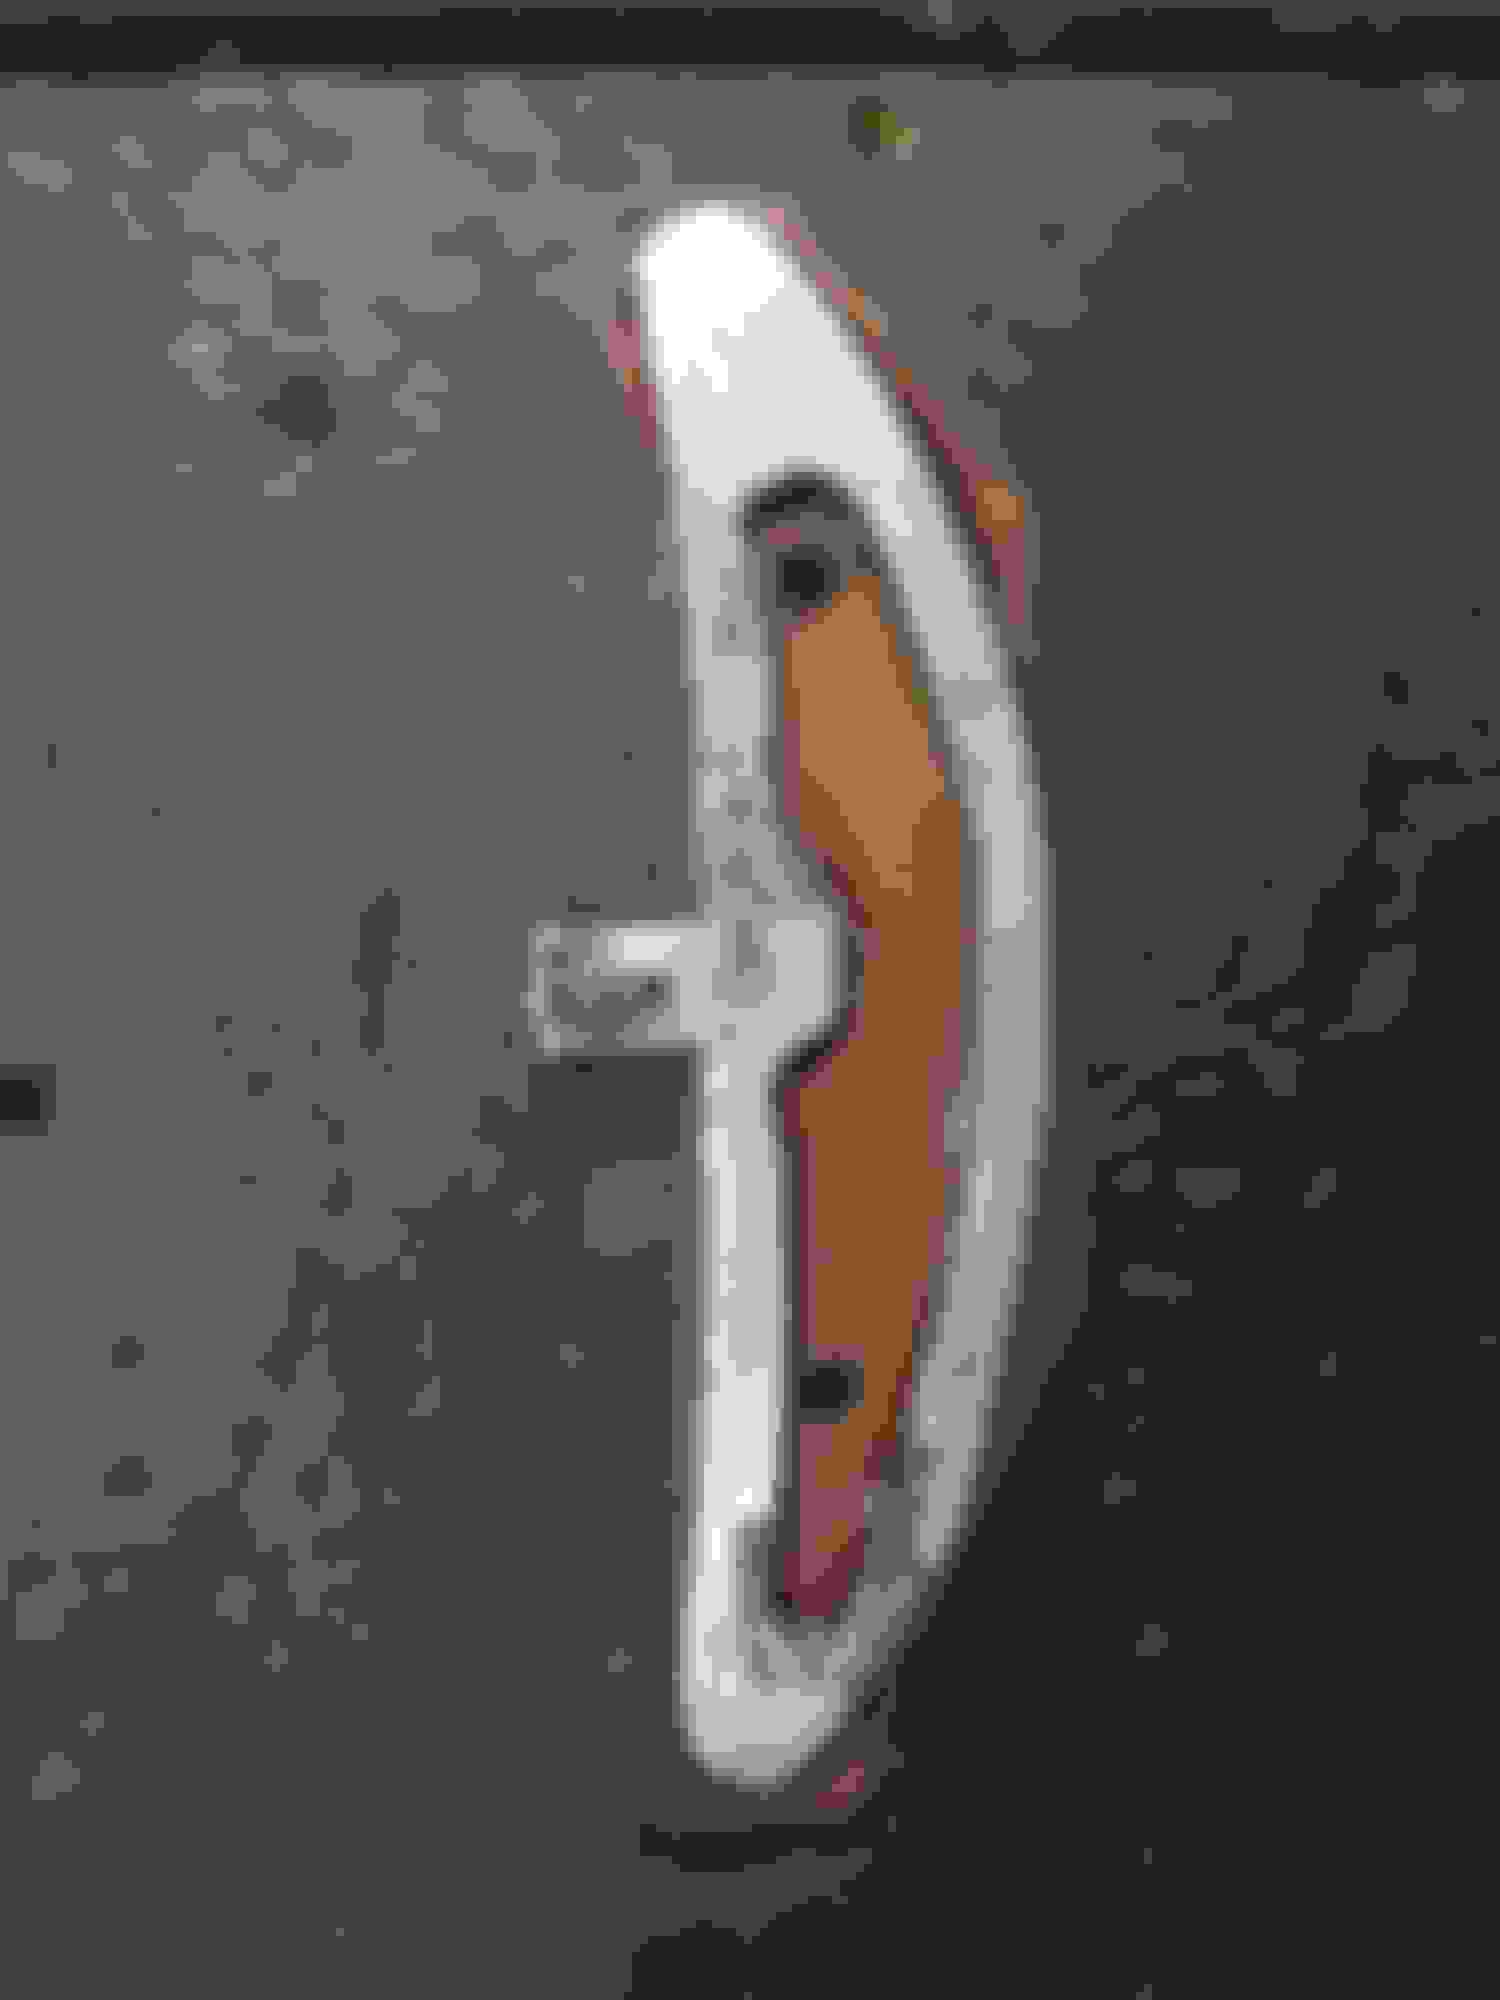
After some turning . . .
Time for some gluing. Wood is glued with wood glue Center channel is filled with Bison montage kit.
When everything was glued together wheel looked like chunk of mahogany
After a lot of grinding . . .
There is only one piece to be made
And now, sanding time!
That's it for now guys.
Stay tuned update is coming in few days. Sorry for my engrish
Although I reserve judgement until the final product, I think what you are doing is pretty cool. I would not put something like that in my own car, but I am a diy'er at heart and love when people try new and interesting things.
I think those paddle shifters need a second attempt lol.
If nothing else you have provided entertainment to the forum - which is much appreciated. Keep the pic updates coming.
Good luck and don't forget to enjoy a beer or two while working :beer:
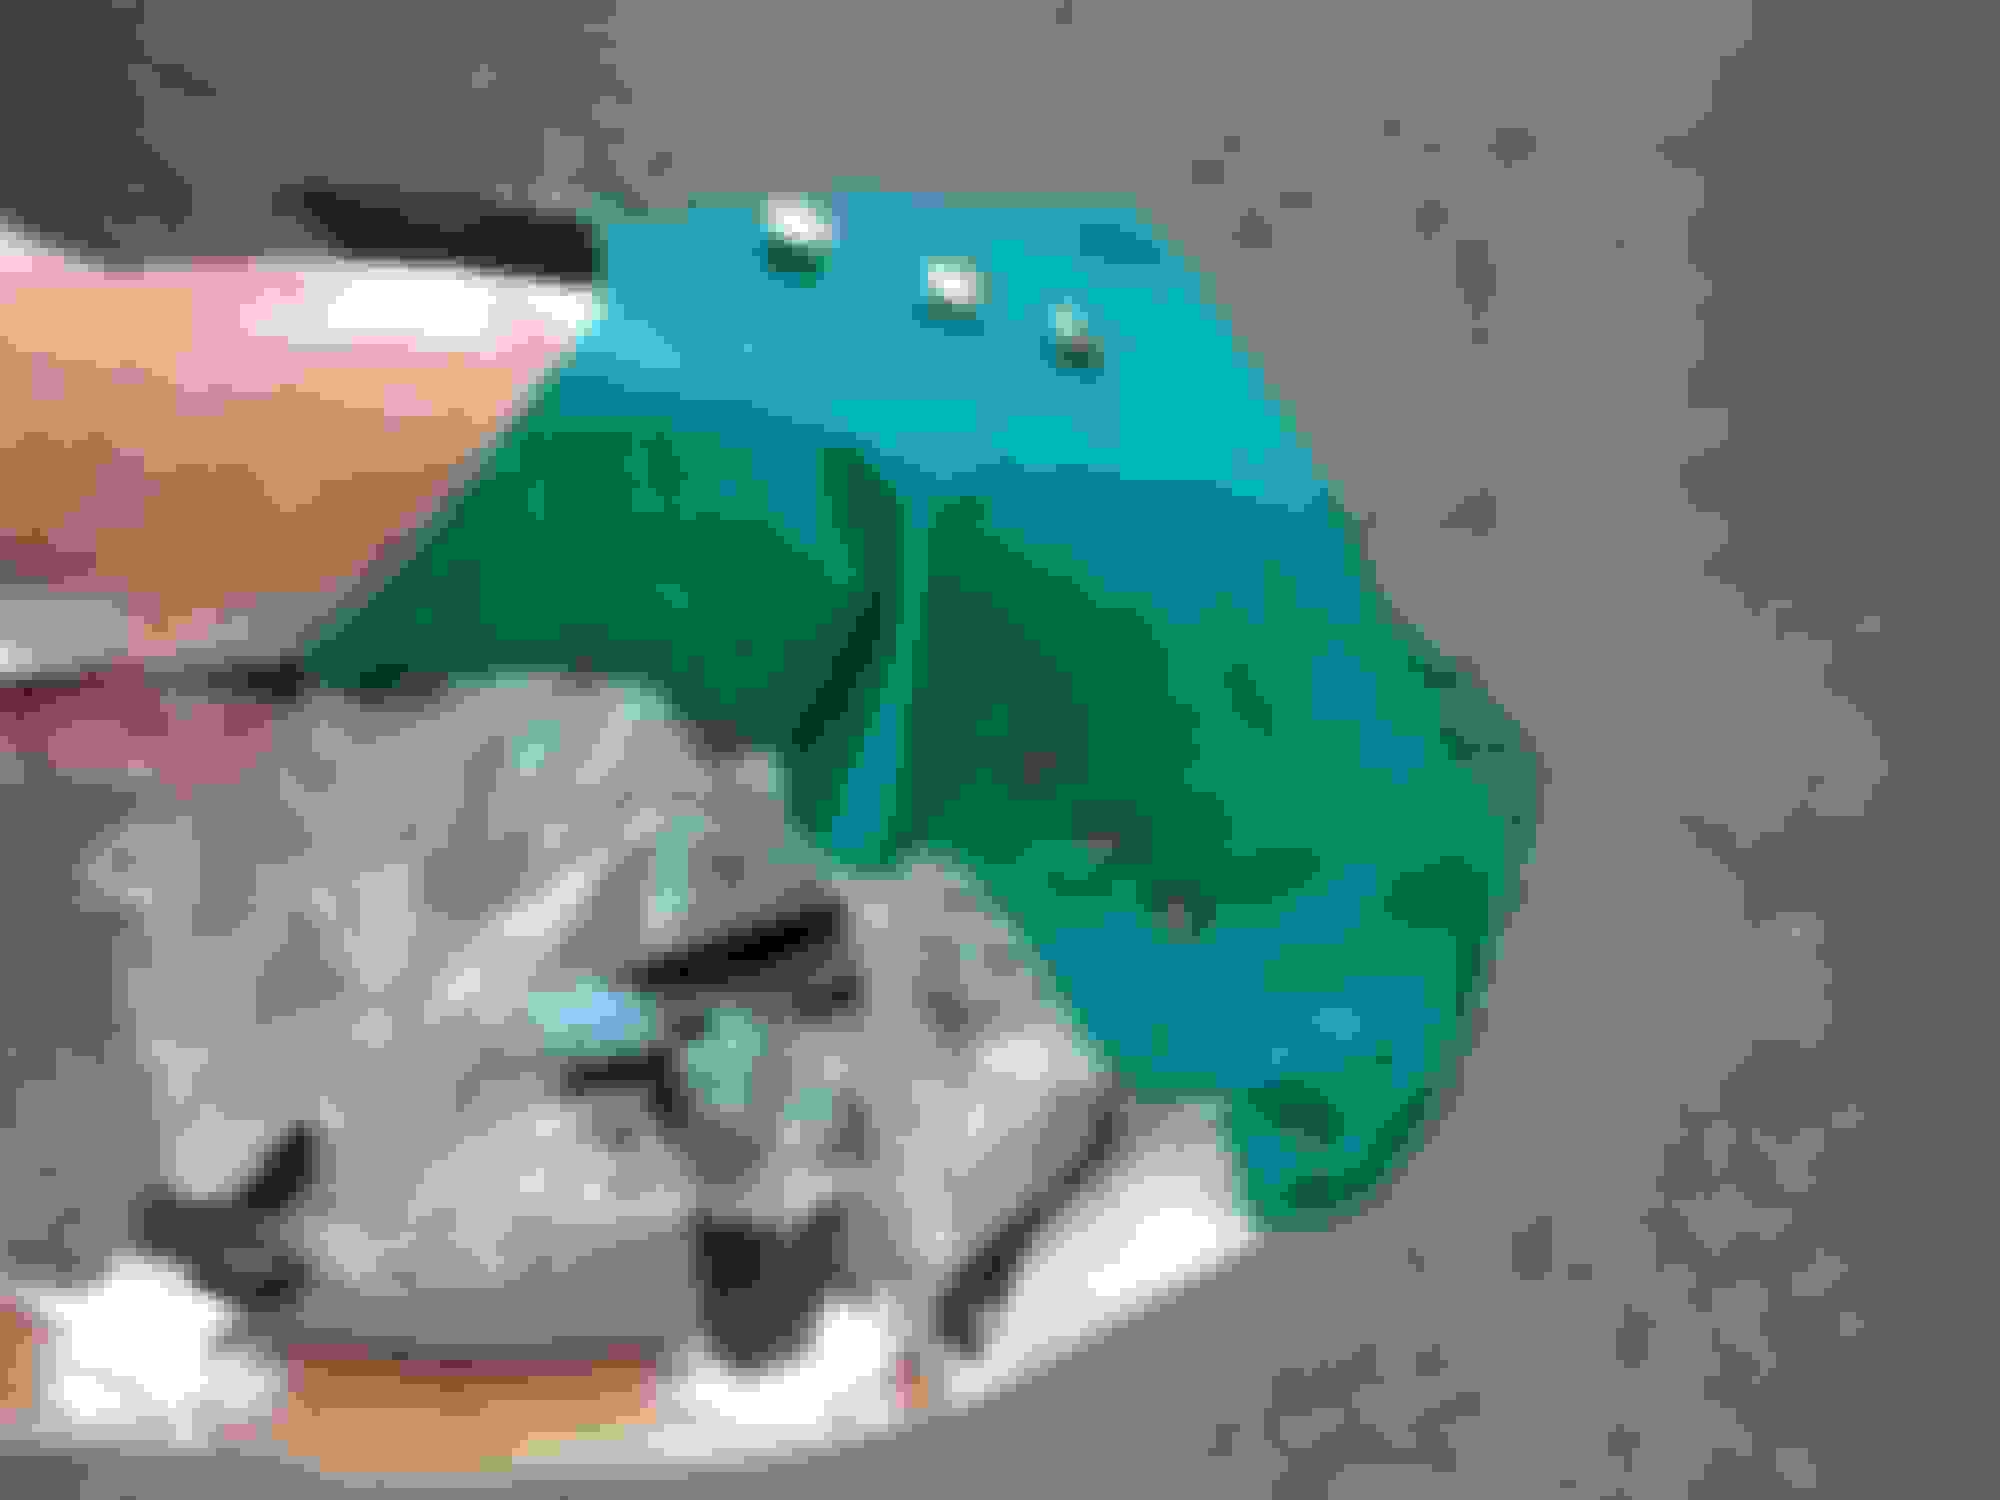
I bought the leather. Black one is for the top of wheel and perforated one for sides. Green leather is just some junk I had sitting around. It will be used for forming a teamplate.
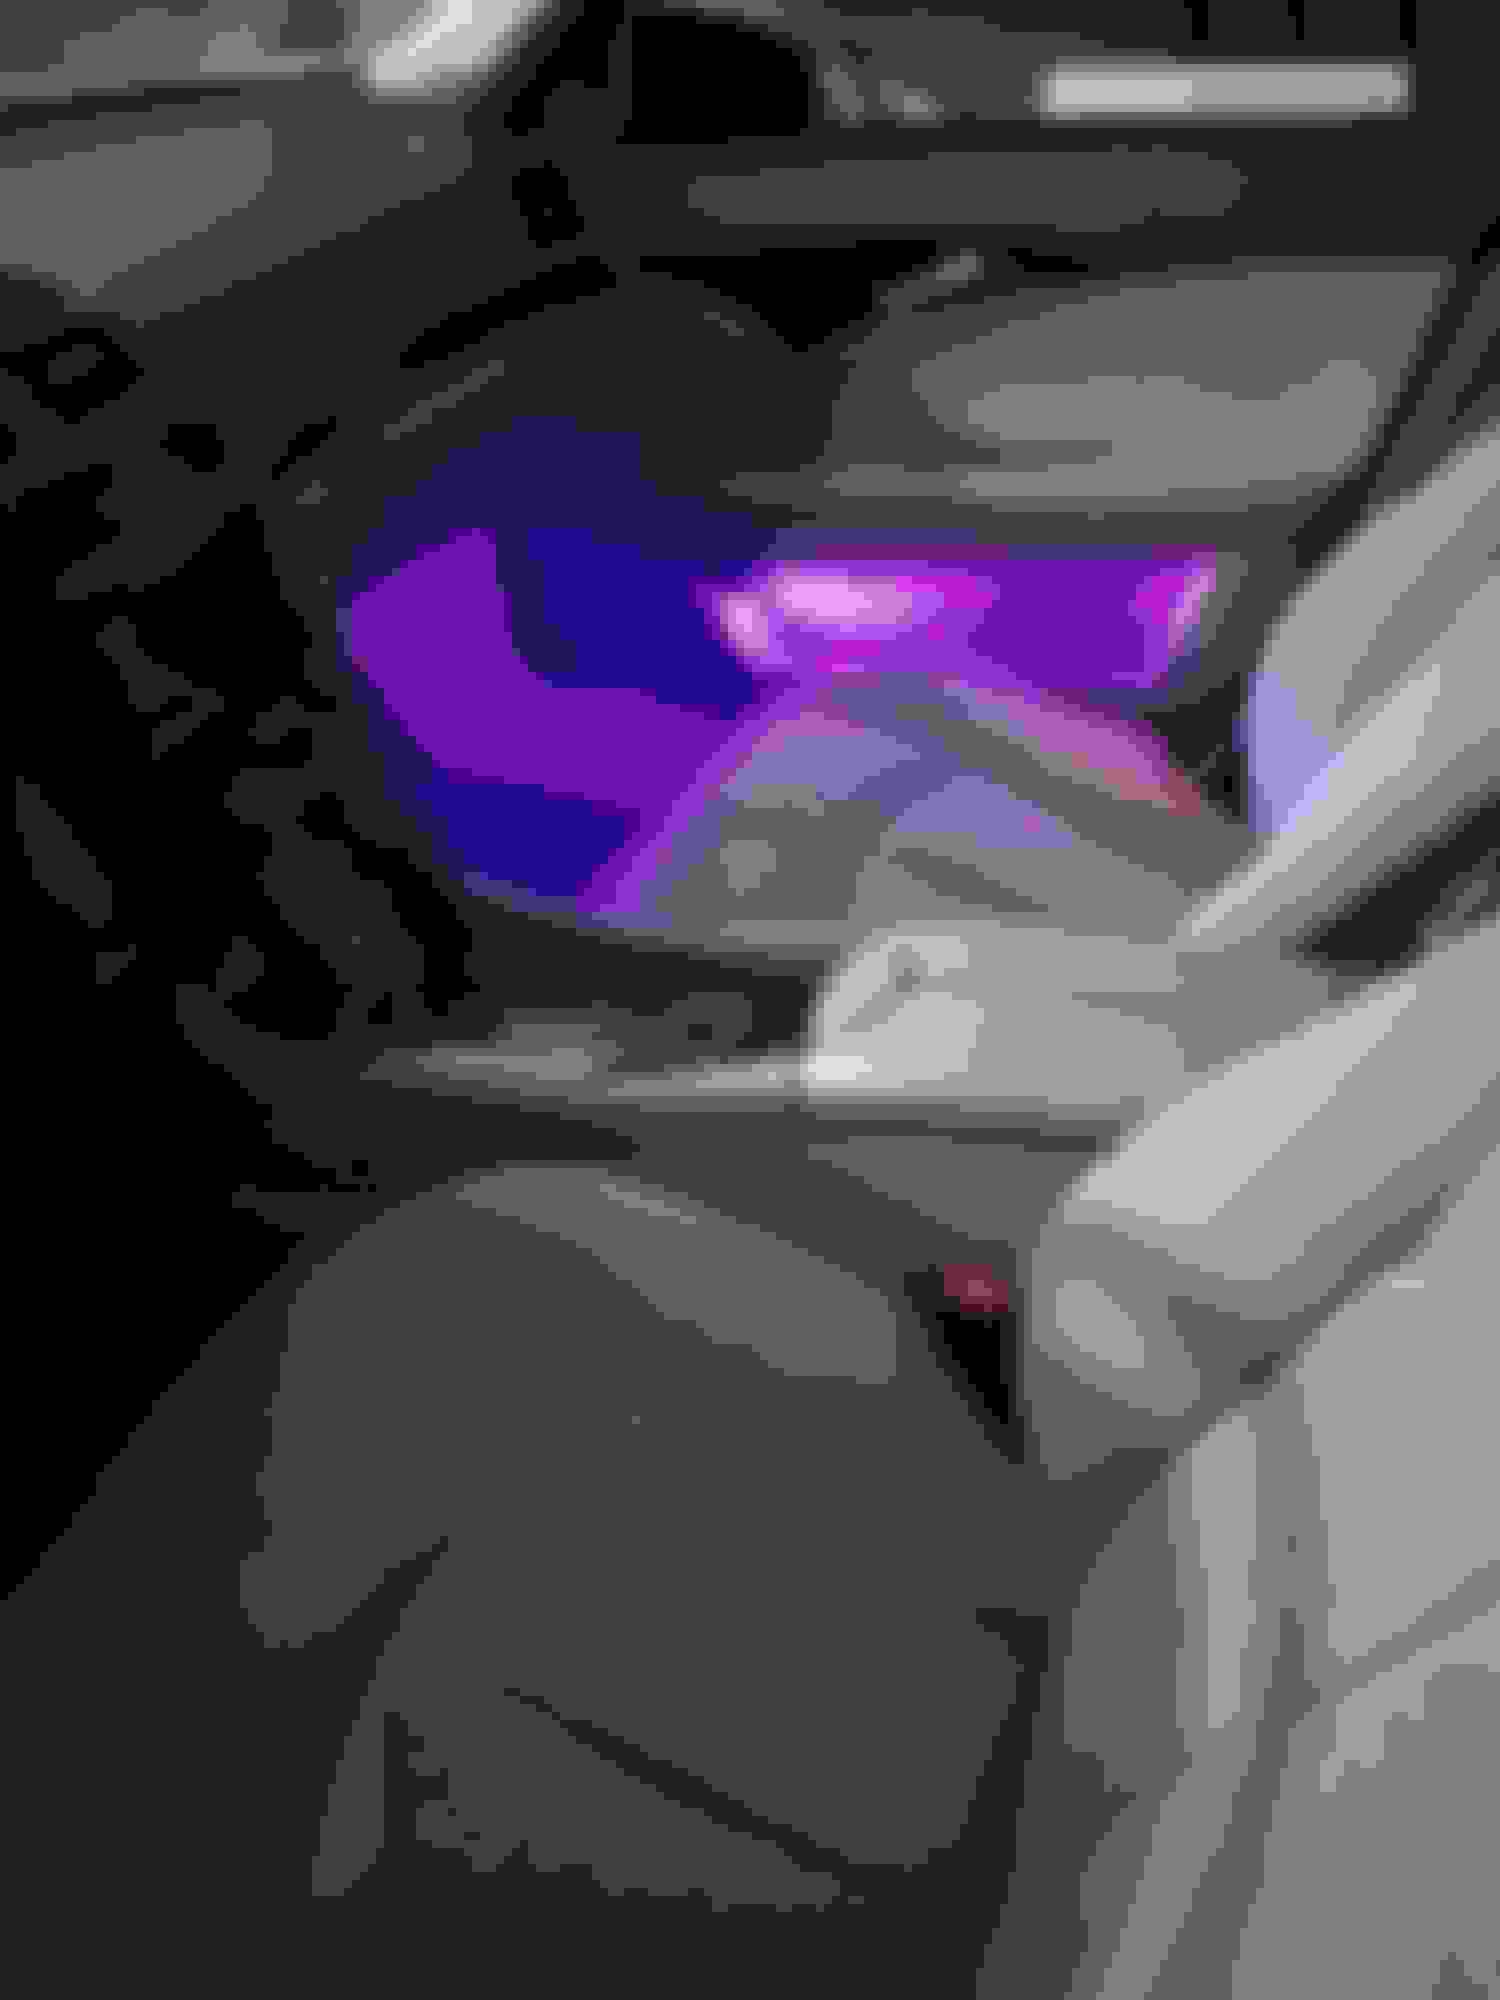
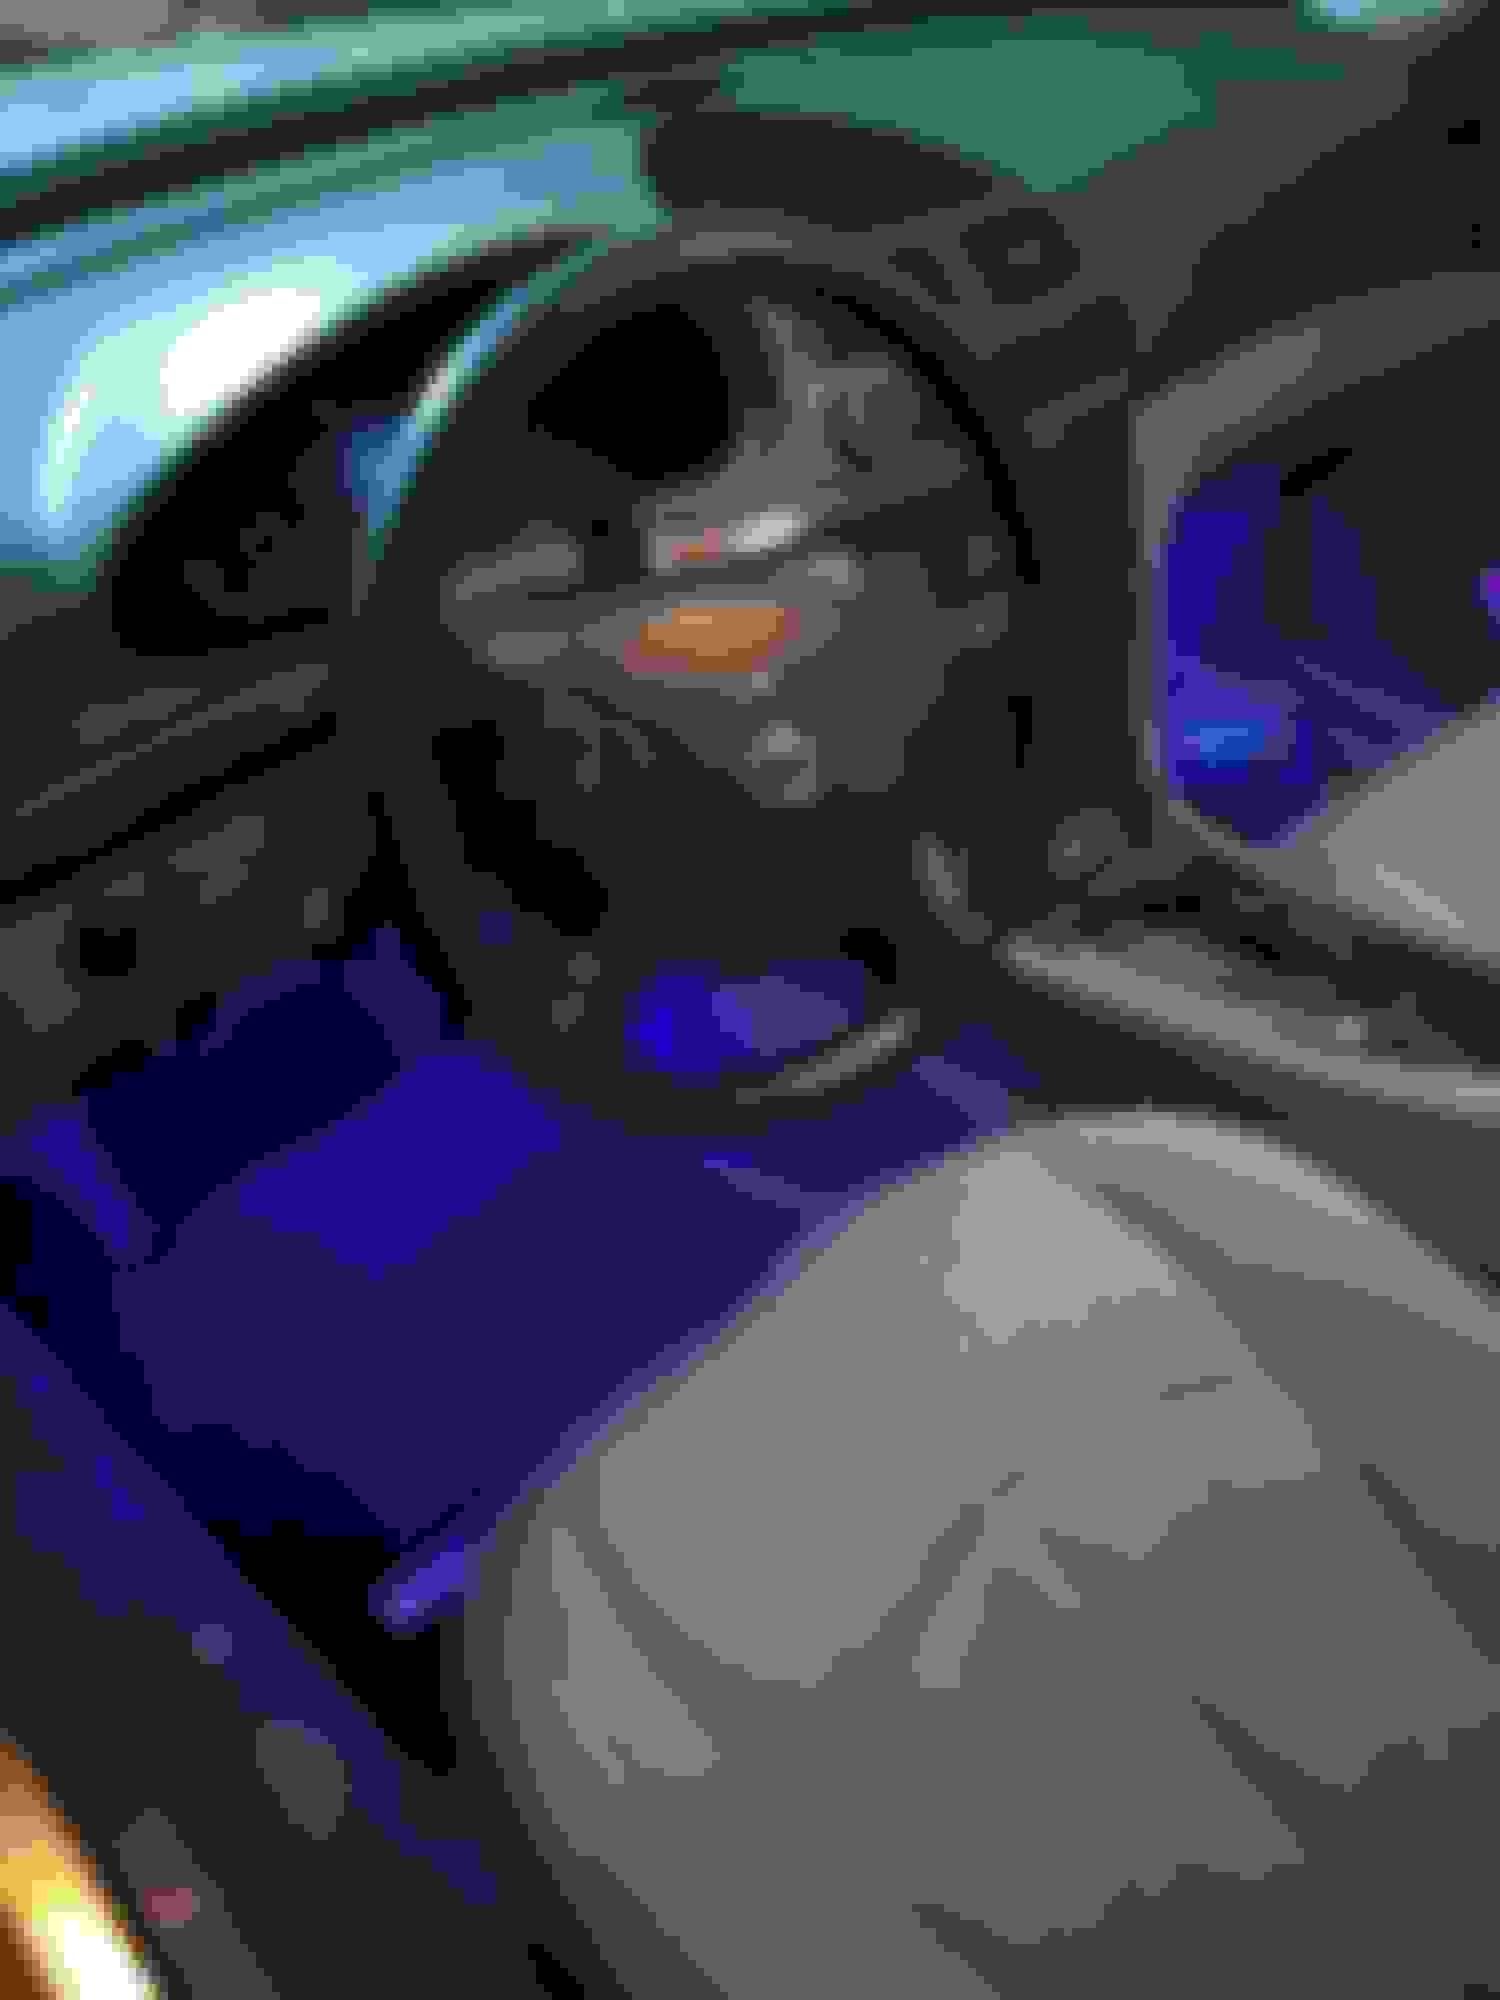
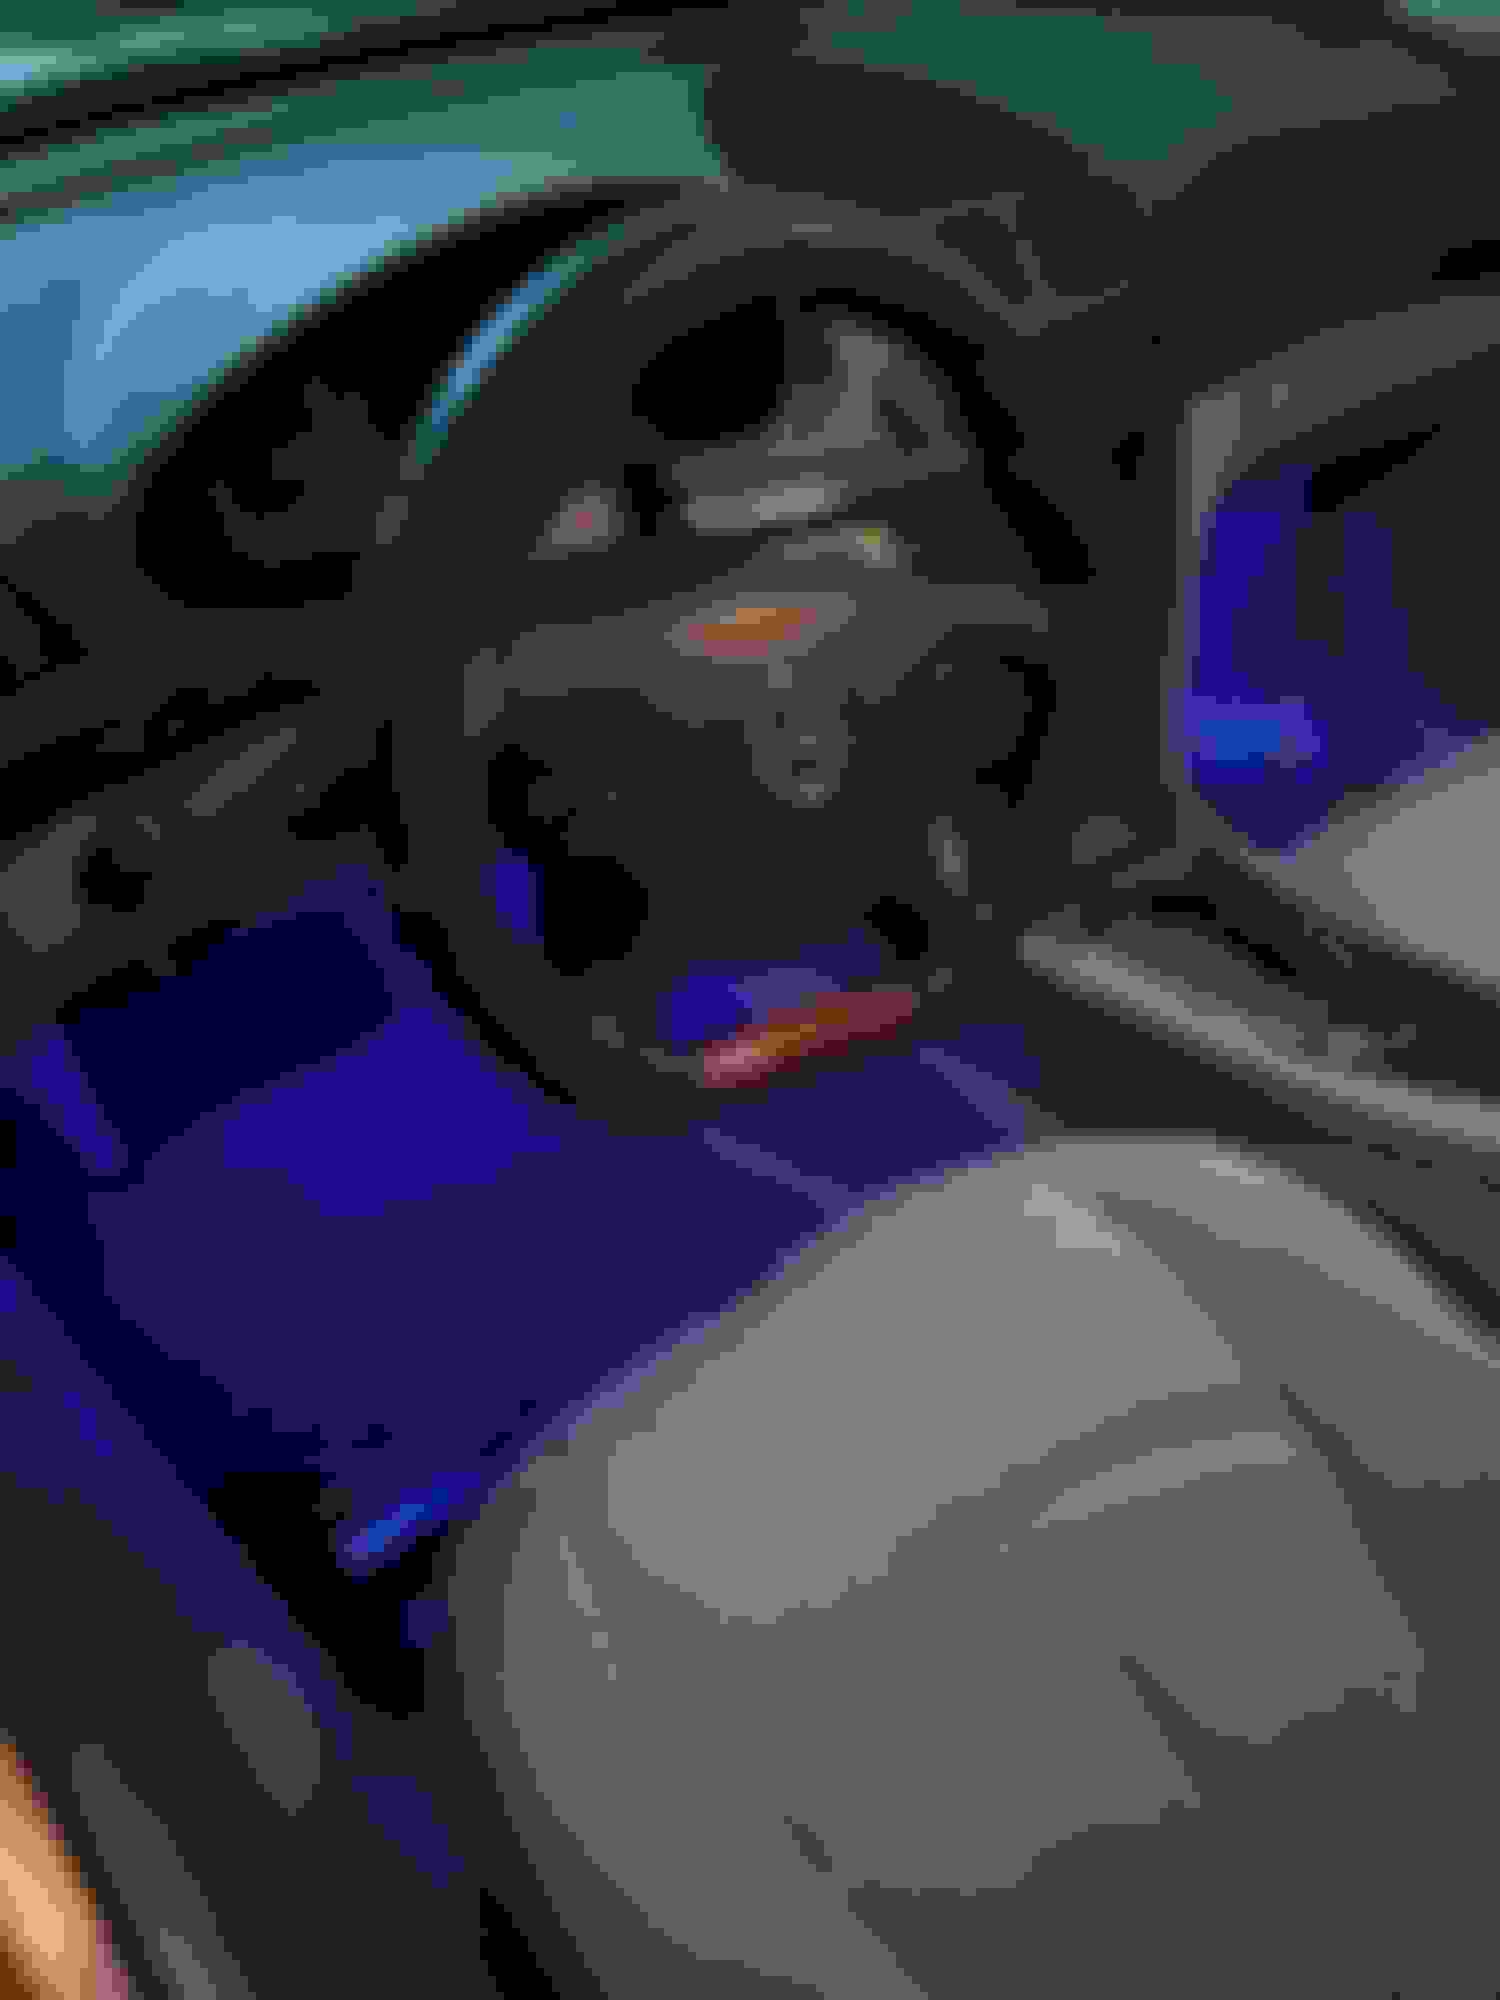
In a meantime I have done another DIY, it was fun&easy. Multicolor interior lighting.
Just remove bunch of panels, run some wires and RGB LED strips.
You can change colors and intensity by remote which is realy nice.
Look sooo good in nighttime. Here it is on passenger side . . .
Now lets go back to the wheel.
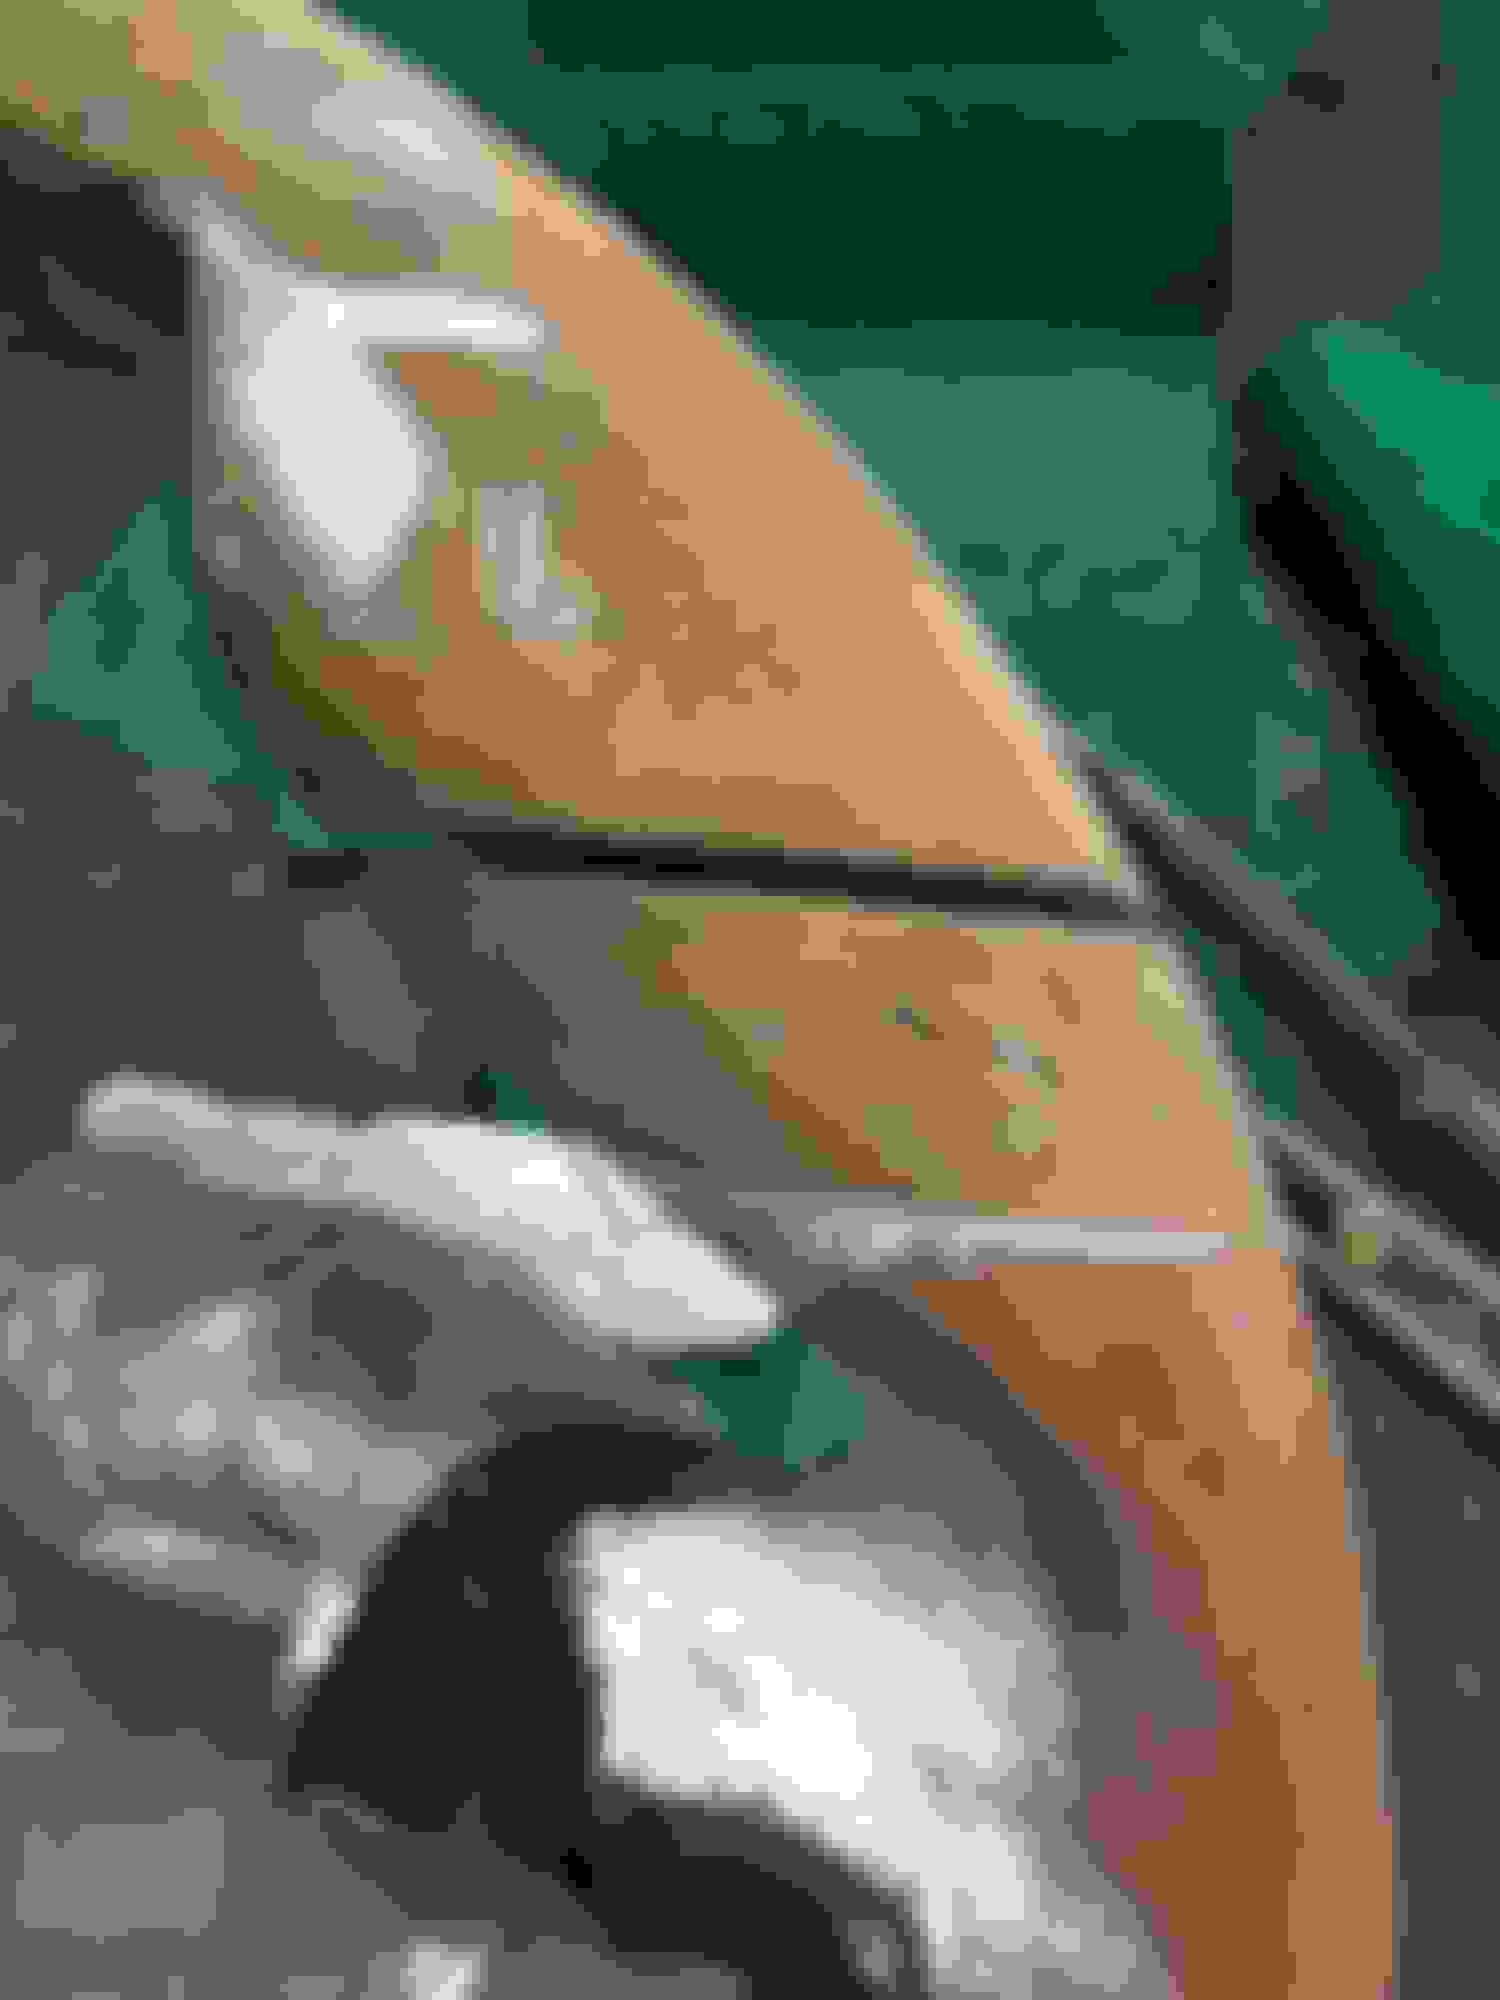
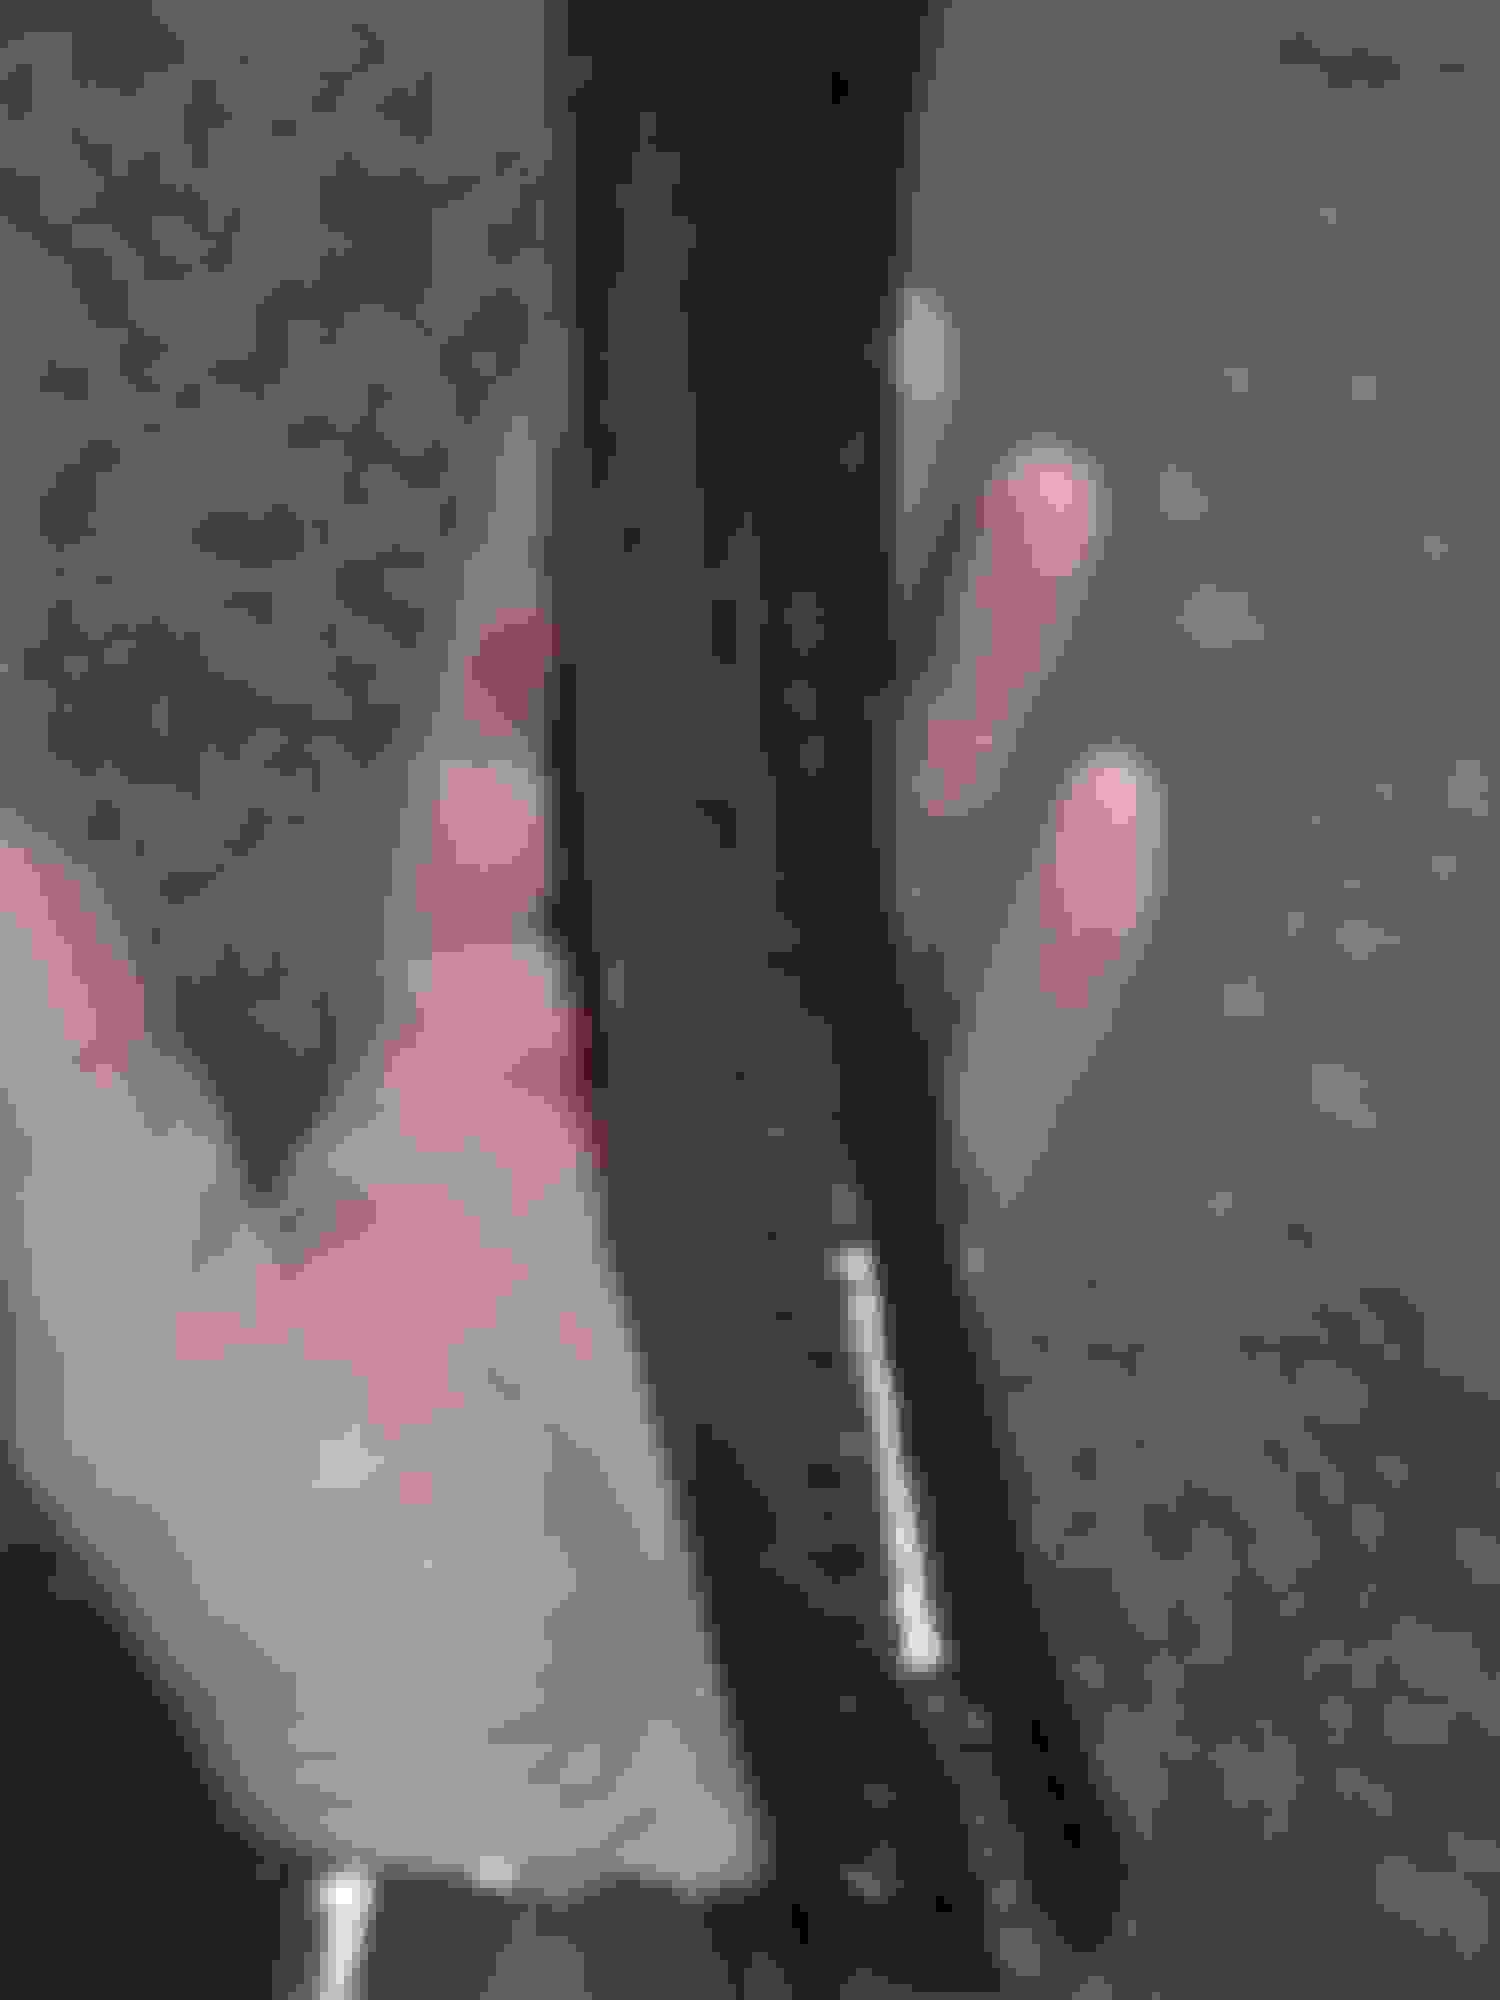
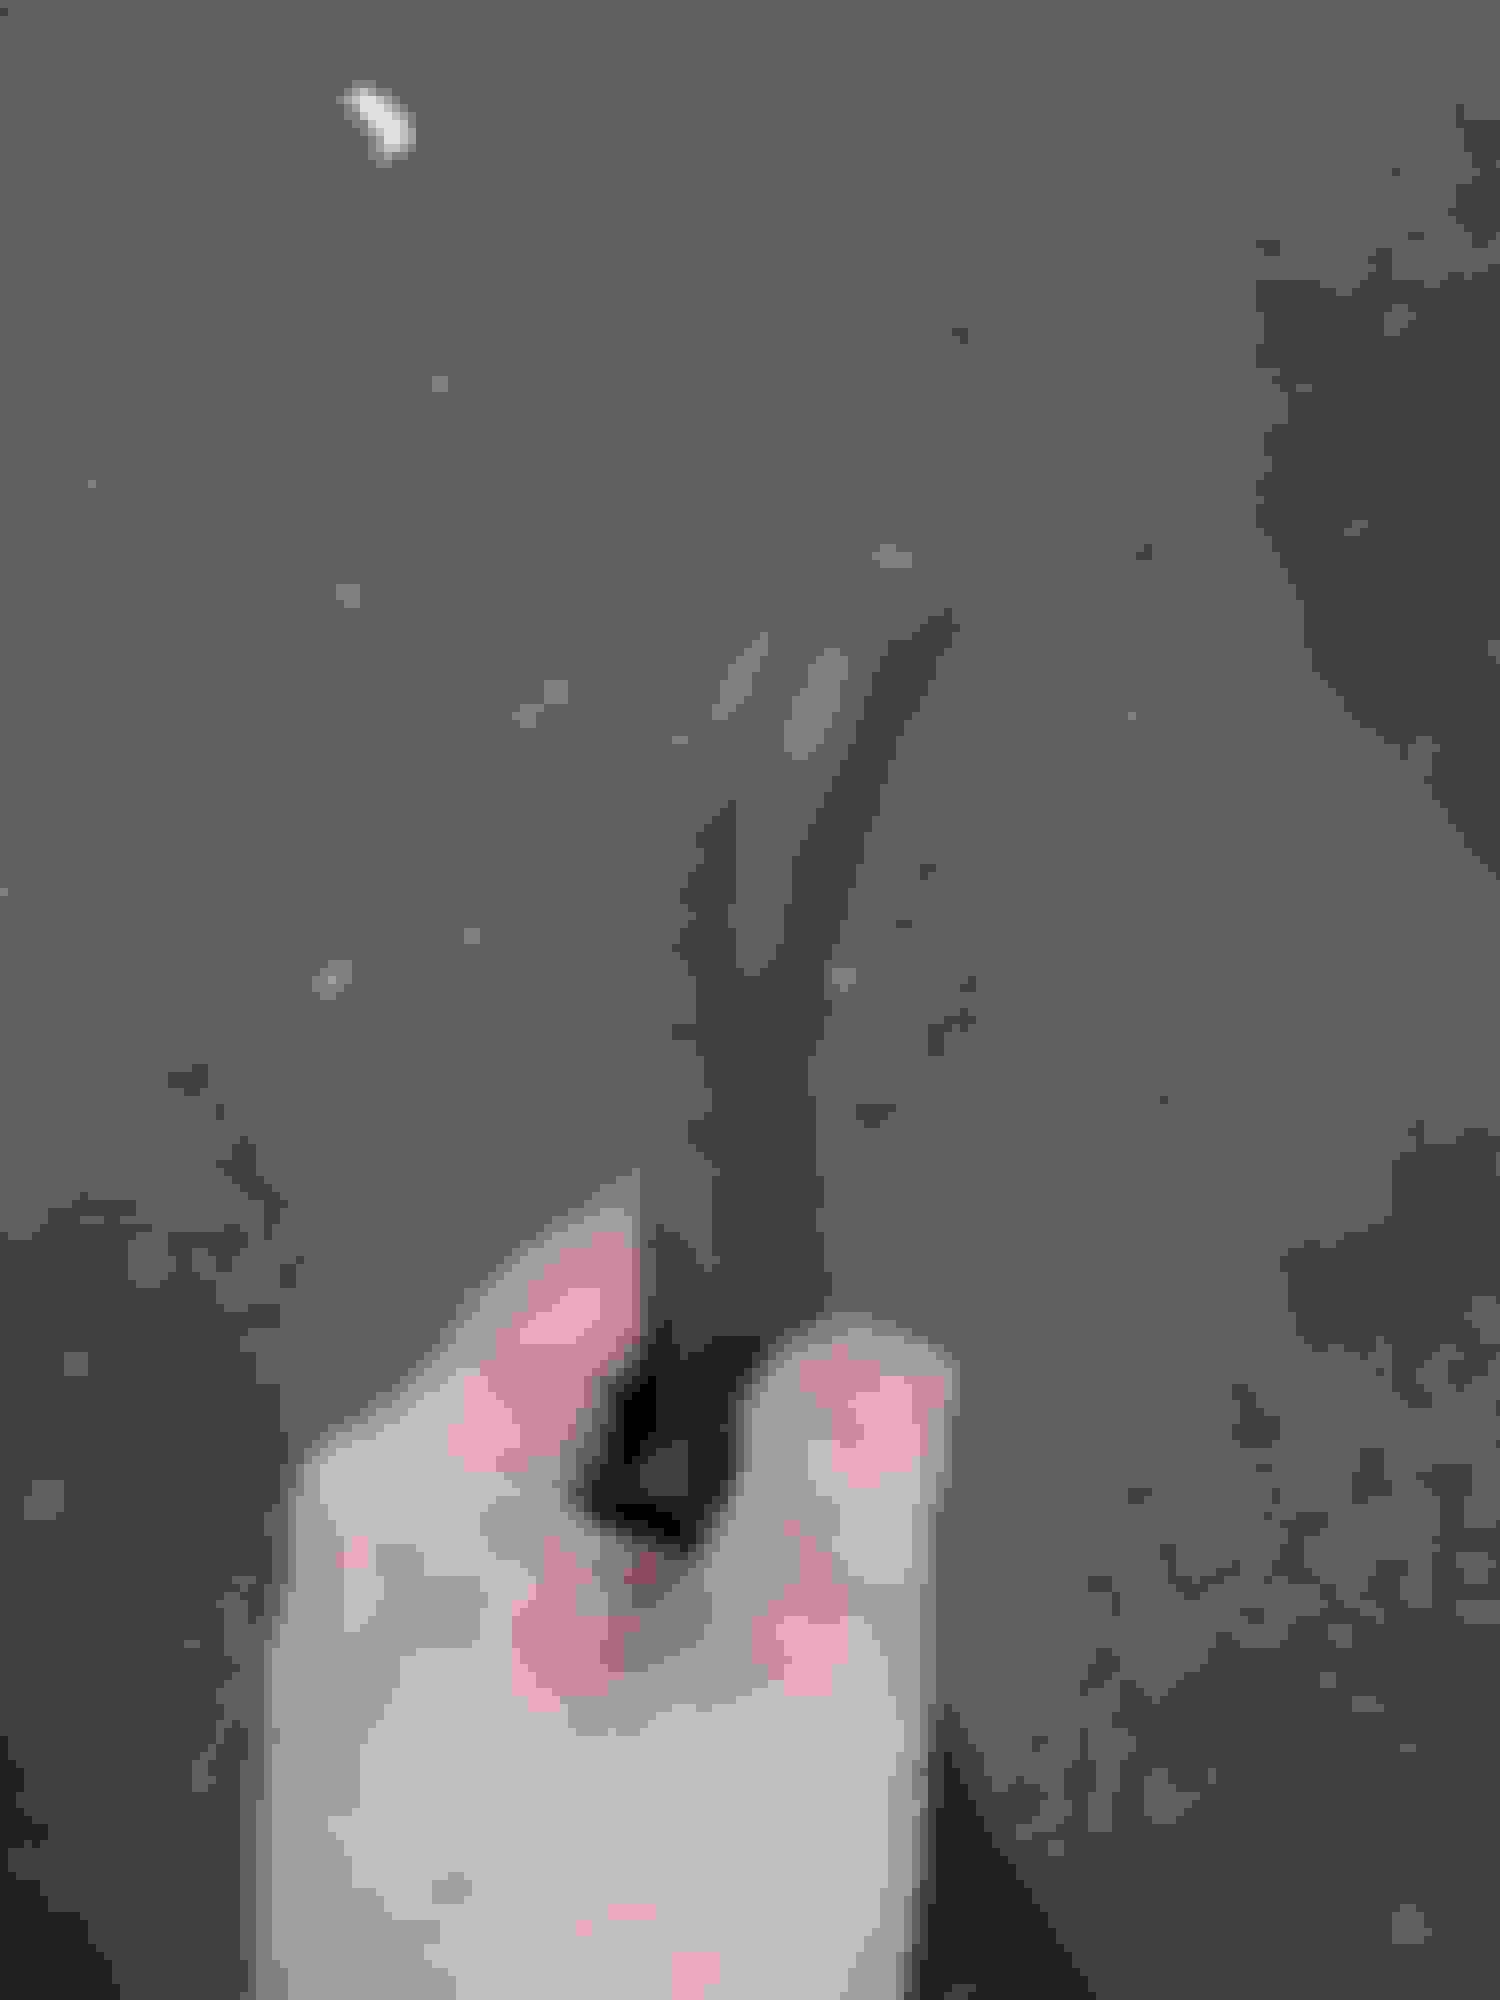
I made cuts on both sides of the wheel. They wil be used for hiding leftovers of leather. White stuff is just some acrylic putty I used to fill holes and dents.
Kendaprene glue is used for gluing leather onto the wood . .. .
First stage done, so far so good.
Next update in 4-5 days.
Wood is covered in polyester resin. In meantime lets see what we can do for shifter boot, its has been through some rough time . . . Its 250k miles car after all . . .
New leather will be a perfect match with wheel and veneer will be replaced with thick piece of mahagony
Here it is disassembled . . .
I have cut new leather and took it to another guy for sewing because I don't have right sewing machine for the job. . .
Back to the wheel. . . I was hit by polyester disaster. Resin I bought was outdated or something. It didn't want to cure, it wasn't sticking to the wood, etc etc. . . It was one big sticky mess . . .
I had to peel everything off and start all over again. Weather was rainy and moisture was high so I recreated perfect conditions using old oven, moisture meter, IR temperature sensor and new resin
I got it right this time
Just started sanding P80
Half way through P320 P400wet
Sanding done P800wet P2000wet
Both pieces polished with foam buffing wheel and some car paint polish solution.
It was real pain in the A to clean perforated leather!!!
For the end, Before and After photo
You can see that shifter isn't complited yet
I gived up paddle shifter. They look nice but theyre usless and I ran a test for few days with them and they constantliy get in the way of cruise control and turn signals. Maybe one day I will come up with better design . . .
Total cost of the project 36$
For that money result are astonishing . . .
If you find this any interesting I will keep posting "from scratch" projects and others DIYs . . .
Really impressive work mate! For something you made essentially out of scratch it is truly great looking and appreciate your handiness.
If you were to do this again I am sure you would end up with something anyone would envy - maybe think of way to treat and polish the wood before gluing the leather. Additionally I think practice would yield a better result when gluing the leather after having done it once.
Thanks!!!
Main problem was that my leather was 2.5 thicker than original one, so it was a bit of struggle . . .
 04-03-2017, 12:38 PM


 Center channel is filled with Bison montage kit.