When you click on links to various merchants on this site and make a purchase, this can result in this site earning a commission. Affiliate programs and affiliations include, but are not limited to, the eBay Partner Network.
I was facing some issues whereby the remote central locking would not function on my 2005 E320 however the IR entry would.
After much googling, I replaced the antenna amplifier (Passenger side D pillar on the S211) to no avail. I also checked fuse 8 on the rear fuse board however this was not blown.
I was fortunate enough to stumble on a thread that suggested I check continuity between the back of the fuse and at the antenna amplifier, this suggestion led to the following guide.
Time : 1-2 Hrs Difficulty: ★★★☆☆ Tools required :
10mm Socket & Ratchet
Extension bar
Torx 20?
Torx 25? (My torx pieces are mixed up, sorry i don't have the exact size.)
Crosshead screwdriver (For boot lip trim)
First, you need to remove the covers around your D pillar including the section that runs between the roof liner and window. The trunk passenger side (RHD) removed along with the sliding trunk cover mechanism and roof trim. (Pry tools)
Next remove the carpet held on by the two highlighted clips (There is another torx to the right that must be removed too. I placed these clips back in their holes to avoid losing them.) These two clips (Torx 25 ??? )
With the carpet material out of the way, you will be able to identify 3 bolts holding the fuse board and NAV / DVD drive in place. These must all be undone, the third is the one highlighted in the image below. The hardest to see / reach of the three nuts / bolt that hold in the Nav DVD and Fuse carrier.
Once all three are removed you will be able to "unfold" the two units from each other. We're only interested in the fuse board on the right at the moment. A latching mechanism holding the two units together.
At this point your main battery should be disconnected. If it is not, do so now. The Fuse board and DVD / Nav drive separated.
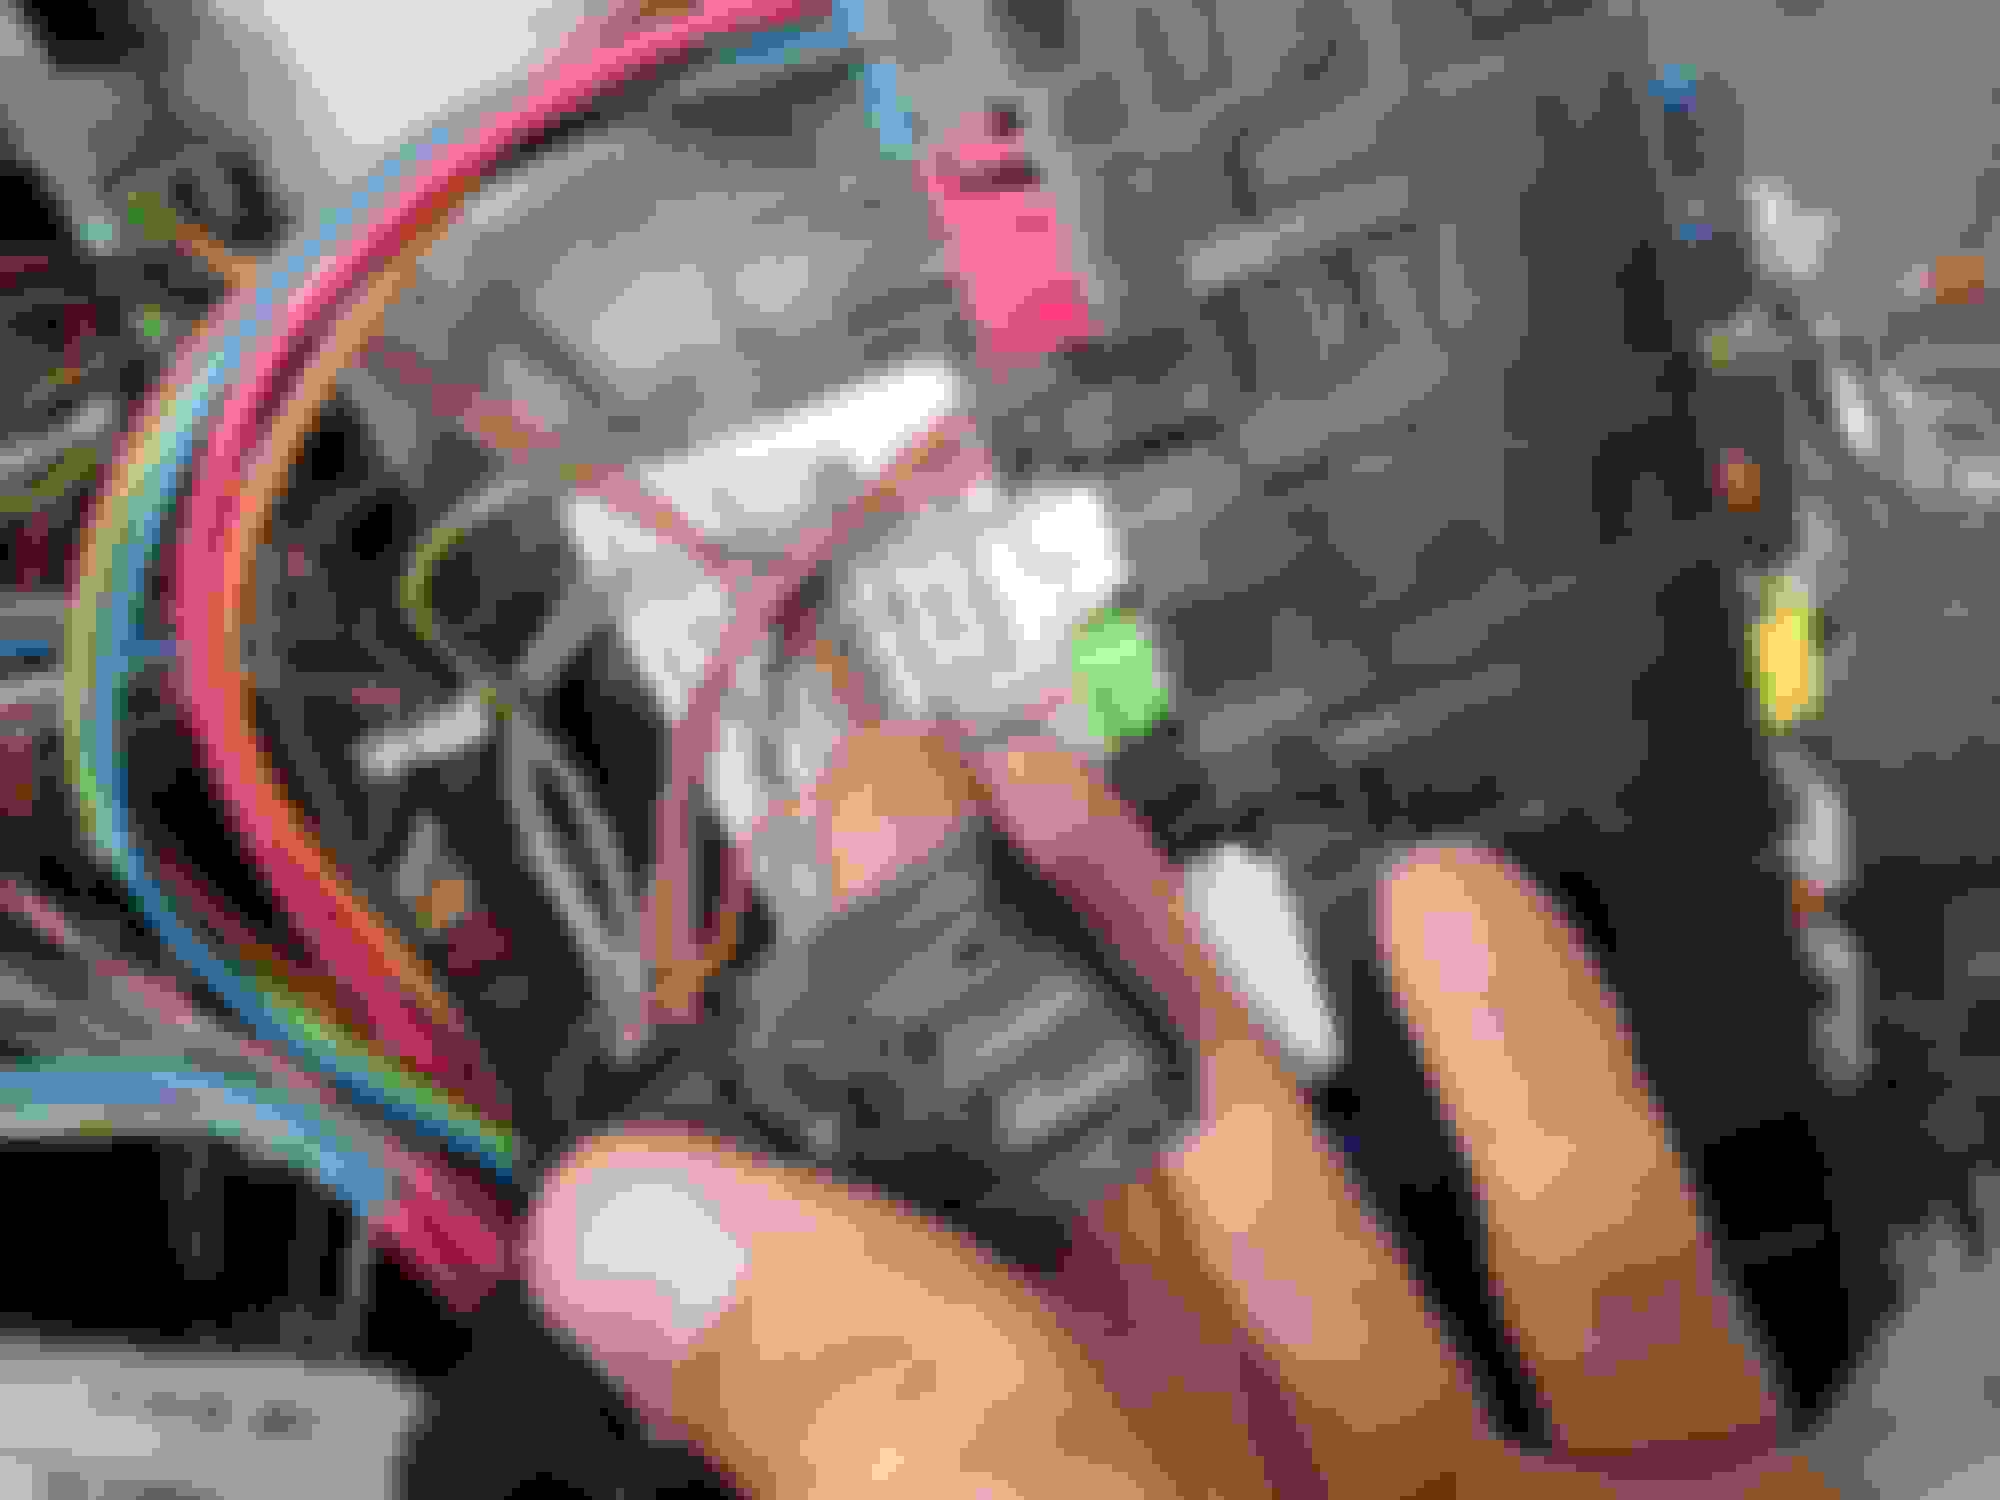
Next we need to remove the big red clip going into the back of the fuse board to access the green clip behind. This large black clip with a sizeable red cable goes into the fuse board. (Pressumably supply + to the board.)
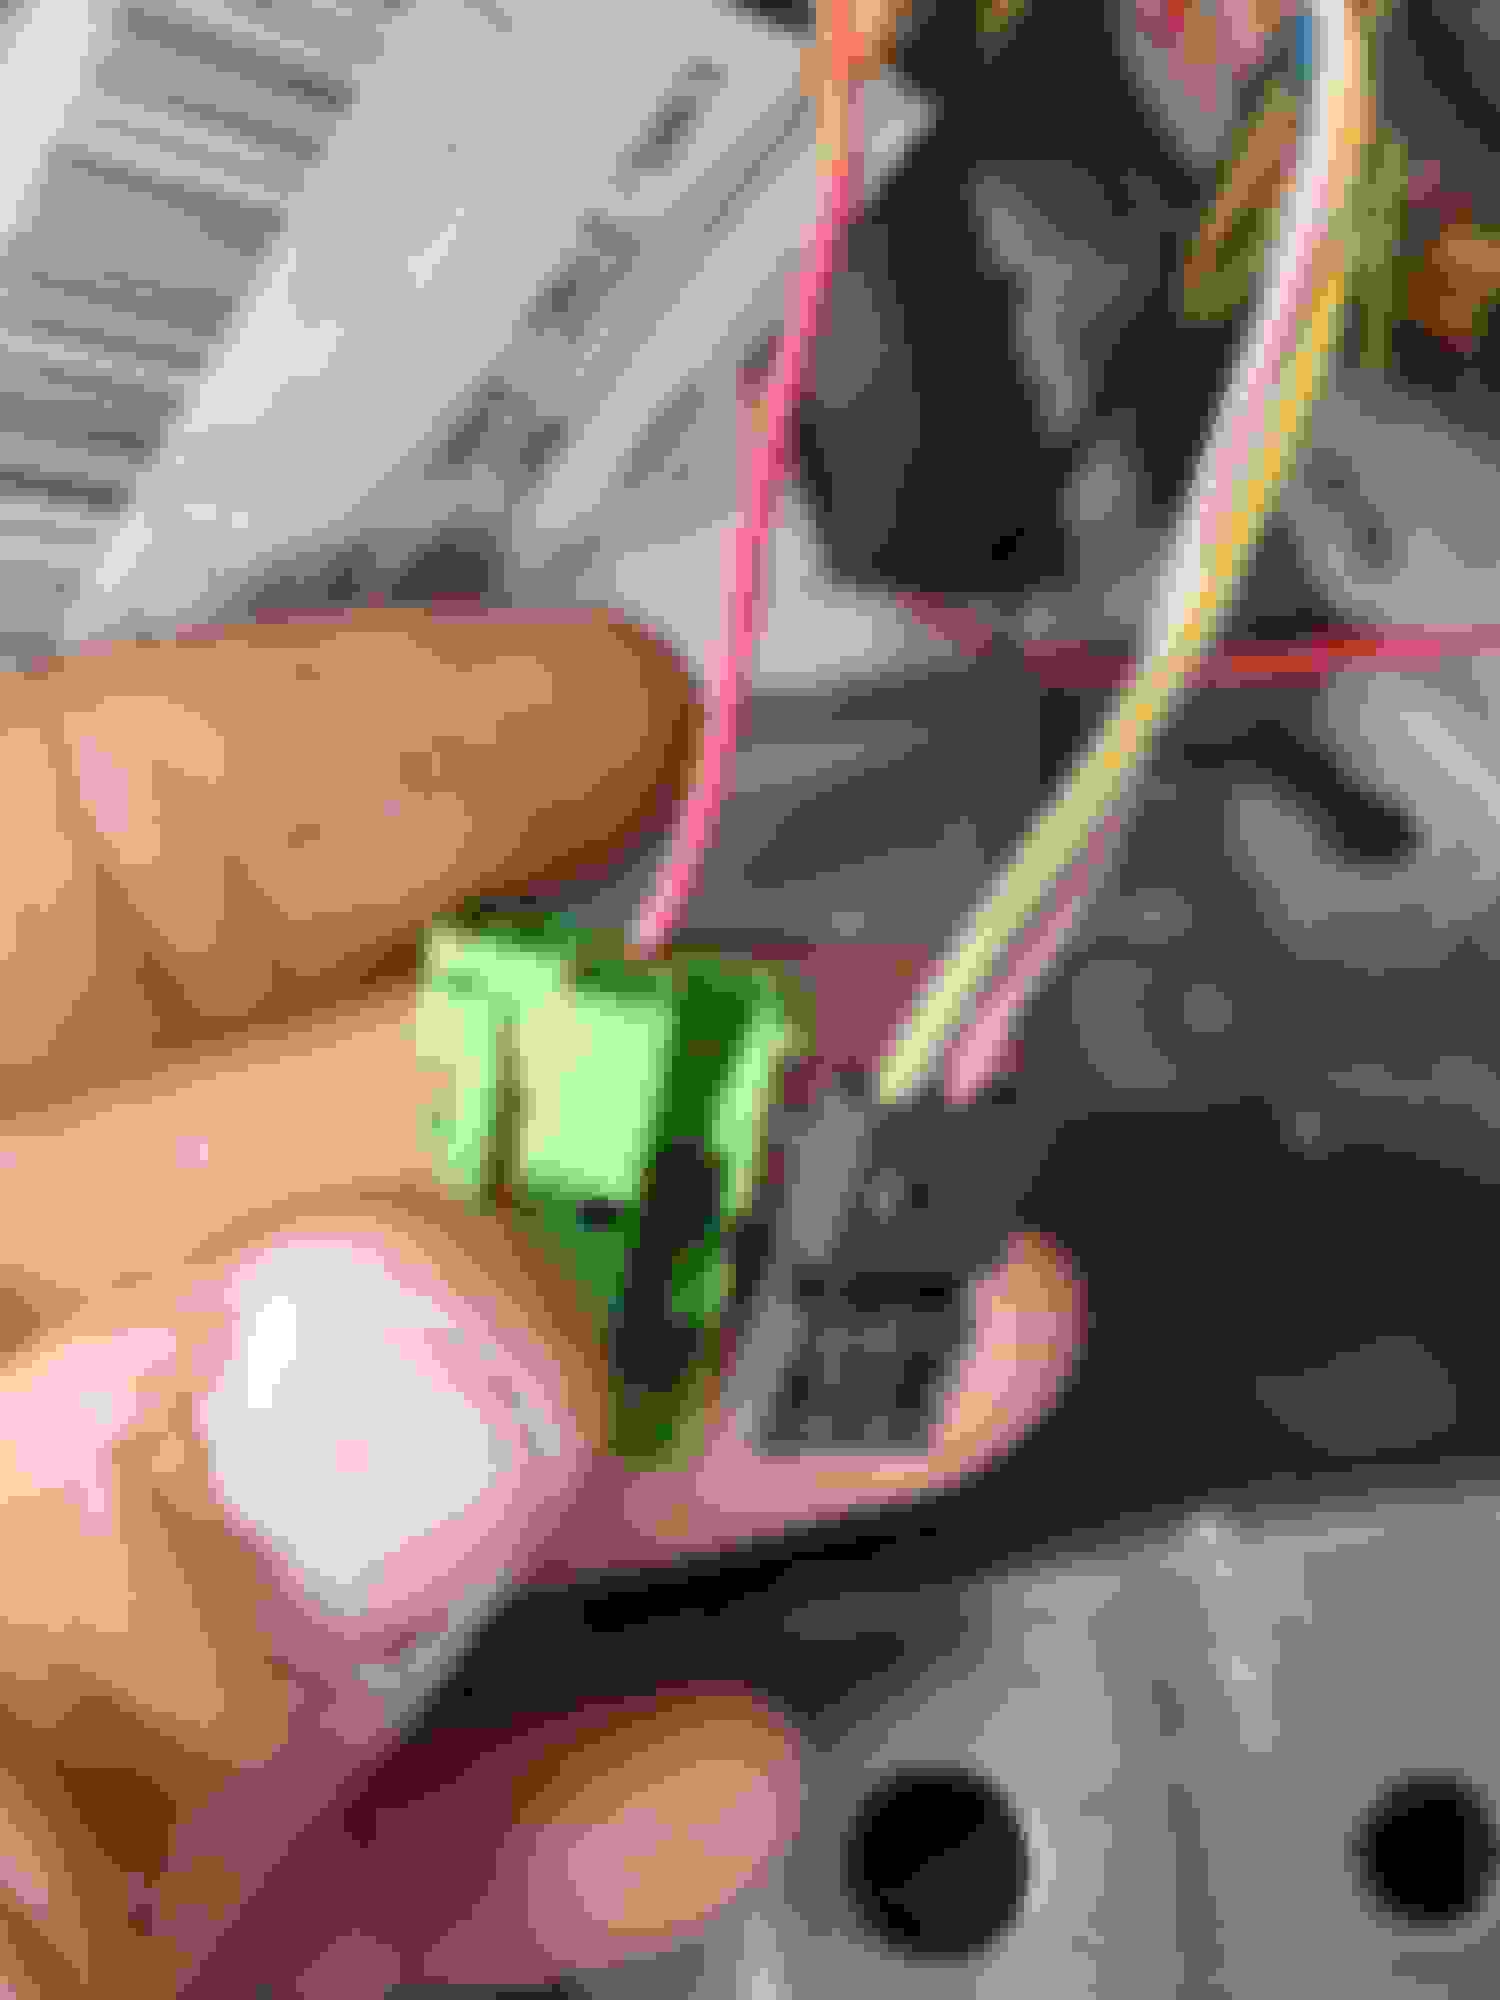
This green clip supplies power to the antenna amplifier module. It is what connects to fuse 8 on the fuse panel. The green clip is located behind the primary + feed to the fuse board. It is released with a latch
The green clip is composed of two different parts that clip together. Separate them. The clip is made up of two clips and they can be separated to make continuity testing easier. (Pretty neat!)
Now we can remove the other end from the antenna just above this location. The power supply feed for the antenna amplifier
Now we need to use a multimeter set to continuity to test the connection between the three cables. In my research and from my own experience, the red and yellow wire is the one that will fail however since you are here you should check the others.
[Multimeter.jpg]
After confirming that the red and yellow wire needed to be replaced i sourced a suitable replacement (similar gauge ) and taped this into place following the path of the existing cables/ (Zip ties would bet better but i had none to hand.) Routing the new cable. I used a similar gauge wire sourced from a local auto parts store.
After routing the cable, solder both ends and insulate with tape / heat shrink.
Solder both ends and be sure to apply heat shrink or insulation tape.
At this point, you should reassemble the connector and connect it to the fuse board and the other end to the antenna amplifier.
Now reconnect the battery following proper MB procedure and replace fuse 8 in the fuseboard.
Check the operation of your remote key fob / radio signal.
If they are both working, congratulations! Make yourself a cup of tea before re-assembling in reverse order.
If not and fuse 8 is not blowing / blown, you may need to source a new antenna amplifier. Part num : A211 820 29 89
I just wanted to say a massive thank you to the gentleman who posted this very in-depth and detailed fix. I managed to fix my car after 9 months of scratching my head and to garages having no idea what to do. I've no idea why that wire seems to fail, but it was exactly that wire that failed on my car too. Thank you once again!
Originally Posted by Eklasse95
Hey all
I was facing some issues whereby the remote central locking would not function on my 2005 E320 however the IR entry would.
After much googling, I replaced the antenna amplifier (Passenger side D pillar on the S211) to no avail. I also checked fuse 8 on the rear fuse board however this was not blown.
I was fortunate enough to stumble on a thread that suggested I check continuity between the back of the fuse and at the antenna amplifier, this suggestion led to the following guide.
Time : 1-2 Hrs Difficulty: ★★★☆☆ Tools required :
10mm Socket & Ratchet
Extension bar
Torx 20?
Torx 25? (My torx pieces are mixed up, sorry i don't have the exact size.)
Crosshead screwdriver (For boot lip trim)
First, you need to remove the covers around your D pillar including the section that runs between the roof liner and window. The trunk passenger side (RHD) removed along with the sliding trunk cover mechanism and roof trim. (Pry tools)
Next remove the carpet held on by the two highlighted clips (There is another torx to the right that must be removed too. I placed these clips back in their holes to avoid losing them.) These two clips (Torx 25 ??? )
With the carpet material out of the way, you will be able to identify 3 bolts holding the fuse board and NAV / DVD drive in place. These must all be undone, the third is the one highlighted in the image below. The hardest to see / reach of the three nuts / bolt that hold in the Nav DVD and Fuse carrier.
Once all three are removed you will be able to "unfold" the two units from each other. We're only interested in the fuse board on the right at the moment. A latching mechanism holding the two units together.
At this point your main battery should be disconnected. If it is not, do so now. The Fuse board and DVD / Nav drive separated.
Next we need to remove the big red clip going into the back of the fuse board to access the green clip behind. This large black clip with a sizeable red cable goes into the fuse board. (Pressumably supply + to the board.)
This green clip supplies power to the antenna amplifier module. It is what connects to fuse 8 on the fuse panel. The green clip is located behind the primary + feed to the fuse board. It is released with a latch
The green clip is composed of two different parts that clip together. Separate them. The clip is made up of two clips and they can be separated to make continuity testing easier. (Pretty neat!)
Now we can remove the other end from the antenna just above this location. The power supply feed for the antenna amplifier
Now we need to use a multimeter set to continuity to test the connection between the three cables. In my research and from my own experience, the red and yellow wire is the one that will fail however since you are here you should check the others.
[Multimeter.jpg]
After confirming that the red and yellow wire needed to be replaced i sourced a suitable replacement (similar gauge ) and taped this into place following the path of the existing cables/ (Zip ties would bet better but i had none to hand.) Routing the new cable. I used a similar gauge wire sourced from a local auto parts store.
After routing the cable, solder both ends and insulate with tape / heat shrink.
Solder both ends and be sure to apply heat shrink or insulation tape.
At this point, you should reassemble the connector and connect it to the fuse board and the other end to the antenna amplifier.
Now reconnect the battery following proper MB procedure and replace fuse 8 in the fuseboard.
Check the operation of your remote key fob / radio signal.
If they are both working, congratulations! Make yourself a cup of tea before re-assembling in reverse order.
If not and fuse 8 is not blowing / blown, you may need to source a new antenna amplifier. Part num : A211 820 29 89

 07-02-2023, 05:22 PM